Easy DIY French Stencil Sign Under $10
It may be Saturday, but it’s also Ten on the 10th under $10 day. Our intrepid group of bloggers who love DIY projects are featuring a home decor idea this month. Only requirement? It’s under $10 to make. My little project is an easy DIY French stencil sign made from a round piece of raw wood. And guess what? It didn’t cost me anything! But there is a story behind it that is priceless too.
The first year that I went to Haven Conference in 2015 we were given a huge swag bag of goodies ~ I had no idea we were going to get a bag full of awesome freebies. I had to buy a box and ship it home. Since I was spending an extra week in Atlanta visiting family, it was several days before I could go through the goodies. In there was a round piece of wood donated by one of the exhibitors at the convention. One side was flat and one side had groves in it and there was a hole in the middle. I think it was meant to be a clock, which I didn’t need.
Easy DIY French Stencil Sign Under $10
Eventually, I decided that this round piece of wood with some paint and a stencil could become a really cool sign. And since I had plenty of paint and a stencil, I was set to make an easy DIY French stencil sign. And lucky for me I already had all the supplies I would need to make this cool French stencil sign.
The Beginning of the Stencil Sign
This post contains affiliate links. If you order any product through this site, I may receive compensation, but you don’t pay one penny more.
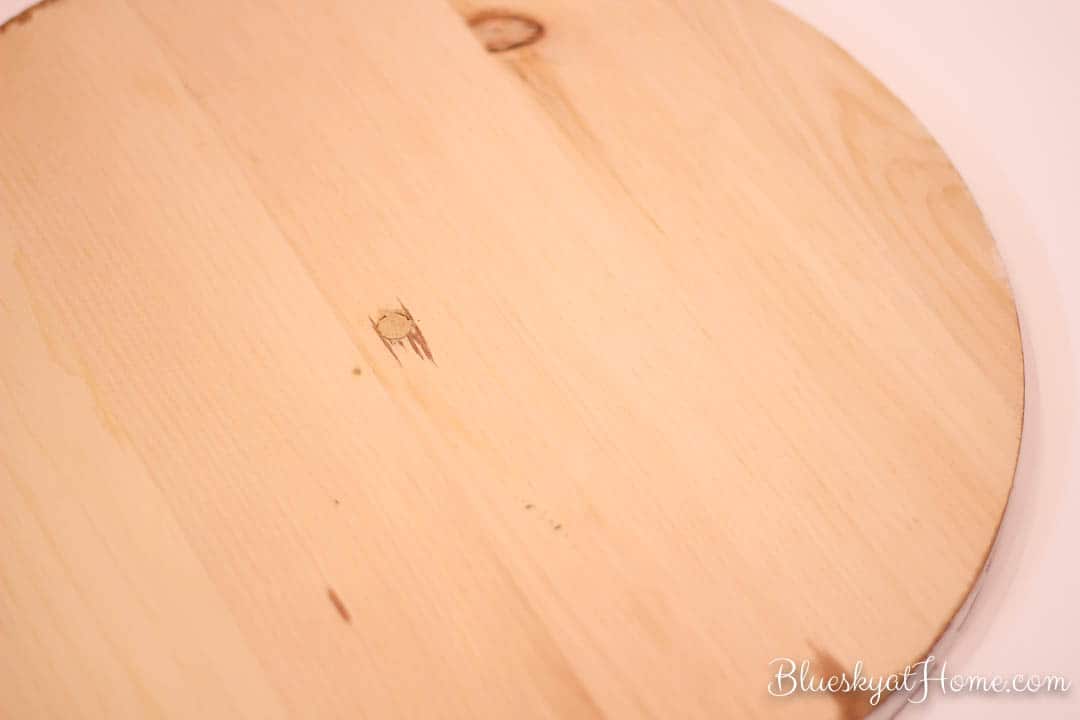
Here’s what this raw piece of wood looked like on the back side. (Disclaimer: it wasn’t until I was halfway through this project that I realized I should take photos to share it.) I filled the hole in the middle with wood filler and let it dry.
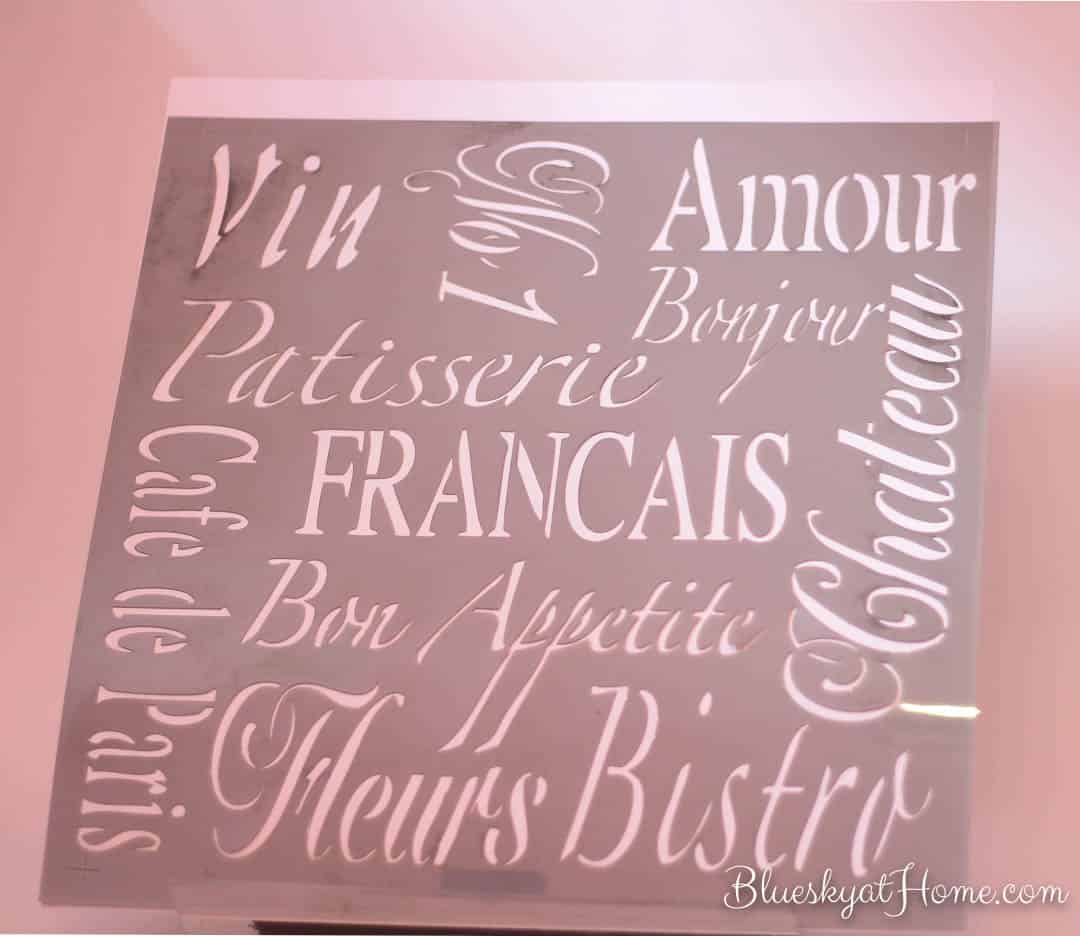
I already had the stencil that I bought at Haven from the Americana Decor booth. I love French words and writing so this was right up my home decor alley. A few years ago I bought a vintage side table at a flea market for $10, painted it and stenciled it with another French word stencil. I sold it to a women for a table in a guest room for about $50. Yeah me.
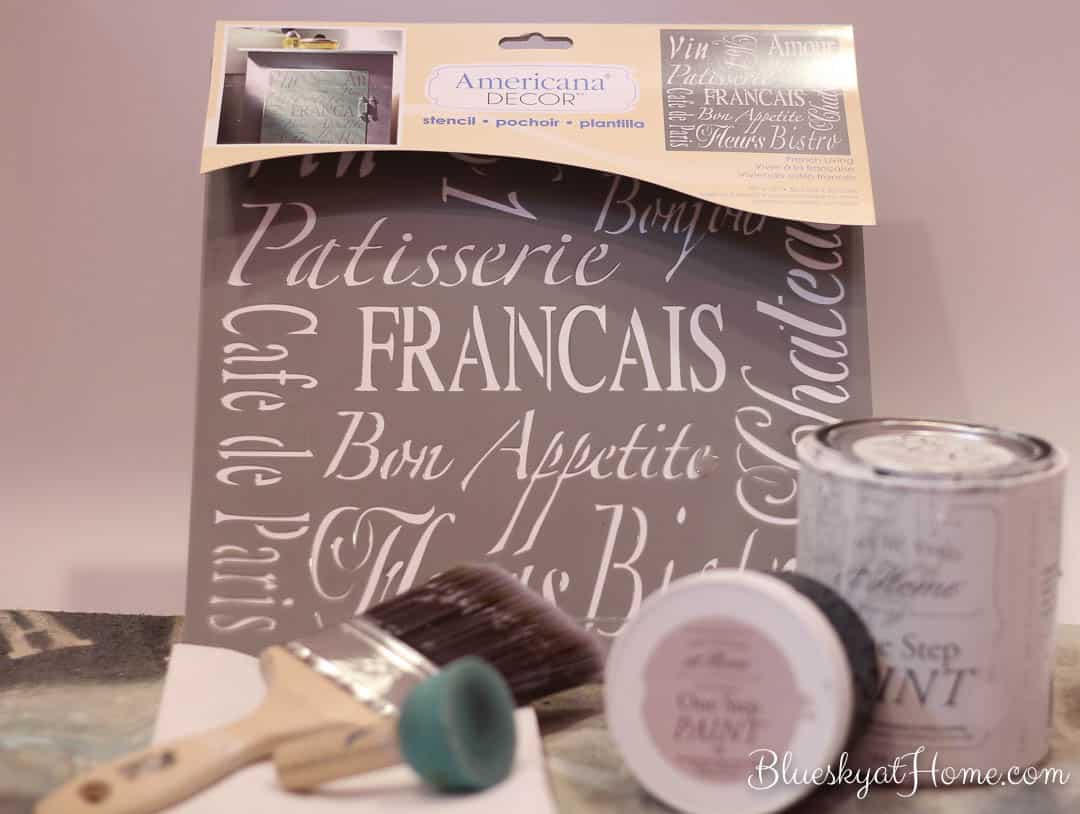
Supplies for my DIY French Stencil Sign
All you need (I had all these supplies on hand from other projects and didn’t buy a thing for this one):
- piece of wood in your desired shape and size
- 2 colors of stencil, chalk or decorative paint
- drop cloth for painting
- chip paint brush
- paper towel
- stencil sponge brush
- stencil
Painting the Wood Sign
My round sign was pine. I chose to dry brush it in Amy Howard Bauhaus Buff One Step Paint. To dry brush:
- just barely dip your brush into the paint. I usually can use the paint that is on the top of the paint can.
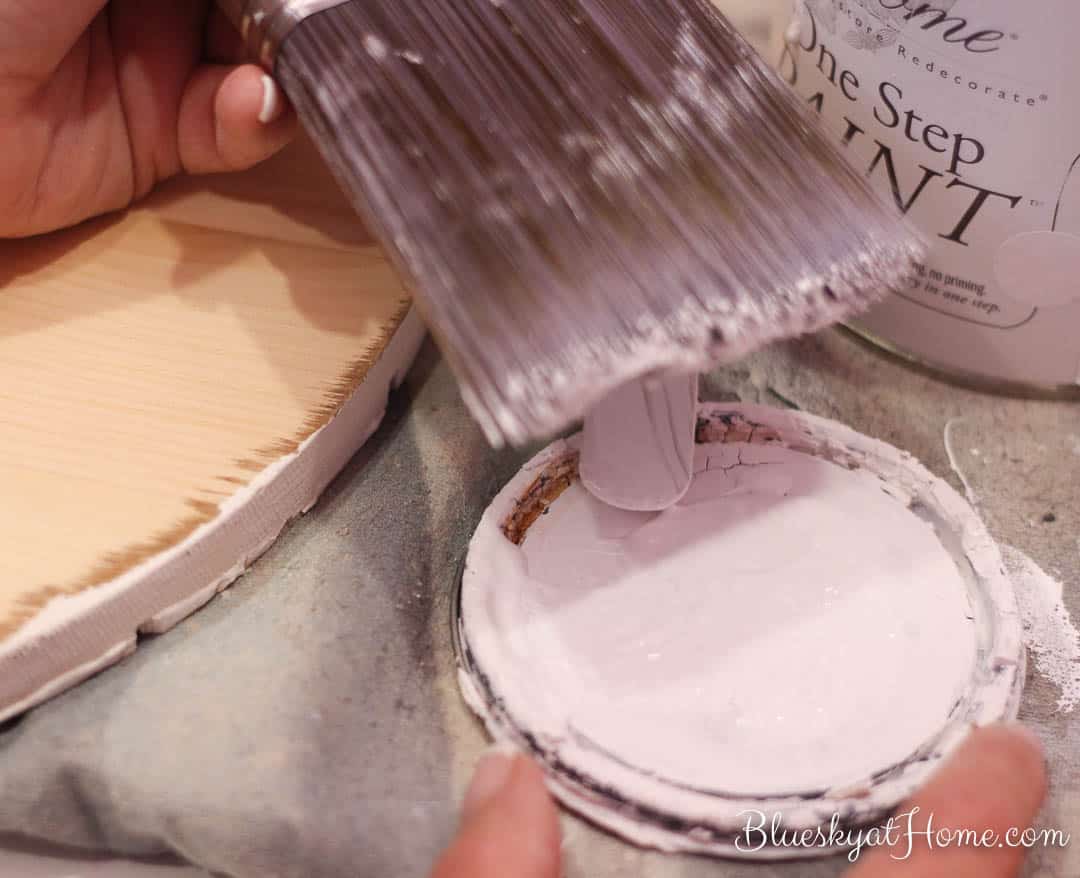
- On a paper towel brush off as much paint as you can. The goal is to have not much paint on your brush. (NOTE: I painted the front and sides of the wood first; this is the back side for demo purposes)
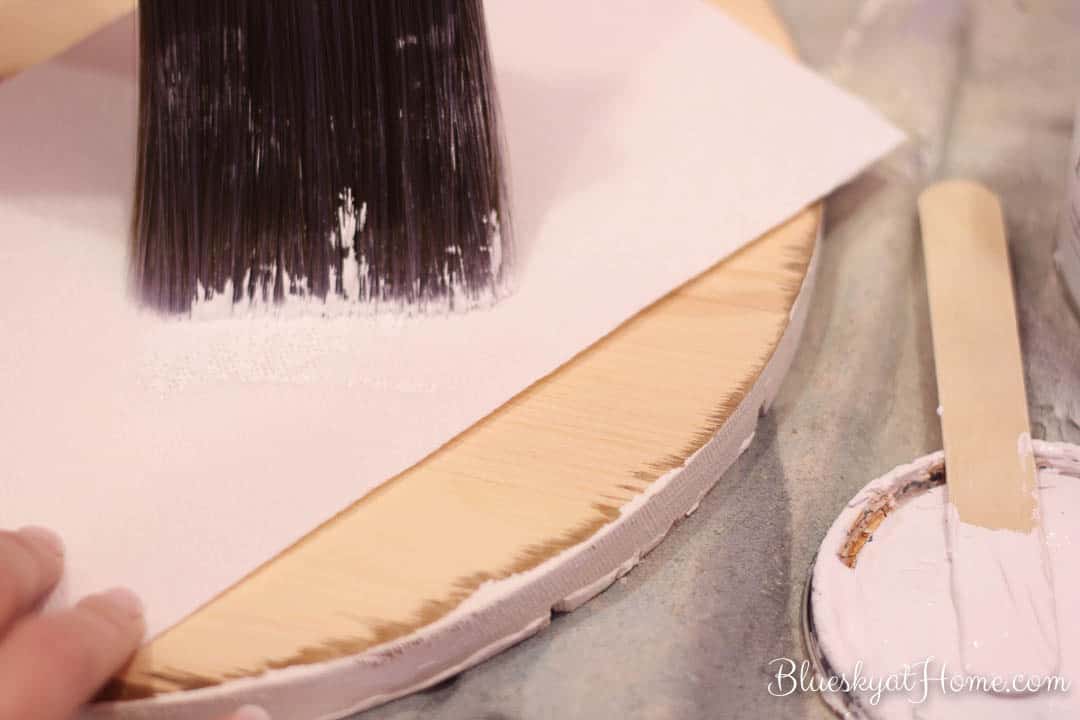
- Brush on the paint on your wood sign. You will have to repeat this step to cover your space. I wanted my original wood to show through. It has a wispy look to it. If you want more coverage on your sign, then use a regular method of dipping your brush into the paint.
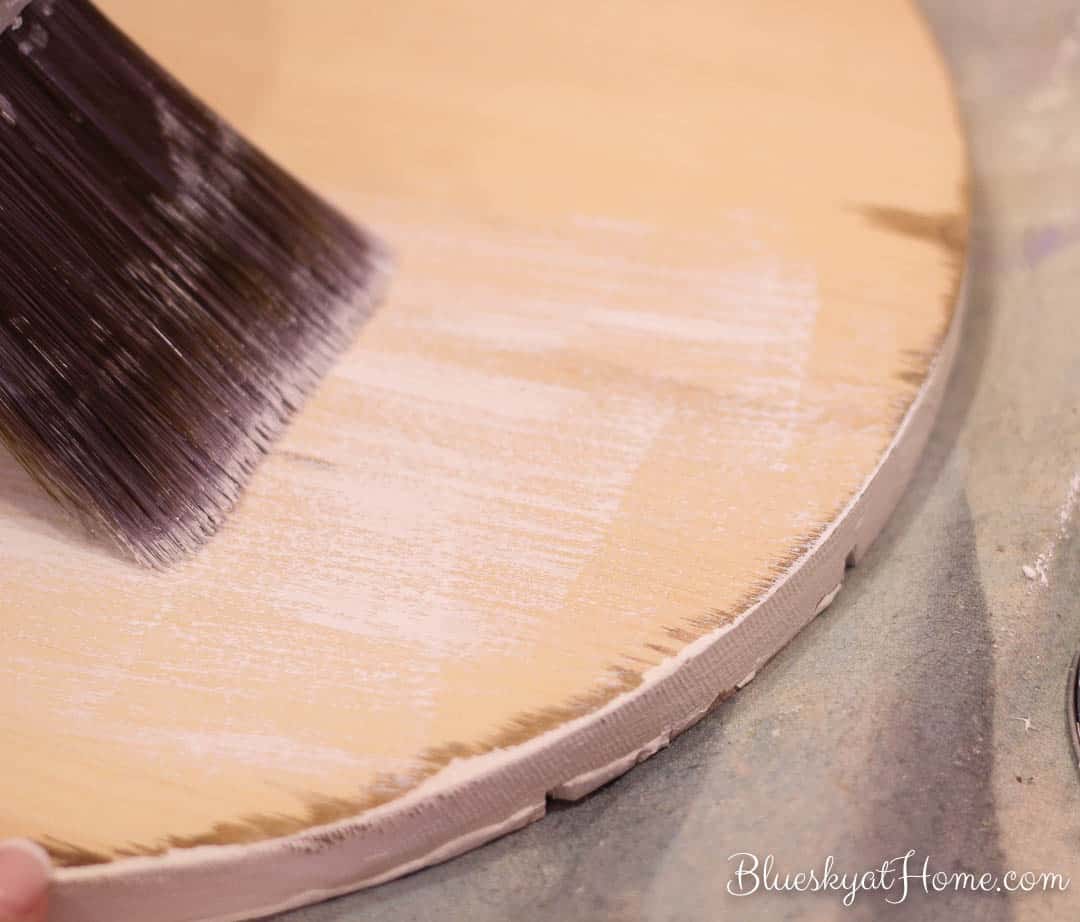
- Once you have the coverage you want and the sign is dry (which won’t take long), you can turn the sign over.
Painting the Stencil
- For painting the stencil, you will need another piece of paper towel and a “pouncer” brush, one meant for stenciling and your stencil. I chose to use Amy Howard at Home One Step Paint in Black for my stencil. I literally only used pait from the lid.
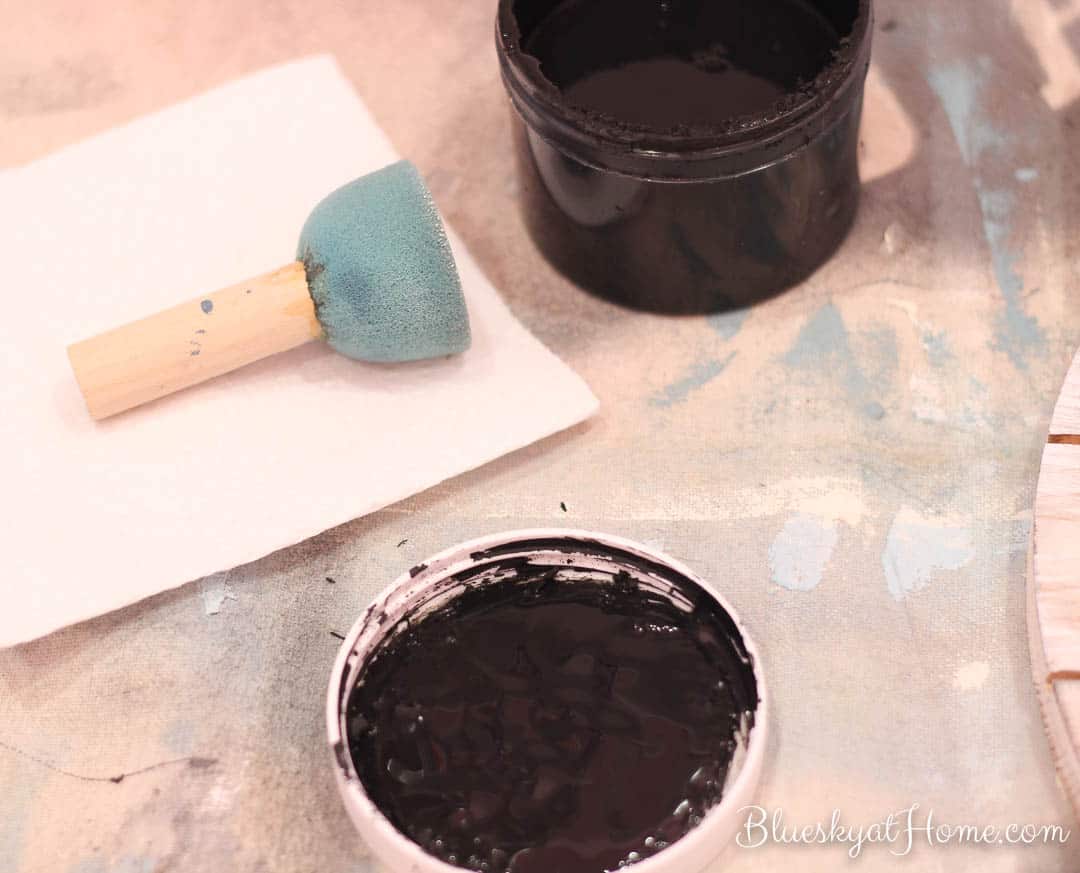
- Dip your pouncer in the paint and make sure that the entire surface is covered.
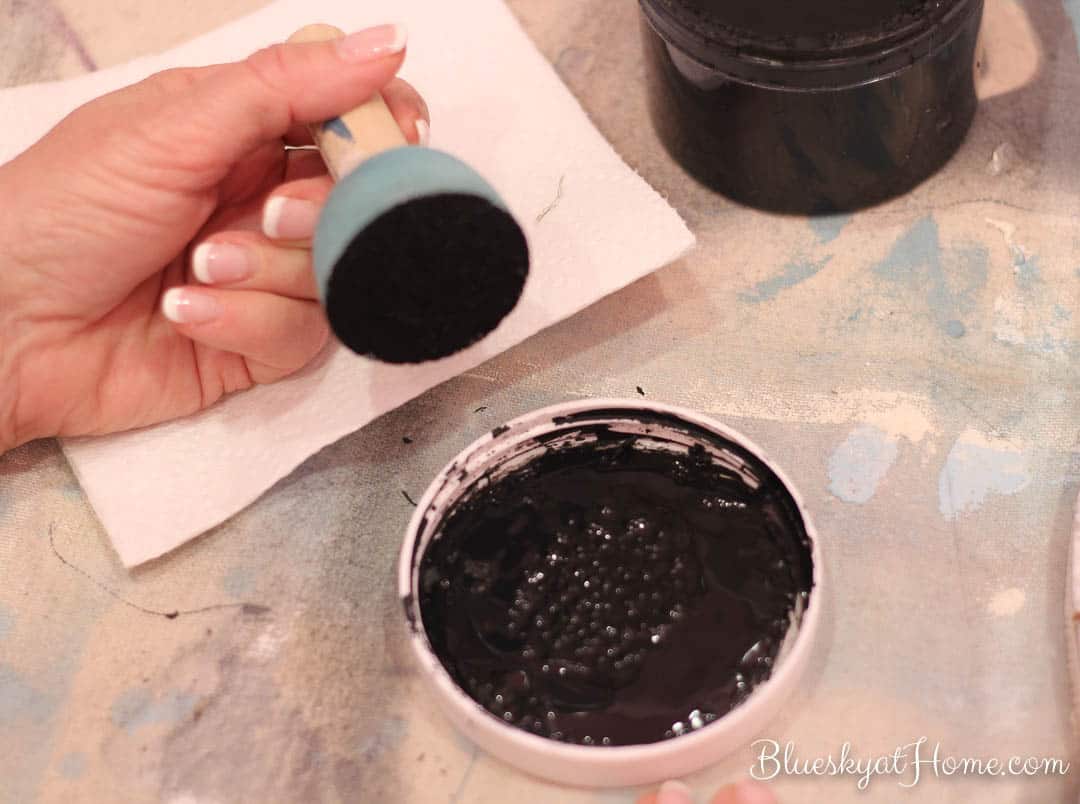
- Dap off as much paint as you can onto the paper towel. You want less paint rather than too much for stencils.
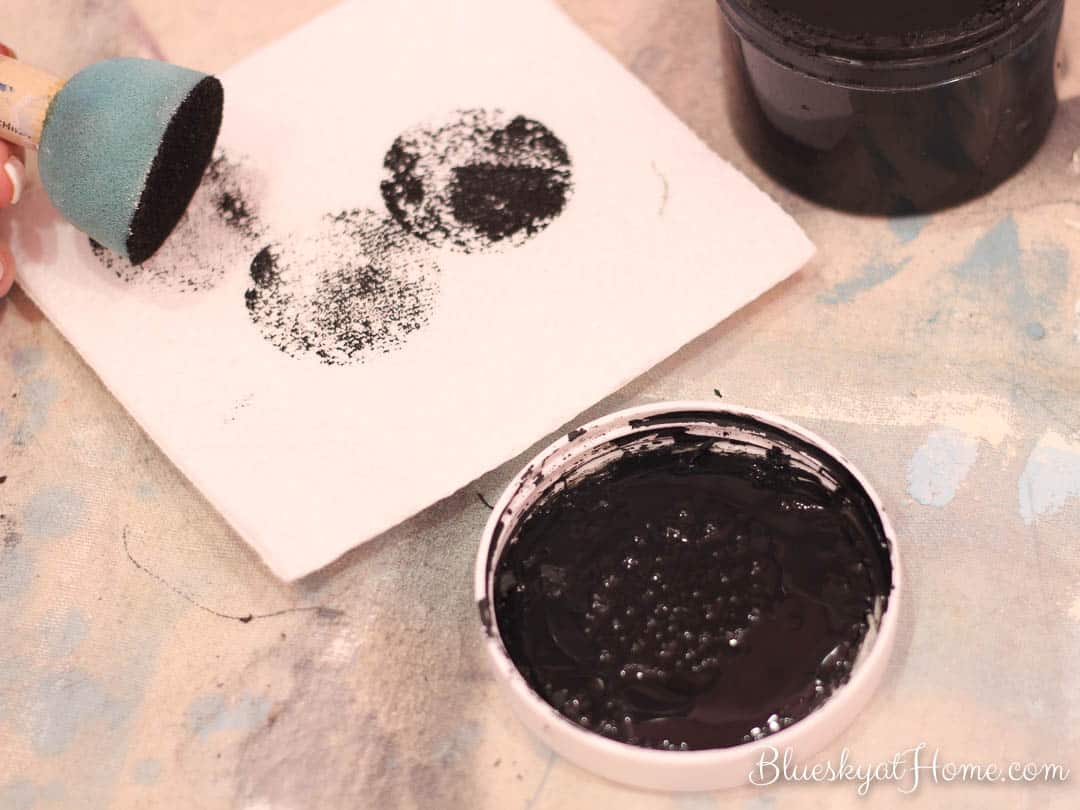
- My stencil had a slightly sticky backing to it which holds it down while you are painting. If yours does not, you may have to purchase some Repositionable Stencil Adhesive Spray. Dab the pouncer over your stencil, 1 area at a time, and refilling the pouncer with paint and then pouncing it on the paper towel. Depending on the look you want, heavy or light, or both, fill your stencil with the paint. I did some areas light and some dark. My stencil was square and my wood sign was round, so in some places the words “ran off” the sign, which I liked.
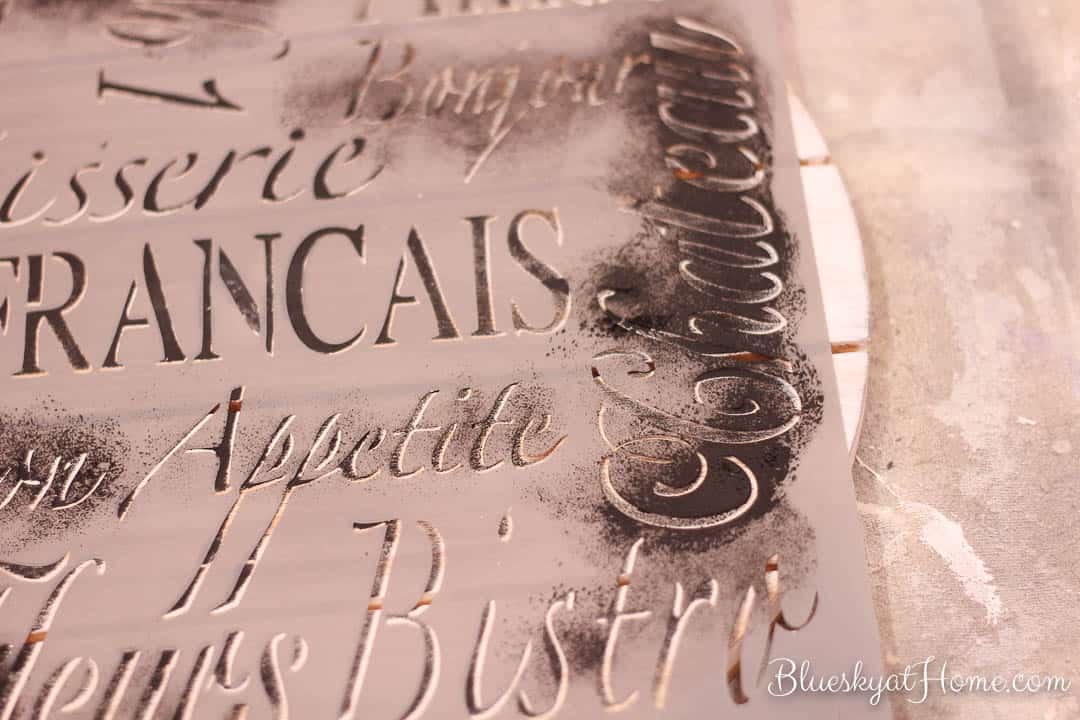
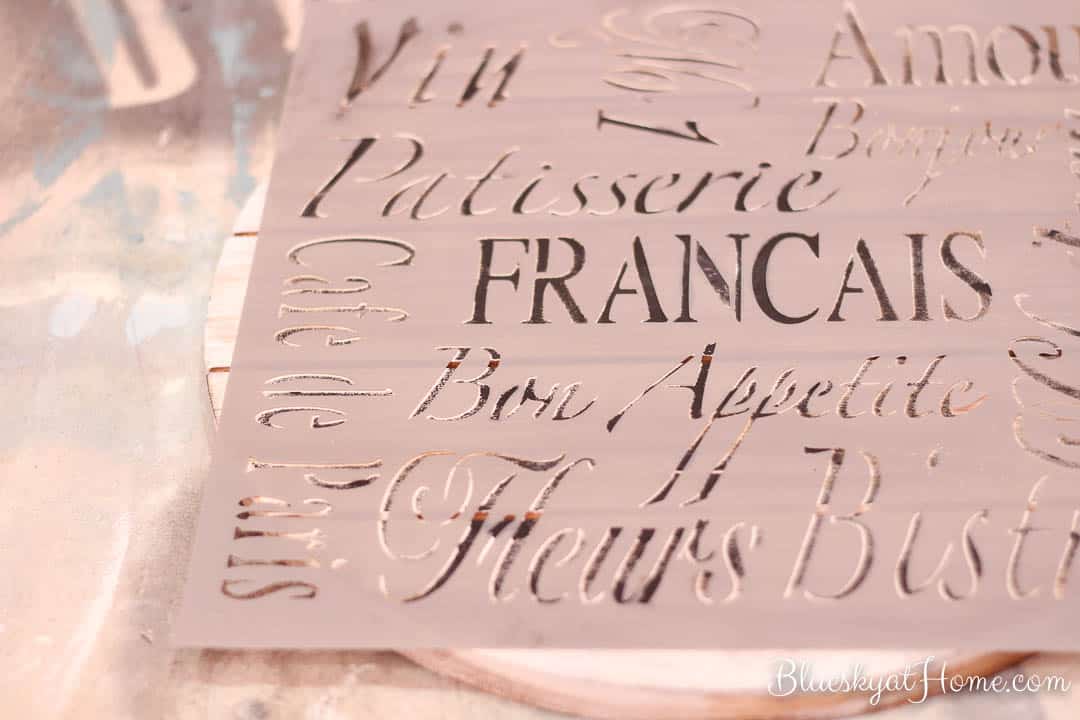
The Finished Stencil Sign
When you have finished stenciling, gently remove the stencil. Let the paint thorough dry, which shouldn’t take very long since you haven’t used much paint. I was pretty happy with the sign. And I knew where I was going to hang it.
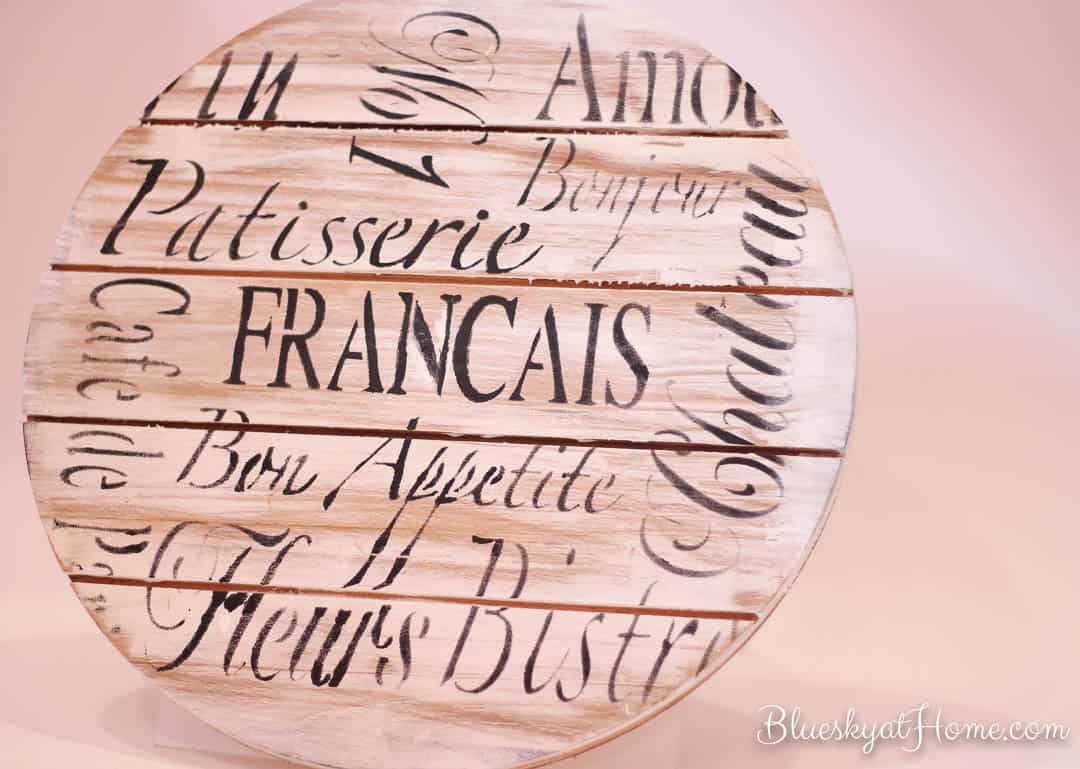
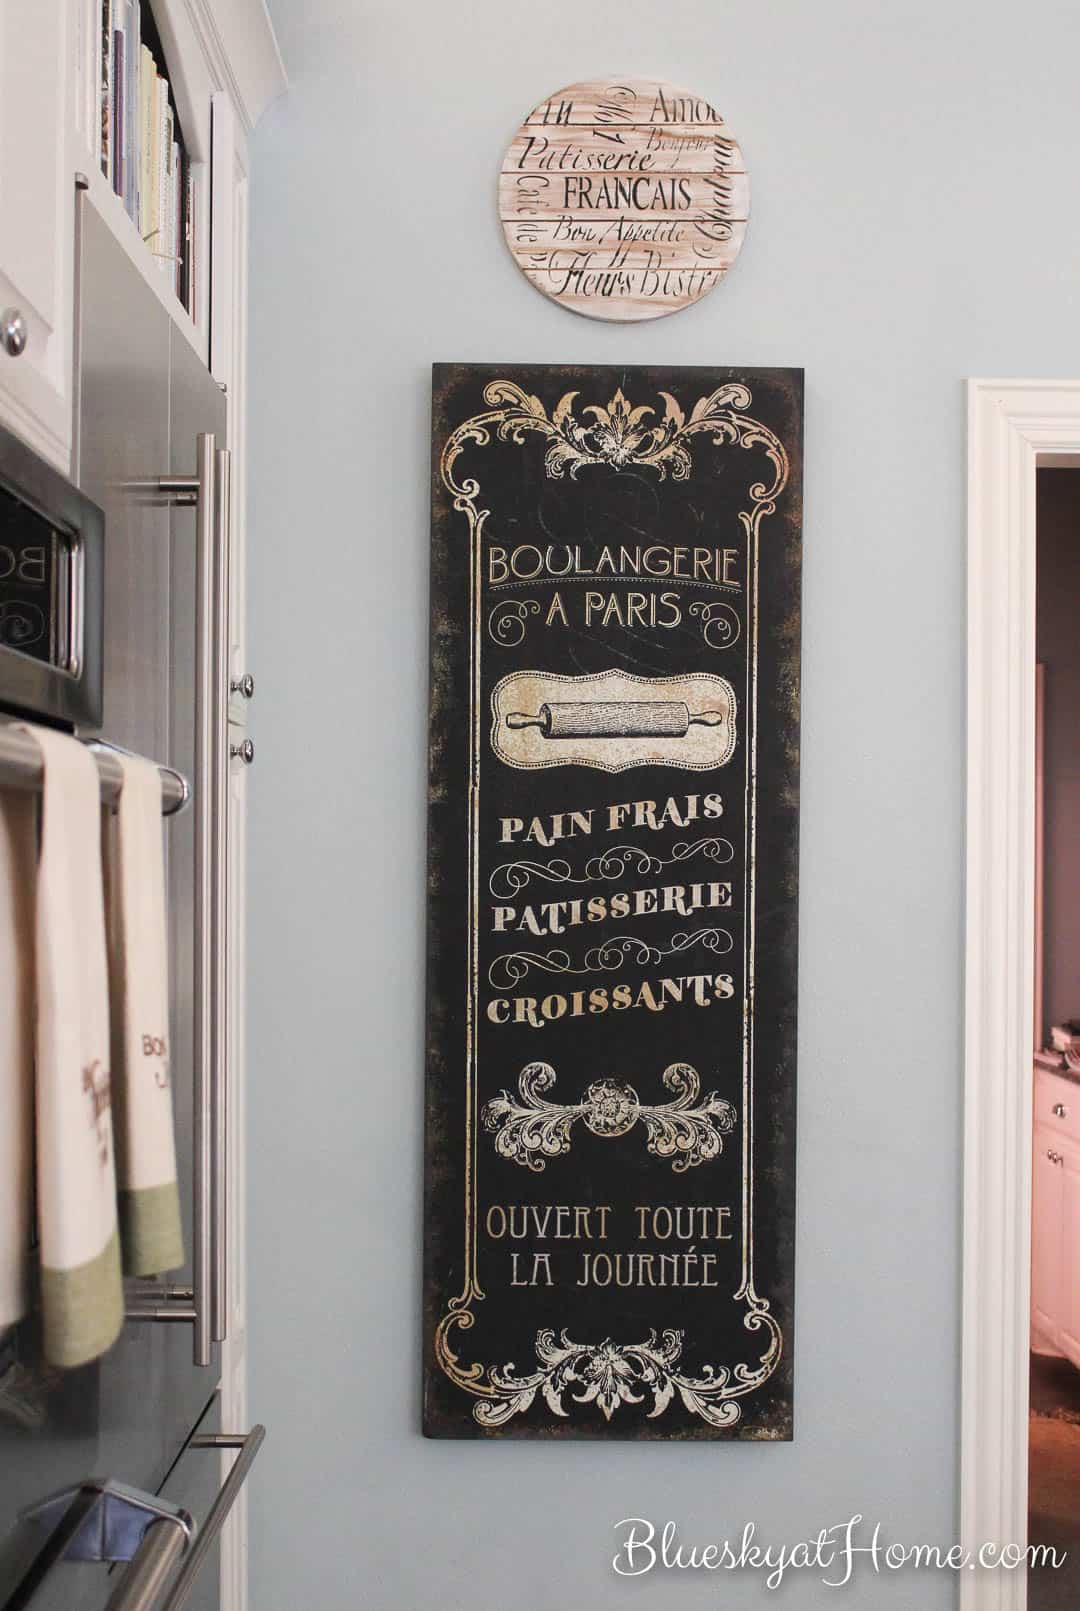
In my kitchen I already had a tall stenciled sign that I bought at a flea market a couple of years ago. I thought my new French stencil sign would look good above it. Since the back of the stencil was flat, I used my 3M Command Sticky tape to place it on the wall. I cut 2 pieces about 3 inches long and stuck it to the top and bottom of the sign. I love that stuff and so far it’s holding up.
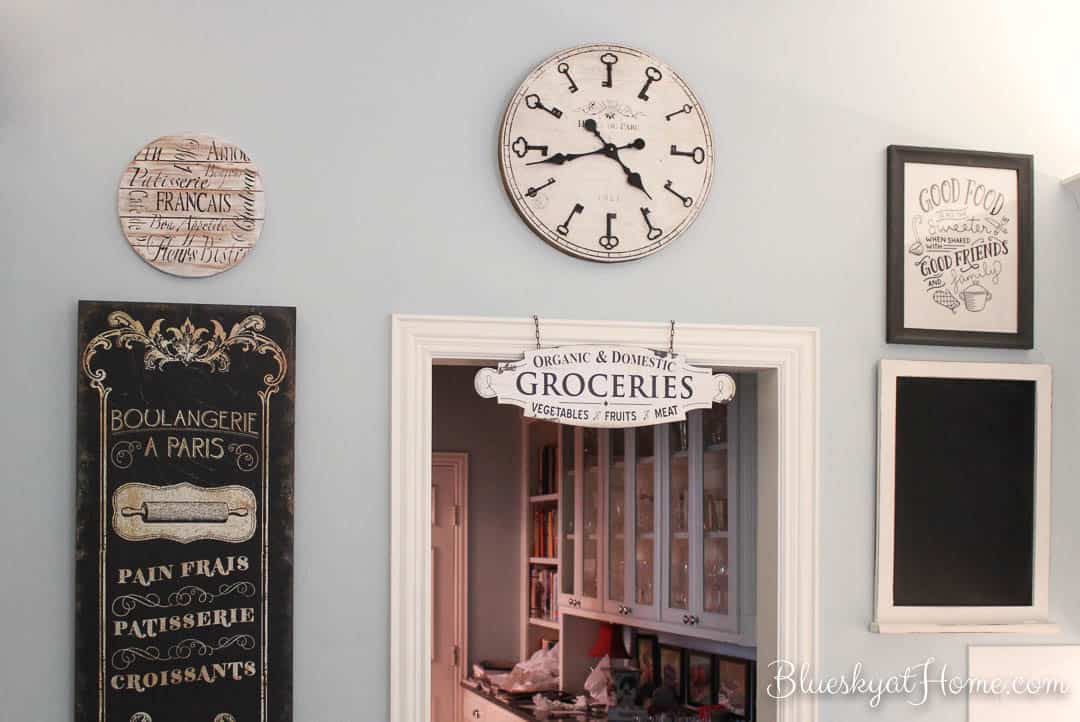
Here’s what that wall looks like now. The clock is from a store in McKinney, Texas; the chalkboard was a super sale item from Joann, the “Good Food” sign I made from a dish towel, and the “Groceries” sign was part of 2 pieces I found an an antique mall. I think my wall is complete. The butler’s pantry in the background is our “dumping” place and right now is a mess. Shame on me.
Well, that’s how I made an easy DIY French Stencil sign for under $10. Talk about a lot of bang for your buck. About 1 hour of work, and I have a nice addition to one wall of our kitchen.
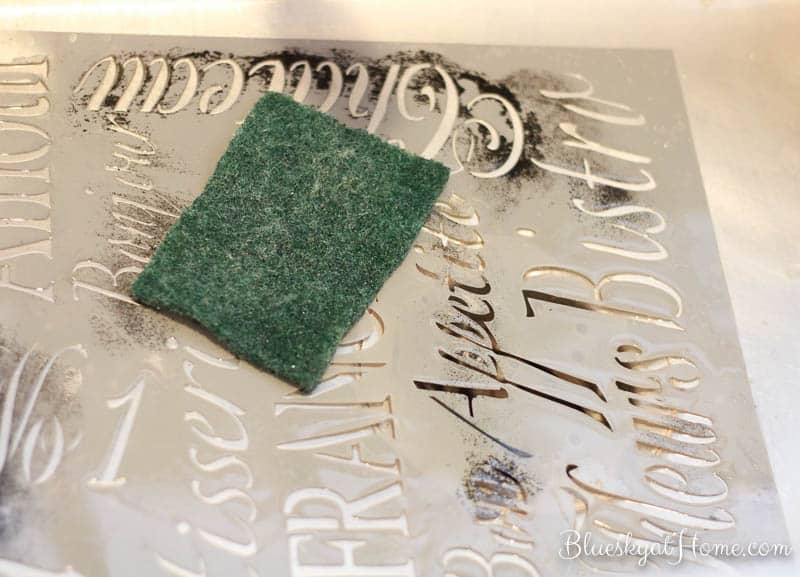
I like to wash off the paint from my stencils just to keep any painting from building up. I just put the stencil in the sink, run water over it, squirt a little Dawn over it and scrub off the paint with a scrub pad. It works great. Just let it dry and store it away.
Here are a couple of other stencil projects: DIY Fall Farmhouse Sign with a Cricut Stencil and a DIY Garden Stencil Sign.





Your new sign looks fabulous on your kitchen wall along with all the other items! It rounds it out perfectly! Get it? Rounds it out! Hehe! Just couldn’t resist!
Thank you so much, Jane. I appreciate your feedback. Great pun.
I love projects like this. It gives your home so much style and personality. The sign looks wonderful around the doorway.
Debra, thanks so much for your comment. The sign turned out better than I expected!
Such a great use of goodies that you already have and it looks so great in your beautiful home!
That sign is just darling and it’s the perfect touch on that wall full of fabulous decor! Enjoy your new view!
Carol that sign is so pretty. I have never seen a pouncer before but it looks like something that would make stenciling easier than a brush. Note to self to buy one.
This turned out great and looks so pretty in your kitchen, Carol! You are a wonderful DIY tutorial giver. 🙂
The wall is adorable. Your key clock is too cute. I love the sign. It is a perfect addition.
This came out great and looks perfect on your way with all of the other decor. What really caught my eye is the sign hanging on your door to your pantry – love that!! I made the mistake a few years ago in not cleaning off my favorite stencil – I had to buy a new one!! Ughhh, hate when that happens, when it takes only a few minutes to clean them!!
Squeeeee! I love this French sign so much!!
Happy Saturday!
Lisa
Carol,
What a great wall! I love all of your signs, chalkboards, clocks etc. I think that your stenciled sign is just perfect! So cute.