How to Decoupage Easter Eggs
With Easter coming up soon, do you need some quick Easter decor? One of my favorite DIY projects is decoupage. I can’t resist showing you how to decoupage Easter eggs for this spring season.
This isn’t my first decoupage rodeo. It’s not even my first time decoupaging Easter eggs. It’s a DIY project that can become addictive.
This Easter egg decoupage tutorial is an easy Easter craft that only takes a couple of hours to complete. The result is pretty eggs that you can display in several ways.

Why More Decoupaged Easter Eggs?
There are three reasons that I wanted to make more decoupaged Easter eggs.
- A couple of weeks ago, I bought a package of the cutest gingham paper napkins in blue. I was itching to use them.
- I found one opened and one unopened package of Easter eggs when I was filling my craft chest of drawers in the garage last week. I couldn’t let them go to waste another year.
- My latest DIY project needed another accessory option for the living room. Eggs in blue patterns would be perfect.
Did you see my last DIY project making a pedestal stand for displaying different accessories? One of the options was to use the decoupage Easter eggs from a few years ago.
Now I had a reason to make another simple DIY project with my new napkins and unused craft eggs.
Supplies for Making Decoupage Easter Eggs
This post contains affiliate links to products used to create this project. If you should order any item from this site, I may receive compensation, but you do not pay a penny more. Your purchase is greatly appreciated as it helps support the continued publication of this site.
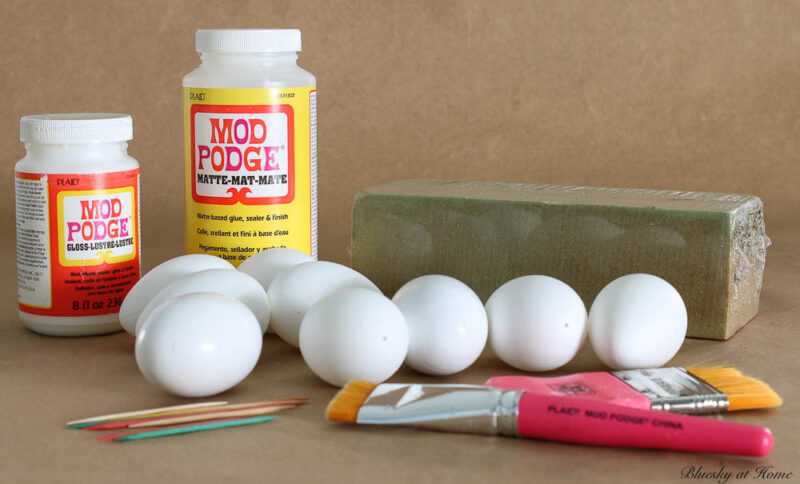
These DIY Easter eggs only require a few supplies. Fortunately, I had everything I needed.
- Craft paper or drop cloth to cover the work surface
- Wax paper to set your eggs on
- Eggs for crafting: these can be plastic eggs, styrofoam eggs or wood eggs. I had two of the three types.
- Mod Podge glue: I had both Gloss Mod Podge and Matte Mod Podge. I ended up using the matte.
- Container for your glue: I have a ton of plastic “nacho” containers, enough to last for a few decades.
- Paint brush: you can use a foam brush, but I prefer the Mod Podge brushes.
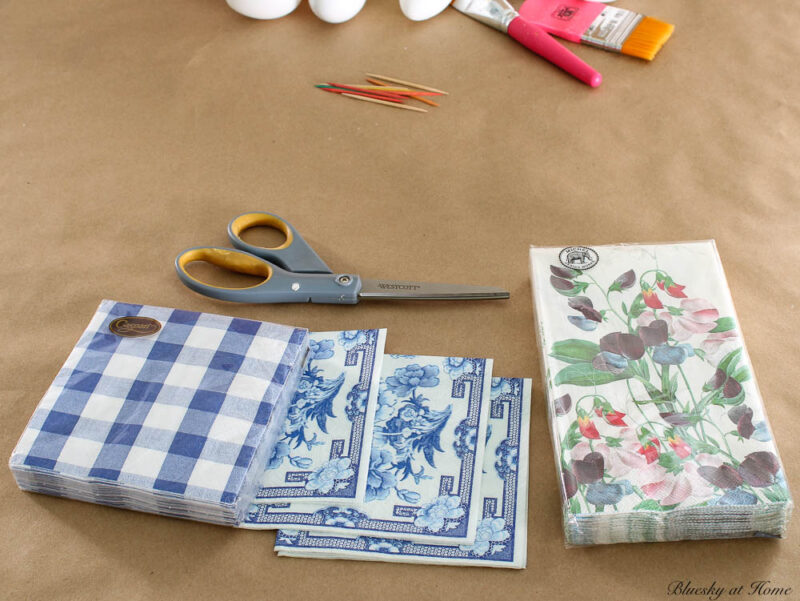
- Paper napkins of choice
- Scissors
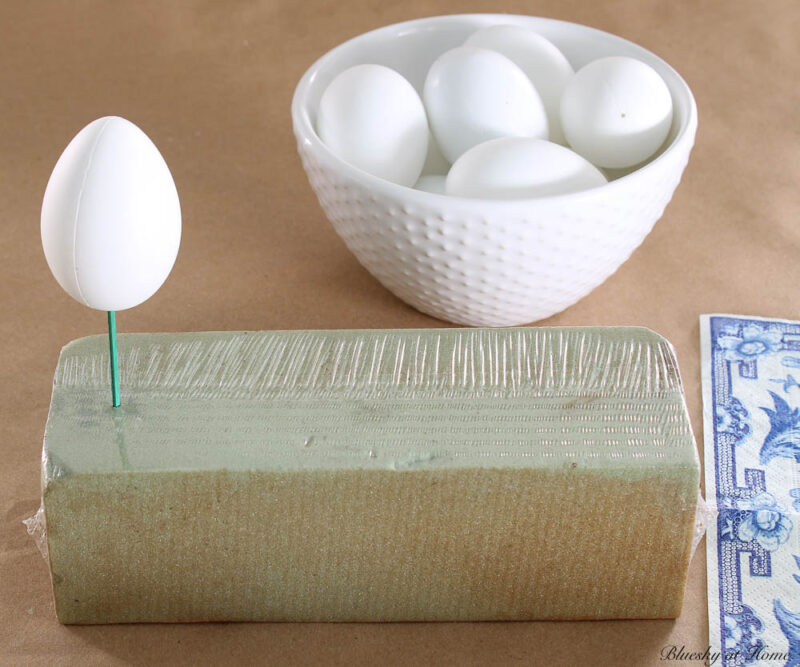
- Florist foam and toothpicks to hold eggs
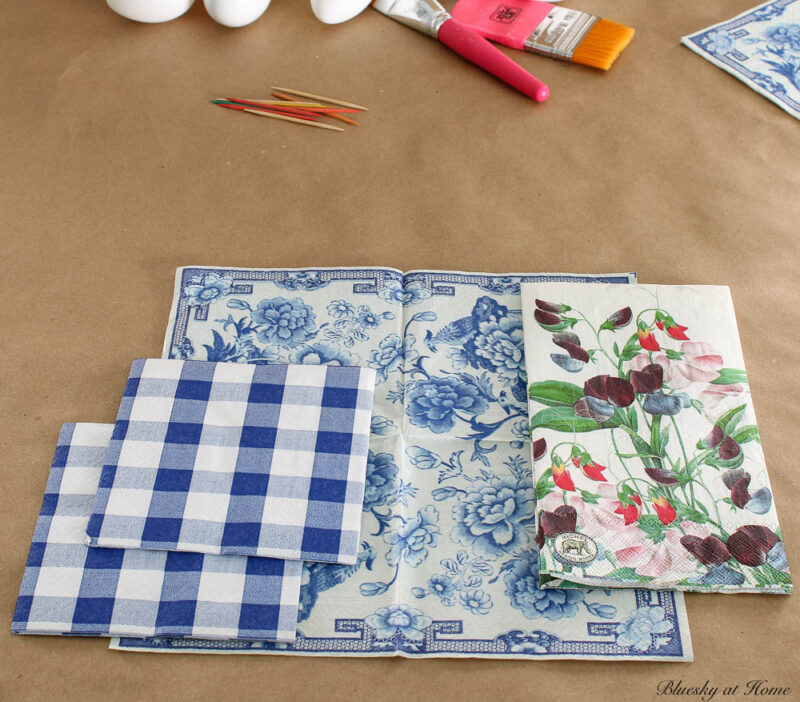
I had three pretty napkins in three styles:
- A blue floral napkin that I have used before.
- An unused package of guest towels with a multi-colored floral design.
- The new package of blue gingham napkins.
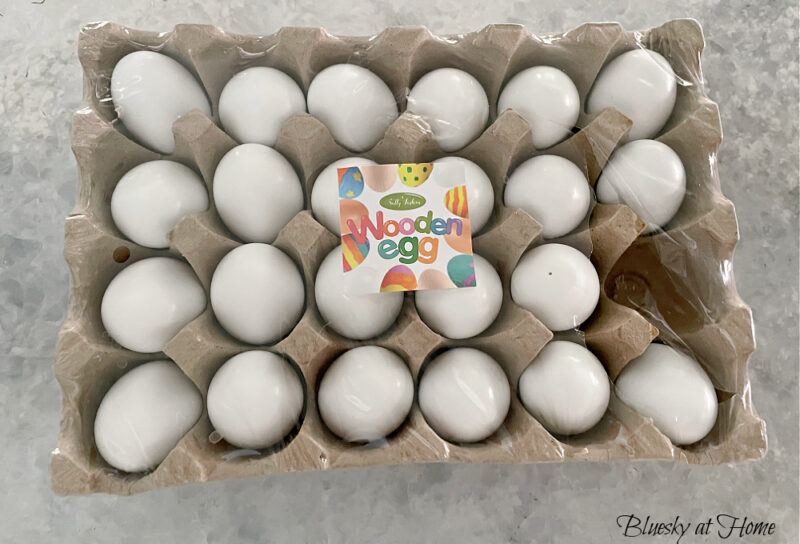
For the craft eggs, I had some leftover styrofoam eggs and a new package of white wooden eggs.
The other supplies I needed I normally have on hand.
Making the Decoupage Eggs
I had seven of the styrofoam eggs left over from last year. I opened the package of wooden eggs and took out two. They were smoother and heavier than the styrofoam eggs.
I thought three of each napkin would be good.
Because all my eggs were white, there was no need to paint them before beginning the decoupage project.
For the Floral Eggs
I’m starting with the blue floral napkins.
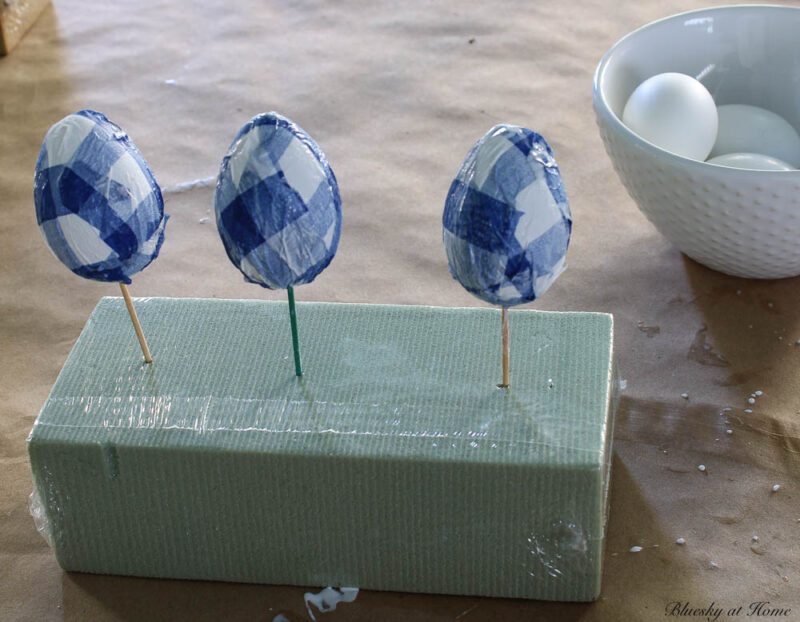
On your work area, place a piece of florist foam and some toothpicks. I had two nice size pieces of foam and one smaller piece.
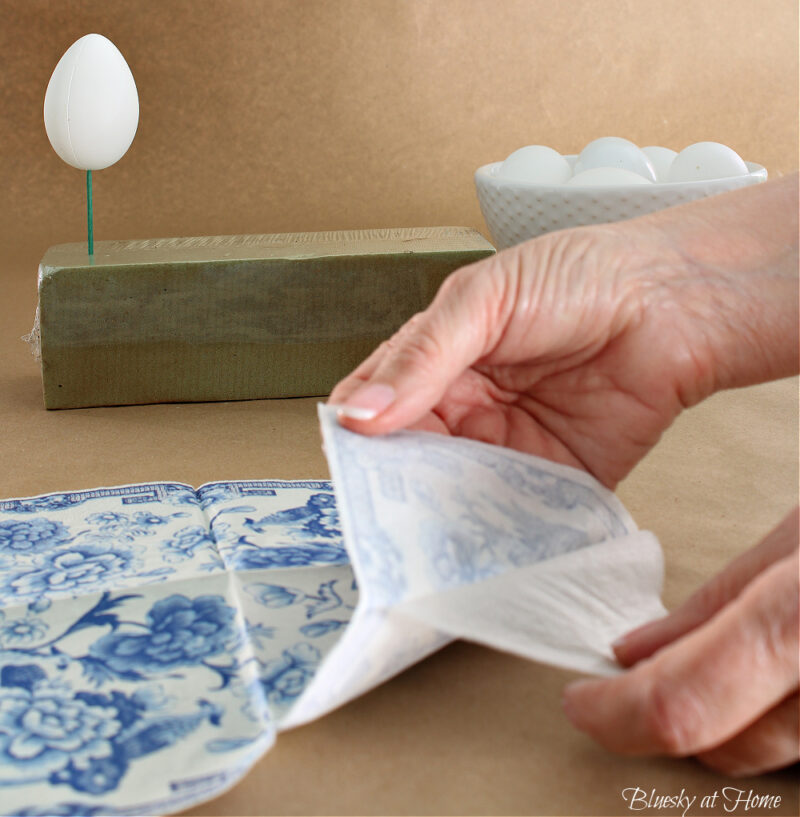
Step 1 – Separate the napkin layers. This can be tedious, but the easiest way I have found is to put your fingernail between the layers at a corner. Gently pull the back layer of the napkins apart from the top layer of the napkin. Discard the back all-white layers.
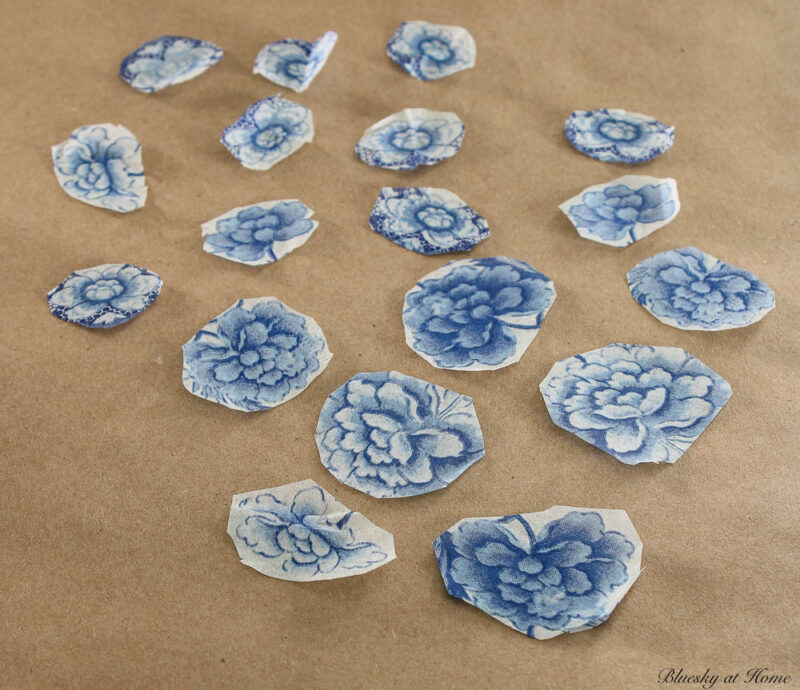
Step 2 – Cut or tear your napkin into large or small pieces for the design style you want. I cut out all the flowers from the napkin. That gave me 18 flowers, 6 for each egg.
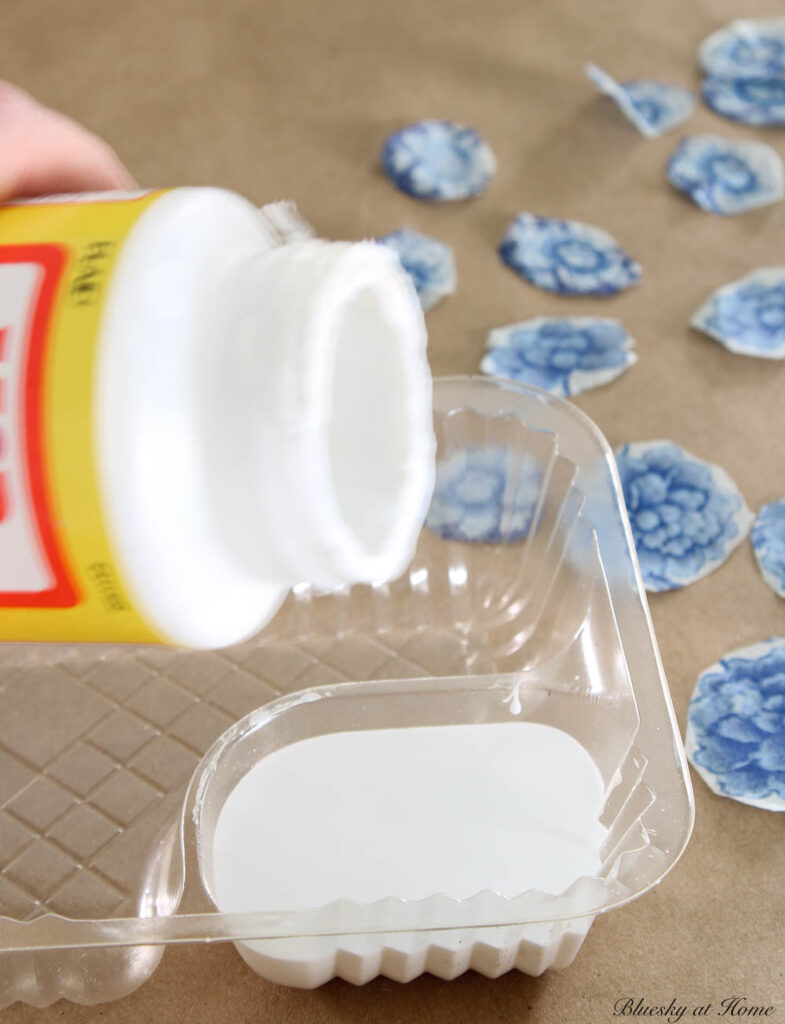
Step 3 – Pour a small amount of your decoupage glue into a container.
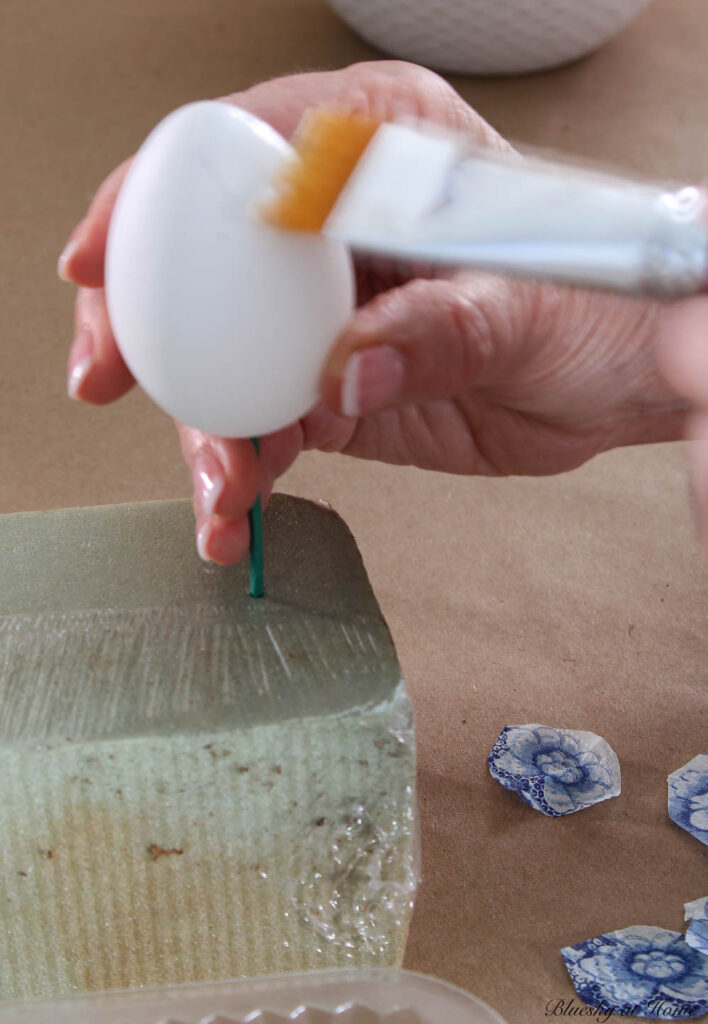
Step 4 – Push a toothpick into the small hole at the bottom of a styrofoam egg. Use the toothpick to support the egg.
Step 5 – Using your brush, paint a small area of Mod Podge on the egg, smoothing it out.
Step 6 – Use tweezers or small snips to pick up and place a piece of your napkin on the egg. Carefully use the tip of the snips to push the edges of the napkin piece onto the egg.
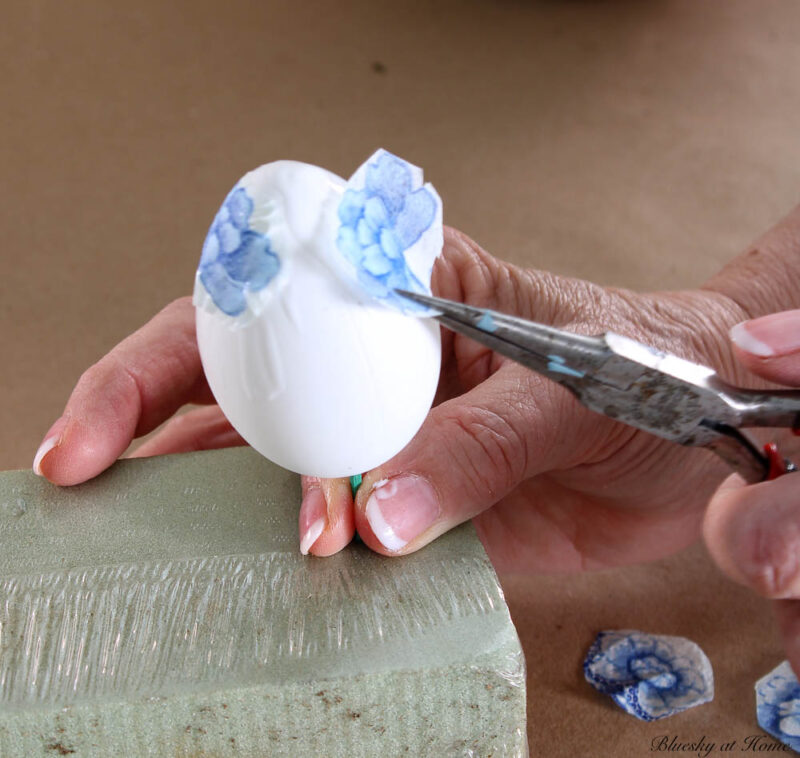
NOTE: This is a new step I’m trying and I really find it makes the work easier.
Step 7: Apply another coat of Mod Podge over the napkin pieces, smoothing it down to cover all the egg.

REPEAT these steps until you have covered the egg as much as you want. You can leave space around each napkin piece OR you can overlap the pieces of the napkins for total coverage.
Step 8 – Once the egg is finished, place the toothpick into the florist foam to dry.
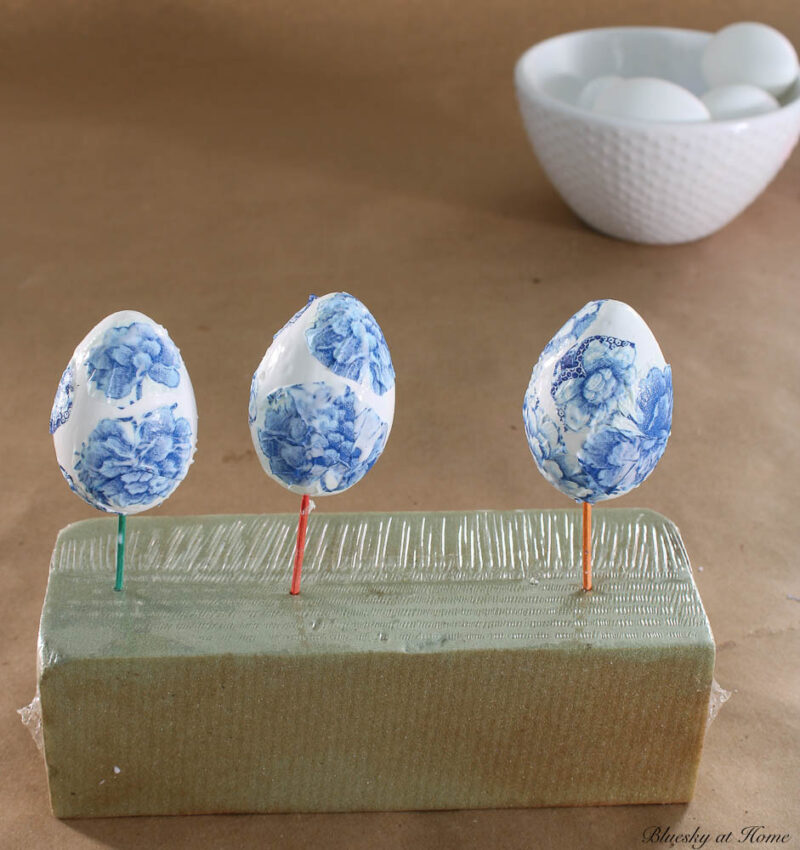
REPEAT these steps with all the eggs in your first napkin design.
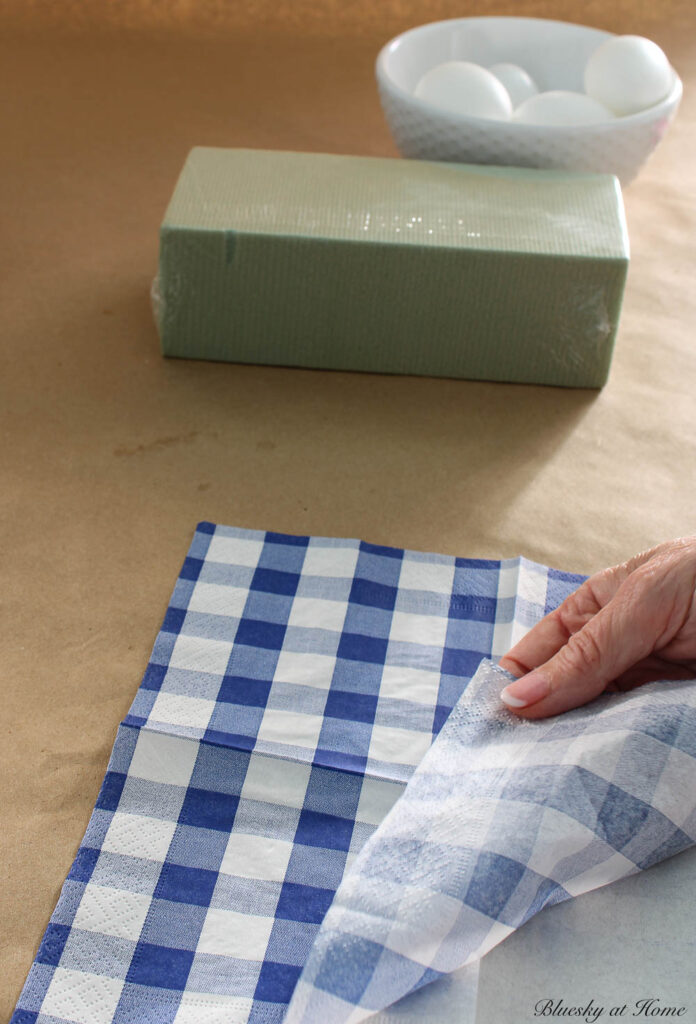
For the Gingham Eggs
For this next egg, I’ll use my gingham napkin.
Again, separate the design layer from the white layer.
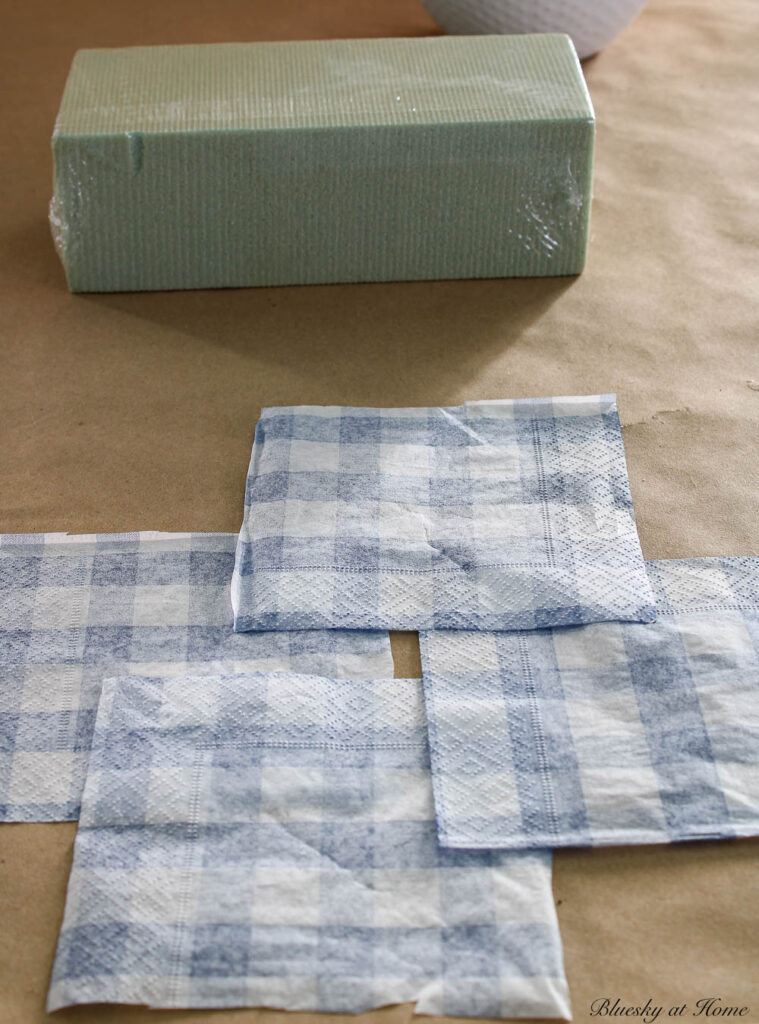
I cut the unfolded napkin into four pieces.
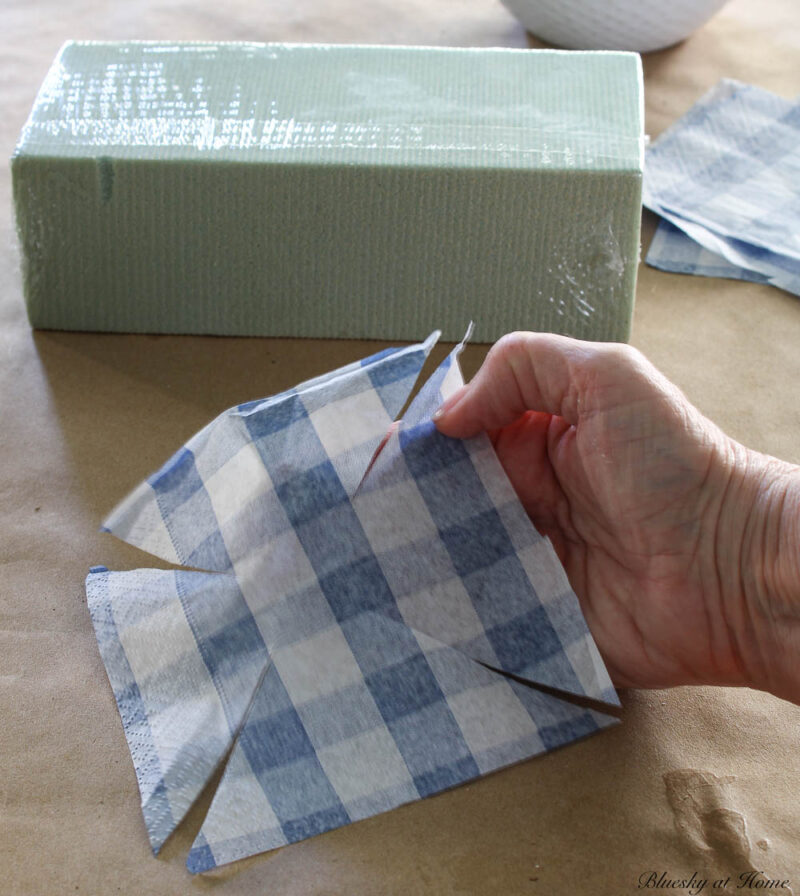
Since I wanted the gingham to cover the entire egg, I cut 4 diagonal slits in the first piece of napkin.
Again, push a toothpick into the hole at the bottom of the egg to hold it.
Then, I painted the top of the egg with Mod Podge. Next, I placed the napkin on the top side of the egg and smoothed it down around the egg.
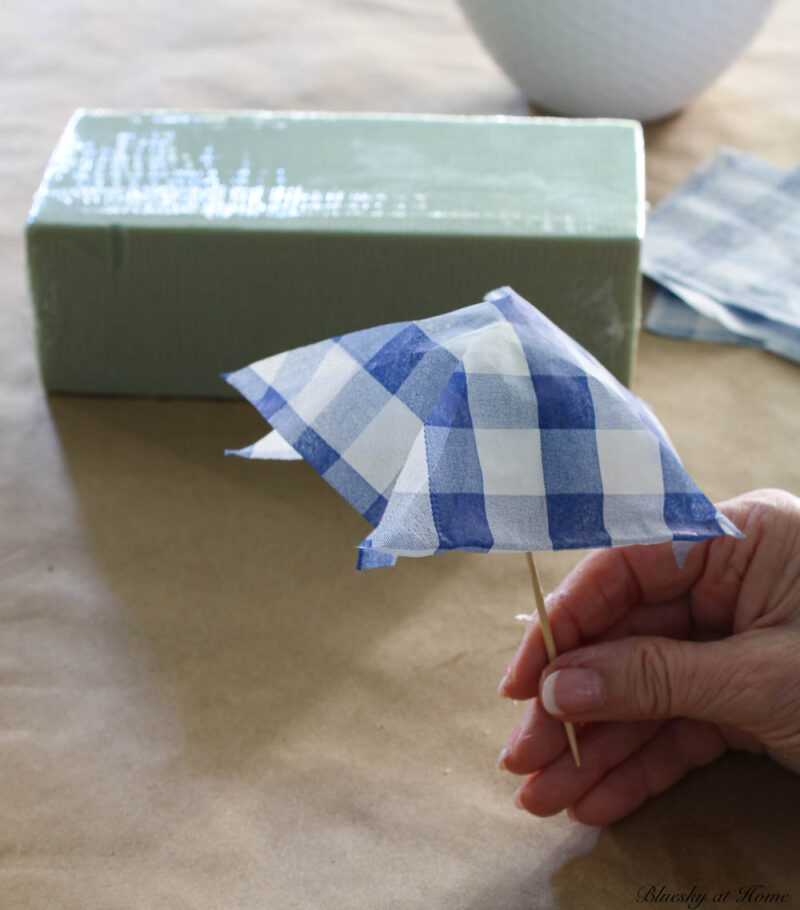
I was easily able to cut away overlapping pieces of the napkin to cover the egg as much as possible.
For the bottom part of the egg, I applied Mod Podge and placed small pieces of the cut-off napkin to cover that area of the egg.
Cover the outside of the egg with a layer of Mod Podge, smoothing the napkin down as you go around the egg.
Place the toothpick in the florist foam to allow the eggs to dry completely.
Multi-Colored Floral Napkin
For my third egg, I used one of the floral paper hand towels.
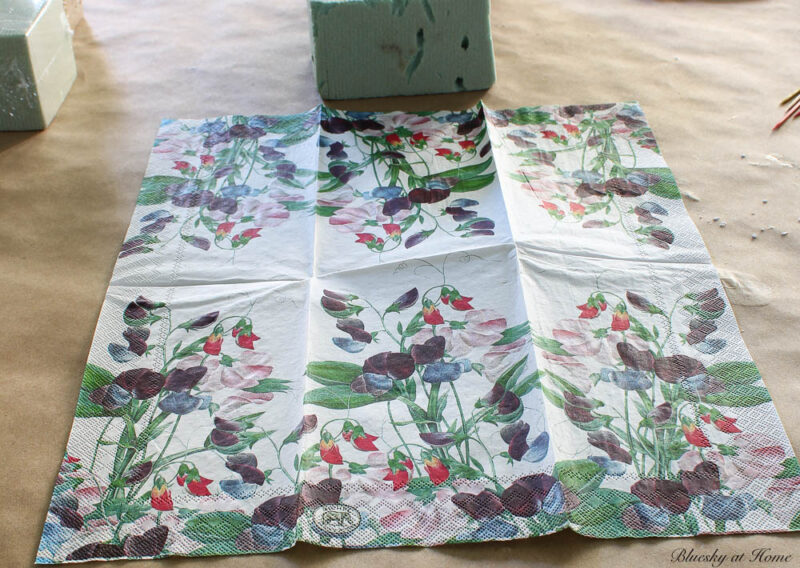
For this napkin, I cut the napkin in half (I was sure that’s all I would need.) and then separated the layers.
This time, I cut the napkin into larger pieces to cover the entire surface of the eggs.
Just follow the steps as in the first egg.
The difference with this egg is I used two of the wood eggs. They don’t have a hole to put the toothpick in the bottom. You have to carefully hold the egg as you cover it with Mod Podge. Your fingers may get a little stuck to the napkin.
TIP: To hold the egg, dip your index finger and thumb in a little vaseline to keep it from sticking to the egg.
The last step is to allow your eggs to dry for at least one hour or overnight to make sure they are completely dry.

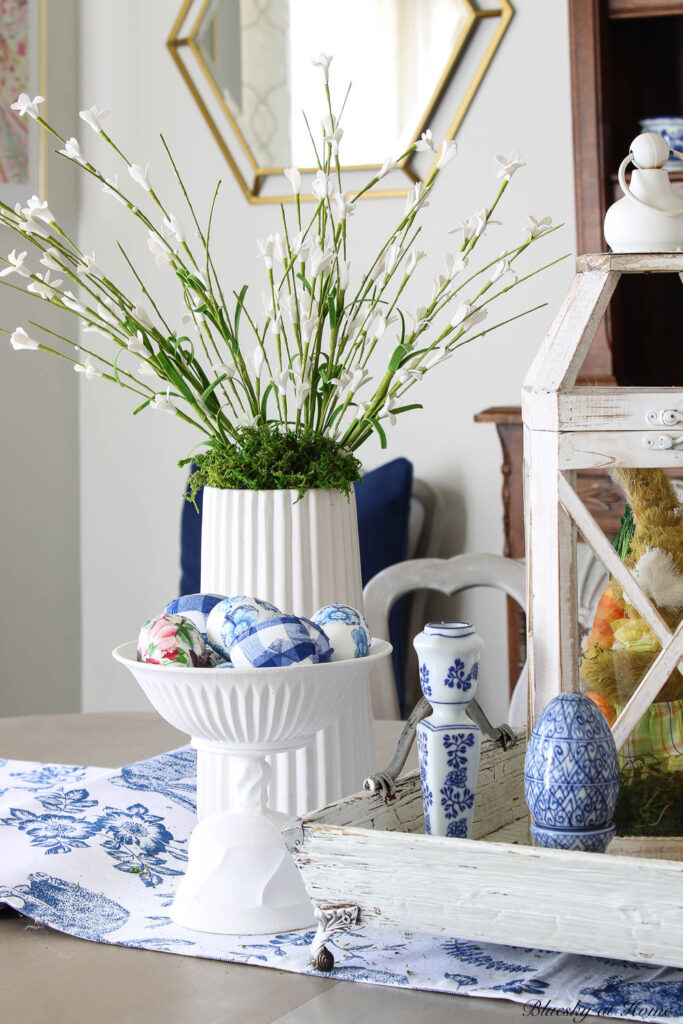
Displaying Your Decoupage Easter Eggs
Finally, I had a specific place to display my beautiful Easter eggs. I recently shared my project using painted recycled glass to make a pedestal dish.
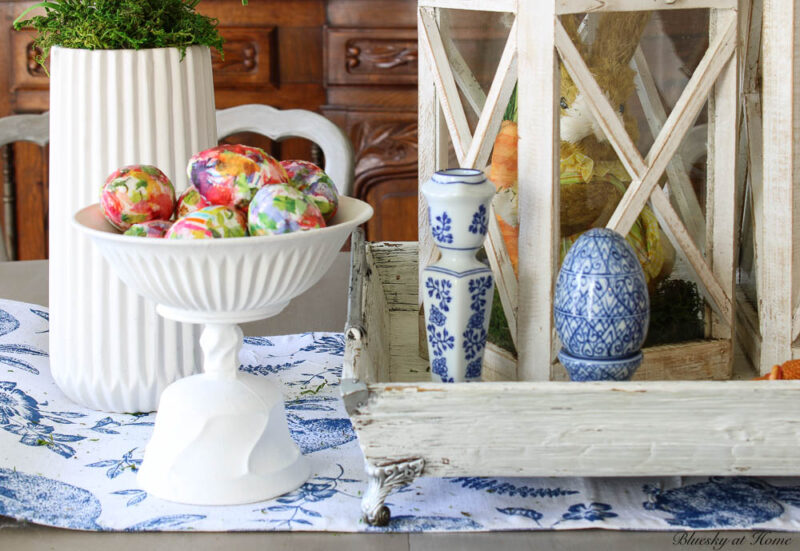
First I tried the blue and white decoupage Easter eggs on the dining room table. I loved how the blue and white eggs continued the theme of the blue ceramic egg and candlestick.
But I had other plans for my new decoupaged Easter eggs.
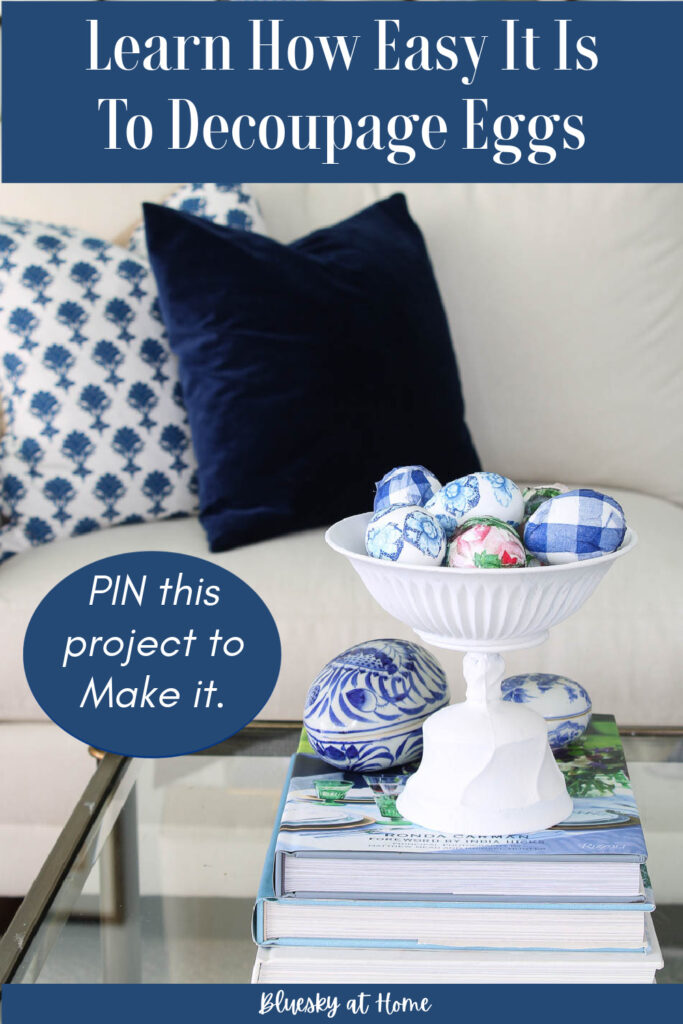
I wanted to use the white-painted glass dish in the living room with my new blue-theme eggs.
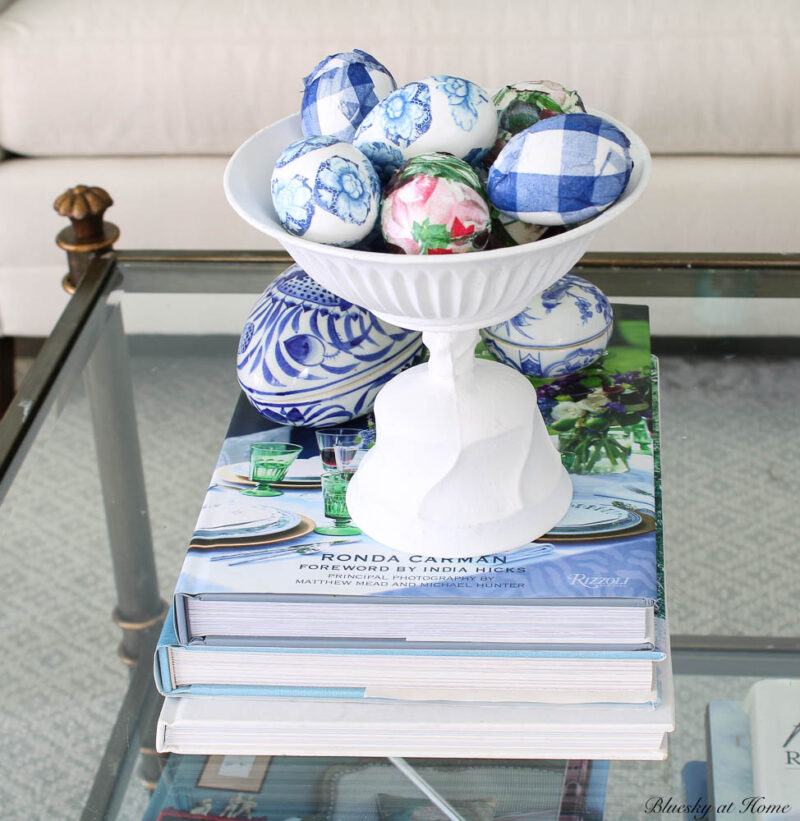
I loved how the blue eggs complemented the blues in my new living room pillows.
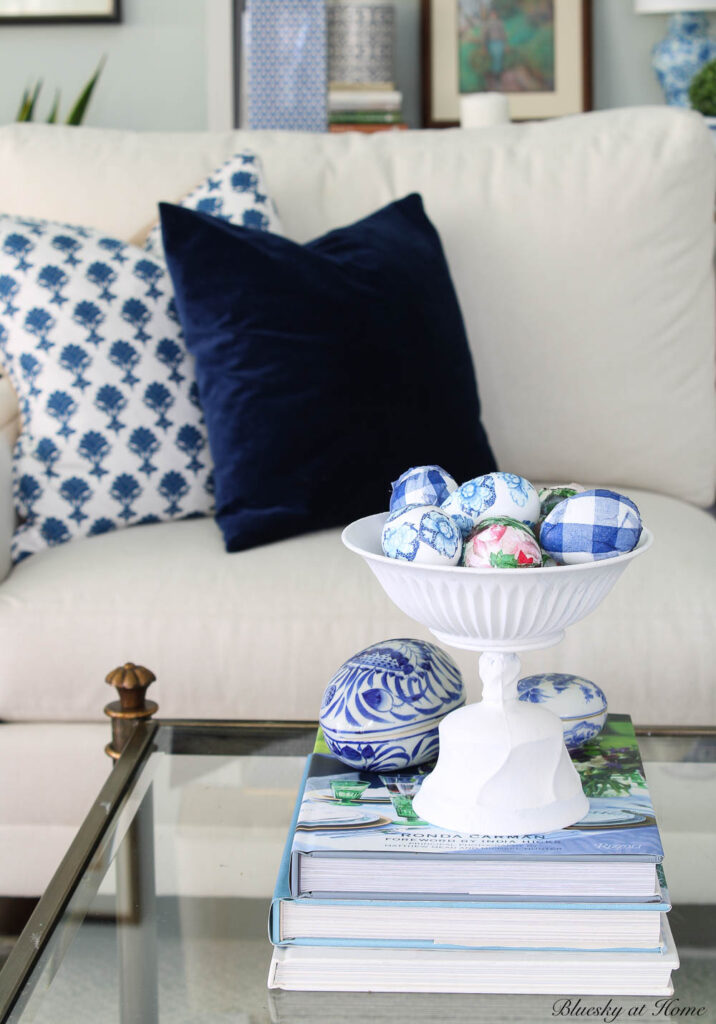
Can you see my latest piece of chinoiserie? It’s the blue and while egg I found at the antique mall.
The different patterns of the blue and white eggs in the white dish on our coffee table give a fresh, classic look.
I love combining two individual craft projects into one great home decor accessory.
Like this recent project transforming a terra cotta pot into chinoiserie planter and making a topiary from scratch.
To use my white-painted glass dish in both the dining room and the living room, I’m going to have to make another trip to the thrift store for more glass pieces.
If you have never decoupaged before, I hope you will try this fun craft project. If you have decoupaged before, then I hope you’ll make a DIY glass-painted dish to hold your decoupaged egg.
Want some more decoupage projects to try? Here’s some inspiration:
- How to Make a Chinoiserie Style Lamp – this lamp project is still one of my favorites. It sits on our bookcase in the living room.
- I use these 3 styles of Decoupaged Terra Cotta Pots every spring.
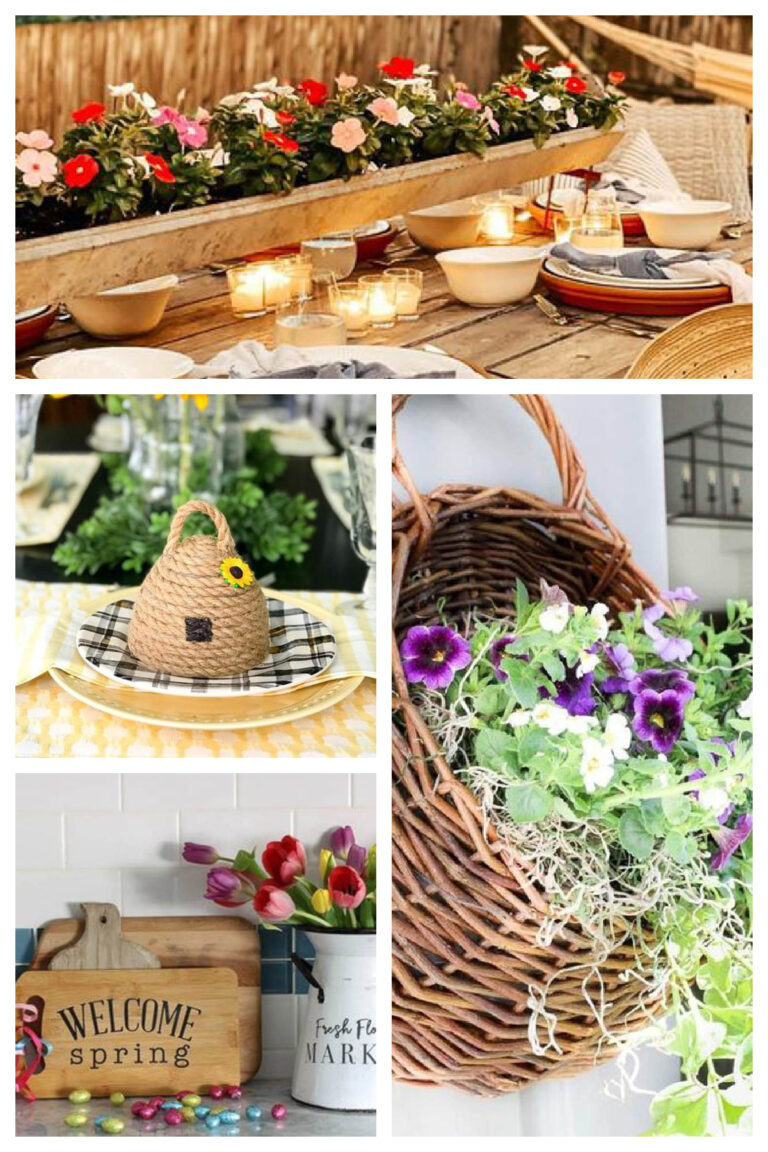
- Grab this collection of 5 Spring and Easter DIY Decoupage Projects and you’ll be all set for decorating your home for the season.
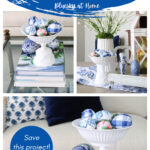
Please PIN this project to make it now or later. Check out my Pinterest Board, Decoupage Ideas. And enjoy decoupaging.


I finally found some Easter napkins in blue and white with flowers and bunnies at Home Goods and have even cut the pieces up. NOW to get them done before Easter! I have some scrapbooking scissors with a very irregular deckle edge that I use rather than ripping them–invariably in the wrong place! Being a cheapo–no, frugal– I stick the unused layers of napkins in my napkin holder and use ’em up!
Good for you, Kathie/ I’m sure that will b e beautiful.
The blue and white eggs are gorgeous Carol! I’m excited to tell you this post will be featured in this week’s Tuesday Turn About Link Party! Thanks for sharing your creativity and we hope to see you at the party this week! Pinned!
These are gorgeous! And because I have several kinds I’ve decoupaged over the years, I love that they last. Featuring when my link party opens!