How to Repurpose a Vintage Stool
This is a little engine that could story. A long time ago I bought Sweet Shark the sweetest little stool at an antique mall. He wanted something to sit on in our closet to put on his shoes and socks. He wasn’t particular, but I was. I wanted something with character and age and charm. When I found the stool, he loved it and he used it for 15 years ~ until he couldn’t anymore. That sweet little vintage stool lost its mojo and couldn’t hold its end of the bargain. Or rather it couldn’t hold up Sweet Shark any more. (FYI, that man has hardly gained an ounce in the 22 years I’ve known him so that wasn’t the issue.) It almost got set aside for a new model. But this little vintage stool didn’t want to call it quits. So here’s the story of how to repurpose a vintage stool and take it from wobbly to wow.
Have you had that piece of furniture in you home that has a history and had a purpose, but now it just doesn’t work right anymore? You hate to let it go, but you need something that performs its intended purpose. This isn’t about painting or updating. It’s about function. It’s about finding something that works. That was our dilemma ~ finding a stool that worked for putting on shoes and socks. Sounds simple, right? But it wasn’t. It took awhile for us to realize that our perfect stool was right under our noses and we finally decided how to repurpose a vintage stool.
I’ve shown you some other repurposing projects we have done: our dining room table, our living room bookcase, and even patio furniture. Those repurpose projects were for items that I had recently found at flea markets or thrift stores. The difference with this repurposing project is that this was a piece that we had owned for a long time and really loved ~ or at least Sweet Shark does.
How to Repurpose a Vintage Stool from Wobbly to Wow
So here’s the story of our vintage stool. It’s wood with barley twist legs in a medium dark stain. The seat was woven with heavy cording. I’m guessing that it was made in the 1930’s ~ 1940’s. When I bought it, it was sturdy and solid. A few years ago Sweet Shark mentioned that it was starting to feel a little wobbly, but still used it, sitting gingerly on it. Finally, about 18 months ago, it had become so wobbly and loose that he felt uncomfortable sitting on it. It literally was as loose as a swing. We set it aside in the closet and started thinking about a replacement.
After we finished our laundry room makeover last summer, we had so much wood left over, I suggested using it to make a stool ~ more like an ottoman ~ from the leftover 3/4 inch plywood. I had the idea of making a 5~sided cube and covering with batting and fabric. Sweet Shark was fine with that idea. But months passed and we never got around to cutting the word.
Searching for Options to Replace the Vintage Stool
Before Christmas, we started looking at catalogues for a stool. I looked in every catalogue we received; I searched online. Here’s some I found.
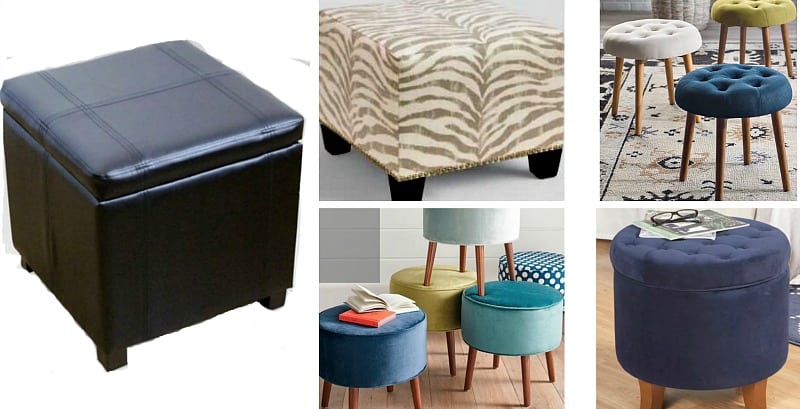
You would think this would be an easy task. But it wasn’t. It was like Goldilocks and the three bears. Some were too big for the space in the closet; some were too high to sit on comfortably. Others didn’t seem sturdy enough ~ a big consideration when you’ve had back surgery. Sweet Shark decided a cube was not a good option ~ he would have to bend over to pick it up which is not good for his back. And some were just too darn expensive.
Finally, a couple of weeks ago, he said again (like for the 1, oooth time) that the old stool was still the perfect stool ~ if it were just sturdy again and the seat wasn’t sagging. We both loved the look of the old stool. So what to do?
The Solution to the Stool Dilemma
Why can’t we just fix the vintage stool? Remove the old sagging webbing seat and replace it will a solid fabric seat?
I have a furniture refinisher/repairman who has fixed so many pieces for us in the past: all of our dining room chairs that were coming loose (One of the chairs literally came apart at a dinner party as a friend sat on it. It was really funny and fortunately we all had a good laugh.), a pine breakfast room table that he made into a sofa table for me, a vintage table with a slanted top (a lady’s desk) that I always wanted to have a flat top, to name a few. I called him told him what I needed fixed and the next day he came over and picked up the stool. I took a picture of the stool ~ my before ~ and after I uploaded all my pictures for this post, I couldn’t find that one picture. And then I accidentally deleted it from my camera. But here is what the stool looked like when Jose brought it back.
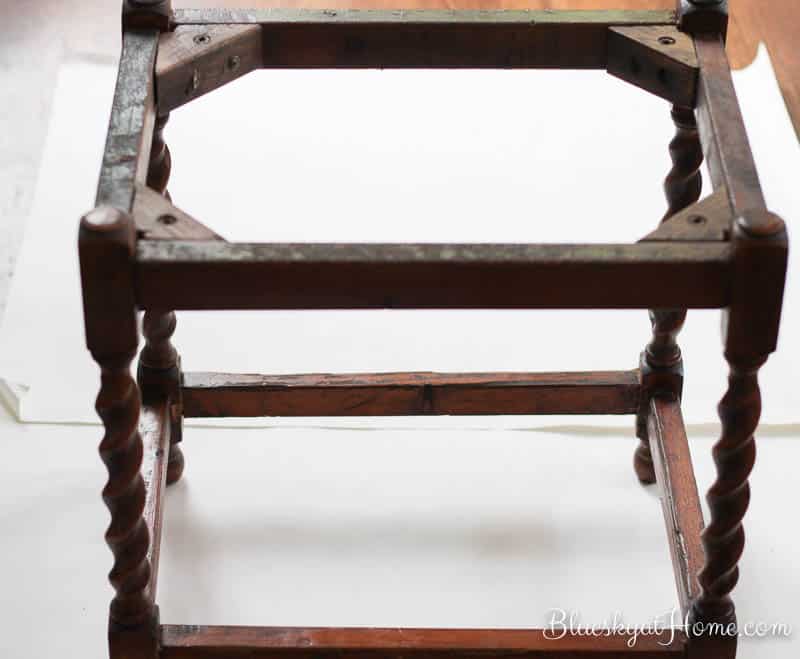
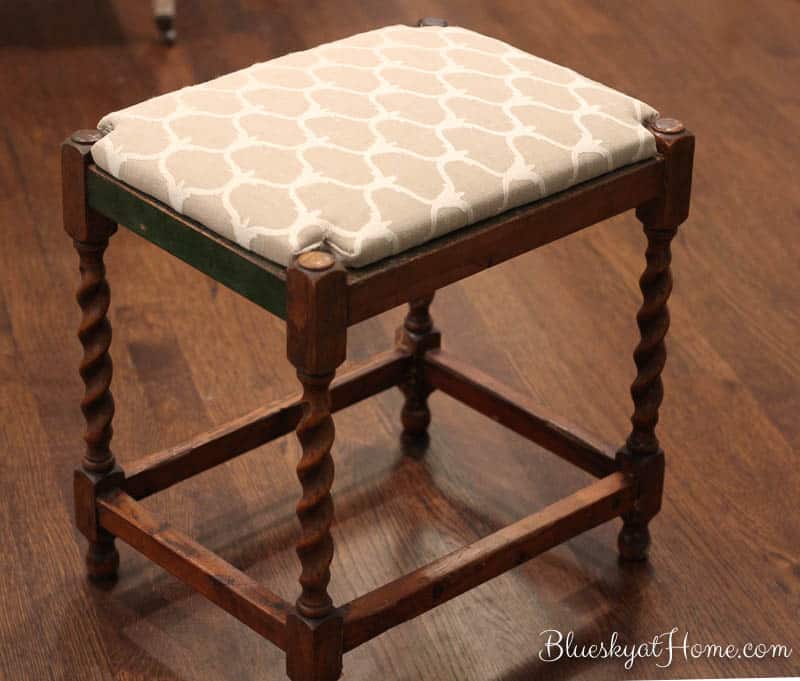
You can’t tell, but it is now perfectly sturdy with no webbing. He added corner pieces to make it structurally sound. He also stained the top side pieces ~ where the webbing wrapped around ~ to match the rest of stool.
The Seat for the Vintage Stool
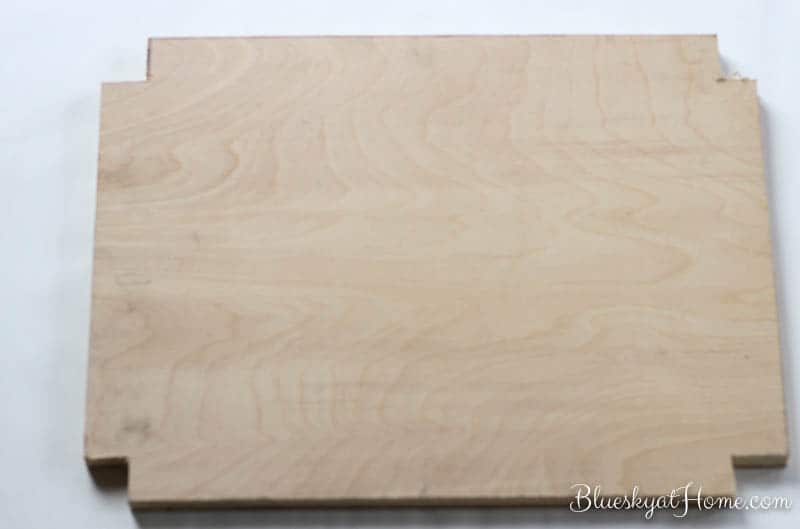
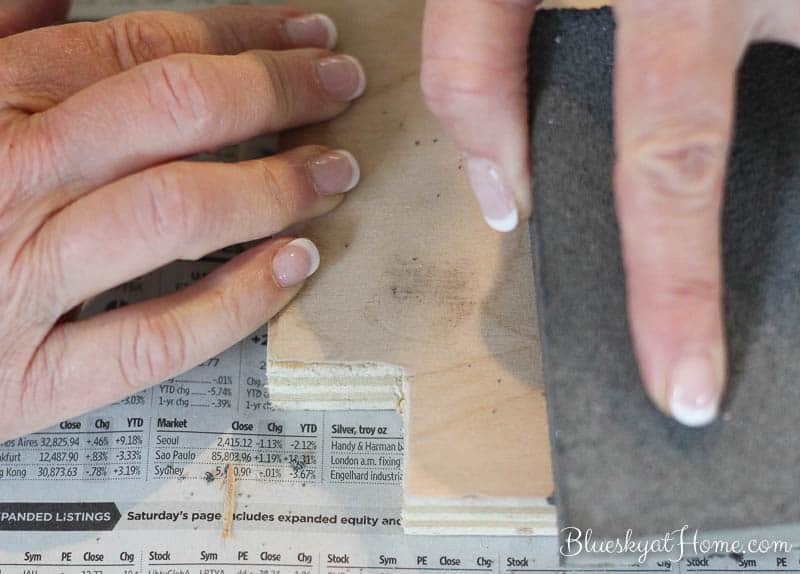
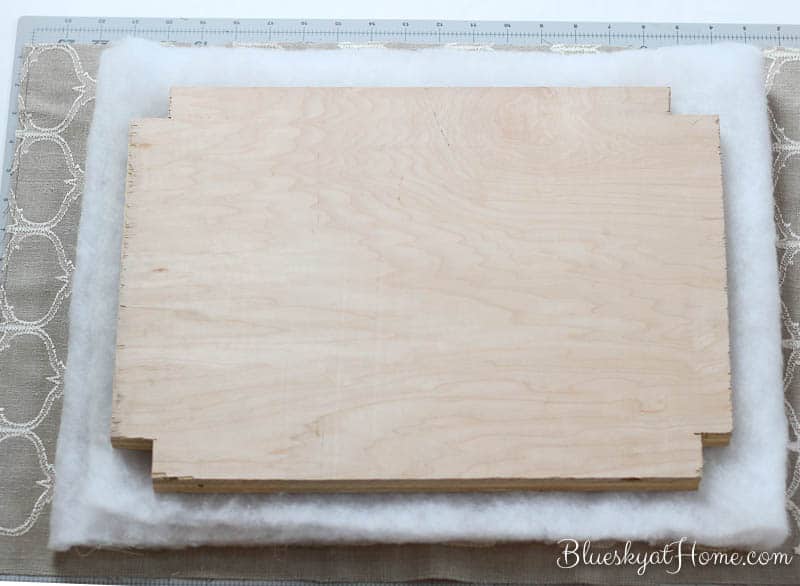
Now it was up to sweet Shark and me to finish the seat. First, we cut a piece of wood from our leftover stash to fit in the top of the stool. It was 12 1/2 inches X 17 1/2 inches. We notched out corners to fit around the top of the legs.
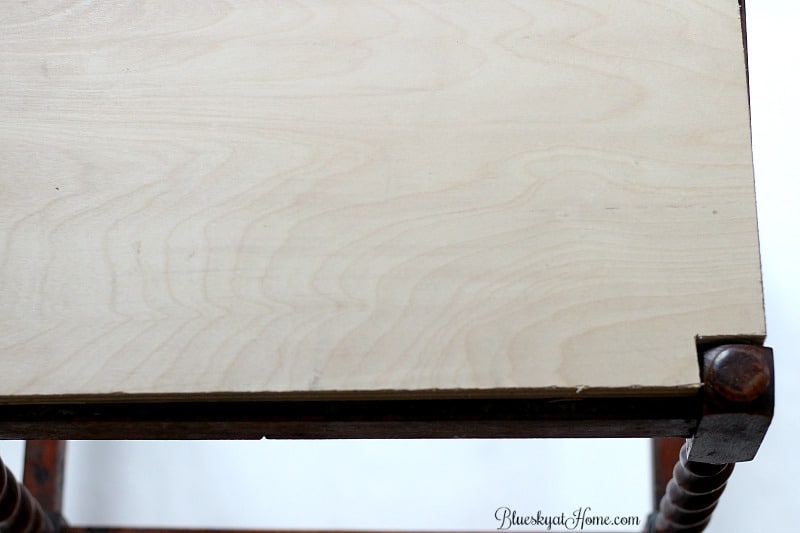
I sanded the rough edges of the seat.
I had several pieces of fabric on hand that I thought would be good choices and let Sweet Shark pick the one he wanted. After all, this is his stool.
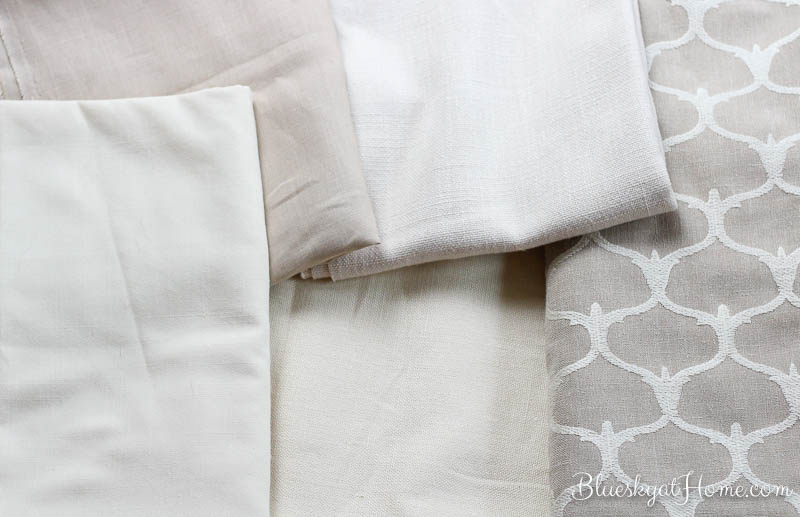
Here’s the one he picked. I think he made a good choice. This was regularly $80/yard fabric that I found on the remnant table at one of my favorite fabric sources in town. All remnants are $5.oo a yard so if I see something I really like I grab it.
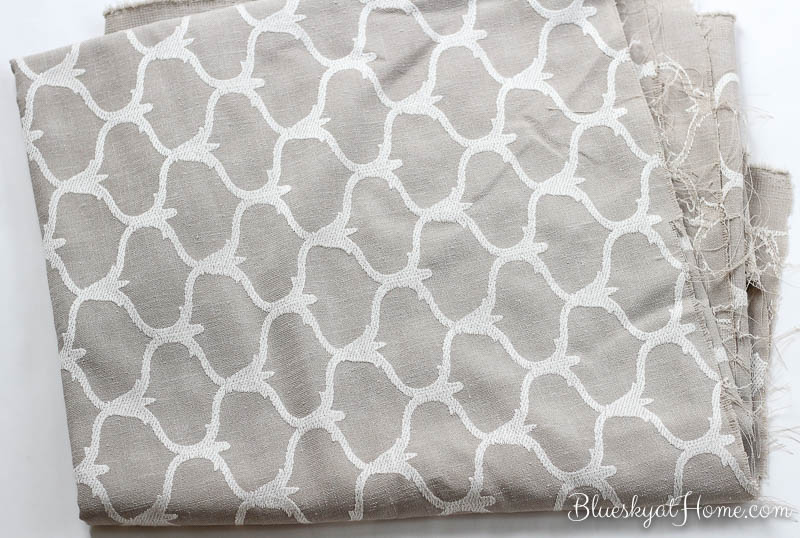
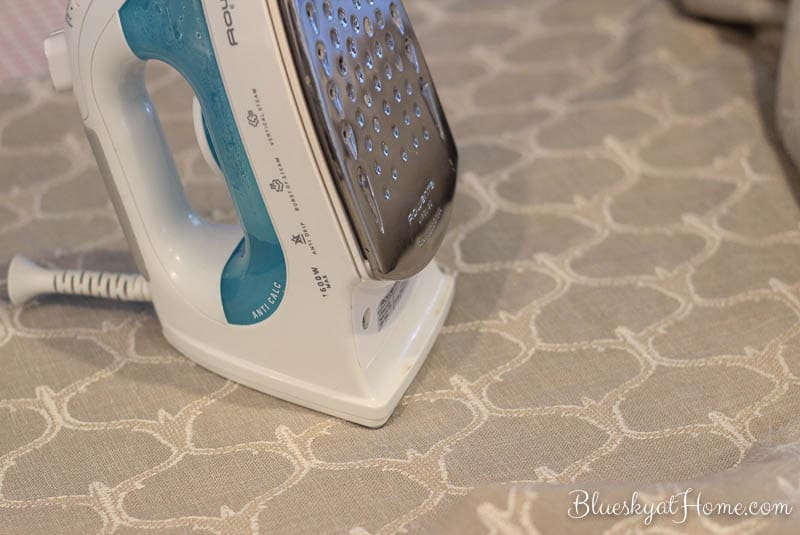
Next, I ironed a section and then measured the size I needed for the seat. I added 5 inches to the length and width.
Then I cut 3 layers of batting to fit over the top a down the sides of the wood seat. It needed to be comfortable to sit on. Now we were ready to attach the batting and the fabric to the wood seat.
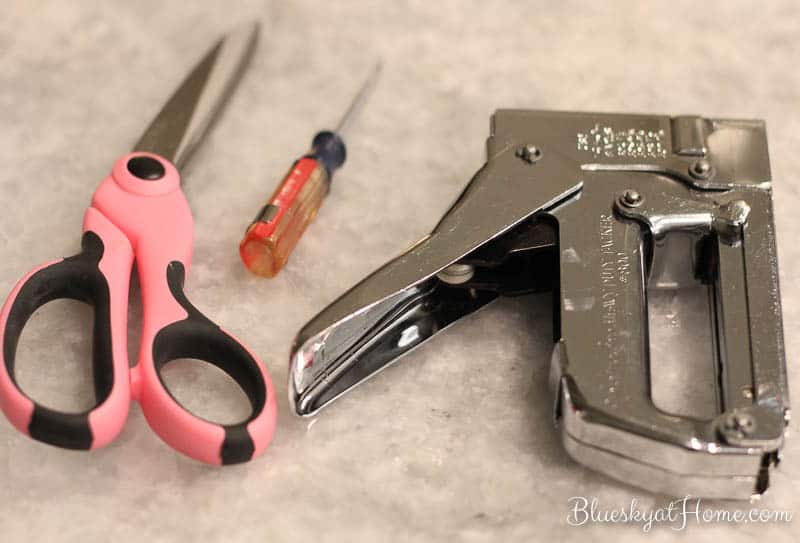
You will need a heavy duty staple gun for this job. It’s also good to have pliers or a screwdriver in case you have to pull out staples and redo them. Sweet Shark also used a hammer to hammer in staples that didn’t go in flat.
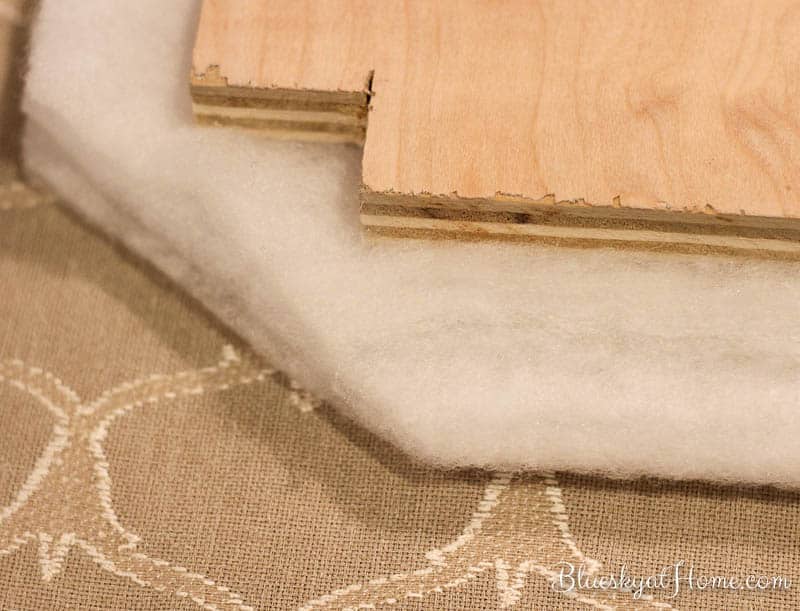
I actually trimmed off some of the batting before we started. And I cut the batting at the corners on the diagonal to remove the excess.
Then I turned under the fabric as we started to staple. We started in the center of one long side and then did the other side, pulling the fabric a bit to make sure it was tight. Next we did the same with the short side. We continued stapling in both directions until we were almost to the corners.
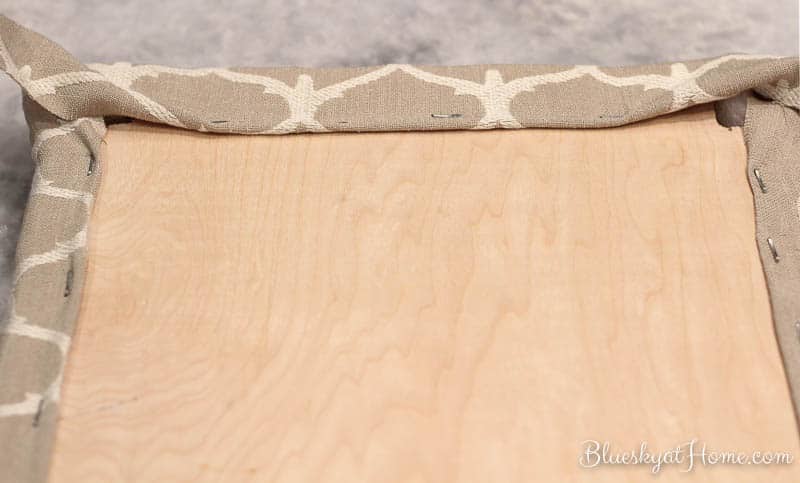
I have to admit that figuring out the notched corners was a bit of a challenge. We basically cut, stretched and stapled until the corners were finished with a right angle. I cut away excess fabric as needed. I’m sure a professional upholsterer would know the correct way to finish the corners, but as long as the corner had a clean look from the top, we were happy with the result. It wasn’t necessary to attach the seat to the stool as it is firmly wedged in between the 4 corners.
Our Vintage Stool Reveal
Here’s how our vintage stool looks now.
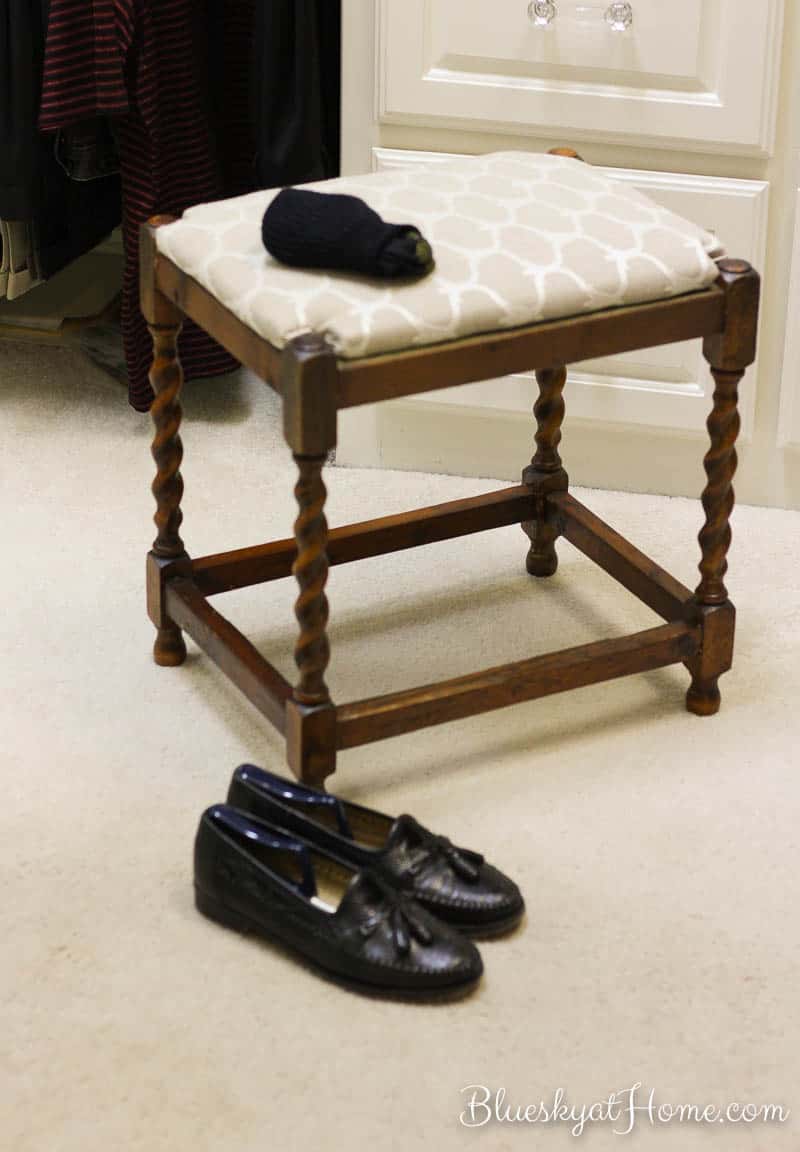
And here it is in the closet ~ ready for Sweet Shark to put on his shoes and socks. He had to try it out and declared it perfect. I’m so happy that we didn’t buy something new. Since our only expense was labor to have the stool repaired (under $100.00) we didn’t spend nearly as much as a new one would cost. And we have the satisfaction of repurposing a favorite piece that met all Sweet Shark’s needs ~ right size, right height, lightweight and now prettier than it was before. I do think that I’m going to make some cording to go around the edges of the seat for a more finished look.
I hope that by showing you how to repurpose a vintage stool, that you’ll be inspired to consider repurposing any pieces that you have or one that you find at a flea market, garage sale or antique mall. I honestly don’t remember how much I originally paid for this piece, but it wasn’t much. We have certainly got our money’s worth. If we are lucky, this vintage stool is sturdier than it originally was and will give sweet Shark many more years. of service.
Now don’t forget to sign up for my February Giveaway. Click on the image to enter.
Have a great weekend.
Link Parties February 17 ~ February 22
Friday
Saturday
Sunday
Monday
Tuesday
Wednesday
Thursday




I love that you were able to save this gorgeous stool! Those barley twist legs are fabulous and did I spy a little green pain in one area? LOVE!
Way to go!
Thanks Holly, it is such a sweet piece and it almost got put away. I don’t know about the green paint. I’ll go look. It was stained when I bought it probably 15 ~ 18 years ago.
Since I have loved furniture with barley twist legs for so long, your stool really appealed to me right away. Can see it was well built to start with. Your overhaul of stool sure made it much handsomer and so useful. Glad you gave stool a second chance. The fabric sure looks pretty also.
JaneEllen, thanks so much for visiting an your feedback. It is a sweet little stool and Sweet Shark is very happy to have it back.
Great vintage stool that is quite charming. Love the update in fabric and such a great price! Glad your husband has his good stool back in working condition.