3 Easy DIY Valentine Decorations under $10
Can you make 3 easy DIY Valentine decorations all for under $10? All from the same supplies? Yes, you can.
Earlier this week I shared how to host Valentine’s brunch for your girlfriends. It was such fun treating some special friends to some girl time. But I also had fun before the party ever started by making 3 easy DIY Valentine decorations.
Can you inherit the DIY gene? My mom was an original when it came to DIY projects ~ before they were called DIY. She was the queen of decoupage, making purses from wooden boxes and covering them with decorative paper and attaching leather handles. And this was before we had Joann or other craft stores.
Once we were at the store and a lady asked my mom if she would sell her the purse my mom was carrying. At first my mom was a bit flustered. She mentioned a price, the lady agreed, and I watched my mom dump everything out of her purse into a grocery bag. As a 13 or 14 year~old, I was so embarrassed. But my mom was so excited and took it as a real compliment.
She just went home and kept on making purses. She made these intricate shadow boxes and needlepoint pillows and made doll clothes for my dolls. I didn’t realize it at the time, but she was one of the most talented people I’ve ever known. (She also had a green thumb and was a fabulous cook.)
I don’t know exactly when I got the DIY bug, but I’m going to thank my mom for passing on a small number of her considerable talents ~ I bet she would have been a fabulous blogger, too and I know she would have enjoyed making these 3 easy DIY Valentine decorations.
For this Valentine Brunch for a few girlfriends, I wanted to create a few festive decorations to celebrate the occasion. These 3 easy DIY Valentine decorations were actually created out of the same supplies. The last one was a last-minute, spur of the moment bonus.
3 Easy DIY Valentine Decorations under $10
Let’s get started on these Valentine’s Day decorations.
Valentine’s Garland
I’d seen some cute Valentine’s garland for the mantel or wherever you want to add some heart decor. I had even ordered a strand already, but the hearts were really small. While shopping at Sample House, a local store, I found some gold tags that I thought would be the basis for a garland. I made these projects before I had started using my Cricut machine, so this garland was made the old~fashioned way ~ with scissors!
For the first of my easy DIY Valentine decorations, I pulled out some supplies that I already had: a sheet of pink polka dot scrapbook paper ( I am a sucker for pretty paper and pretty fabric.), a sheet of gold glitter sticker paper, a roll of Cricut vinyl (on sale) for when the day comes that I unpack my Cricut, and a roll of pretty pink ribbon, and my medium~size heart punch (I’ve become obsessed with punches and I buy ones I like when they are on sale).
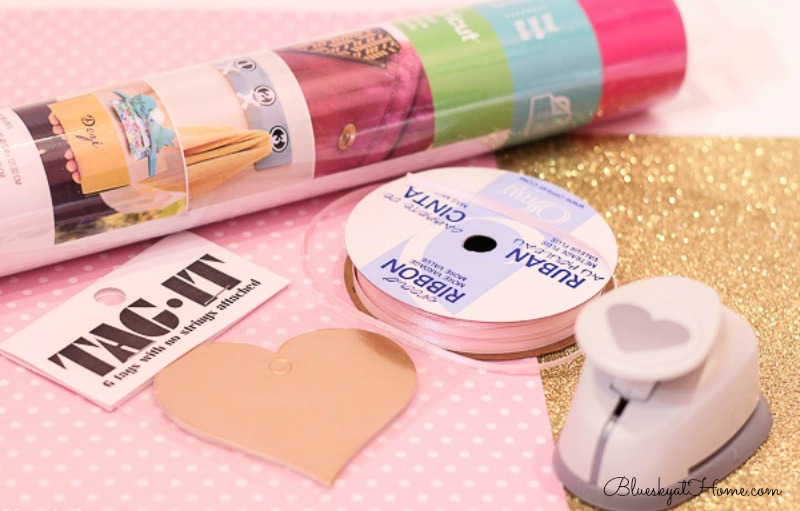
Step 1 ~ Using the gold heart tag as a template, I cut out pink polka~dot hearts.

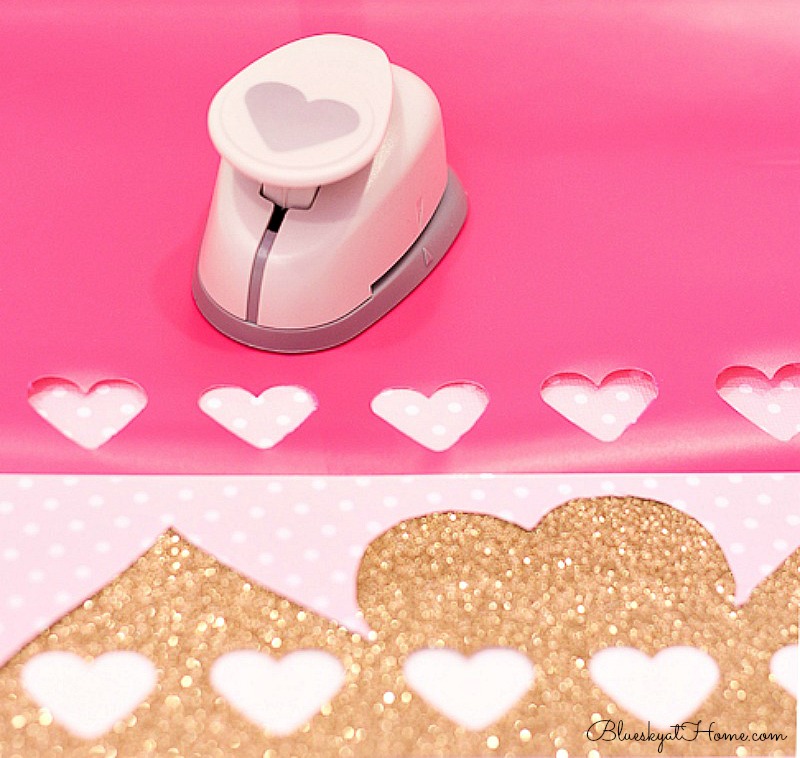
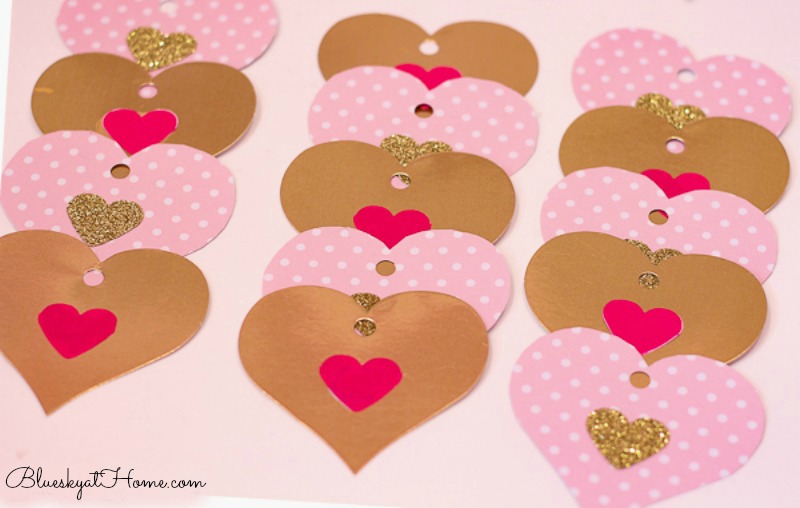
Step 2 ~ Using the heart punch, I made little bright pink hearts (with the Cricut vinyl) and gold glitter hearts from the sheet of sticker paper. Then I put them on the larger hearts. I made 18 hearts total.
Step 3 ~ I didn’t use the pink ribbon, but another roll of wider white ribbon to string the hearts.
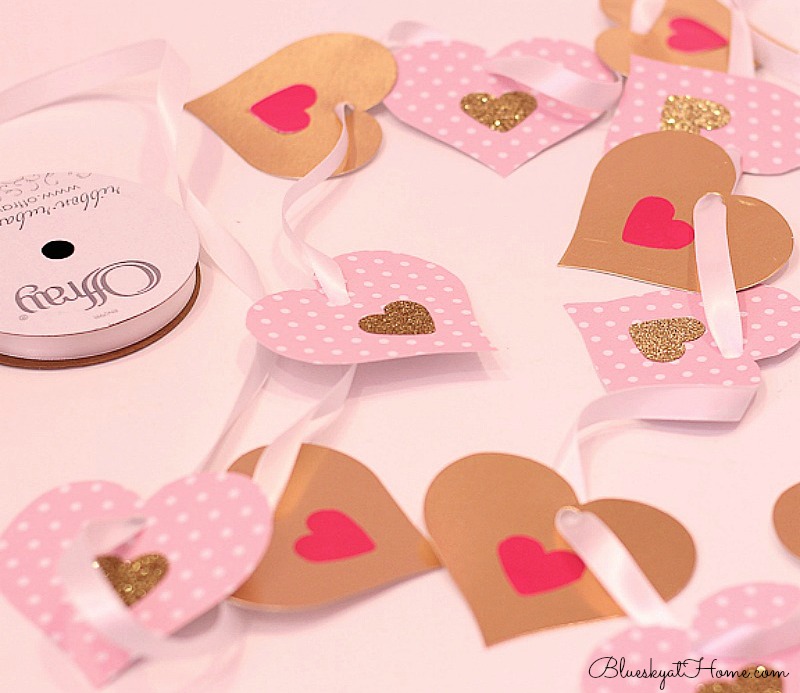
After stringing the hearts, I went back and I looped the ribbon to keep the hearts in place.
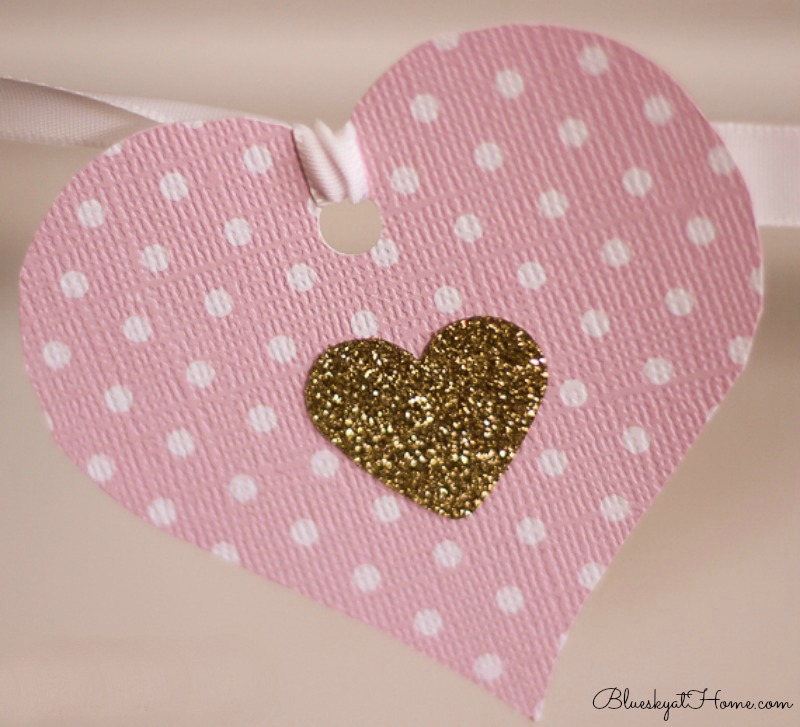
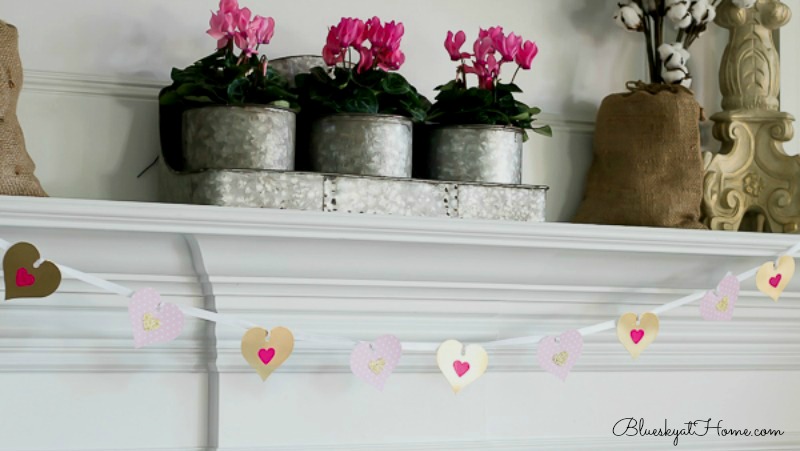
Step 4 ~ Swag the garland as much as you like and either tape or tie to hold in place. I ended up only needing 10 hearts for my garland.
Supplies
2 packs gold tags (6 tags each) @ 2.50 each; I used 5 gold tags $2.08 1/2 sheet scrapbook paper @ $.62 (on sale) $.31 1/8 sheet gold glitter sticker paper (1.29) $.16
Total Cost: $2.55
Other supplies already on hand: heart punch, roll of white ribbon, Cricut vinyl (can’t even calculate the teensy amount I used.)
Decorative Valentine Door Hanger
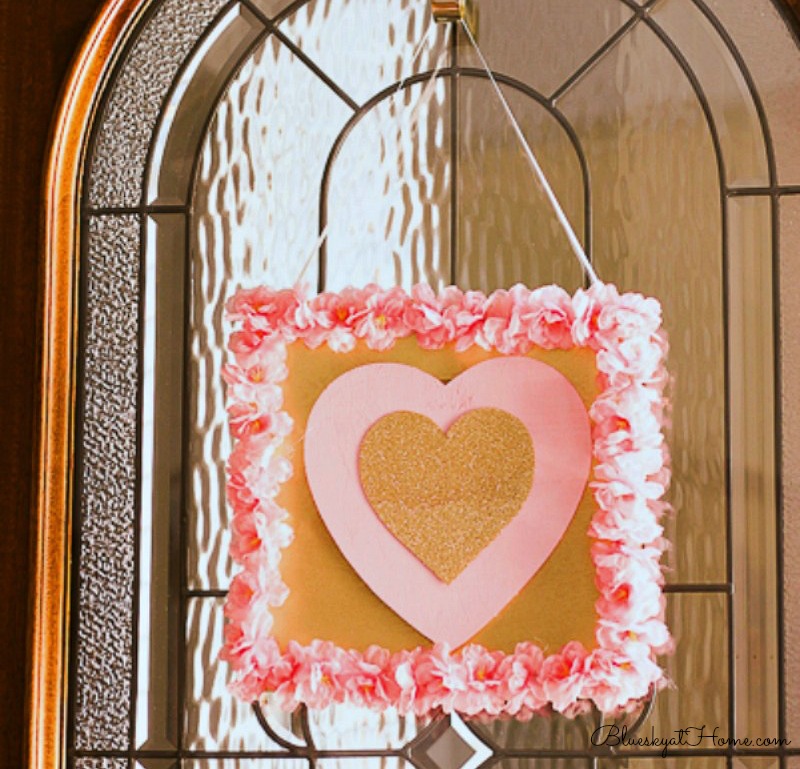
For my next easy DIY Valentine decorations, I wanted to add a little decorative touch to our front door when my guests arrived. Originally I was thinking a heart~shaped wreath, but I didn’t see any at the craft store. But I find a heart~shaped piece of wood. So that was my inspiration. Then I added a 12~inch wooden square. I already knew that I had gold and pink spray paint at home and glittery gold sticker paper. Let the fun begin.
Step 1 ~ Spray paint the square gold.
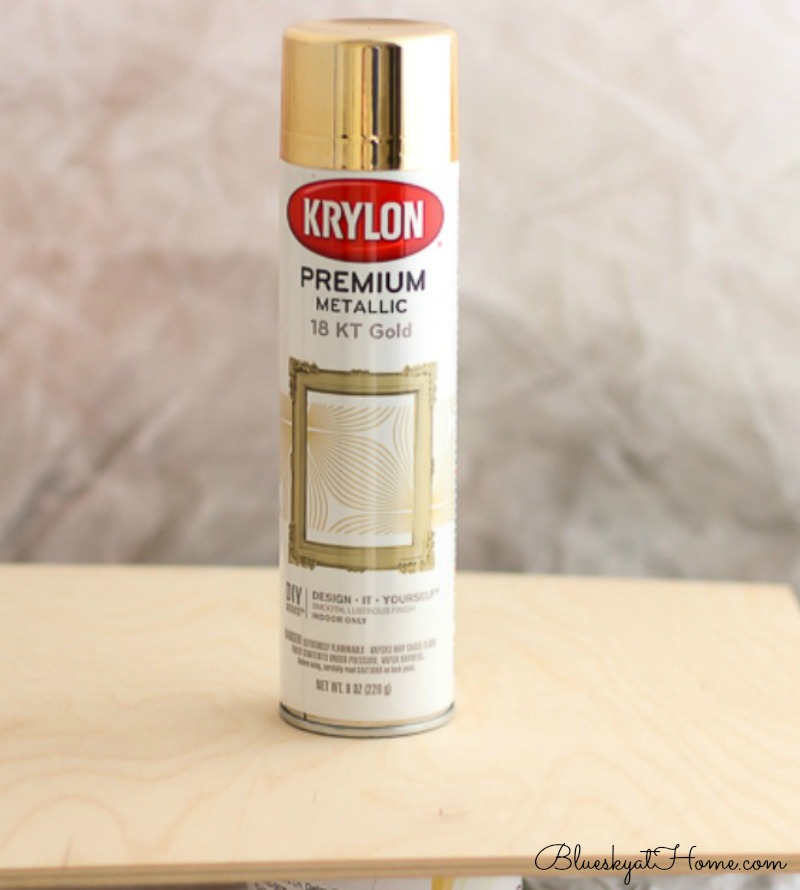
Step 2 ~ Spray paint the heart pink (missed a pic of that).
Step 3 ~ Use wood glue to adhere the heart to the square.
Step 4 ~ Using the wooden heart as a template, cut out a heart from the gold glitter sticker paper left from the Heart Garland Project. (You can see that I had already used the gold glitter paper to punch out small hearts.) I still have almost half a sheet of that paper left.
Step 5 ~ Stick the gold sticker paper to the pink heart.
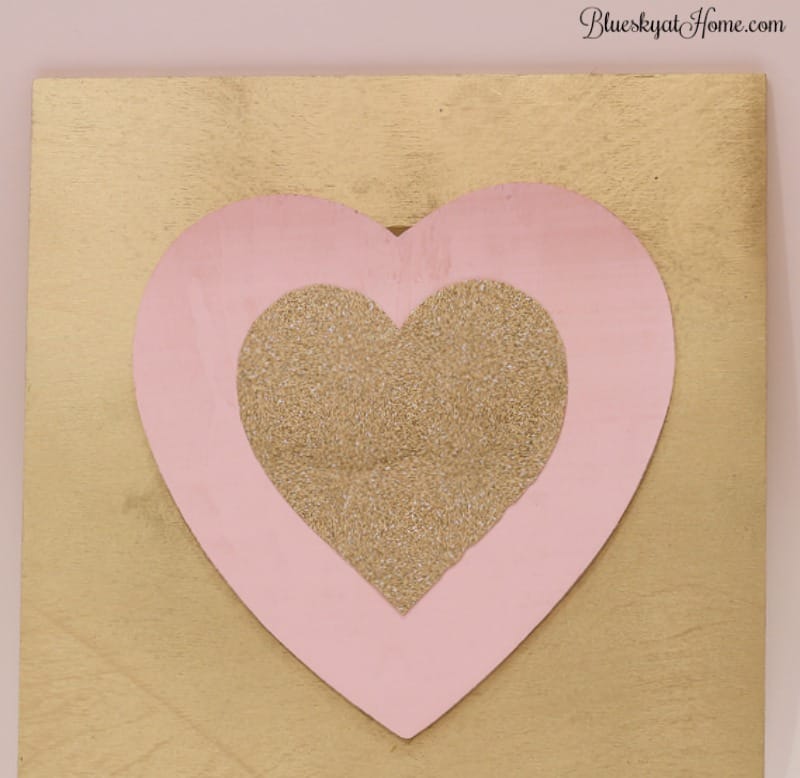
The “door art” looked a little bare. I happened to see online that Pier 1 had gorgeous spring faux flowers on sale. What says Valentine’s more than hearts and flowers?
My Pier 1 is right next to my vet, so I dropped by. They have the most gorgeous faux spring flowers ~ peonies, chrysanthemums, azaleas. I found a beautiful branch of pink flowers on sale.
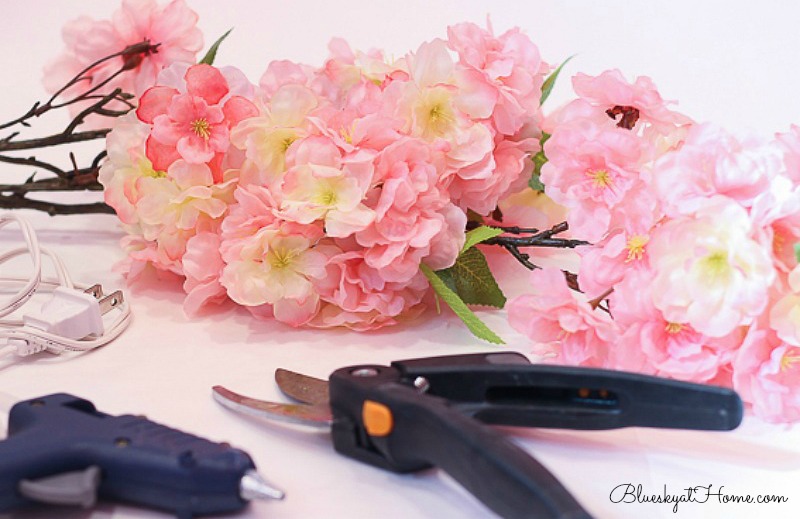
Step 6 ~ Using small garden clippers I cut off the pale pink flowers as close to the flower as possible. Some blooms were pink and white and some were more peachy. I didn’t use those. I used my glue gun (of course, one of my favorite DIY tools) to attach the flowers around the edge of the wooden square.
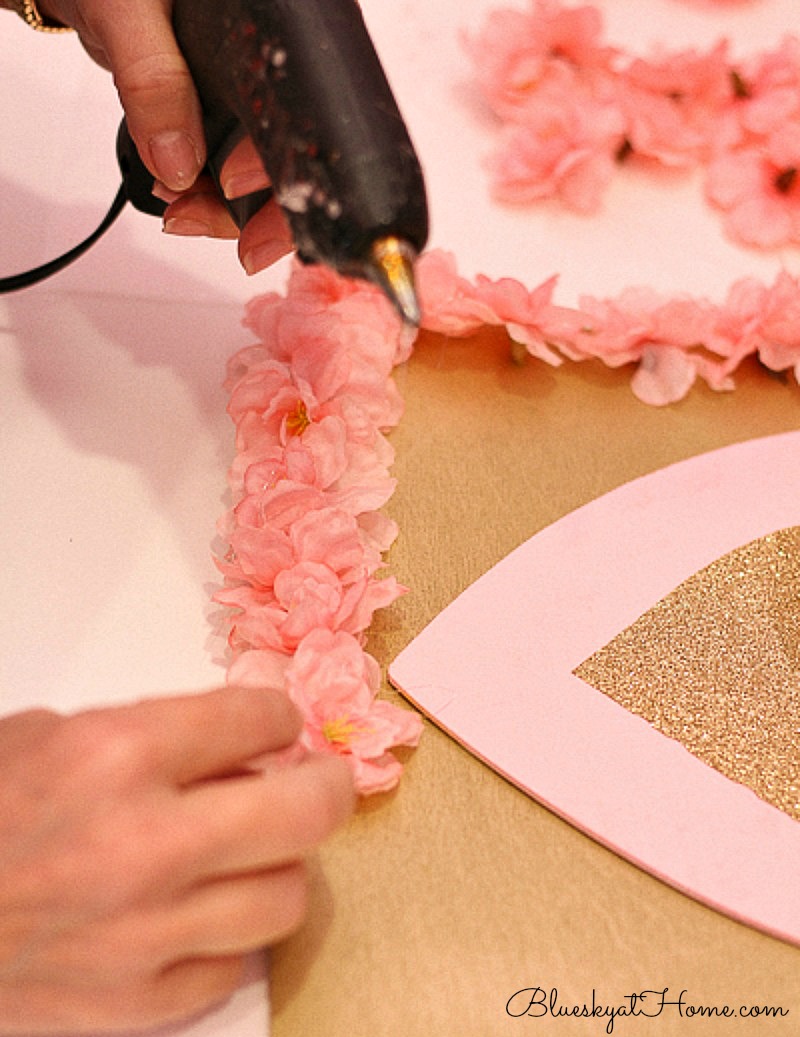
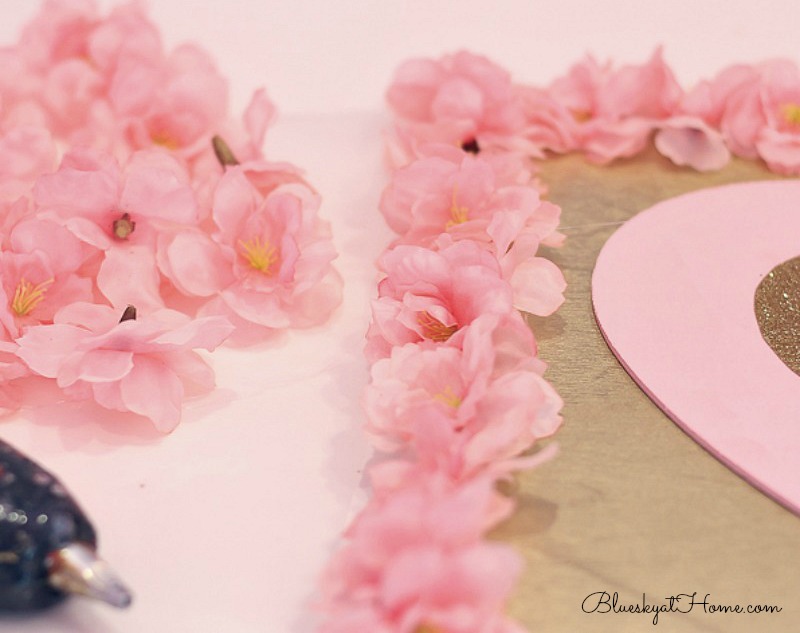
The Finished Project ~ simple, clean and elegant.
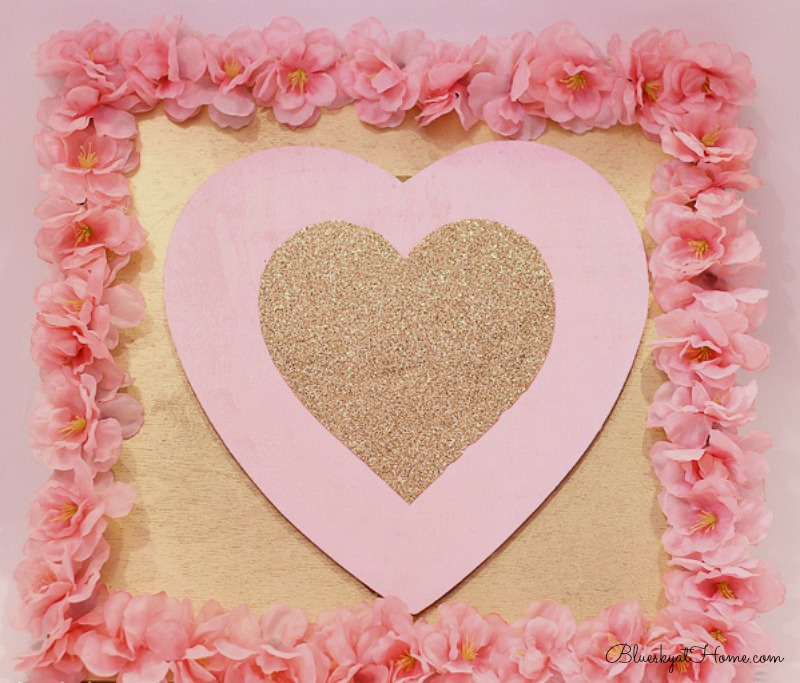
Step 7 ~ I super glued a couple of D~hangers to the back of the wood square and used a piece of white ribbon to make the hanger. I purchased a door hanger (with coupon) for our front door and hung the door decoration. I couldn’t believe they made gold door hangers.
Supplies
(all from Joann):
1 12 X 12~inch wood square (5.49 – 40% off) $3.29 1 wood heart $1.49 1/4 of a sheet gold glitter sticker paper (1.29) $.32 1/3 faux flowers from 1 branch, Pier 1( 12.95 on sale) $4.32 gold wreath hanger (3.49 – 40% off) $2.05
Total Cost $11.47 + tax
Other supplies already on hand: gold metallic spray paint, Candy Pink spray paint, white ribbon, D-hangers, super glue, glue gun, wood glue
O.K. I know I went a teensy bit over budget, but I’ll get so much pleasure from that door hanger. And I have more flowers and gold glitter paper to use for another project. Which came to me as Valentine Project #3.
Valentine Chandelier Decoration
O.K. I told you that I made 18 hearts for the garland, but only used 10. While setting the table for my Valentine brunch, I realized I could use the remaining 8 hearts.
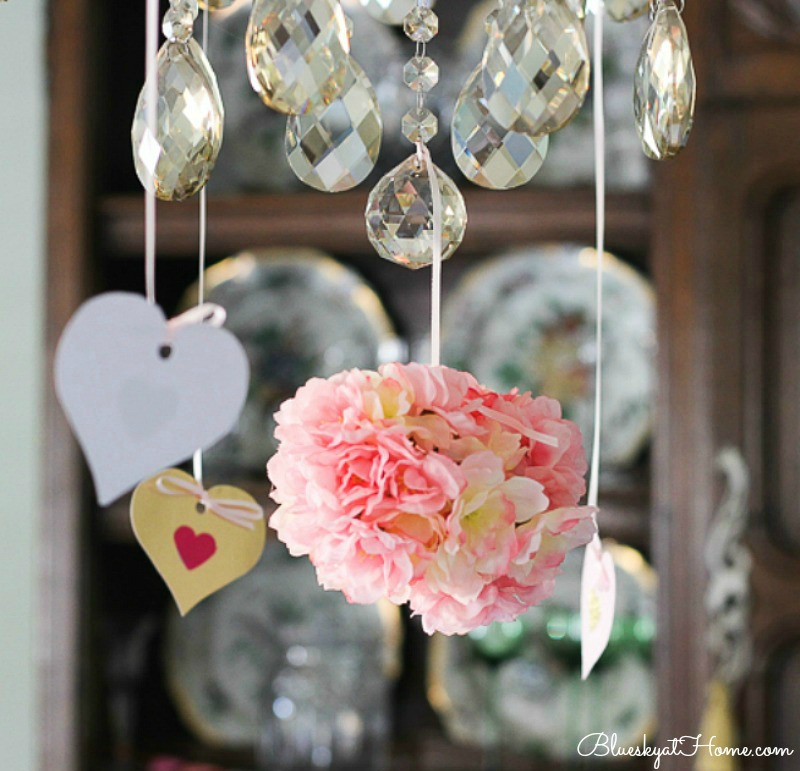
This easy DIY Valentine decoration was one I didn’t even plan. This time I used the skinny pink ribbon I had and tied a length of ribbon to each heart and hung them from our dining room chandelier.
Then I needed something in the middle of the chandelier. Eureka! I still had a bunch of the pink faux flowers. So I pulled them off the branch, used a twist tie to make a ball, tied some ribbon, and hung it from the center ball of the chandelier.
Just the right finishing touch! And I didn’t spend another penny. And I still have flowers, a branch, pink ribbon and other supplies left for other projects. I love it when I surprise myself with what I call random acts of DIY. (I hear applause. Thank you, thank you.)
If I divide the total cost of the 3 projects, my cost per project is $4.67. Not bad. And I love the results.
If you would like to see more Valentine Projects, visit these posts:
How to Make a Valentine Wreath
Don’t forget to PIN these 3 DIY Valentine projects.



Lovely projectS and beautiful photos of the projects!
Jeanne, thanks so much. I’ve really been working on my photography the passed year. And taking the photos is so much fun and I love the editing process.
Very cute ideas. I especially love the door hanger.
Clearissa, thank you so much.
Hope you had a beautiful time at your brunch! I really want to try and fit in a brunch with my girlfriends in 2017…love all your personal touches which I’m sure made them all feel so special.
Shelly|The Queen in Between
Shelly, it was so much fun. We laughed and shared what was going on in our lives. I want to make this a regular thing with different girlfriends. Check out today’s post all about the party.
It is all so very pretty. Thanks for sharing at Home Sweet Home.
Thank you Sherry. Loved the party.
I love all your cute little projects.
Have a great weekend
Thanks Lisa. I think the DIY in me is finally coming out.
I never heard that story about Memaw. That’s really funny.
You need to show me how to use the Cricut that’s in my office.
I will after I take the course I signed up for.
I love all of these, Carol. All very cute indeed. And yes, simple! Don’t you love simple?
Happy Valentine’s Day!
I think the simpler, the better.
Carol, you have been busy! I just love the door decor you made. The little garland is sweet too.
Happy Valentine’s Day friend.
Stacey, yes, it’s been busy around here. I love the garland, too. Will probably reuse again next year.
I love punches and gorgeous papers too and have that very same little heart punch! Your creativity is fabulous and the door hanger is so cute – the addition of those flowers was perfect.
Thanks for sharing some ideas. My Valentine’s Day decor is sadly lacking…
Karen, punches are addictive. They are not cheap, so I always make sure I use a coupon!Thanks so much for your sweet compliments.
Carol,
So creative and I love the colors! My mom and grandma were pre-DIY gals too. I have always considered myself super lucky to have them “show me the ropes”! Sounds like your mom was one talented lady like you!
Tammy
Tammy, I wish that I would have paid more attention to the things my mom did, especially her cooking!
Super cute ideas for Valentines – such a neat light holiday that just sparks some joy in the mix of winter.
Thank you for sharing on the 10 on the tenth. What fun!