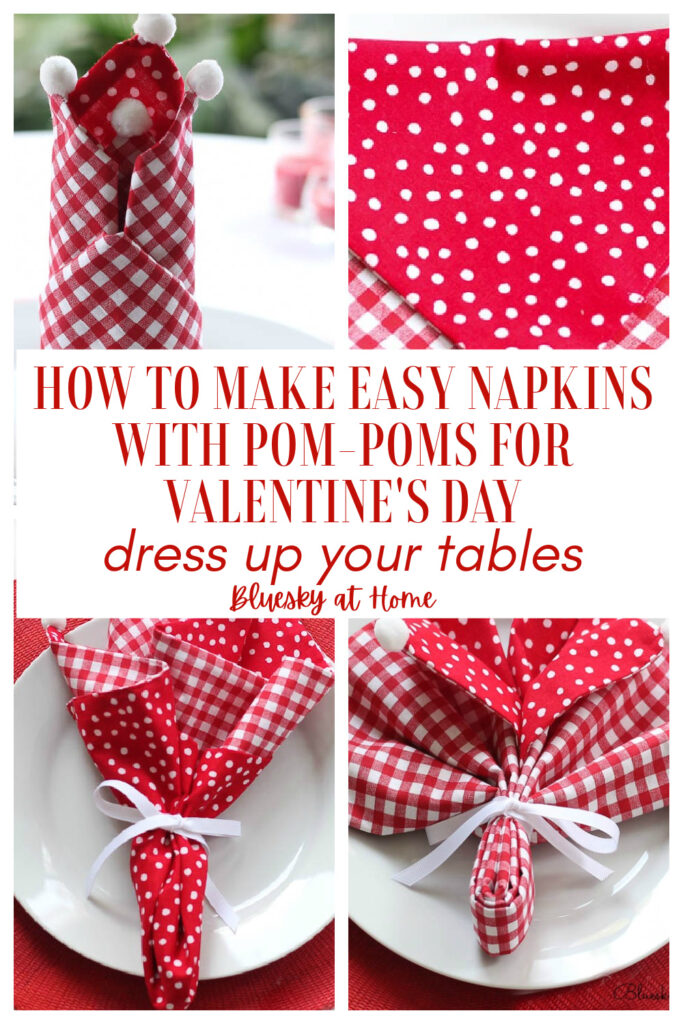
How to Make Easy Napkins with Pom-Poms for Valentine’s Day
Valentine’s Day is a fun time to make DIY projects for your home, gifts, and table settings.
I love planning tablescapes, whether it’s for a dinner party or a girlfriends’ lunch.
Since Valentine’s Day is coming soon, I wanted to create a romantic brunch for Sweet Shark and me. When I found some cute red and pink fabric, the inspiration for this napkin project was born.
I don’t usually share sewing tutorials on Bluesky at Home, maybe three or four before this one. It’s not that I don’t sew pillows or blankets or duvets, drapes, or tablecloths. I’ve made them all over the years. In a galaxy far away and long ago, I even made clothes for myself and my kids. When they were little, I made clothes for all my grandkids.

Some people love to sew and some don’t. If you are someone who doesn’t sew, then just skip to the bottom of the post where I’m sharing some cute napkin folds.
If you do like to sew or want to learn how to sew, then keep reading because learning how to make easy 2-sided napkins for Valentine’s Day is about the easiest sewing project ever. The pom-poms are the extra fun part – at no extra charge.
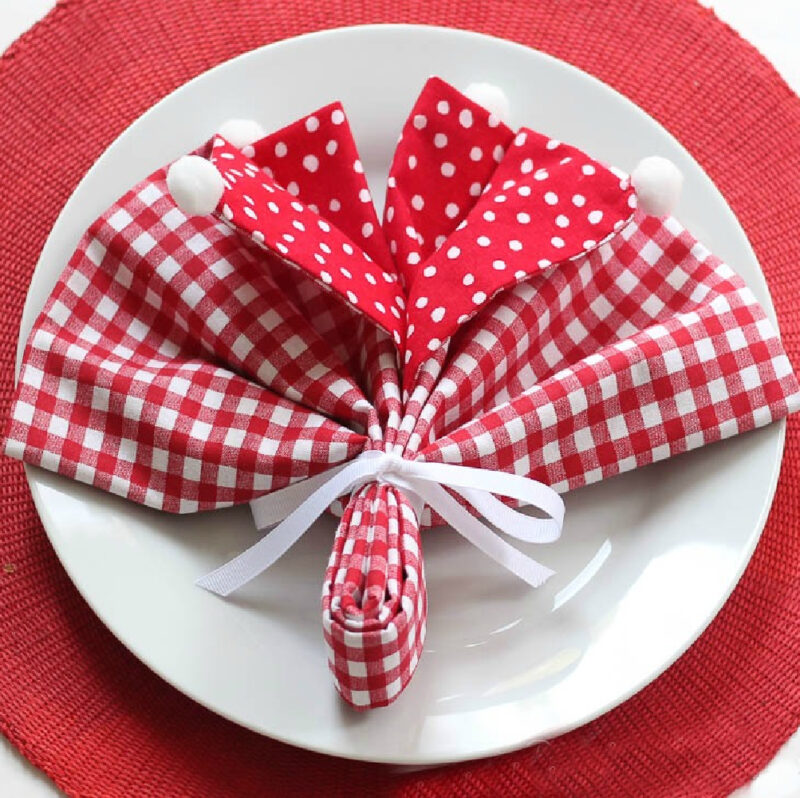
I made these easy 2-sided napkins with pom-poms for a Valentine’s Day romantic brunch tablescape. They are so cute that I’ve used them again since then.
Today is our first Celebrate the Holiday of the year. Our theme this month is Valentine’s Day. You’ll find a variety of sweet inspiration from this group of bloggers.

Are you visiting me from Kristin of White Arrows Home? Kristin always has a great touch with holiday decor.
Easy 2-Sided Valentine’s Day Napkins with Pom~Poms
The idea for the first set of napkins came to me while visiting Atlanta. I already had most of my Valentine’s brunch tablescape planned out, but I didn’t have any napkins on hand that I wanted to use.
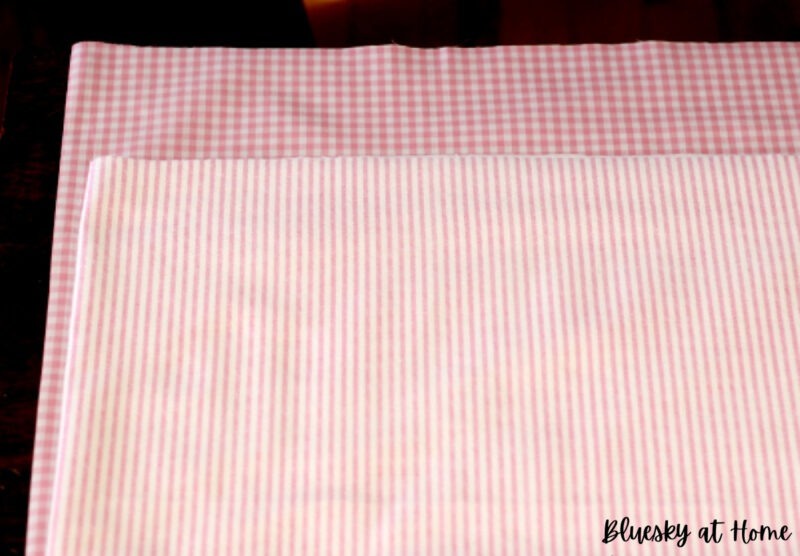
On a trip to Hobby Lobby with my older daughter, I browsed through the fabric aisles (I’ve said before that I am addicted to fabric.) and found these 2 pieces of pink checks and ticking that I knew were perfect for my tablescape. I bought 1/2 yard of each.
As soon as I returned home, I made them into napkins. The idea for adding the pom-poms, which I already had on hand from a previous project (Another sewing project I didn’t share.), was a last-minute addition.
I think the pom-poms, besides the combination of fabric patterns, is what make the napkins so cute.
So many of you commented that the napkins were your favorite part of the tablescape that I decided I would just make another set to show you how to make an easy 2-sided napkin.
Fabric for a 2-Sided Napkin
There is no limit to the patterns that can be used for a 2-sided napkin. I think the color is the common denominator. Mixing patterns is one of the most fun things to do in home decor, whether it’s napkins, pillows, drapes, or bedding.
Here are some guidelines for selecting fabric:
- type of fabric – use cotton, flannel or a poly-cotton for best results
- keep scale in mind: a napkin is not large 18 – 20 inches; if a pattern is too large, a big floral, for example, the pattern will be lost. Same for an extra big check or stripe.
- patterns: checks and stripes, small florals, chevron, ikat, polka-dots – any combination that you like.
- color: you can use the same color for both fabrics or choose contrasting colors that complement each other.
When it comes down to it, creativity, your preference, and the occasion are your guide.
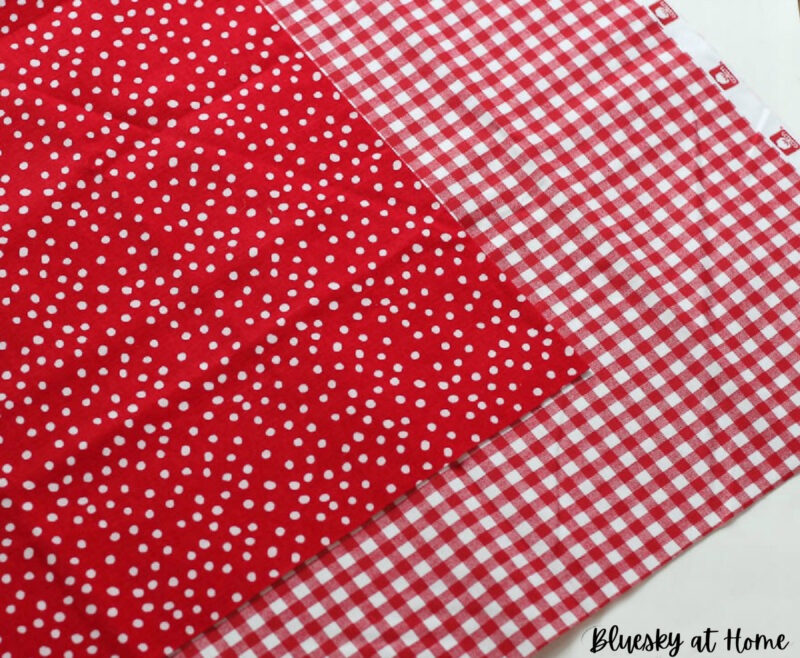
I needed more fabric for this tutorial, so a trip to Joann was in order. I wanted to keep the Valentine theme, so this time I chose red in a polka-dot and a check.
For two napkins, you will need 1/2 yard of each fabric.
NOTE: This fabric is always available at Joann and Hobby Lobby.
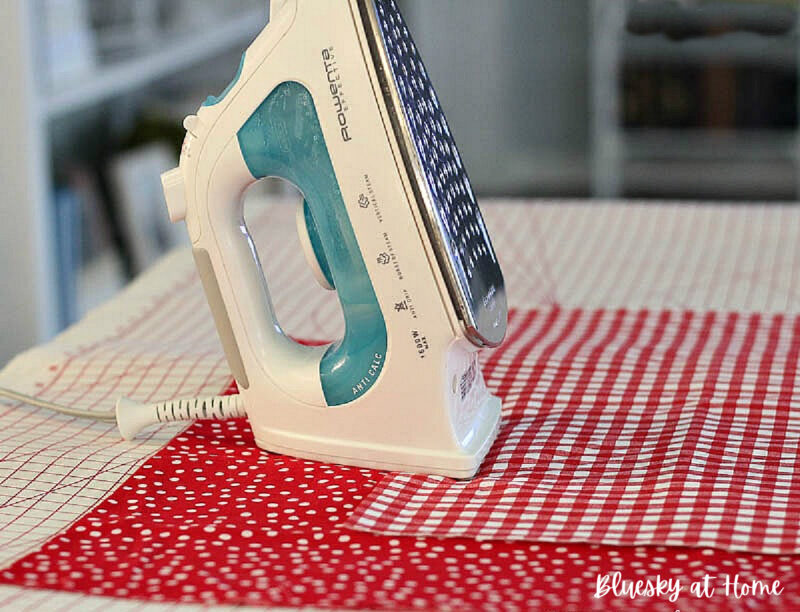
First Step – Ironing
I always iron my fabric before starting any sewing project.
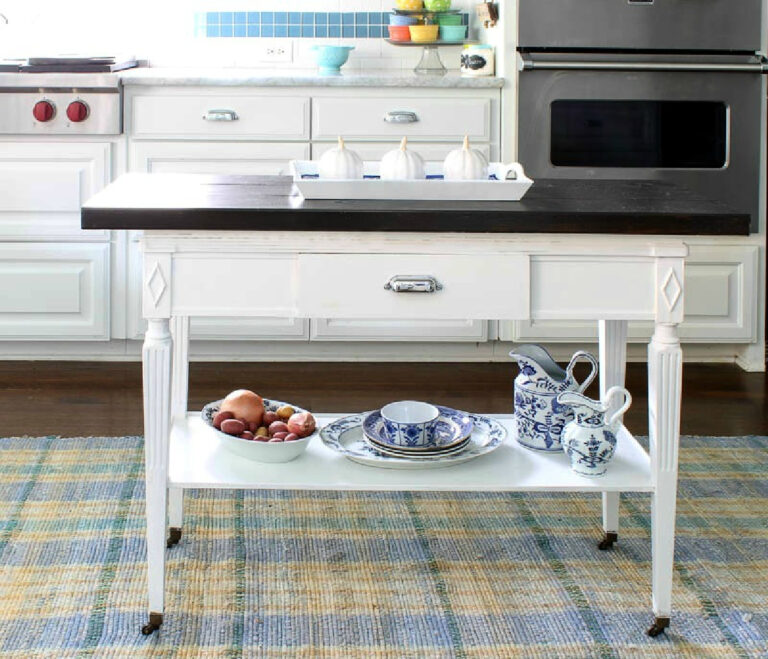
I use my kitchen island as my ironing, cutting, and pinning surface.
Rather than getting out my ironing board, which doesn’t have much surface area, I use an ironing mat that I bought years ago. It gives you so much area to iron larger pieces of fabric or tablecloths.
Second Step – Supplies
After ironing, I switch to a cutting mat which is available at any craft or sewing store. They come in several sizes, the larger the better. I had to buy a new one recently and I purchased the 18~inch X 24~inch. My previous one was 24 X 36.
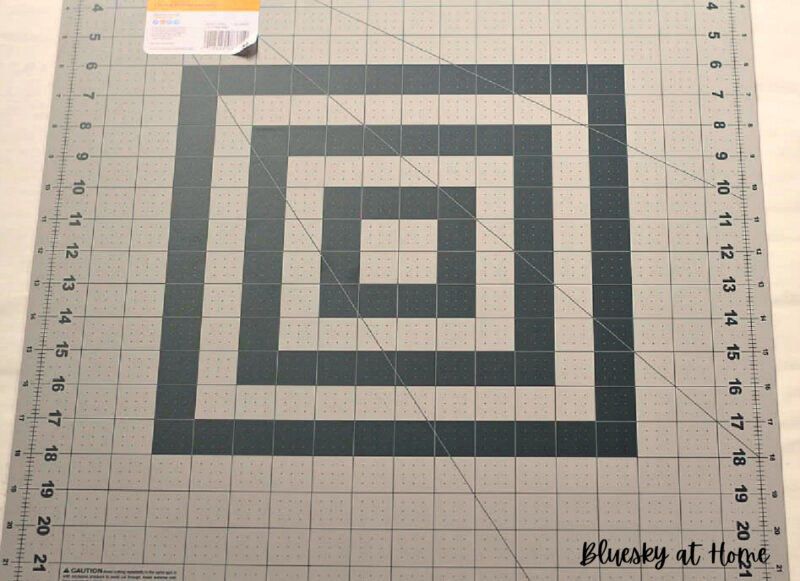
Here’s why I had to buy a new one:
TIP: NEVER iron on top of your cutting mat. Don’t think that you can put a towel on top of your cutting mat. The heat from the iron will warp your mat. I made that mistake once.
You’ve been warned. These mats are not cheap. Save your coupons for buying one.
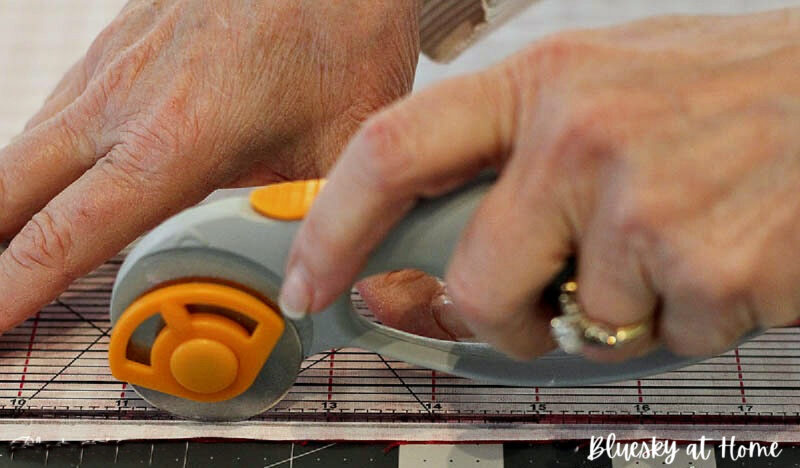
For cutting items like napkins that have straight sides, I prefer to use my rotary cutter. It’s so much easier than scissors – faster and more efficient.
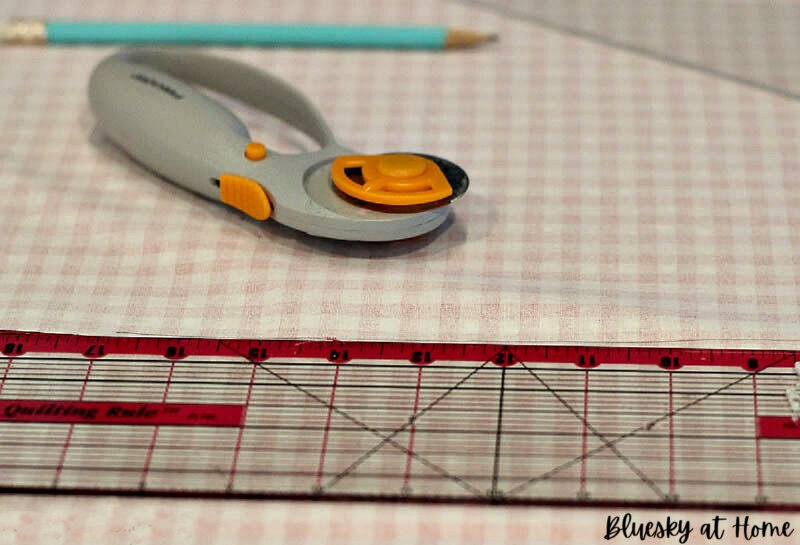
Supplies:
- cutting mat – think of it as an investment
- rotary cutter – also an investment; a good one will run $8.00 – $15.00 (another time to use a coupon)
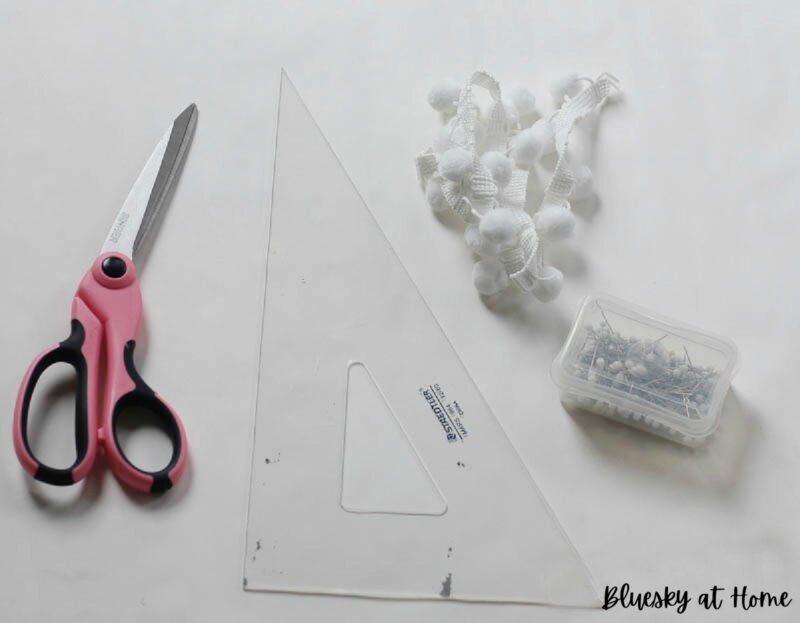
- right angle – essential for correct, straight lines
- clear, 24-inch ruler – the 24-inch makes it more versatile and clear allows you to line up lines for straight measuring and cutting
- straight pins
- scissors
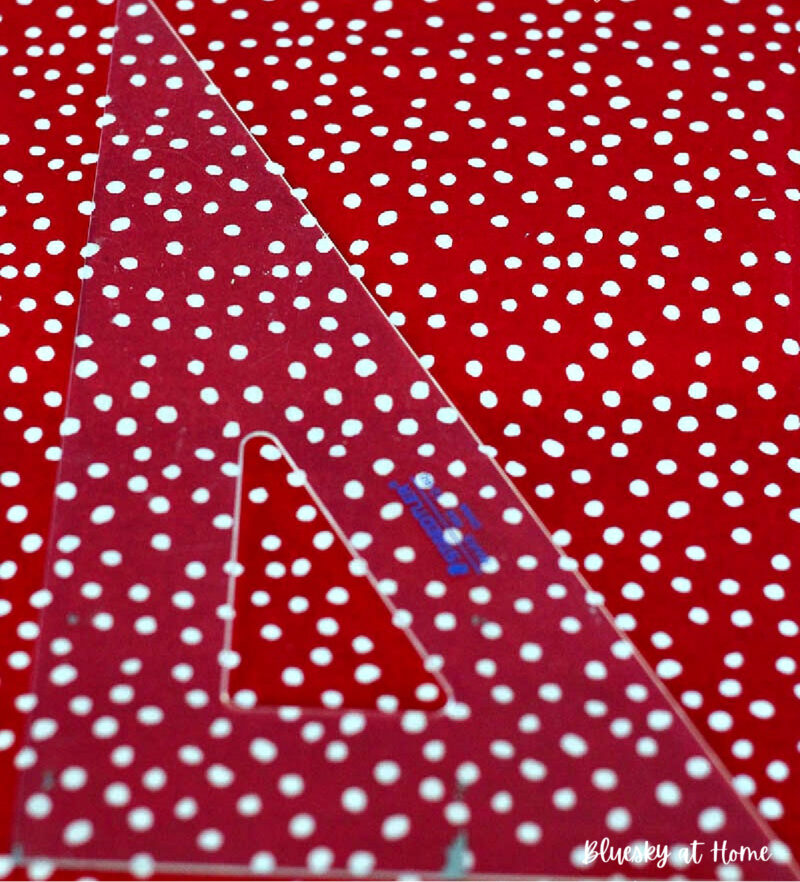
TIP: a right angle is essential for starting off with a straight line; don’t be tempted to use the pattern on the material; the pattern could be printed on the fabric crooked and you’ll end up with crooked lines.
Step 3 – Measuring and Cutting Your Napkins
I made my napkins 18″ square, which is a nice size and fits buying 1/2 yard of fabric. If you want a bigger napkin, then you have to buy a bit more fabric.
- Place your fabric RIGHT sides together on the cutting mat, lining up the selvage edges on one side.
- Lay your right angle close to the corner of the fabric but where both sides of the angle have fabric showing. With a pencil draw a line the length of both sides of the angle.

3. Now place your clear, 24-inch straight edge up against the pencil lines you just made; draw a line that is 18 inches long in both directions.
4. At the end of each line, use your right angle to again measure a corner, then repeat an 18-inch long pencil line. Repeat again. If you’ve measured your right angles correctly, you’ll now have a perfect square for your napkin.
5. Now using your 24-inch straight edge and your rotary cutter, cut the straight lines that you have drawn.
TIP: Hold the straight edge firmly down on the fabric so it doesn’t slip.
6. Repeat the with the rest of the fabric for your 2nd napkin. You will have a little fabric left over.
TIP: Always save fabric scraps. You just never know when you might have a use for them.
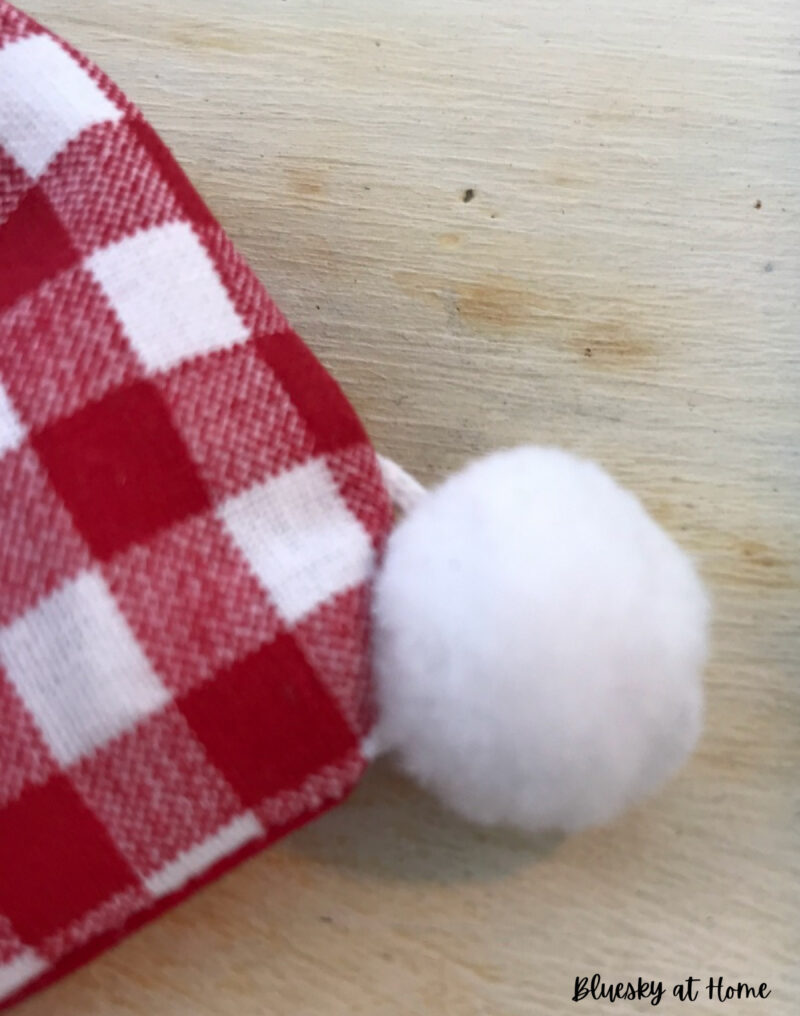
Step 4 – The Pom-Poms
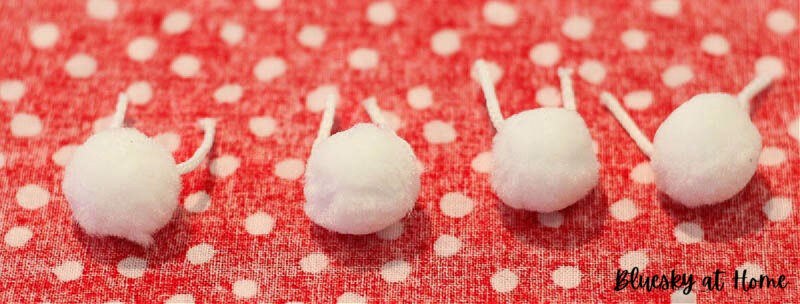
Pom-pom trim is available at craft and fabric stores. It comes in several colors and sizes. I already had about 1/2 yard on hand, but for each napkin, you need 4 pom-poms, which would be about 1/4 yard. Cut each pom-pom separately between the mesh that holds them together.
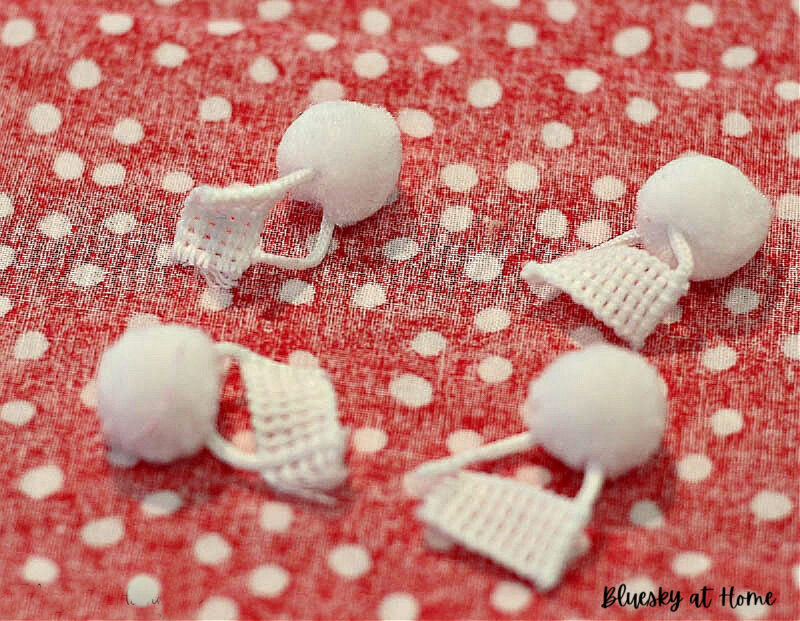
Then it’s easy to pull the pom~pom with the attached “tail” from the mesh part. The “tails” will be about 1/2 inches long.
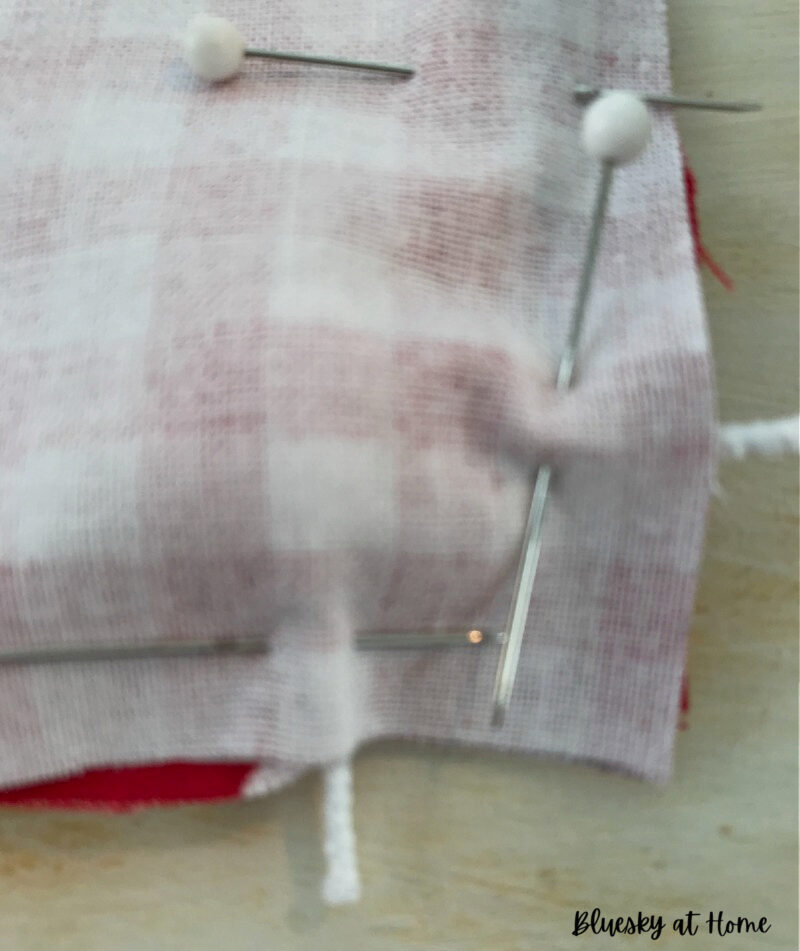
Step 5 – Pining Your Napkins
After you have cut out your napkins, it’s easy to pin along the straight sides. At the corners, on the right side of one piece of fabric, pin the pom-pom with one “tail” on 1 corner and the other “tail” on the other corner.
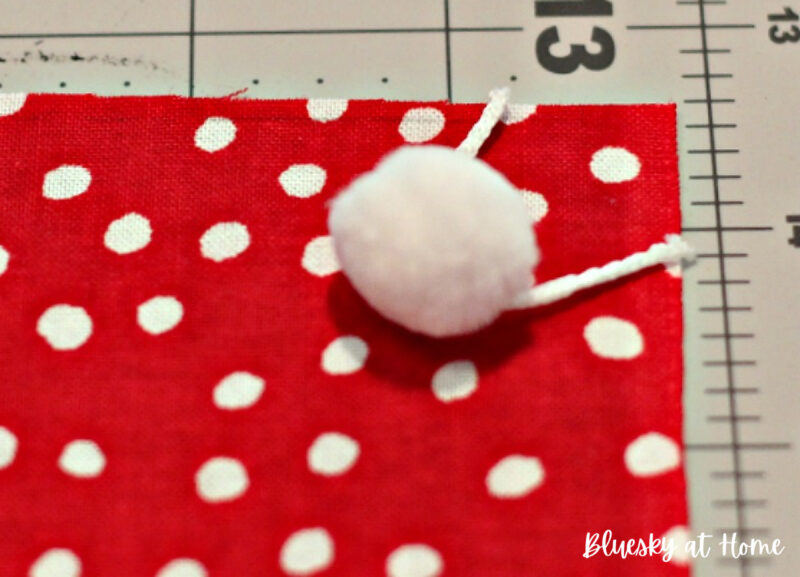
It doesn’t show in this photo, but you want about 1/4 inch of the “tail” to overhang the fabric.
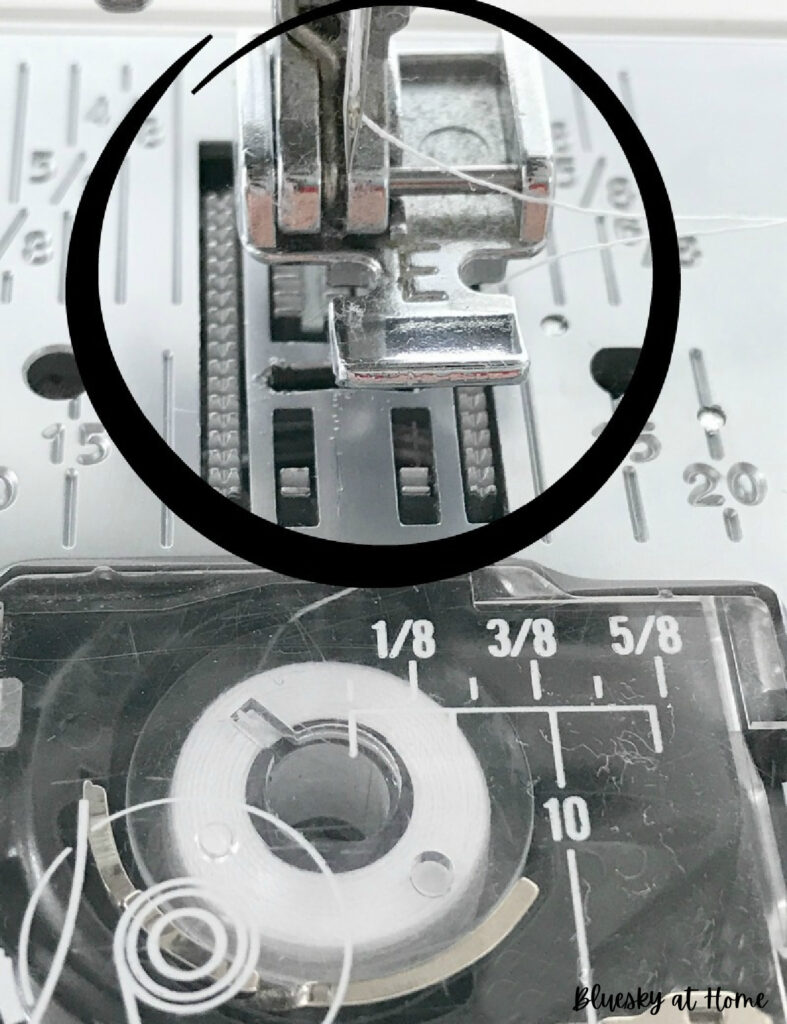
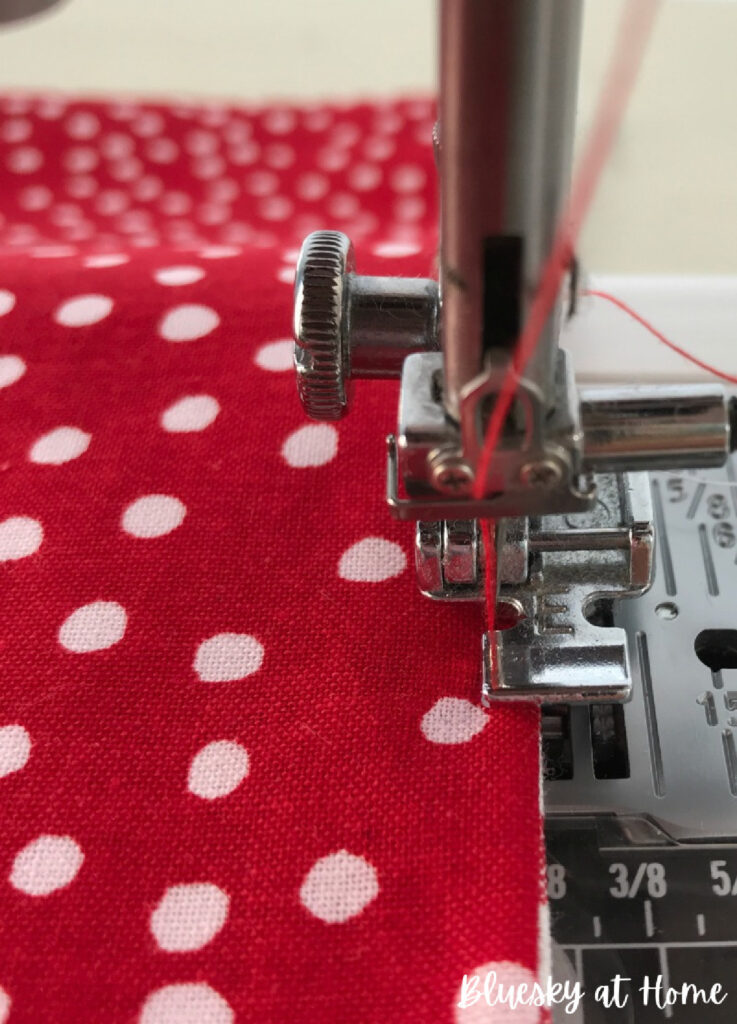
Step 6 – Sewing the Napkin
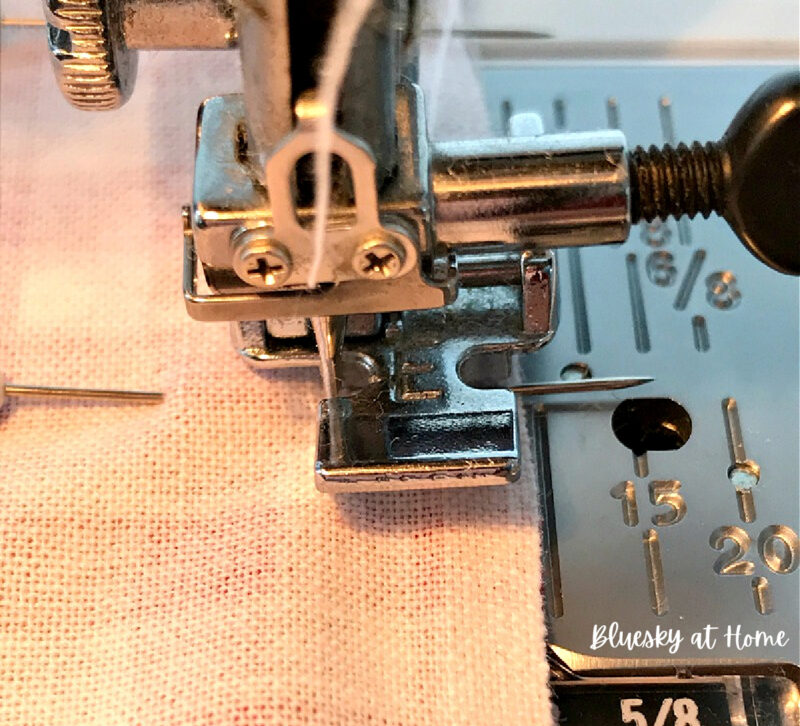
I recommend that you use your zipper presser foot for this project. You will want to adjust your sewing machine so that your presser foot is to the right so that you can maneuver around the pom-pom. This is the only challenging part of the project.
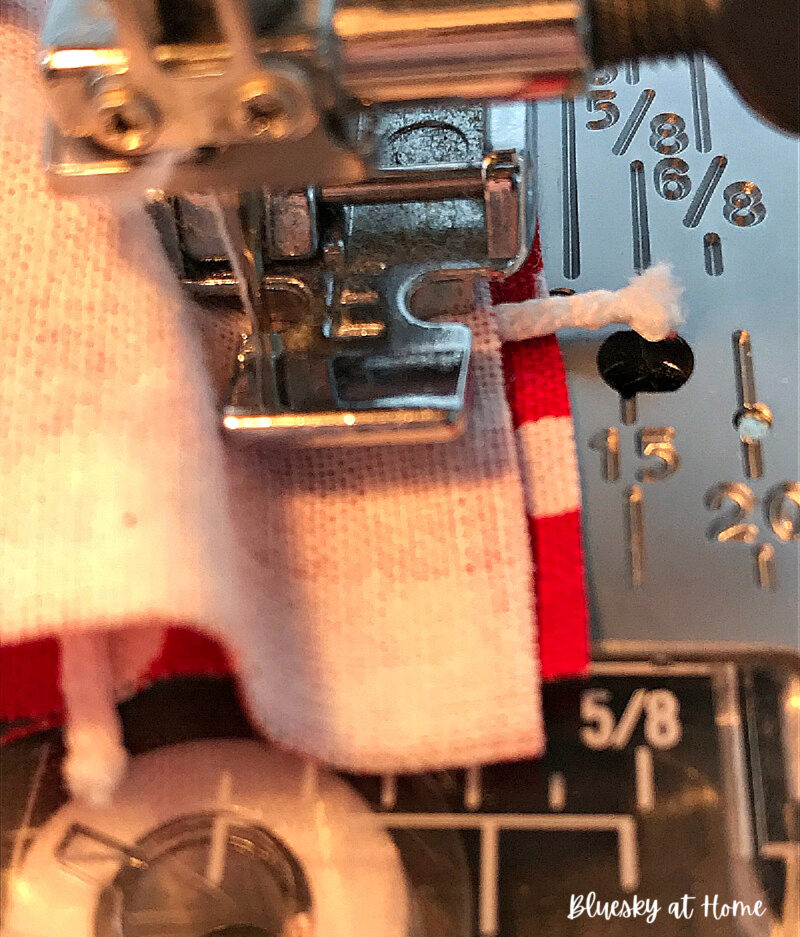
I put in a 3/8-inch seam. When you get to the corners, lift your presser foot, turn the corner of the napkin, and guide it through to the other side.
You may have to unpin the corners of the napkin to adjust the pom-pom “tail”. Ideally, the tail sticks out about 1/4 inch. You may have to lift your presser foot to get it around the pom~pom. Be patient as you work around the corner.
Sew around 3 sides of the napkin, leaving around a 6 – 8-inch opening on one side. This is where you will turn the napkin right side out. This is where you will turn the napkin right side out.
Step 7 – Finishing the Napkin
After you have finished sewing the napkin, trim all 4 corners on the diagonal.
NOTE: Check that the pom-poms are securely sewn in. If there is too much “tail” showing on the right side, you may have to go back and sew in a wider seam.
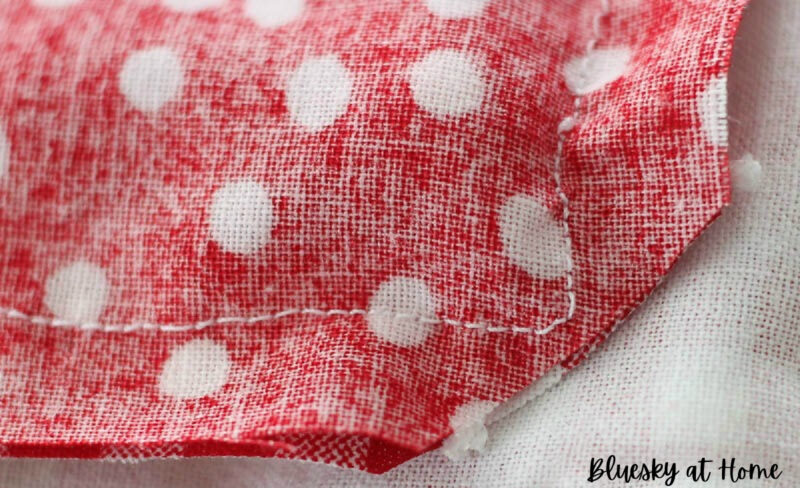
Now turn all four corners of your napkin to the outside.
Iron the napkin flat, trying to press a clean line into the seams all the way around the napkin.
On the open seam along one side of the napkin, iron with the seam allowance turned inward.
Return to the sewing machine, sew the opening closed. I switched to red thread for the top of the napkin.
Your napkins are now finished. You may want to give the napkins another quick iron.
Making Your Napkins Pretty
Years ago a friend gave me a book on napkin folding and I hate to say that I haven’t used it much. I did get it out to find some napkin folds for my 2-sided napkins.
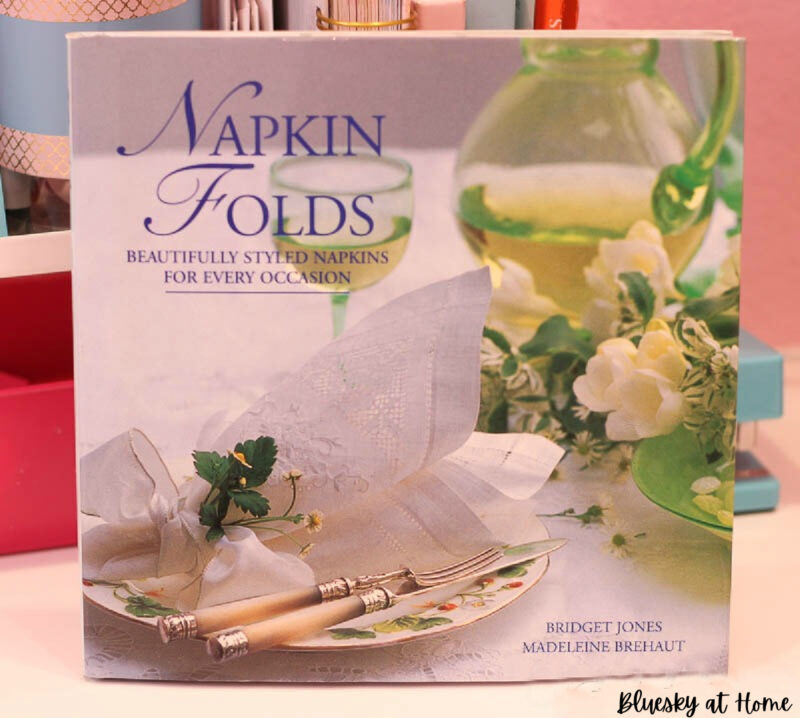
This is where you can get creative for setting your table.
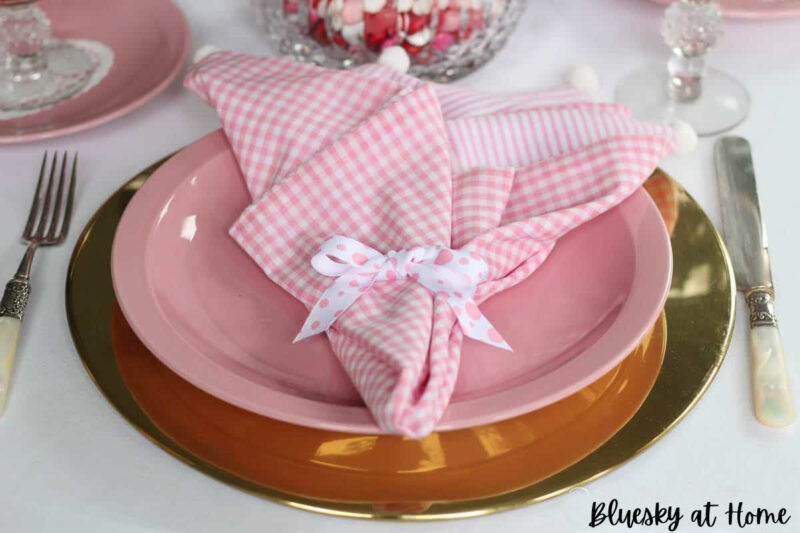
A simple gathered napkin, tied with ribbon.
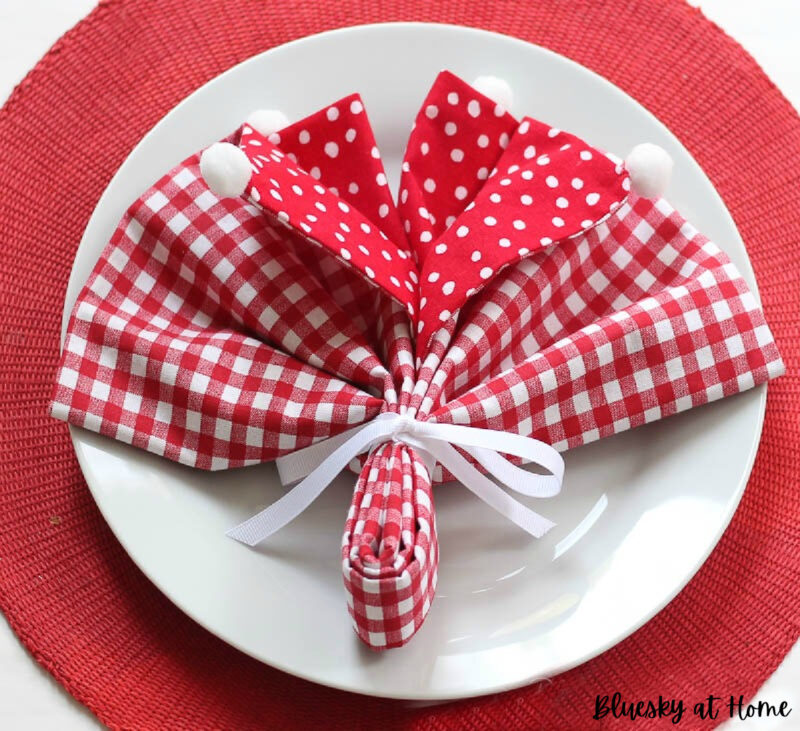
A fan shape with a “turn back” to show off the contrasting fabric.
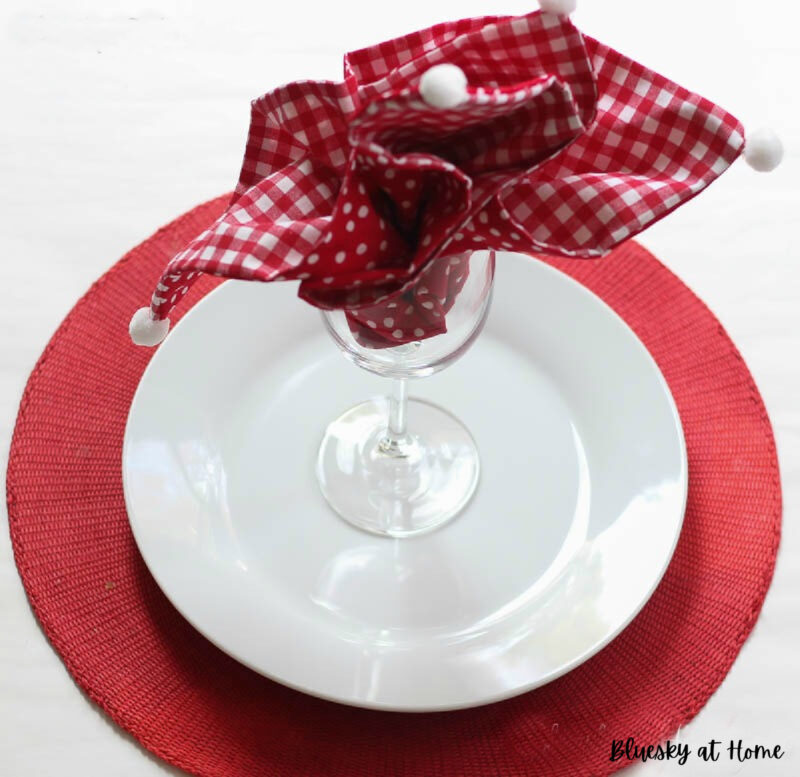
Let’s fill that glass with a casual napkin style.
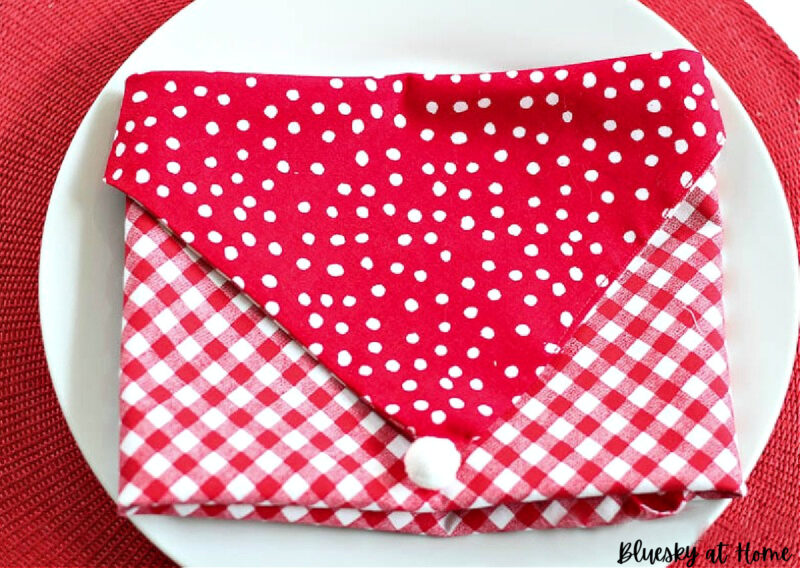
I like how this envelope style shows off both patterns.
When I was in culinary school and had a semester working in the school dining room, we had to do the same napkin fold every day – for 11 weeks. I don’t think I’ll ever forget this classic napkin fold.
Well, that’s how to make an easy 2-sided napkin. And one with pom-poms.
I hope you can easily follow the instructions. If you have any questions, don’t hesitate to ask in the comments or email me. I may start making more of these for future tablescapes because they are fun to make, easy and inexpensive.
The fabric for the two napkins cost me about $7.99 which comes to $4.00 a napkin, about what you would pay at Pier 1 or Tuesday Morning. But these are customized and match my table decor.
Fabric on sale or leftover from another project could bring the price down to a couple of dollars each – definitely a bargain.
I know that Valentine’s Day is not far off, but you have plenty of time to make these 2-sided fabric napkins for Valentine’s Day celebrations. Use them to dress up your Valentine’s table or to wrap a gift as I did for this DIY Valentine’s gift. Either way, you are telling your friends and family you care.
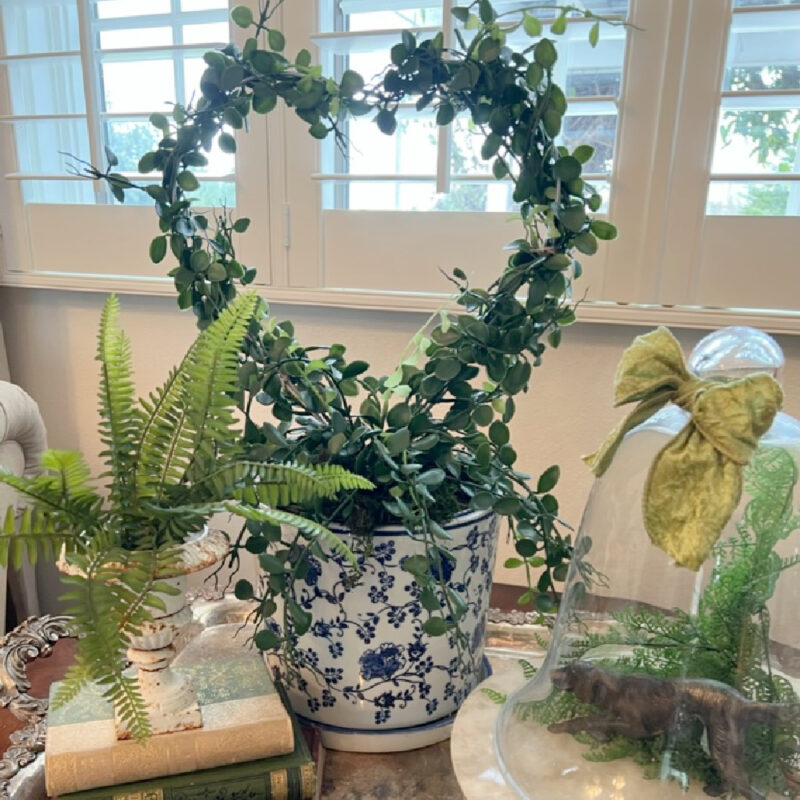
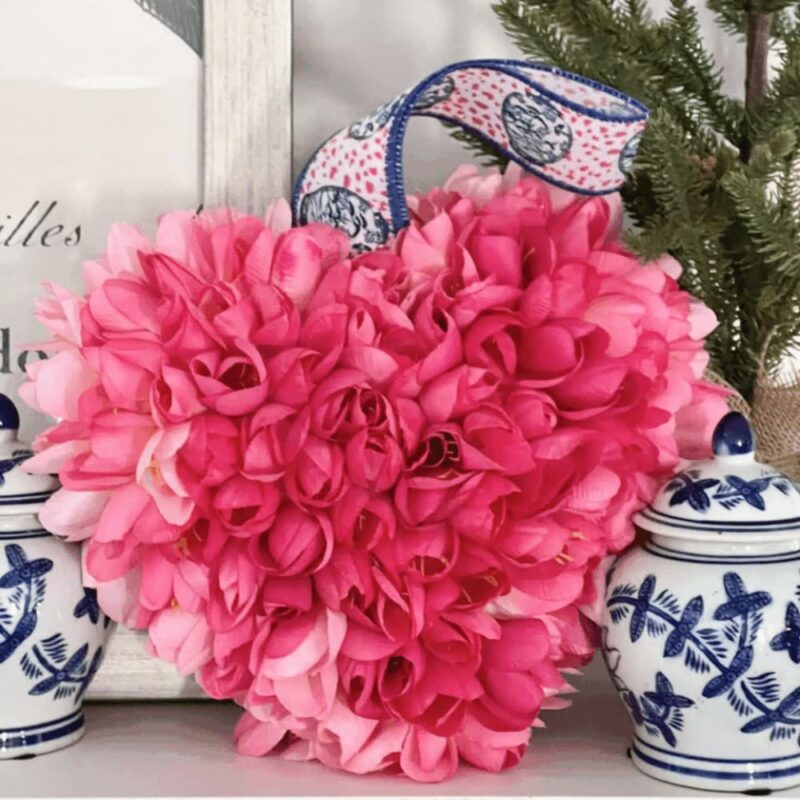
Ready for some more Valentine’s Day ideas? Start with my friend, Renae of Peacock Ridge Farm and her pretty Valentine’s topiary.


Bluesky at Home – Easy Napkins with Pom-Poms for Valentine’s
Peacock Ridge Farm – Heart-Shaped Topiary
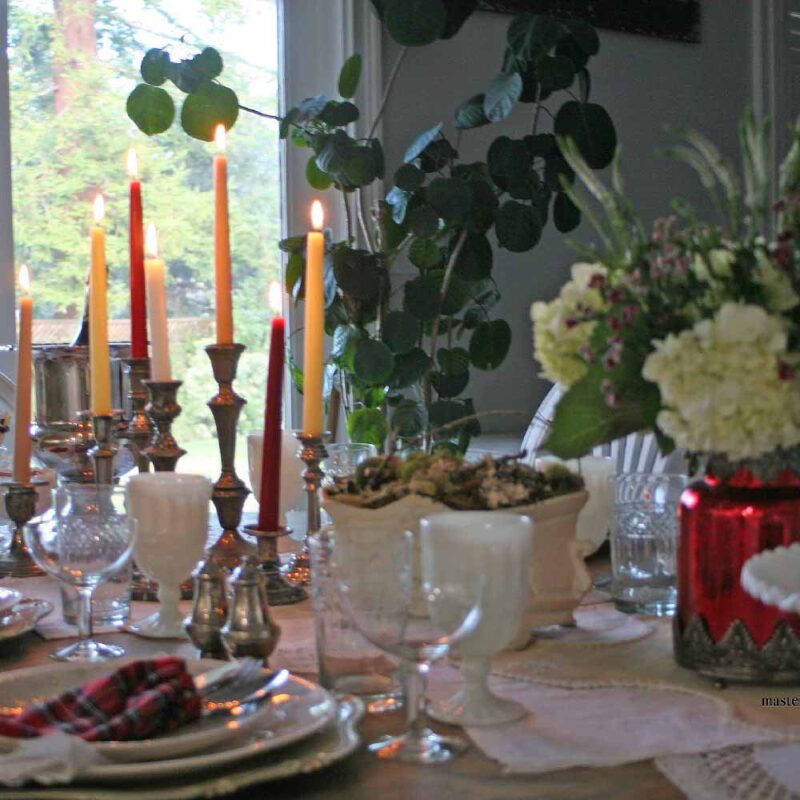
Masterpieces of My Life – Red and Neutral Valentine’s Tablescape

Everyday Edits – Easy Valentine’s Day Table
Midwest Life and Style – Mini-Brownie Trifles with Whipped Cream and Strawberries
Sonata Home Design – Valentine’s Day Decor with Pink Tulips
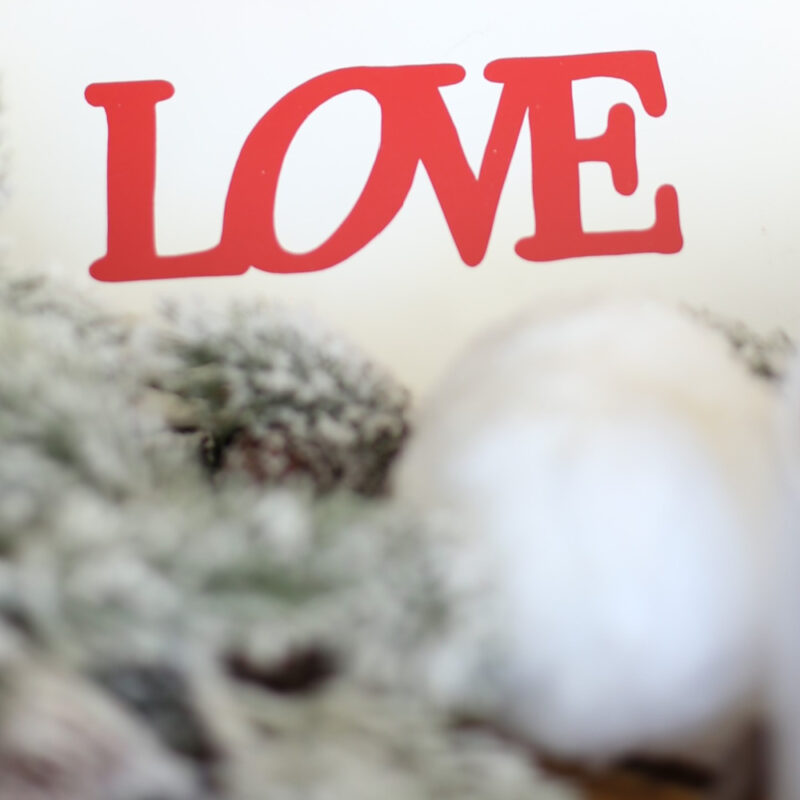
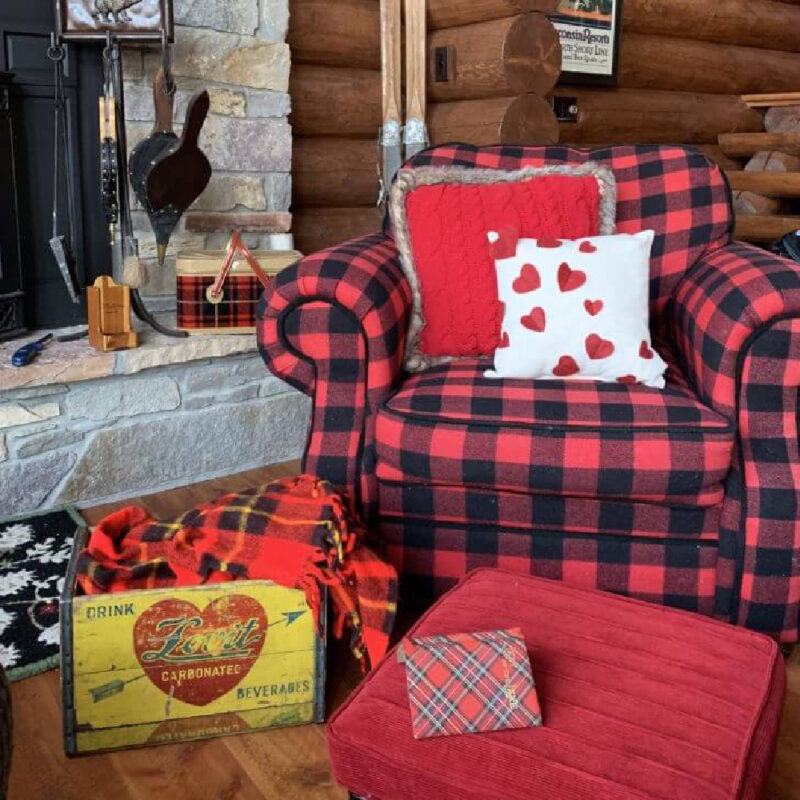
White Arrows Home – Easy Valentine’s Decor


Well, how cute are these? I absolutely adore your napkins, Carol. The pompoms are such a fun finishing touch, too!
I need to make some to have on hand for my next Valentine’s Day tablescape! Thank you for sharing!
These are so cute! I love the two patterns and the addition of the pompoms!
You had me at “pom poms!” I love all of your fabrics and the pom poms are the icing on the cake! Thanks so much for hosting the hop!
These napkins are the cutest. I love them. Hugs and blessings to you.
Hi Carol. Oh my gosh so cute with the pom poms and I love your napkin fold tutorials!
Thank you for coordinating this holiday tour! Happy New Year, laura in Colorado
Congratulations! Your post was my feature pick at #OverTheMoon this week. Each Hostess displays their own features so be sure to visit me on Sunday evening and to see your feature! I invite you to leave more links to be shared and commented upon. Please don’t forget to add your link numbers or post title so we can be sure to visit!
These are adorable and the pom poms really make them unique. The folds are all cute, too. Thanks for sharing at Vintage Charm. xo Kathlen
Those are darling little napkins! Thanks so much for the tutorial. I was just noticing on New Year’s Day that I’m down to one set of napkins and was thinking I should buy some more… now I’ll be shopping for fabric instead. Pinned.
Joanne, thank you for your feedback. I love fabric and making napkins allows me to indulge my passion! So easy and economical to make!
Great tutorial – pinned and shared!
these are gorgeous. Sadly I suck at sewing but great at tablescapes and napkin folding. I need to figure this DIY out or fin a modification that I can use LOL (IE tape witchery)
Linda, then this is the sewing project for you. Just a needle and thread is all you need. I’ll be showing the project soon.
So cute! And the tutorial is straight-forward and easy to follow. My sewing machine finally gave up (I received it when I was 12, so it’s not surprising, lol!) and I hadn’t decided whether I wanted to replace it. Your tutorial just might convince me!
Sandra, the used Kenmore sewing machine that my dad bought me in college died about 8 years ago. I marched right up and bought another one. All you need is one that just sews a straight seam. That will do for almost every project.
Cute idea, and great tutorial!
Super cute! Love anything with pom poms!! Great DIY hostess gift idea.
I love how the pink and red will also work for other holidays and other tablescapes! A blue ribbon on those red ones will work for all the patriotic holidays! Great tutorial!
I didn’t think of that idea. Thanks so much for the suggestion.
The napkin is soooo cute!!! Thanks for the great tutorial!!!
Happy Valentine’s Day!