How to Make Patio Tables from a Rescued Teak Table
Remember the story of my estate sale teak table? The one that we rescued and restored and is now in my backyard? The one that was dirty and tired and sad? It was a Cinderella story. The hardworking, but neglected teak table got a second life and is happy, pretty and useful again. That wasn’t the end of the story. Here’s how to make patio tables from a rescued teak table
We didn’t get just 1 new table; we got 2 more tables, 2 more patio side tables from a teak table whose story just keeps getting better.
This is like the story of the little table that could. I’m mixing my fairy tales here, but I can’t help it. We not only hav a lovely new table for dining, but now we also have 2 lovely patio tables for our conversation area. Tables to hold a pretty plant, a candle, a glass of iced tea, a cold beer or a frosted margarita. By the pool. On a beautiful summer day.
I knew the minute I saw the slats that were coming apart on one of the leaves that the teak table had great potential. That it could become more than the sum of its parts. That my $37.50 investment would double or triple in value. You’re dying to know the end of the story, aren’t you? O.K., I know. So once upon a time we figured out how to make patio tables from a rescued teak table.

And just so you know ~ this is not my first rodeo when it comes to making new patio tables. Last summer I made some easy patio tables in a bit different way. Call me a pro. I had experience under my belt. I could do this (hand pump and high fives!).
How to Make Patio Tables from a Rescued Teak Table
For your convenience, this post contains links to products used in this project. If you should order any product from this post, I may receive compensation, but you don’t pay a penny more.
First you might want to go back and read the first part of the story ~ our estate sale rescued and restored teak table. It will help you appreciate the deeper meaning of the story. But be sure to come back to read the rest of the saga.
On our way home from picking up our teak table, as we drove slowly with the table tied on the roof of the car, mind you, I explained to Sweet Shark how to make patio tables from the table leaf with 2 slats that were loose. He looked at me sideways and didn’t say a word; he may not have understood exactly what I was planning to do, but he knew it was best just to listen and not ask questions. This story was all mine and he knew I would make sure that it had a happy ending.
So, to refresh your memory, here is the teak table when we brought it home. The 2 leaves are up and you can see that 2 slats at the far end have come loose from the frame.
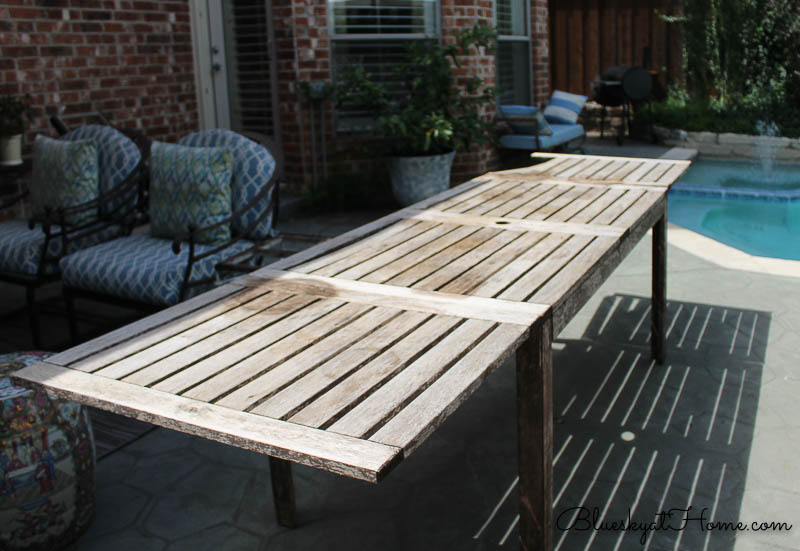
And here is a better view. The slats are fine and could be reused. Of course, they would be reused!
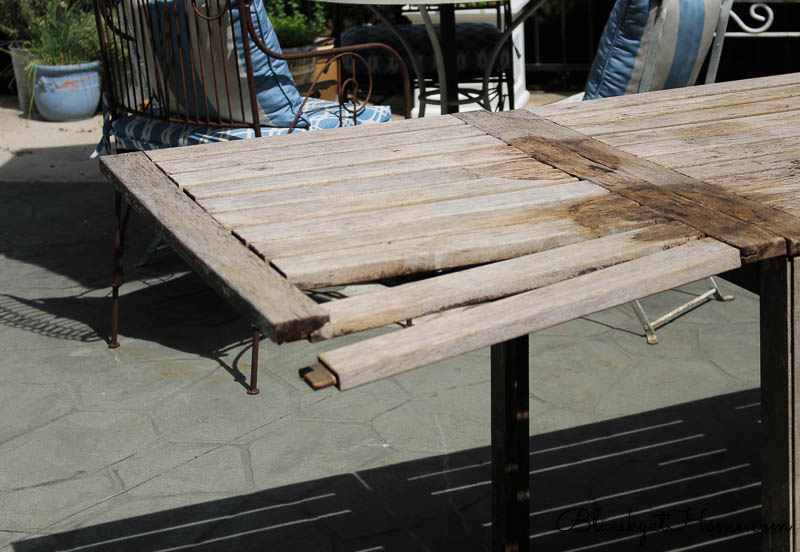
After cleaning the table, Sweet Shark removed both leaves. Then his part of the story was finished.
Making the 2 New Side Tables
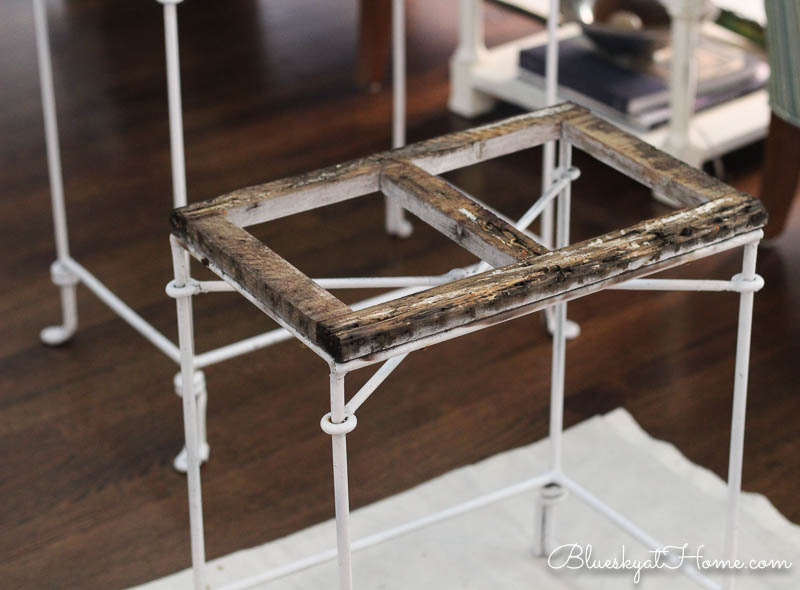
And what was I going to use the slats on? A few years ago, I bought a set of 2 stacking tables with metal bases and whicker tops. You can see them in the Pinterest~Inspired Memorial Day blog hop vignette I created.

And here. I’m sure these tables were not meant to be used outside, but that’s how I used them. Originally, the bases were metal color, but I spray painted them white a couple of years ago. The whicker tops are really starting to fall apart and I knew it was time to make them more outdoor friendly. Enter our teak slats into the story.
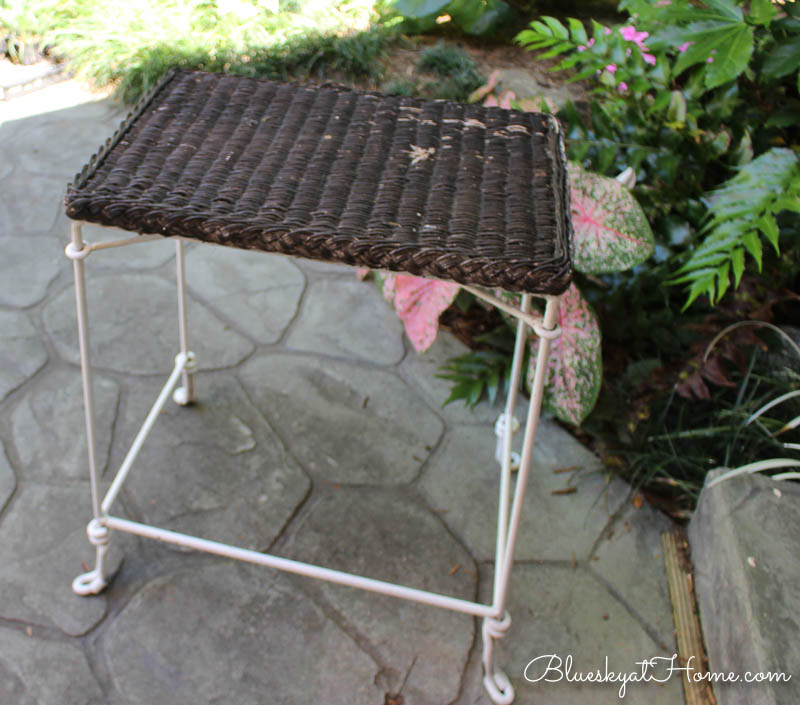
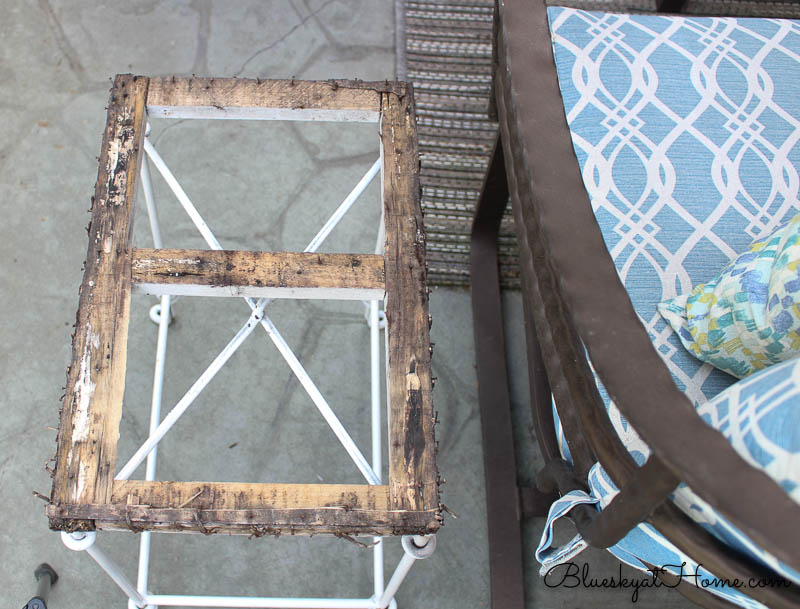
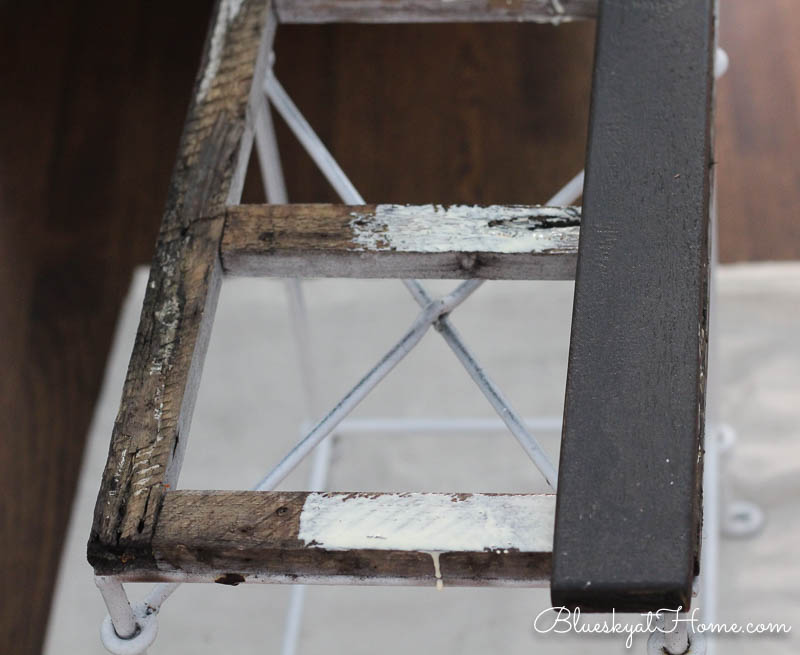
The first step was to remove the whicker from the metal frame. I really didn’t know how the whicker was attached or what was underneath the whicker. I used a flat head screw driver to lift and pull up the whicker. It was kind of messy because most of the whicker and the wood was rotting. As it turned out, the whicker was attached to a wood frame with small nails. I pulled those easily out of the top and sides of the wood frame.
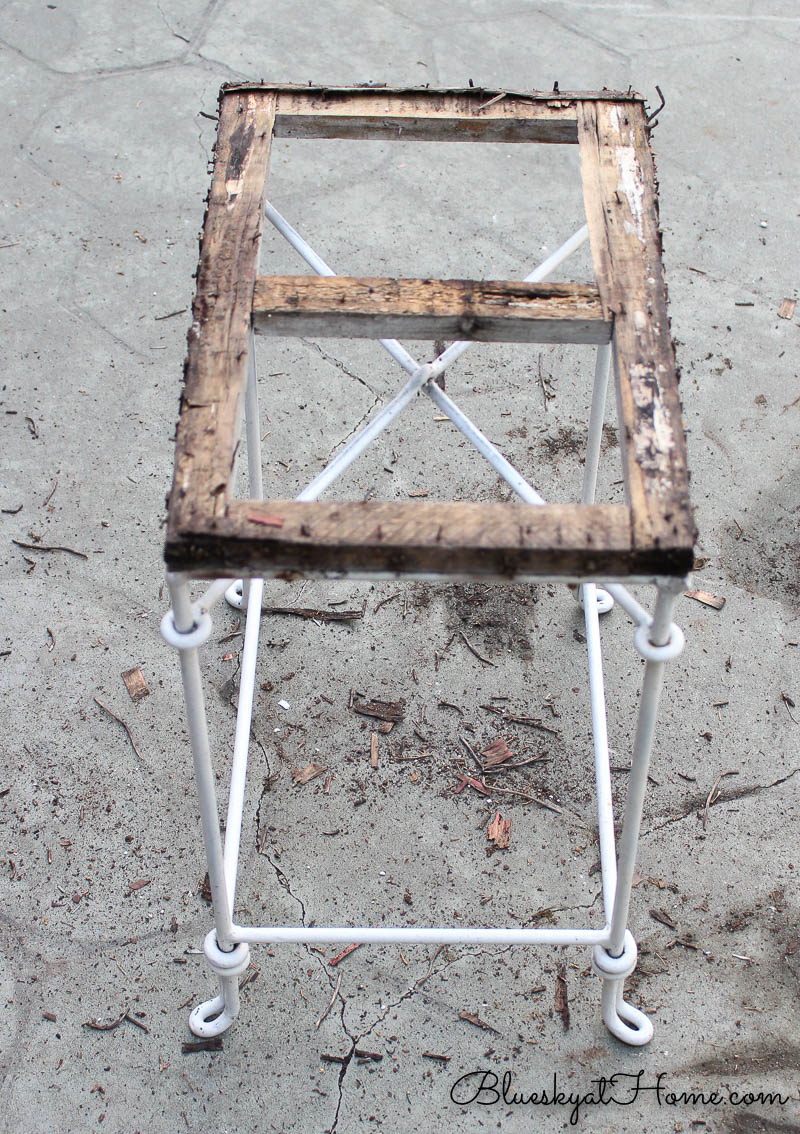
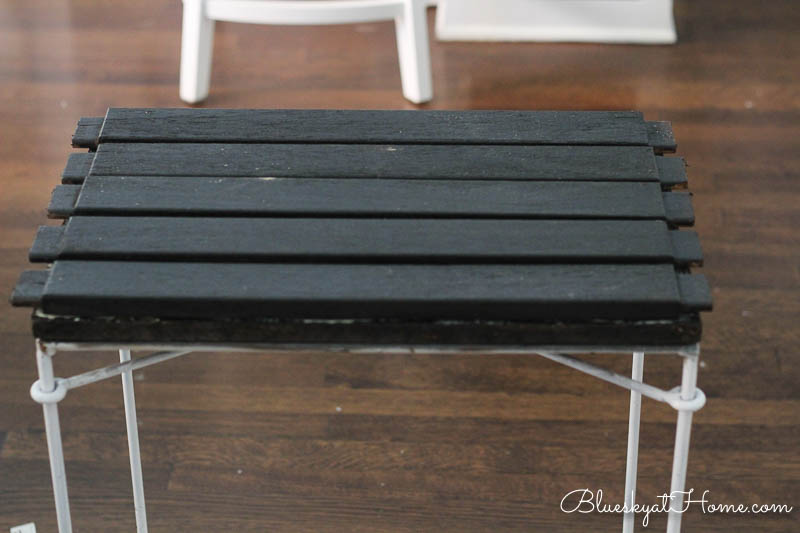
The second step was to remove the slats from the frame, which was really easy. There were 11 slats. Notice that the slats have pieces on each end where they were attached to the frames.
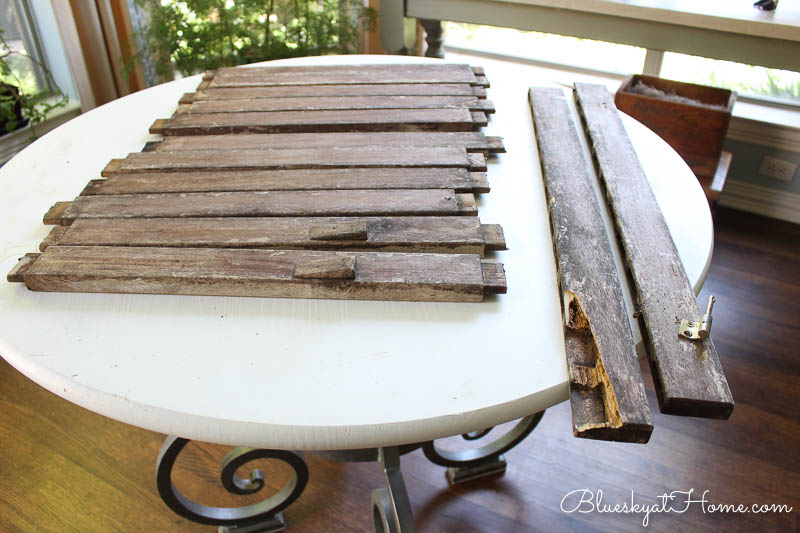
Step 3 was to determine how many slats I needed for each table, which are different sizes. The smaller table was 11 X 16 inches and the larger table was 13 X 20 inches. The slats were 2 1/2 inches wide and 21 inches long.
For the smaller table, 5 slats would work if I sawed off the ends of each slat, which would make them 19 inches. I did that with my hand saw and miter box. There would be a little overhang at each end. With the slats right next to each other, there would be about 1/2 overhang on each side.
For the larger table, I could use the slats as is with the end pieces. I could either use 6 slats with a little overhang on each side. Or I could space them apart like the teak table and use 5 slats. That’s what I decided to do.
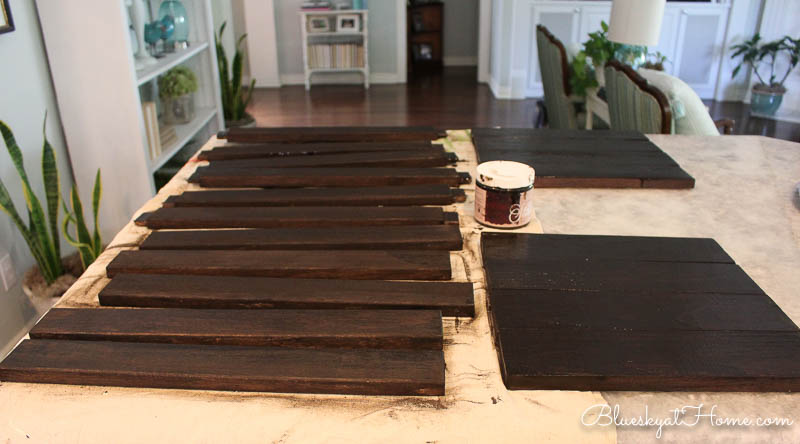
Staining the Teak Slats
Last summer I made 2 tops for 2 other table bases that I had on hand ~ also flea market finds. I wanted to use the same stain for these new table tops for a few reasons:
- We would have a consistent look in our seating area.
- I had plenty of stain on hand.
- Gel Stain from A Makers’ Studio is water base and has no odor so I could apply it indoors. (It actually smells good!).
- The stain on the first 2 tables still looked great even though I applied only 1 coat and didn’t seal it, so I knew it would protect the reused teak table tops.

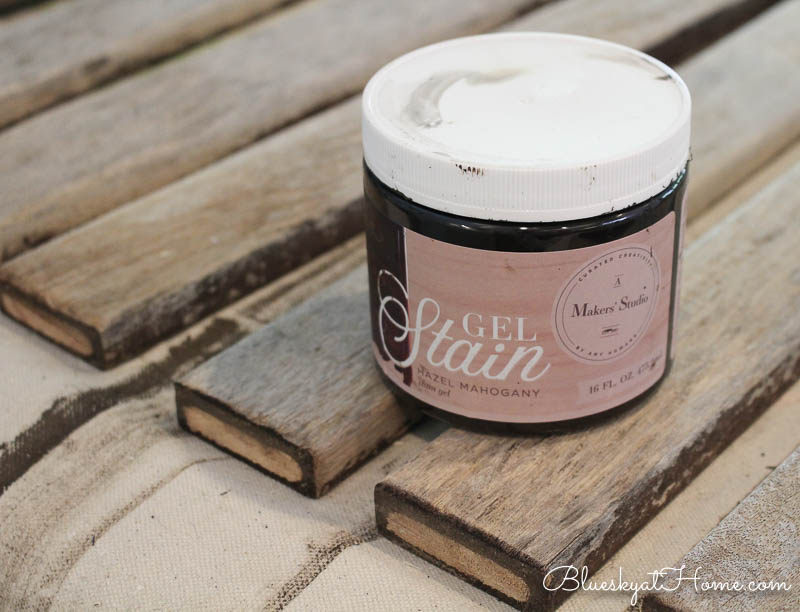
The color of the Gel Stain that I used is Hazel Mahogany, a rich dark brown. I picked it last summer to match the dark legs of the new patio coffee table. There are 4 other stain colors available. In this image, you can see the edge of the slat where I cut off the end piece.
The Gel Stain is so easy to apply using a chip brush. It goes on smoothly, not sticky like some stains. And, of course, there is no odor. I shared that the Teak Oil I applied to the teak table last week almost made me sick and the house smelled.
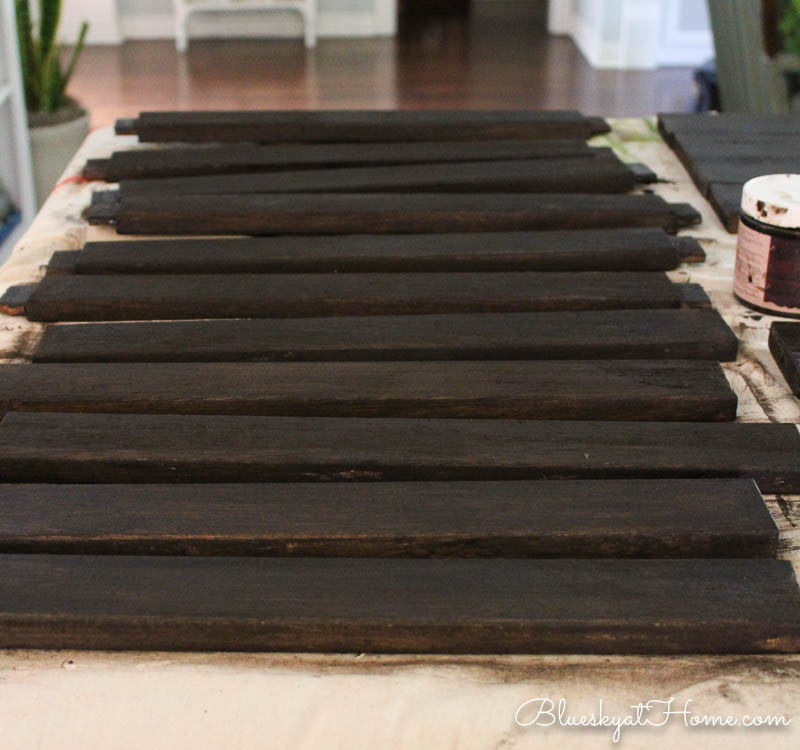
The Gel Stain takes about 30 minutes to dry. I decided that this would be a great time to give the table tops from last year a 2nd coat of stain. All the slats got 2 coats of stain and then all the wood got a coat of the Matte Sealer. This product also has no odor and application is easy. I cleaned the brushes that I used with just soap and water.
Attaching the Slats
I was going to nail or screw the slats to the frames of the tables, but Sweet Shark suggested using wood glue instead. Genius! and I had wood glue on hand. I just made sure there were no small nails sticking out of the wood.
I applied the wood glue with a small chop brush to the wood frame of the table tops a little bit at a time, adding a slat as I went along.

For the larger table, I started on the outside edges. I didn’t try to overthink the spacing, just eyeballed it. You can see the ends of the longer slats.
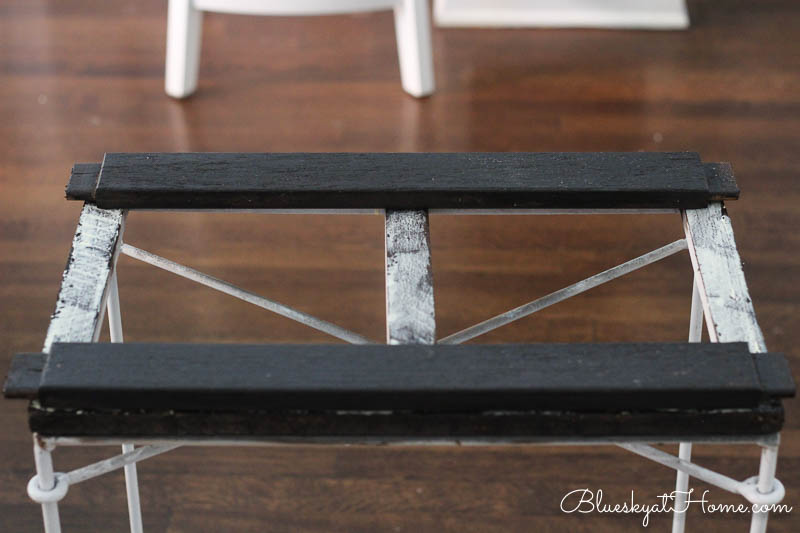
When I finished glueing the slats, I thought putting something heavy on top would make for a secure bond. I pulled out every can, jar and heavy object I could find.
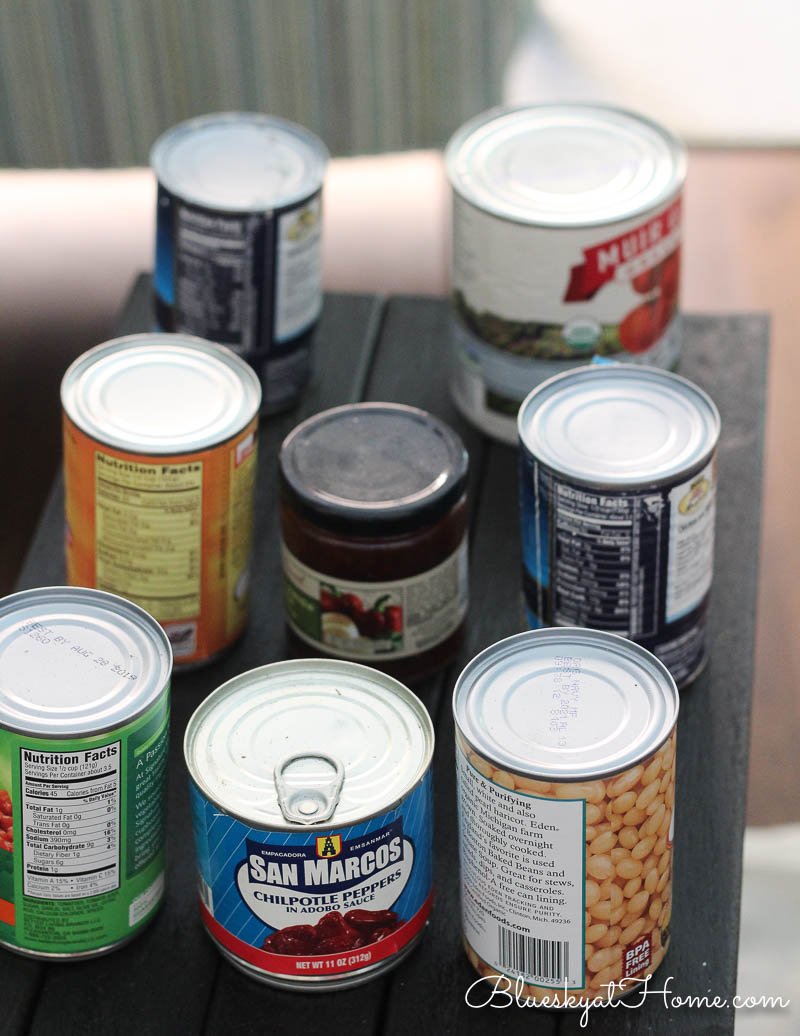
I let the tables sit over night. The next morning I tested the glue and it had definitely worked. The slats were firmly stuck to the table frame. That was so easy and much easier than using nails or screws.
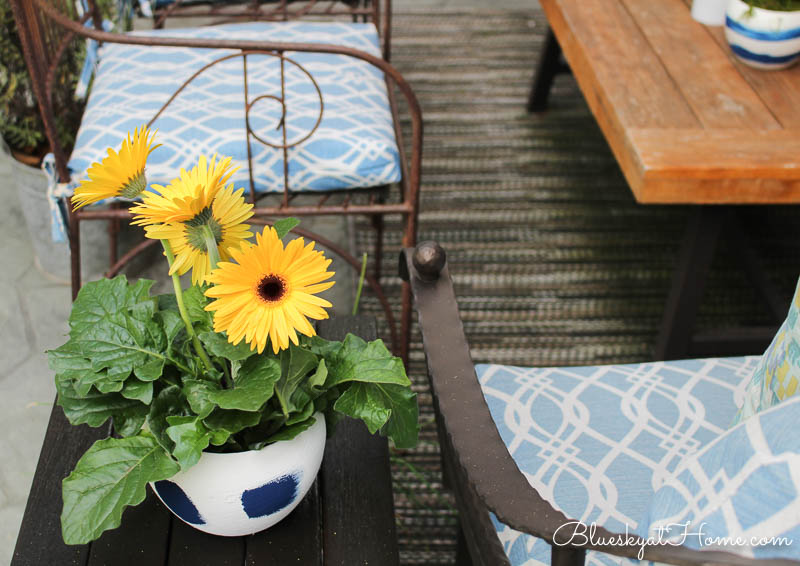
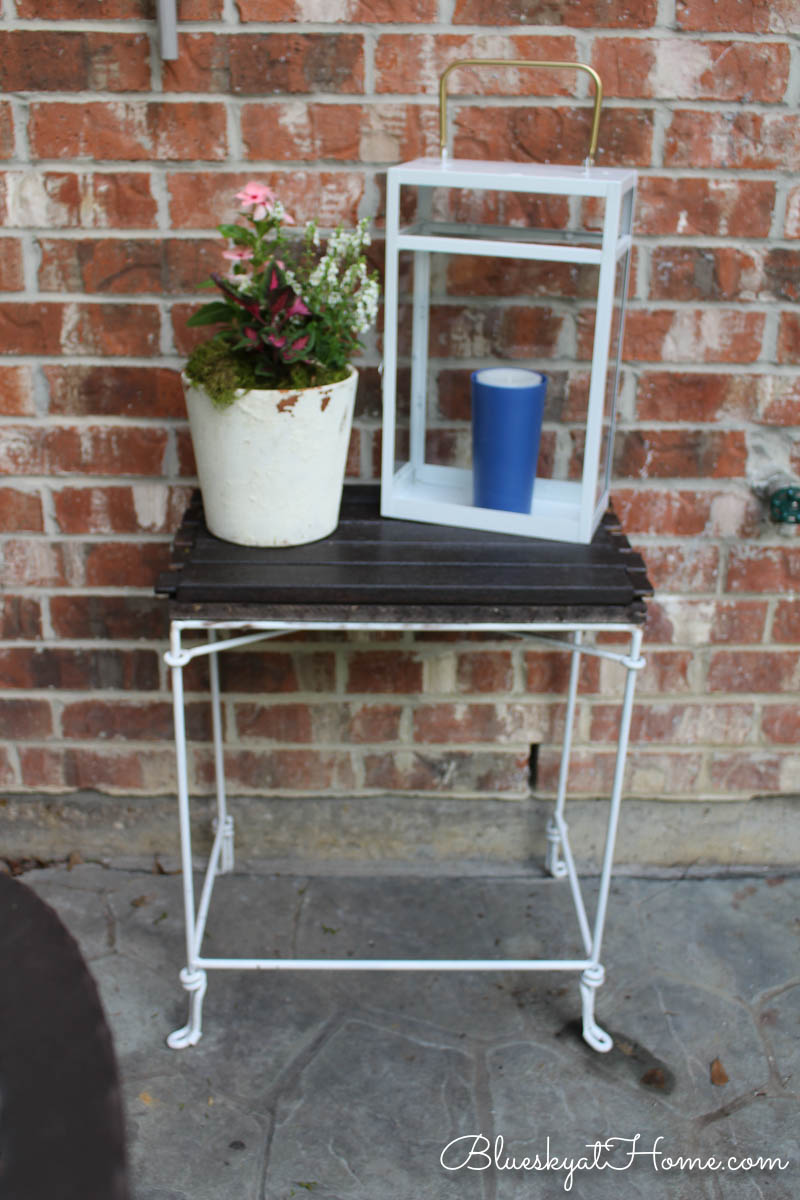
We carried the new tables outside and positioned the smaller one next to a chair and the larger one against the house. Then I could add the pretty things, like pots of flowers and a new lantern.
Finally, I added the table tops from last summer back on their bases.
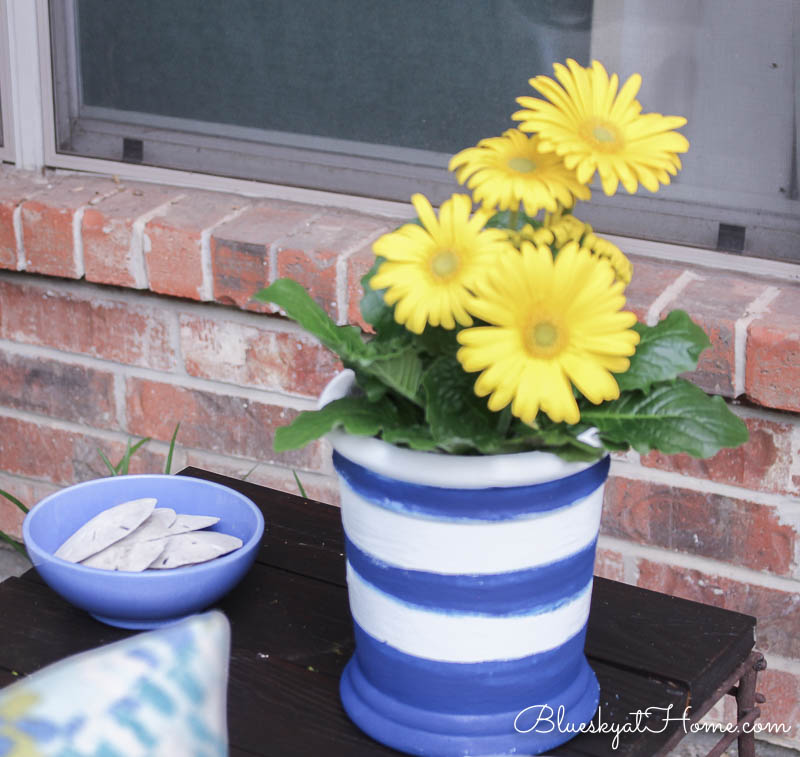
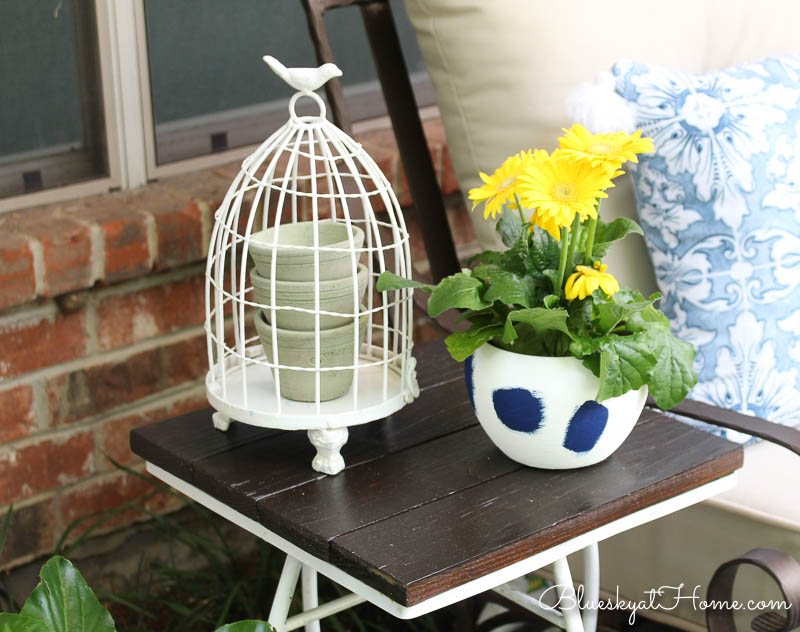
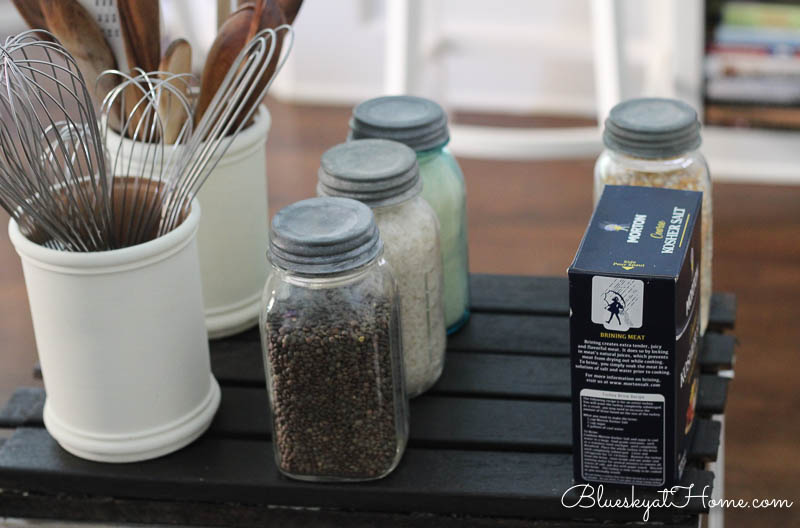
Now we have 4 small side tables with matching tops. A place for a pretty painted pot of flowers or a glass of tea.
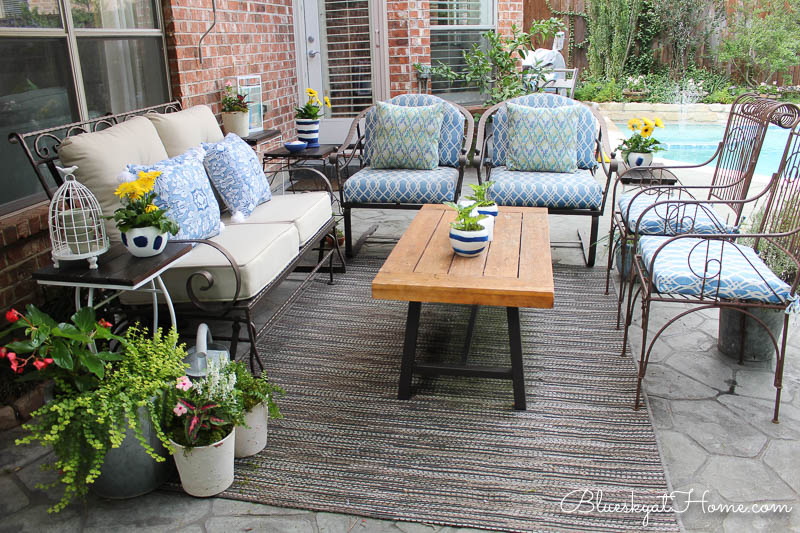
I feel like our patio area is now complete.
I hope to you inspire to rescue, restore and reuse the treasures you find at flea markets, estate sales, and garage sales. Creating these patio table tops from the extra slats didn’t cost me a cent, just a little time ~ and so much satisfaction.
I have 1 slat left ~ my DIY thinking cap is on.
Do you think I’m through using parts of the teak table? Nope. There’s another leaf from the teak table ~ in perfect condition. Stay tuned!


HI Carol, YOu know I love a good upcycle! Sharing this on the weekend edit!
laura at Everyday Edits dot co (formerly not a trophy wife). ;0)
Laura, love the new name of your blog. I rebranded 18 months ago. It’s a lot of work but so worth it. Thanks so much for your visits.