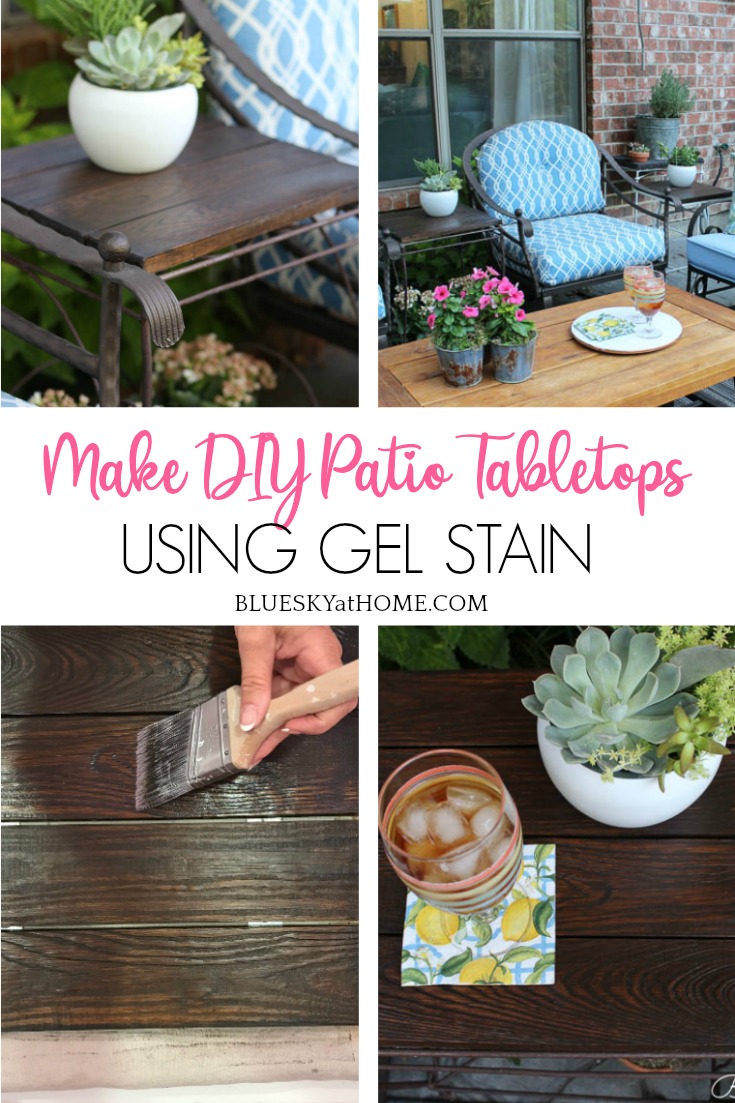
How to Make Easy DIY Patio Tabletops Using Gel Stain
Do you ever have projects around the house that come to a halt? This easy DIY patio tabletops project should have been completed a few weeks ago. The wood was bought. The wood was cut. The table was assembled. And then the tabletop project came to a screeching halt. It wasn’t my fault, really. It was the stain’s fault. Or the lack of stain, I should say? What was the problem? I’ll tell you.
Have you ever used a stain for a DIY project? Maybe you have a table, a chest, or a buffet that belonged to grandma or you found at an estate sale that has yellowed or is scuffed or nicked with wear and tear. Maybe your kitchen cabinets have an old stain on them that screams 70’s or 80’s and desperately needs an update. Or you want to create a new piece from raw wood ~ a table, a bookcase, a headboard ~ and you want a rich stain rather than paint.
But we’re back to the problem. The big stain problem. I needed a stain for my patio table tops project. A rich, pretty brown stain. I didn’t need much. But it was nowhere to be found.
And then my project was put on hold. It was time to go to Haven in Charleston for 3 days and then 3 more days on vacation in Charleston. When we returned home, the tabletops that I had built were still sitting unfinished and raw and wondering why they were still raw wood and not dressed up for primetime.
I had a surprise for them. In Charleston, I thought I found the solution to the stain dilemma. And here is the happy ending to this story. I did find the perfect stain and it worked and my DIY patio tabletops are now done and pretty and just as I imagined them. They are enjoying the outdoors and now they are the icing on the patio cake.

How to Make Easy DIY Patio Table Tops Using Gel Stain
My tabletops and my stain are so happy. They are a match, the perfect pair. I’ve shared with you the beginning and the end of the story. It’s time to share the middle, how we got from A to Z. And I’m so excited because you can be part of the story too.
My DIY Patio Tabletops ~ Let’s Start at the Very Beginning
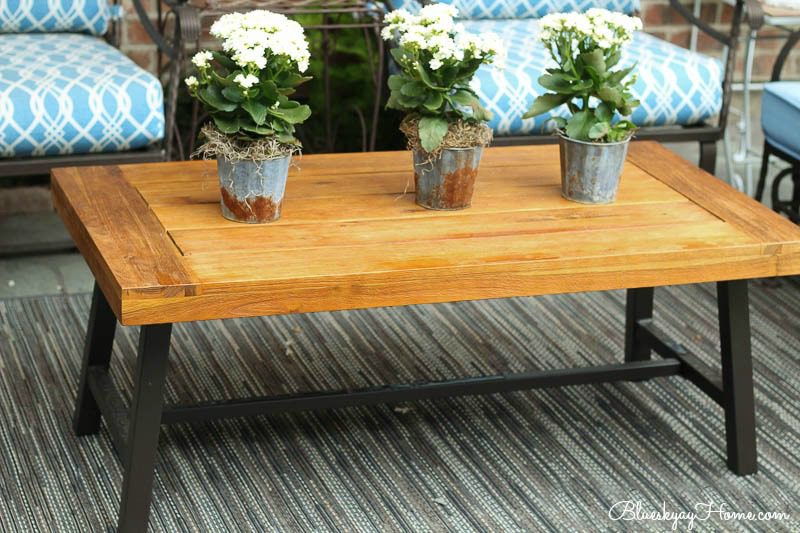
At the beginning of the summer, we ordered a new patio table to take the place of the one that I had made when we moved into our home 6 years ago. You may remember that I confiscated the wood tabletop (one of my first DIY construction projects.) to make my American flag. We wanted a table that was bigger, more rustic, and functional. I found the perfect one on Wayfair. Then we bought a new more neutral rug to go under the table.
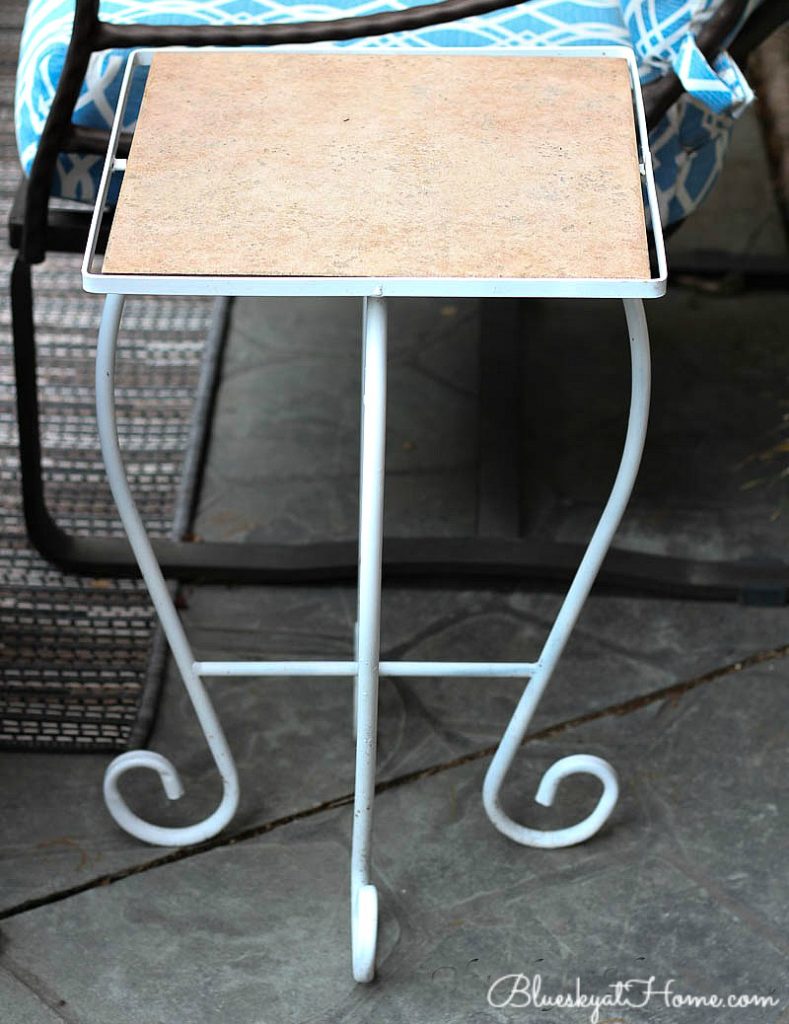
I already had 2 metal side tables that were flea market finds.
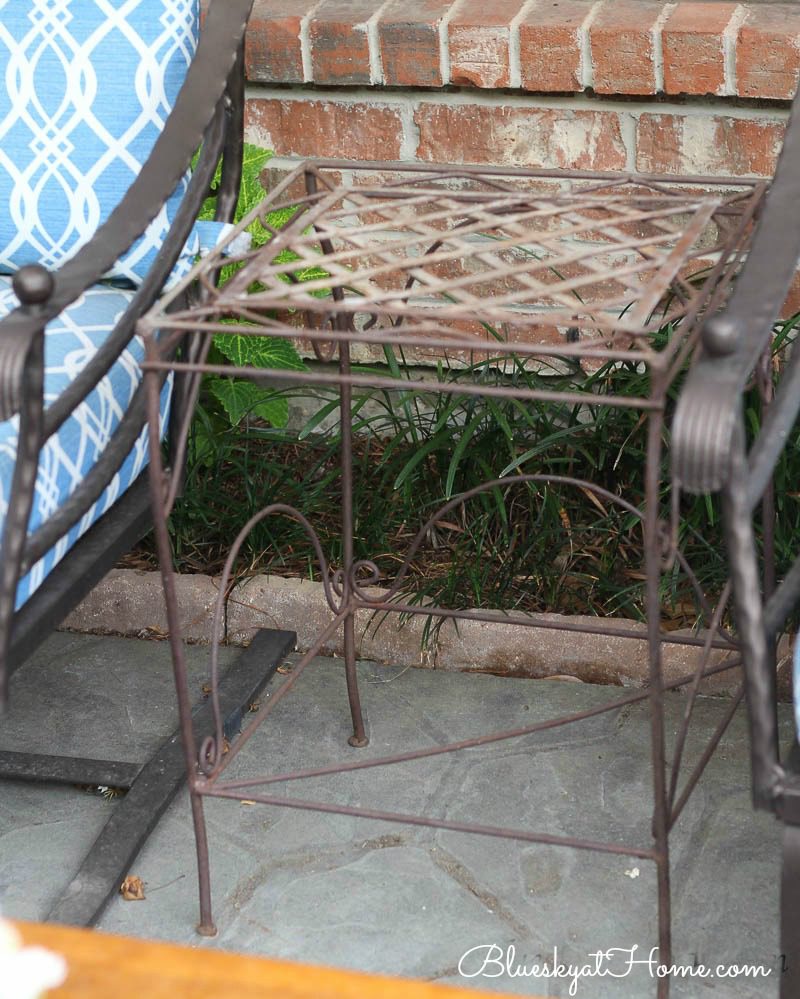
This one was actually green when I bought it. A little spray paint and a piece of tile found in the garage when we moved in the house for a tabletop made it functional.
I had 3 tables that were a hodgepodge of styles, colors, and tops. What could I do to give the sitting area on the patio more consistency? I couldn’t change the style of the tables or the shape. The most obvious option was to make tabletops for the 2 small tables that were more like the stained wood top of the large table.
I could do that.
How to Make the Patio Tabletops
First, I measured the tops of the tables and determined that I needed 1 tabletop that was 14 inches wide and 1 top that was 16 inches wide. I did not want a solid piece of wood, but rather a “slat” look like our Wayfair table. So I needed:
- 4 pieces 14~inches long
- 4 pieces 16~inches long
- 4 brackets to hold the wood pieces together
- screws
- stain for the table tops
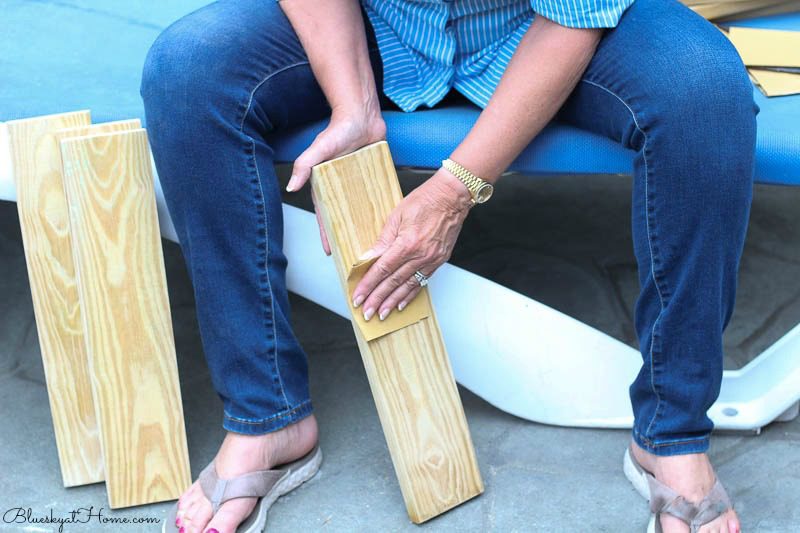
I needed a 1 X 4 pine board that was treated for outdoor use. I knew that Lowe’s carries those in 8 and 10~foot boards. A 10~foot board would be just the right size. However, you do want a board that is straight as can be with no warping. The nice lumber man at Lowe’s and I went through a dozen 10~foot boards and couldn’t find one that was straight. The boards come in slightly wet. Finally, we found two 8~foot boards that were straight. It cost me a few more pennies, but I got better wood.
He cut the boards into my required lengths. I obviously had some extra, which was O.K. I knew I could use them. He also told me to let the wood sit outside for a day or 2 to thoroughly dry out.
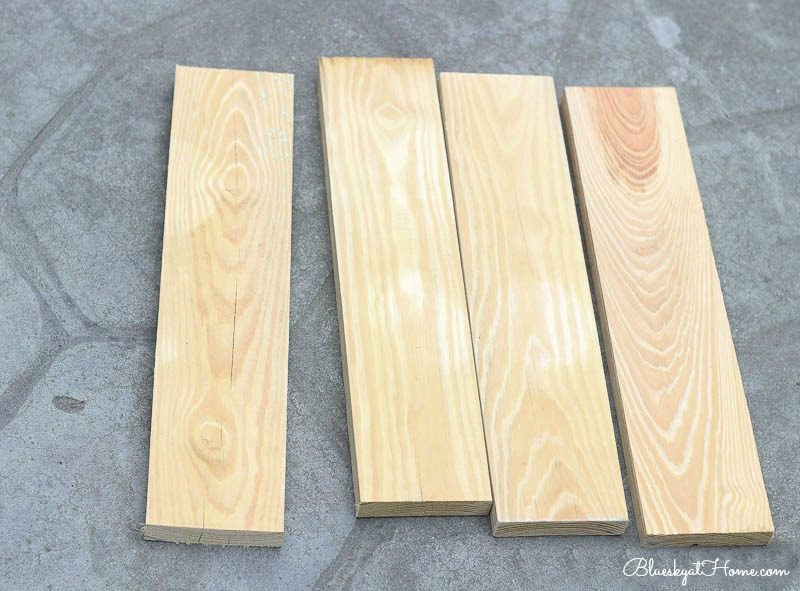
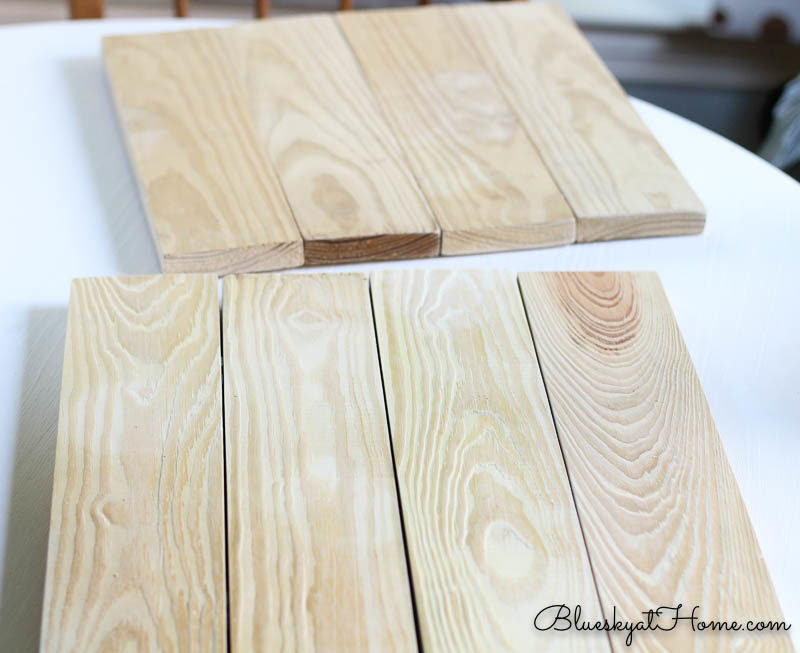
Next, I sanded the ends of the cut boards to smooth out the rough edges.
Now we were ready to attach each set of boards together.
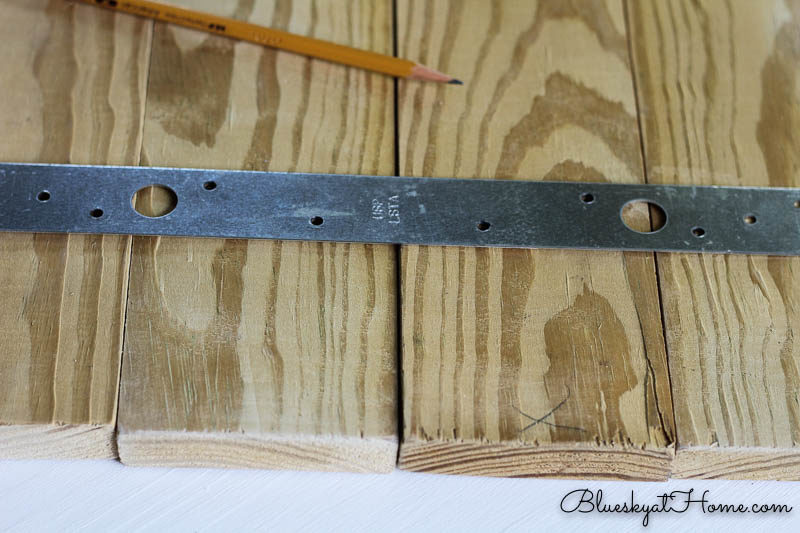
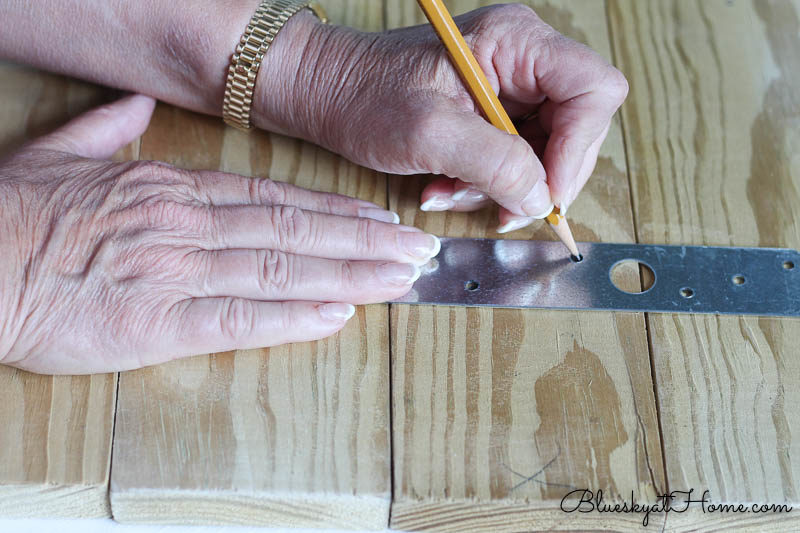
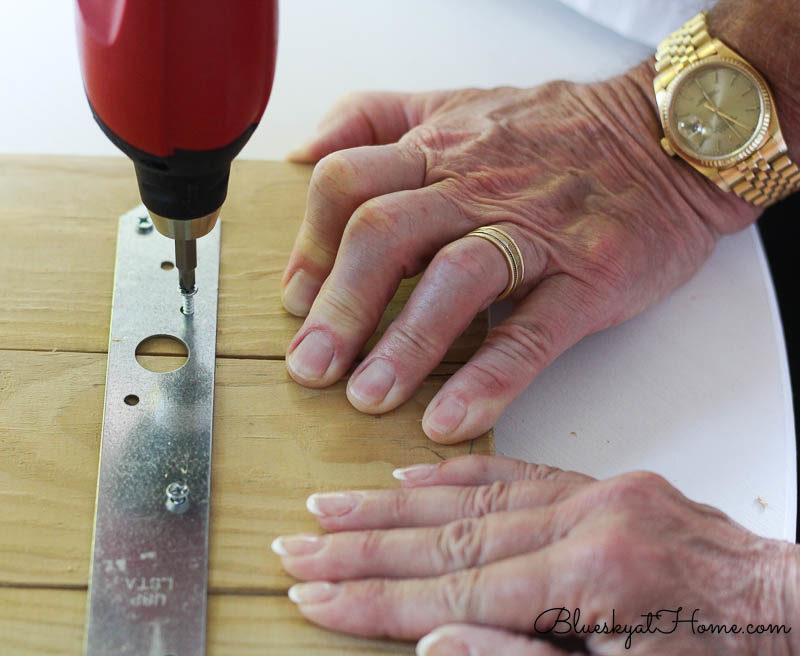
After deciding which side of the board I liked better and lining up 4 boards with the edges even, I placed a metal bracket on the back of the 4 boards. I found which holes worked best ~ I would need to attach all 4 boards ~ I used a pencil to mark where the screws should go.
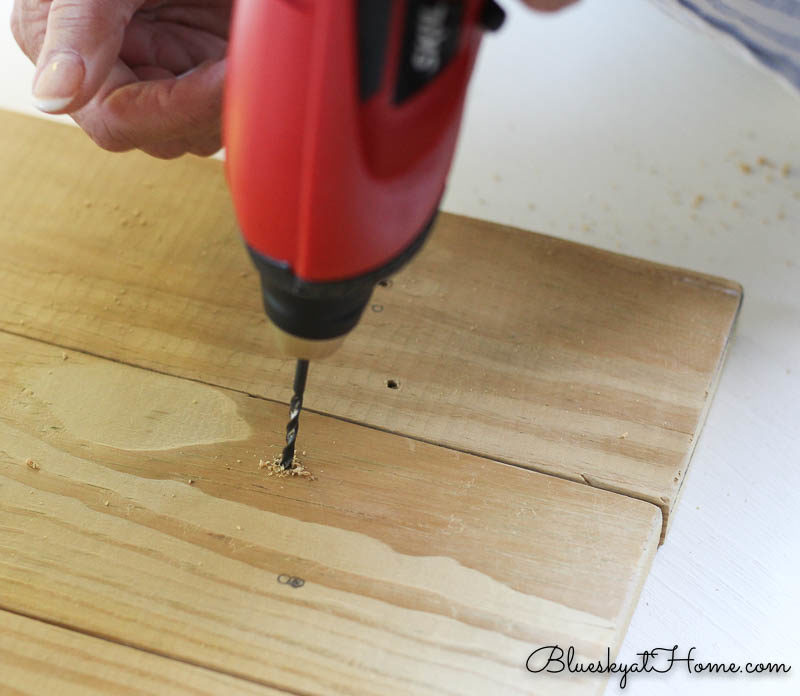
Then I used the pilot drill to start the holes.
I decided to call in the big guns (AKA Sweet Shark) to help me get the screws in. I really can do this myself, I just like to make him feel useful.

Our 2 DIY tabletops were ready for staining. I knew we had a large can of stain leftover from when we added more fencing in the back yard. But it was 4 years old and was really red and it smelled awful. A trip back to Lowe’s. But you know what happened. I couldn’t find a stain. Then I drove over to Home Depot, but they carried the same types of stain. The cans were so big and I only needed a small amount. And, a stain would be a mess to clean up. And the smell of the stain really turned me off. My plan was getting waylaid.
And that was the middle of the story.
Now it was time to leave for Charleston and Haven Conference. I was gone from home for a week. I really wanted to finish my DIY tabletops. But you know that this story has a happy ending.
The Stain Dilemma Solved with New Gel Stain
This post contains affiliate links to products that I use, love, and recommend. If you should purchase any product through this site, I may receive a commission but you do not pay one penny more.
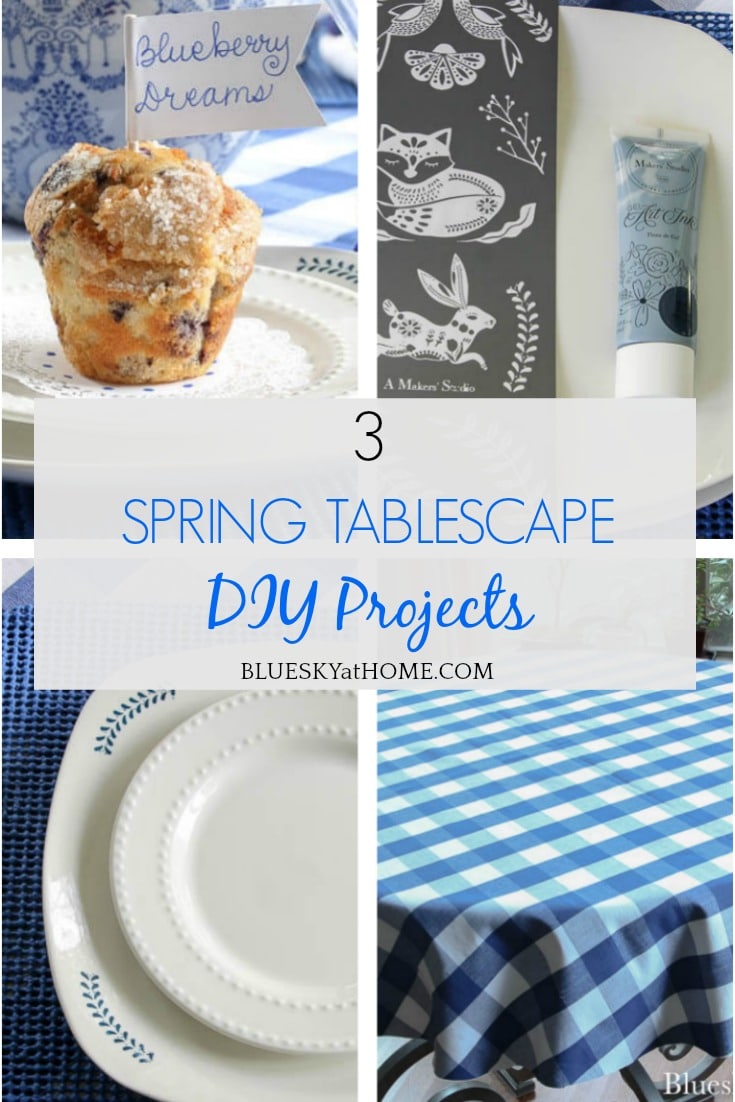
You read the beginning of the story and you now know the middle of the story. Sort of. Here’s the part that led to the happy ending ~ the gel stain that I discovered at Haven. The wonderful gel stain created by A Maker’s Studio. I have told you a little bit about A Maker’s Studio. Now I want to show you how to use this great product. So I made you a video ~ a step~by~step how I used this product to finish my easy DIY patio tabletops.
Now, just sit back and enjoy the demo. Just click on the photo below.

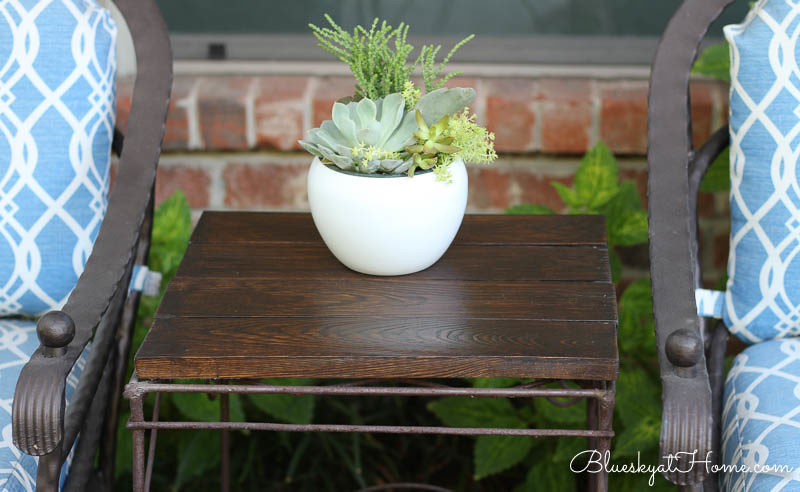
So let me show you my finished DIY patio tabletops. I love the way they turned out and now our seating area feels more cohesive and complete.
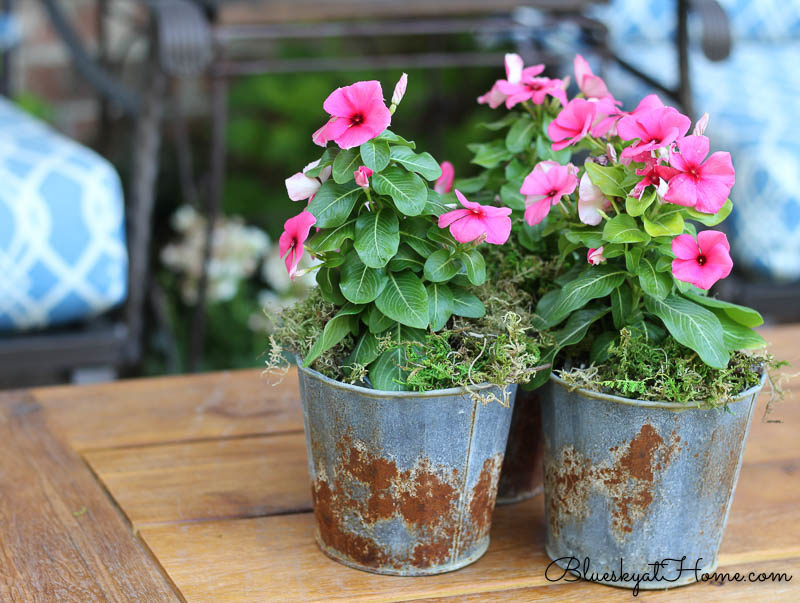
Between our 2 chairs ~ the perfect spot for a pretty plant.
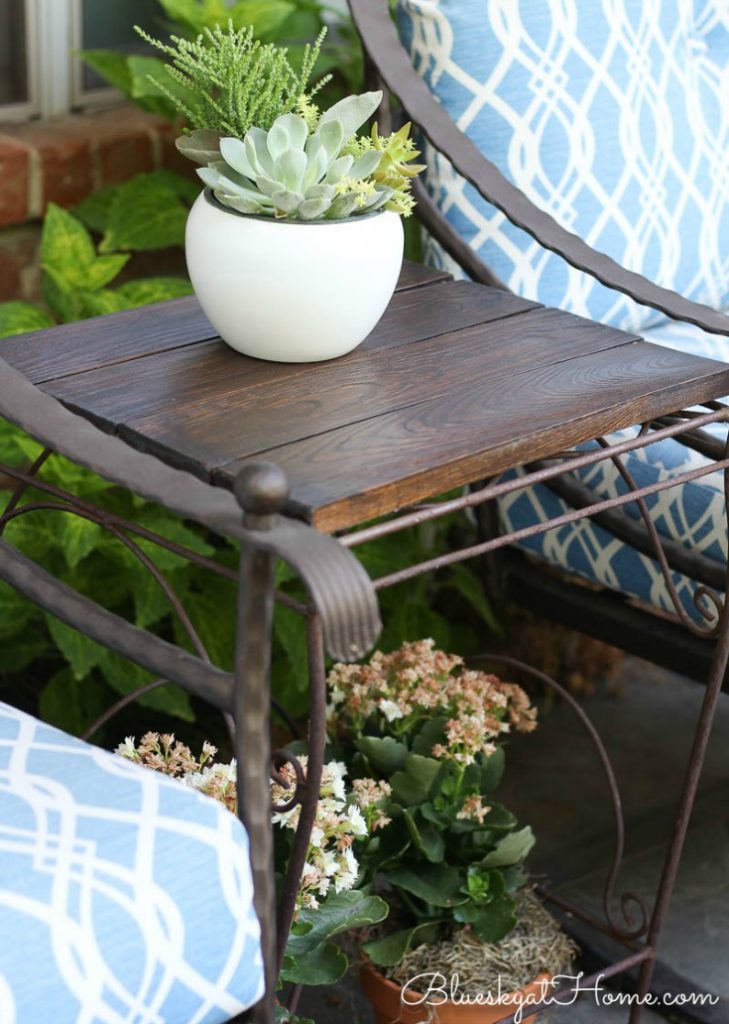
Between a chair and the love seat. For now, I’m leaving the base white for contrast.
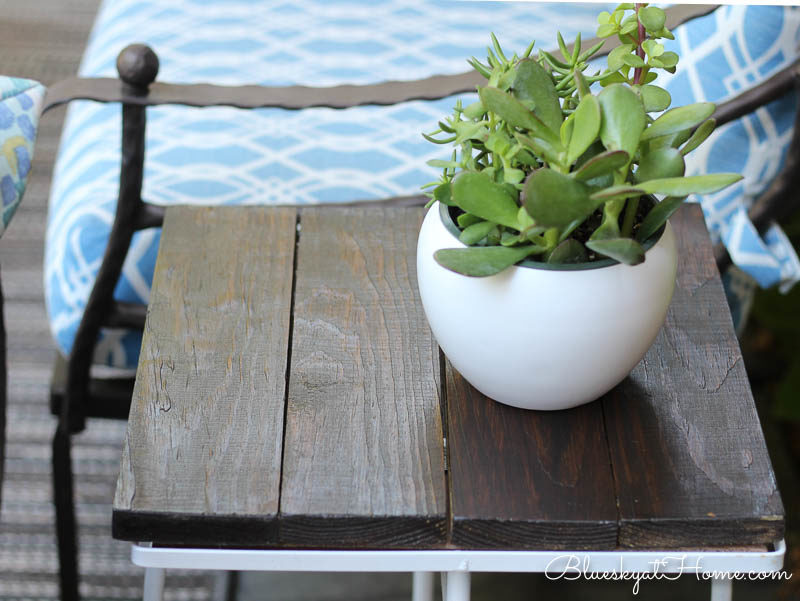
Now we have a cozy conversation area outside under the awning in the shade. You can see the difference between the lighter, reddish stain color of the patio coffee table and the two new side patio tables. Would you stain the coffee table to match the side table tops?
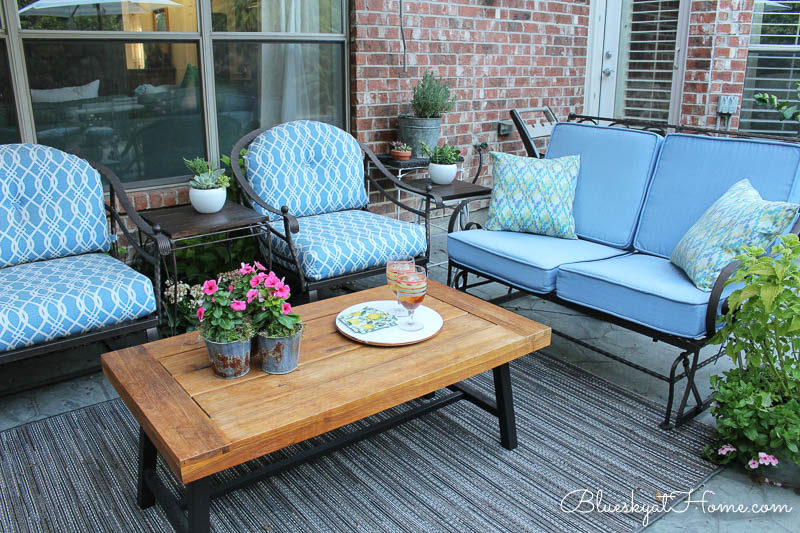
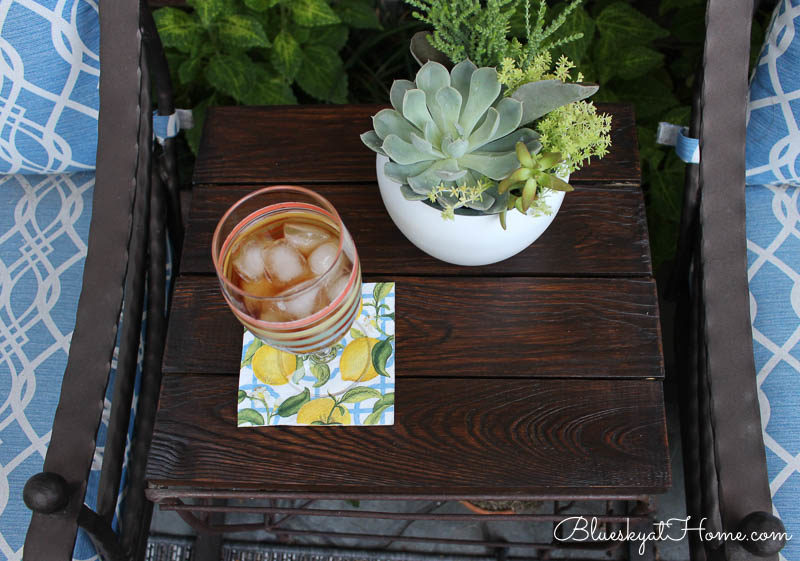
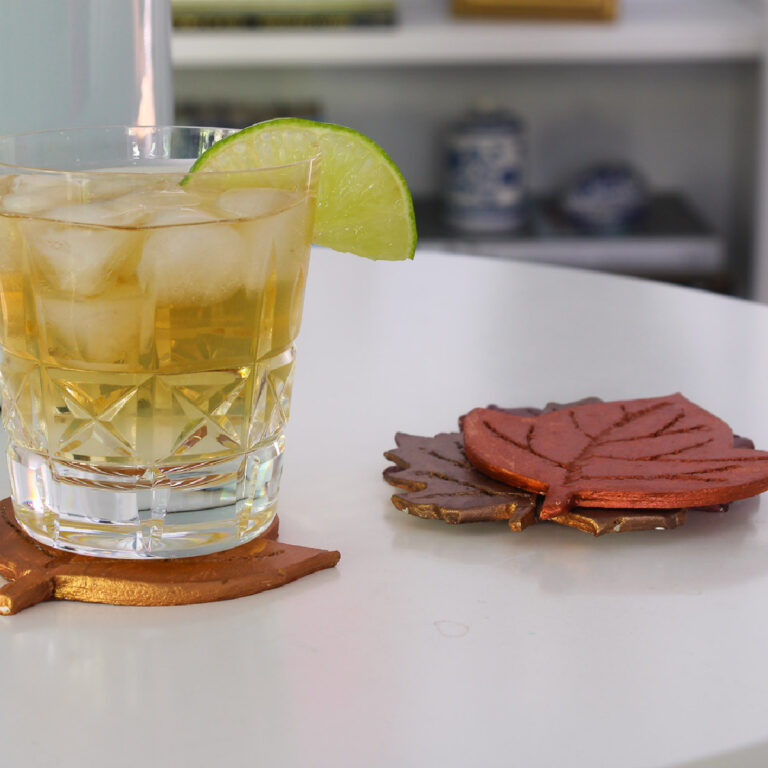
The perfect spot for a glass of cold sweet iced tea.
Thanks for watching my demo video and I hope you see the benefits of the gel stain from A Maker’s Studio for your next DIY project requiring stain. You can check out the A Maker’s Studio Gel Stains right here. And the Matte Sealer also.
And PIN this project for your inspiration.
Hi Carol, I love how your side tables turned out!! I like them with their dark tops and, no, I don’t think you need to repaint the Wayfair coffee table. It already has dark legs and those now coordinate with the side tables.
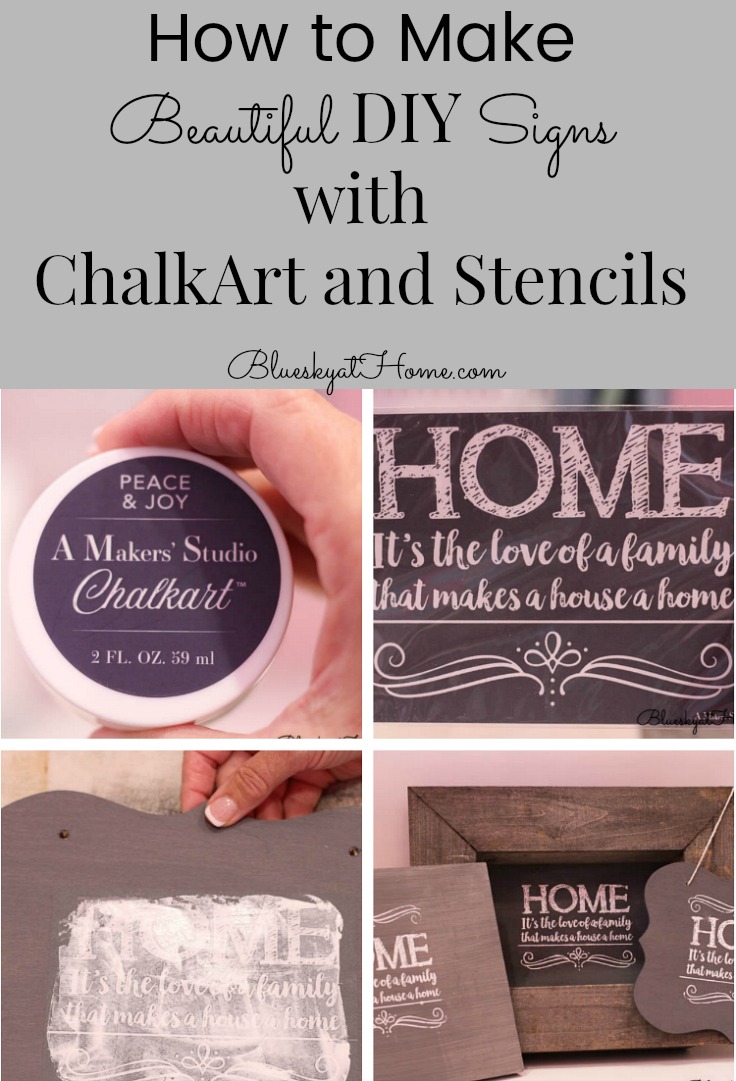
Great redo and the Chalk Art project sounds fun,
Hugs,
Barb 🙂
Barbara, thanks so much for the feedback.
The tops look great. The color is so rich looking. Thank you for sharing at Snickerdoodle Create Bake Make.
Thank you Debra, I’m really loving them.
You did a great job. Now the side table can relate to the coffee table. Looks good!
Christine, it doesn’t all go together so much better now. Thanks for dropping by.