How to Paint a $20 Estate Sale Cabinet
Do you shop garage sales, flea markets or estate sales? I love them all. It’s like hunting for buried treasure. I found an ugly $20 cabinet at an estate sale. It’s not ugly anymore. How to paint a $20 estate sale cabinet is a pretty amazing story.
If you love to turn the ugly into the pretty, you will love this transformation. Paint is the hero of this story. Paint is what came to the rescue, like the calvary or a knight in shining armor. In fact, painting this $20 estate sale cabinet is just volume I of the story
I had a vision in my head for a pretty cabinet to store extra serving dishes and platters. I wanted a knock~out piece of furniture for the living room. I just needed to find the cabinet. When I saw this cabinet at the estate sale, I knew it was the one.
I knew what this cabinet needed. It needed paint. It needed stenciling. It needed tender loving care. Believe me, this is a Cinderella story. Paint is the fairy godmother.

How to Paint a $20 Estate Sale Cabinet
You can find all sorts of cast~off furniture at estate sales. Sometimes you find awesome things you are not even looking for. Sometimes you are looking for something and you can’t find it. I was lucky. On this trip, I found a great cabinet. I knew it had a future.
And, just so you appreciate how long this paint project has been in the works: I bought this cabinet in spring of 2019. It sat in the garage the rest of 2019, and then I let 2020 go by. Finally, in early 2021, I decided now was the time.
THE INSPIRATION FOR THIS PAINTED CABINET MAKEOVER
The inspiration for this makeover came from a shopping trip to Mary Cates, a fabulous local interior design store ~ definitely not a big box store. I know this was in early 2019.
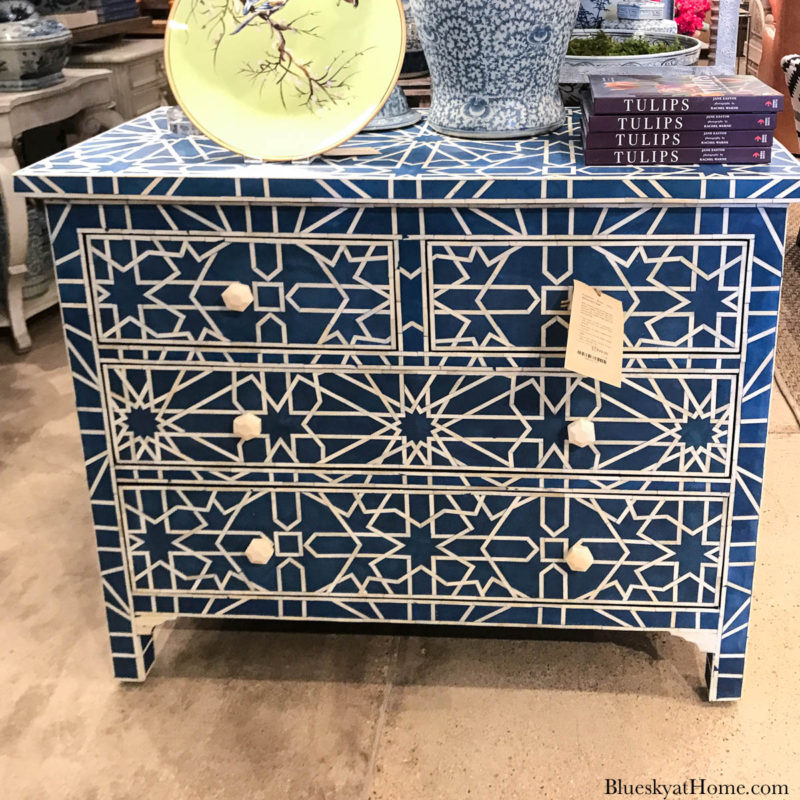
Then I saw these pictures on the covers of HGTV and Southern Home in 2020. Obviously, this design was still in style.


This style is very different from our more traditional/touches of farmhouse style. I was attracted to the bright deep blue and the striking design. I knew that this would be a long project, and it was. For you, I’m dividing it into two parts ~ the paint part and the stencil part.
THE ESTATE SALE CABINET ~ BEFORE
O.K., you ask. How ugly was this cabinet? It was this ugly.
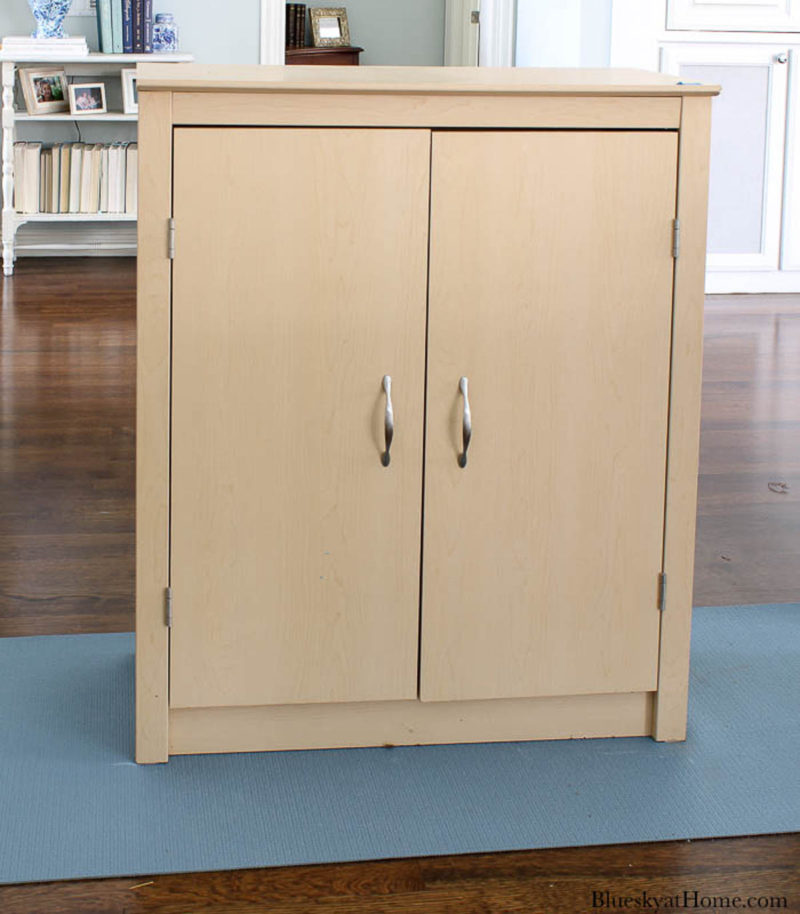
The cabinet was sturdy, but had a slightly yellow veneer covering. It’s as plain as can be. But as we say, “it had good bones”. One corner of the top was slightly “chewed”. The doors were almost a 1/4~inch out of alignment. The hardware was nothing to write home about.
DId I care? NO! This cabinet had potential!
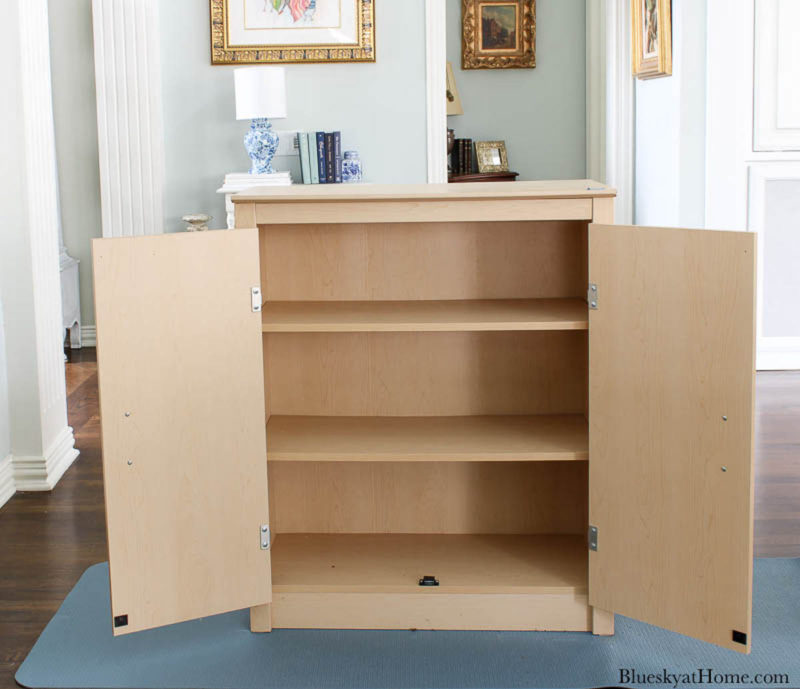
Inside were two adjustable shelves. That was a plus.
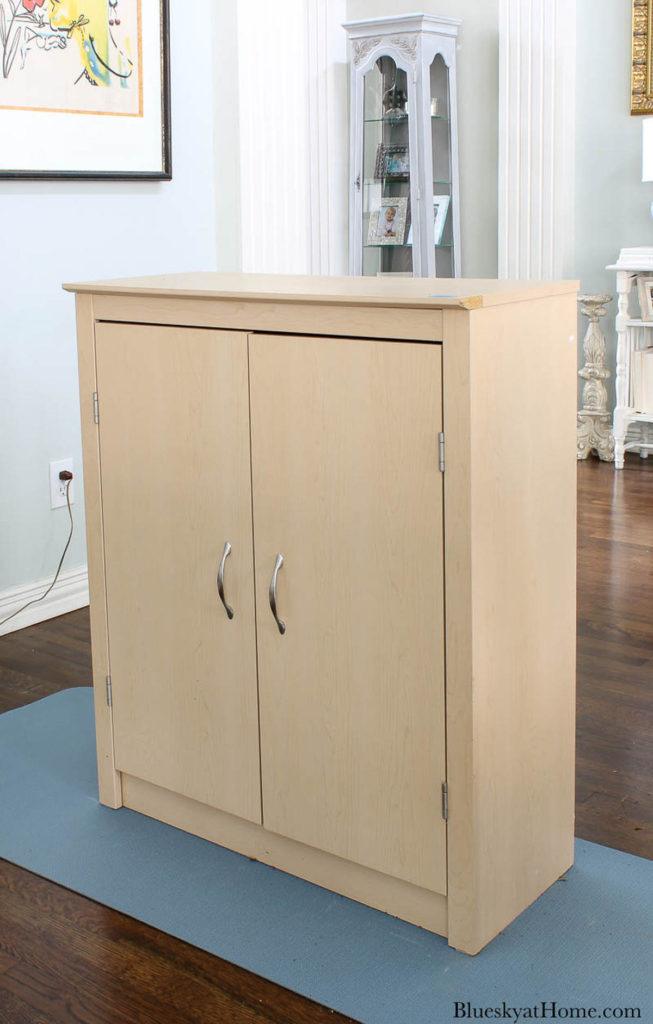
It was boxy, but had a nice size: 12 X 30 X 36. It would fit nicely in our living room. Everything that was wrong about this cabinet could be made right.
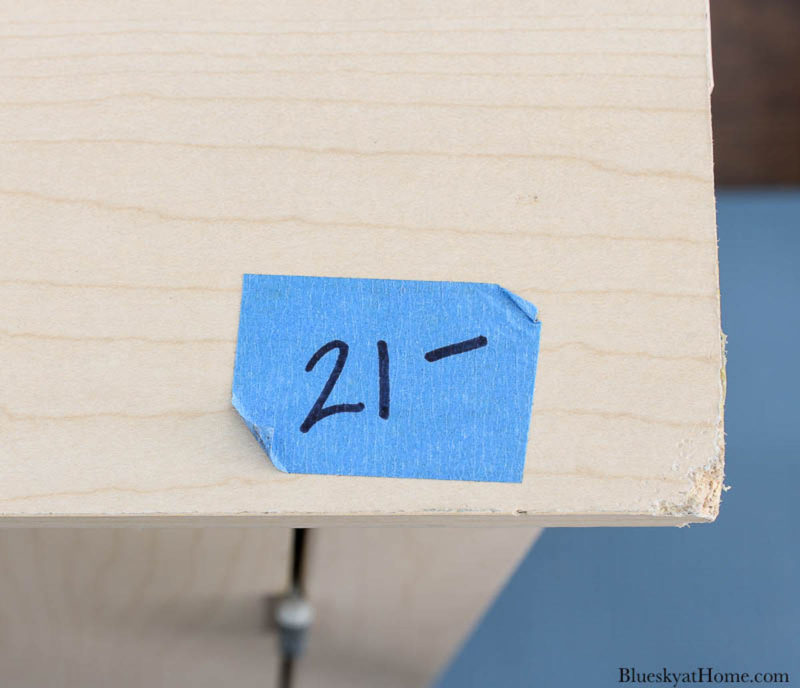
The tag said $21, but I was buying other things, so I asked would they take $20. I should have offered $15.
Here you can also see the corner that looks like a dog chewed it. A little sanding will take care of that.
Here was my plan:
- Paint the cabinet a beautiful deep bright blue ~ the color of chinoiserie.
- Paint the inside of the cabinet and the shelves white.
- Find a stencil design that would evoke the inspiration pieces
- New handles
- Add feet for more height and interest.
FINDING THE RIGHT PAINT COLORS
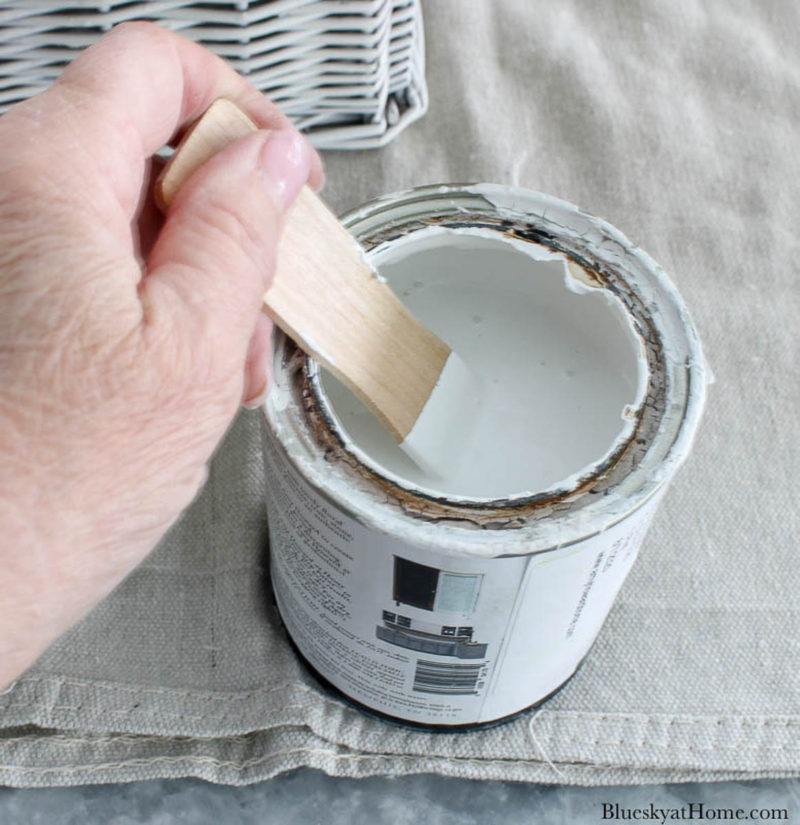
I knew that I would use Bauhaus Buff One Step Paint from Amy Howard at Home for the inside and the shelves. I already had about half a 32~ounce can on hand. I love this paint for furniture projects.
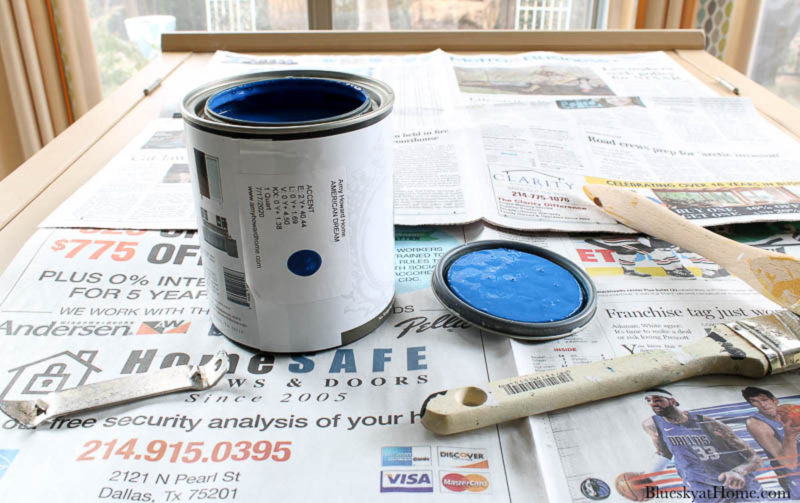
Then I searched on the Amy Howard at Home One Step Paint site for the perfect blue. I found it in American Dream and ordered a 32~ounce can.
Now I was ready to get started painting my $20 estate sale cabinet.
PAINTING THE CABINET INSIDE AND SHELVES
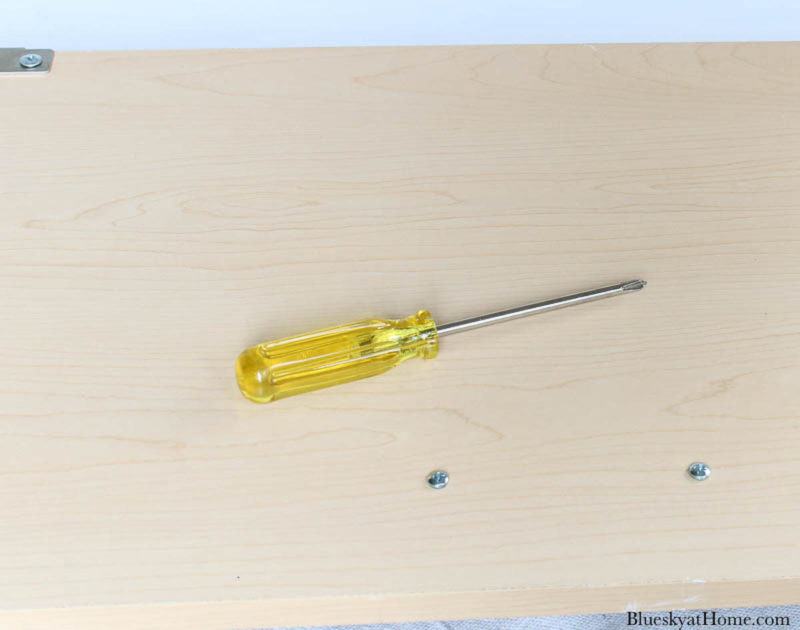
First, I removed the shelves and the brackets.
TIP: Put the brackets in a zip~lock bag or safe place so you don’t lose them.
Step 1 ~ I set up my painting “station” on the kitchen counter by laying my drop cloth down.
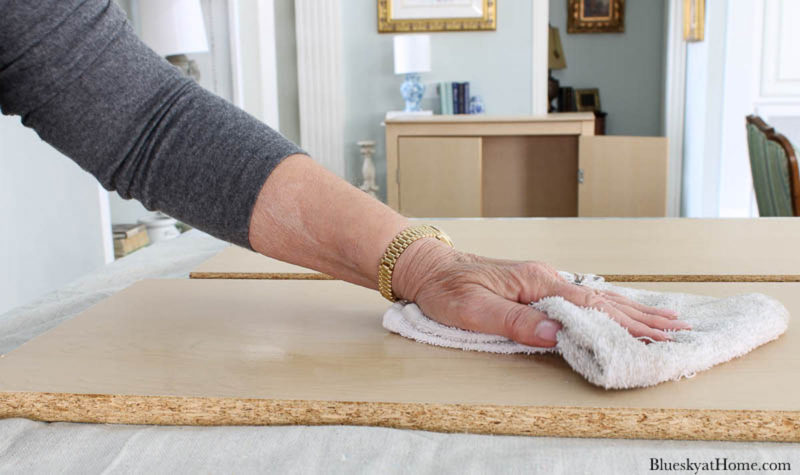
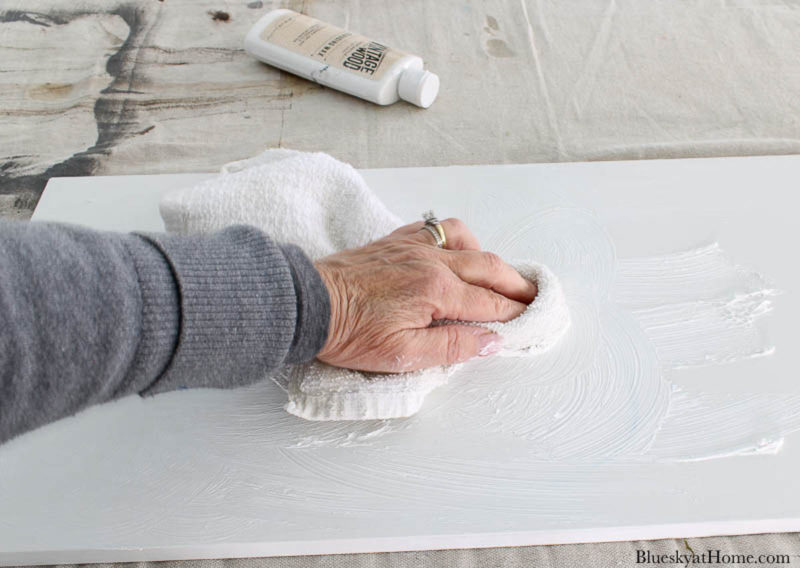
Step 2 ~ I cleaned the shelves, using Clean Slate to remove grease, grime, wax, dust and fingerprints.
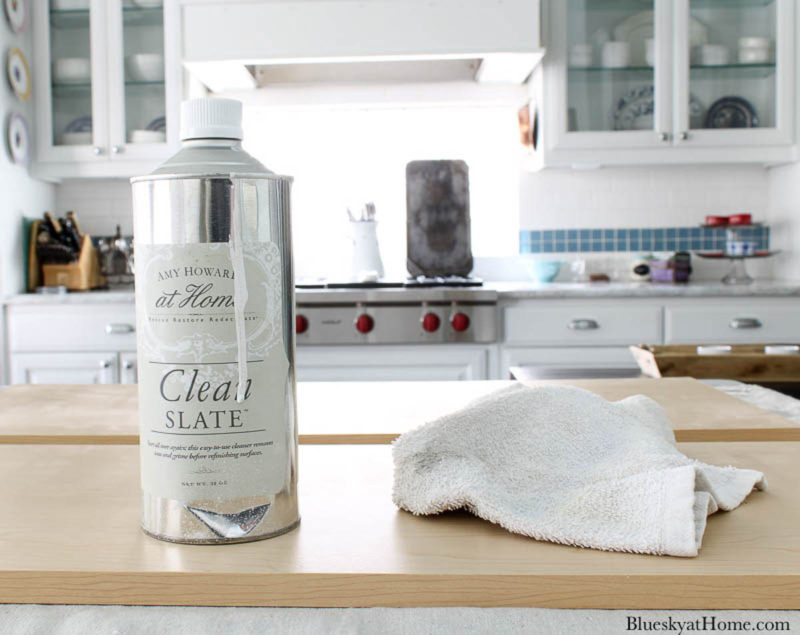
Here, you can see that the cabinet was made of particle board and then covered in veneer. I have never painted over veneer before.
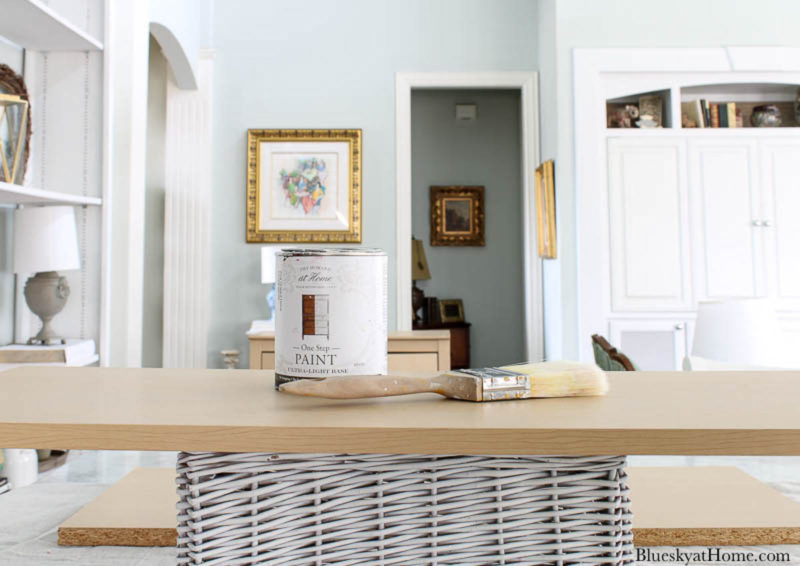
Step 3 ~ Have your paint and brushes ready. I used a basket to elevate the shelves off the drop cloth. I find that this prevents the shelves from sticking to the drop cloth.
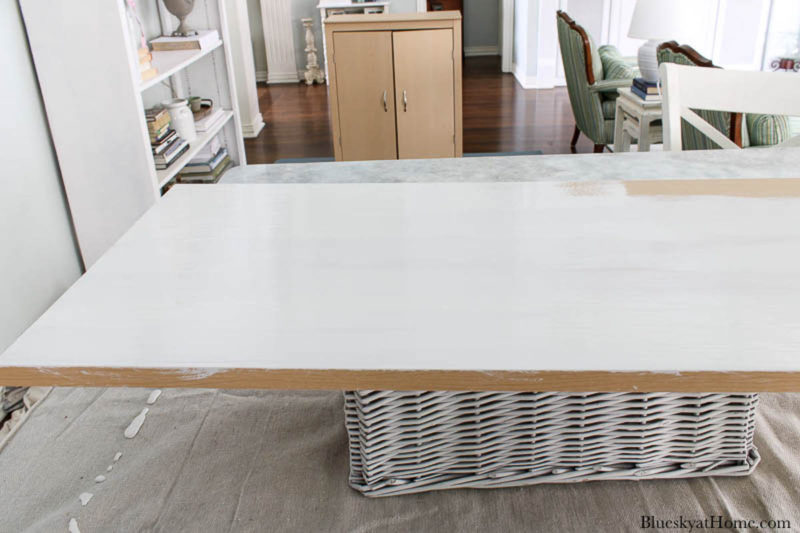
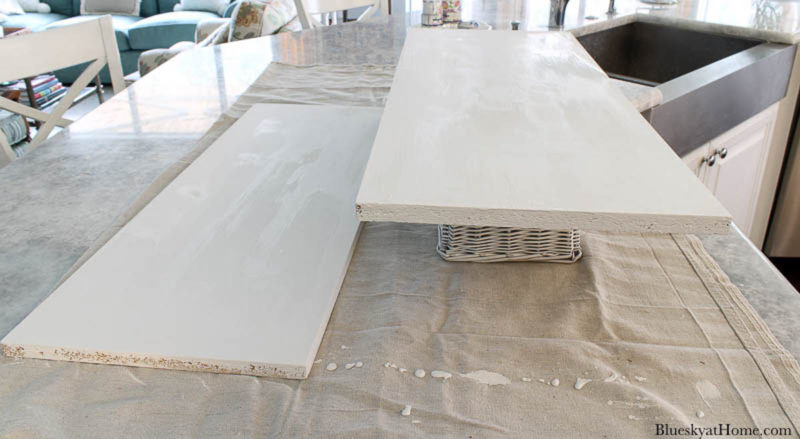
Step 4 ~ I gave the shelves 2 coats of One Step Paint, letting it drying thoroughly between coats.
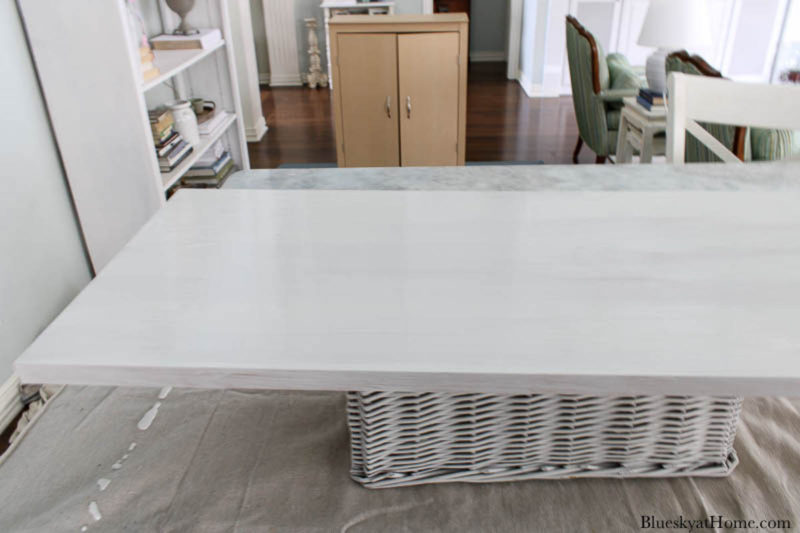
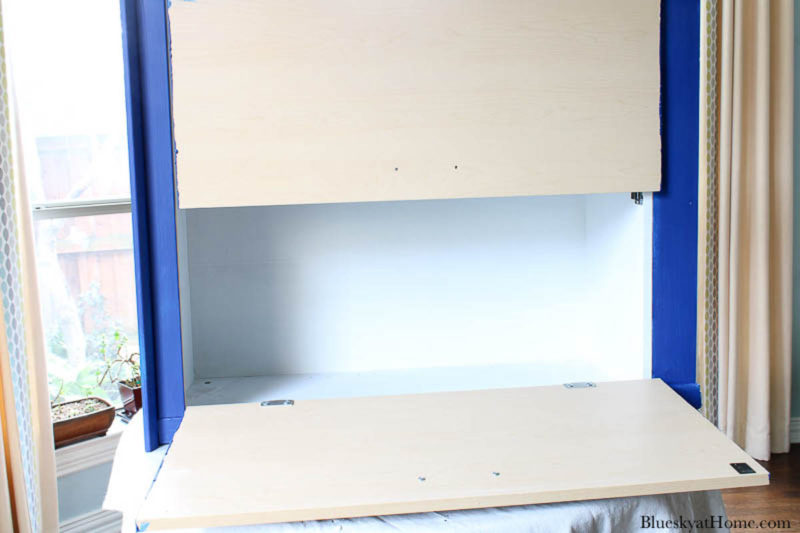
Step 5 ~ While the shelves were drying, Sweet Shark helped me lift the cabinet onto the breakfast room table for painting. I cleaned the inside with the Clean Slate first.
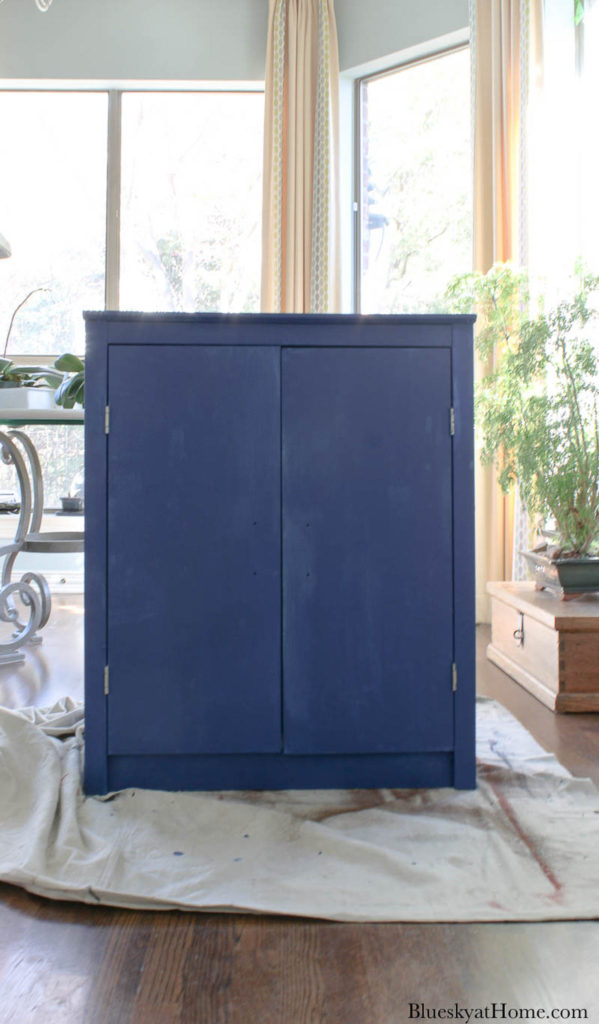
Here is the cabinet after the first coat.
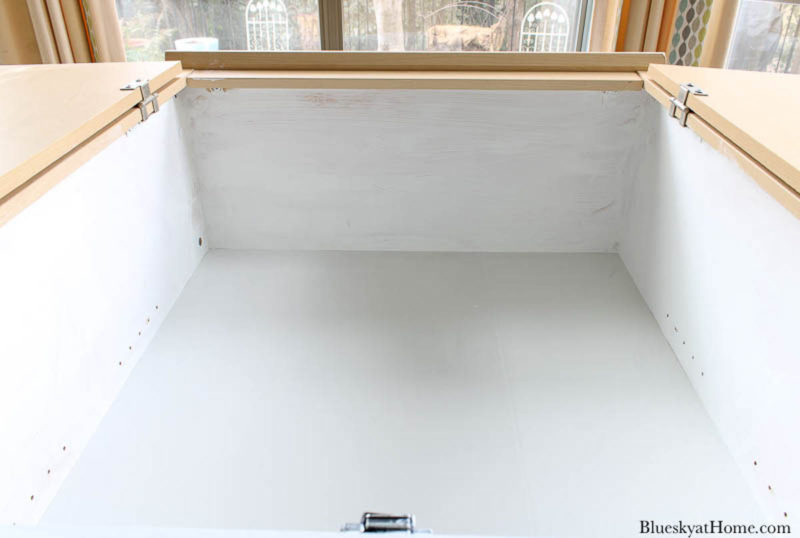
I honestly can’t remember if I did the first painting in one day or two. I was mixing this project up while doing other projects.
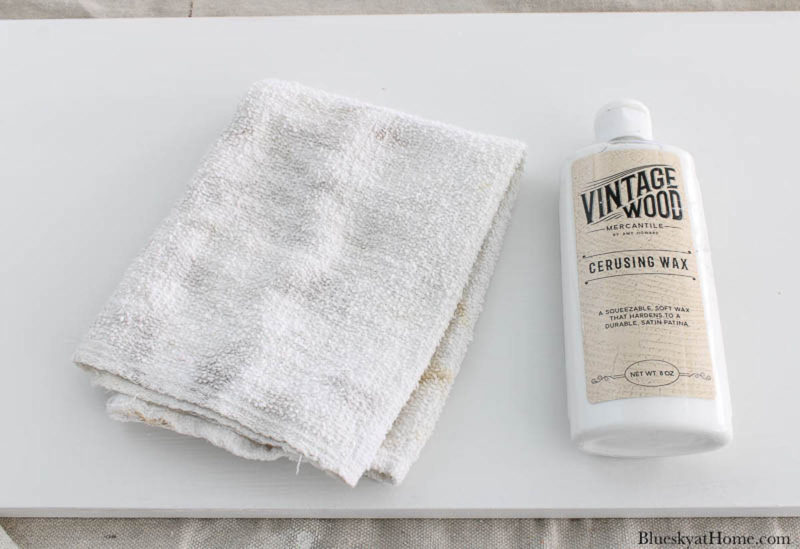
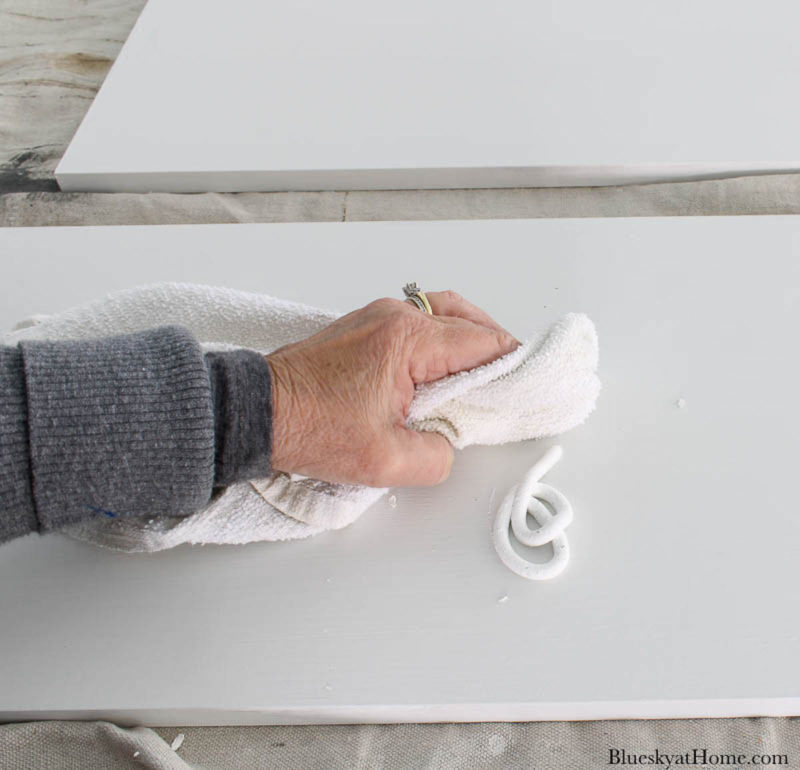
Step 6 ~ Since the shelves will get the most wear and tear of the entire cabinet, I decided to wax them for protection.
I used Cerusing Wax from Amy Howard at Home. I already had plenty. I love this wax. It goes on like softened butter and gives a dries quickly. It buffs easily with a clean rag.
I set the shelves aside and was ready to paintthe outside of the cabinet.
PAINTING THE CABINET BLUE
I have painted more pieces of furniture and knick~knacks that I can count. I have never painted anything with this intensity of color, so I was a little nervous.
Step 7 ~ SInce the cabinet was already on the breakfast room table, I left it there.
It was easy to paint the front of the cabinet frame.
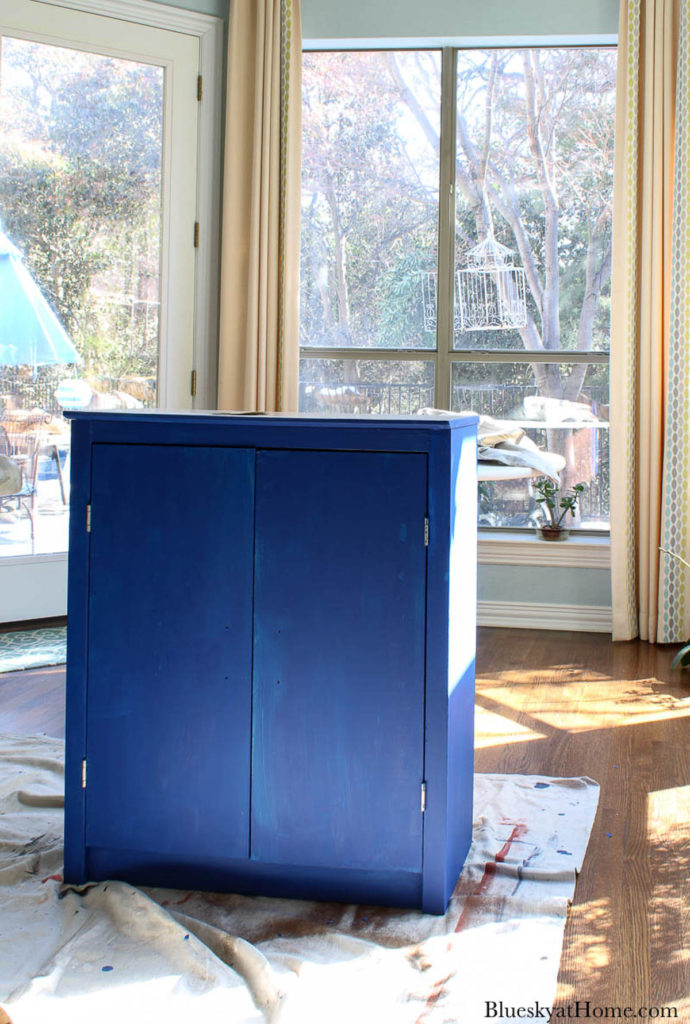
I do have to admit that I was a little worried that the blue would be too bold and bright. I decided to finish the project and see what I thought at the end.
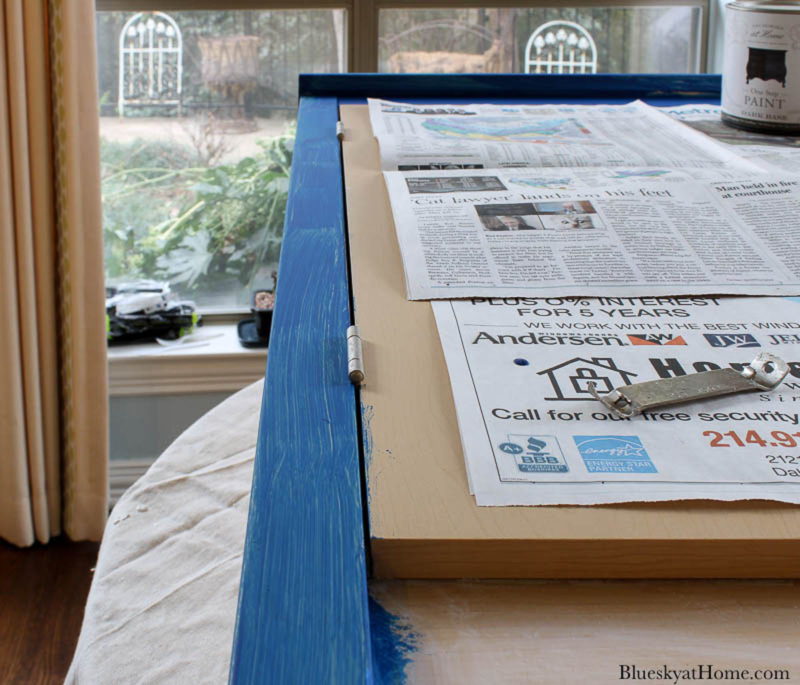
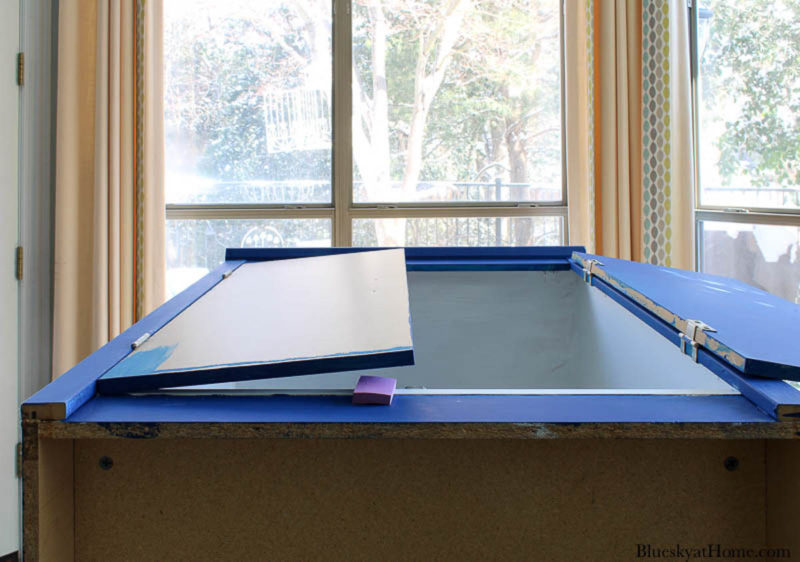
Step 8 ~ I flipped the cabinet from side to side so that I could paint on flat surfaces, including the outside and the inside of the cabinet doors.
Before painting the cabinet doors, I removed the handles. Don’t get rid of the handles!
I did have to stand on my step stool.
I started this paint project during the great Texas freeze in February. There was snow on the ground.

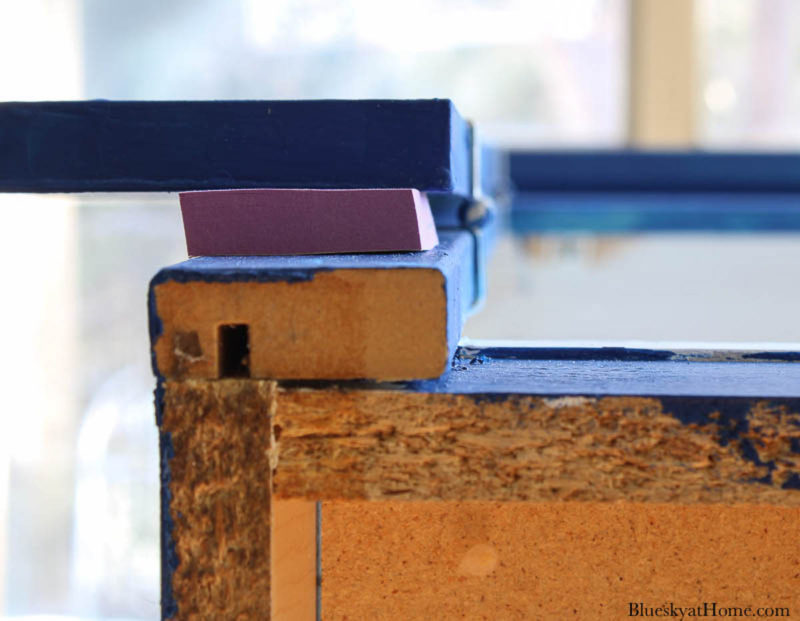
Step 9 ~ After the sides and the insides of the doors were painted, I painted the outside of the doors.
A little pad of sticky notes helped to keep the doors level and not touch the frame of the cabinet. Make sure the paint is dry!
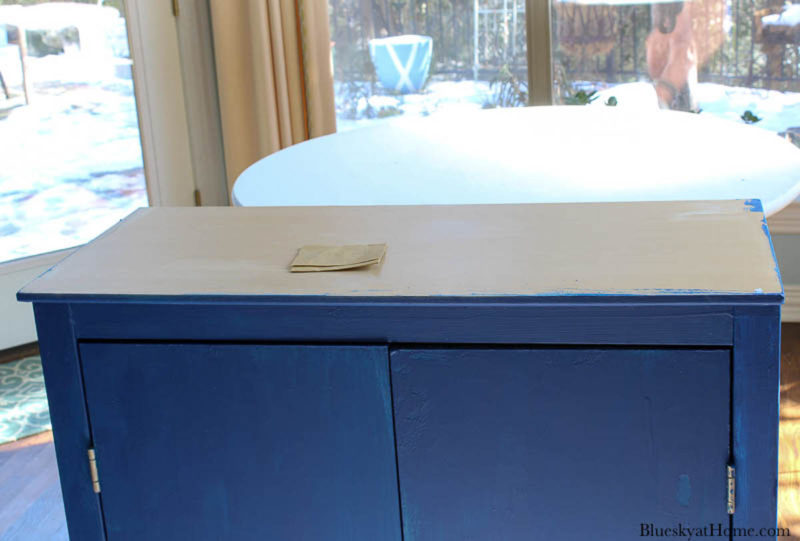
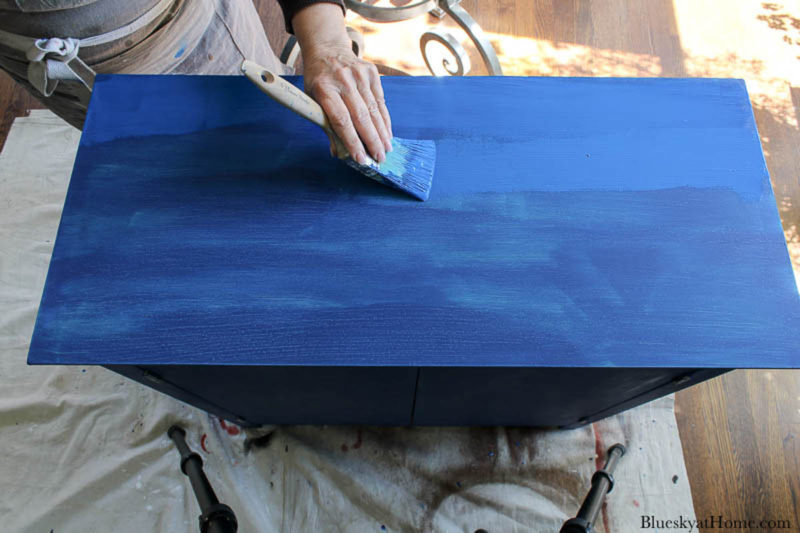
Step 10 ~ The last thing to paint was the top of the cabinet. I noticed that in places the veneer was causing the paint to “slip” a bit. Since the top of the cabinet would get a lot of use, I wanted the paint to adhere really well.
Normally, you do not have to sand painted furniture before applying One Step Paint. For the top, I thought a little sanding would rough up the surface and give the paint a better hold.
NOTE: I did sand smooth the chewed corner on the top of the cabinet before I ever started painting.
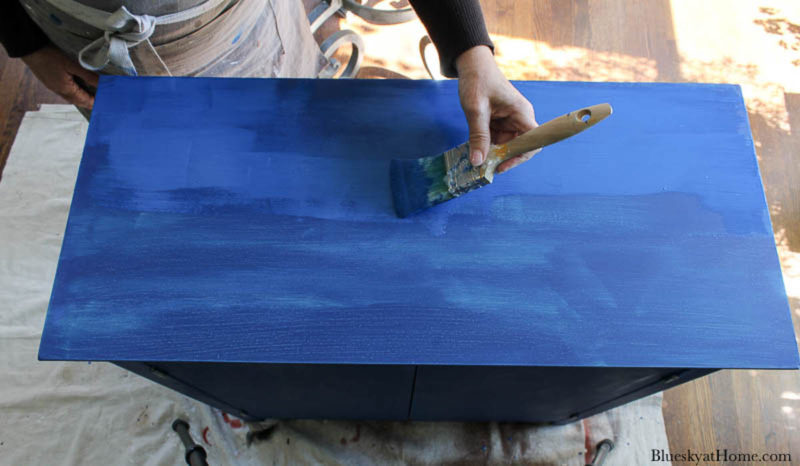
I used my orbital sander with a very light touch ~ one of my new favorite toys (I used it for my plant stand project and it worked beautifully.) I could immediately tell that the paint was covering better. I finished off with a piece of sand paper.
TIP: My suggestion for painting over veneer is to give the surface a light sand and wipe down before painting.
Finally, after two coats the top was covered completely.
Making over my $20 estate sale cabinet with paint was just the first stage of the process.
The paint process took me a couple of weeks. I would paint one part and let it dry and then work on another project. I sometimes let days go by between painting sessions. By the time I finished painting, it was March. I had not found a stencil to use on the painted cabinet. So the cabinet sat in the breakfast room for a few more weeks.
I hope this paint project gives you inspiration for finding and making over an inexpensive estate sale cabinet. I’m not finished yet. Check back for Part 2 of this project. It’s the step that gives the cabinet its design and style and wow factor.
In the meantime, please PIN this post under Paint Projects or your favorite board titles.


Such a pretty shade of blue! I can’t wait to see what you chose for a stencil design!
Carol, I love the paint color you used on this cabinet! I am looking forward to seeing it once the stenciling is done. You always do such a wonderful job with your painting.
Thanks for sharing with us! Your instructions are always easy to follow. Have a great weekend.
Thank you Mary~Ann. Look for the stencil and finished cabinet this week.