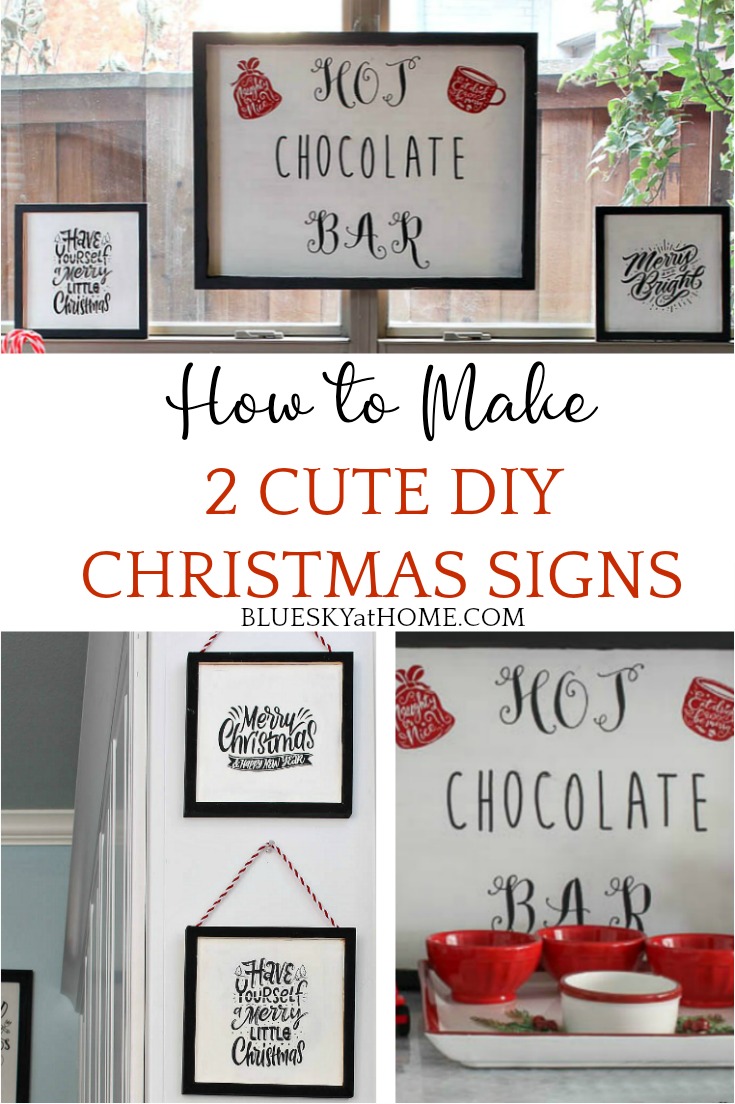
How to Make 2 Cute DIY Christmas Signs
Ready to start decorating for Christmas? I want to show you how to make 2 cute DIY Christmas signs.
I’ve never been one to start Christmas shopping in July or thinking that far ahead to Christmas. This year, it seems that Pinterest is bursting with people searching for holiday ideas. That includes decorations, and I have 2 adorable cute DIY Christmas signs you can consider making.
I am all about easy DIY projects that have a big impact, that can be used over and over or switched out to something else.
I also love decorations with words and signs that make you smile. What are your favorite Christmas projects? I hope you will love these 2 DIY Christmas signs and try to make them yourself.

How to Make 2 Cute DIY Christmas Signs
For your convenience, this post contains links to products used in these projects. If you should order any item from this site, I may receive compensation, but you don’t pay a penny more.
I forgot to tell you one more great thing about these 2 DIY Christmas signs You can make them all in 1 day, 1 afternoon. Isn’t that a great thing?
I made 4 different signs ~ 1 large sign for a Hot Chocolate Bar and 3 smaller ones that were really meant for another spot in my kitchen.
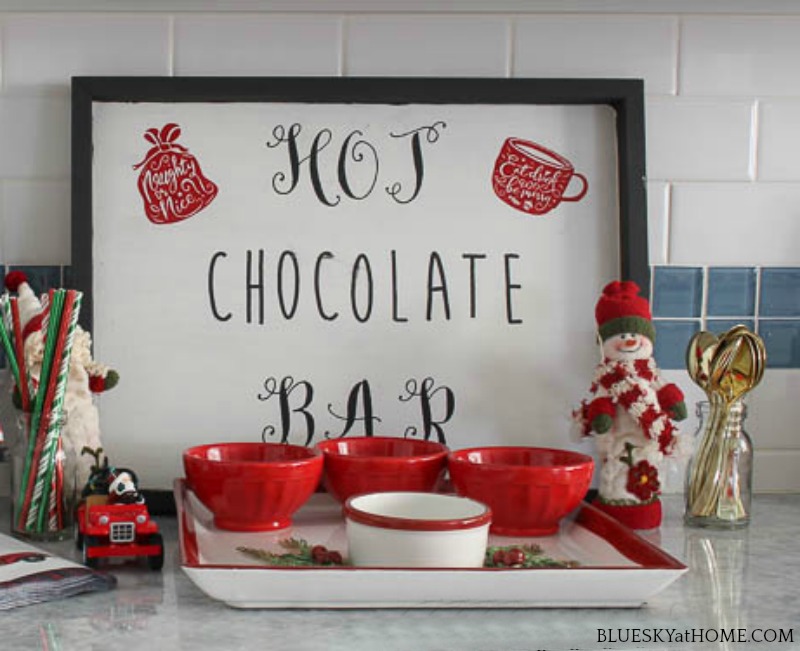
DIY Christmas Project #1 ~ The Hot Chocolate Bar Sign
For the large sign project, you need an unpainted piece of wood. I actually had a framed one that I think I bought at Joann months ago on sale. It was just sitting in my office waiting for the right project.
All the paint supplies I used are from A Makers’ Studio because I think they are the best. If you have other chalk paint on hand in the right colors, then certainly use that.
- piece of framed wood in size of your choice
- Rescue Restore paint in Blessed ~ I used Blessed which is the perfect true white.
- Rescue Restore paint in Little Black Dress
- Alphabet 1 Mesh Stencil
- Rescue Restore paint in Little Black Dress
- Gel Art Ink in Bless His Heart ~ red ChalkArt or red Gel Art Ink for the design. I decided to use GelArt Ink in Bless His Heart because I think it’s a brighter red. If you want to stick with ChalkArt, the red is Love Is.
- BIG NEWS: there is a brand new bright red ChalkArt called Love Bug. I can’t wait to try it.
- Chalk Art in Preaching to the Choir ~ I only use ChalkArt from A Maker’s Studio for all my stencil projects; it works perfectly with stencils and it is washable and removable so you can reuse your surfaces.
- Christmas Mesh Stencils ~ these stencils are part of the fabulous Christmas stencil collection.
So let’s get started.
The basic painting of the large sign and the 3 small signs is the same. I’m going to walk you through the Hot Chocolate Bar sign first.
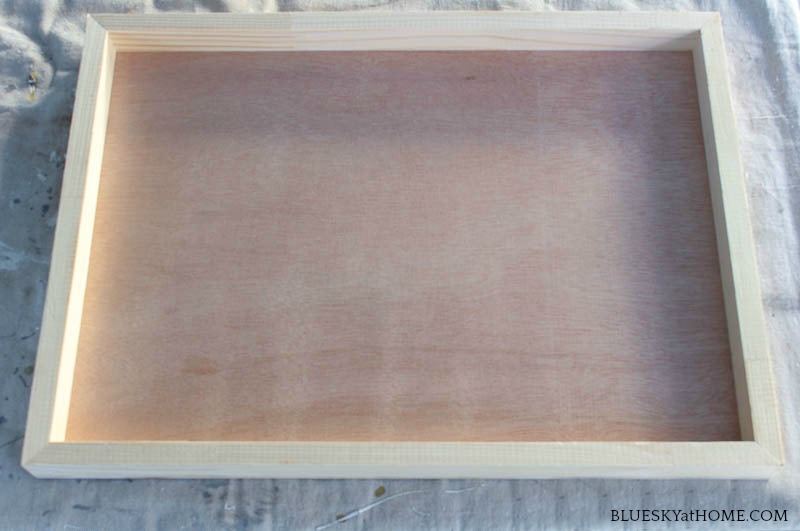
Here is the large unpainted wood frame that I used. You don’t have to use a framed piece of wood, but I think it looks nicer.
TIP: These frames can have some rough spots so I would sand any rough surfaces or edges.
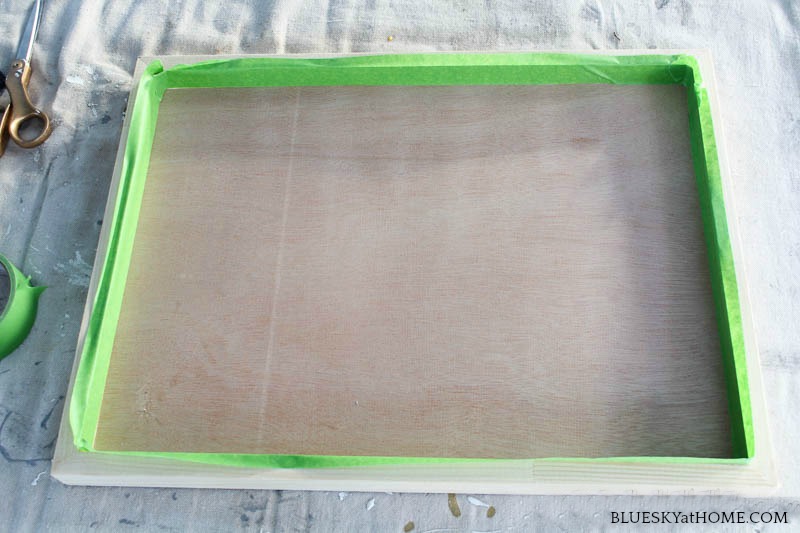
Using painter’s tape, apply it to the framed edge.
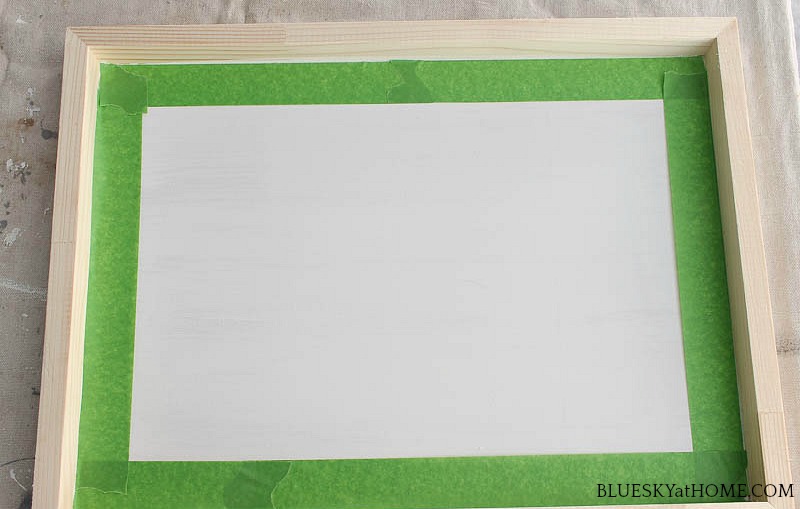
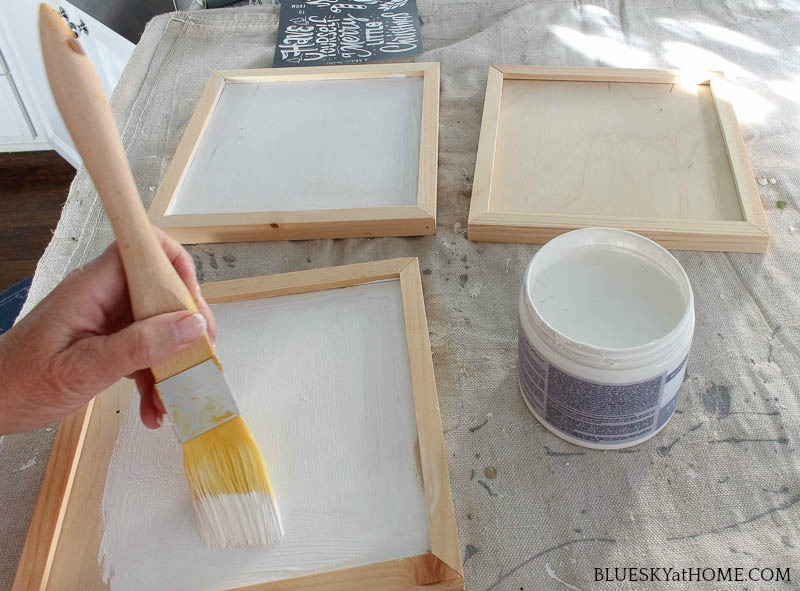
Paint the bottom of your wood. Apply 2 or 3 coats until the wood is completely covered. Let dry between coats. Rescue Restore paint only takes about 15 minutes to dry between coats. Remove your painter’s tape after you apply the last coat.
Apply painter’s tape on the painted surface. Now paint the frame on all sides with 2 ~ 3 coats of paint. Oops, I forgot to take a picture of that. Remove the painter’s tape.
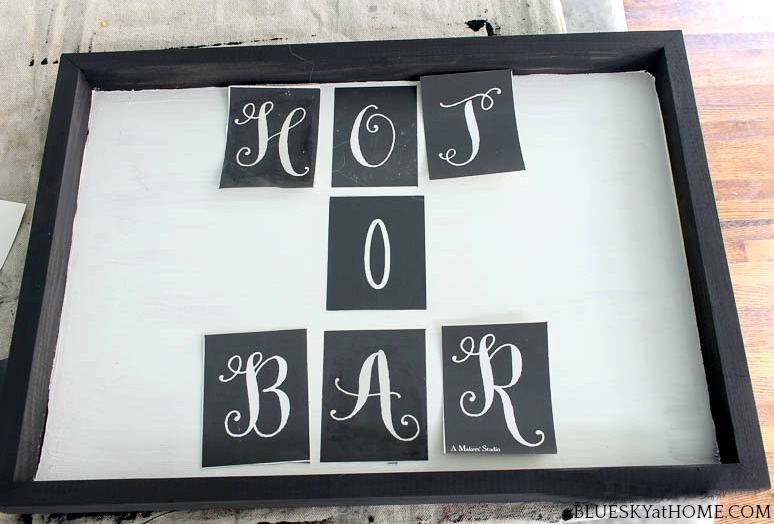
Layout your stencil letters however you want. I used 2 different fonts from A Maker’s Studio: Alphabet 1 and Alphabet 3.

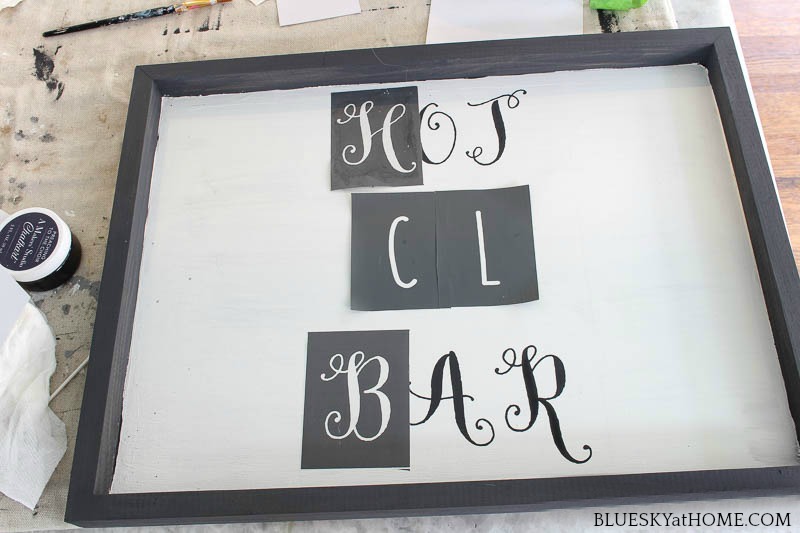
Line up the middle letters of your words in the center of your sign.
Now I stenciled the middle letters. Let your ChalkArt dry before you go on to the next letters.
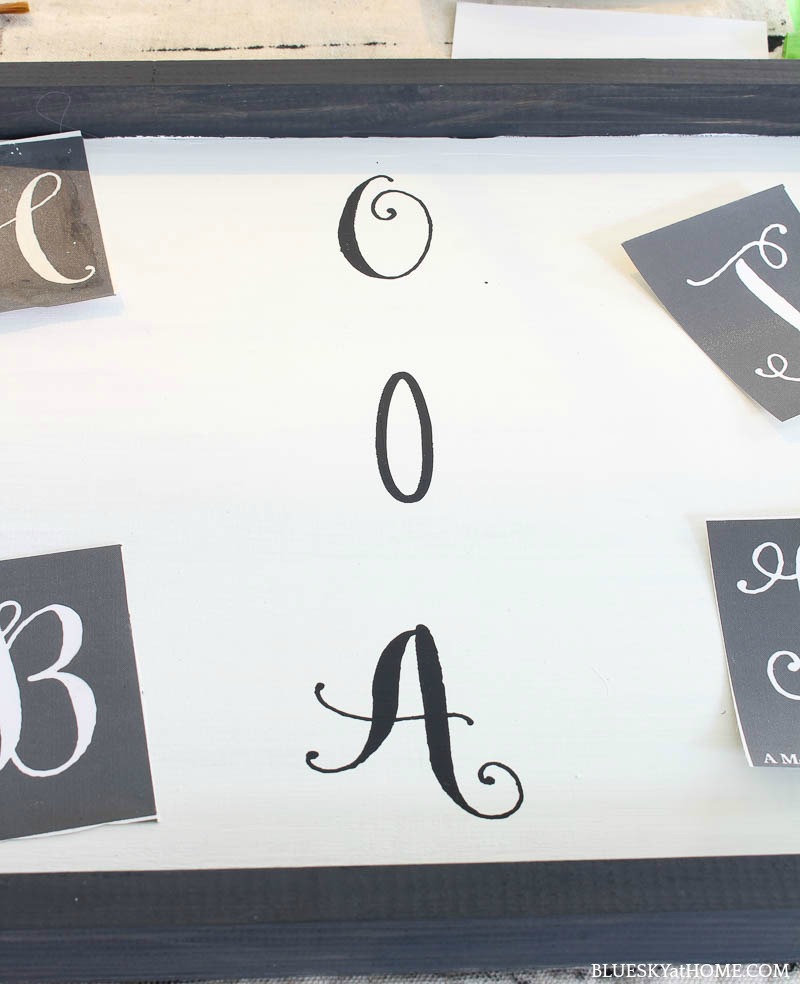
I went back and forth, adding letters to the right, then letters to the left, overlapping the stencils to get the spacing you want. That’s why it’s important to make sure the Chalk Art is dry, about 5 minutes.
NOTE: Remember, because the ChalkArt is washable, if you make a mistake, just remove it with a damp paper towel. Because you painted your frame first with Rescue Restore, the ChalkArt will come right off.
I keep a container of water handy to place my stencils in until I’m ready to wash them.

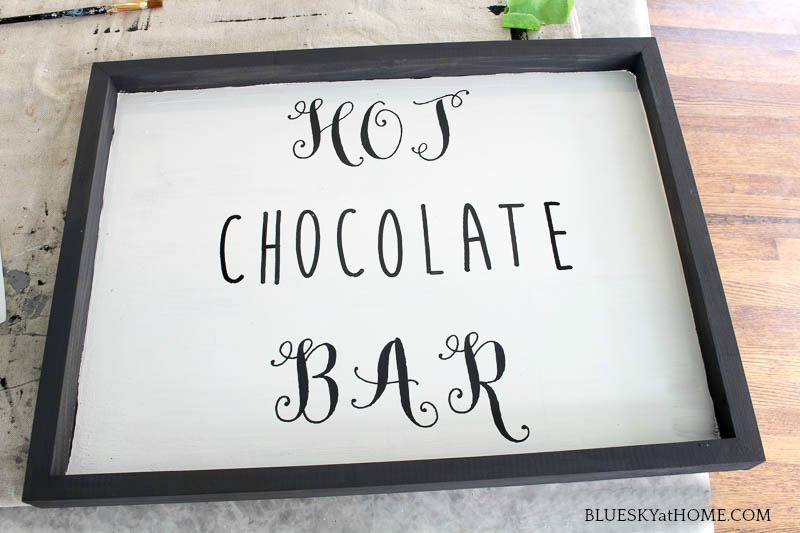
Here’s my completed sign with the words. I love those fonts. No redo’s necessary!
I thought that the sign needed a little embellishment, so I added 2 of the stencils from the Christmas collection.

For a pop of color, I used Gel Art Ink in Bless His Heart, a bright red. The new red Love Bug ChalkArt would also be a great choice
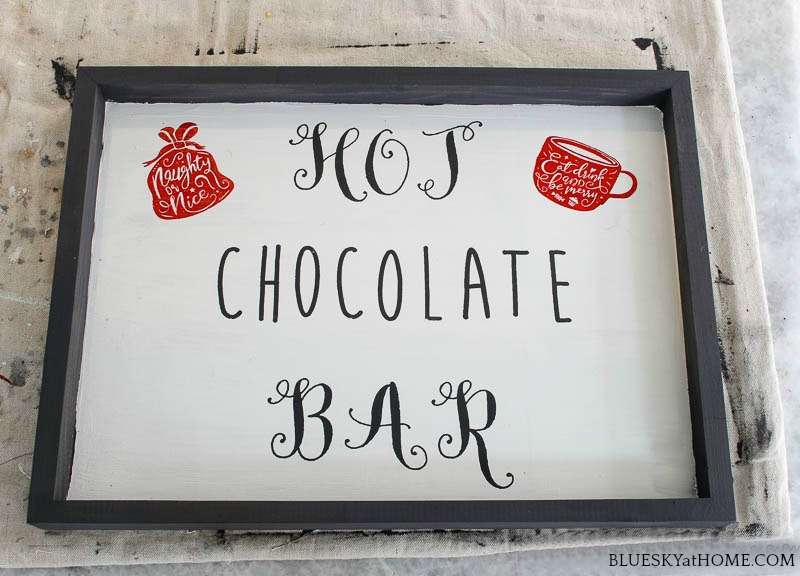
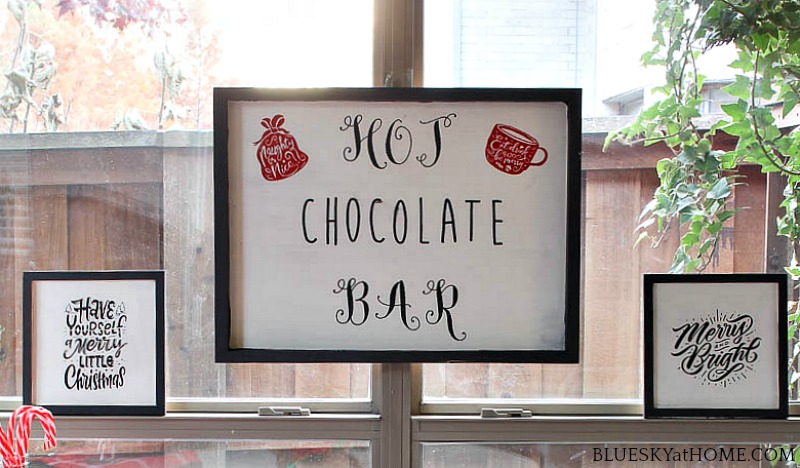
Hot Chocolate Bar Sign is done.
At the same time, I was painting and stenciling the Hot Chocolate Bar sign, I was also painting and stenciling my 3 other Christmas signs.
DIY Christmas Project #2 ~ A Trio of Christmas Signs
For my second DIY Christmas sign project, I used 3 small unpainted wood frames I had on hand. Maybe I bought them at the same time I bought the large one?
These square signs had a twine hanger which I removed.
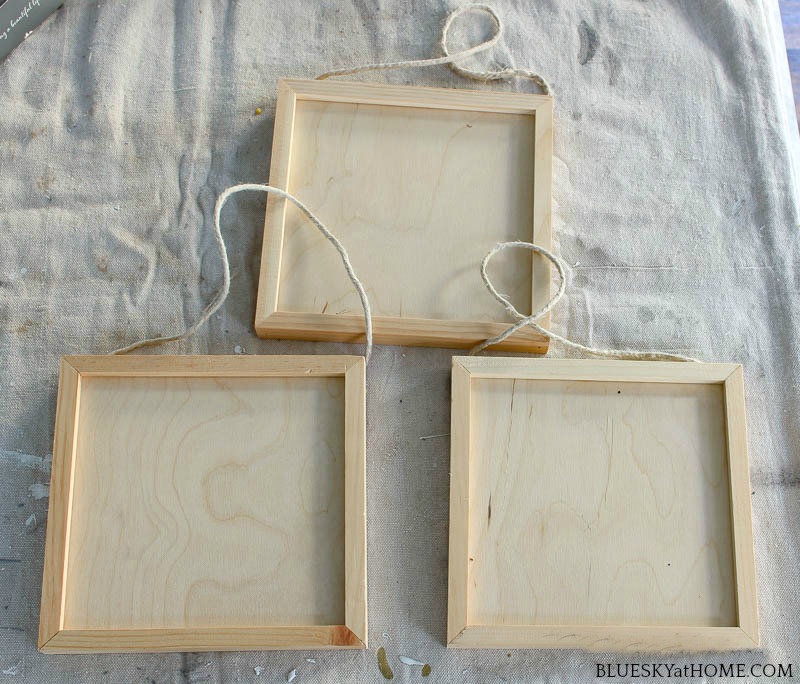
I cut out the stencils I would use.
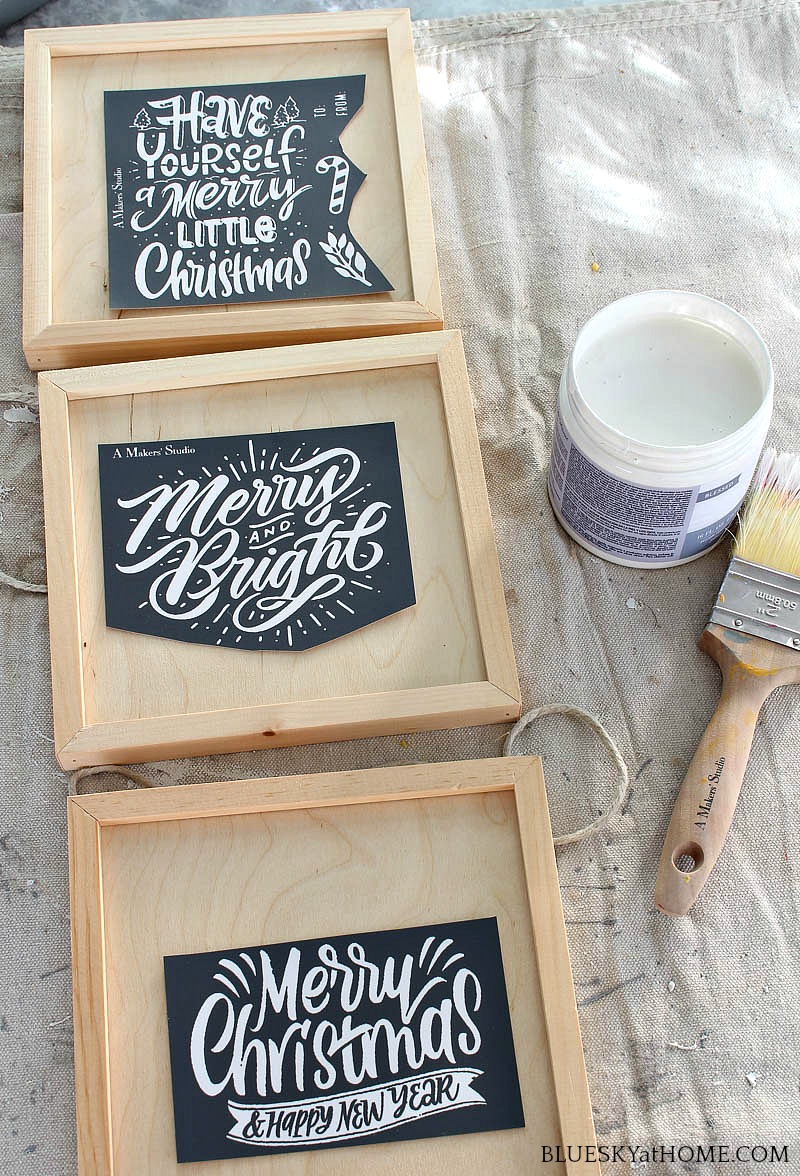
Then I painted the wood frames with the Rescue Restore in Blessed and Little Black Dress exactly as I did for the large sign. “Batch” DIYing makes the work go quickly. While you are working on one sign, the others are drying.
I laid out the stencils in the center of the square. In a couple of places, I used a bit of painter’s tape to give me more painting space.
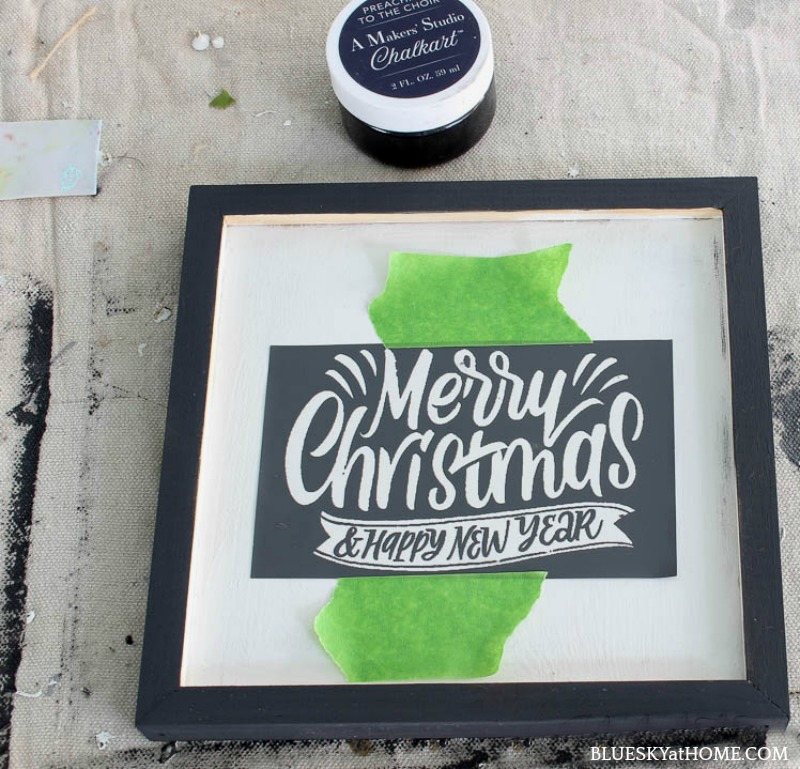
For this stencil, I’m only using the large center design, but I didn’t cut off the smaller ones.
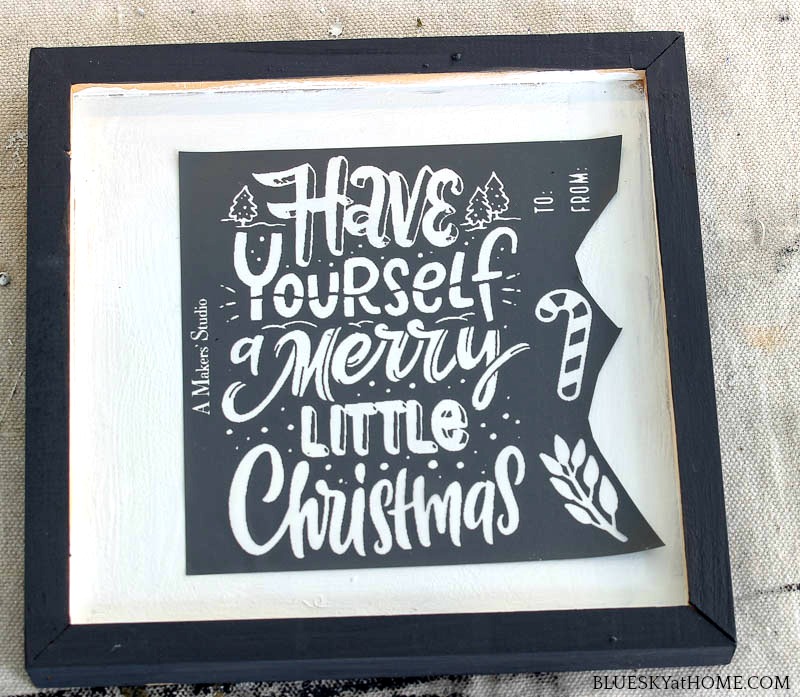
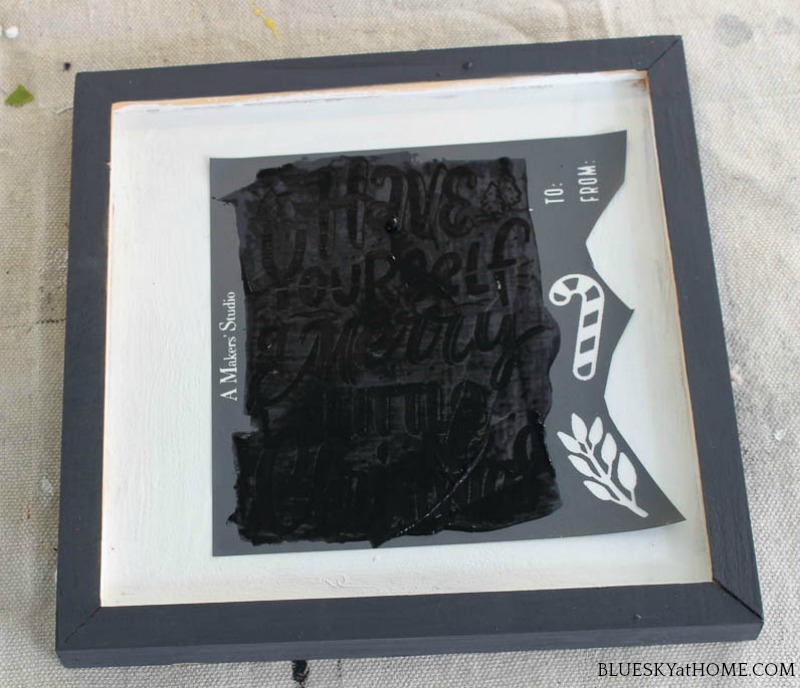
Next, I applied Preaching to the Choir ChalkArt to the stencil using my plastic scraper.
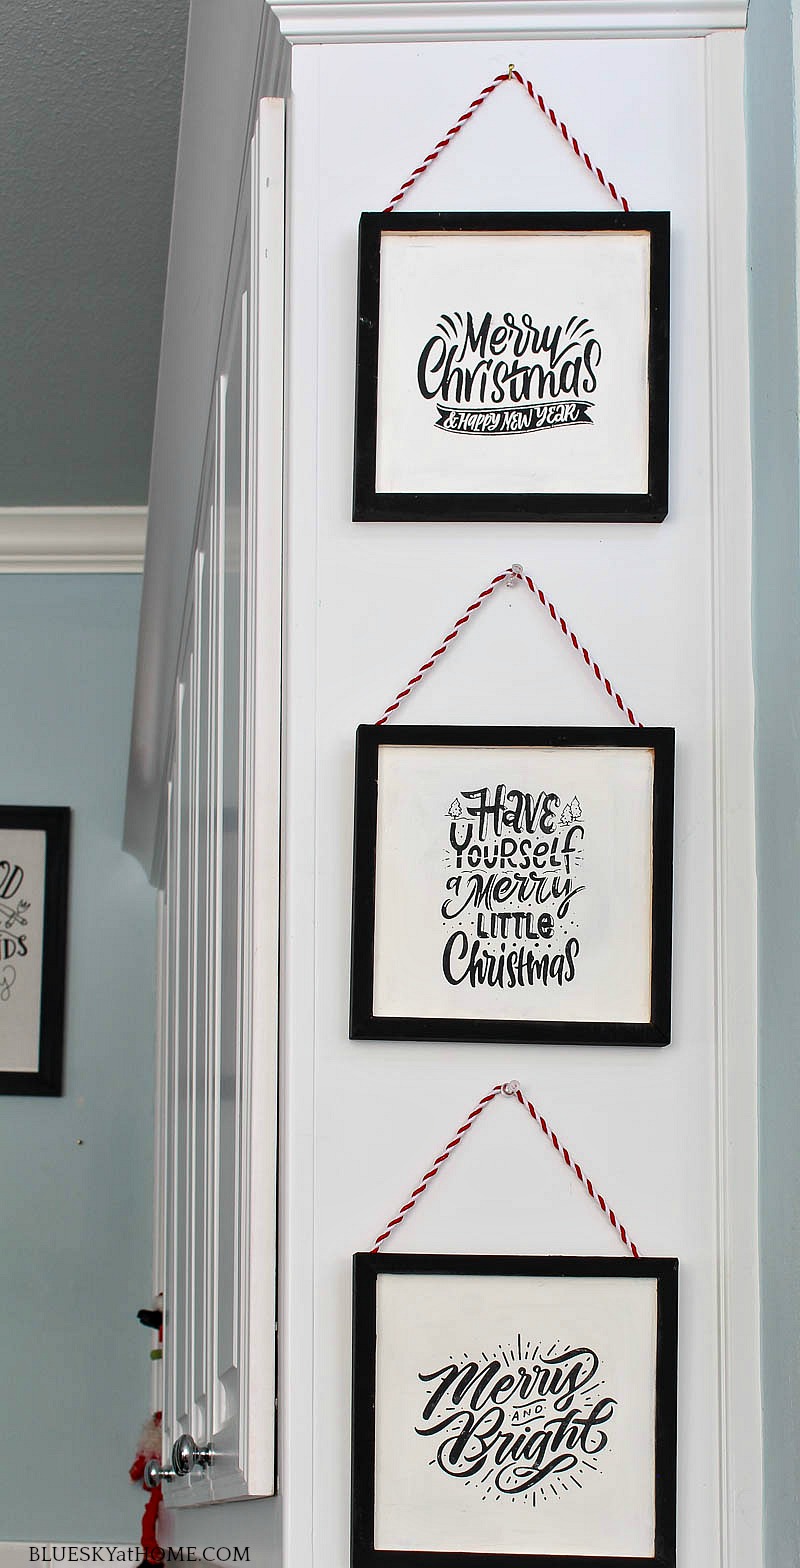
That was it. My 3 smaller signs were done. I used 2 of them to flank the large sign in my Hot Chocolate Bar.
I added some cute red and white twine using our staple gun to hang them. Here is where I intended them to go.
Because I moved our breakfast room console table behind the sofa in the living room, I had to move my Hot Chocolate Bar from our breakfast room console table (Boo, Hoo!). I rearranged the Hot Chocolate Bar in the kitchen.
I made both of these DIY Christmas projects for our Hot Chocolate Christmas Bar Pinterest Challenge. So many of you commented on the cute signs that I just had to share them.
Don’t’ want to forget how to make these 2 DIY Christmas signs? Please PIN for Later.


Such cute fonts! Love these, Carol!
Super cute. Come by to see them featured at Let’s Add Sprinkles for Keep In Touch.
These are very cute, I couldn’t help but think of them white letters on black, but for your home they are perfect. Here from WW, hugs, Sandi
Love these Carol! I love the three hung together. They are so cute… made even more so hung with baker’s twine! Pinned!
All super cute ideas Carol!
Such cute ideas!! Happy Holidays!