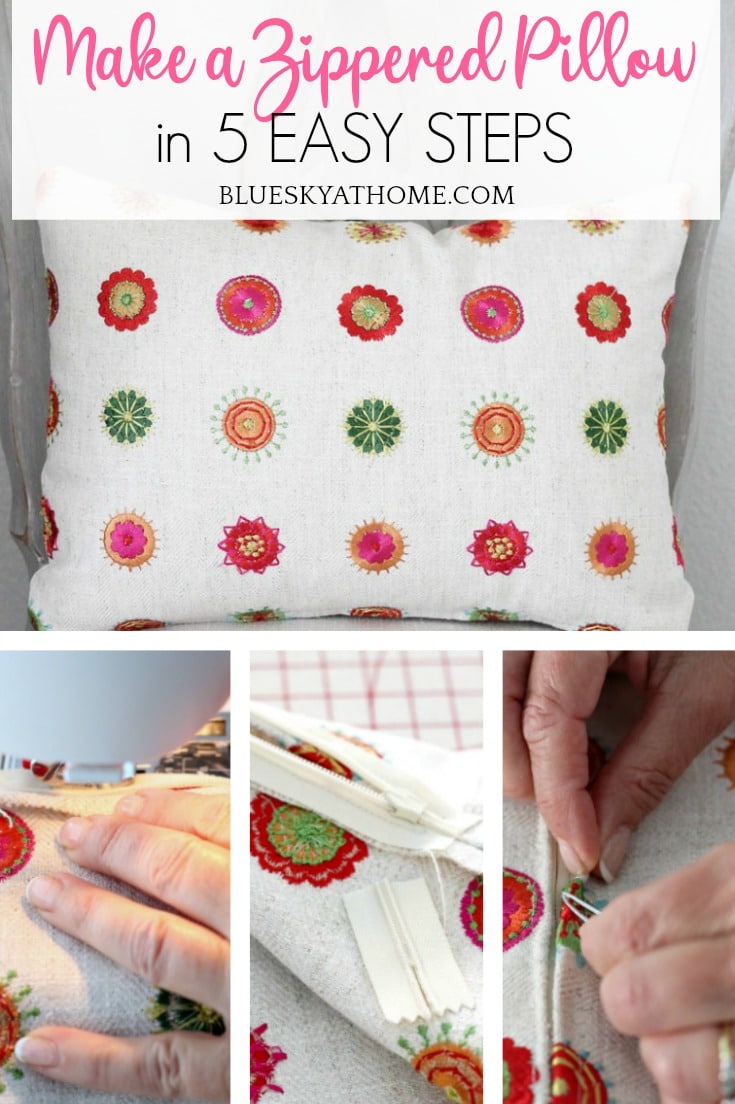
How to Make a Zippered Pillow in 5 Easy Steps
Do you love pillows for your home decor? Probably so. Why not make pillows yourself? Don’t panic; stay with me. Making a pillow is one of the easiest sewing projects around. So let me show you how to make a zippered pillow in 5 easy steps.
Yes, we all love pillows in our home decor. Whether you call them throw pillows, accent pillows or decorative pillows, we all agree on the positive impact that pops of color, texture, and pattern have on creating a more interesting and comfortable room. Except for bathrooms and laundry rooms, I can’t think of a room where a pillow doesn’t add a sense of warmth and pizzazz to a room.
There are thousands of pillows in the market place. I’ve bought many of them myself. But what if you need a particular color or a specific pattern or texture for a particular room? What if the only way to get the right pillow is to buy the perfect fabric and have it custom made? Ouch, you say, there just went my pillow budget.
Don’t get me wrong. If we are lucky, we can find just the right pillow we need at a local home decor store or online. I have sometimes found the perfect pillows for our bedroom and living room. My favorite resources have been HomeGoods and Wisteria. But what if the right color, pattern, texture or size isn’t available? Not to mention price.

If you’ve hesitated to make a custom zippered pillow, I’m going to show you how easy it is. Yes, you do need a sewing machine, but it doesn’t have to be anything fancy. 90% of sewing is about sewing a straight line. Believe me, anyone can make a zippered pillow. So let’s get started with this tutorial: how to make a zippered pillow in 5 easy steps.
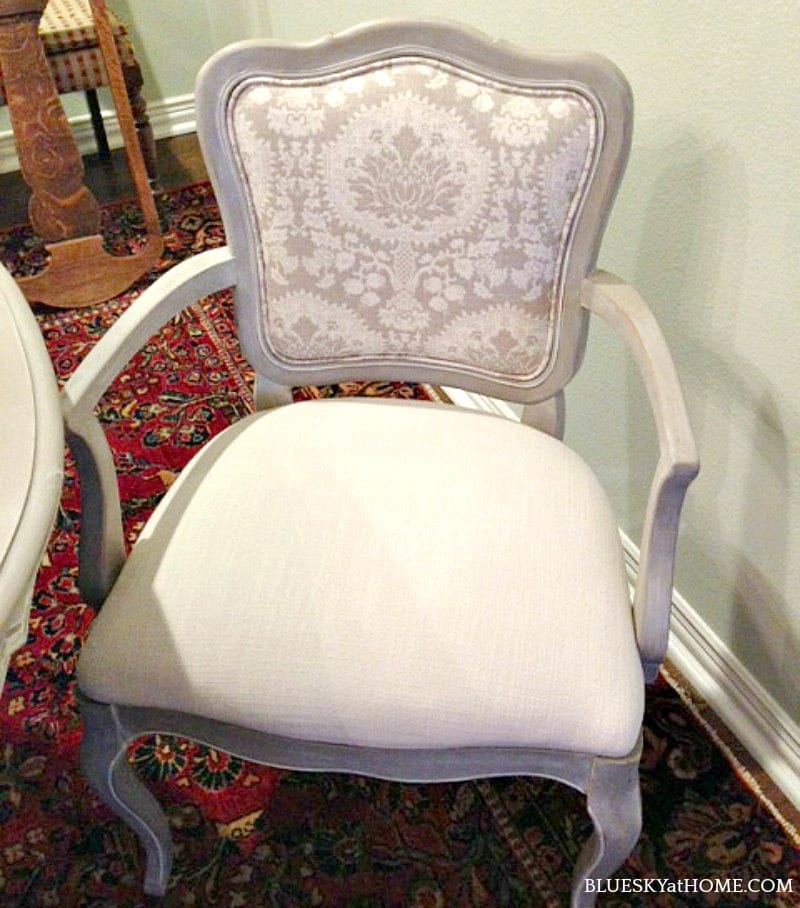
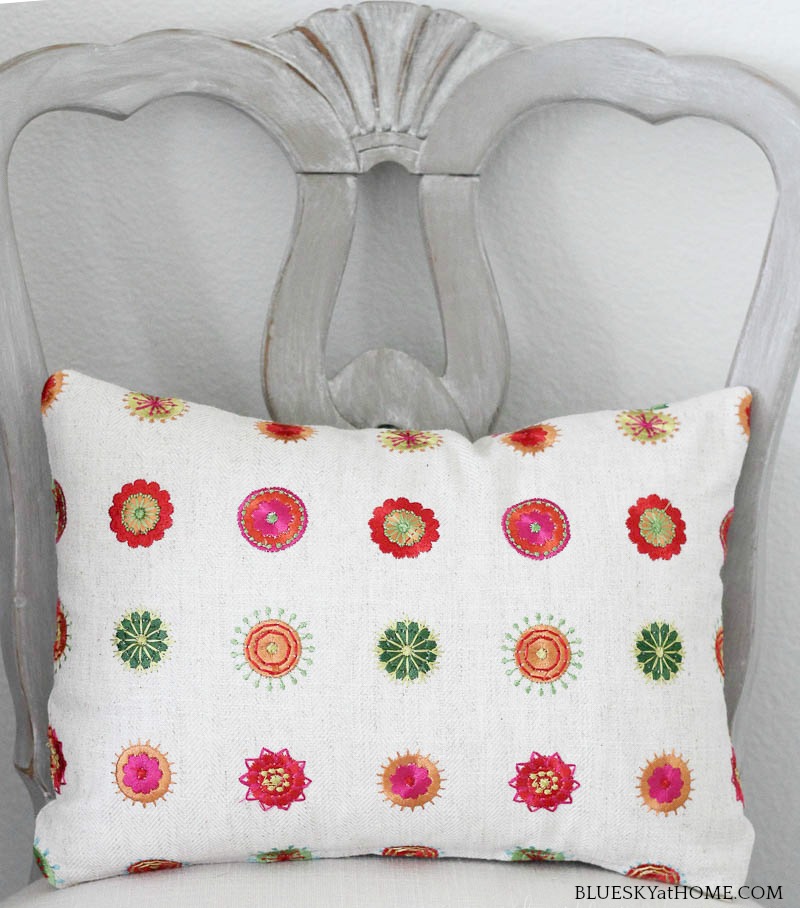
During our recent dining room makeover for the One Room Challenge, I wanted solid hot pink pillows for our 2 extra dining room chairs. I thought a bright pop of pink would pull the eye into the room. And I definitely wanted pillows with zippers since I’m thinking ahead to holidays and being able to change out the pillow covers. I shopped every decor store in town, but never found the right color, much less the right size which needed to be 12″ X 16″.
How to Make a Zippered Pillow in 5 Easy Steps
After I decided to stop shopping for pillows and start shopping for fabric to make my own zippered pillow, I found a color and texture that I thought would work well. But then we changed the plan for the art accents in the room and that meant I needed a fabric with a pattern instead of a solid.
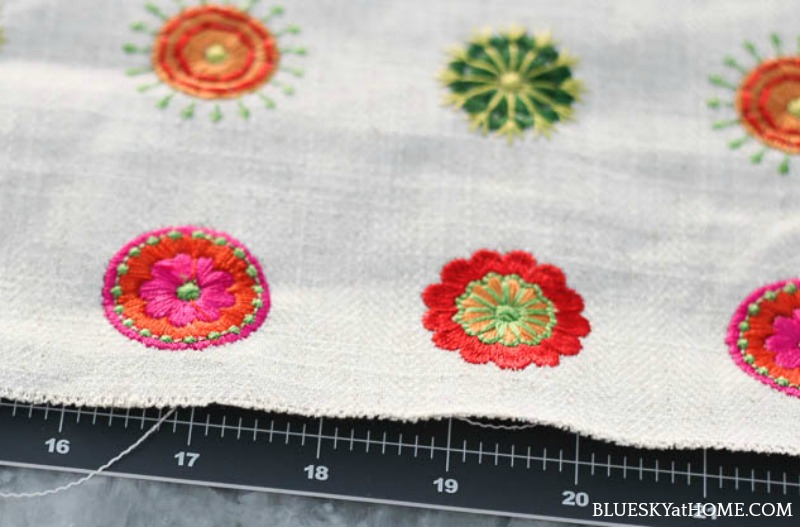
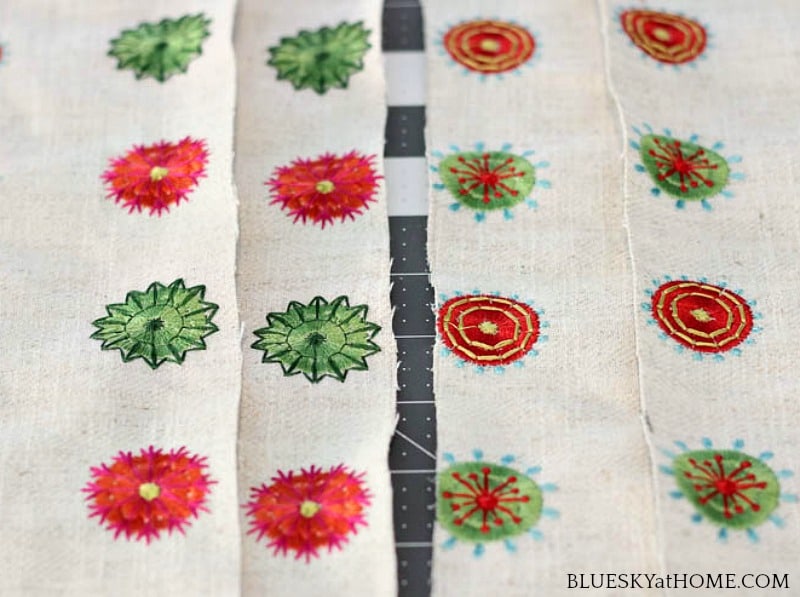
Fortunately, I remembered several brightly colored pink patterned fabrics I had seen on an earlier shopping trip. I went back and fell in love with this fabric; it had the pink color I wanted, but also a fun, vibrant design to enhance the space. It was the right weight, a medium cotton/linen blend. The fabric had to be custom ordered so I ordered 1 yard, which was more than I needed, but that was the minimum order amount.
This post contains links for your convenience to products used for this project that I love and recommend. If you should order any product from this site, I may receive compensation.
Step 1 ~ Find Your Fabric for Your Zippered Pillow
Pillow fabric should be of a medium weight that will hold up to use. So many possibilities exist. If you are like me, your main consideration is color, pattern, and texture. Just avoid anything too thin and flimsy or anything too thick and heavy as most regular sewing machines may not be able to handle the bulk.
- cotton
- linen
- cotton/linen blend
- velvet
- chenille
- wool
- polyester
- light to medium weight upholstery
- faux fur
Home decor fabrics are your best bet for their durability and choice of color, pattern, texture and price. For outdoor pillows, always opt for outdoor fabric that will hold up to sun and the elements. So many places offer fabric on the bolt which is wonderful. Most decor fabrics are 54″ wide.
How much fabric to buy depends on:
- the number and size of the pillows you are going to make
- the repeat of the fabric
As I mentioned above I was making 2 rectangle pillows, fronts, and backs the same, 12″ X 16″ in size. I could have easily ordered 2/3 of a yard, but the minimum order was 1 yard, which was O.K. because it’s always nice to have extra. Although the fabric was a little pricey (The pattern was embroidered.), it was 25% off.
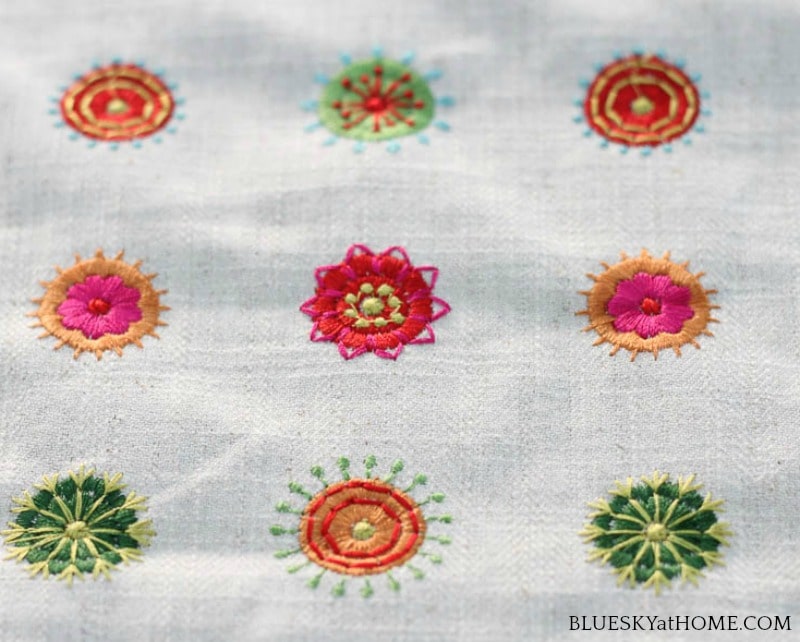
TIP: The remnant shelves are a great place to find fabric for accent pillows or other small projects. At the fabric stores where I shop remnants are $5.00 a yard for fabric that is often originally $50 ~ $100 a yard. The minimum amount is 1 yard and sometimes it may be as much as 3 yards. I found the fabric for the chair backs in our dining room on the remnant shelf. It was originally about $80 a yard and the piece was 2 yards. I held on to that fabric until the right project came along.
Step 2 ~ Gather your Equipment to Make Your Zippered Pillow
In addition to the aforementioned sewing machine, you will also need:
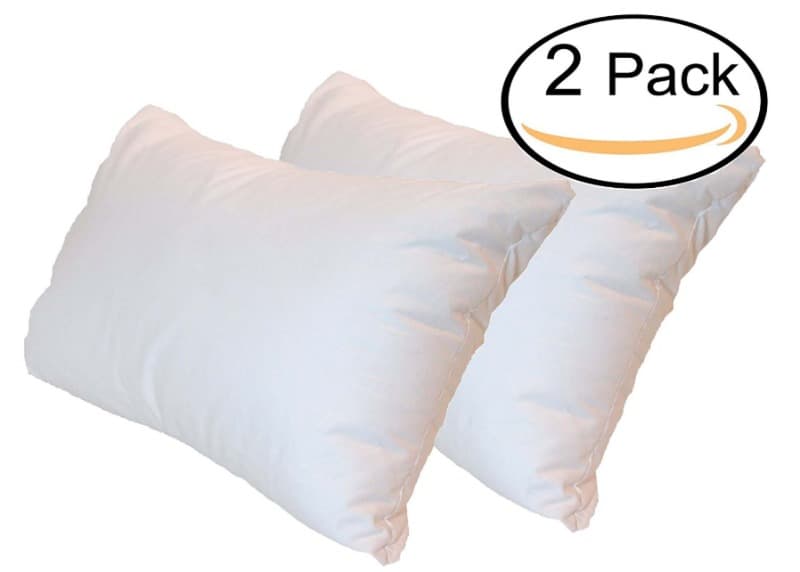
- pillow form in the desired size
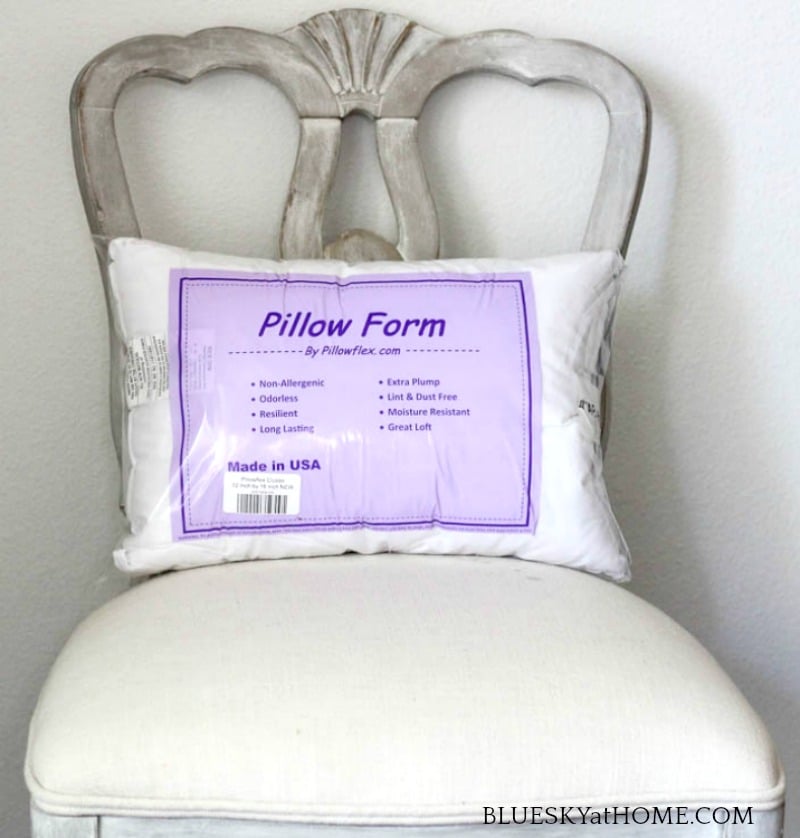
Although I have often bought my pillow forms at Joann (often at 50% or with a coupon), they didn’t have the size I needed for this project. I ordered this package of 2 pillow forms.
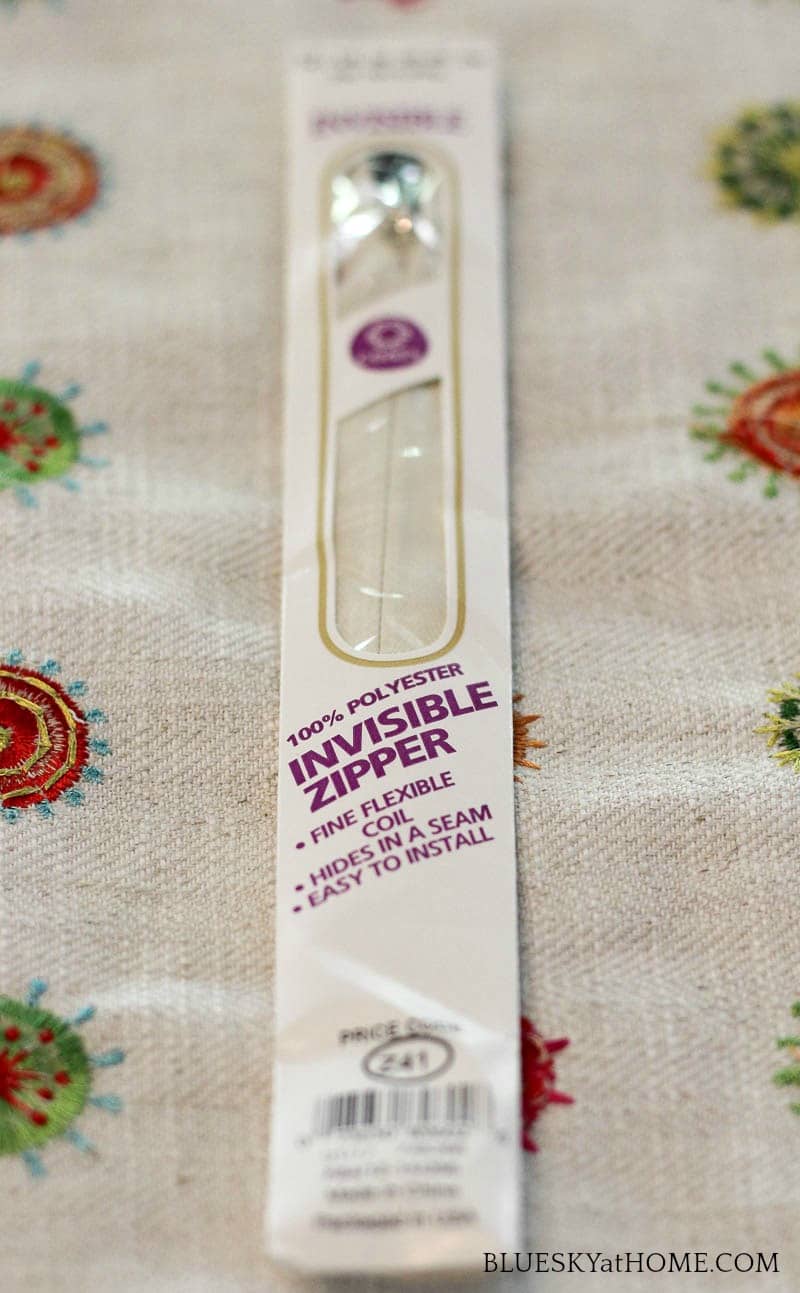
- zipper, preferably an invisible one
- trim (if desired) ~ we won’t be using trim in this tutorial
- matching thread
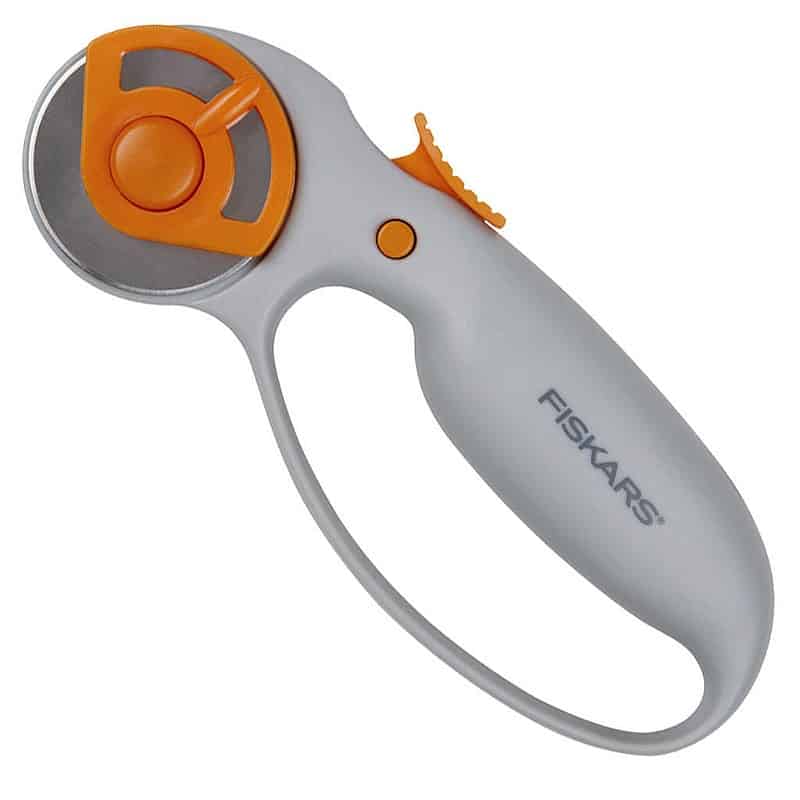
- sewing scissors or rotary cutter
- straight pins
- straight edge
- seam ripper
- cutting pad (optional)
- ironing board or ironing pad
Step 3 ~ Preparing and Cutting your Fabric
If you have selected a fabric to make a zippered pillow that is washable, you should pre~wash it before cutting and sewing. If you don’t think you will wash the pillow cover or you plan to send it to the dry cleaners, you can skip this step.
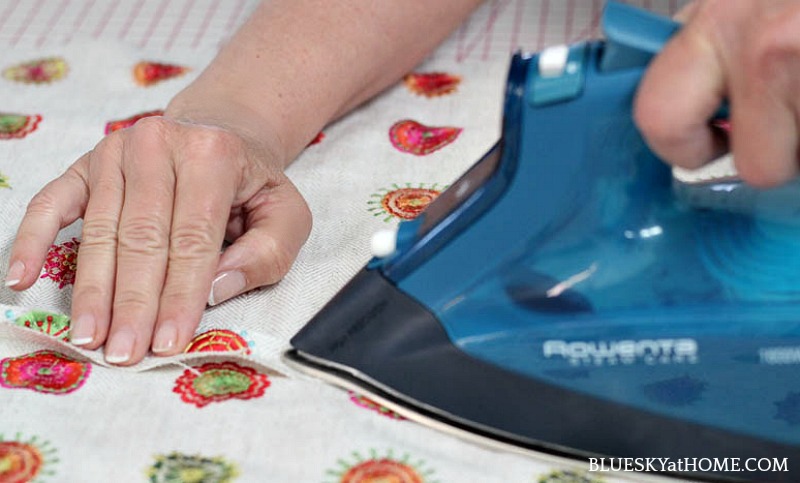
It’s always a good idea to iron your fabric to remove any wrinkles before cutting or sewing. It’s also best not to use steam as this could shrink some fabrics.
As soon as my fabric arrived (4 days early!), I bought 2 invisible zippers 12 ~ 14″ to match. I checked my thread supply and I had the perfect match.
To be honest, preparing to measure and cut your fabric is harder than the actual sewing. Just be aware that before measuring and cutting your fabric, you need to determine the following:
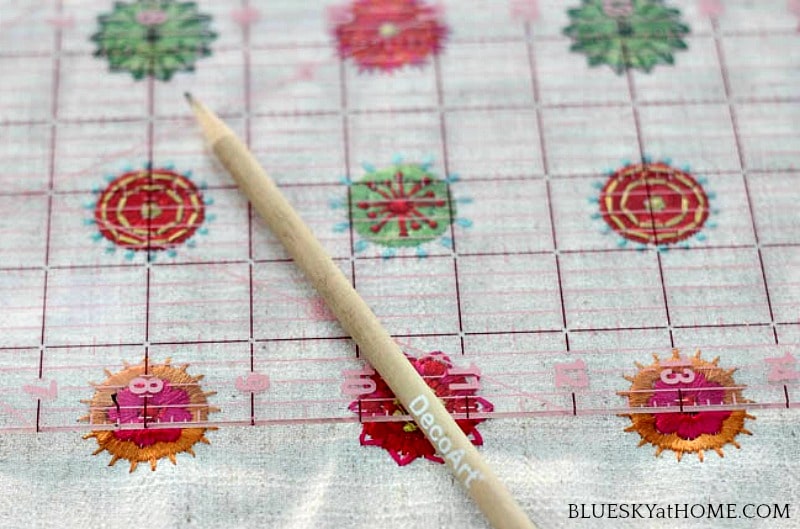
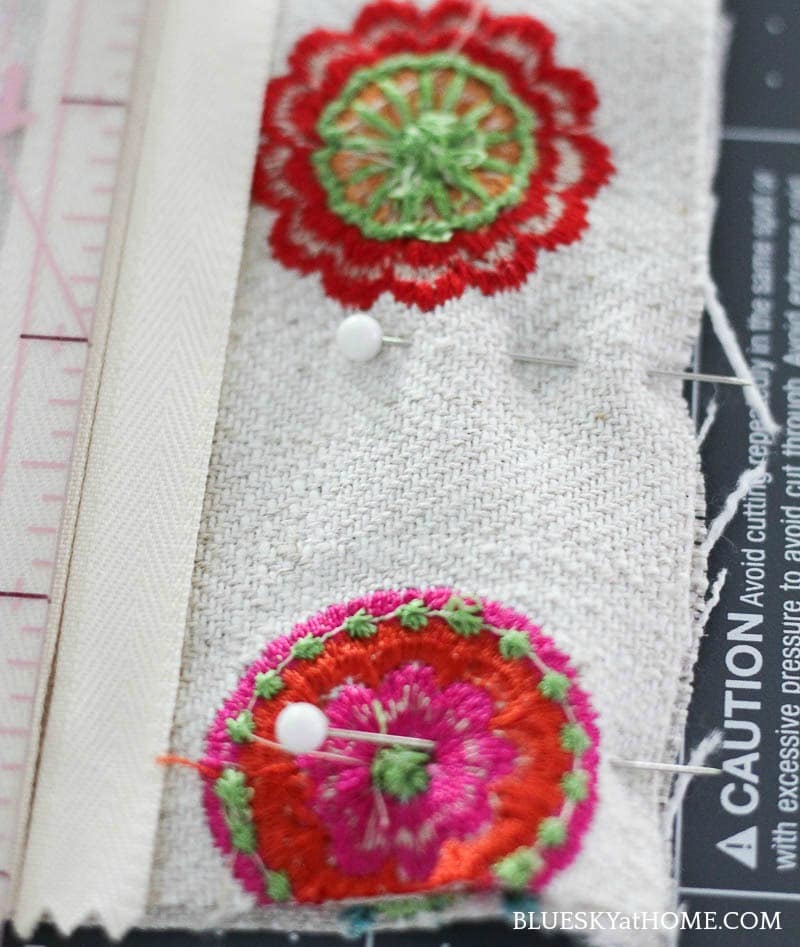
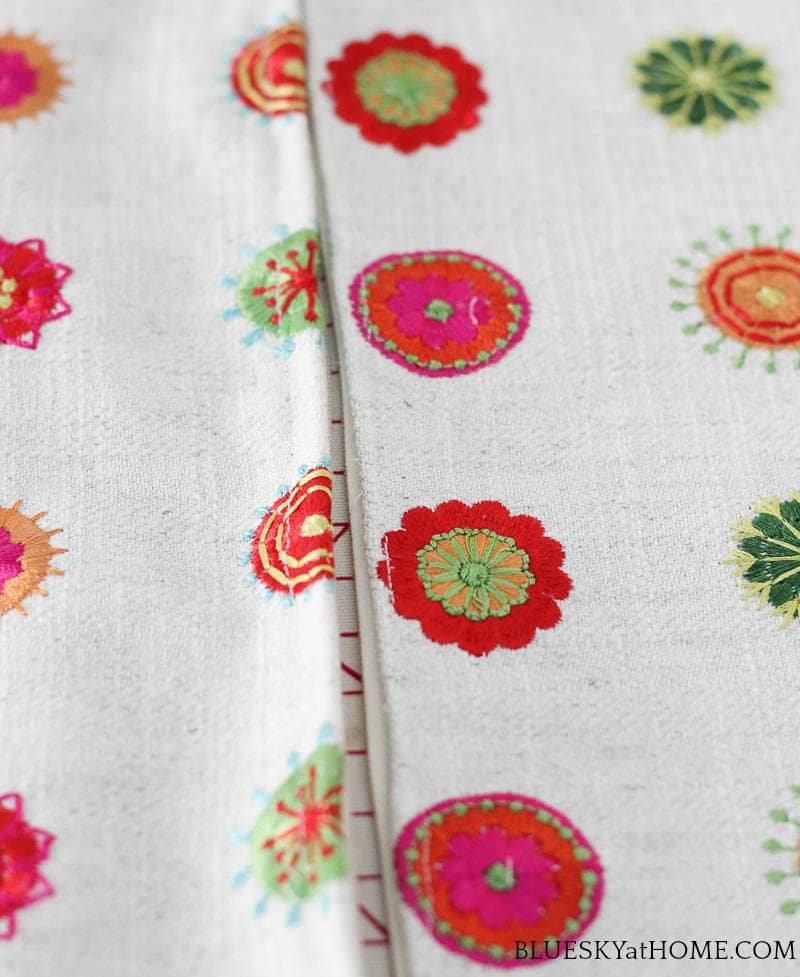
- pattern ~ is there a center ( a stripe, check, or a motif that needs to be centered? My fabric had a distinctive pattern and I wanted both pillows to match so I determined what motif would be the center of both pillows.
- repeat ~ if there is a pattern repeat (unless you are using a solid fabric, there is always going to be a repeat), determine what it is. It will be on the fabric information when you purchase the fabric. Big repeats 3 ~ 4 inches or more ~ can make a big difference in the amount of fabric needed and the way you measure and cut out the fabric. Repeats can be both horizontal and vertical.
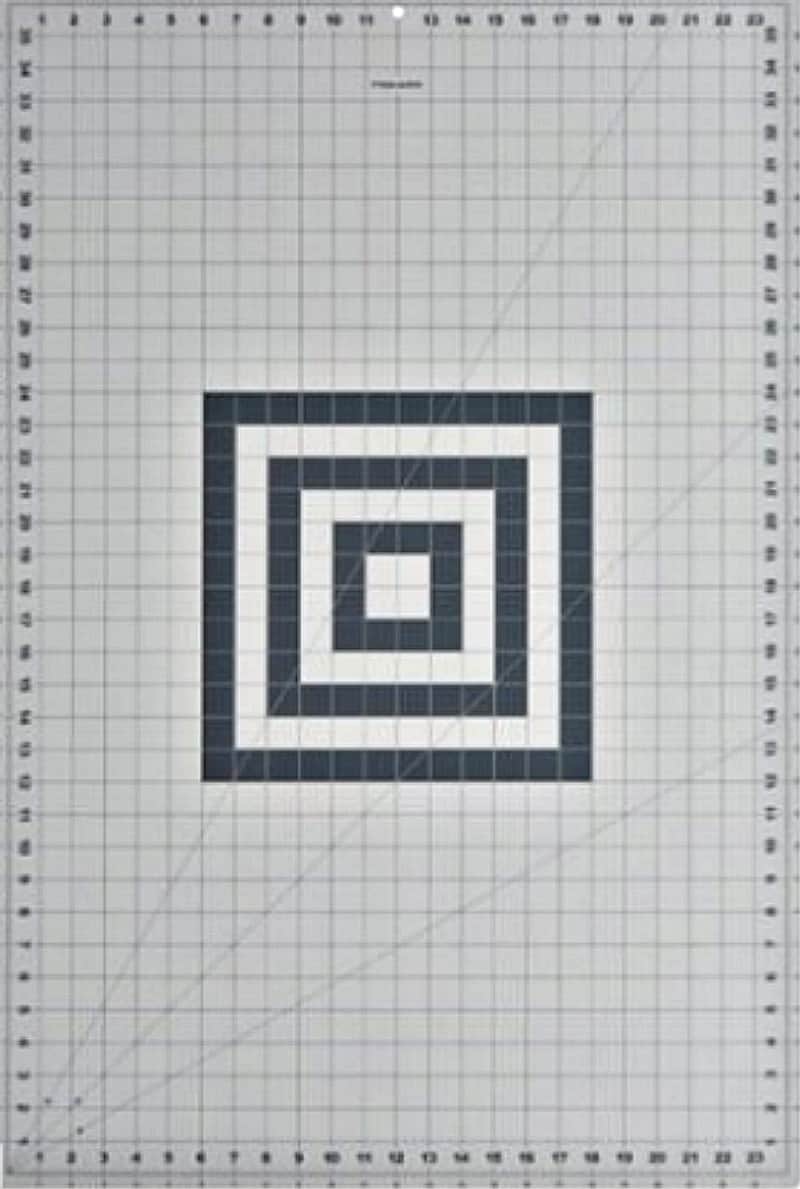
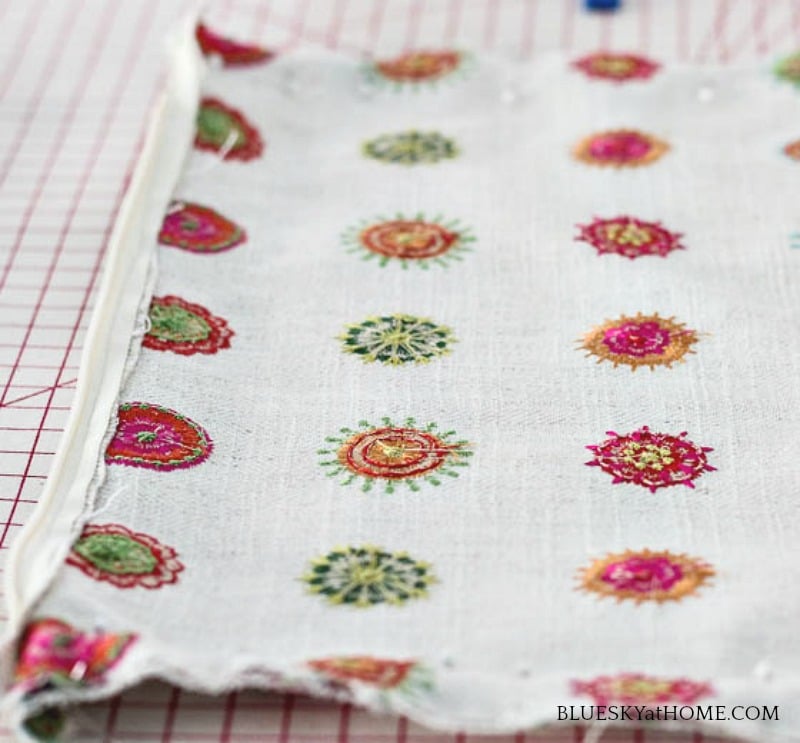
I like to cut my fabric on a large cutting mat. It has measurements printed on it which protects the surface that you are working on.
REALLY IMPORTANT: Make sure that your fabric is straight before you cut it. The raw edge may not be on a straight line (a good reason to watch when your fabric is being cut at a store). Making sure it is level with the selvage (the sides of the fabric) is crucial. I have actually had a pattern that was printed a bit crooked on the fabric. The better (more expensive) the fabric, the less likely that will happen. To get a perfectly square edge, a L~shape ruler is the perfect tool to use.
So now you are ready to cut your fabric.
To determine the right size for your pillow, measure your pillow for exact dimensions. To get a snug fit, your fabric should be cut to the same measurement; for example, my pillow form was 12″ X 16″ and I cut my fabric pieces 12″ x 16″. I like to use a clear plastic straight edge (It’s 24″ long and 6″ wide.) for my measurements.
TIP: I know that many instructions tell you to cut an extra 1″, but a professional seamstress told me years ago that you get a better fit using the same measurements, so that is what I’ve done.)
NOTE: If your pillow form is very thick, you can increase the dimensions by 1/2 inch. My pillow was very thick, which I decided was too thick. I ripped open a 4″ seam in the pillow form and removed a bunch of filling until it was a more suitable thickness for my pillow.
I made sure that 2 pieces were identical for the fronts and 2 pieces were identical for the backs.
Since so much of sewing for home decor projects is straight lines, I like to use a rotary cutter for cutting the fabric. It’s easier to use than scissors for cutting fabric.
Step 4 ~ Sewing in the Zipper
I wanted my zipper to be on the bottom of the pillow where it wouldn’t show while placed on the dining room chair. This may seem like a lot of steps, but it’s really easy. Only 3 stitches to make on your sewing machine.
- With RIGHT sides together, pin your fabric along the edge where the zipper will go.
- Determine the length of your invisible zipper. My pillow length was 16″. I determined that my zipper would be 12″ long.
- Measure in from each end of the fabric an equal amount to allow for the length of the zipper; for example, I measured in 2″ on each side. (16″ [length of pillow] – 12″ [length of zipper] = 4″ divided by 2). Mark with a pencil or a straight pin.

- On the sewing machine, sew a regular stitch at the beginning of the length of the seam. At the first mark (for me it was 2″), increase the length of your stitch to as long as it will go. When you reach your second mark, return the length of the stitch to regular. Use a 1/2 ” seam allowance.
- Iron the seam open. I often use my sewing pad rather than an ironing board for ironing during a project since it has more flat surface.
- Unzip the zipper. On the RIGHT side of the seam allowance, place the zipper facing DOWN and pin it just to the seam allowance, not to the front of the pillow piece.
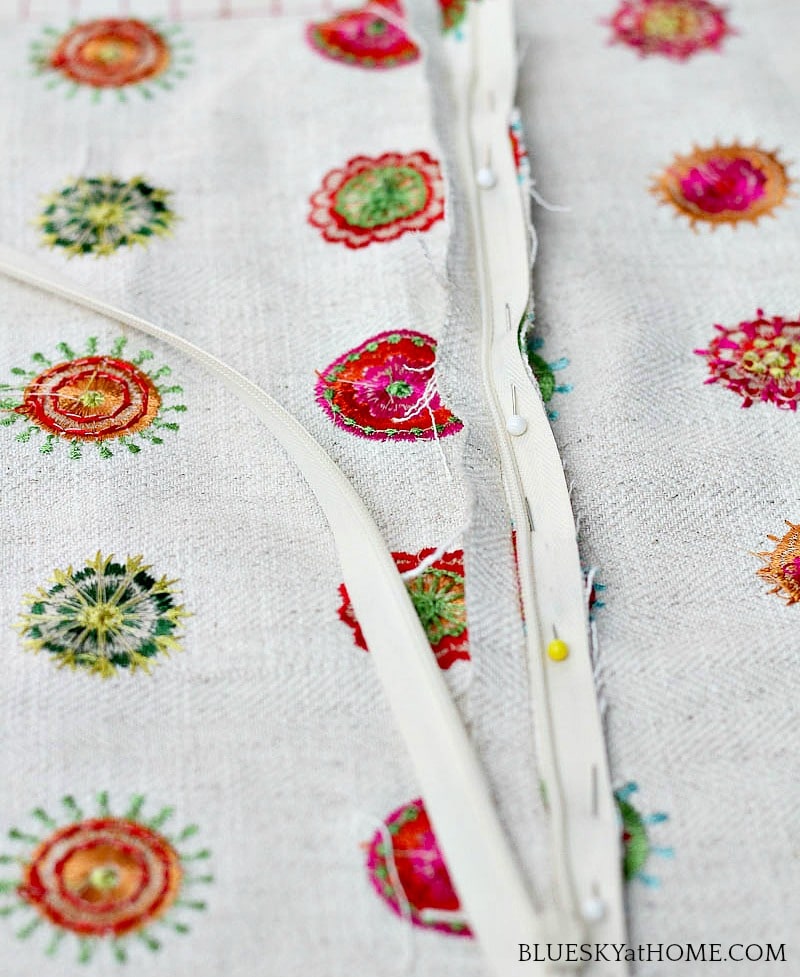
- On your sewing machine, change your regular presser foot to the zipper foot and place it to the RIGHT of the zipper. Use a regular stitch and stitch it. Your stitch should be about 1/4″ away from the zipper.
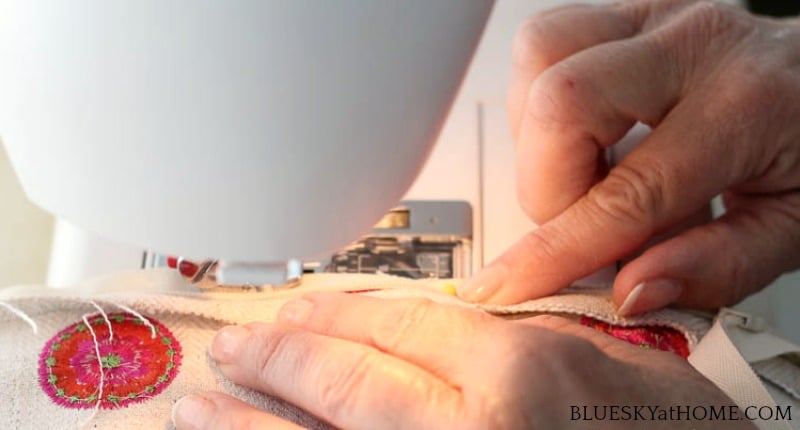
- Zip up the zipper. On the WRONG side of the fabric, sew the zipper onto the open seam: down the RIGHT side, turn and sew across the bottom of the zipper (The invisible zipper is made to do this, but you should slow your machine down as this side is maybe a 1/2 ” long.) and then up the LEFT side of the zipper. Your seam should be 1/4″ from the zipper.
- On the outside of the zippered seam (the RIGHT side of the fabric), use your seam ripper to carefully remove the stitches between the length of the zipper. Here you can see the beauty of the invisible zipper ~ it doesn’t show!
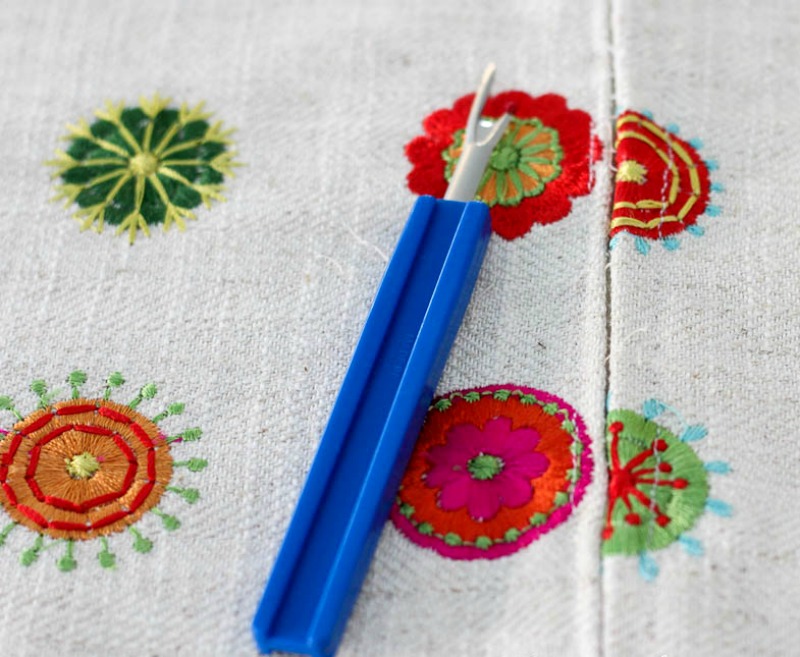
If you have little pieces that won’t come out, I’ve found that tweezers work very well.
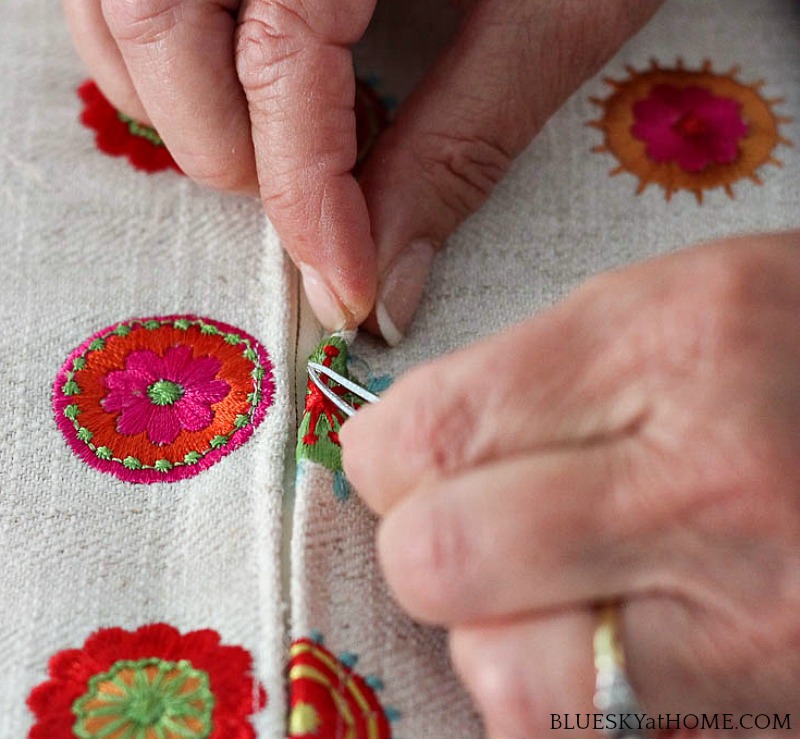
- On the inside cut off the excess length of zipper, if you have any. This is easy to do with regular scissors.

- UNZIP your zipper! Make sure that it will zip open and close easily. Leave the ZIPPER OPEN. Don’t forget this!
Step 5 ~ Sew the Sides of the Pillow
You are on the last step to making your zippered pillow, the easiest one.
- Be sure that your zipper is OPEN! If you don’t and you sew the remaining sides closed, it’s really hard to get the zipper open. Trust me on this. With RIGHT sides together, pin the remaining 3 sides together and sew in a regular stitch.
NOTE: About 1 inch before you get to the corners, start making your seam allowance a little bigger. Turn the corner on the pillow and then continue with the wide seam allowance for 1~inch easing back to 1/2″. Repeat at each corner. This trick will keep your corners from sticking out as points.
- Cutaway the excess fabric on your corners on the diagonal.
- Turn your pillow right side out.
- Use a point (a pencil eraser, a wooden skewer) to push out the corners.
- Iron your seams flat if possible and any wrinkles that may have appeared.
- The last step is to insert your pillow form and make sure that the corners are pushed into the corners of the pillow. Zip up the zipper. I often give my pillows several swats to make sure the form is centered inside the pillow.
I hope that this tutorial on how to make a zippered pillow will encourage you to make your own custom pillows. You can see that learning how to make a zippered pillow is fairly easy. You can save money and get exactly the look you want for your decorative pillows. I’ve tried to be as accurate as possible in this tutorial, but if you have any questions, please enter them in the comments and I will respond to clear up any confusion.
Here’s another pillow project that you might like. And a fun and simple blanket idea.
I know you will want to save this tutorial so you don’t forget where you found it. So PIN it for later or for now!
So you only sew the zipper to the seam allowance margin. Is that right?
Susan, yes, that is correct.
They turned out gorgeous! I must say that you are much more industrious than me lol (My sewing machine is waiting to go to Goodwill). I am envious of your talent – they look totally professional. Thanks for sharing at Vintage Charm — Pinned
xo Kathleen!
Kathleen, than you for the comments on all the dining room related posts. Thanks for Pinning!
Great tutorial. Your pillow looks great and I love the fabric you chose.
You are a good teacher! I am amazed how much you accomplish. I am home from my trip but have been sick and have so much to catch up on. I am slowly working my way through almost 300 emails that increase every day!
I do want to read your posts about your dining room. I saw your instagram posts and was impressed.
Bonnie, thank you for your positive feedback. sorry to hear that you aren’t feeling well. I know that email overwhelm feeling! I guess I didn’t that education degree for nothing. It’s so much more fun these days teaching through a blog than to roomful of high schoolers, but I was younger then. Hope you are on the mend.
Excellent tutorial! I have made more pillows than I could ever count over the years, and I agree that an invisible zipper is the way to go. I used to be afraid of them, but they are really easy. Thanks for sharing your tips!
Jill, thanks for the compliment. Yes, putting in an invisible zipper is so easy and it just makes the pillow look more professional.
Your tutorial was great. For years, I have basically sewn short, almost straight lines and doll clothes. Setting in zippers has always scared me and you made it look very manageable! Thank you!
Kathy, I watched my mom make doll clothes and I’ve made clothes for myself, my kids and grandkids. A pillow is so much easier! Please try it and you’ll be hooked.