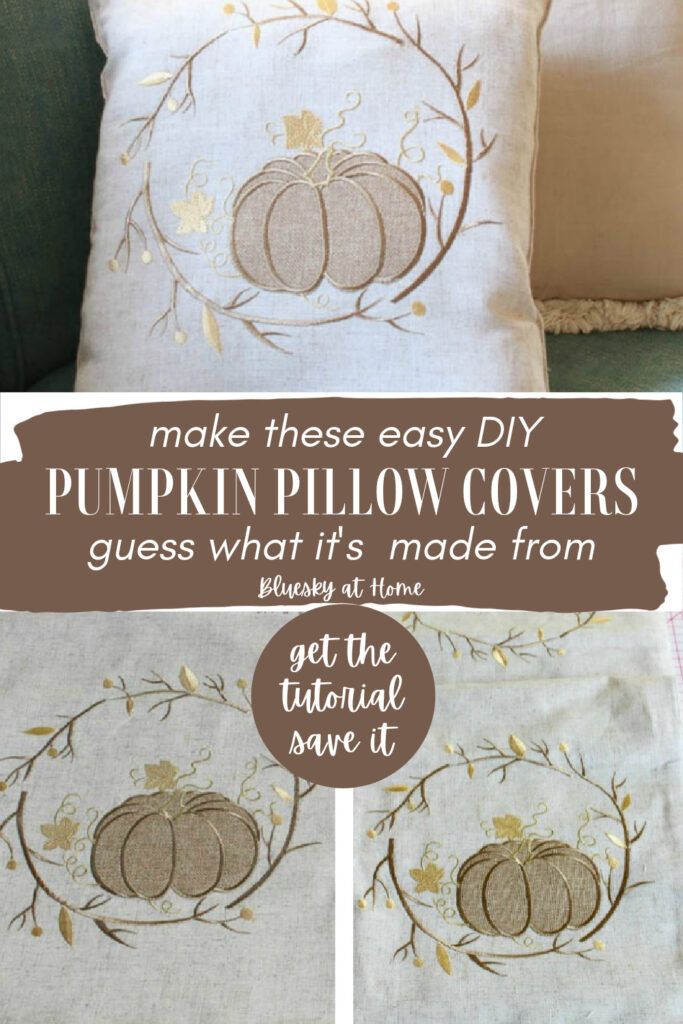
How to Make Pumpkin Pillows from a Table Runner
We love pillows. They are our most popular and useful accessories. They are the easiest way to update our home for seasonal and holiday time. If you don’t like spending too much money on new pillow covers, here is how to make pumpkin pillows from a table runner.
Yes, from a table runner. I have a great, easy, and inexpensive pillow project that you can make faster than you can carve a pumpkin. Learning how to make a pumpkin pillow from a table runner is easier than you think.
This cozy pumpkin pillow is easy to make and is inexpensive. It has a story.

Recently, I shared a collection of fabulous fall DIY pillow covers. Now I want to show you a fall pillow that I made.
We all love pillows for everyday decor, seasonal, and holiday decor. I’ve made a pillow or two in my day, but I have never made any type of pillow, much less pumpkin pillows, from a table runner.
If you have only thought of table runners as table runners, I hope to show you out to step out of your decorating box and think of a table runner as a home decor project with other possibilities.
Use a Table Runner to Make Pumpkin Pillows
I told you that this pumpkin pillow project had a story.
A while back, I met one of my best girlfriends at a central location where we would then drive to one of our favorite restaurants for lunch.
When I parked my car, I called her to tell her I had arrived. She said she was across the street at Tuesday Morning. (When we still had a large Tuesday Morning close by.) I headed over to meet her. You probably know how this story ends.
Browsing the aisles, we found a bunch of cute fall table runners. As we looked through the offerings, I found one with a pretty embroidered pumpkin and leaves at each end.
My friend thought I would love it as a runner, but I immediately thought, NO. I’m going to make pumpkin pillows out of it.
This post contains affiliate links to products used to create this project. If you should order any item from this site, I may receive compensation, but you do not pay a penny more. Your purchase is greatly appreciated as it helps support the continued publication of this site.
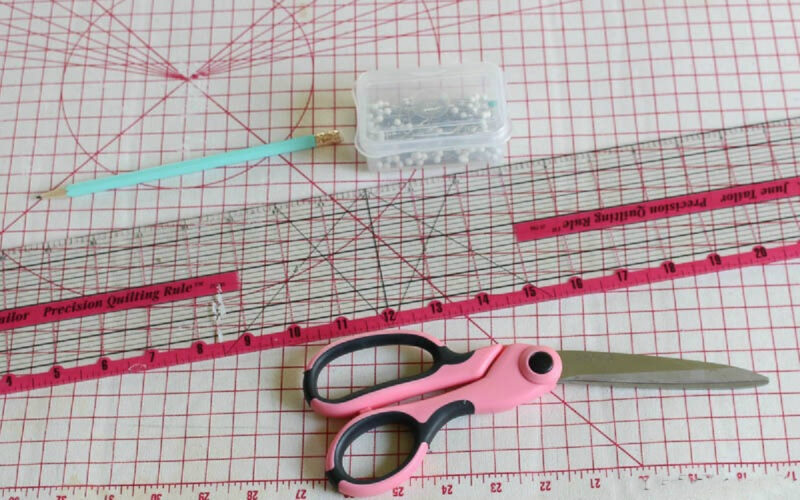
Supplies for the Pumpkin Pillows
Here are the basic supplies you will need:
- table runner: pumpkin and leaves, orange pumpkin with leaves, white, taupe, pale orange
- sewing mat
- batting, filling, or pillow inserts
- sewing scissors
- sewing ruler
- sewing pins
- pencil
- needle and embroidery thread
- zipper (optional): If you prefer to make a zippered pillow cover; the zipper should be at least 2 inches shorter than your pillow.
- iron (optional)
Pumpkin Table Runner Project
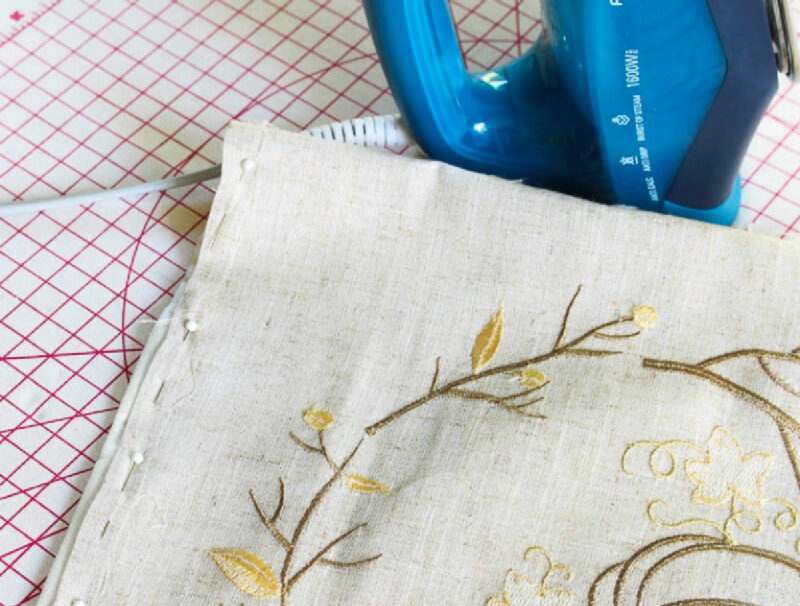
The fabric on the front of the table runner had a linen-like look and feel.
As you can see, the pumpkin had a linen-like fabric outlined in bronze-colored thread.
The vines and leaf design were made of a mix of bronze and gold thread. I loved the circle motif and immediately thought it would be perfect to make two pillows.
The runner was 14 inches X 72 inches. That meant my pillows would be 14 inches wide.

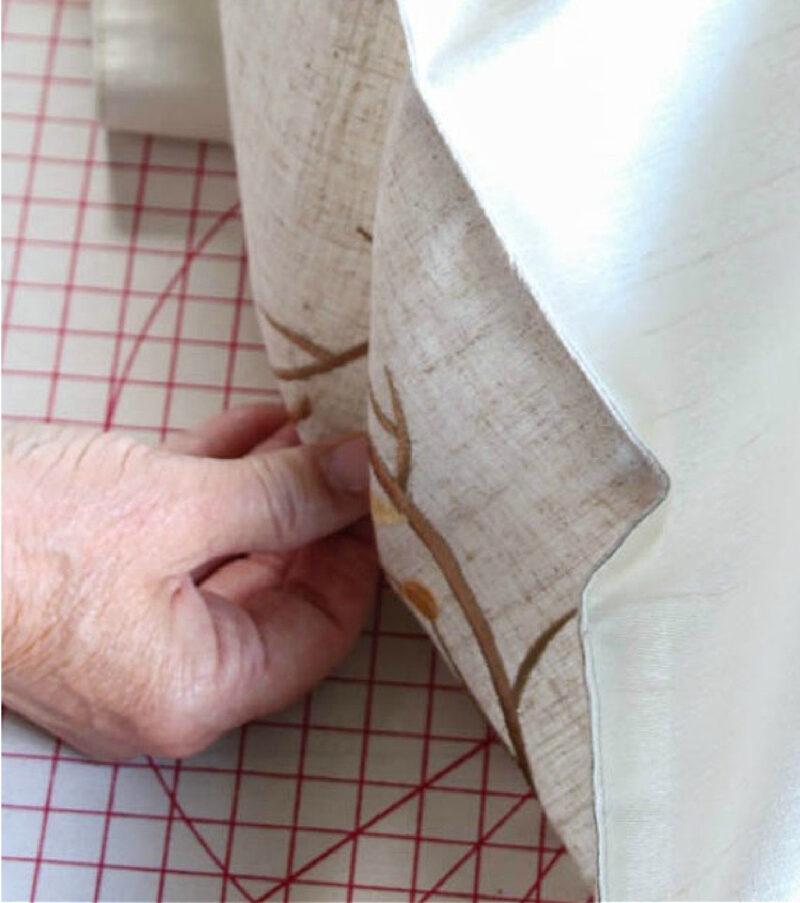
The fabric on the back of the runner had a silk-like (I’m sure it’s polyester) look and feel in a champagne color.
My original idea was to fold over each end of the runner to make a “pocket”. Then I would stitch up the two sides, fill the pocket with a pillow form, and machine stitch the opening. Easy peasy.

I was hoping for a 14-inch square pillow, but to have the pumpkin design centered on the pillow, I would have to make a 14 X1 5-inch pillow.
Making the pillows this way would leave about 11 inches of the center of the runner left. Maybe I could fill it with batting and make a hot pad?

Starting My Pumpkin Pillow Project
I already had laid out my ironing pad that I like when I’m using the kitchen island or the breakfast room table to work on.
The next step was to iron the runner, front and back.

It was at this point that I realized that the front and back of the table runner could be separated. What if I didn’t fold over the runner at each end? What is I just used the ends as the pillow cover?
Oh, I amaze myself sometimes. This approach would mean no machine sewing, less time spent, and I would have much more of the table runner left over.
So, now let’s go step-by-step how I make the pumpkin pillows.
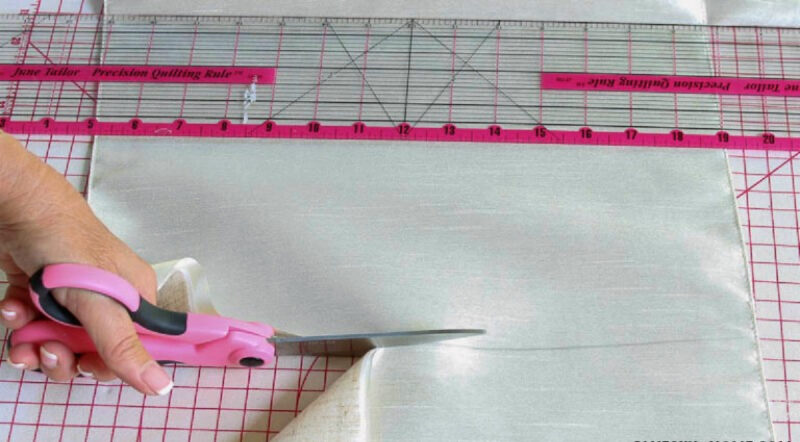
The first thing was to measure from each end of the table runner. I knew I needed 15 inches + 1/2 inch for a hem.
I measured 15 1/2 inches and drew a line with a pencil on the backside.
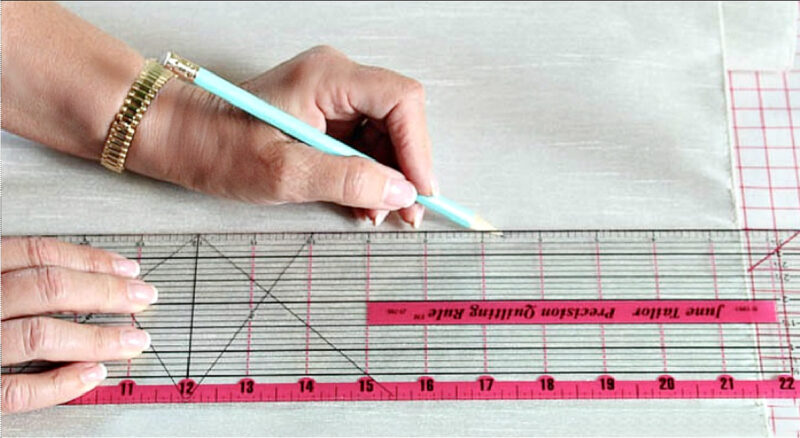
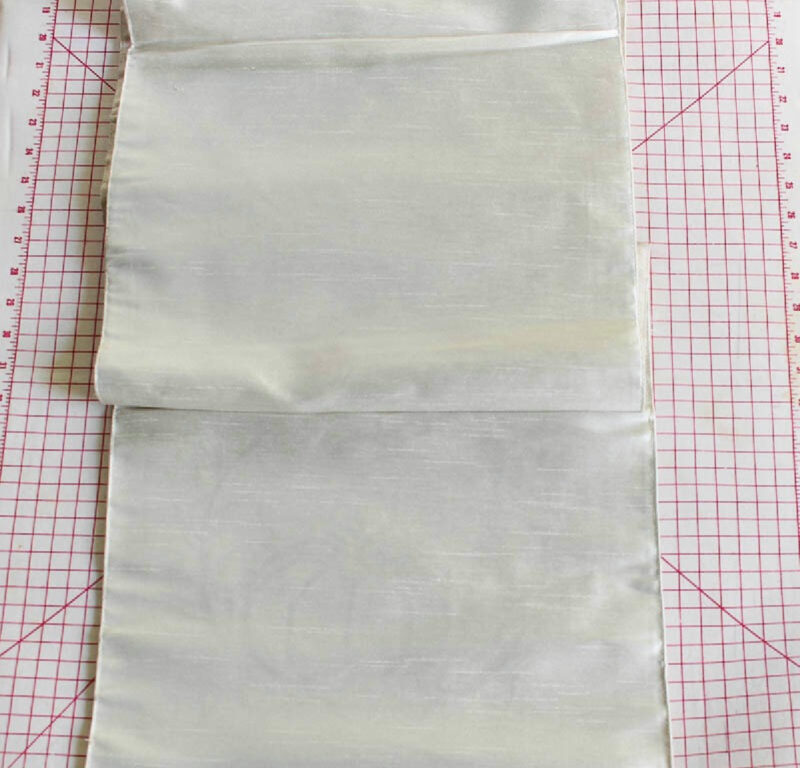
Then I cut my pillow “cover” from each end.
Here are my 2 “pillow covers”. By the way, I still had 41 inches of lined fabric left over. I will make something with it.

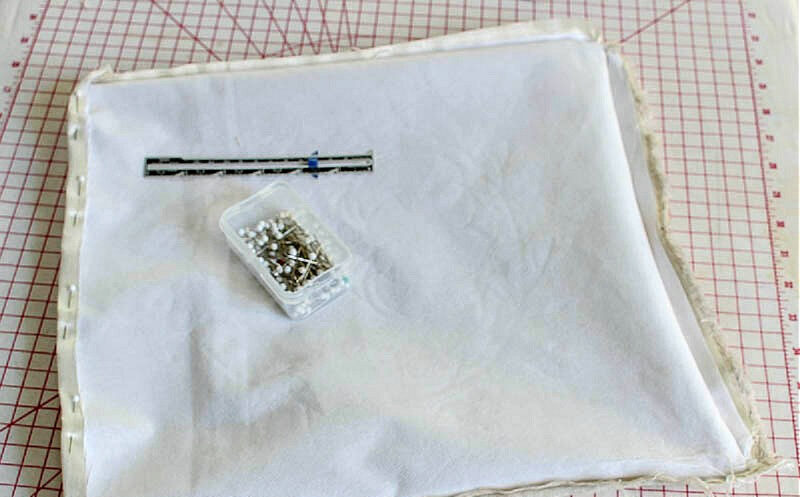
I was pleasantly surprised when I turned the pillow cover inside out to find that it was lined with interfacing. That would give the pillow more body.
Next, I measured a 1/2-inch hem on the cut edge and pinned it.
Then I ironed the hem.
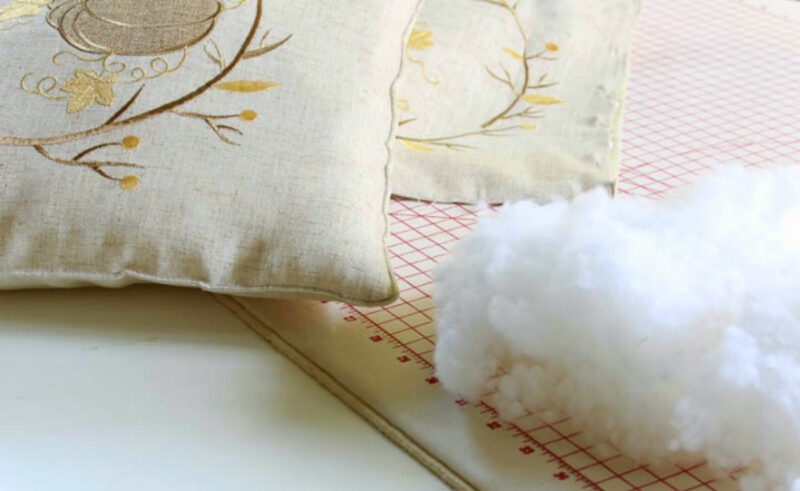
Filling the Pillow
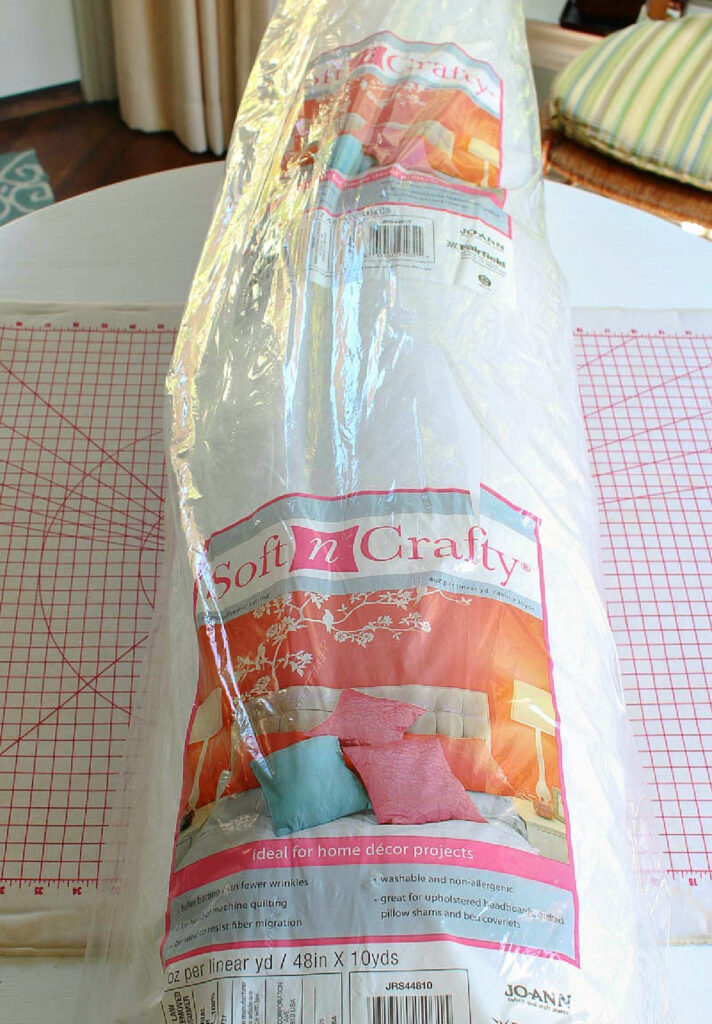
Now I was ready to fill the pillows. Instead of using pillow forms for a full look, I would use batting and filler.
I had a huge roll of batting on hand. I’ve used this roll for a few other projects – making a fabric-covered headboard for a king bed in a guest room when we moved into our house 11 years ago, so no pics and filling some cushions.
I used the batting again when we made a new fabric-covered headboard for our own bedroom.
I cut a few widths of 16 inches, thinking that would really fill my pillow forms, but it was actually too much, so I had to trim the batting down to 14 inches. You just have to play with batting until it fits snugly with no lumps.

I also had some pillow filler. I like to keep a bag on hand for filling in the corners of pillows. You don’t want points at the corners that aren’t filled. I just grabbed a handful and push it into the corners. You can also use pillow filler to “fill out” the pillow and make it full.
Once I had the batting and filler in the pillow, I pinned the open side closed.
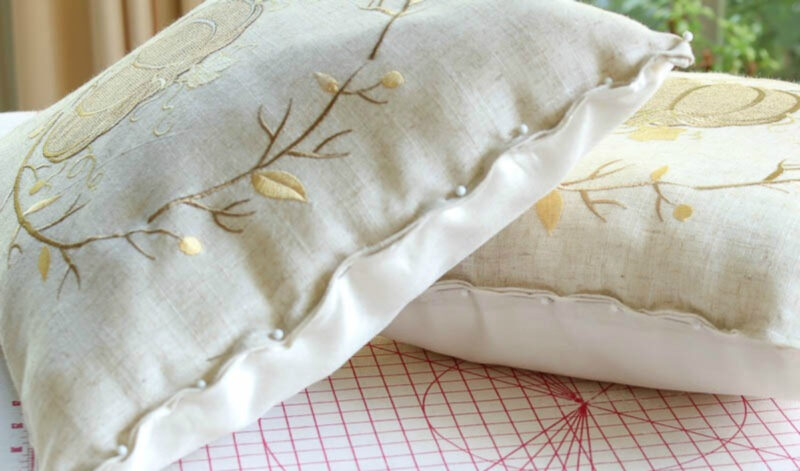
I decided not to machine stitch the opening since I already had a package of gold metallic thread on hand. It will probably last me 10 years.

Since the other three sides of the pillow had stitching that showed, I used a simple running stitch to close the opening. Then I gave the pillows a good whack.
TIP: “Whacking”, hitting your pillows together or on a hard surface, helps to distribute evenly the filling.
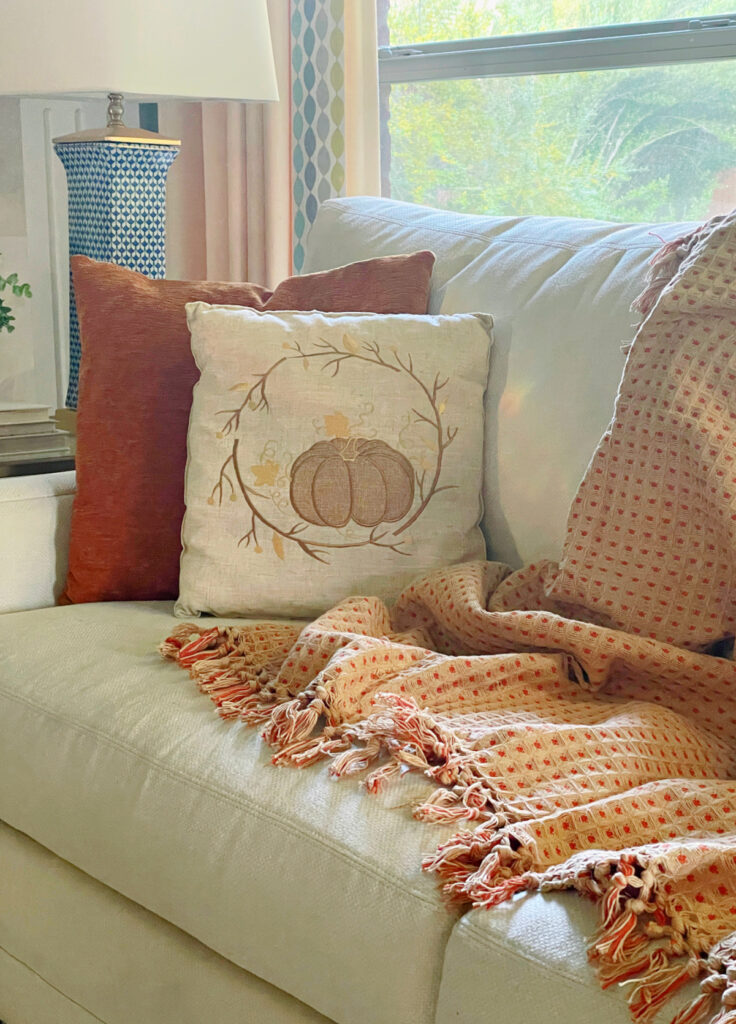
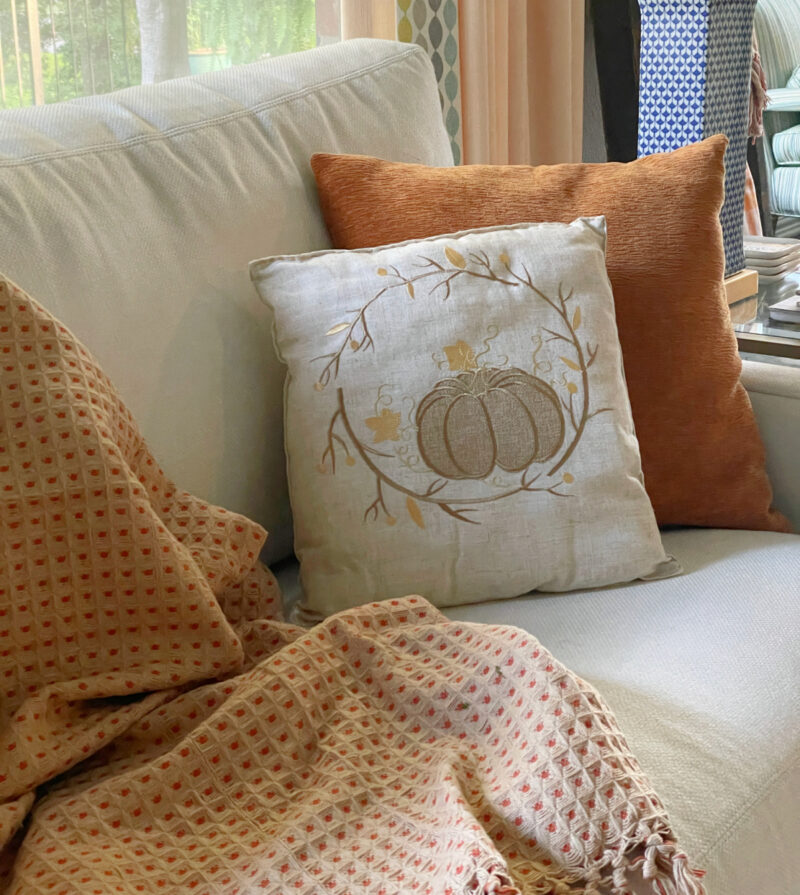
Displaying Your Pumpkin Pillow
I first arranged the pillows on our sofa with rusty orange textured pillow covers that I bought last year.
Then I decided to try them in our dining room on two extra dining room chairs. I like having decorative pillows here for color, design, and interest. I like this placement better. This is where the pillows will stay – at least for now.
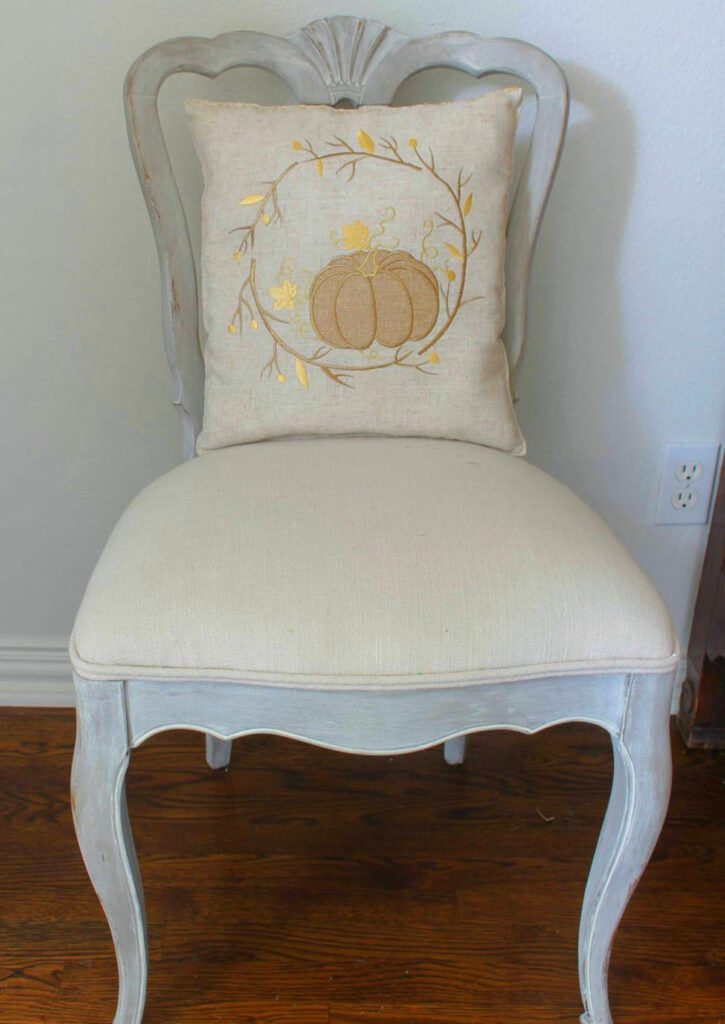
These pumpkin pillows will transition nicely from fall to Thanksgiving decor.
Now, honestly, have you ever thought of making pumpkin pillows from a table runner? I will look at table runners differently now, with an eye for the designs. Maybe you will too.
NOTE: You can use this tutorial with any pattern or design table runner you like for a custom pillow.
So how much did each pillow cost me?
The table runner was $16.99, which means each pillow cover was $8.50. If you count that I still have 41 inches of leftover runner fabric to work with, then the cost per pillow goes down even more. I didn’t buy anything else for this project. Not bad, right?
Here are a few other pillow projects:
- 17 Fantastic Fall Pillow Projects
- No-Sew Dish Towel Pillows
- How to Make the Easiest No-Sew Pillow
- How to Make a Zippered Pillow in 5 Easy Steps
I hope you will PIN this project to your Pinterest boards. Here are some great Pinterest Boards that you should follow for lots of great ideas: Fall DIY Projects, DIY Projects and DIY Accessories for the Home.


Carol,
What a great idea. Congratulations, you are being featured on TFT. I hope you stop by. https://eclecticredbarn.blogspot.com/2024/10/apples-and-fall-decor-on-tft.html
Hugs,
Bev
Love this idea for up-cycling old linens! Time to dust of the sewing machine!
It’s always good to recycle, whether new or old. Thanks for your nice comment
Love your pumpkin pillows. I often thrift table runners at GW and have made some with pocket backs. The runners with pointed ends and a tassel look so cute with the “envelope flap” on the front–either simply tacked shut or Velcroed. I have even used off season towels (like a beach towel) to stuff a larger pillow–you just have to leave yourself a note saying WHAT/WHERE you put that towel! Once I scored a dark green sheet and used all 4 edges to simply rip up pocket back pieces to make backs for Christmas placemat “lumbar” pillows. Only having to stitch around the outside pillow cover edges sure makes a pillow quickly!
Hi Kathy. Thanks again for visiting Bluesky at Home. So glad that you are making use of runners for other purposes. Keep up the good work!!
This is a wonderful craft using a table runner – and they turned out beautiful. The look is very upscale!
Thank you, Rachelle. It’s a project that keeps on giving.
I just love this idea Carol! What lovely pillows for fall.
Wow! You made all three of those pillows? They look fantastic! Great tutorial on turning the runner into a pillow.
Using a runner sure let you get some great embroidery for two pretty fall pillows.
What a great idea, Carol! Your pillows are so cute! Next time I see a Table Runner, I just might make some pillows out of it! One can never have enough pillows! Right?! I have a pillow addiction!
These are beautiful! I love how you turned a table runner into pillows. What a creative idea!
I always see table runners that would make great table runners. I never think to make a pillows. Love how this turned out. Really cute! pinned 🙂
Carol I love this idea and aren’t you a smart one? The pillows are so pretty too. Love the pattern on the runner.
I can’t sew a lick but I could use fabric glue. Thanks for sharing and I’m going to Pin. I may look for a Christmas runner.
Cindy
What a creative idea for a table runner!! They turned out beautiful.
Thank you Kathy. It was a lucky find.
I love this table runner. It’s even prettier as two pillows. They are so pretty! I will be keeping an eye out for a table runner to make a few. Have a great week!
Carol what a wonderful idea!! I have several old table runners that I could do this to. How awesome! Thanks for sharing. I love the table runner you picked for the pillows. The pillows are so pretty. Happy Fall!
What a great idea, Carol. I have some old dresser scarves that are just gathering dust on a shelf. I think you’ve inspired an idea for them!