How to Make a Wood Slice Wreath
Wreaths are great DIY projects for your home. Want to make a super easy wood slice wreath? Let’s make one in an hour.
Wreaths come in all sizes, all materials; they even come in different shapes. Wreaths are made for holidays or every day. A wood slice wreath is the ticket for this time of year.
I’ve made my share of wreaths. Wreaths have open~ended, endless possibilities. About the only thing wreaths have in common is they are hung for display.
After 4th of July, my poor front door has been wreathless. It looked bare and not so inviting. Since wreaths project a welcoming sign to your home, I needed a new wreath.

Since we are still in the throws of summer, but not quite ready for fall, I needed a wreath that was neutral. This wood slice wreath is perfect for between seasons, but adaptable for other times of the year.
How to Make a Wood Slice Wreath
This post contains link to products used to create this project. If you should order any product from this site, I may receive compensation, but you don’t pay a penny more.
I want to tell you right now that I’m not the first to make a wood slice wreath. I’ve seen them before. At the end of this project, I’ll show you the inspiration for my first DIY wood slice wreath.
Basic Supplies for a DIY Wreath with Wood Slices
One of the great things about this wood slice wreath is that it takes so few supplies. Also, the supplies are inexpensive. You may already have all the supplies you will need on hand. I did.
At the most basic, here is what you need to make your wood slice wreath:
- wood circle or embroidery hoop ~ 12 ~ 16 inches
- package of wood slices
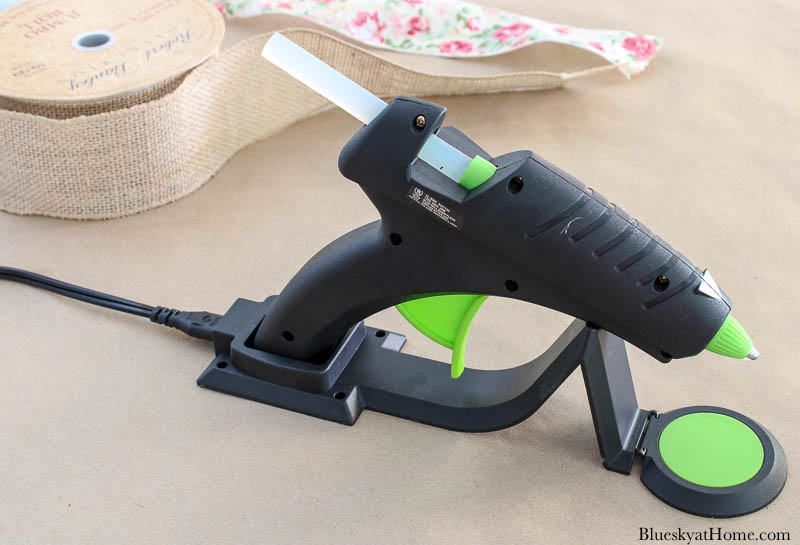
- hot glue gun and glue sticks
I already had a wood circle that I bought for another project and didn’t use. Here is a similar one to mine that is just wider than the one I bought.
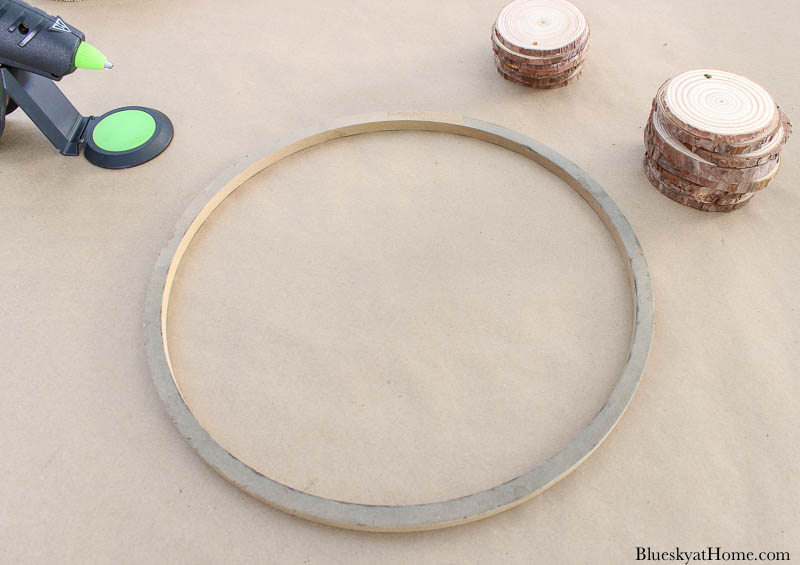
Fortunately, I also had a package of wood slices. I had used a few for a barbecue party decoration last summer.
Making the Wood Slice Wreath
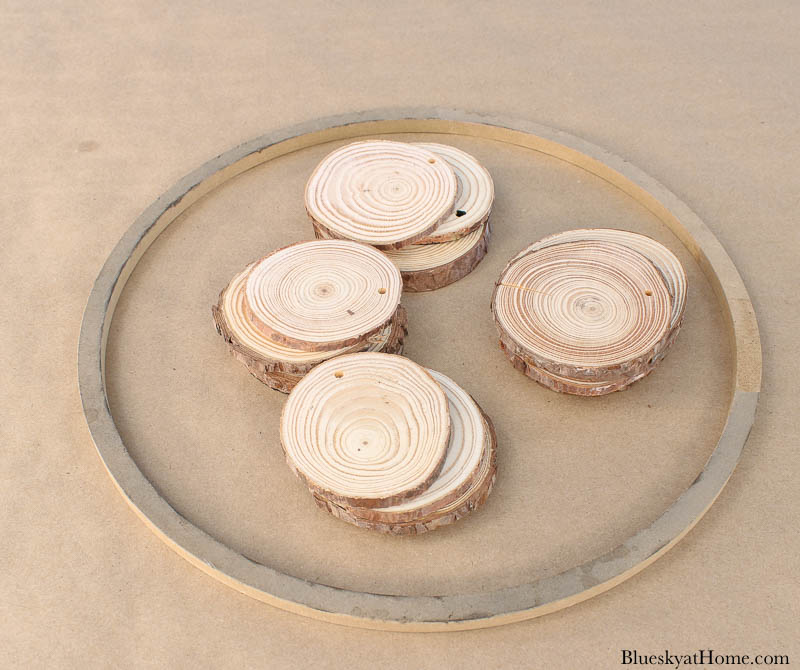
First I laid out the wood slices around 3/4 of the wreath to see how many I would need. For the bottom layer, I would need 8. I left about 1/4 inch between the slices.
For the top layer, I would need 7 wood slices.
I have several glue guns and tons of glue sticks. I recently purchased this rechargeable glue gun.
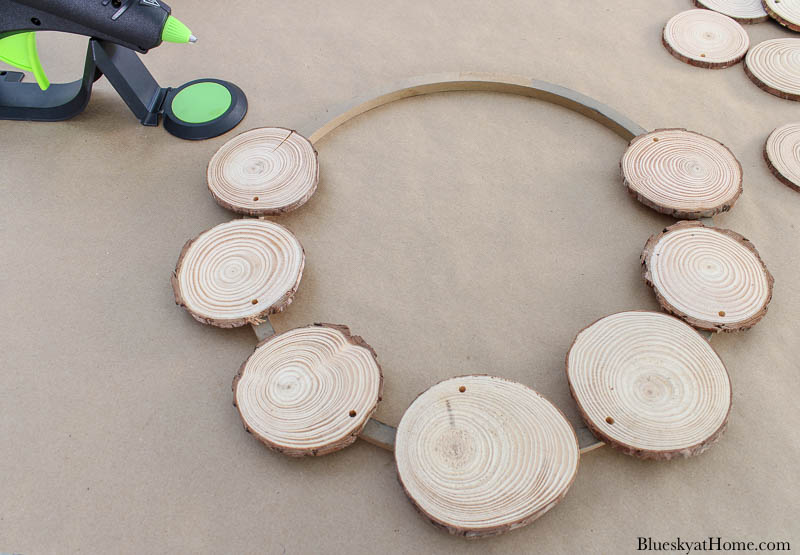
Next, I removed all the wood slices and started gluing them one by one to my wreath circle. This took about 20 seconds.
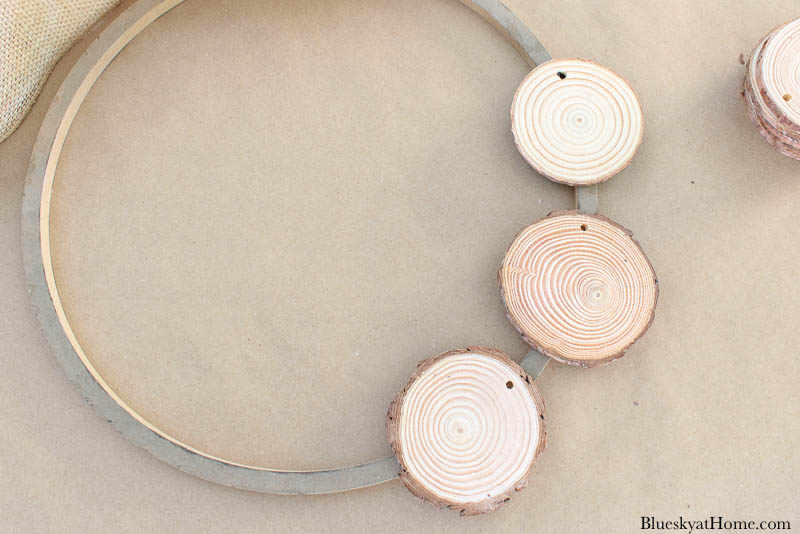
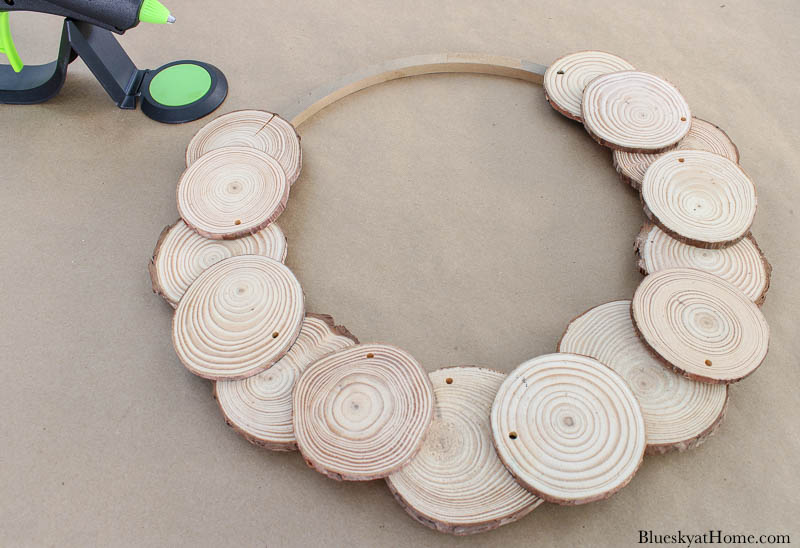
Then I glued the top layer of wood slices, straddling them across 2 wood slices. This step took about 15 seconds.
Now your basic wood slice wreath is done. You are ready for the embellishments.
Optional Embellishments for a Natural Wreath
The wood slices wreath definitely needs some pretty garnish. After you make the basic wreath, you can change it up with pretty addtions. This is why I like this wreath. Here are some elements you can use.
- wired ribbon
- burlap ribbon
- raffia
- faux greenery or faux flowers
- wood cutouts
- small signs with words
- stencils
- paper cutouts
My Embellishments
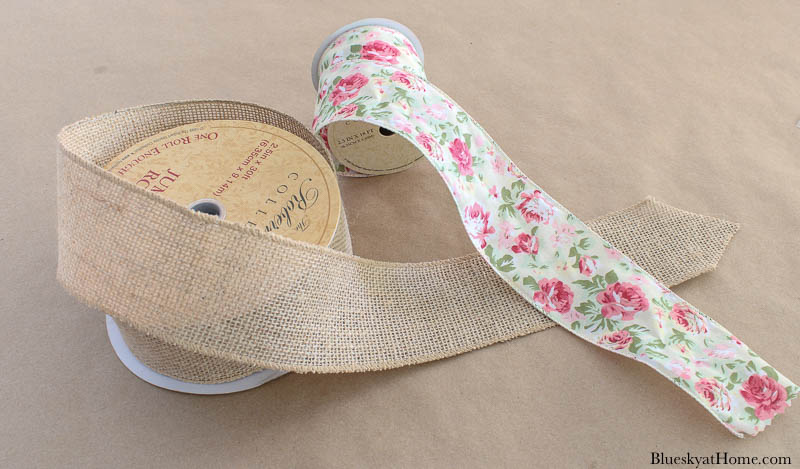
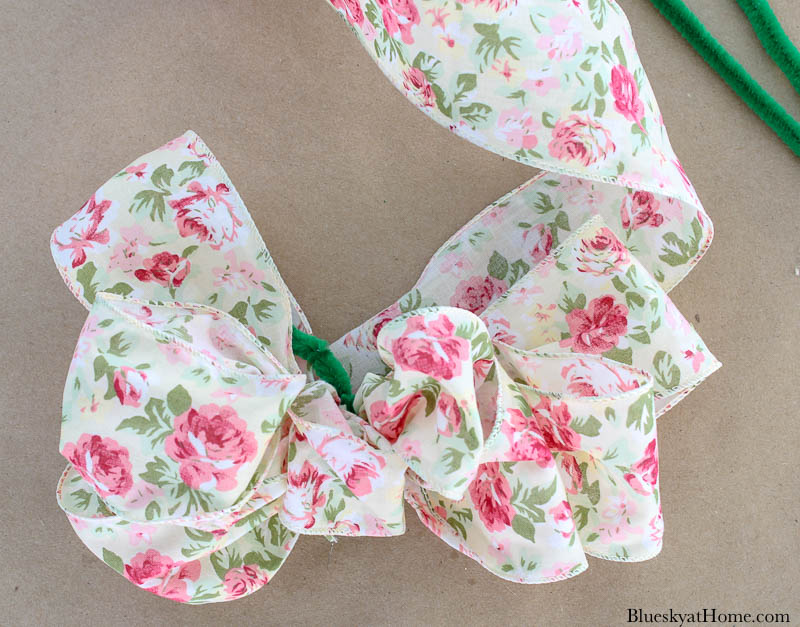
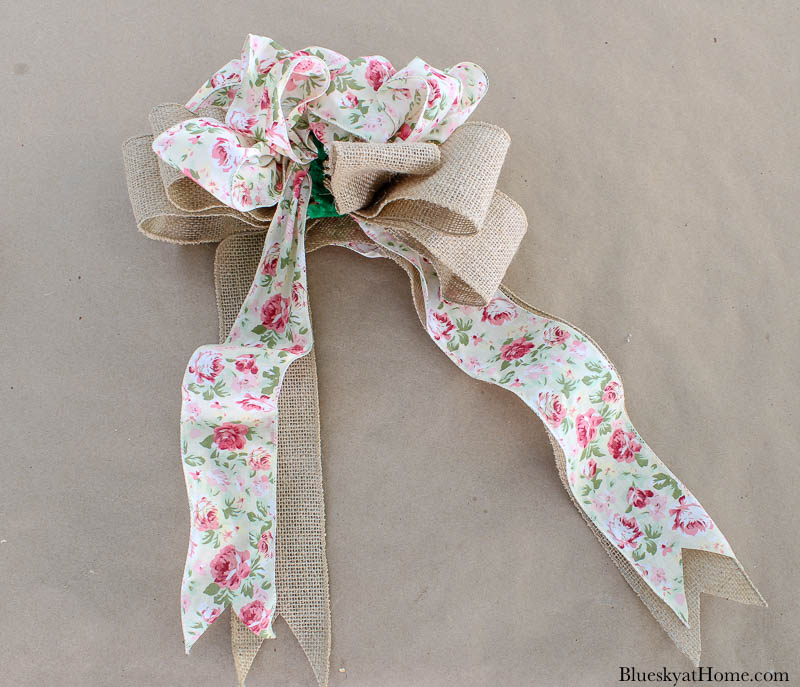
For my DIY wood wreath, I chose a floral wire ribbon which I already had. I also had a roll of wired burlap ribbon.
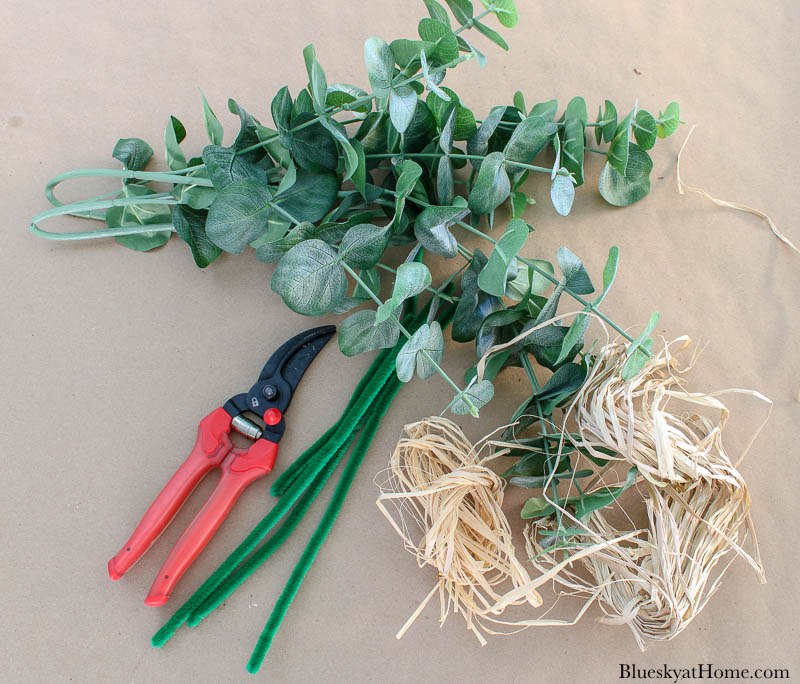
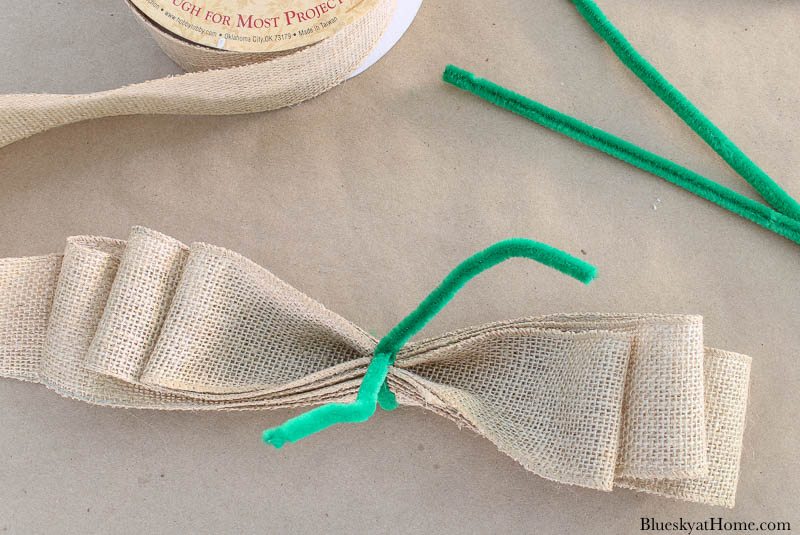
I made my bow in 2 parts: the burlap and the floral. I like to use pipe cleaners to wire my bows together. These green ones are from Dollar Tree.
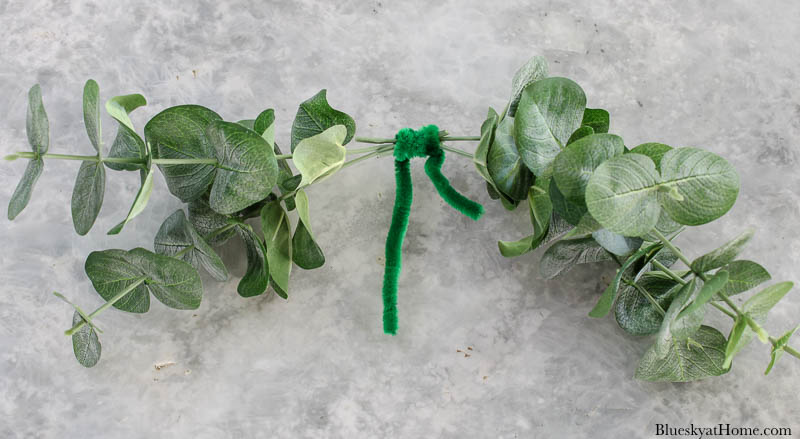
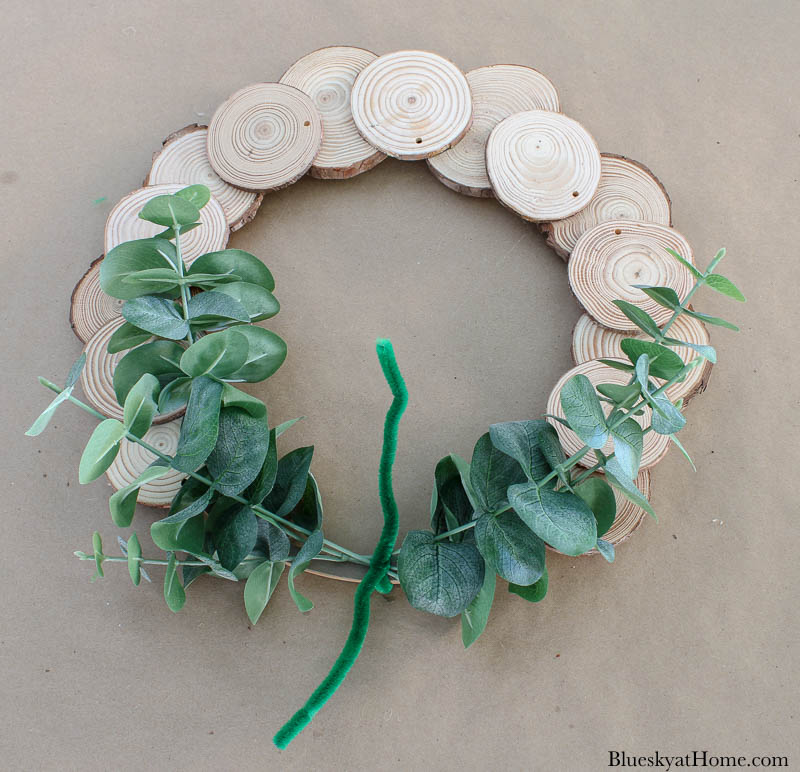
I also had a bunch of faux greenery. I cut the stems off the branch.

I used another pipe cleaner to attach the greenery together.
Since I wanted the ability to change out the embellishments, I used green pipe cleaners to attach them to the wreath.
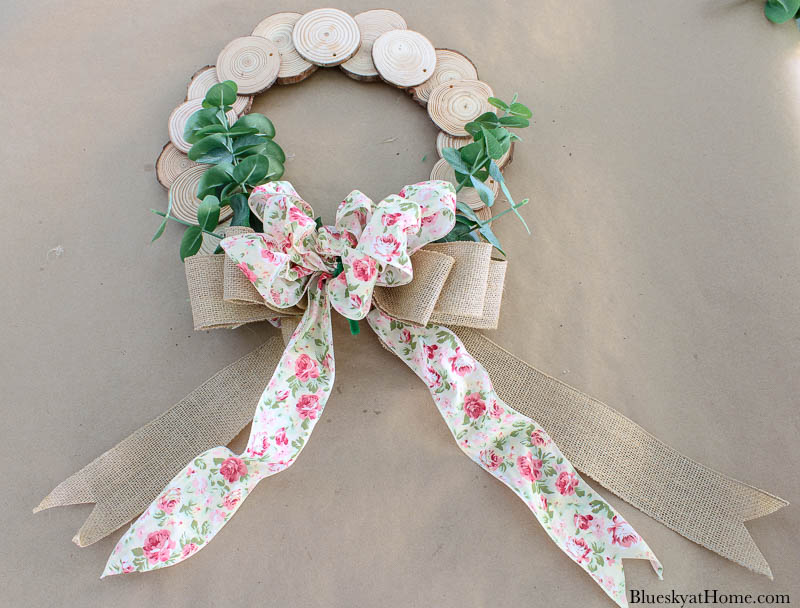
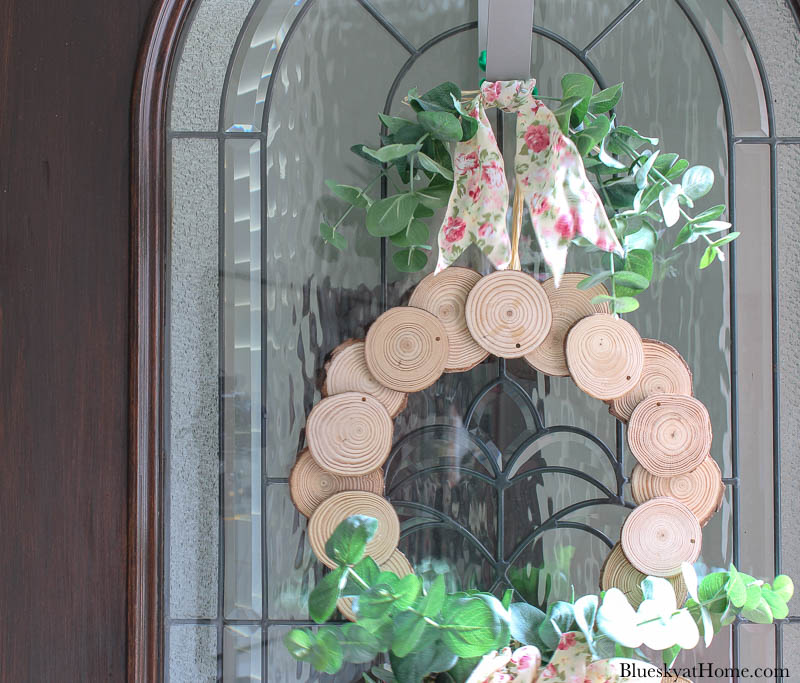
My wreath with a pretty bow and greenery was complete. Now I had to hang it to display on our front door.
Hanging our Front Door Wreath
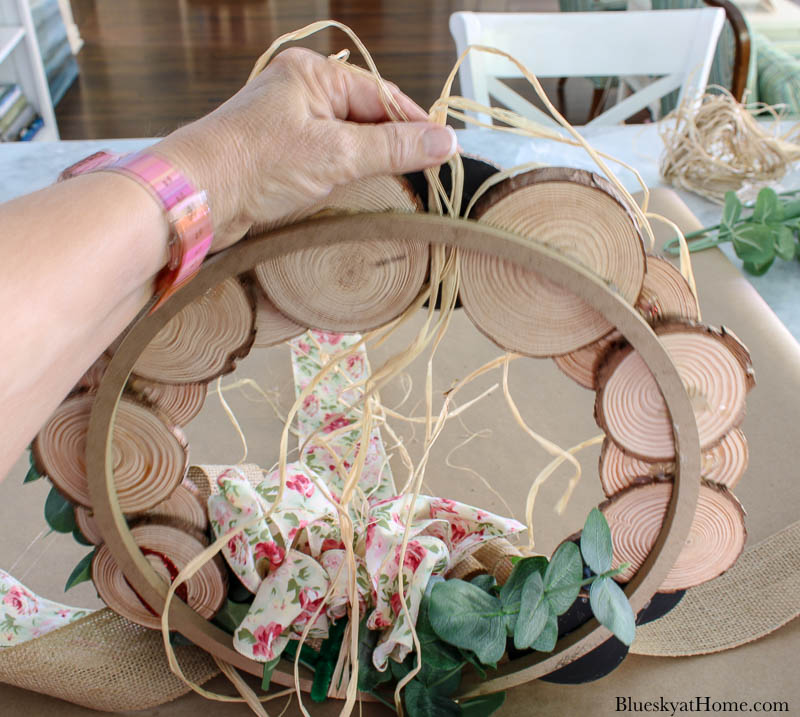
I used some of my raffia to hang the wreath to our door hanger ~ we have a few metal door hangers that fit over the top of the front door.
I threaded several strands of raffia through 2 wood slices and the wood circle.
Next, I tied the raffia around the door hanger. Oops, that doesn’t show up very well. It was obvious that the wreath needed more embellishment on the top of the door hanger.
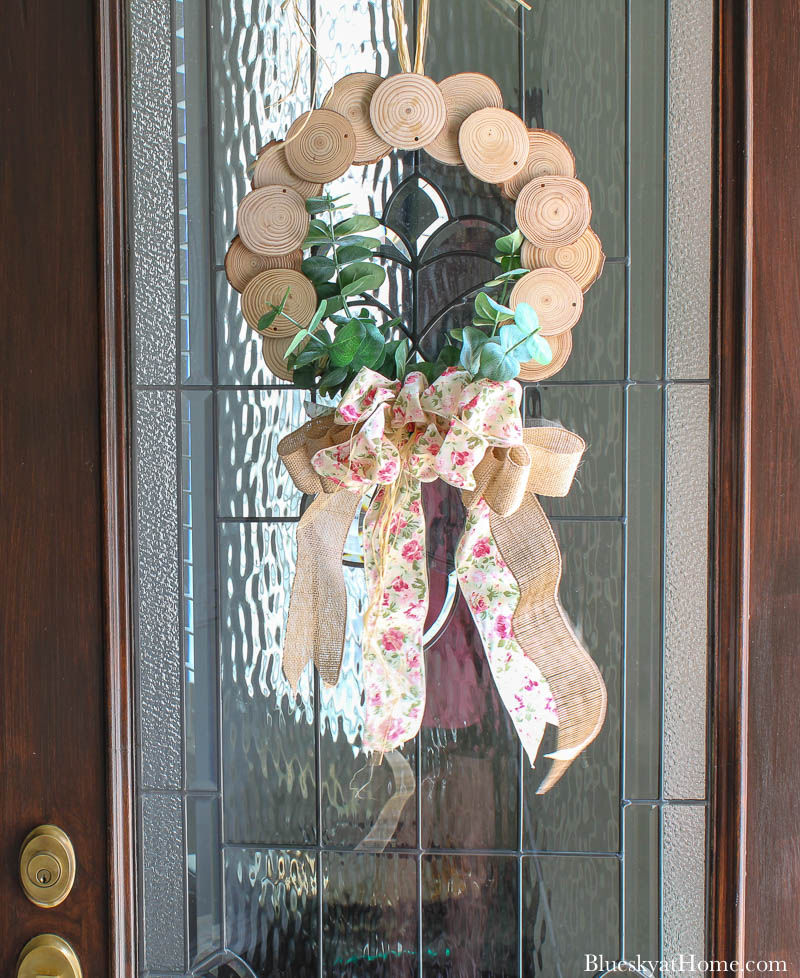
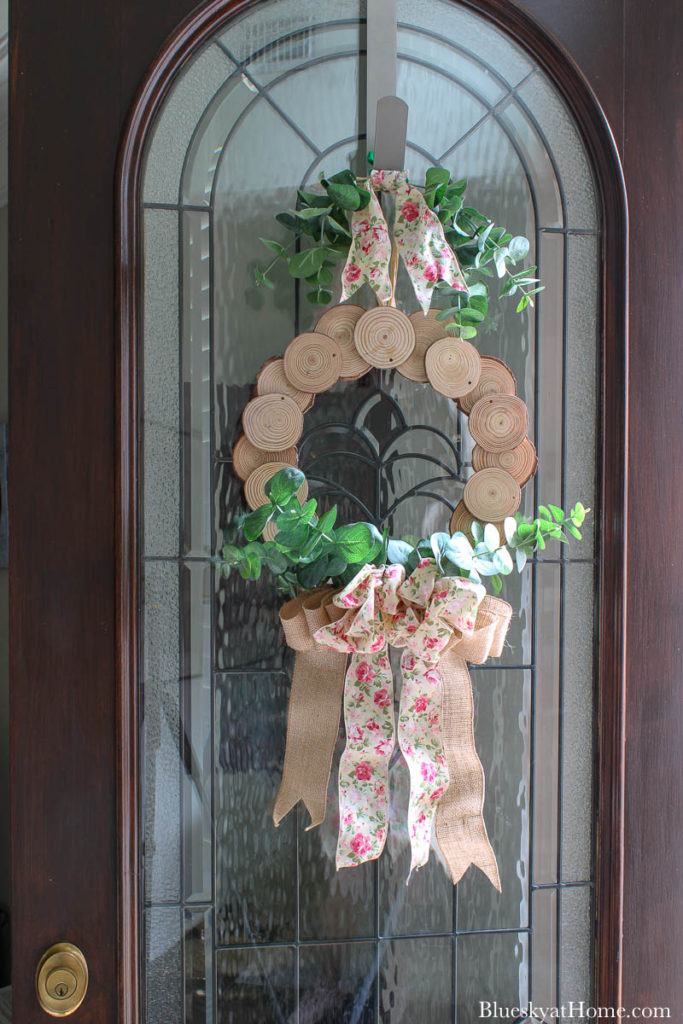
Back to the drawing board. I still had plenty of faux greenery and floral ribbon. I used another pipe cleaner to create a topper for the wreath.

That was much better. The greenery and floral ribbon at the top and bottom pulls the wreath together.
My wood slice wreath was complete. It took me less than an hour to make and didn’t cost me anything in new supplies.
I love the soft colors and the natural element of the wood. It will be an inviting focal point for our front door until it’s time to decorate for fall.
What was my inspiration for this wood wreath? My friend Kippi at Kippi at Home shared her version at our Tuesday Turn About Link Party.
Be sure to PIN this wreath project for your DIY inspiration.


Your wreath is still so fresh for the last of the summer weeks. I’m sure you will enjoy it. Wood slice wreaths are so pretty and it’s amazing how easy they are to make. Thanks for sharing this week. #HomeMattersParty
This is the perfect wreath for the season. I do get stuck sometimes between the patriotic decor and fall decor. The raffia made the perfect way to hang it too! You could always change up the ribbon and keep this up all fall, too!
This is my kind of wreath, so simple yet so pretty! I’ll be giving this a try for sure!
Glad you liked it, Jayne. Let me know if you make it.