How to Make a Pampas Grass Fall Wreath
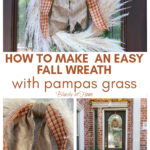
Don’t we all love wreaths? They are iconic decorations for our front doors. I just made a new kind of wreath for fall. So let me show you how to make a pampas grass fall wreath.
What made me come up with the idea of making a pampas grass wreath for the fall season? What attracted me to this look for a front door wreath? How did I figure out how to make a pampas grass wreath?
I’ll answer those questions and others as I take you through the steps of this easy DIY project.
I love wreaths. I think that I have only bought one wreath ever. It is a Halloween wreath and we bought it on a vacation in California years ago.
It’s just too much fun to make wreaths all by yourself. They are usually easy. You can customize them. And it is so much less expensive to make a wreath than to buy a wreath.
But I was ready to make a new autumn wreath. I wanted something different and new. And then I found it.
The Pampas Grass Fall Wreath Inspiration
Two weeks ago, after I had made my glass vases wrapped in jute twine, I looked at Trader Joe’s for appropriate flowers for the vases.
The one thing that attracted me was bunches of fresh pampas grass. I had never bought or used pampas grass, but I loved the light, feathery texture, and the natural colors. I bought 2 bunches of 3 stems each.
Then last week, I was doing my research on Pinterest for my 10 Fabulous Finds series. The topic was fall front porches – how appropriate!
One of my favorite discoveries was the pampas grass wreath made by Ashley of Modern-Glam. It was the first time I had ever seen a wreath like this.
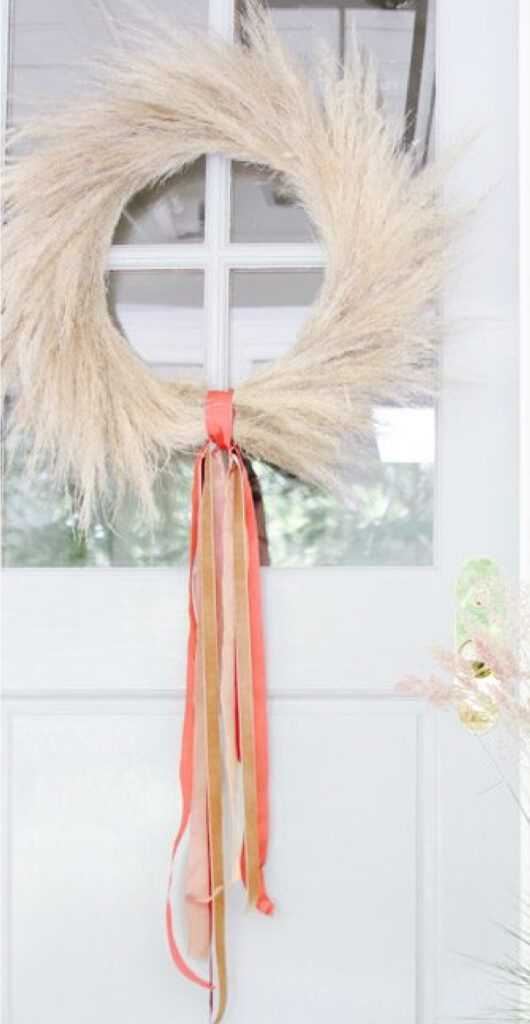
I liked the simple style. The natural texture and color spoke to me. It looked easy to make.
I decided to search further and discovered that there were many variations of how to make a pampas grass wreath.
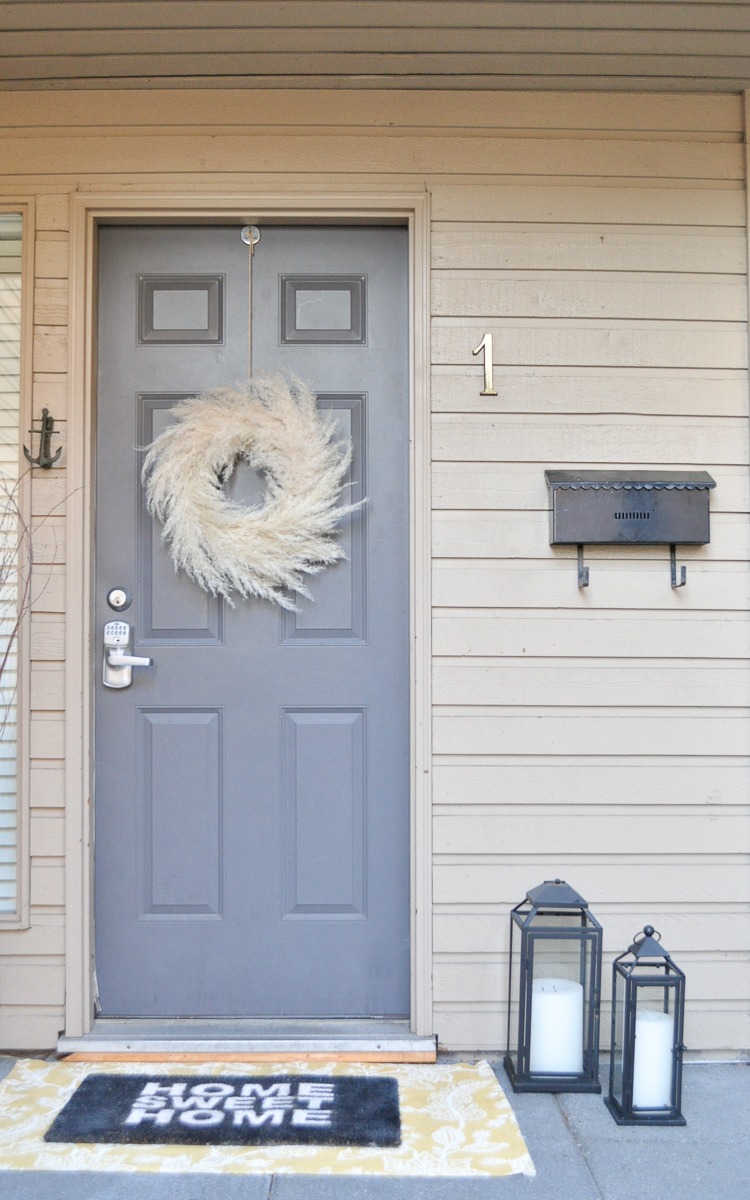
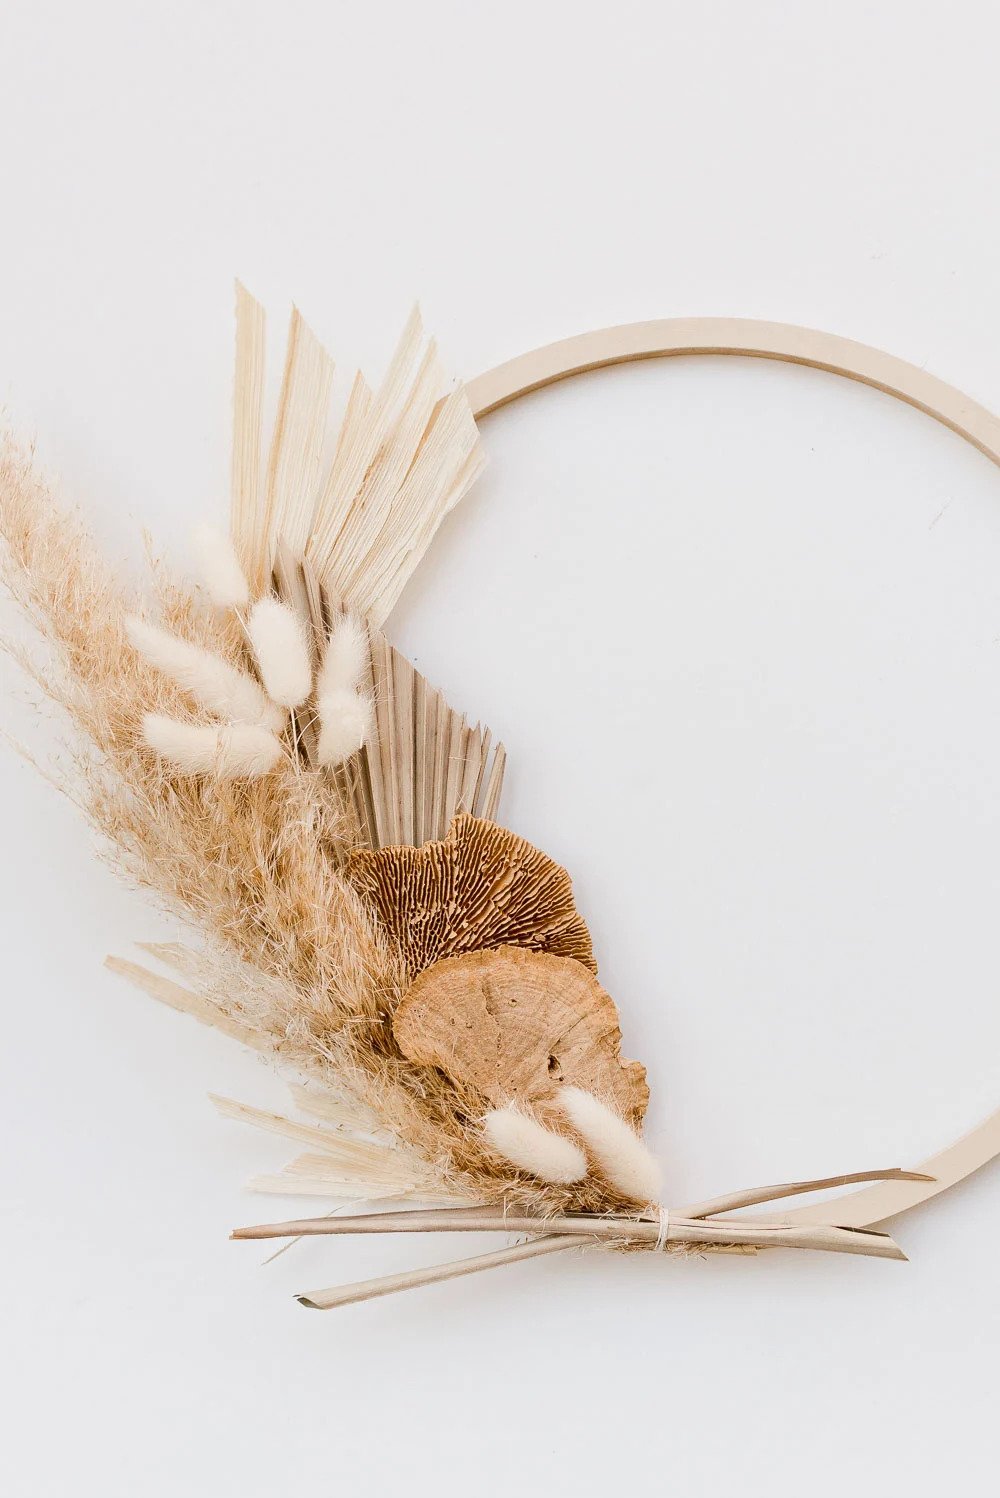
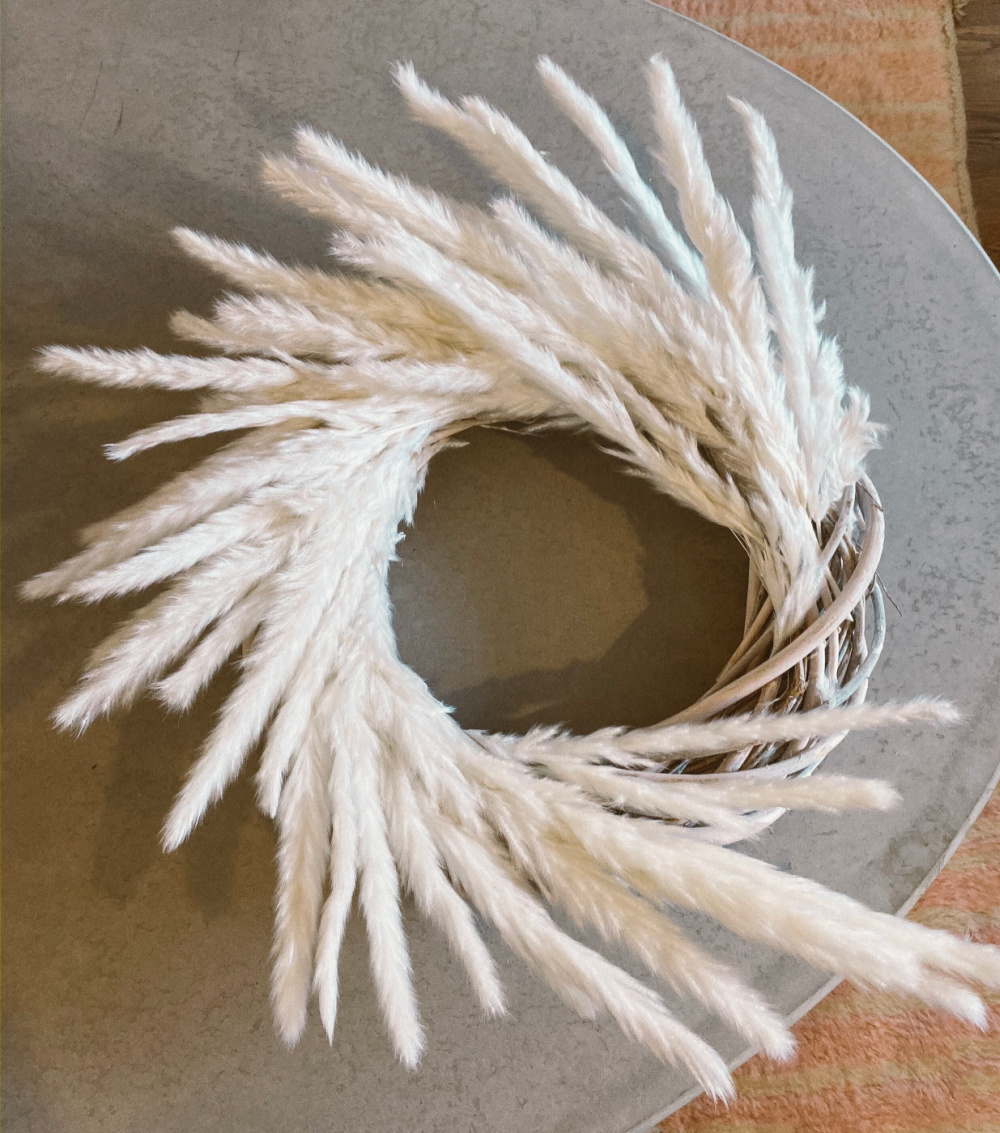
I can’t take credit for the originality of this pampas wreath. As you might imagine, I decided to make my own version of a pampas grass wreath.
All About Pampas Grass
Let me explain that I discovered that there are several color variations of pampas grass – from white to cream, wheat to taupe.
Here is an interesting article about pampas grass.
Also, you can get pampas grass in fresh and faux versions.
It wasn’t until I did more research that I discovered you can buy faux pampas grass in different natural shades.
When It came time to buy supplies for my pampas grass wreath, I bought one more bunch at Trader Joe’s.
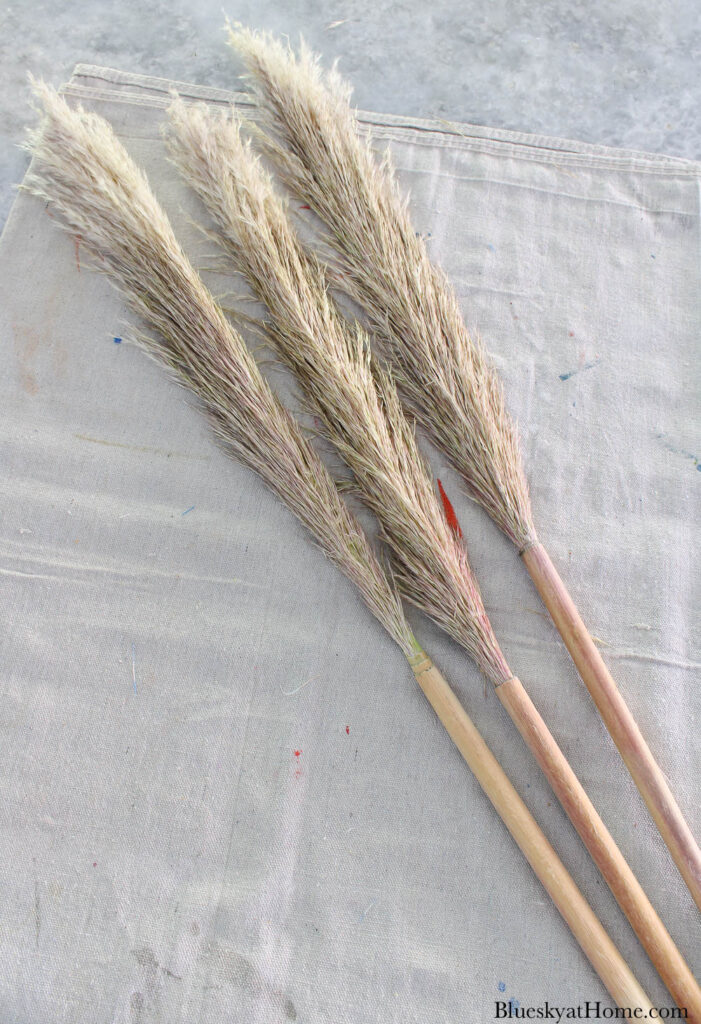
How Do You Attach Pampas Grass to a Wreath?
Well, it depends.
For every pampas grass wreath I found, there were different bases and different methods of attaching the pampas grass to the wreath.
Some used the metal wreath forms from Dollar Tree. I tried that and it didn’t work well.
Some used twig wreath forms. That was a possibility.
Some used grapevine wreaths. Others used wood hoops. Some covered the base completely and others only partially.
Some used a hot glue gun. Others just pushed the pampas grass stem into the base.
The possibilities were endless.
In the end, I decided to use supplies that I had on hand and thought would work best.
Supplies for the Pampas Grass Wreath
Here is what I used because it is what I had on hand:
- 16″ straw wreath
- wired twine
- fresh pampas grass ( $6.99 for 3 stems at Trader Joe’s) or faux pampas grass
- clippers to cut wired twine
- over door hanger
- wired fall plaid ribbon and wired burlap ribbon
Why Use These Supplies
Let me explain why I was using the wired jute twine instead of a hot glue gun.
- First, since I didn’t know how long the fresh grass would last, I didn’t know if storing it for future use was practical.
- Second, if I used a hot glue gun, then the wreath would be permanent and I wouldn’t be able to reuse the straw wreath in the future.
- Third, using wired twine is so easy. I’ve used it a few times in the past and I like the natural look of it. If I take the wreath apart, I can reuse the wired twine.
NOTE: The pampas grass is mostly feathery pieces, but there is a stiff center stem. That stem is bendable. I gently started bending it to make it more flexible for the wreath.
My Steps for Making the Pampas Grass Wreath
Step 1 – Choose your base. I used the 16-inch straw wreath form that was in my supply closet.
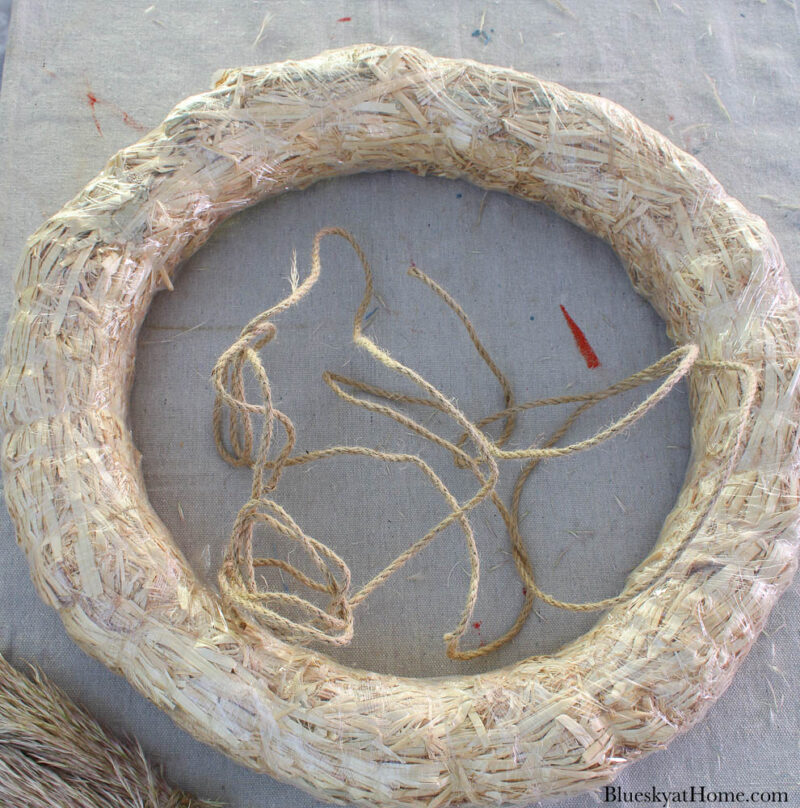
TIP: Do not remove the plastic wrapping.
Step 2 – Remove the pampas grass from the hard “wood” stalk. This is easy to do with fresh pampas grass. Just use sharp scissors, a wire cutter, or clippers and cut just above the wood stalk.
Step 3 – Immediately secure the end of the pampas grass with a piece of 5-inch wired jute. You could also use a rubber band or twine. Just make sure it’s tight so the pampas grass stays secure.
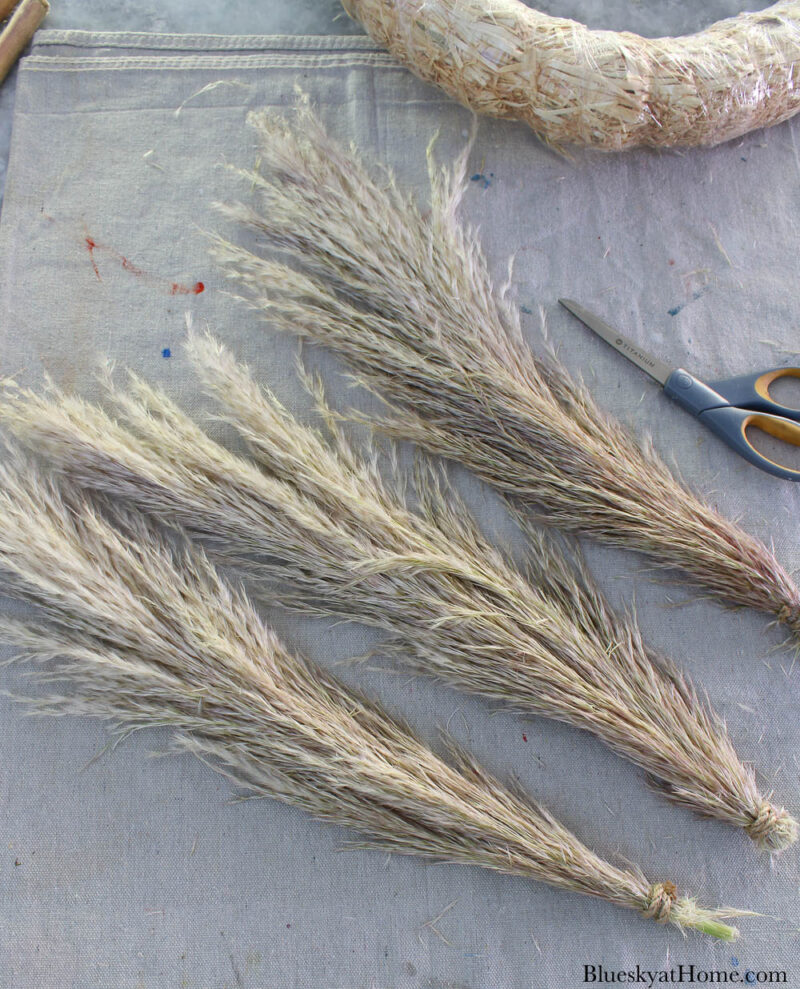
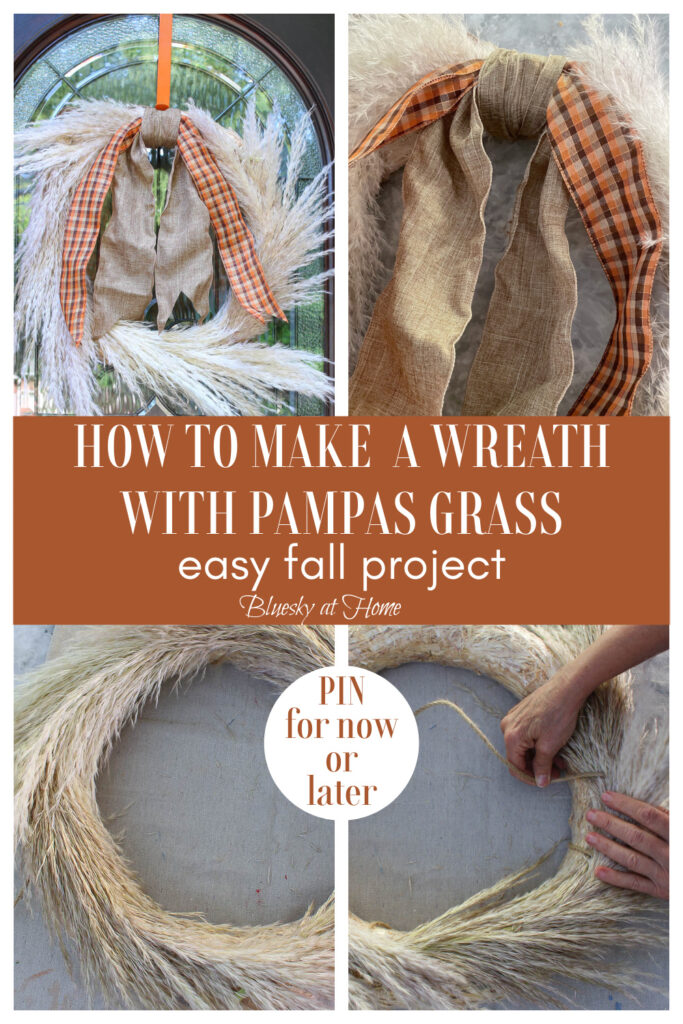
Step 4 – Unwind a couple of feet of the wired jute. Beginning at the tied base of one pampas grass stem, loop the wire twine around the straw wreath tightly.
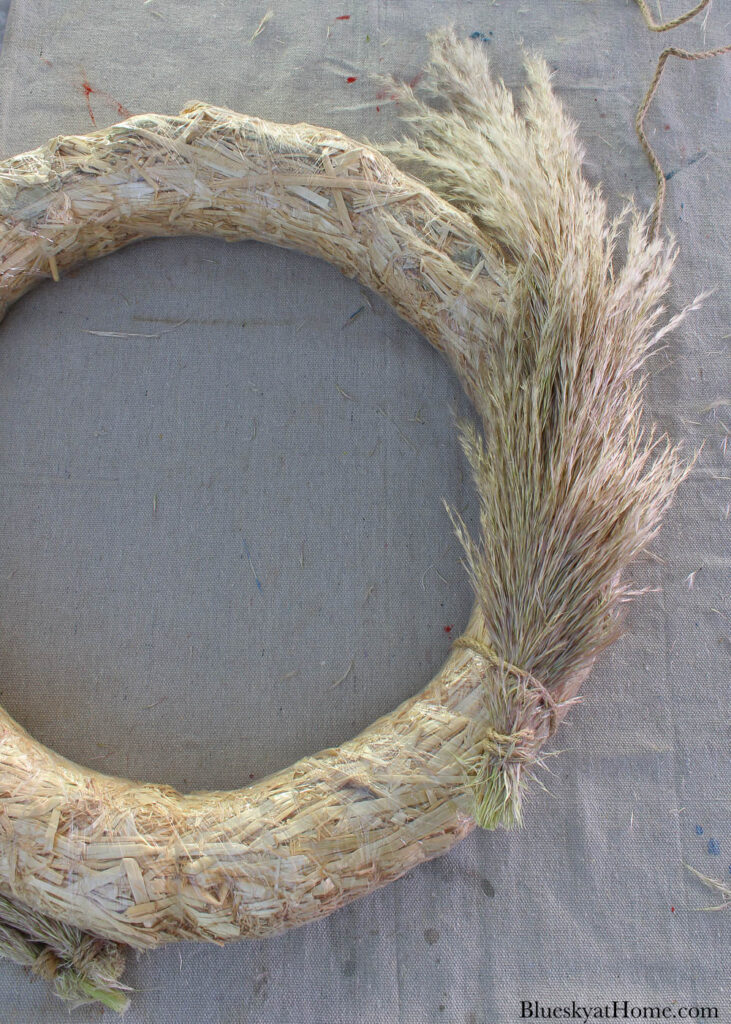
Step 5 – Continue wrapping around the pampas grass and the wreath. Bend the inner stem as you go.
Also, lift small pieces of the dried grasses on top of the wired twine to hide the twine. Before you get to the end of the first pampas grass stem, lay the second one on the wreath form under the end of the first stem so it doesn’t show.
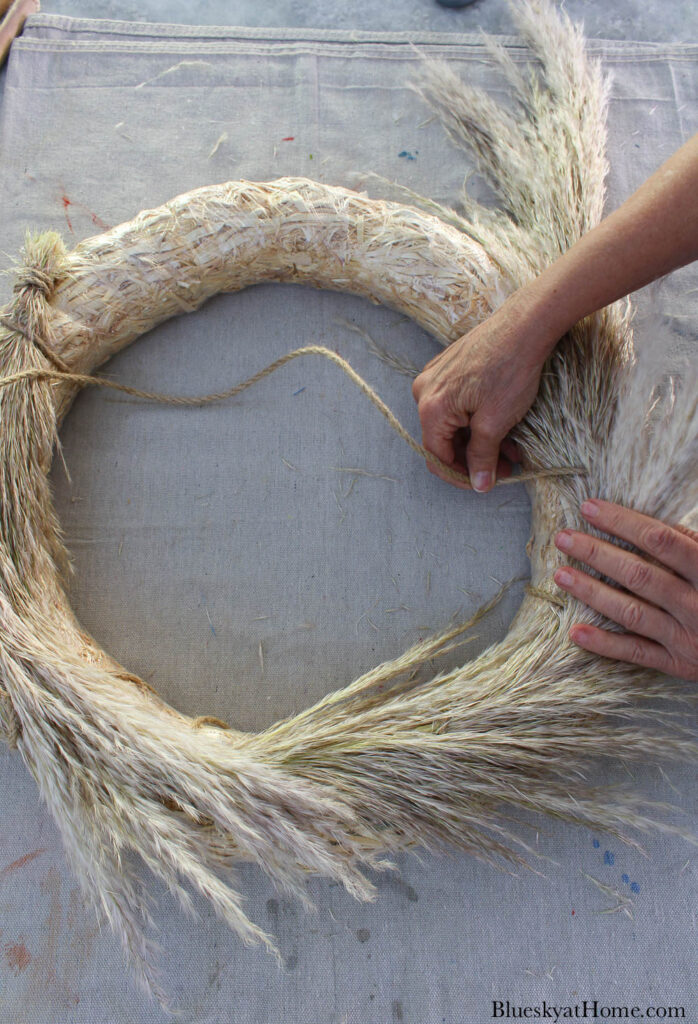
Step 6 – Continue winding the wired twine for the second stem as you did for the first stem. Keep the wired twine taut so it is tight around the grass and the straw wreath. Repeat with the third pampas grass stem.
NOTE: As you secure the stem to the wreath, continue to pick up pieces of the grass to hide the wired twine. You can gently pull the grass from under the wired twine to cover it more.
NOTE: I used 4 pampas grass stems to cover the 16-inch wreath. If you use a smaller straw wreath, three stems will be enough.
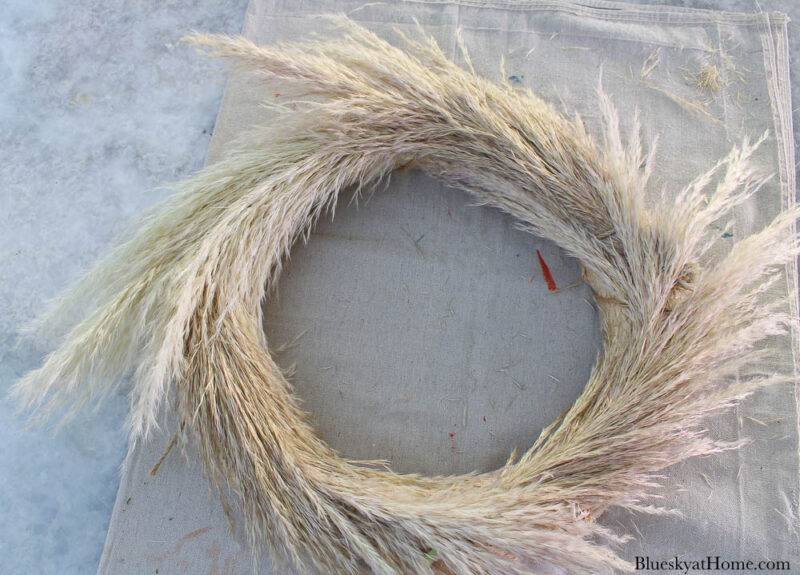
Step 7 – After you finish wrapping the grass stems with the wired twine, fluff out the pampas grass, pulling it apart and away from the straw wreath.
Step 8 – Tighten and twist the two ends of the wired twine. Use clippers or wire cutters to cut the excess wired twine. You can use extra to make a loop to hang the wreath.
NOTE: I noticed that the pampas grass stems that I bought 2 weeks ago had started getting bigger and fluffier. I did not put them in water in the glass vases. I think as they dry out, they fluff out and look prettier. I’m assumed that my wreath will fluff out more, too. And it did.
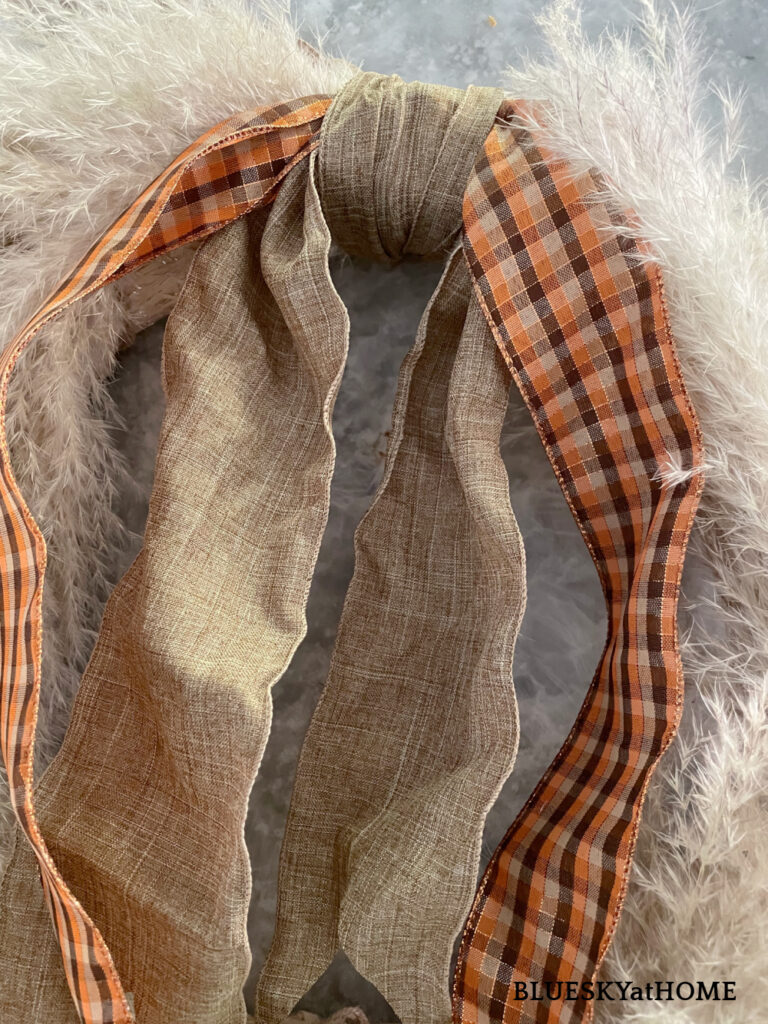
Step 9 – Choose your ribbon and tie it to the wreath in a simple loop either at the top or bottom of the wreath. Or don’t use ribbon for a completely natural wreath.
I used pieces of burlap-type ribbon and plaid ribbon in fall colors that I had on hand. I just looped them at the top of my wreath with another piece of ribbon.
Step 10 – Hang your wreath. I already had a metal over-the-door hanger that worked perfectly.
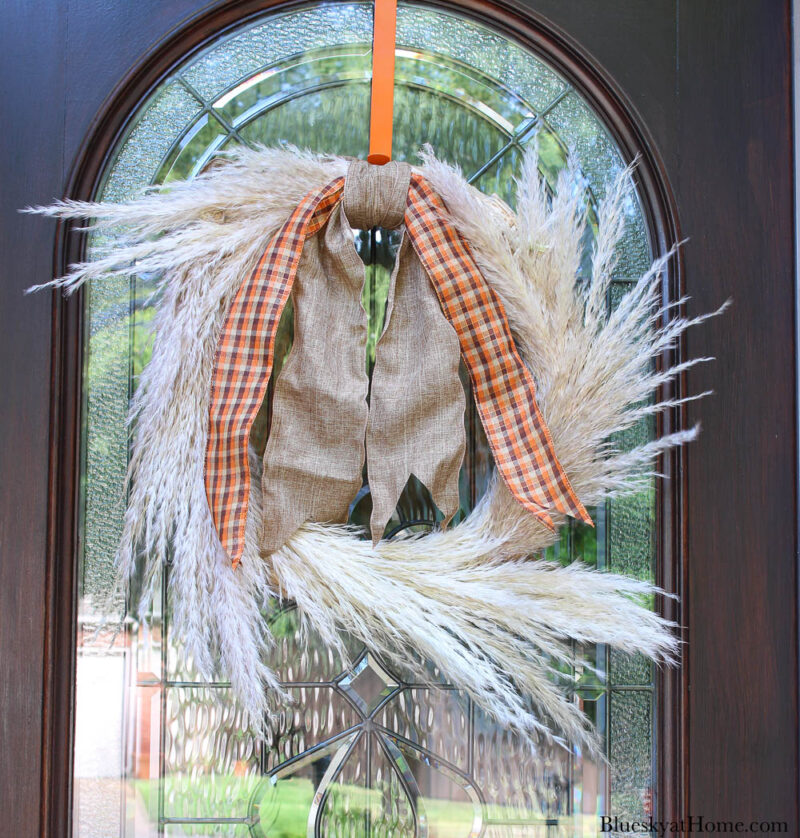
That’s my version of how to make a pampas grass wreath. It took about 35 minutes to make. Since my only purchase was the pampas grass stem, it cost me less than $8.00.
Other Supplies for Your Pampas Grass Wreath
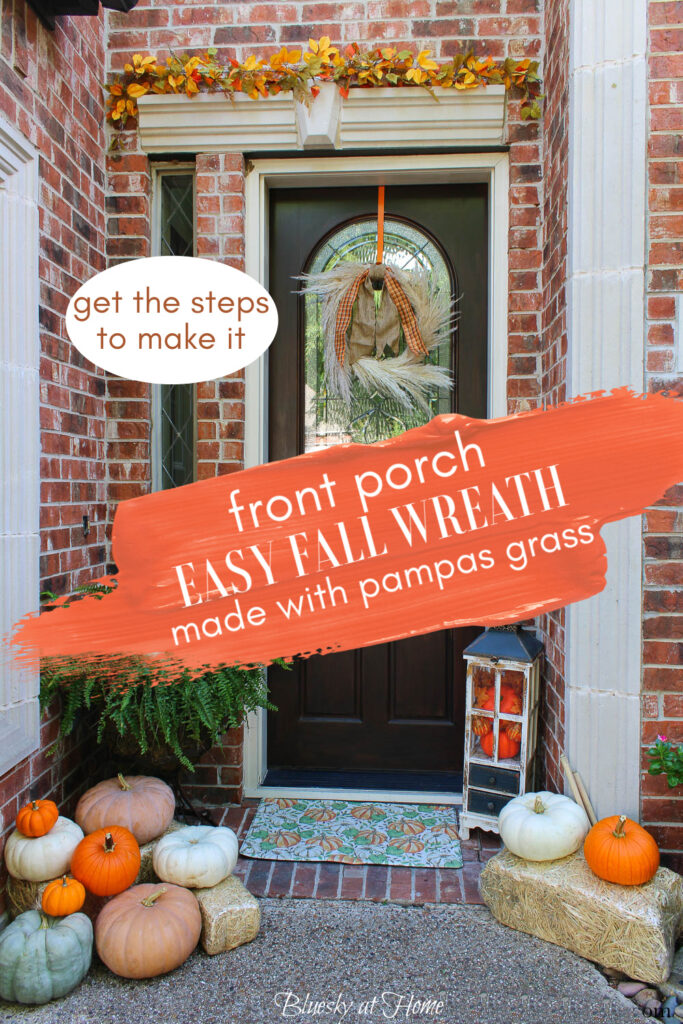
I love how it looks on our front door with the other fall decorations on the front porch.
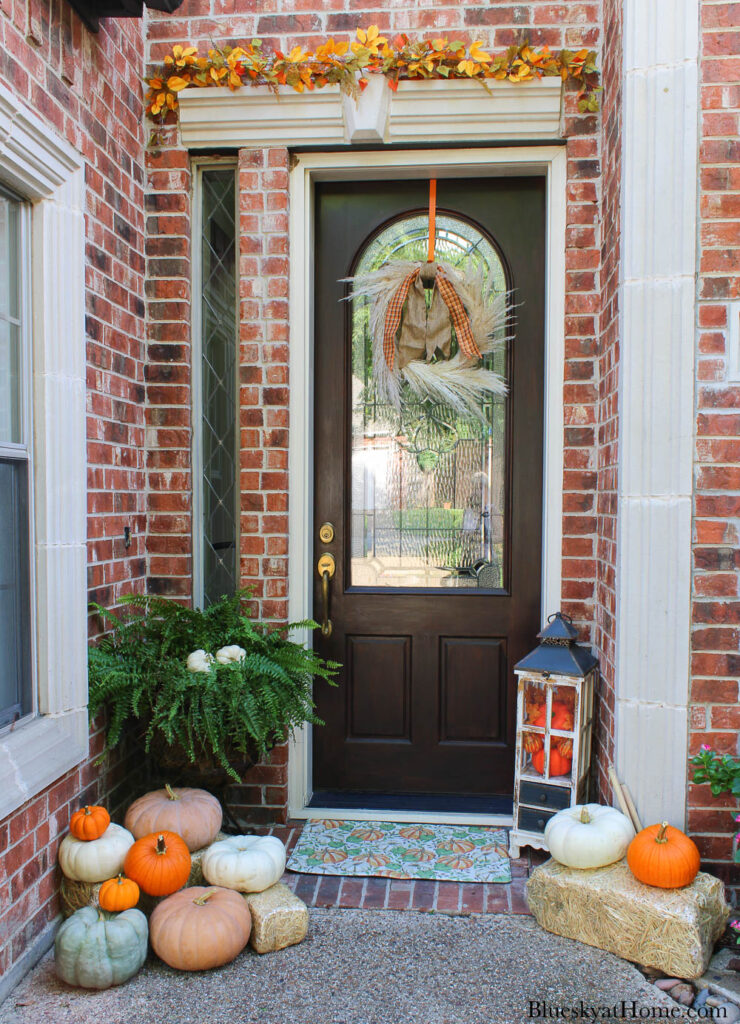
Would I try using faux pampas grass next time? Absolutely. In fact, I may buy some now for more fall decorating.
I hope that it lasts until time for Halloween decorating. There is enough covered porch to protect it unless we get a torrential blowing rain storm.
Here is another favorite wreath I made a couple of years ago. It’s a pumpkin and flower wreath and I still love it.
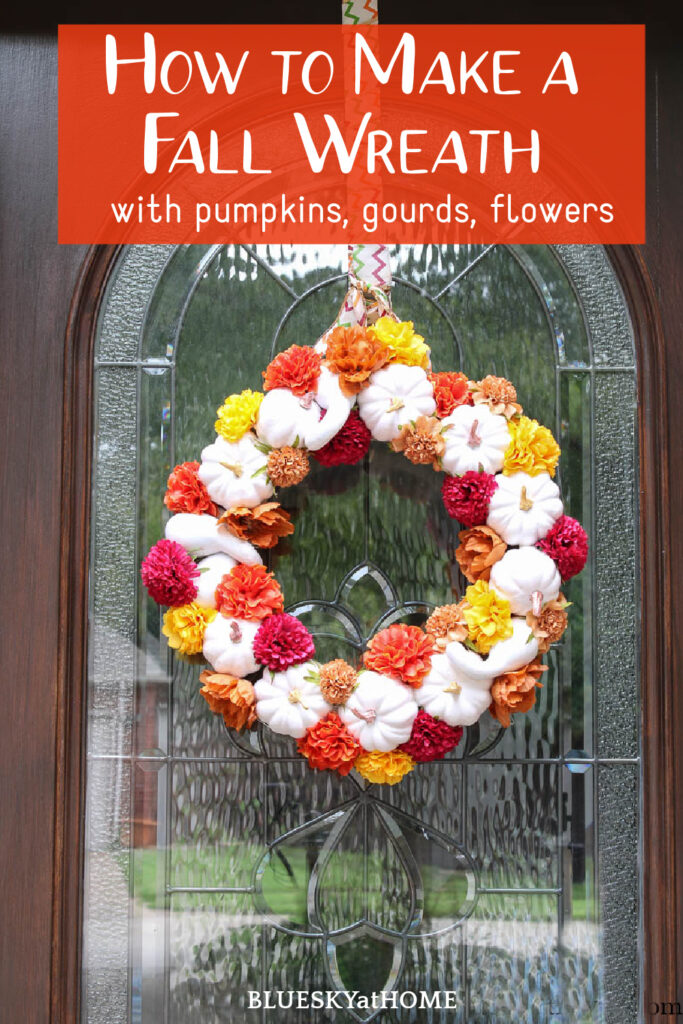
Check out my Fall DIY Projects Pinterest Board for more fall projects.
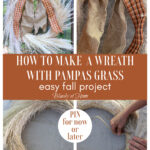
Please PIN this pampas grass wreath idea as one way to create a pretty fall decoration.









Carol – I love how your pampass grass wreath turned out. It looks perfect on your front door with the other fall decor. Thanks for the step by step instructions and tips. Thanks for linking up with the Home Imagined link party!
Enjoyed your tutorial very much! Here in Maine, when we make arrangements with cattails, we spray them with hairspray to keep them from going to fuzz. I think I would do that with your pampas grass so that it doesn’t get too fuzzy! Or even several light coats of a protective spray if it is exposed to the weather. I have just left my red/white/blue wreathe up and put a Dollar Tree Patriots football placque in the center of it! For now!
Gosh, Carol!! That is one of the prettiest wreaths DIY I’ve seen!! I love pampas grass…it’s so fluffy and flowy and such a pretty color for Fall. I’m super impressed with how your wreath turned out!! Thanks so much for sharing at Home Imagined this week!
Carol,
I really like this wreath. I’m sharing on my Dirt Road Adventures on Sunday.