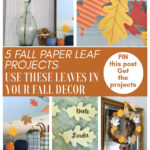
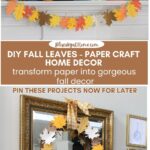
5 Ways to Use DIY Paper Leaves in Your Fall Decor
As the leaves outside change their colors, why not bring that warm and cozy autumnal feeling indoors? One of the most iconic symbols of fall, leaves are perfect to use in this season. I’ll show you 5 ways to use DIY paper leaves in your fall decor.
Before fall activities start gearing up and filling our days, you can start to plan and make some simple fall decorations. These 5 DIY fall paper leaf projects are perfect for the last lazy days of summer or the early days of fall.
These five delightful projects will help you infuse your home with the spirit of fall. I’ll share how to craft leaves in various shapes and colors, both solid and patterned.
I also have a great FREE PRINTABLE FOR DESIGNING A FALL MANTEL BELOW!

These paper leaves are a fun and creative project to begin your fall home decor. So, grab your crafting supplies, and let’s get started on these charming fall decorations using paper leaves!
I couldn’t just start a fall DIY project with one idea. After I made one project with paper leaves, I just kept going and suddenly I had five fall leaf projects to fill your “end-of-summer” productivity list.
I’ve created these paper leaf projects for use in the dining room, the entry, and the living room. But you can mix them up to fit your needs.
Here is what we are going to make with the paper leaves:
- fall leaf wreath
- fall “tree” with paper leaves
- falling fall leaves
- paper leaf garland
- paper leaf placecards
Supplies for Making Paper Leaves
This post contains affiliate links to products used to create this project. If you should order any item from this site, I may receive compensation, but you do not pay a penny more. Your purchase is greatly appreciated as it helps support the continued publication of this site.
The supply list you need for making paper leaves is short and sweet. Since I’m sharing five different ways to use paper leaves, this list covers supplies for all five options. A larger list (affiliate links) is at the end of the post.
I’ll include specific supplies for each paper leaf project.
- cardstock, scrapbook paper or craft paper in assorted fall colors and patterns
- adhesive or double-stick tape
- glue gun and glue sticks
- fine-medium tip marker in dark brown
- small sharp scissors – these are my favorite craft scissors
- Cricut cutting machine (with spatula – part of Cricut accessories). If you don’t have a Cricut, you can hand-draw the leaves and cut them with scissors
Making Your Paper Leaves with a Cricut
First, I know that not everyone has a Cricut or other cutting machine.
I love using my Cricut for paper projects because it makes the job of choosing, sizing, and cutting paper so easy and efficient. It also speeds up the process considerably and is easier on your hands if that’s a consideration for you.
In addition to a Cricut, you can find fall leaf images online, in coloring books or other resources.
If that is the route you use to make these fall leaves, you will need a pattern, pencil and small sharp craft scissors for cutting out each leaf.
TIP: Search on Google: I used “images of fall leaves clip art” and came up with dozens of leaf images. Just make sure you can copy them.
If you do have a Cricut, then let’s make some leaves.
FYI: I subscribe to Cricut Design Space for $10/month. It is the most cost-effective way to access all of the features and designs on the platform.
NOTE: There are different ways you can go about this process, but I think this is about as easy as it gets.
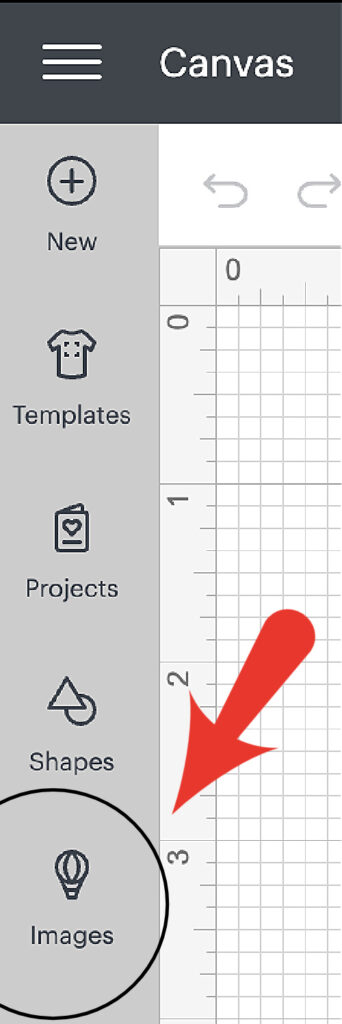
Step 1 – In Cricut Design Space, click on NEW PROJECT in the upper right-hand corner.

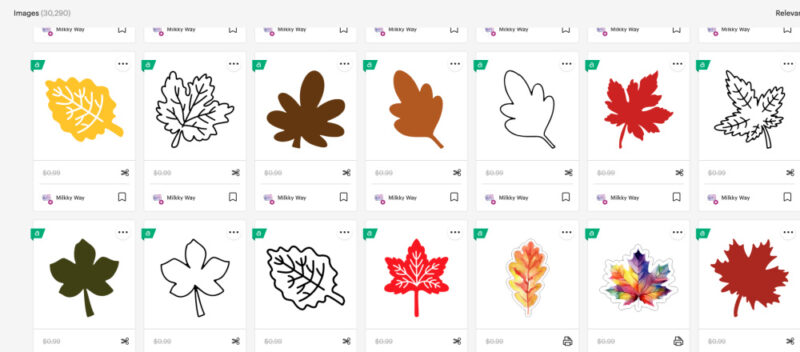
Step 2 – On the left menu bar, click on IMAGES. Enter FALL LEAVES in the search bar.
NOTE: There will be thousands of options. Choose ones that are simple outlines and don’t have cutouts. You want a solid leaf for these projects. Don’t worry about the colors. That’s determined by the paper you use.
Step 4 – Choose 3 – 5 different leaf patterns. This will give you variety for your projects. I chose these three leaf shapes.
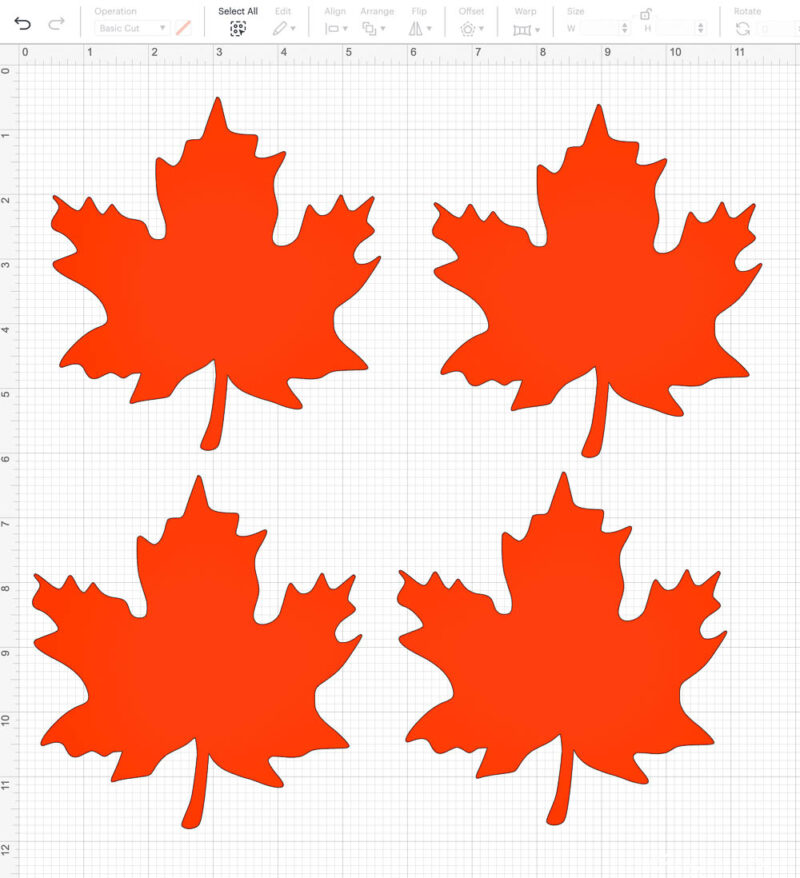


Step 5 – For each leaf, size it to your choice. I made mine about 5 X 5 inches. Then duplicate the leaf. I made four leaves per page.

Step 6 – Follow the Cricut prompts to cut out your leaves. I should have used a darker color paper for this example.

For my first leaf, I used brown craft paper, which is lighter-weight paper. It curls up which I like. Then I used light cardstock in solid colors (already in my paper stash) to make the other leaf shapes.
TIP: If you want your leaves to curl, wrap your leaf around an empty toilet paper or paper towel roll. You could also use a thick marker.

Step 7 – Optional – Use your dark brown marker to make veins in the leaves. I used my favorite Flair marker pens.
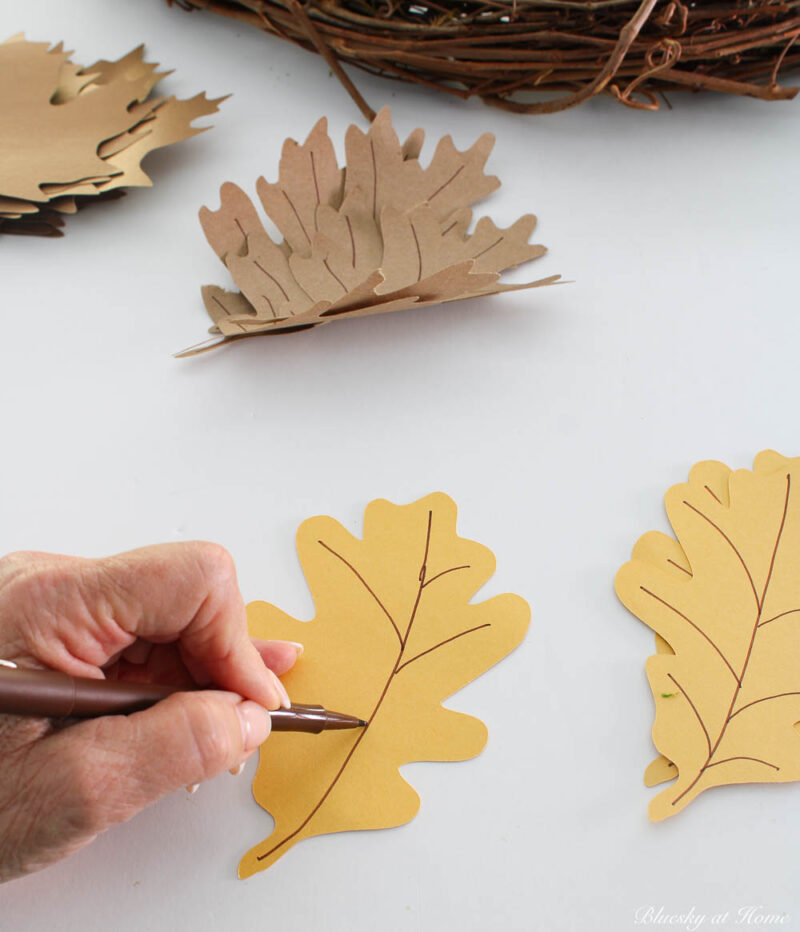
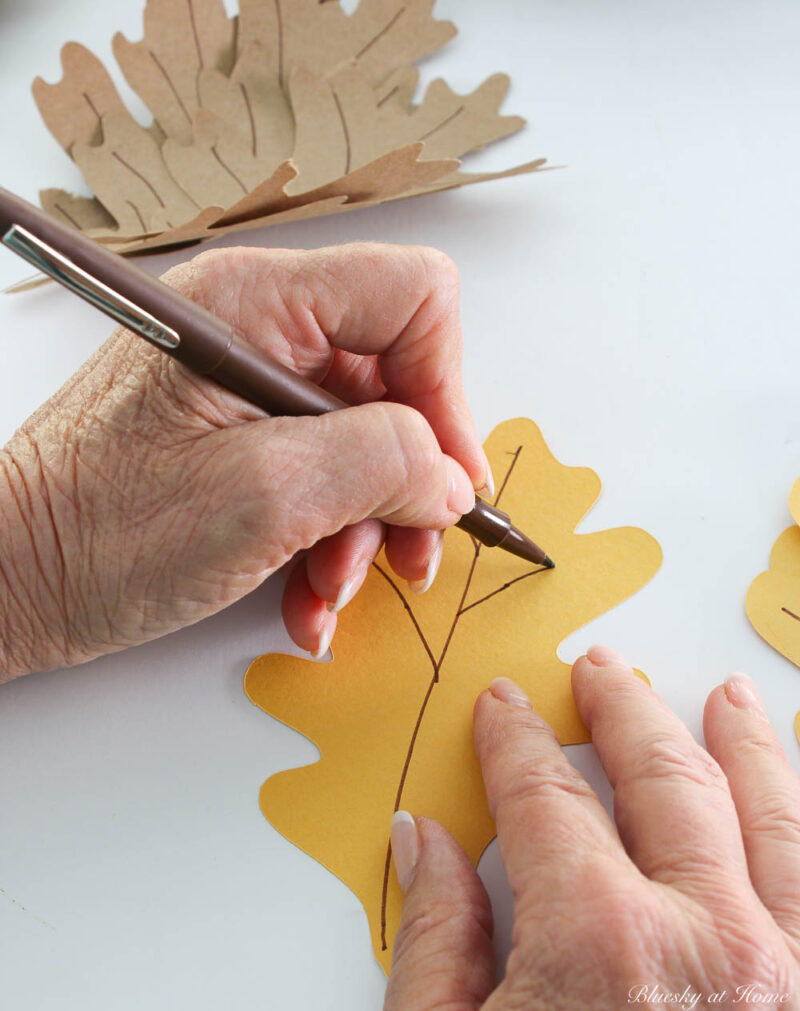
I made eight each of the four cardstock leaves (32) and sixteen of the craft paper leaves for a total of 48 leaves to use on projects.
Now, you are ready to use your leaves in different projects?
Project 1 – Fall Wreath with Paper Leaves
My first project with leaves was to create an easy fall wreath that welcomes guests with a burst of autumn colors. I made this simple new wreath for our front entry.

Supplies for the Paper Leaf Wreath
Making your Paper Leaf Wreath
Step 1 – Decide on your wreath base. I wanted a rustic, natural look so I used my favorite grapevine wreath. It still had some moss and wired twine wrapped around it from the last time I used it. I removed those things first.

Step 2 – Use your adhesive to attach the paper leaves to the wreath. I used a random pattern of my five leaf patterns and put them fairly close together.
NOTE: I did not want to use a glue gun because I wanted to reuse the wreath for future seasonal decor. I started out using glue dots on the back of the leaves.


Unfortunately, the leaves didn’t stay put with the glue dots. I switched to using double-stick tape and that worked great.

FYI – I used 14 leaves to cover my wreath. I had plenty left over for other projects.
Step 3 – Hang Your Wreath with Ribbon
I had a piece of leftover gold and white gingham ribbon. I didn’t have enough for a bow so I just tied it at the top. We have a small nail at the top of our mirror frame, perfect for hanging wreaths or other seasonal decorations.

The wreath has been up for a couple of weeks and all the leaves are staying put and it looks great.
This paper leaf wreath provides an inviting touch of fall in our entry. You could hang a paper leaf wreath anywhere in your home!

Project 2 – Fall Tree with Paper Leaves
This next project, using paper leaves, was inspired when I found these two large glass jars at Home Goods.
The taller one is about 2 1/2 feet and the shorter one is about 2 feet. They would be perfect on our very tall fireplace and mantel.

Unfortunately, I couldn’t find the ones I bought at HomeGoods on their website, but I did find this pretty set of 2 decorative jars.
Making Your Tree Branch
My idea was to make a magical-looking fall tree with my extra paper leaves.
Step 1 – You can use real branches from your yard or faux branches. I used a combination.
Because of the height of these jars, I would need tall branches as the base of my tree. I found two in the creekbed below our backyard.
With a bit of clipping and trimming, they became a perfect fit.

Step 2 – To make the top of my tree fuller and have more places to put the leaves, I attached faux bendable branches that I bought last year. I had one package left over. This package contains three stems.

Unwound the faux branches and spread each branch and stem apart.

Step 3 – Attach your faux stems to the real branches.
I ordered brown duct tape (painter’s tape would work, but I didn’t think blue or green or silver would look good on my fall tree) and it blended in very well. I have enough left over to duct tape the Titanic.

Decide where you want to connect the faux branches to the real branches. Cut off 6-inch pieces of the duct tape. Wrap it tightly around the stems where they come together. I needed multiple pieces of duct tape because each “attachment” was about 6 inches long.
FYI: I used one faux stem on one of the trees and two stems on the other.
The duct tape was very visible up close, but once the jars were on the mantel, you don’t notice it at all.

Step 4 – Adjust the bendable faux leaves so that one side of your branch is flat (up against the fireplace).
Attaching Your Paper Leaves
I had plenty of solid leaves left over from the fall wreath, but for the leaf tree, I wanted more variety, color and pattern.
I didn’t have the right colors in my stash, so I drove to Joann and found scrapbook paper in some cute fall colors and patterns. All the cardstock and scrapbook papers were on sale for 60% off.

I thought these leaves would give my tree a more whimsical look. I ended up not using the brown leaf pattern.
Then I cut the three remaining papers in the same leaf patterns as the solid colors.
To attach the leaves to the branches, I used my Ryobi hot glue gun. This part was really easy. I used a random pattern of leaves on the branches, mixing the solids and the patterns.
A few DIY pumpkins made with fabric and decoupage.

The leaves and branches provide a nice complement to the wood and stencil pumpkins that I made the year before.

I absolutely loved how the paper leaf tree branches came out. They provide the height and color contrast against the white fireplace that is so needed. They are also a great focal point. It was a fun project that was easy, too.
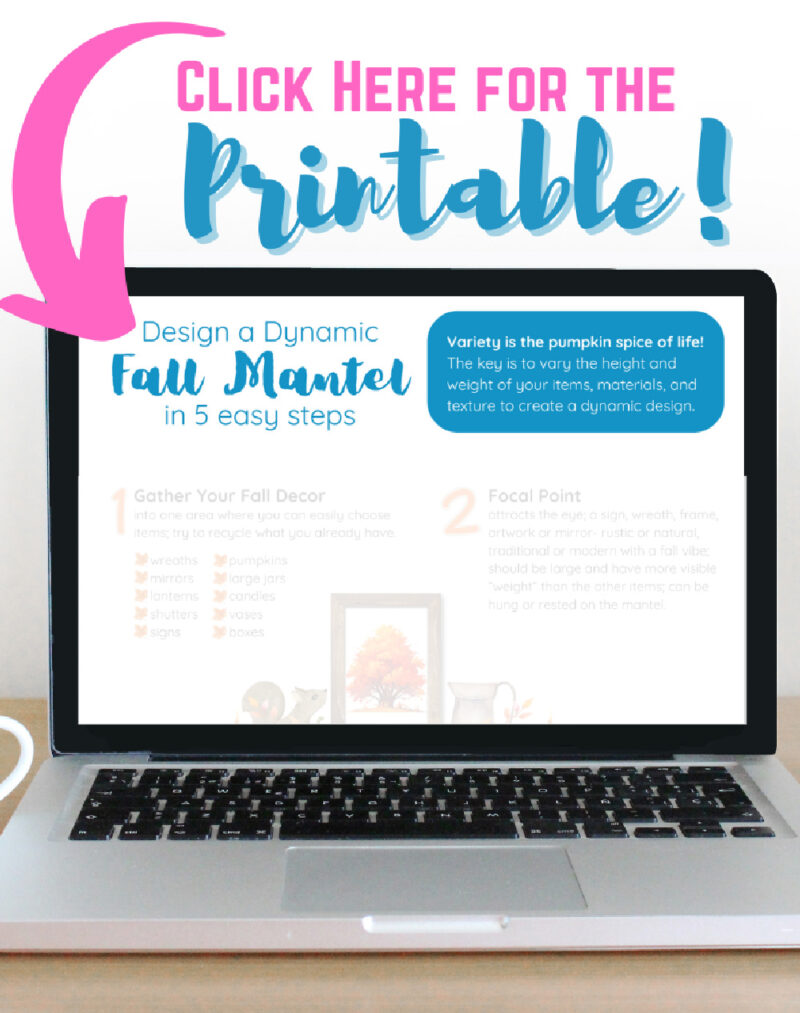
Grab your Free copy
Get your guide to designing a fall mantel in 5 easy steps.
This cheatsheet with valuable information for designing a fall mantel will be your guide.
Project 3 – Fall Leaves on the Mirror
Falling leaves are great to use as decorations on mirrors, walls, doors and more. I had plenty of leaves, so I attached several to the large mirror on the mantel.
For this project, the glue dots worked perfectly. This was the easiest and fastest project. Do you think I need more leaves on the mirror?
I also brought out some of my DIY yarn pumpkins.

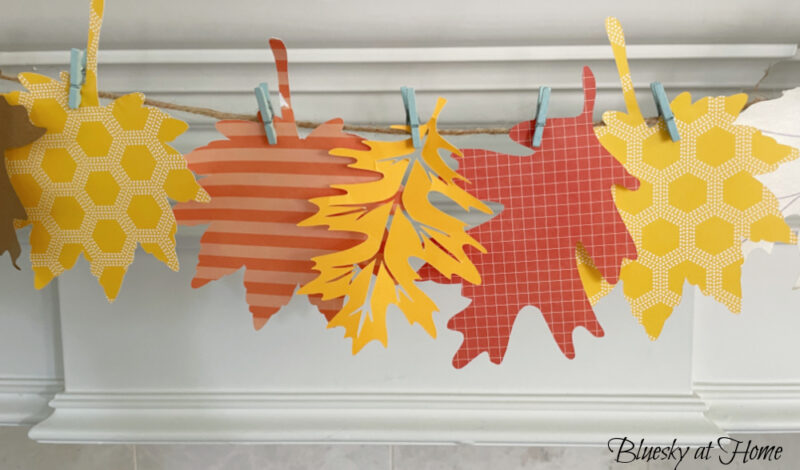
Project 4 – Fall Paper Leaf Garland
After viewing the mantel, I decided it wasn’t quite finished. More color and pattern at the base of the mantel would give the mantel a truly finished look. With plenty of leaves left, I thought, why not make a garland?
Originally, I thought I would hot glue the leaves to a piece of jute twine. Then I remembered a bunch of cute little clothespins in a kitchen drawer. I have had these for years and never used them. Why not now?
This approach would also allow me to remove the leaves and reuse them in another way later on.
Step 1 – I measured the width of our mantel and added several inches and cut my jute twine.
Step 2 – I laid the twine on our kitchen counter and attached the leaves to the twine with the clothespins, spacing them evenly across the twine.
Step 3 – I tied each end of the twine to one of the egg baskets on the mantel. Then I adjusted the leaves for even spacing. It was so easy. You can spread the leaves out if you want that look.

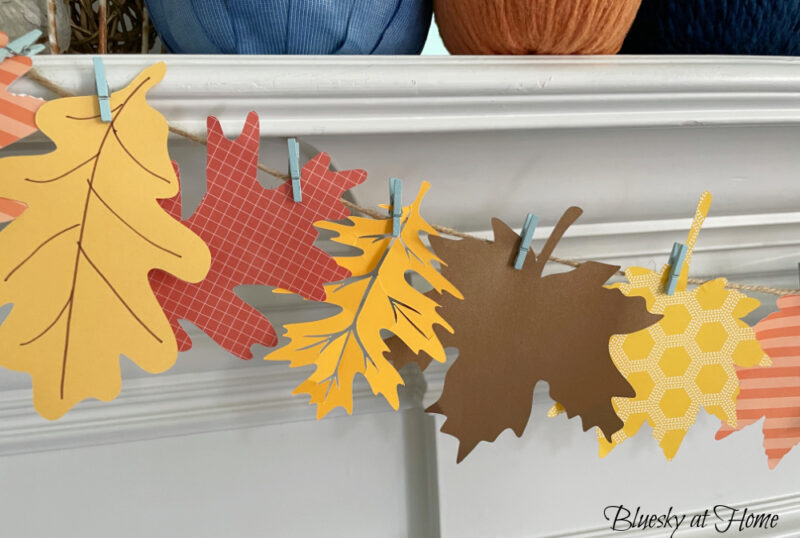

I did have one more leaf shape that I had made, but not used. It had cut outs and that’s why I didn’t use it in the previous projects.
You could also adjust the length of the garland and hang it on a staircase, across a cabinet or hutch or on a wall. Wherever you hang it, enjoy the whimsical fall atmosphere it creates!
Project 5 – Paper Leaf Placecards
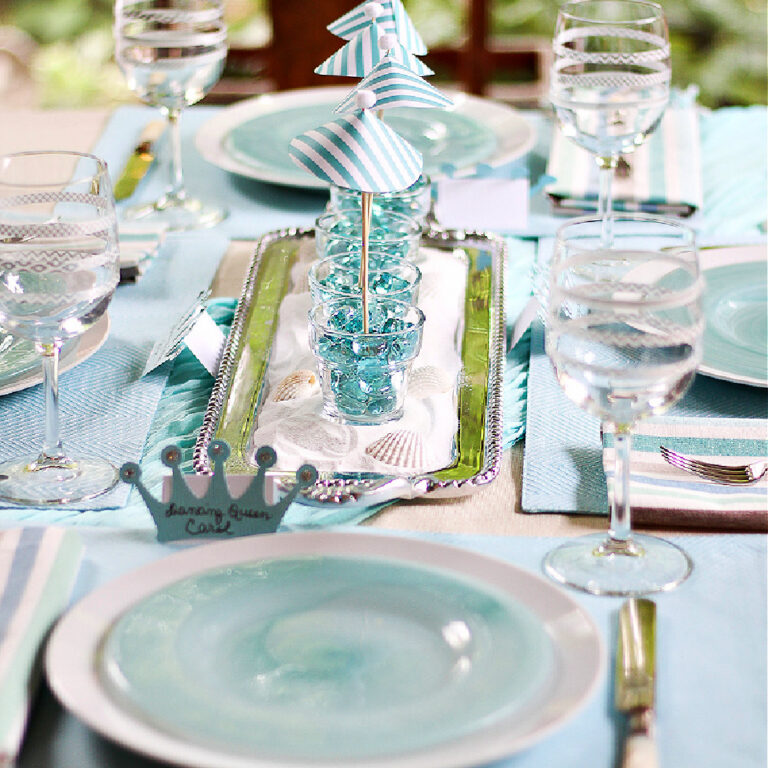
Last year I hosted several neighbors over for a casual lunch. I set our table for fall.
I love to add place cards to a tablescape. They allow you to repeat a theme or color on your table. Guests can take them home if they like.
Step 1 – I picked a leaf design for this project and cut out six leaves using the same process described at the beginning of this post.
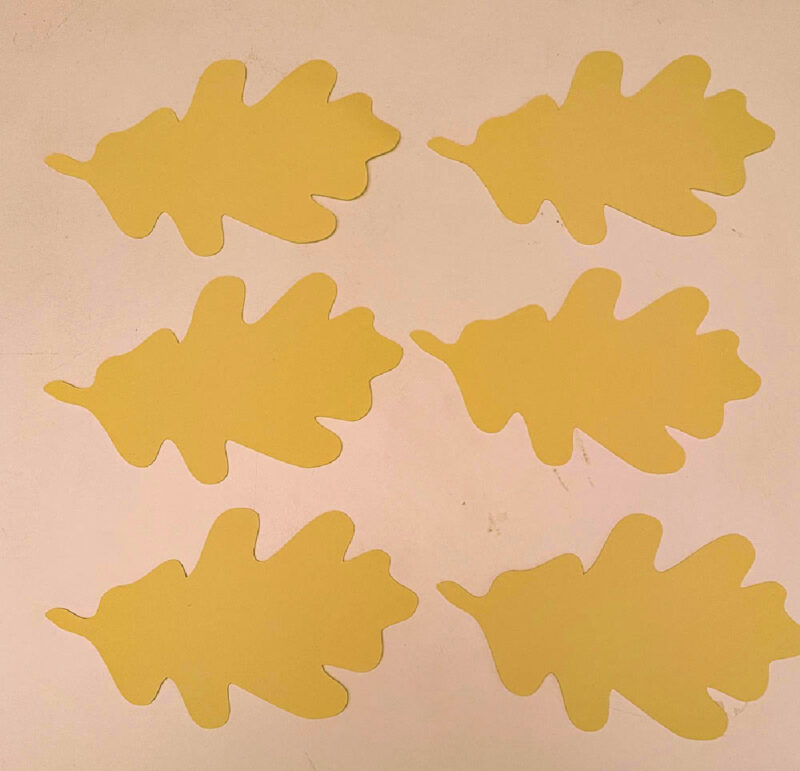
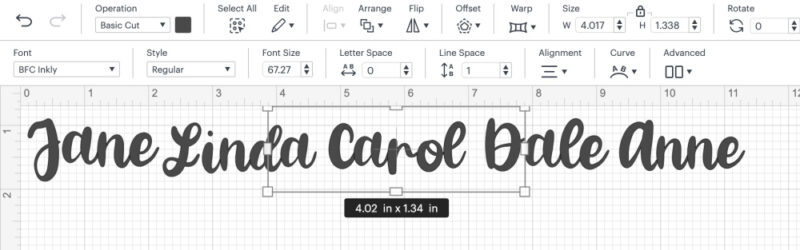
Step 2 – I could have just written my guests’ names on the leaves, but that wouldn’t be as much fun as using my Cricut Air Explore. I picked out a font, sized it, and typed in the six names (only 5 shown here).
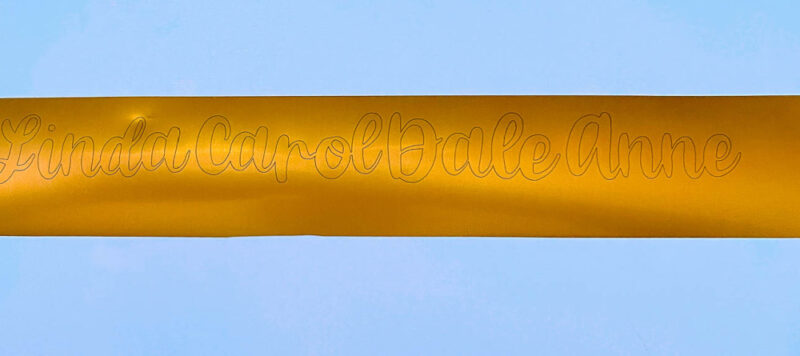
Step 3 – I had several sheets of metallic-colored vinyl. I picked a bronze shade for my place cards. I followed the Cricut process to cut out the names for the place cards.
For a complete tutorial, see How to Make Vinyl Decals and get the Printable Guide.
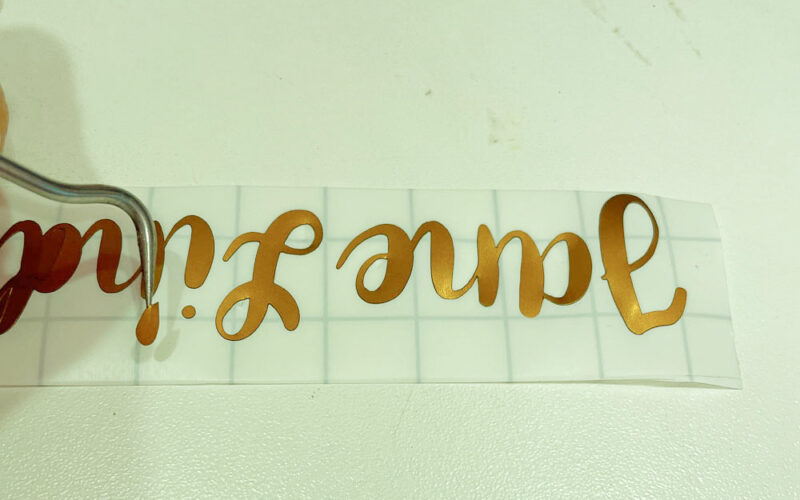
Step 4 – Remove the vinyl, leaving the names behind. Use the Cricut weeder to remove the pieces in letters like a, A, o, D, l, etc.
Step 5 – Cover the vinyl names with transfer tape.

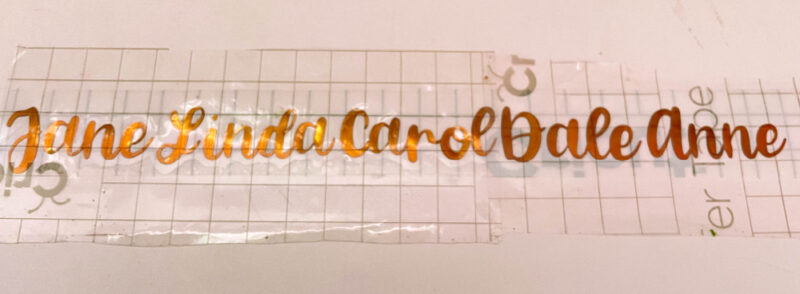
Step 6 – Cut the names apart.
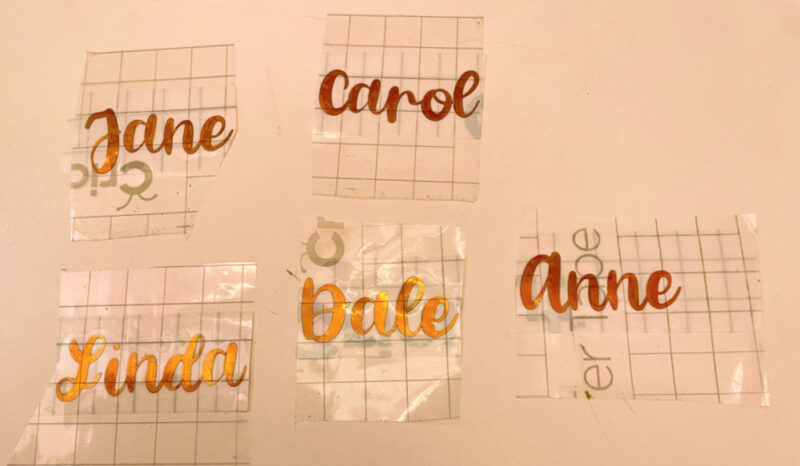
Step 8 – Remove the vinyl backing and position the vinyl name on the leaf. Burnish the vinyl and transfer tape with a large Cricut spatula. This step makes sure the vinyl comes off the transfer tape and sticks to the paper.
For a complete tutorial, see How to Cut Vinyl Decals.
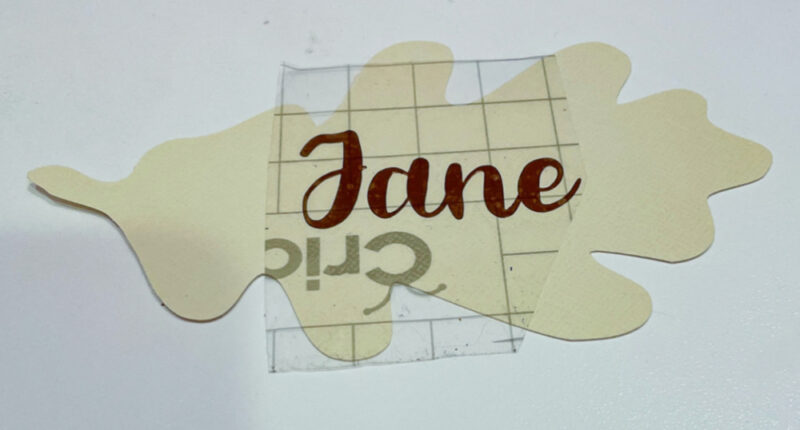
Step 9 – Peel off the transfer tape from the vinyl. Repeat with the other paper leaf place cards.


Step 10 – To make the place cards stand up, I used wine corks (which we have a big bowl of). I heated up my glue gun and placed a line of glue across the cork. Then I place the cork on the back of the paper leaves


The final step was to put the place cards on the table. My table is now ready for my guests.


That’s my 5 ways to use paper leaves in your fall home decor. They are each different, have different uses, but can all be made using your Cricut or cut out individually.
If you love working with paper, try one of these paper flower projects. They are so pretty and fun to make.
With your trusty Cricut Air Explore and a dash of creativity, you can craft stunning fall paper leaves that infuse color and pattern into your fall home decor.
From wreaths to garlands, mirrors to place cards, the possibilities are endless. Not only will these projects infuse your home with the warm and welcoming spirit of fall, but they’ll also give you the satisfaction of handcrafting fall decorations for your home.
I hope you liked learning how to use paper leaves in fall decor. Except for the leaves for the place cards, I made all the leaves in one session. I hope they bring warmth and joy to your home this fall.

I hope you will PIN this post to keep all these paper leaves projects. That way, you’ll have all the instructions handy for future use. Also, please check out these Pinterest Boards: Fall DIY Projects, Fall Home Decor, and Fall Mantels.


These are so cute! I especially love the leaf garland with the different patterned papers! I would love to invite you to share at Tell It To Me Tuesday, every Tuesday through Friday. You can find this weeks here: https://perfectlyimperfect-lwl.com/tell-it-to-me-tuesday-16-9-26-23-link-party/. I hope to see you there.
Lyndsey, thank you so much for then kind comments. I really appreciate your feedback. Thanks for the head up about your link party. I’ve added it to my list to visit.
These are such cute ideas! I love the easy paper leaf wreath & stems. It’s always great hopping with you! Pinned!
You really had fun with these projects. They look wonderful and I definitely got some ideas for my own house to make. Thanks for joining the hop.
These are wonderful! I love these ideas. The banner might be my favorite, but it’s hard to tell. 🙂 I need to pull out my Cricut again! Pinning! And following on Pinterest, too. 🙂 Visiting from Love Your Creativity.
Jennifer, thank you so much for visiting Bluesky at Home So happy to have you drop by. Glad you liked the paper leaf projects. Yes, get out that Cricut! Please visit again. Join the community so you don’t miss projects and get my weekly home decor tip.
Carol, your paper leaves are lovely and they look so pretty layered on the wreath hanging from the mirror! Blessings, Cecilia @My Thrift Store Addiction
These are all so cute Carol! I don’t have a Cricut, but I can see endless possibilities here, even using craft store leaves. I love the cute wreath and using wine corks to make the place cards stand is such a great idea! So cute for a fall table! It will be officially Fall this weekend, and leaves are already falling in my yard….hmmm, you could even use real leaves in fall decor!! Thanks for all the cute ideas, Happy Fall!
It’s amazing what you can make using a Cricut, Carol! The leaves are very pretty! And what a festive way to celebrate Fall with all of your lovely leaf crafts! All are very creative and inspiring! Thanks for sharing!
Your wreath turned out so adorable, Carol. Love it!