
How to Style a Fall Mantel with Easy DIY Projects
When the weather finally turns cool and the leaves start to fall in reds, oranges, and golds, there is nothing cozier than styling a fall mantel to celebrate the season. Your mantel is the heart of your living room and the natural focal point of the space, which makes it the perfect canvas for warm autumn color.
In this guide, I will walk you through exactly how to style a fall mantel with easy DIY projects, step by step. You will see how I layered handmade pumpkins, paper leaves, and a few simple styling tricks to create a mantel that feels collected, colorful, and full of seasonal charm. Best of all, many of these pieces were reused from earlier projects, so you can create a beautiful fall mantel without spending a fortune.
This post isn’t just about styling a mantel. It’s also about reusing projects that you’ve already made – maybe from previous years, like these were for me.
Whether you are decorating your very first fall mantel or refreshing one you style every year, these DIY project ideas will help you build a display you love.
We’re talking about bright and cheerful DIY pumpkins, delicate paper leaves on branches, and a gorgeous leaf garland that will make your mantel the talk of the town.
Get creative styling your fall mantel. And get your Free 5 Easy Steps to Decorating your Mantel Printable Guide below.

As you will see, I used several DIY projects in this fall mantel. Reusing and recyling decorative accessories and previously-made DIY home decor projects is a great way to save money and make good use of these items.
This post contains affiliate links to products used to create this project. If you should order any item from this site, I may receive compensation, but you do not pay a penny more. Your purchase is greatly appreciated as it helps support the continued publication of this site.
Why the Mantel Is the Heart of Fall Decorating
Along with a coffee table at the center of the living room, the mantel is a space that begs for decorative attention during our favorite seasons. I recently shared ideas for transitioning your summer decor to fall using the coffee table as the focus. Now we turn our attention to decorating our mantels.
The mantel is more than just a shelf above your fireplace. It is where we gather, sip hot chocolate, and showcase our most cherished decorations. In fall, it becomes the perfect place to display the season’s warm, vibrant colors.
That is why a beautifully styled fall mantel is not just a nice-to-have. It sets the tone for your whole living room and infuses your home with that unmistakable autumn magic. The good news is that you do not need to buy everything new. Reusing and recycling decorative accessories and previously made DIY projects is a smart way to save money and give your favorite pieces a fresh life.
What You’ll Need to Style a Fall Mantel
Before you begin, gather your supplies so everything is within reach. Here is what I used for this fall mantel:
- A large mirror or piece of art for the back of the mantel
- DIY pumpkins in a mix of materials (wood block, fabric, and yarn)
- Two tall glass jars or hurricane vases for the endcaps
- Faux leaf branches or paper leaves for height and color
- Metal baskets and small fall accents to fill in
- A few fall stems, twig balls, or other natural touches
Reusing DIY Projects to Style This Fall Mantel
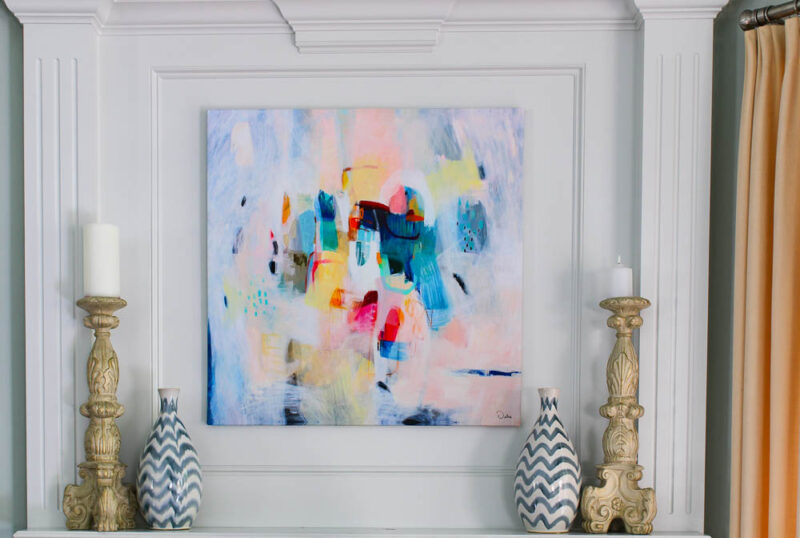
The first thing I did to style this fall mantel was remove the large abstract painting on canvas. That had been our simple mantel look since after the 4th of July.
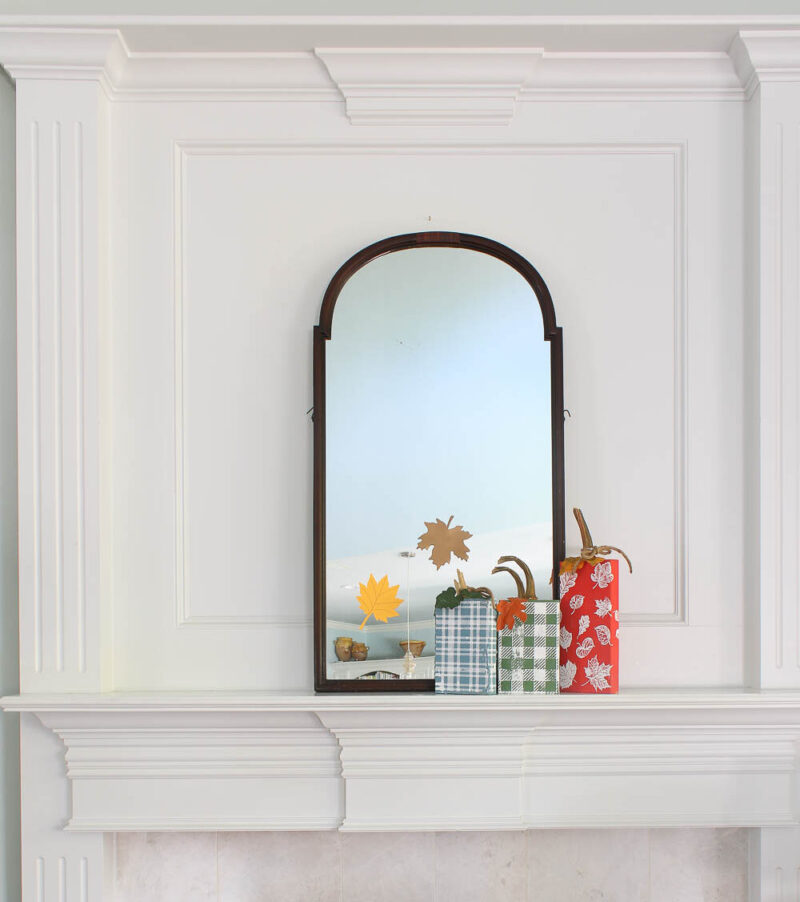
Sweet Shark helped me bring in our natural wood-framed mirror from an upstairs guest room. (It’s very heavy.) Moving items from room to room is one of my favorite no-cost decorating solutions.
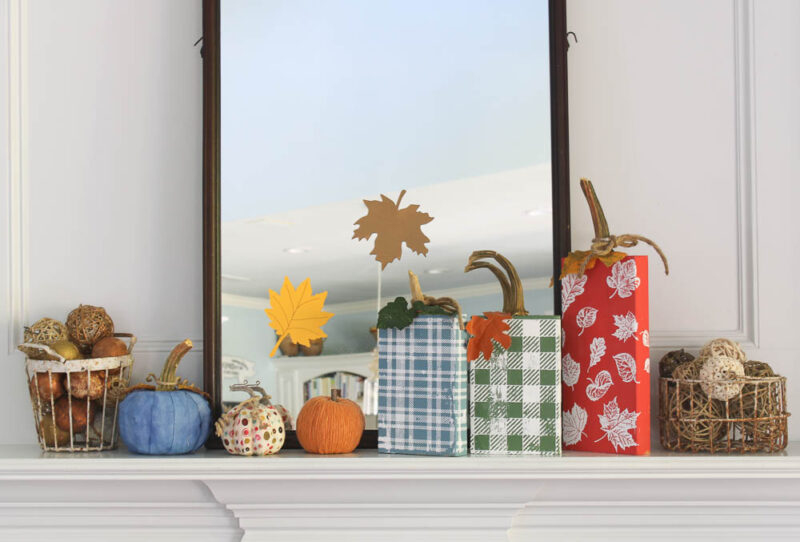
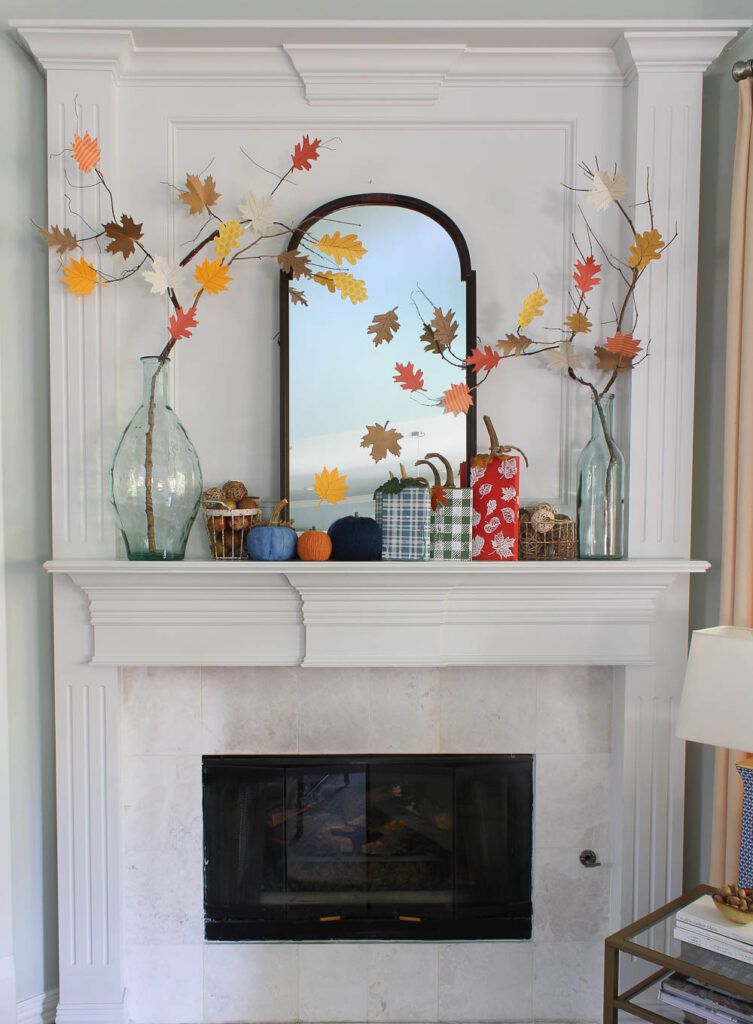
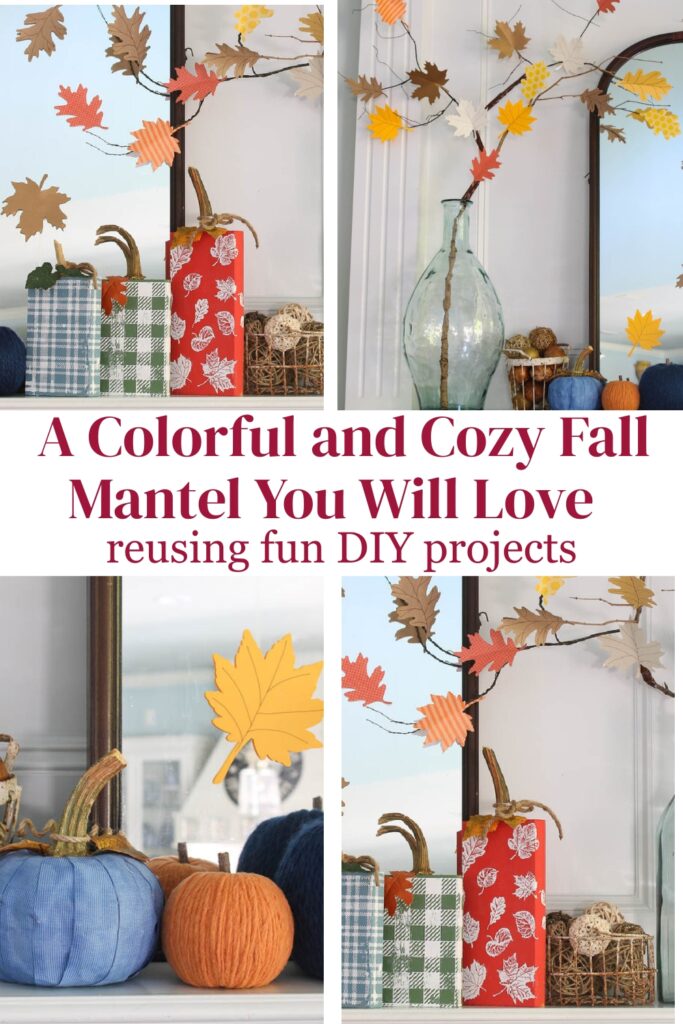
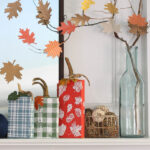
I began the fall decor with a set of three wood block pumpkins that I painted and stenciled. This was such a fun project, and I loved bringing in the colorful and whimsical pumpkins. For a trial, I attached two of the paper leaves I have been making on the mirror.
The next step was to balance the wood pumpkins with a set of three decoupaged pumpkins that I made with fabric scraps. The only problem was that I could not find the largest of the three. Even after going through all our fall, Halloween, and Thanksgiving boxes, it stayed hidden. I am sure it will turn up the moment fall is over.
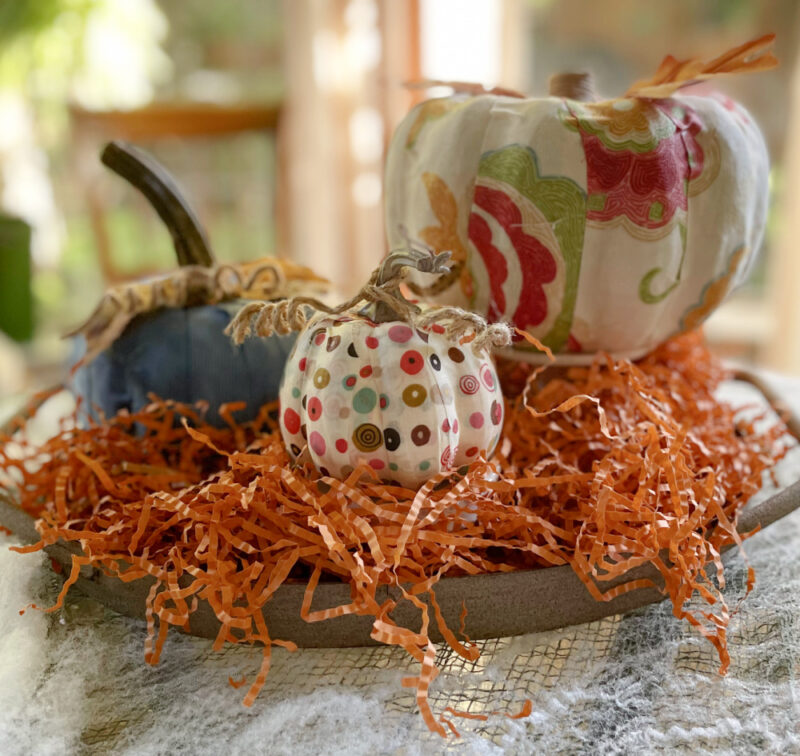
To fill in for the missing large fabric pumpkin, I used one of the new yarn pumpkins I have made. I love this new method, and I will be sharing the full DIY project soon.
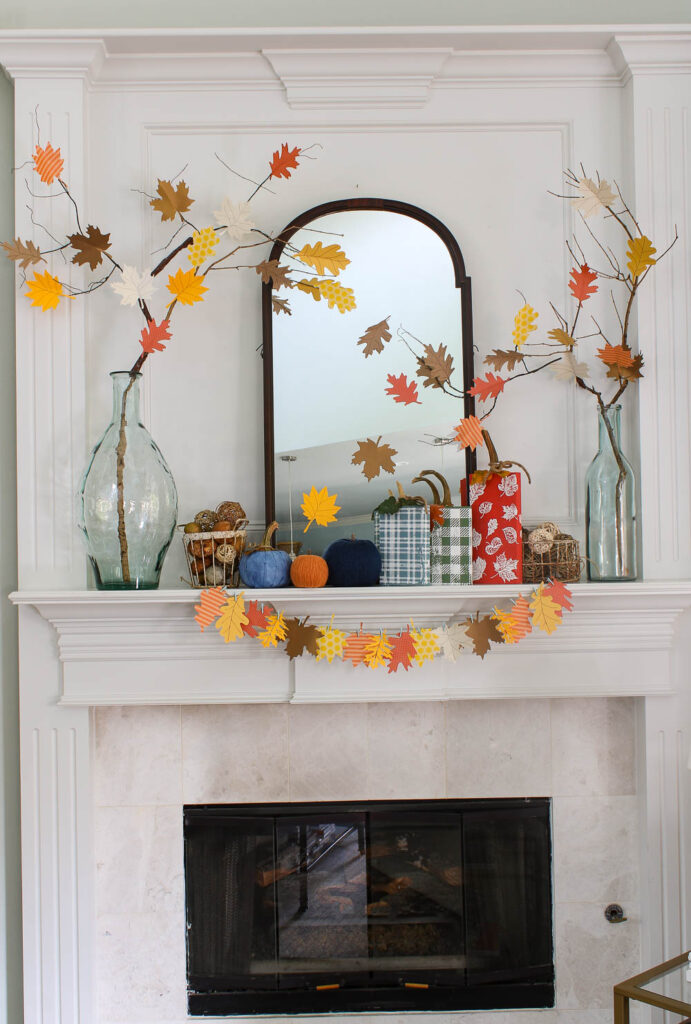
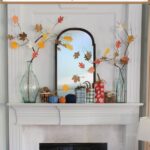
As you will see, I worked from the center of the mantel out to the edges. I really do love this combination of fall colors. It is cheerful and bright in keeping with the season.
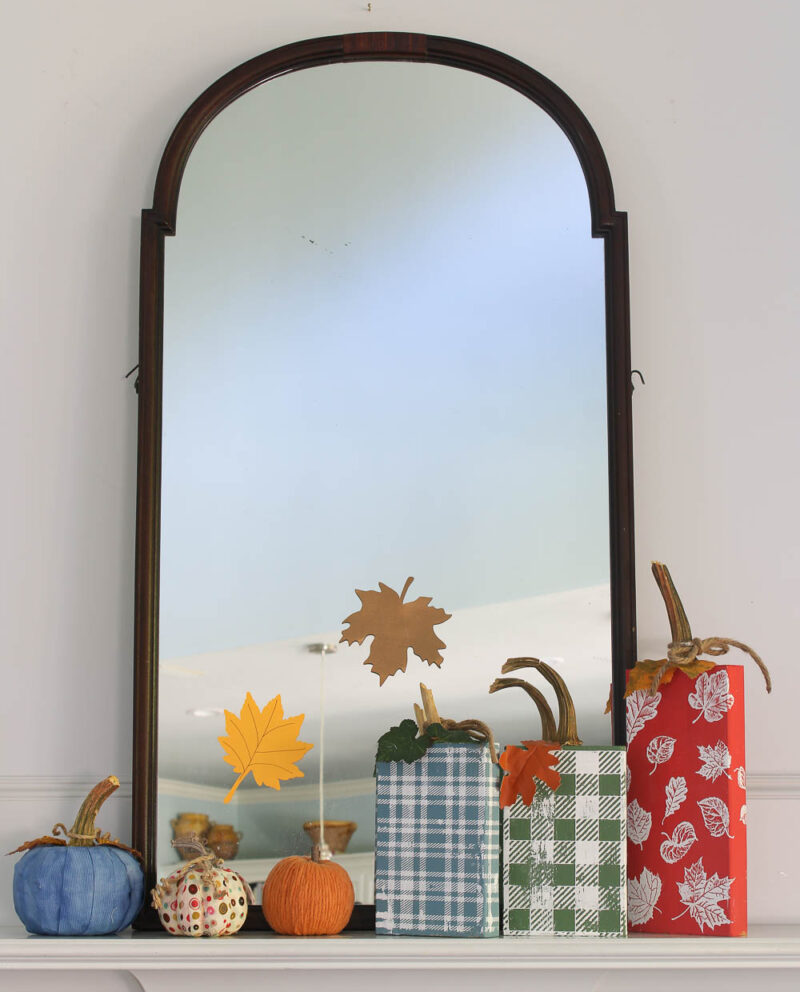
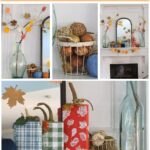
Next, I wanted something a little more rustic. My two metal egg baskets were perfect for holding a collection of fall twig balls and small balls. I bought the egg baskets several years ago at the Roundtop Antique Market. As you can see, I used a balanced and mostly symmetrical approach for this mantel.
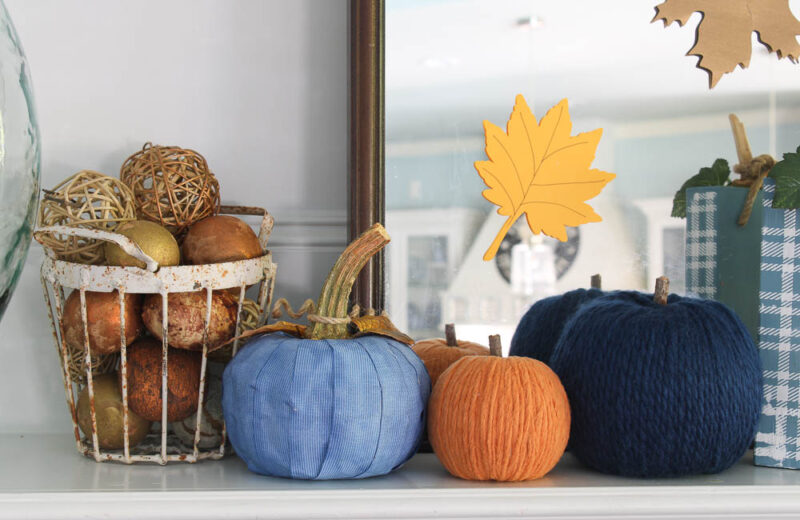
At this point, I decided to swap one small fabric pumpkin for another new yarn pumpkin in navy. I am loving these yarn pumpkins, and I cannot wait to share the project with you.
We brought in our natural wood-framed large mirror from an upstairs guest room. Moving items from room to room is one decorating solution.
I began the fall decor with a set of three wood block pumpkins that I painted and stenciled. This was a fun project and I loved bringing in the colorful and whismical pumpkins.
To fill in for the missing large fabric pumpkin, I used one of the new yarn pumpkins I have been making. I love this new method, and I will be sharing the full DIY project soon.
As you will see, I worked from the center of the mantel out to the edges. I really do love this combination of fall colors. It is cheerful and right in keeping with the season.
Next, I wanted something a little more rustic. My two metal egg baskets were perfect for holding a collection of fall twig balls and small balls. I bought the egg baskets several years ago at the Roundtop Antique Market. As you can see, I used a balanced and mostly symmetrical approach for this mantel.
At this point, I decided to swap one small fabric pumpkin for another new yarn pumpkin in navy. I am loving these yarn pumpkins, and I cannot wait to share the project with you.
At this point, I decided to change out one small fabric pumpkin for another new yarn pumpkin in navy. I loved making these yarn pumpkins and readers seem to love them, too.
Adding Glass Jars with Leaf Branches
Mantels are long, flat surfaces, so they need what we call endcaps. These are items placed at both ends of the mantel to enclose and anchor the decor.
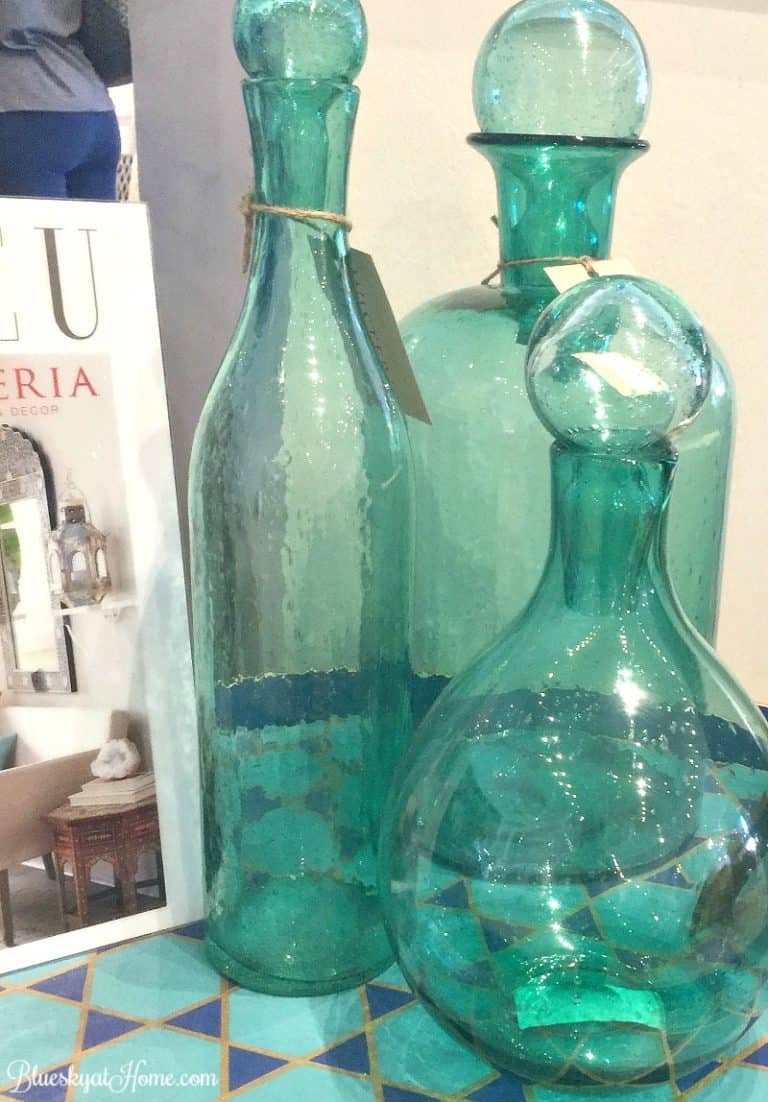
Shopping at HomeGoods, I found two large glass vases. This is one item we did not already have in our home decor accessories “pantry.” Since our mantel and fireplace are so tall, these jars were the perfect addition, and the price was too good to pass up. The taller one is about two and a half feet tall, and the shorter one is about two feet.
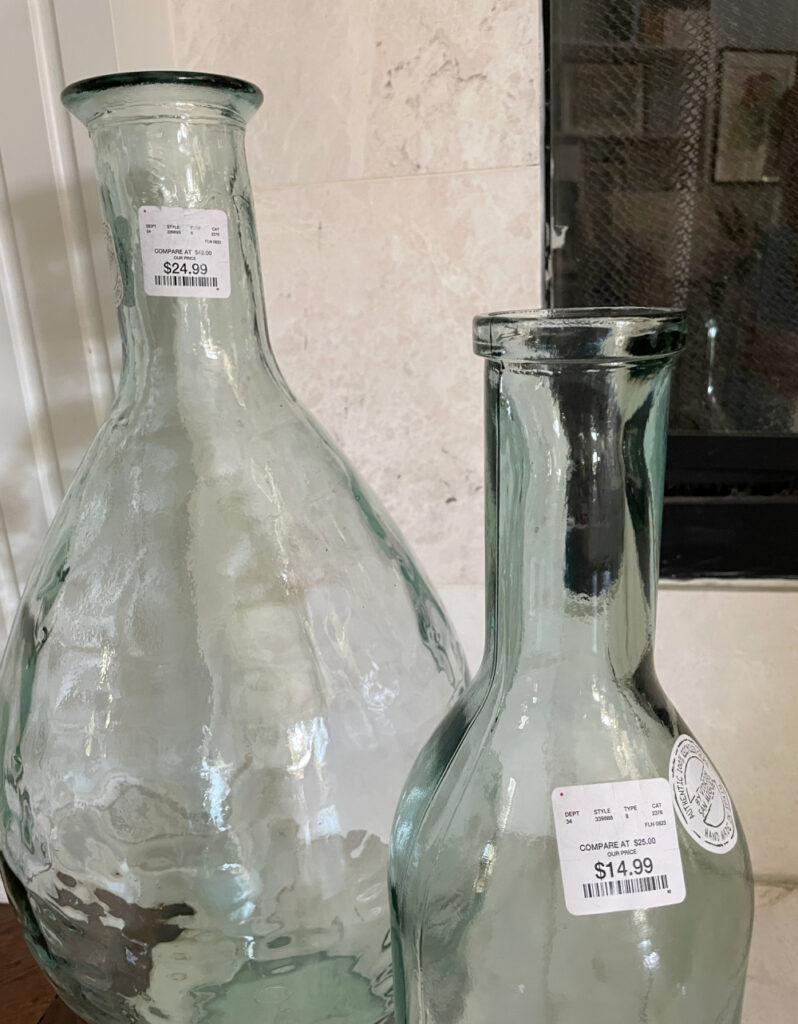
So how would I use these beautiful glass vases to style our fall mantel?
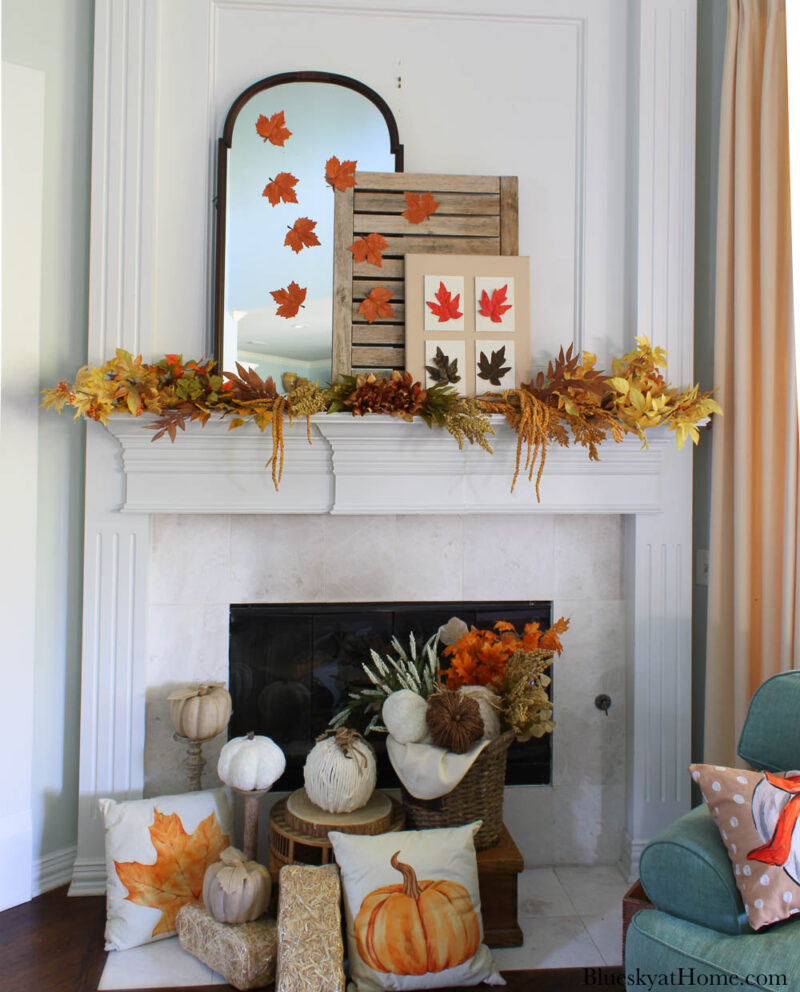
I had already made paper leaves on my Cricut for the fall wreath in our entry. Why not make more paper leaves and use them to build a “fall tree”? I wanted to create an abstract, whimsical version of a fall tree inside each jar.
The glass jars finish the mantel and add both color and much-needed height. Making the fall trees was easy and fun. Once you make the fall leaves, you can use them in so many ways, such as adding them to the mirror in a soft falling pattern.
I created an abstract, whimsical version of a fall tree.
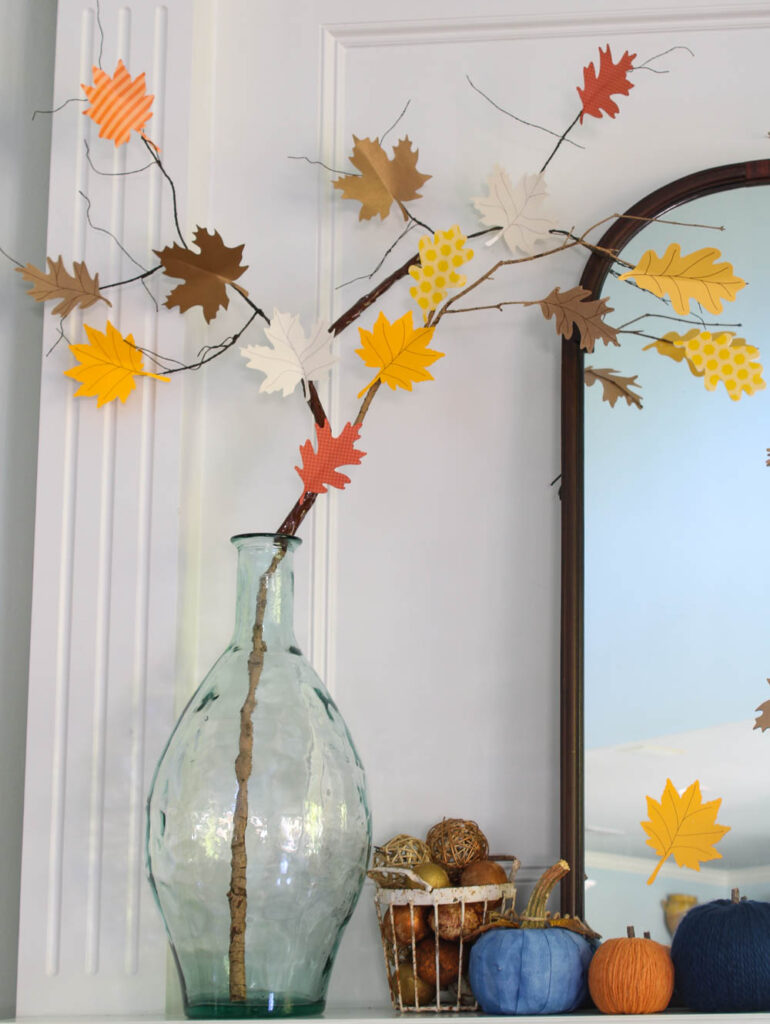
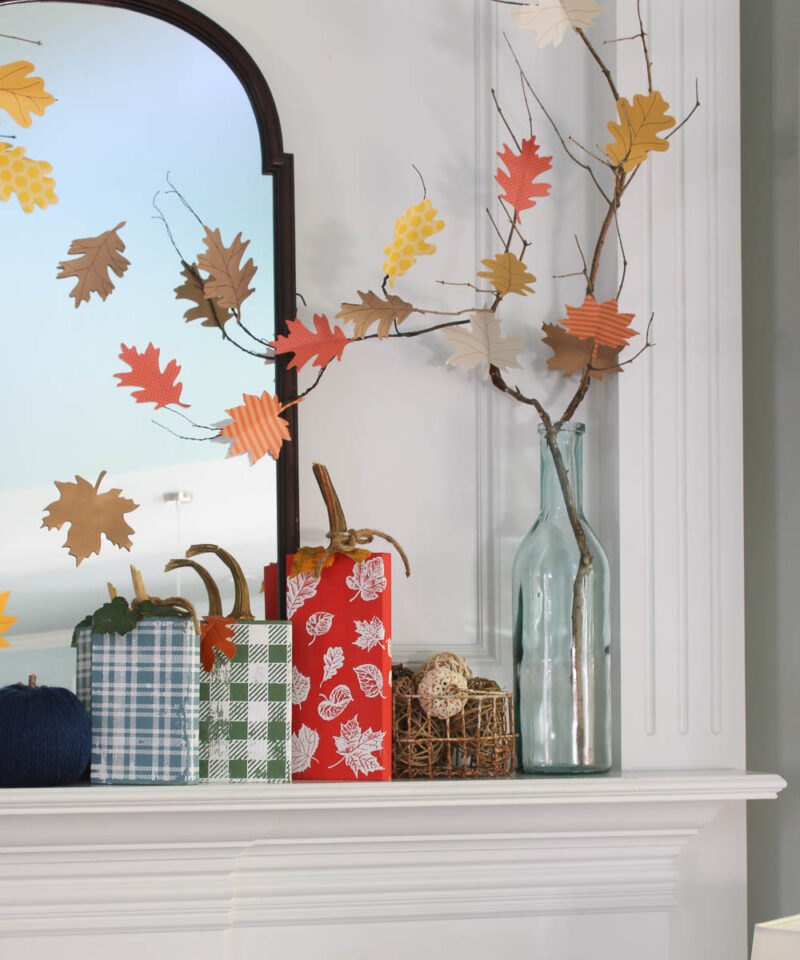
The glass jars finish the mantel and provide more color and much-needed height. Making the fall trees was easy and fun. DIY tutorial will come soon.
You could make more leaves in different colors for your own fall leaf tree.
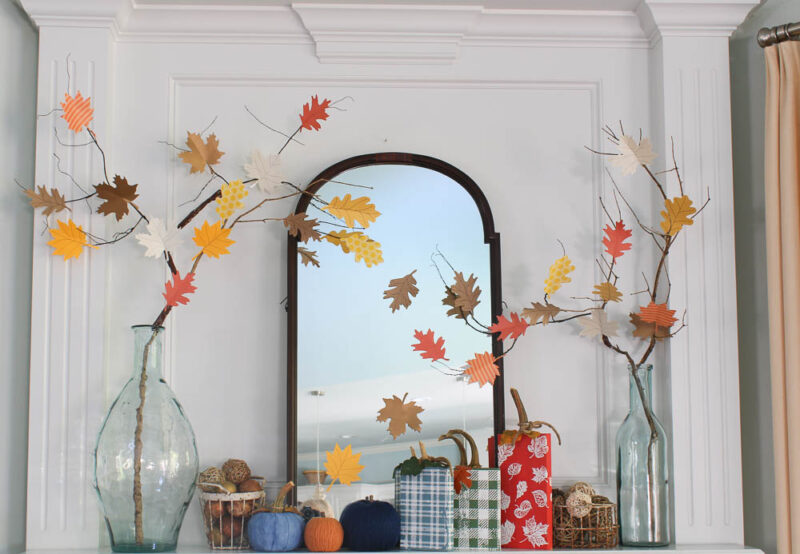
I also added more leaves to the mirror in a falling pattern.
Here is another fall DIY project with a leaf theme: How to Make Easy Leaf-Inspired Air Dry Clay Coasters.
Finishing Touch for Our Fall Mantel
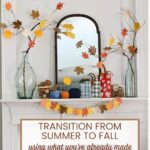
After stepping back for a good look, I decided the mantel needed a little more color. I made more paper leaves with my Cricut to add a garland, the final touch of color and pattern. It was one more simple fall paper leaf project to pull the whole look together.
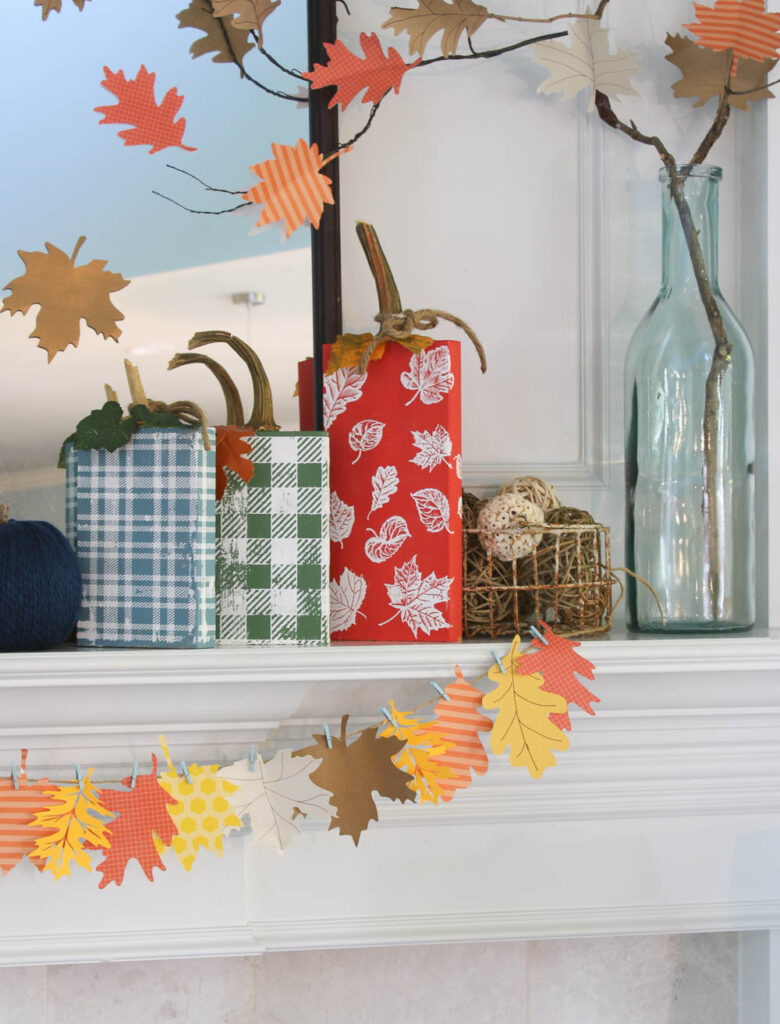
Since my DIY pumpkin projects were already made, I created the paper leaf pieces as I went along. Styling the fall mantel didn’t take long, and I think it will transition beautifully to Thanksgiving (Three months away. Yikes!).
How to Transition Your Fall Mantel to Thanksgiving
One of my favorite things about a well-styled fall mantel is how easily it carries into Thanksgiving. Because this look leans on warm autumn colors and natural textures rather than Halloween-specific pieces, the transition is simple. Swap any Halloween accents for a few extra pumpkins, add some faux fall foliage or berries, and layer in a candle or two for a cozy, gather-around glow. That is all it takes to move from early fall into the holiday season.
Need more mantel ideas? Check out these 17 ideas.
6 Simple Fall Mantel Styling Tips
If you take away nothing else, remember these simple styling principles. They work for any mantel, in any season.
Layer textures. Combining wood, fabric, yarn, metal, and paper adds depth and warmth to your mantel.
Start with a focal point. Anchor your mantel with a mirror, piece of art, or interesting object in the center. Everything else builds out from there.
Work from the center out. Place your largest or most important pieces first, then fill toward the edges.
Use endcaps for balance. Tall jars, candlesticks, or greenery at both ends frame the display and keep it from looking like it is floating.
Vary your height. A mix of tall, medium, and low pieces keeps the eye moving and adds interest.
Repeat your colors. Carrying the same two or three fall colors across the mantel makes the whole look feel intentional and collected.
Fall Mantel Supplies (Shop the Look)
Want to recreate this mantel at home? If you don’t want to DIY the different decorations, here are the supplies I would reach for.
- Faux velvet or fabric pumpkins – for easy color and texture
- Wood pumpkins or unfinished wood pumpkins – for a DIY paint project
- Cricut machine and cardstock – for making paper leaves and fall trees
- Tall glass vases or jars – for endcaps and height
- Wire baskets or egg baskets – for a rustic touch
- Fall garland – to drape along the mantel
- Fall stuffed fabric leaves for garland or decoration – I think these are very nice looking
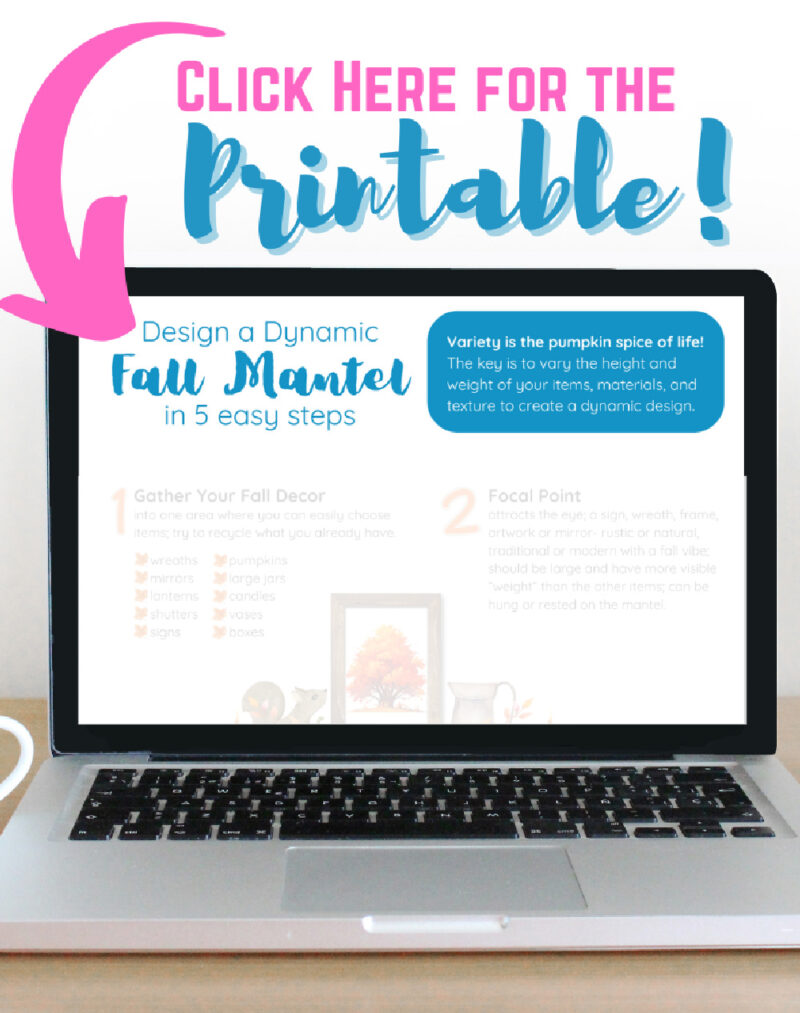
Grab your Free copy
Get your guide to designing a fall mantel in 5 easy steps.
This cheatsheet with valuable information for designing a fall mantel will be your guide.
What Else Would You Like to Know?
Start with a focal point in the center, such as a mirror or piece of art. Then work outward with pumpkins, greenery, and seasonal accents, using tall jars or candlesticks at each end as endcaps. Repeat two or three fall colors throughout and vary your heights so the display feels balanced and collected.
Popular fall mantel pieces include pumpkins in different materials, faux or paper leaves, fall stems and branches, candles, lanterns, garland, and natural touches like twigs or berries. Mixing textures such as wood, fabric, and metal gives the mantel warmth and depth.
Reuse and reshuffle what you already own. Move a mirror or basket from another room, repurpose past DIY projects, and shop your own decor “pantry” first. Handmade touches like painted wood pumpkins or Cricut paper leaves add a custom look for very little money.
It depends on your mantel’s material and color. A brick or stone mantel would need neutral tones for contrast. A white-painted mantel would benefit from darker, richer elements to stand out. Classic fall palettes lean on warm tones like rust, orange, gold, burgundy, and deep red. If you prefer a softer look, try neutrals with white pumpkins and eucalyptus, or add blues and greens for a more personal, non-traditional twist.
Use a mostly symmetrical layout, place endcaps at both ends, and work from the center outward. Repeating colors and varying heights are the two easiest ways to make a mantel feel pulled together rather than cluttered.
Keep the warm autumn colors and natural textures, swap any Halloween-specific pieces for extra pumpkins or foliage, and add a candle or two. Because the base look is not tied to a single holiday, the shift into Thanksgiving takes only a few small changes.
Wrap-Up Your Fall Mantel
Styling a fall mantel does not have to be complicated or expensive. With a handful of DIY projects, a few thrifted or reused pieces, and these simple styling principles, you can create a warm autumn focal point that welcomes everyone into your home. I hope this walkthrough inspires you to pull out your own supplies and have fun with it.
And for more seasonal checklists, guides, and printables, visit my Etsy shop, Bluesky at Home Designs.
Love decorating your mantel? Want a fun, festive, and colorful look? Then PIN this mantel styling to get all the ideas and the DIY ideas. Check out my Pinterest Fall Mantel Board for more ideas.








I love your DIY Fall Mantel. You’re being featured on #HomeMattersParty. I hope you can drop by on Thursday. https://lovemylittlecottage.com/
Thank you so much, Kristie. Always a fun link party to visit and share.
Perfect tips and tricks for using what you already have, Carol!
We will be featuring you starting Wednesday at the Creative Crafts Linky Party! Pinned and shared!
Creatively, Beth
Hi Carol-
There are so many great ideas in this post. My favorite one is the paper leaves on the wooden branches in the glass containers. Perfection! Thank you for linking up with the Home Imagined link party.
Such a fun mantel for Fall, Carol!! I LOVE how you used those branches in those pretty jars…the height that they give is amazing! Thanks so much for sharing at Home Imagined this week!