
How to Make Easy Air Dry Clay Leaf Coasters for Fall
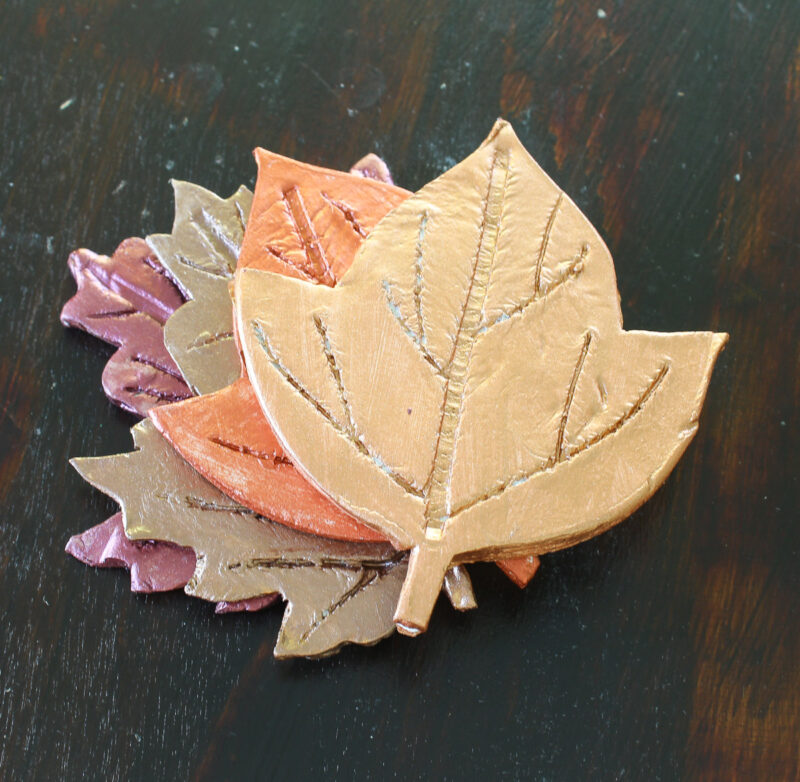
These easy leaf-inspired air dry clay coasters are a simple, beginner-friendly DIY you can make in an afternoon, even if you have never worked with clay before. If you want to add a touch of nature to your home decor this fall, they will bring the colors and shapes of the season right onto your table. These coasters also make a practical accent that protects your surfaces.
Air dry clay had been on my radar for a while. After spotting project after project on Pinterest, I finally picked up a package, and it sat in my DIY stash waiting for the right idea. When I rounded up 10 Best Easy Air Dry Clay Projects, coasters kept rising to the top of my list as the perfect first project. Leaves are such an iconic symbol of fall, so leaf-inspired coasters it was.
The best part? This project is genuinely easy. No kiln, no special tools, and no experience required. Let me show you exactly how to make clay leaf coasters, step by step.
This post contains affiliate links to products used to create this project. If you should order any item from this site, I may receive compensation, but you do not pay a penny more. Your purchase is greatly appreciated as it helps support the continued publication of this site.
Table of contents
- What Is Air Dry Clay?
- Why Air-Dry Clay Makes a Great Beginner Project
- Tips for Working with Air Dry Clay
- Why I Want to Use Air Dry Clay
- What You Need for This Leaf Clay Coaster Project
- How to Make Air Dry Clay Leaf Coasters Step by Step
- How to Paint and Seal Air Dry Clay Coasters
- Other Ways to Use Your Air Dry Clay Coasters
- Your Air Dry Clay Coaster Questions
What Is Air Dry Clay?
If you ever made a bowl or decorative item with clay in elementary school or at camp, you put your creation into a kiln to dry it out. Air dry clay is different.
Air-dry clay is a mixture of paper fibers and glue. It dries and hardens when left out in the air, so no oven is needed.
Why Air-Dry Clay Makes a Great Beginner Project
- It’s inexpensive and easy to use.
- Unlike traditional clay, it needs no special machines or tools. It dries at room temperature without an oven.
- It can be painted.
- The craft ideas are endless.
- You can add other materials for extra decorative accents.
- It is an easy material for beginners to use.
All those are reasons for air dry clay to be a craft winner in my book.
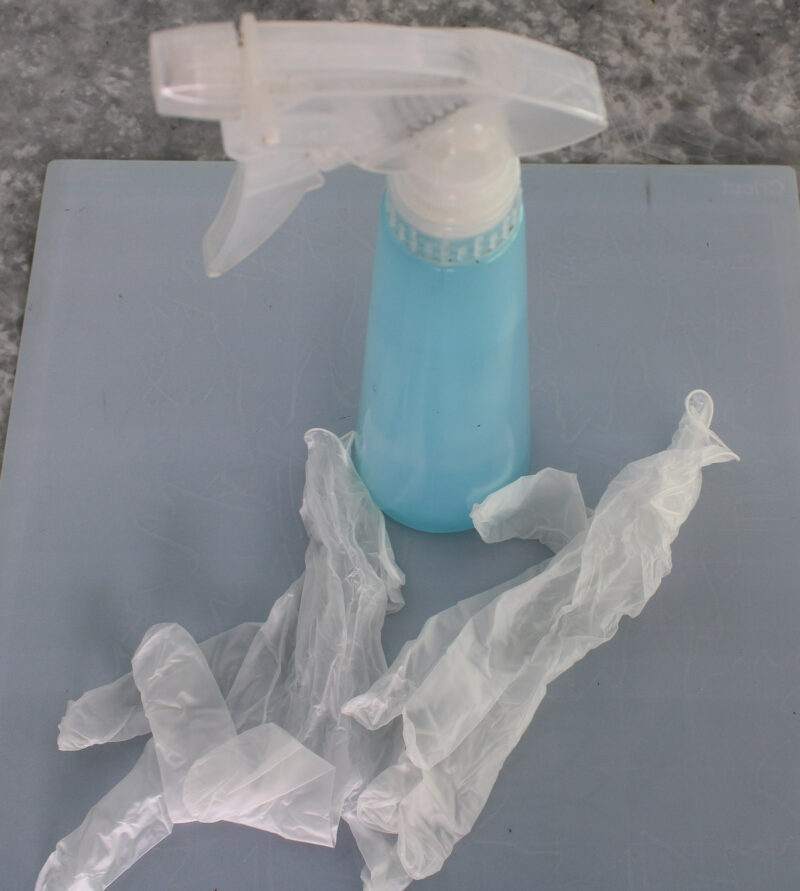
NOTE: The biggest “warning” I read is that air dry clay is very sticky. Several crafters advised wearing gloves. I didn’t find the air dry clay to be sticky at all, but I did wear plastic gloves just to keep my hands clean.
Tips for Working with Air Dry Clay
Here are some other tips I learned:
- Prepare your workspace. You don’t want to directly work on your table or countertop with the clay because it can be messy. Air dry clay attracts dust, fibers, and even dog hair so the work surface needs to be clean. A silicone craft mat was one product recommended to use on top of your workspace. I actually used one of my old Cricut mats upside down. You could even use wax paper or an old plastic cutting board.
- Dampen your hands before starting. Working with the clay is much easier to do when your hands are damp. You don’t need them to be soaking wet; just lightly damp is good. Keep a small bowl of water nearby so you can keep your hands damp the entire time you are working with the clay. One crafter even suggested putting a little lotion on your hands. I used plastic gloves and didn’t need to keep my hands wet.
- Keep a small spray bottle nearby. You need to spray the air dry clay with a fine mist while you are working with it. Otherwise, it may start to dry out before you are ready for it too. I had a spray bottle handy, but didn’t use it. As soon as I was through with the clay, I sealed the package and put it into a zip lock bag.
- Keep paper towels and plastic wrap nearby. If you need to step away from your project, you can cover it with a barely damp paper towel and plastic wrap to keep it from drying out. See above for what I did to keep the clay soft and moist.
- Use a good quality clay. There are several air dry clay brands on the market and all seemed to be endorsed by air dry clay crafters.
- Consider getting tools. Clay sculpting tools aren’t required, but like any skill, tools help. Plus, they’re very inexpensive. I didn’t purchase any extra tools. To “cut” the clay, I used a craft X-acto knife, and it worked great.
I can now attest that air dry is easy to work with. In fact, I think it is such an easy diy project that I’ll be making more creative projects with it. You can use it to make everything from homemade jewelry to home decor.
That’s enough information to get us started.
Why I Want to Use Air Dry Clay
As I said, I wanted to use air dry clay for the first time. I’ve seen so many cool projects made with this type of clay. It’s always rewarding to discover a new material and a DIY method.
Secondly, I wanted to create an item that I could use for fall decor.
Third, I wanted to create an item with a practical use.
Coasters came to mind as an easy beginner-level project. I explored Pinterest again and found several different ways to make coasters.
Leaves are iconic symbols of fall. I recently shared a few previously made and shared leaf projects:
I love leaves for fall decor, but I wanted something more unique than the leaf coasters that I was seeing online.
Going through my DIY supply stash, I discovered these leaf wood cutouts. My leaf-inspired coaster project idea was born.
What You Need for This Leaf Clay Coaster Project
For creating the basic leaf coaster, you will need:
Air dry clay is the most important element you need. Here are a couple of popular brands that were recommended:
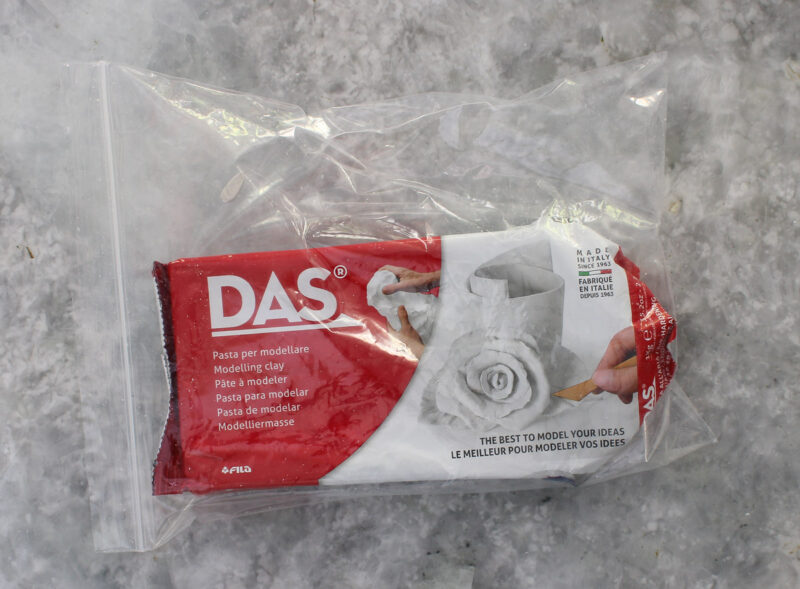
- Das – comes in white, terracotta, and a stone effect. I bought the Das in white. Since I bought my air-dry clay over a year ago, I wouldn’t have been surprised if it had dried out. Fortunately, it was perfectly soft and moist. It has the texture of slightly softened butter.
- Crayola Air Dry Clay – dries whiter than the Das clay and also comes in a range of colors. You can buy this in a large tub if you want to make clay crafts in bulk.
- Air-dry clay; I used Das in white
- exacto craft knife – this is for trimming away excess clay
- something to cover your work surface, such as a silicone craft mat or a piece of wax paper taped down.
- an acrylic rolling pin or a round glass jar with smooth sides
- item to cut out your clay coasters; this could be a cookie cutter, a removable tart pan, a piece of cardboard, or a wood cutout. I used two wood leaf templates. These wood leaf shapes would be perfect, with plenty of options
- extras: wood skewer to make leaf “stems”, spray bottle of water, plastic gloves, zip lock bag

How to Make Air Dry Clay Leaf Coasters Step by Step
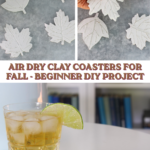
I used each leaf twice for a total of four coasters.
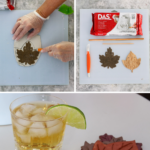
1. Open the package of air-dry clay.
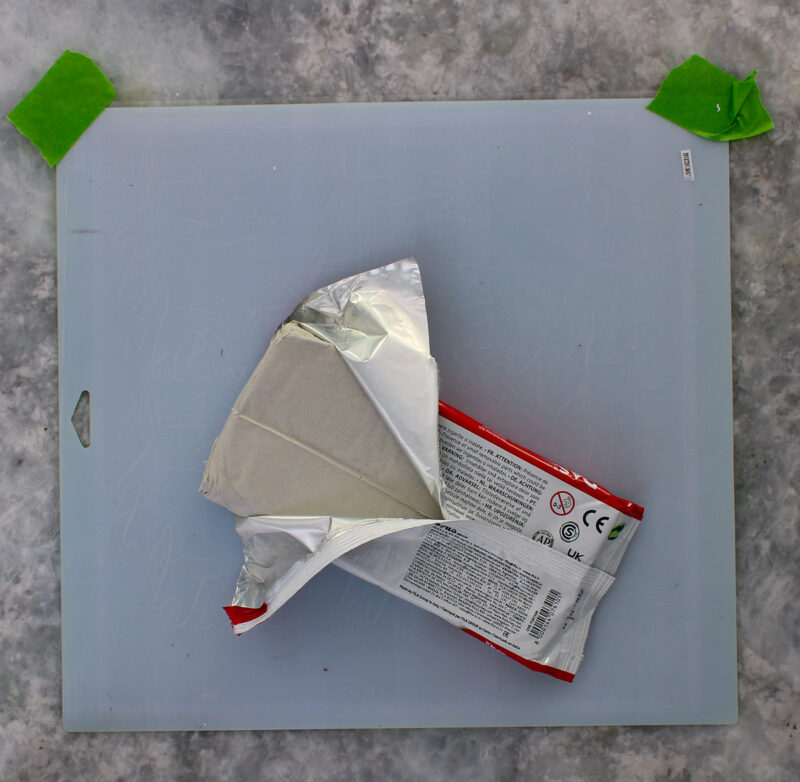
2. Cut off a piece of air dry clay with the craft knife.
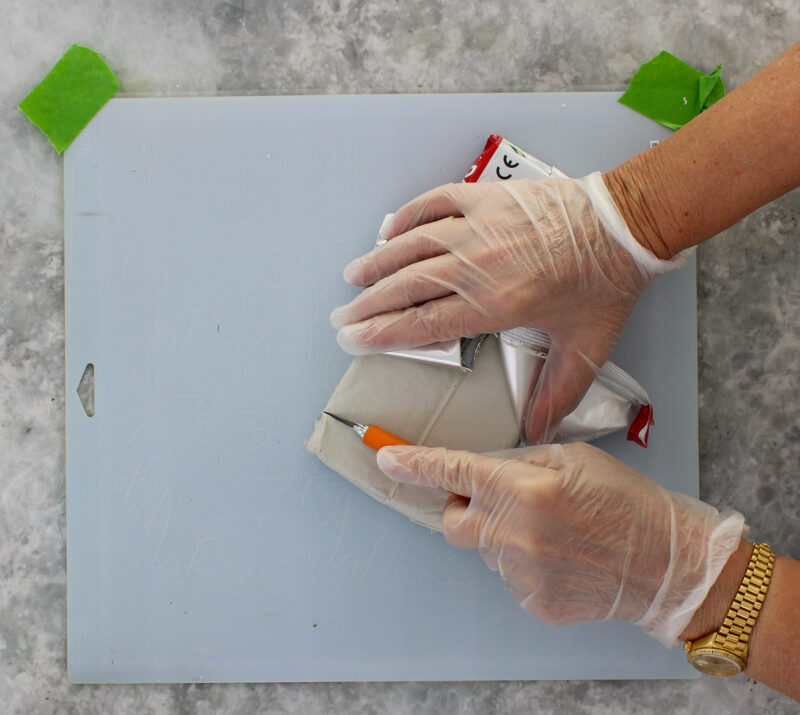
3. Close the package and place it inside a zip-lock bag. You do not want your clay to dry out.
4. Place the block of clay on your work surface and flatten it with the palm of your hand.
5. Using the rolling pin or a glass jar, roll the clay flat, from 1/8 to 1/4 thick. It’s like rolling out pie crust.
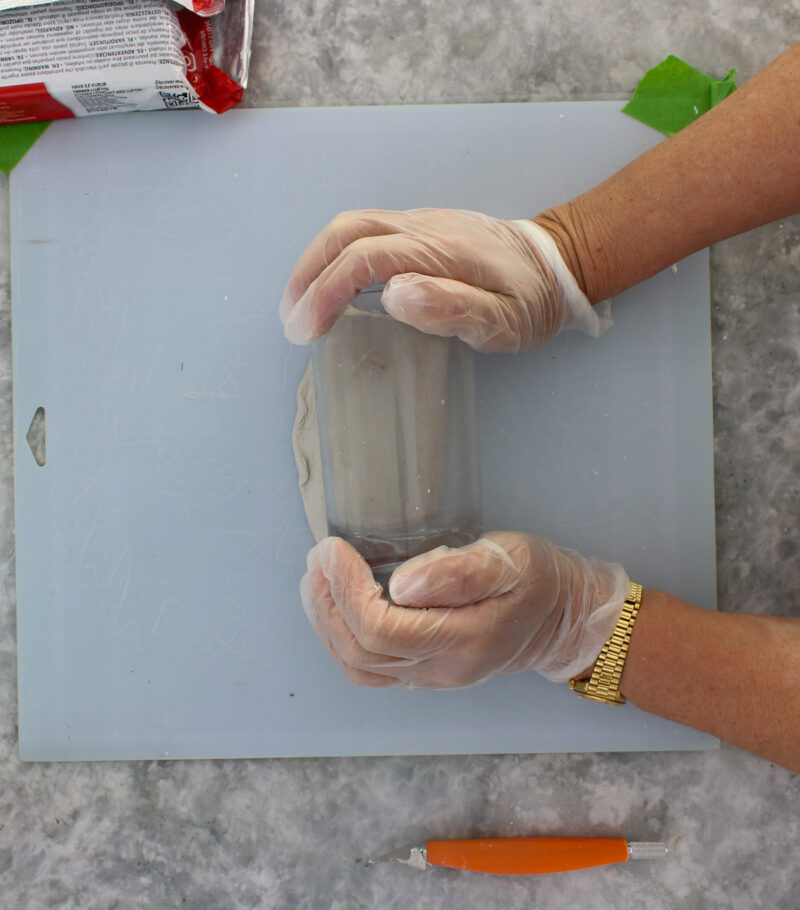
6. Place the item you are using to cut out the shape of the coaster on the clay. Press down a bit.

7. Cut the excess clay from around the leaf template.
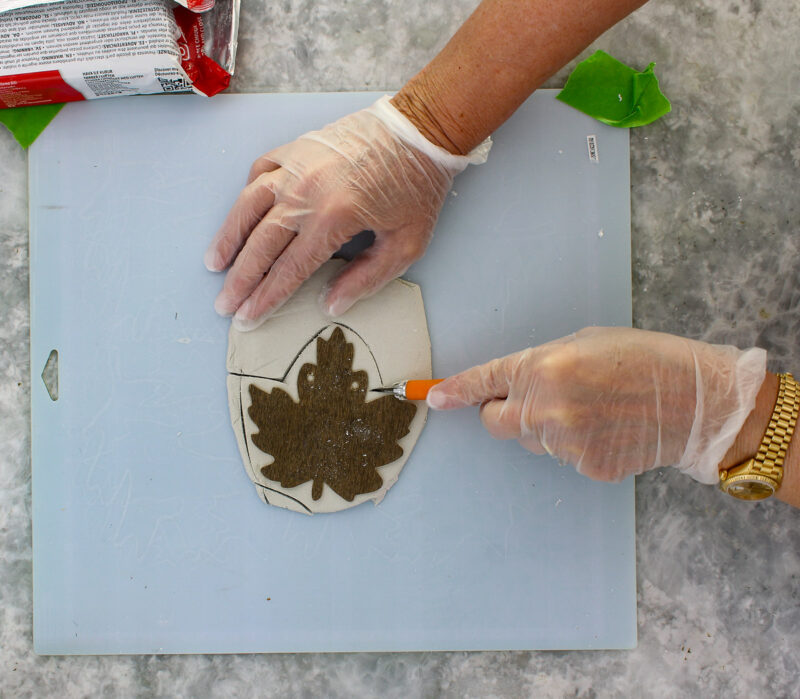
8. Remove any excess clay from the leaf. Place the excess clay in a zip-lock bag or other airtight container.
TIP: For extra protection, roll it tightly in plastic wrap for an airtight seal. For extra protection, then place it in the zip-lock bag.
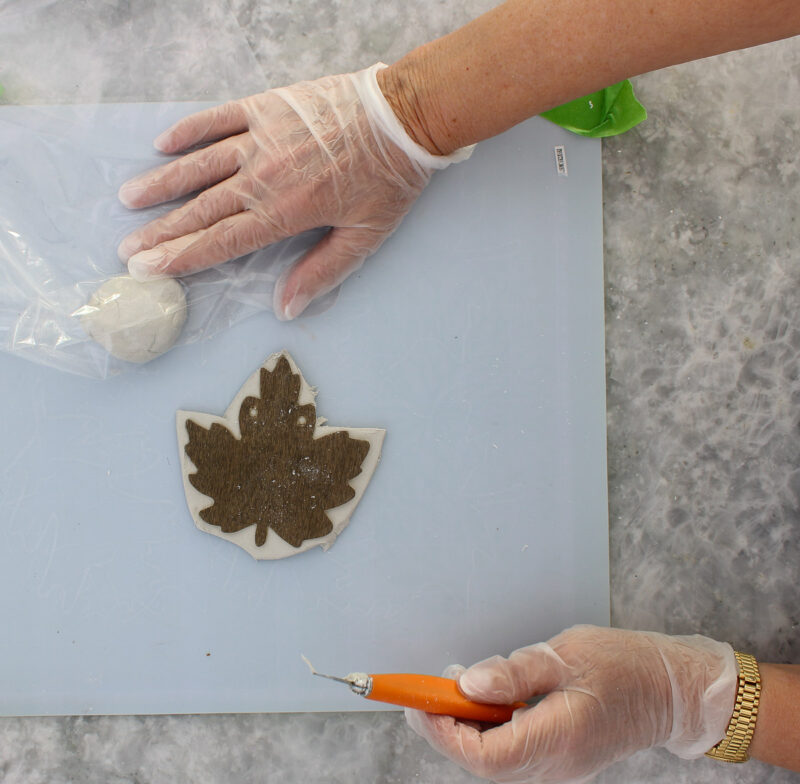
9. Cut all excess clay away from the leaf template.

10. Remove the leaf template from the clay. Using the pointed end of a dowel rod or another thin object, make leaf “stems”, pushing into the clay.
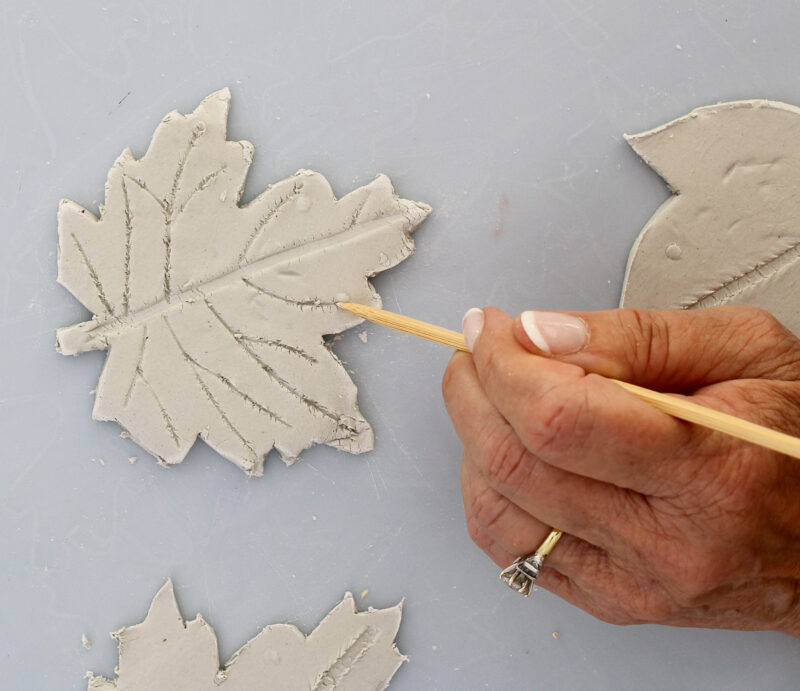
11. Repeat steps with other leaf templates and clay. Because the other wood leaf had much simpler lines, the second leaf was much easier and faster.
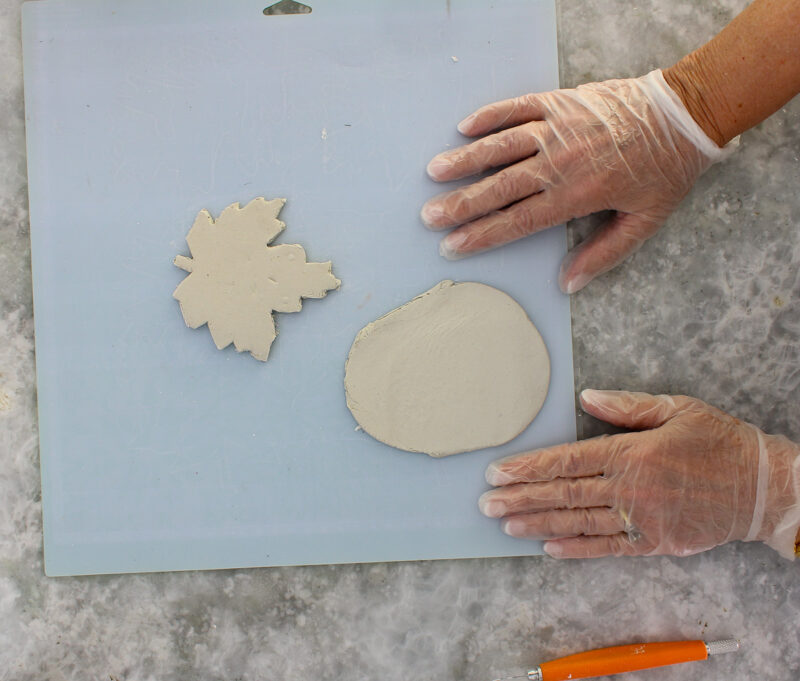
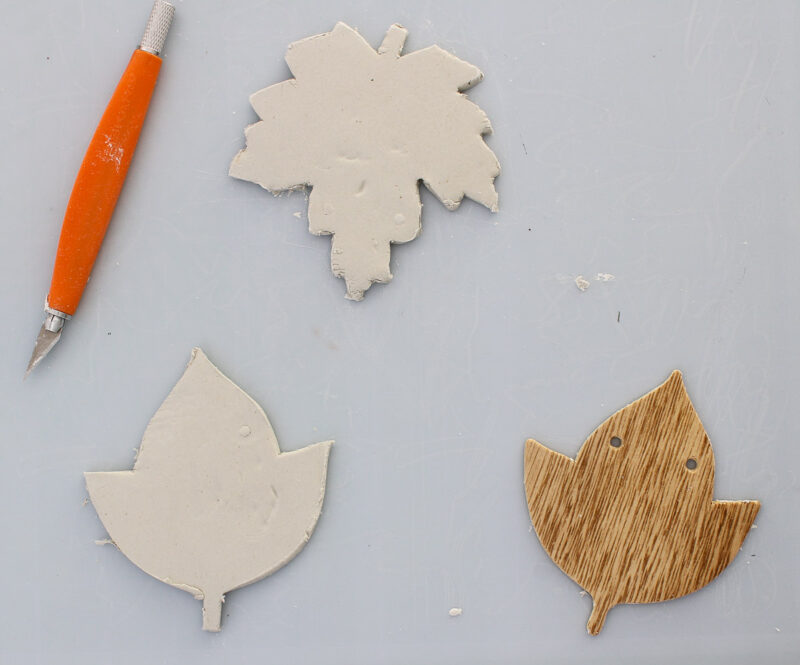
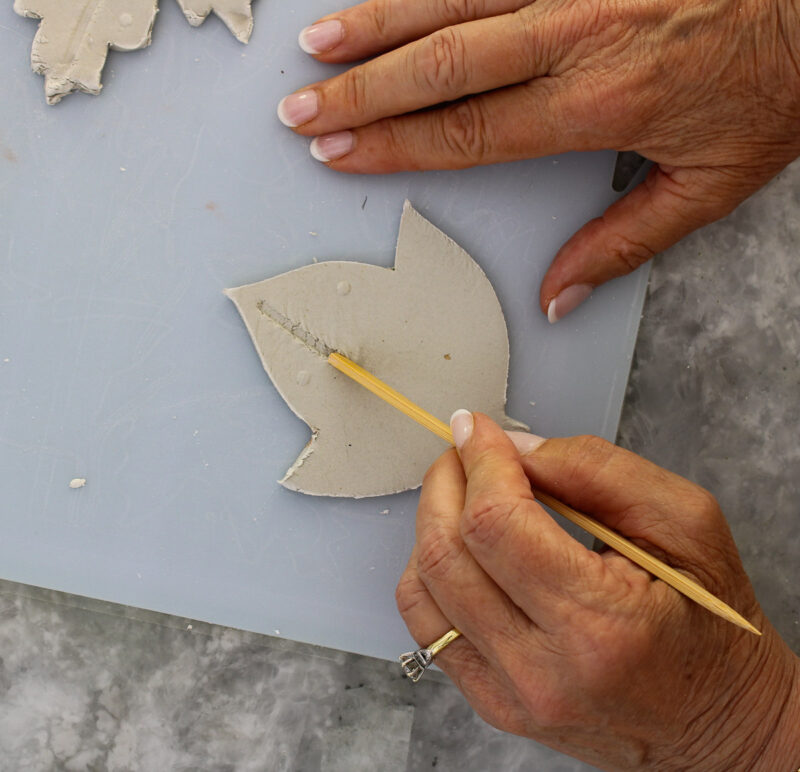
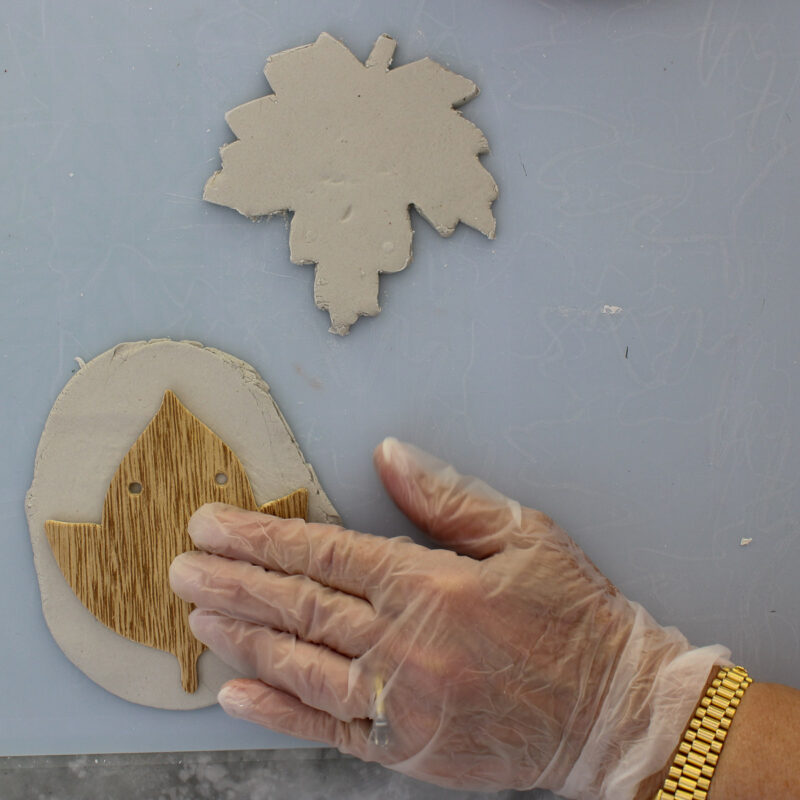
12. Set the coasters aside to dry completely. Allow 24-48 hours for drying. This is important. Be sure to allow plenty of drying time. I turned my coasters over after 24 hours to allow the bottom to dry completely.
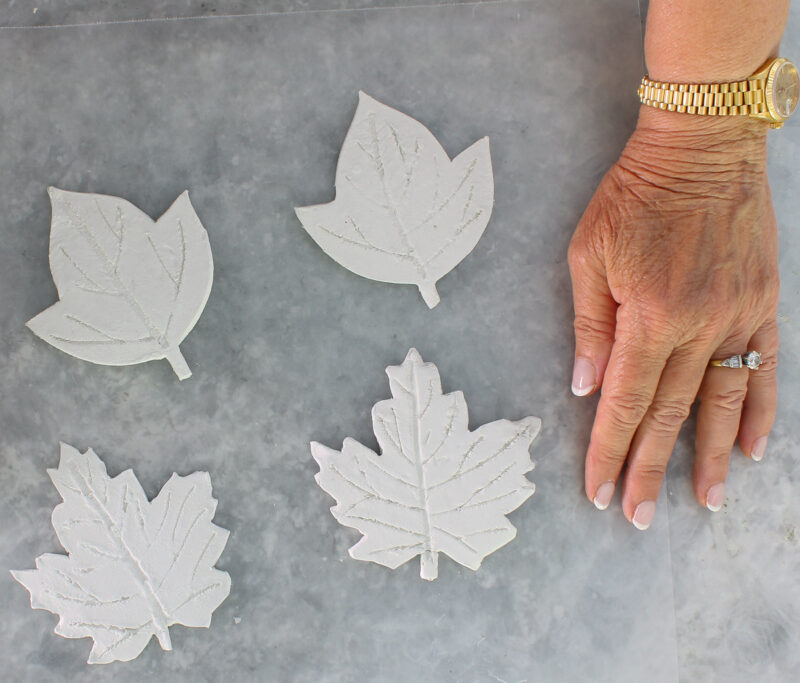
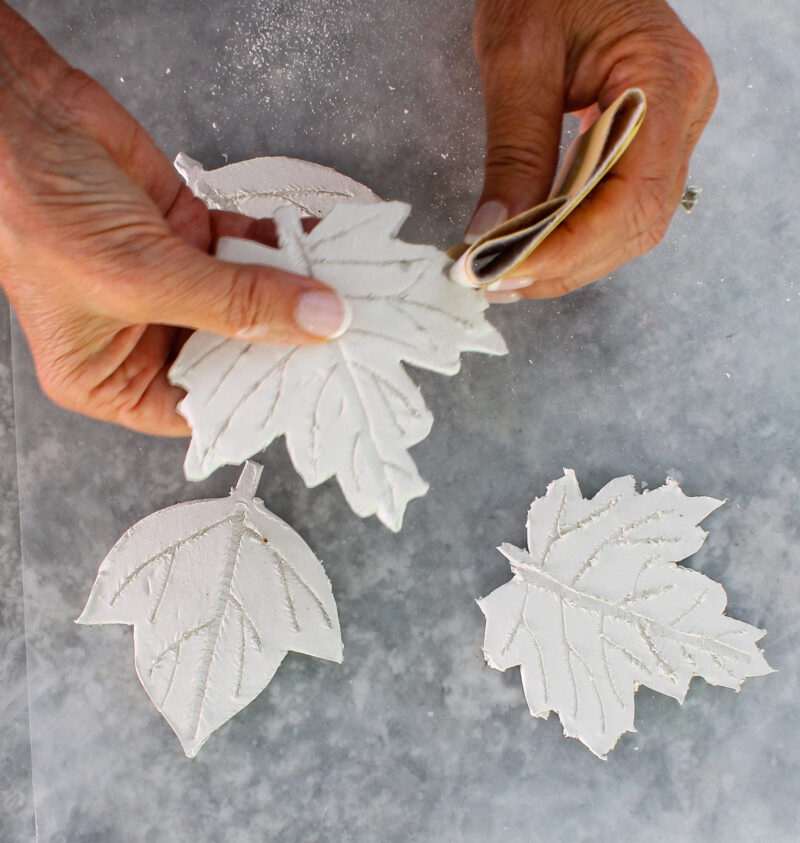
13. When the leaf coasters are completely dry (24- 36 hours), use a piece of fine-grit sandpaper to gently sand any rough or sharp surfaces. Wipe away any dust with a paper towel of cloth.
How to Paint and Seal Air Dry Clay Coasters
When the clay coasters are completely dry, you can embellish them.
You can use any type of acrylic paint on your air-dry clay coasters. You can also use paint pens or markers.
I used the metallic acrylic paint that I bought last year for painting Christmas trees.
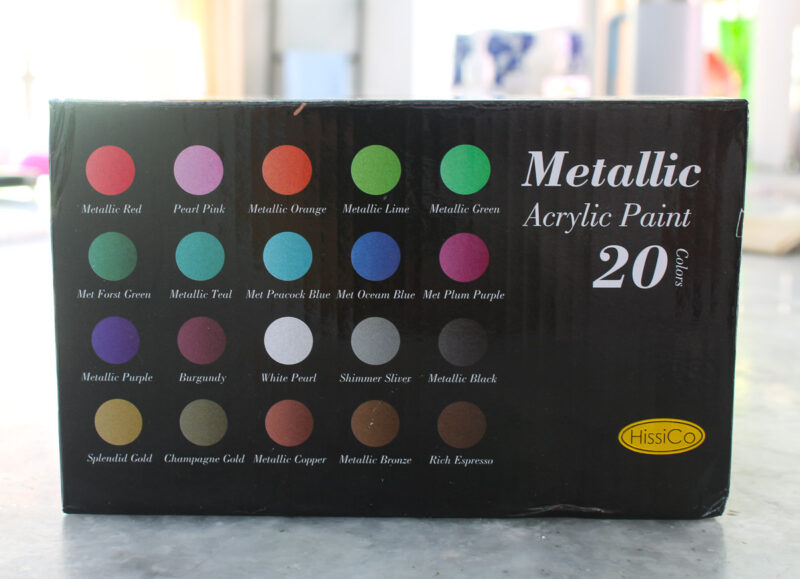
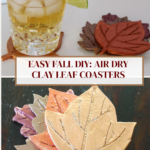
Since these are intended for a fall set of coasters, I chose fall colors: copper, bronze, espresso (brown), and burgundy.
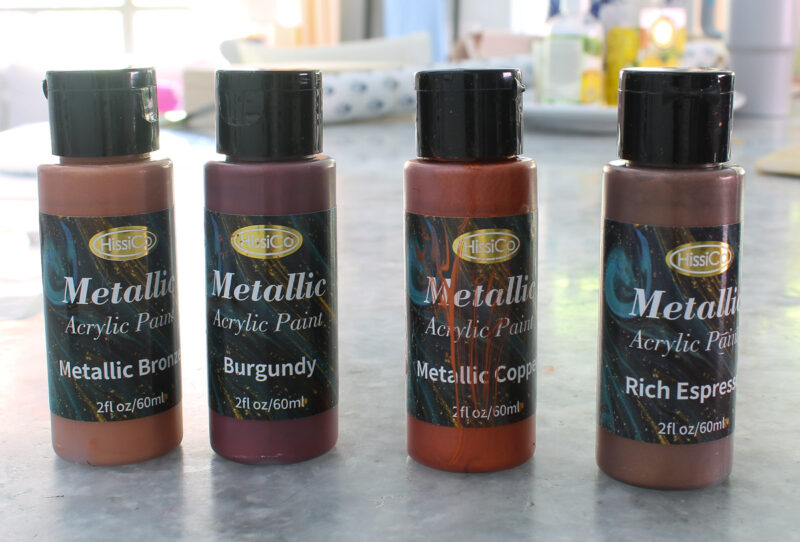
A sponge brush or small craft brush is all you need.
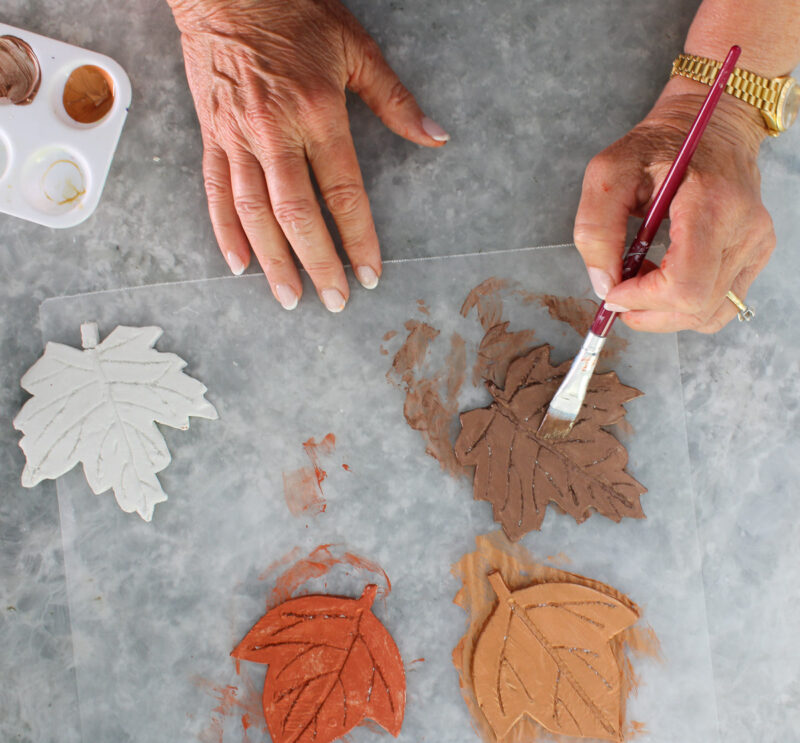
I painted each coaster a different fall color. You can see in the picture below that one of the stems broke off. I didn’t worry about it.

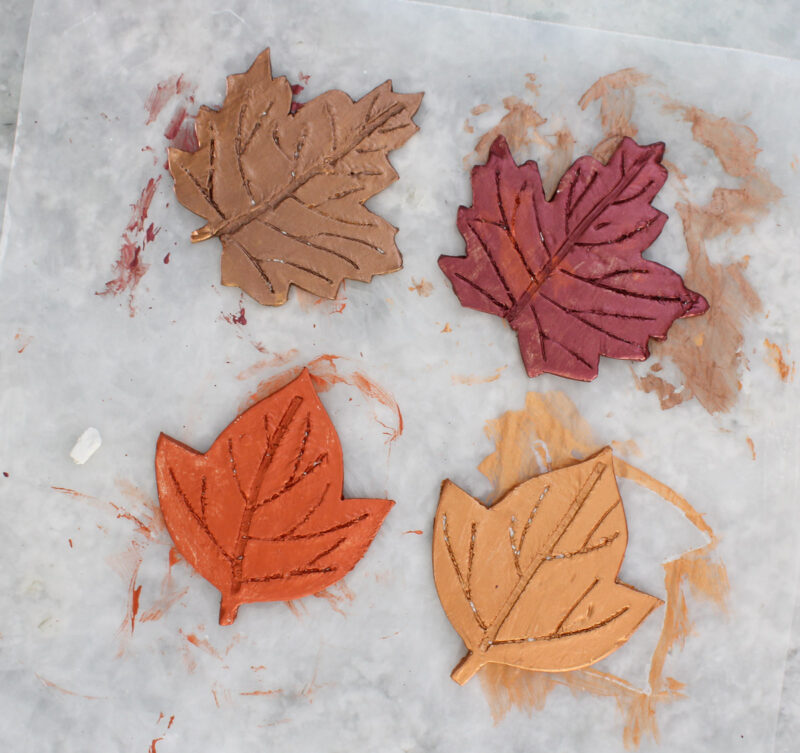
Be sure to paint the edges of the coaster. The coasters only needed one coat of paint.
The stems and veins naturally appear darker when you paint the coaster, which was what I was hoping for.
Allow the paint to dry. I was relieved to discover that this easy clay project was all I wanted it to be.
Air-dry clay is a wonderful craft material, even though it’s not waterproof when dry. It does need to be sealed to finish it. I used one coat of Matte Mod Podge.
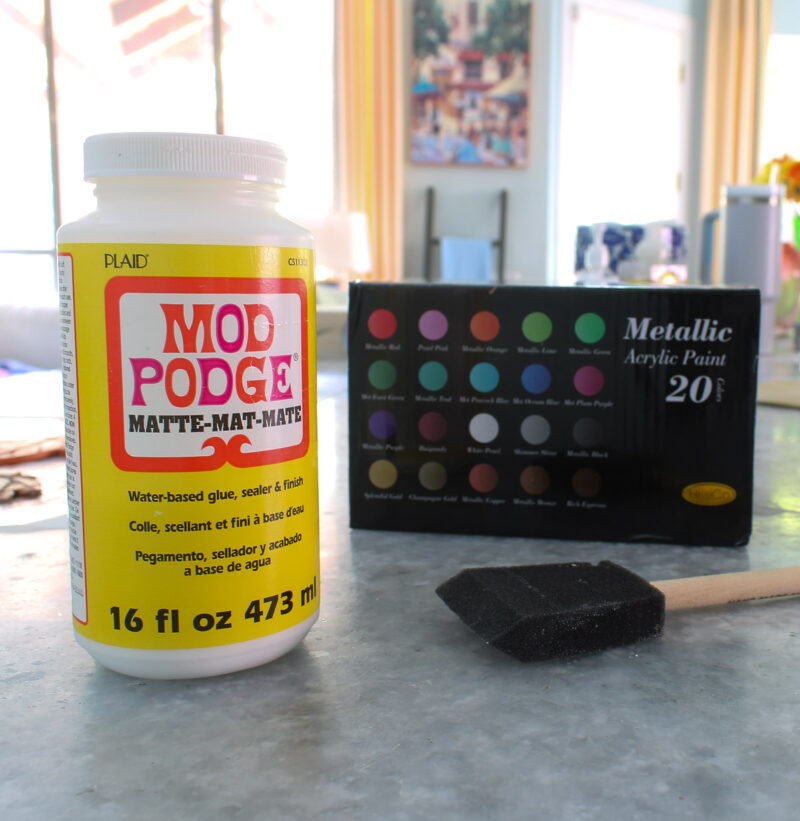
When the Mod Podge is dry, you are ready to use your fall air dry clay coasters. I stacked the four leaf coasters.
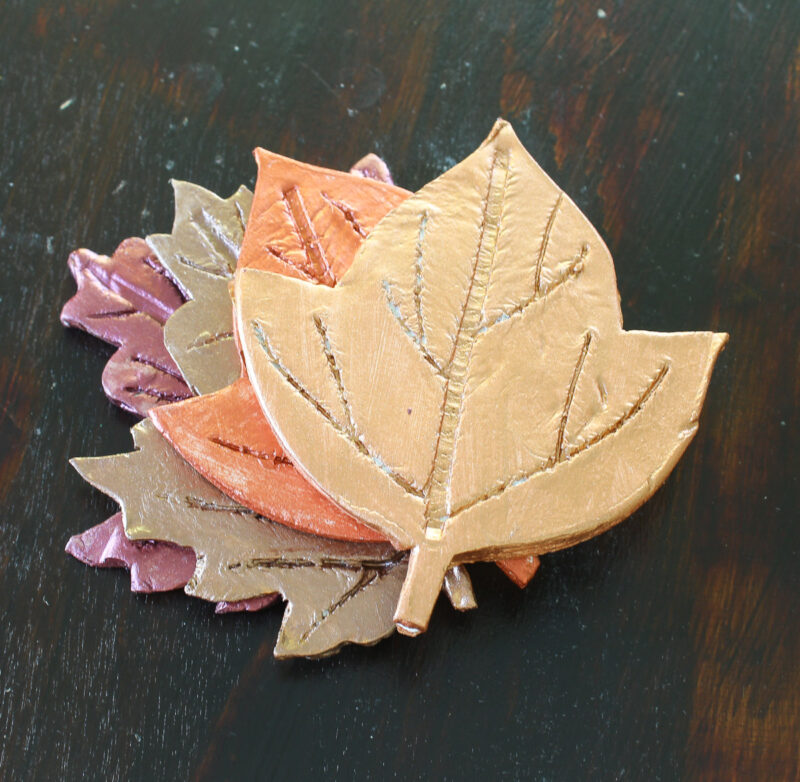
Sip your favorite beverage on a DIY-crafted coaster that reflects the vibrant colors and intricate patterns of leaves.

These coasters not only serve a practical purpose but also bring fall colors and symbols into your living space. Coasters protect your surfaces from unsightly rings and spills, and these do that quite well. They also spark conversation when guests come over.

Other Ways to Use Your Air Dry Clay Coasters
What else can you do with these fall leaf coasters?
- Make a hole in the coaster and hang several as a garland.
- Place them on a table as an accessory.
- Hang them from branches for a fall tree.
- Make a smaller leaf and attach it with twine to a gift bag as an embellishment.
- Make a smaller leaf and use it as a place card holder.
- Make a smaller leaf and “wrap” and glue it around a glass candle jar.
Your Air Dry Clay Coaster Questions
Air dry clay is not waterproof on its own. Sealing the finished coasters with a matte sealer like Mod Podge protects them from moisture and everyday drink rings.
Allow 24 to 48 hours for the clay to dry completely. Turn the coasters over after the first 24 hours so the bottom dries evenly.
Yes. Sealing is what makes them usable. One coat of matte Mod Podge over your paint keeps the surface protected and gives a soft finish.
Acrylic paint works beautifully, and paint pens or markers work too. Metallic acrylics in fall shades like copper, bronze, espresso, and burgundy give these coasters their seasonal glow.
Das in white and Crayola Air Dry Clay are both beginner-friendly and widely available. Das has a smooth, butter-soft texture, while Crayola dries a bit whiter and comes in more colors.
Now that I know how easy working with the air dry clay is, I will be making more diy projects using this material.
In fact, here are the cutest pumpkin napkin rings that I made with air-dry clay.
If you want more DIY projects, check out these Pinterest Boards: Air Dry Clay Projects, Fall DIY Projects and DIY Accessories for the Home. I hope you PIN this fall leaf coaster project to keep it for inspiration and follow along.







How fun Carol! I have another blogger friend that just posted about air dry clay too, it looks like there are endless possibilities to what you can make with it! Your leaves are so cute and pretty, perfect for a touch of fall on your table~ Thanks for the detailed tutorial, I must give it a try!
Jenna, it seems that air dry clay is becoming a crafty fan favorite. Thanks for the feedback, and I hope that you will try this project. With your artistic talent, I know you could come up with some awesome decor.
Love how your coasters turned out! I’ve never worked with air dry clay, but it looks like fun.
Tuula, I would definitely try it. It was easy to use and there are so many ways to use it. Thanks for stopping by and the feedback.
These are so pretty, Carol, and I love the metallic paint you selected. Pinned! Blessings, Cecilia @ My Thrift Store Addiction
Cecilia, Thanks for the Pin. I love the metallic paints. They work year round for different projects.
This would be such a cute craft to do with our grand daughter. Thanks for the idea. Your coasters turned out so cute.
Terrie, I would definitely do this with grands. I would use the air dry clay with my own. They can’t really mess anything up and they can be so creative. Happy to share with you.
These are so nice. I like the metallic paint too. I have some air dry clay in my stash – leftover from a previous attempt at a project – and you have given me an idea on how to use it up. Thanks for joining the link party again this month.
Donna, so happy to provide you some inspiration. That’s what makes creating projects so fulfilling. The metallic paints are definitelly a winner! My pleasure to be part of the crafy blog hop.
What a fun way to create leaf coasters out of air dry clay, Carol! Clay is one of my favorite craft mediums to craft with! I love that you always go into great detail in explaining your crafts! You cover every possible “how to” that may be encountered! Thanks for sharing!
Gail, I would have guessed that you like air dry clay. The teacher in me has to give detailed instructions. I guess it’s a DNA thing. Glad that you liked the coasters.
What a great way to transition to Fall decor and those metallic colours are so pretty Carol!
Sara, I’m so glad you liked the air dry clay coaster project. Yes, those metallic acrylic paints have become my favorites!