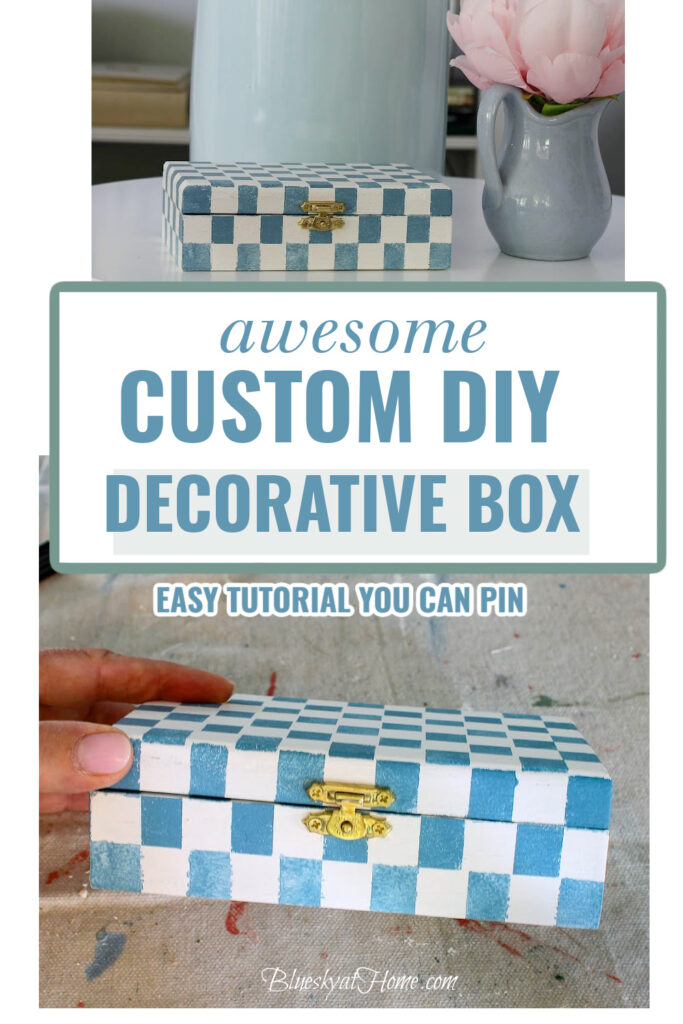
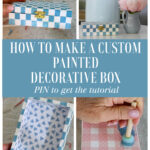
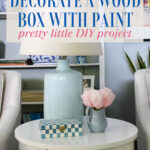
How to Decorate a Wood Box with Paint
Do you ever see an accessory at a store that you immediately fall in love with? It would be perfect in your home. The problem? The price is way more than you want to pay. What to do? Make it yourself. Let me show you how to decorate a wood box for a decorative accessory.
I love to make DIY projects to use as accessories for our home decor. I had never thought of decorating a wooden box until I saw my inspiration piece.
Last week, I finally set aside time to decorate a little wood box with paint. This is an easy and fun way to add a personal touch to your decor.
Whether you’re looking to spruce up an old jewelry box or create a unique gift box, painting a wooden box is a simple DIY project that can be completed in just a few hours.
It came out exactly as I envisioned. Now I can show you how to decorate a wood box with paint.

Inspiration for this DIY Wood Box Project
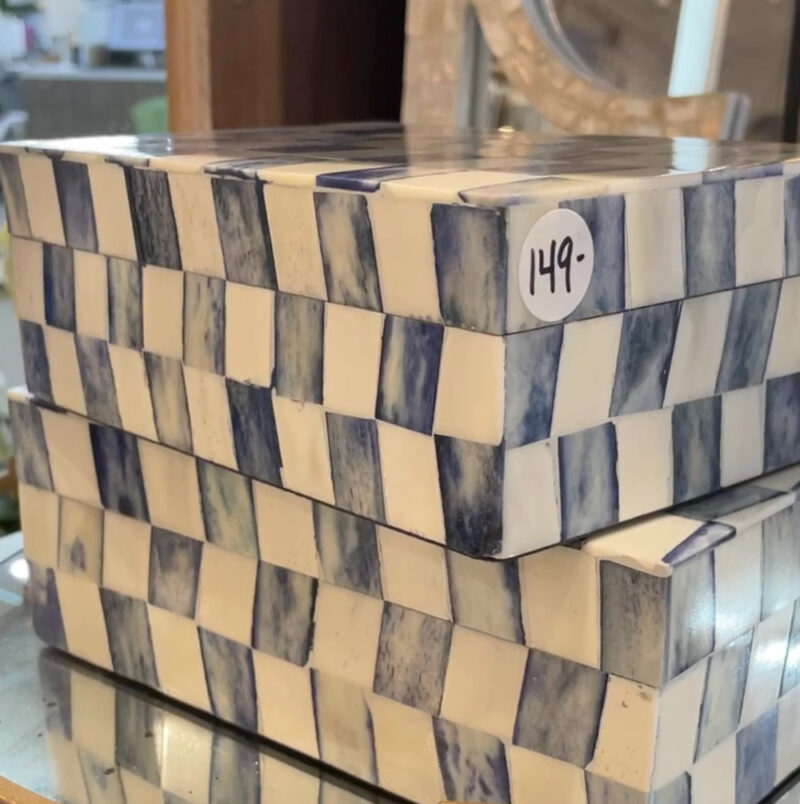
A couple of months ago, while shopping for fabric to reupholster a chair for our living room, I saw the prettiest blue and white box. It could be used to put something in or as an accessory. I knew exactly where the box would go – on our new side table in our living room.
I loved the blue and white check pattern. I knew I could recreate that design with paint and tape. I don’t know if the box was ceramic or painted.
You can see the price tag!
I took a picture of the box and then forgot about it.
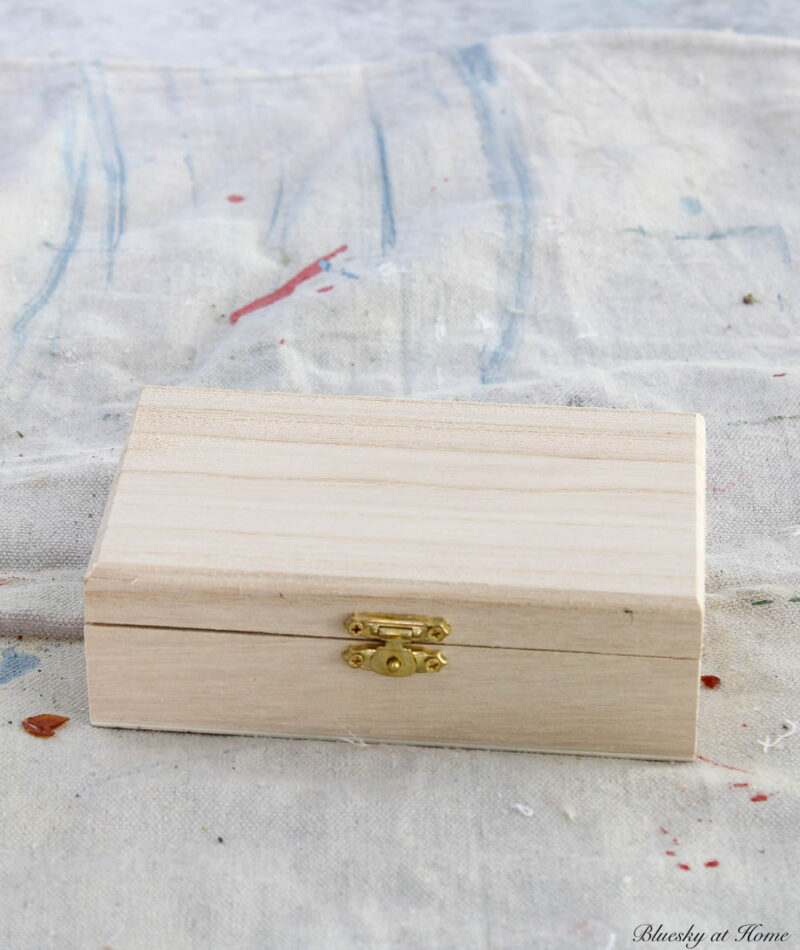
Then a few weeks later, I found some wooden boxes at Joann. I picked this box because it had gold hardware and was the right size.
Choosing the Right Box
Here are some things to consider when selecting a wood box:
- Size – Think about the size of the box. What do you plan to use it for and where do you plan to display it?
- Material – Wood boxes come in a variety of materials, including pine, oak, and cedar.
Pine is a popular choice for beginners because it’s easy to work with and relatively inexpensive. Oak is a more durable option, but it’s also more expensive. Cedar is a good choice if you want a box with a natural aroma. I’m not sure what type of wood my inspiration box is made. - Shape – Some boxes have a simple rectangular shape, while others have more intricate designs. Think about the style of your home and the other decor you have when choosing a box shape. The inspiration box was a simple rectangle so that’s what I looked for.
- Surface – Some boxes have a smooth surface, while others have a more textured surface. If you plan to paint intricate designs on the box, a smooth surface will be easier to work with. If you want to create a rustic or distressed look, a textured surface may be more appropriate.
By considering these factors, you can choose the right wood box for your project.
Supplies for Your DIY Decorative Box
You’ll need:
- a wooden box – my box was 4 X 6 inches and made of raw wood. It had little gold hinges and a gold clasp. This was exactly what I preferred. The gold matched the metallic finish of our coffee table, side tables, and two of our lamps.
The box cost $5.99. A couple of weeks later, I saw one that was 5 X 7 inches, which I bought. It was too big for my accent table. I haven’t returned it because I will probably use it to make another decorative box.
You can find these wood boxes at any craft store and online.
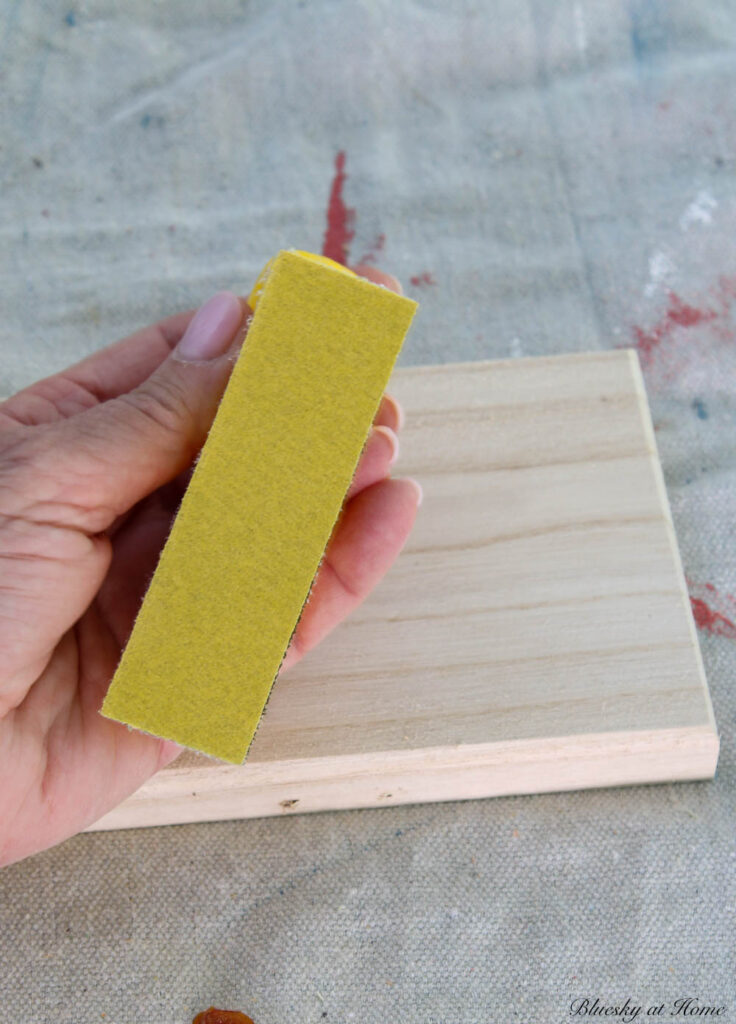
- sandpaper – the wood on my box was a little rough and very soft. I used medium grit sandpaper to smooth it out. I found a cool sandpaper tool in my sandpaper drawer in the garage; I’m sure I got it at Haven.
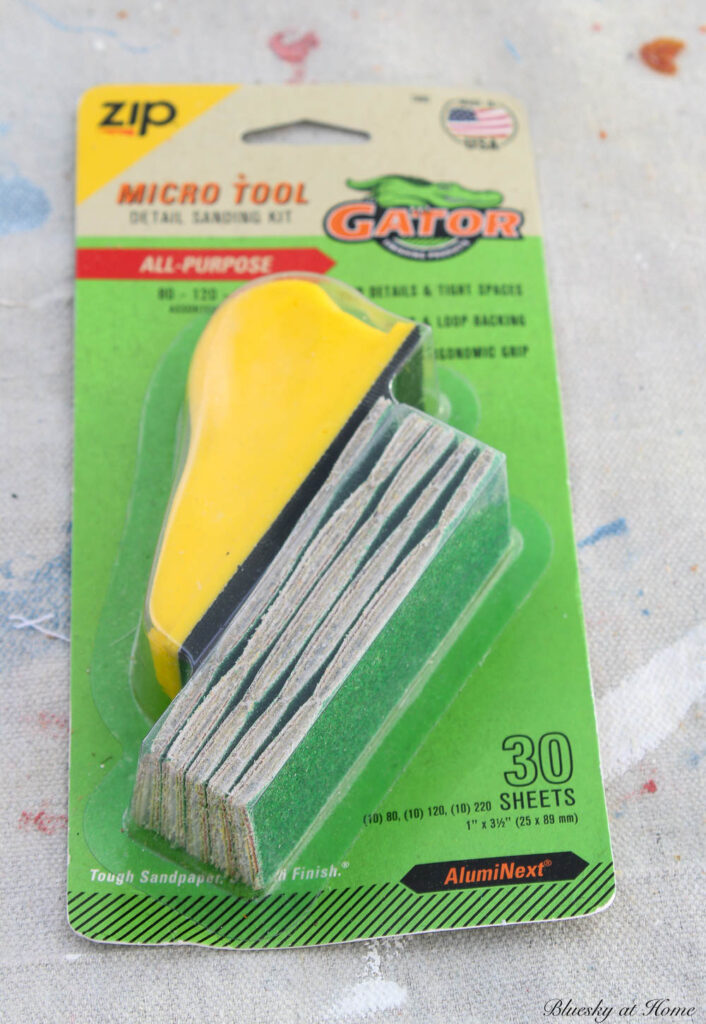
It was very easy to use (the tool is made of soft plastic or rubber so it feels good in your hand.) It comes with three grades of grit: 80, 120, 220.
It’s perfect for small projects or small spaces.
- paint – You can use any kind of paint that you have on hand: chalk paint, craft paint, acrylic paint, or spray paint. It doesn’t take much so this is a great time to use up a small amount you have on hand.
Each type of paint has its own unique properties, so it’s important to choose the type of paint that best suits your needs. Acrylic paint is water-based and dries quickly, making it an ideal choice for beginners. Oil-based paint takes longer to dry, but it provides a durable and glossy finish.
I already had both white and pretty blue paint on hand.
- paintbrush – any chip brush or synthetic brush will work for this DIY project.
- narrow painters’ tape or washi tape – to create the check pattern, I needed tape to create the squares. I had plenty of washi tape that was about 3/8 inch wide. I had never used washi tape in this manner, but I thought it was worth a try.
- a sealer – to protect the outside of the box. This could be a wax or a spray sealer.
- very small Phillips screwdriver – if your box has hinges and a clasp, you will need the screwdriver to remove and reapply them.
With a little bit of creativity and some patience, you can transform an ordinary wooden box into a beautiful work of art that will be enjoyed for years to come.
Preparing the Surface of the Wood Box
Before starting to paint a wood box, it’s essential to prepare the surface correctly. Preparing the surface will ensure that the paint adheres well and creates a smooth, even finish.
- Clean the surface: If you are using an old box, wipe down the surface of the box with a damp cloth to remove any dirt, dust, or debris. If there are any stains or sticky residue, you can use a mild soap solution to clean the surface thoroughly. After cleaning, let the surface dry completely.
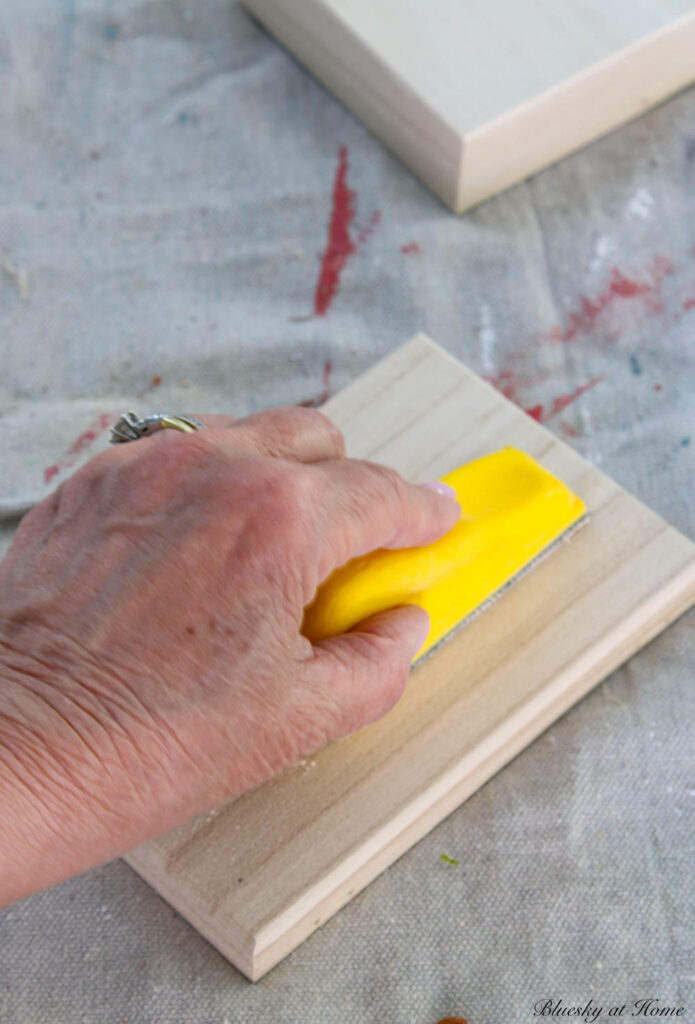
- Sand the surface: Sanding the box before painting is important to ensure that the paint adheres properly.
- Fill any gaps or holes: If there are any gaps or holes in the surface, I would fill them with wood filler. Apply the wood filler with a putty knife and let it dry completely. After it dries, sand the surface again to create a smooth finish.
- Prime the surface: If you want to, you can apply a coat of primer to the surface of the box. Primer helps to create a good base for the paint to adhere and also helps to cover any imperfections on the surface. You would want the primer dry completely before applying the first coat of paint. Just FYI
By following these steps, I ensure that the surface of the wood box is properly prepared for painting. This will result in a beautiful, long-lasting finish that will make the box look great for years to come.
Here is another easy and practical project using a raw wood box to create a lovely jewelry organizer.
Color and Finish of Your Decorative Box
The color you choose for your decorative box is a personal preference. I wanted to duplicate the blue and white of my inspiration box. Since blue and white is my color scheme in our living room, it was an easy choice.
You can choose a color that complements the wood’s natural color like a stain or use a bright color to make the box stand out. It’s important to keep in mind that some colors may require multiple coats to achieve the desired shade.
The finish of the paint can make a big difference in the final look of the box.
Some of the most common finishes include matte, satin, and glossy.
- Matte finish provides a flat and non-reflective surface.
- Satin finish provides a low-gloss surface with a subtle shine.
- Glossy finish provides a high-gloss surface that reflects light.
The One Step Paint I used isn’t chalky like chalk paint, but it does have a matte finish.
It wasn’t until I finished painting the box that I decided how to finish it with the Beeswax.
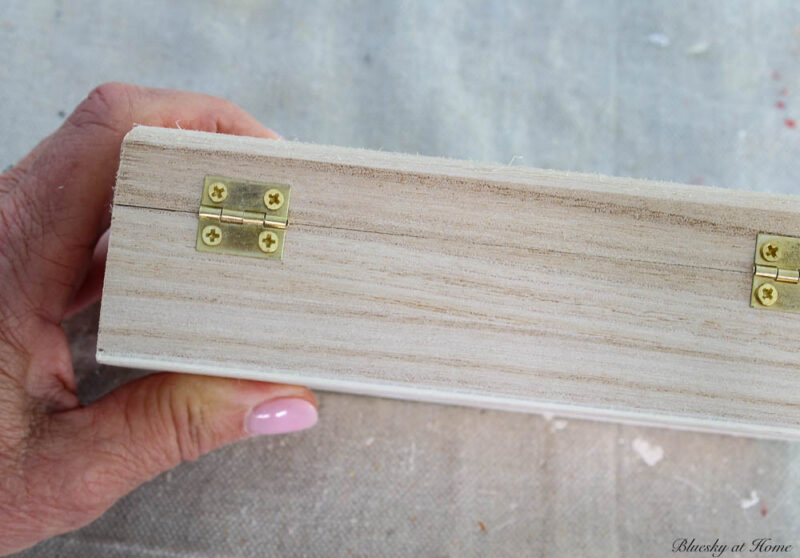
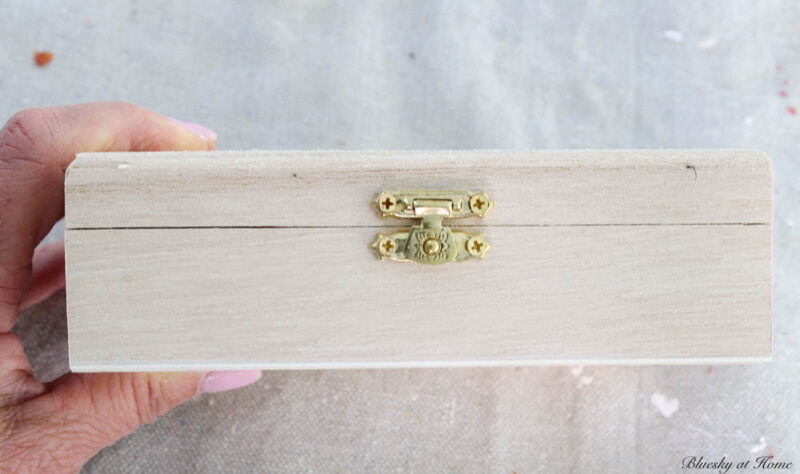
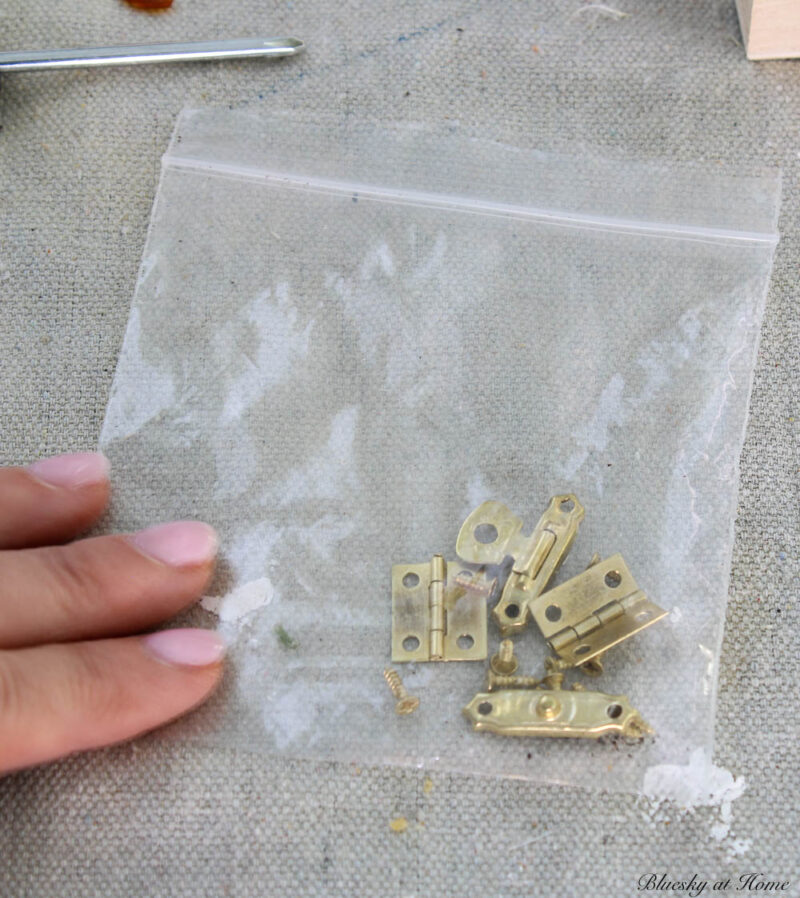
Step 1 – Remove the Hardware from the Box
The first thing you have to do is remove the hinges and the clasp with the small screwdriver.
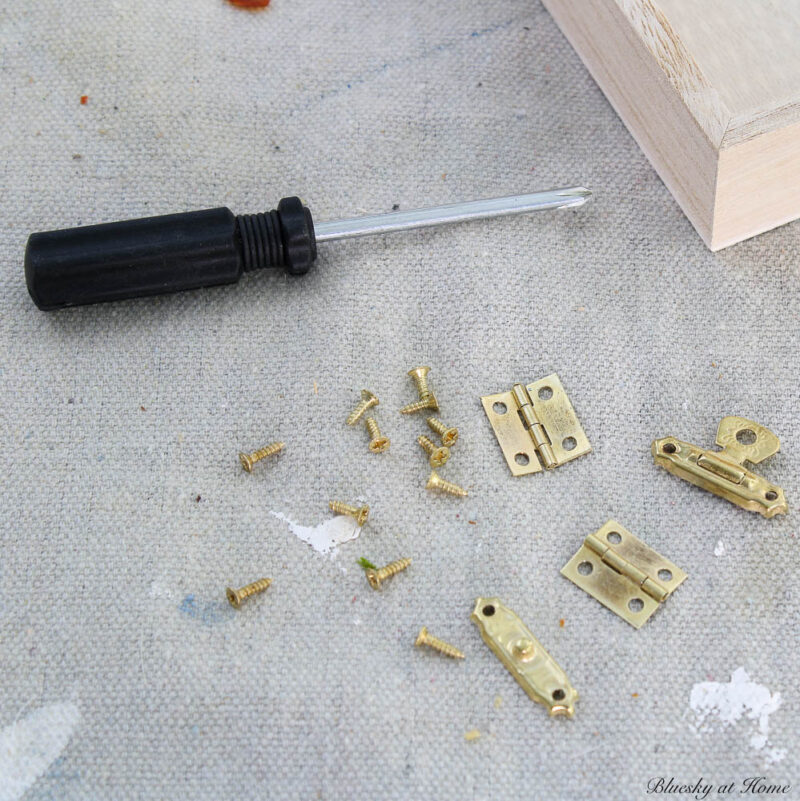
TIP: I highly recommend putting the hinges and screws in a small ziplock bag. You don’t want to lose any pieces.
Step 2 – Preparing Your Box – see description above for cleaning and sanding
Step 3 – Painting the Background of the Wood Box
You first have to paint the entire box with a base color. I used One Step Paint in Ballet White. This white paint is a bright neutral white.
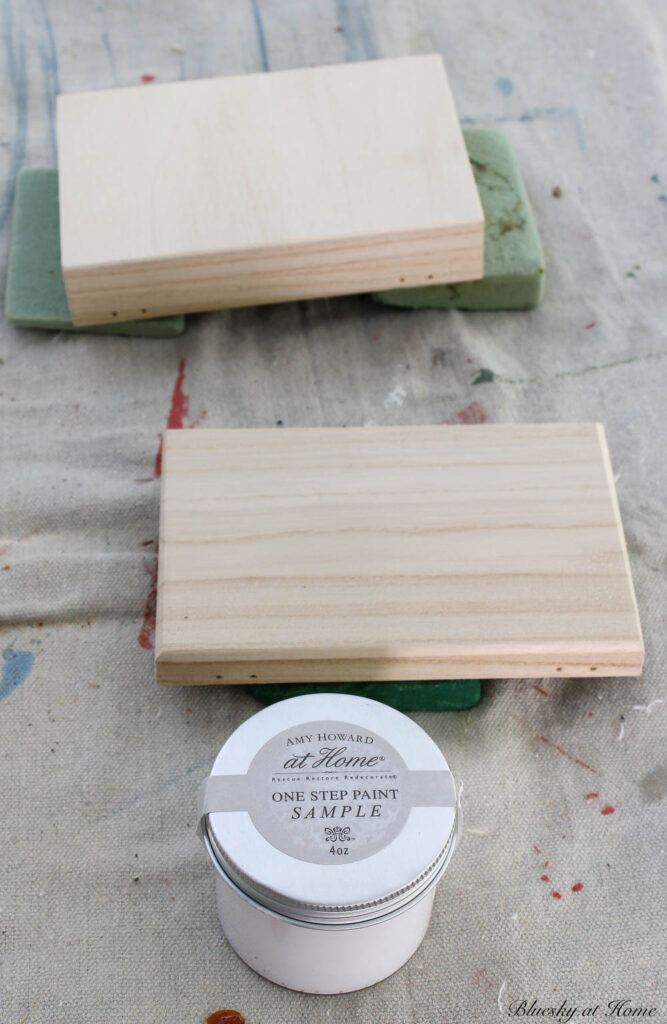
Paint as many coats as you need to cover the raw wood or the original color of the box. I used one because the coverage is so good.

After I painted the box, I used a toothpick to clear out any paint that got in the screw holes.
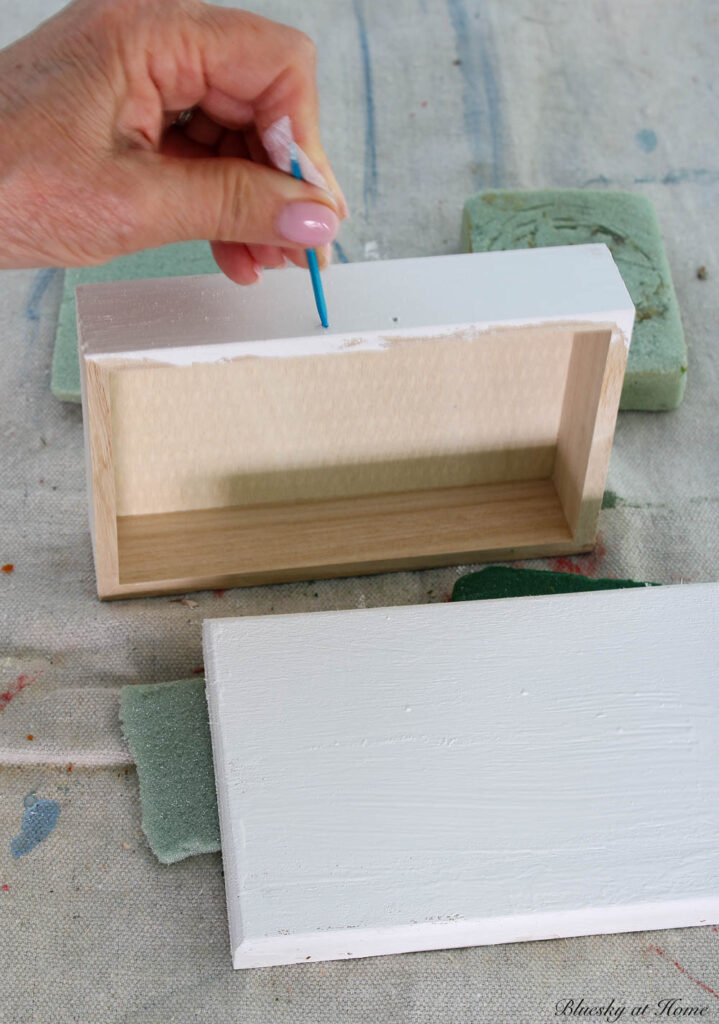
Allow the box to dry completely.
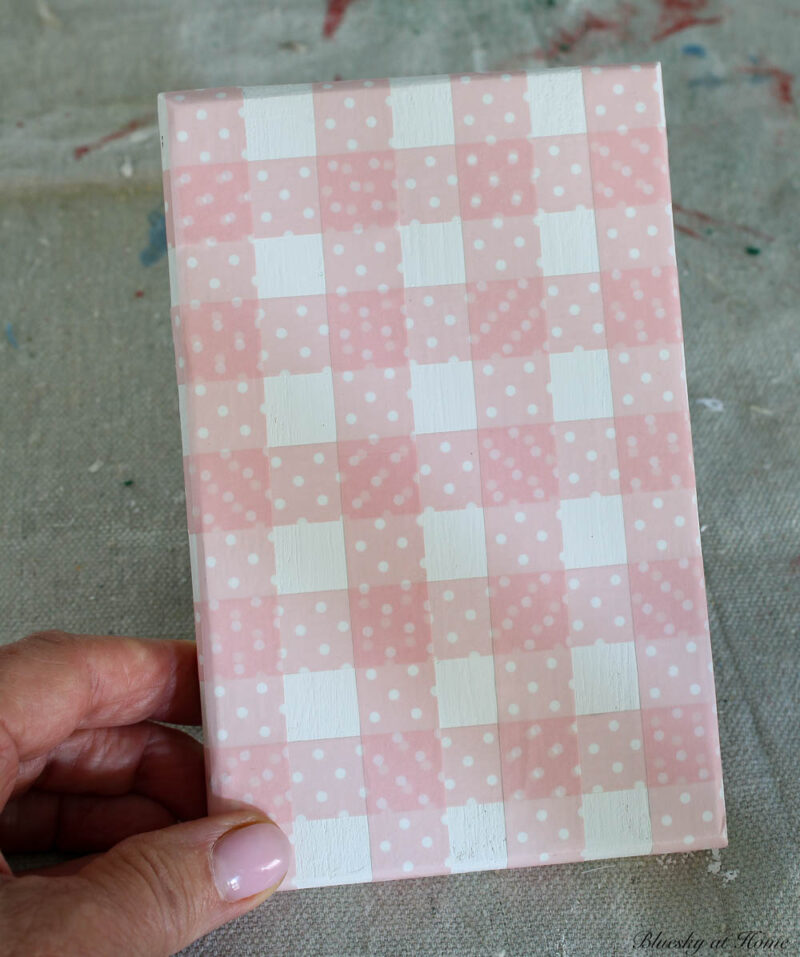
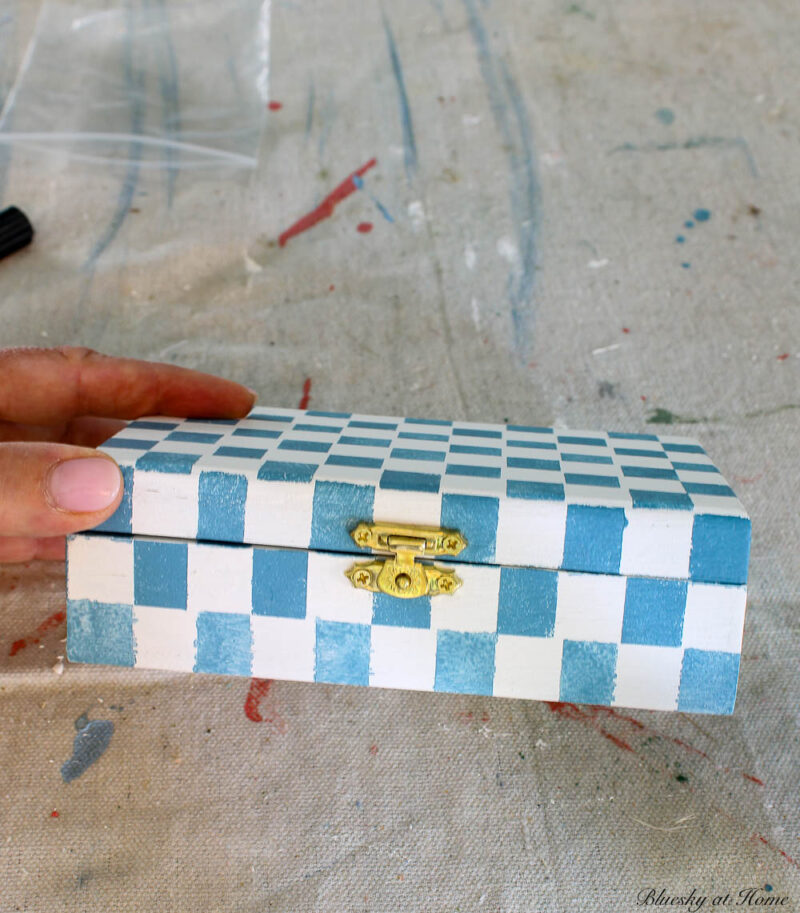
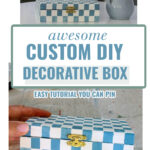
Step 4 – Making the Check Pattern
Now that you have your white background, apply strips of washi table across the box lid. I started underneath the lid, across the top of the lid, and down the sides of the boxes on the opposite side of the lid.
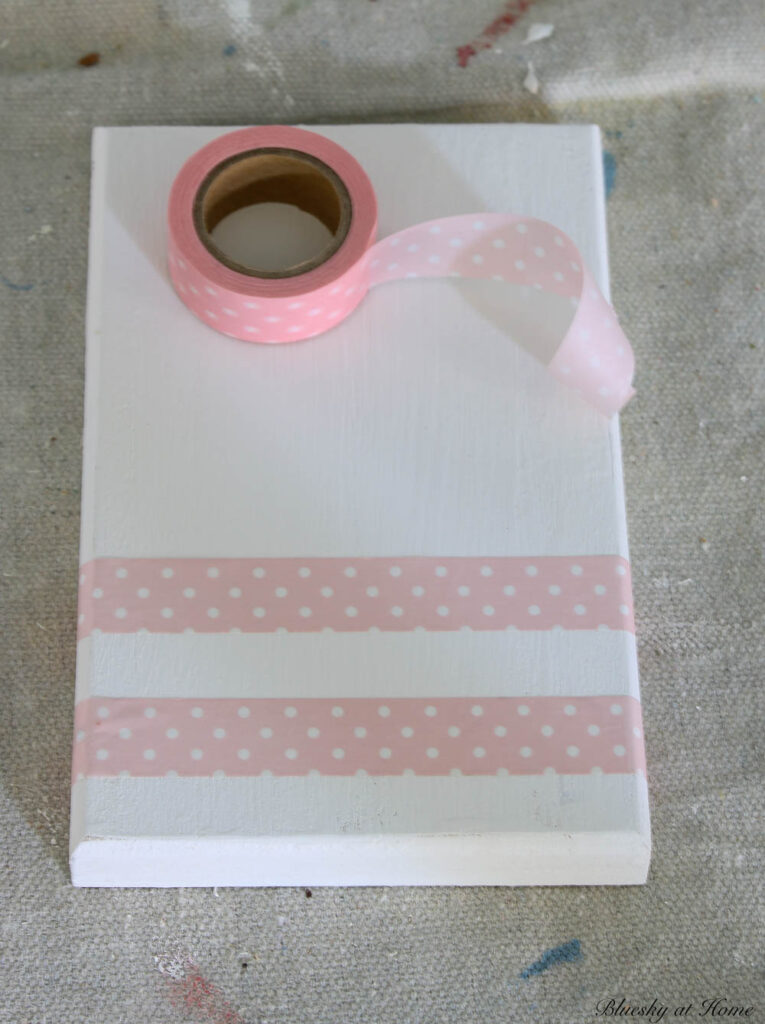
Space the strips based on the size of the squares you want. Mine were about 3/8 of an inch apart.
The next step is to lay down a second set of washi tape perpendicular to the first row to form the squares.
For my blue color, I used One Step Paint is a pretty color called Rugo. I love that you can buy this paint in 4-ounce sample pots for DIY projects.
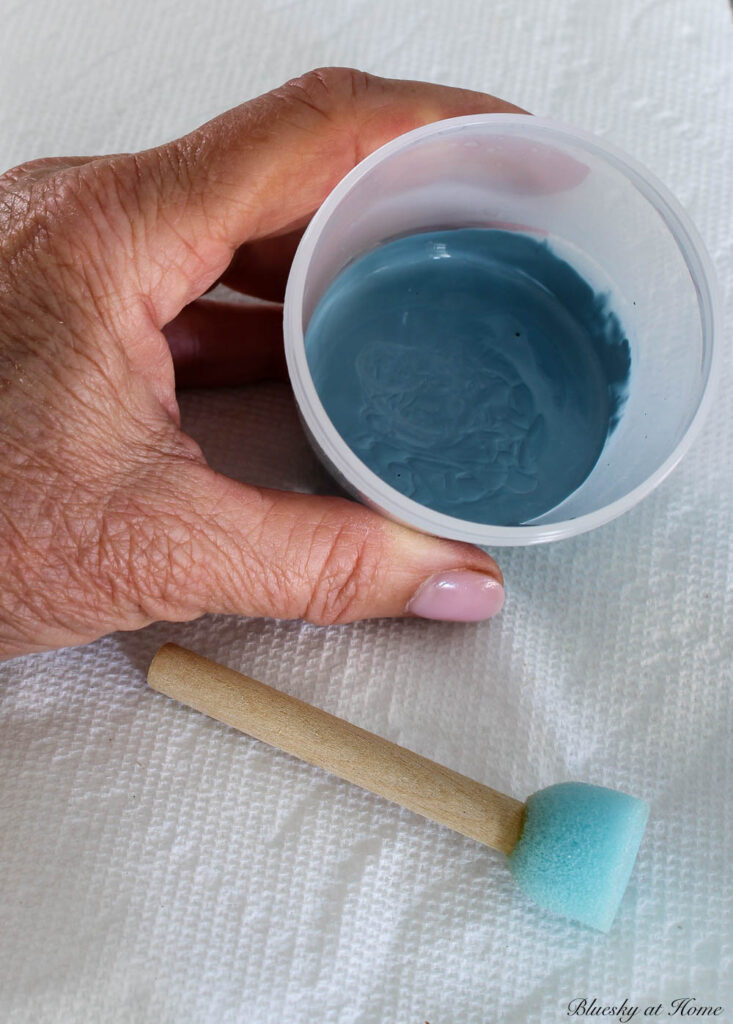
Use a small brush or foam bouncer to apply the paint. I used a paper towel to remove excess paint before applying it to the box.
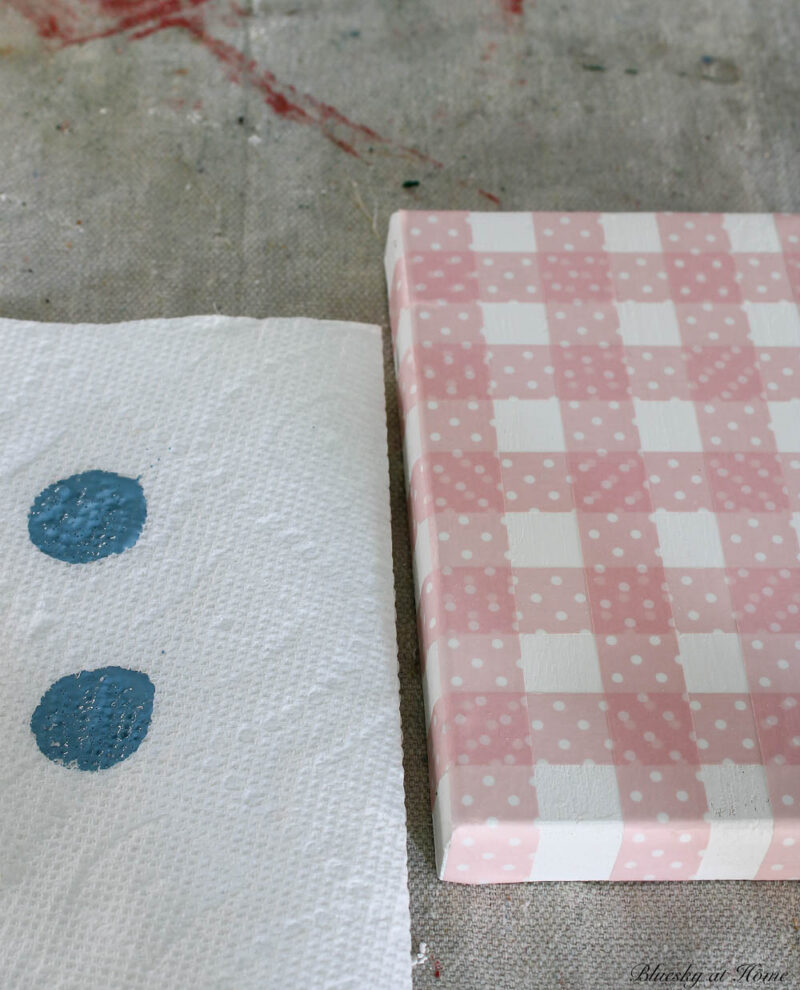
Apply the paint to the squares.
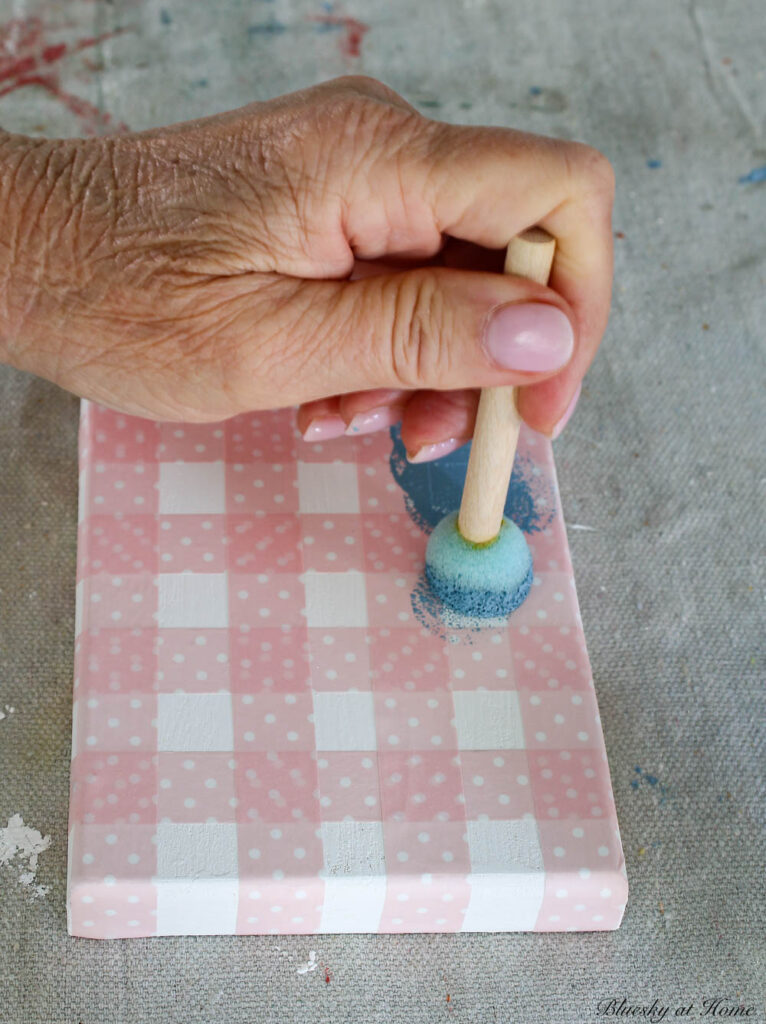
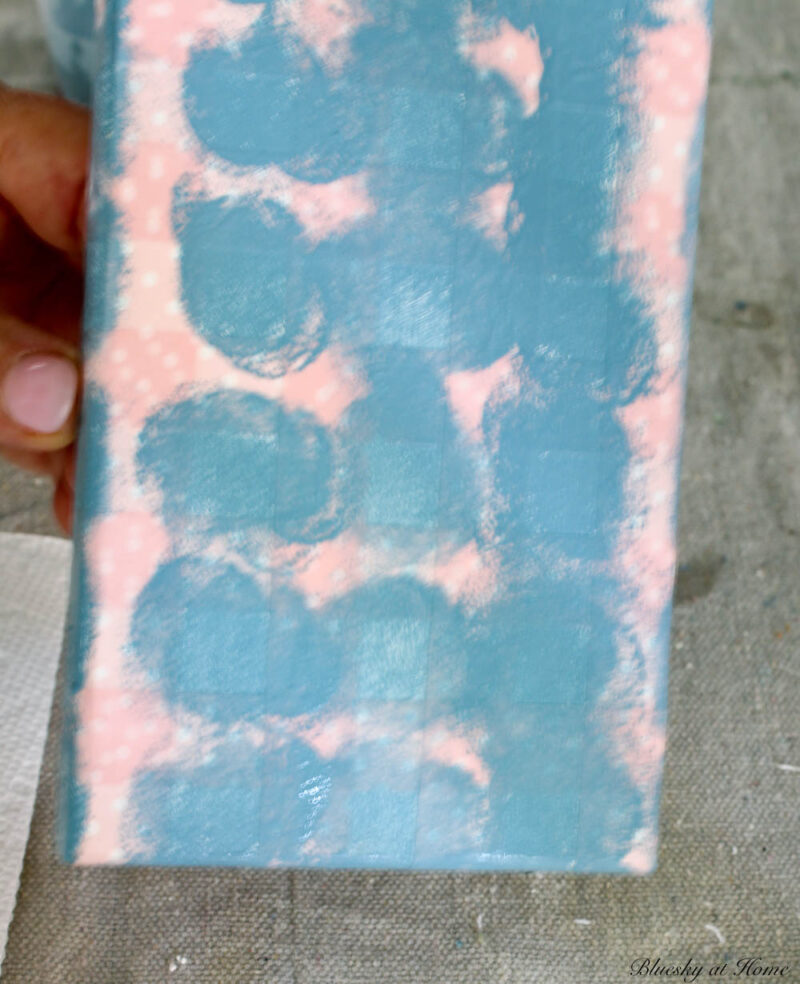
Allow the first coat of paint to dry. Now, remove the tape.
Place new tape on top of the painted squares on the top of the box and the sides.
Paint as before and allow to dry.
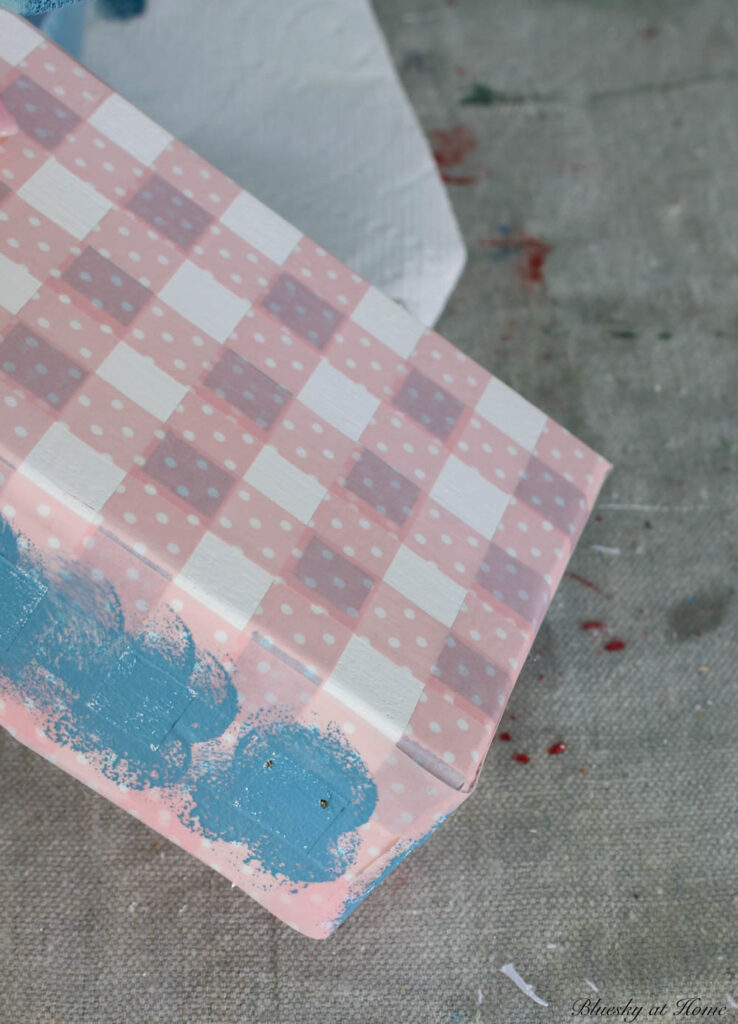
Once I had painted the lid of the box, I placed it on top of the box. Line up the top and bottom of the box. This will ensure that your painted squares are aligned on the top and bottom of the box.
Proceed with the tape, painting and moving the tape as you did on the lid of the box.
I didn’t put the check pattern on the bottom of the box.
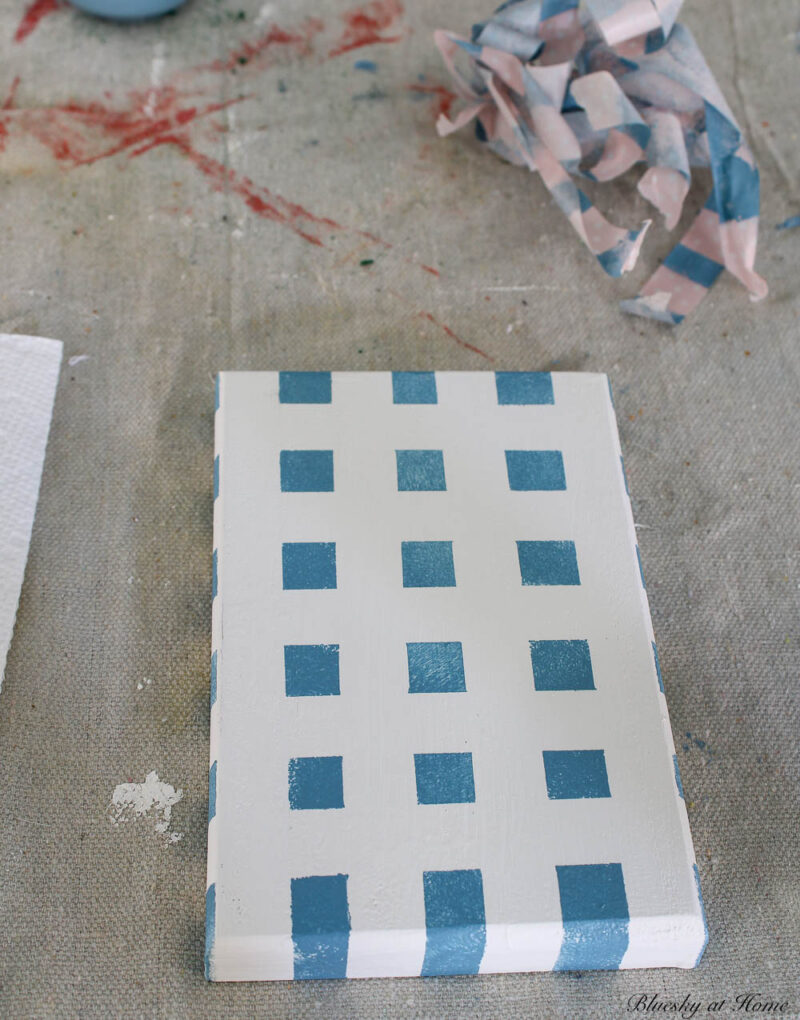
Once you have finished painting all your squares, remove all the washi tape and allow the box to dry thoroughly.
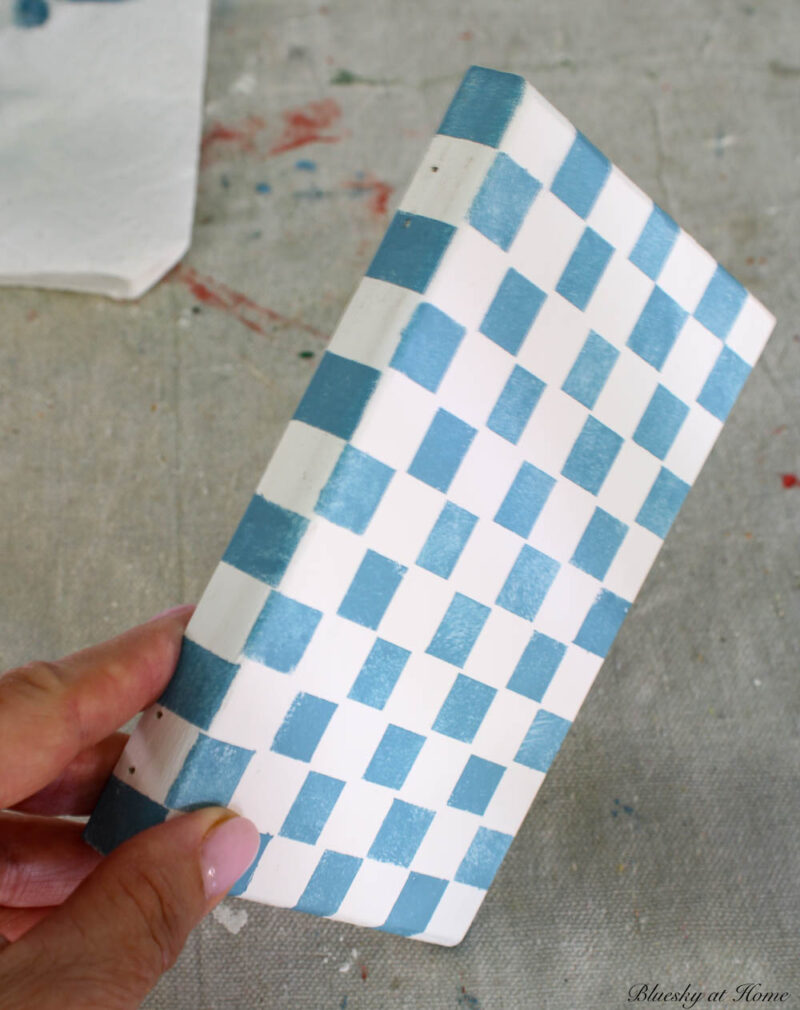
You’ve finished the hard part of decorating your box.
I wasn’t trying for perfection in my painted squares, but I was pleasantly surprised how well the pattern turned out. There were only a couple of corrections I made with a very small brush and some white paint.

Step 5 – Sealing Your Decorative Box
Once you are happy with the design of your box, you can seal it with a clear coat of varnish, wax or acrylic sealer. This will protect the paint and any other decorations you have added.
I used Mind Your Own Beeswax from Amy Howard at Home. It’s a squeezable wax with the consistency of softened butter. It is easy to apply with a rag. It hardens to a durable, satin finish.
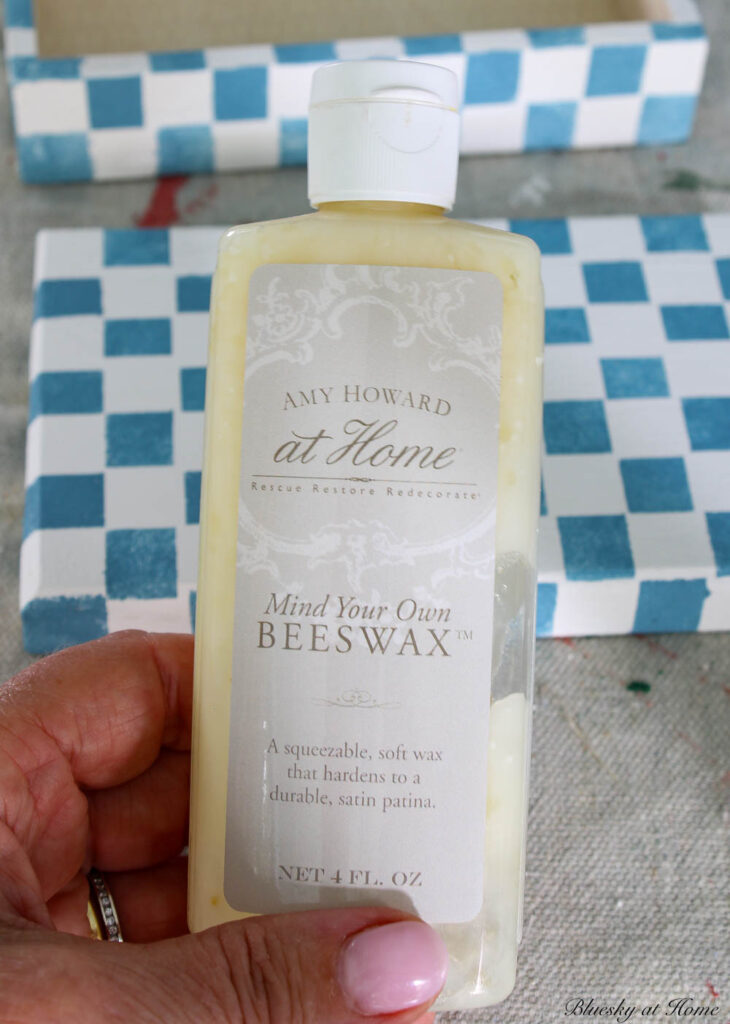
For my wood box, I squeezed a little Minding Your Own Beeswax on a small area of a clean rag and rubbed it all over the box.
Then I let it dry for about an hour and buffed it with another part of the clean rag.
Step 6 – Decorate the Wood Box on the Inside
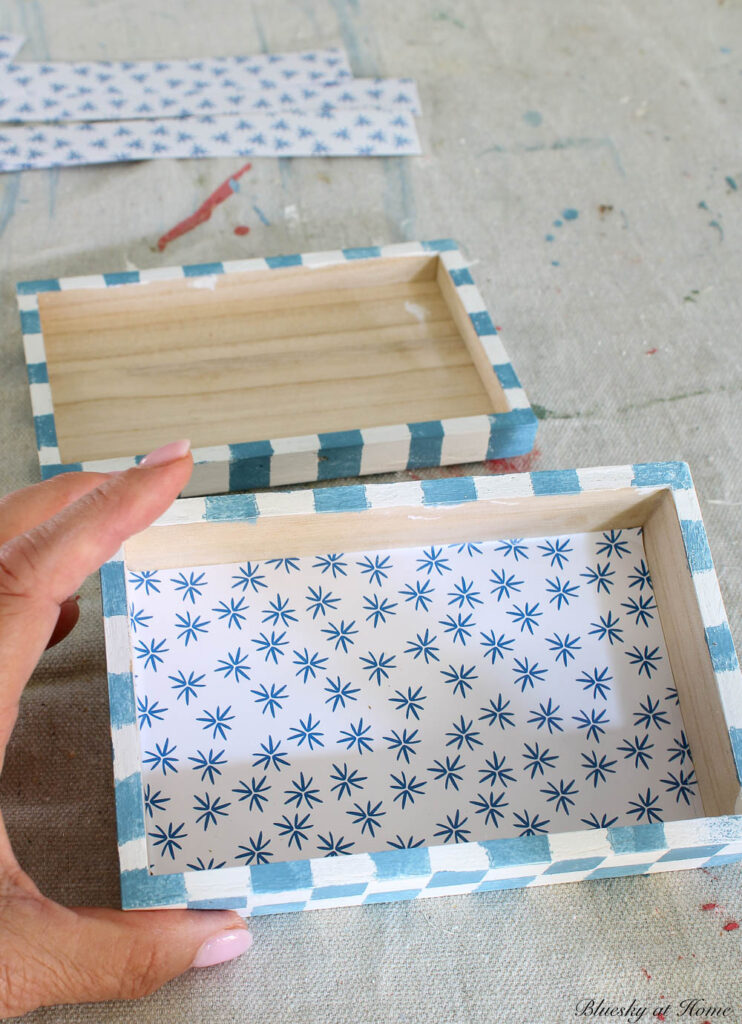
I could have painted the inside of the box, but I decided to give it a decorative look, too.
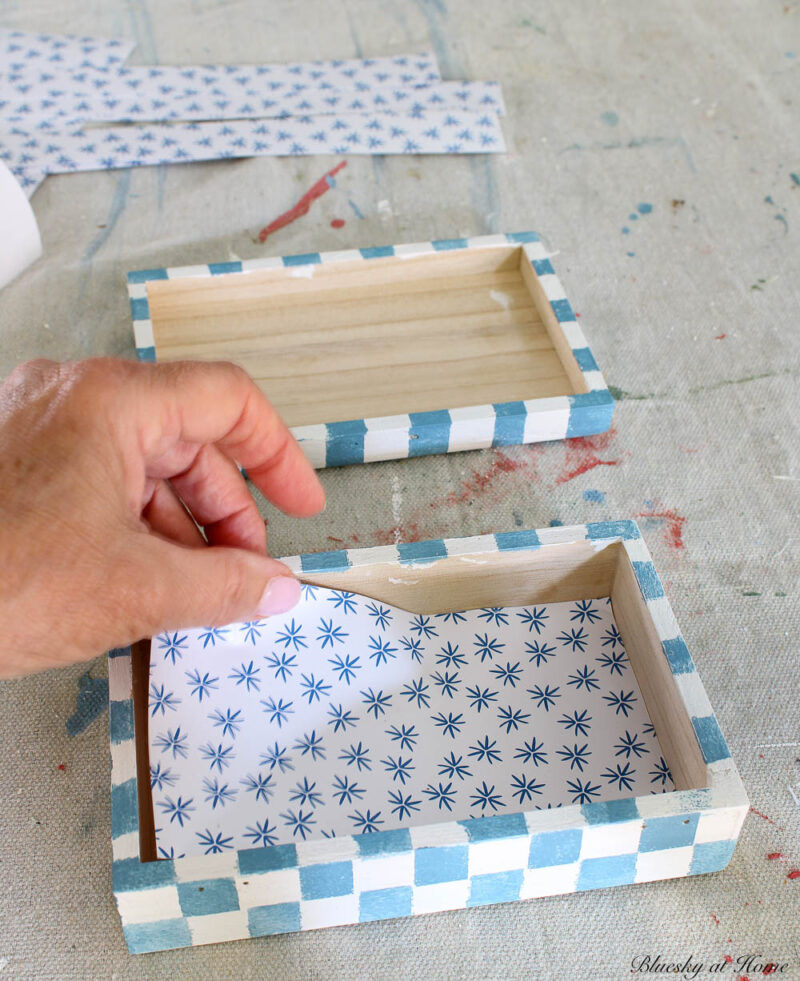
I had a sheet of Cricut removable vinyl in a pretty blue and white pattern. Why not use it to line the inside of the box?
I measured the inside dimensions of the top and bottom of the box. Then I used my paper cutter to cut the pieces.
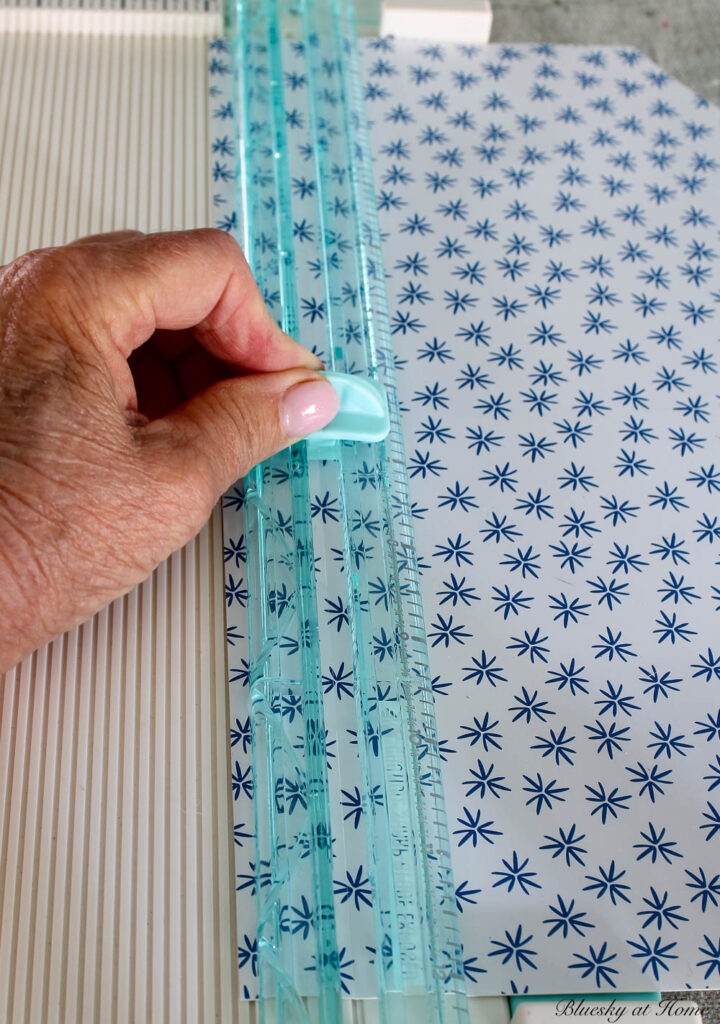
Then it was easy to peel back the sticky backing and lay the vinyl into the box.
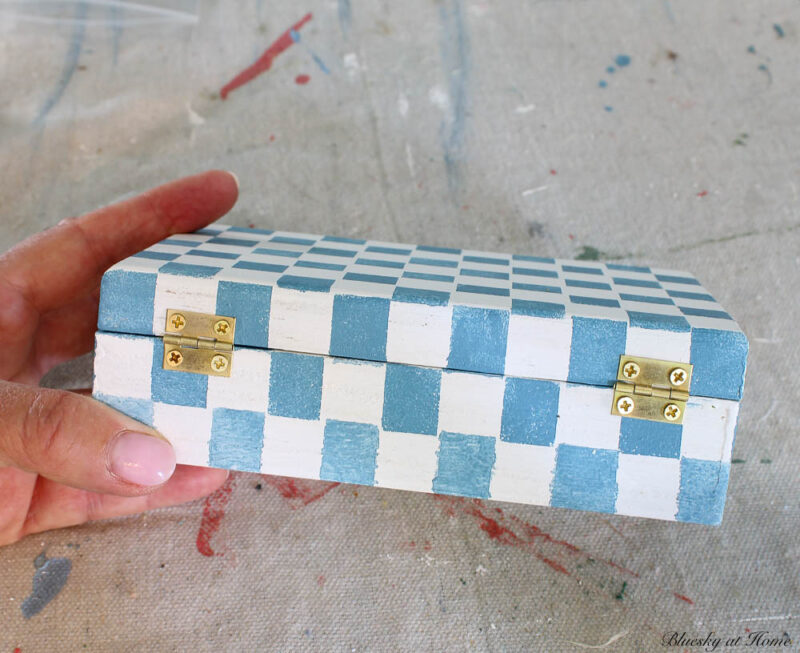
Step 7 – Finishing Step
The last step of this fun project is to screw back the hinges and clasp. I did the hinges first.
To be honest, screwing those little bitty screws back in the box was the most tedious part of the project.
I’m left-handed, but I found it was easier to hold the screwdriver shaft with my left hand and turn the handle with my right hand.
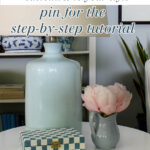
My decorative wood box was finished. I love how it turned out.
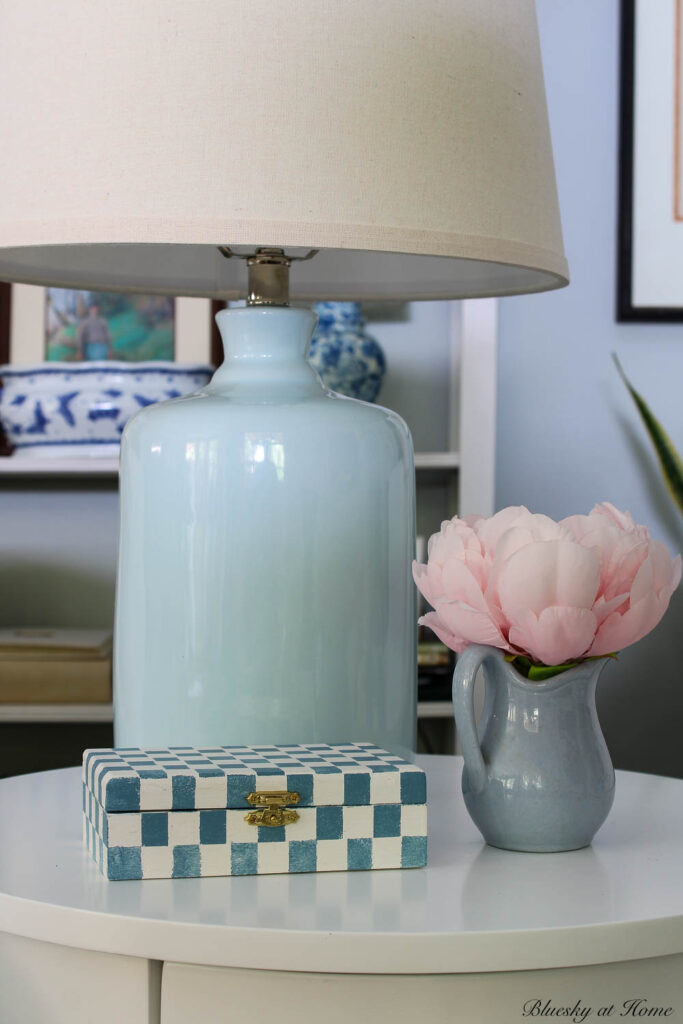
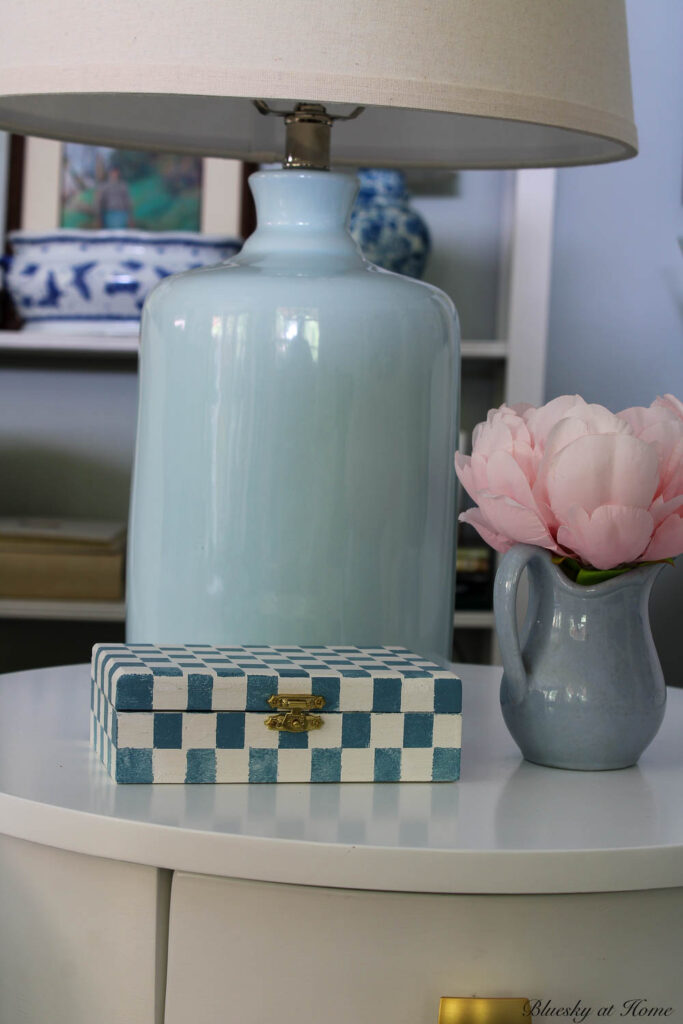
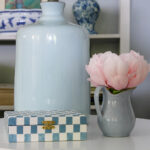
Final Step – Display Your Decorated Box
Finally, I can place my DIY decorative box on our new table – which I also customized with paint. I’ll share that project soon.
The lamp with the blue base (a favorite I bought a couple of years ago) already sits on the table. The only other item I added is a small blue flea market pitcher with a small faux peony.
I loved this easy little project so much, I want to decorate more wood boxes. Next time I may stencil or decoupage the wood boxes.
Would you like to make one of these decorative wood boxes for your own home decor? You can customize it and use it to your own style and needs.
More DIY Projects with Boxes

I hope that you will PIN this project for future projects. Let me know what you think of the little decorative box and whether you make one of your own.


Carol, that box turned out so darn cute!
Thanks so much, Stacey. It’s one of my favorite little DIY paint projects. It sits on an side table and adds a great accent.
That turned out so cute, Carol!!