How to Make the Cutest, Glittery Gift Boxes
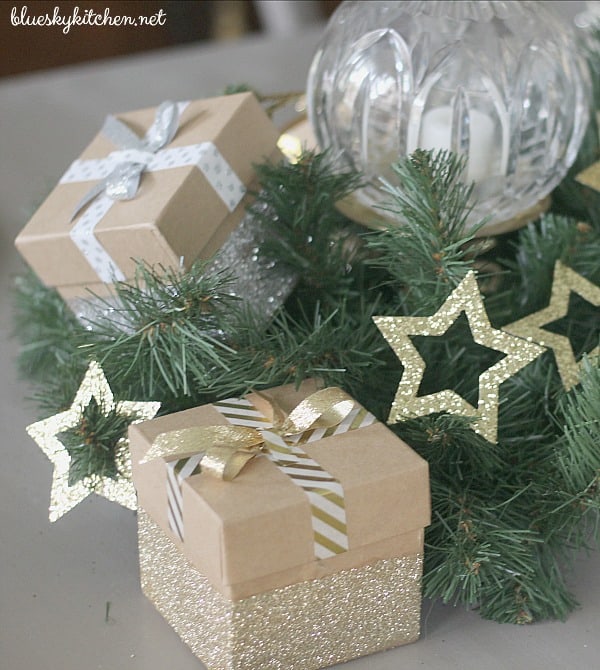
Welcome to Monday. We are totally immersed in the holidays with Christmas music everywhere, busy shopping (both on foot and with our fingers doing the shopping), decorating is done (well, for most of us!), and entertaining has begun. Last week I shared how our home is decorated for the holidays. If you missed the tour, you can catch Our Shiny, Light-Filled, Silver and Gold Santa~Inspired Holiday Home and How Our Holiday Home Sparkles and Shines for Christmas. You may remember from the Holiday Tablescape Blog Hop a couple of weeks ago, I featured the glittery gift boxes I placed at each place setting. I promised then that I would share how I made them. So get ready to see how to make the cutest, glittery gift boxes.
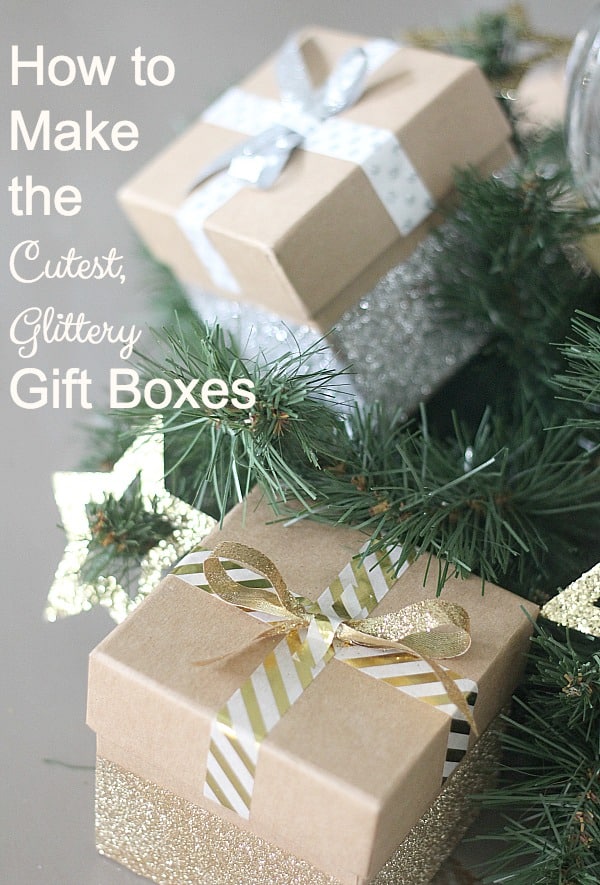
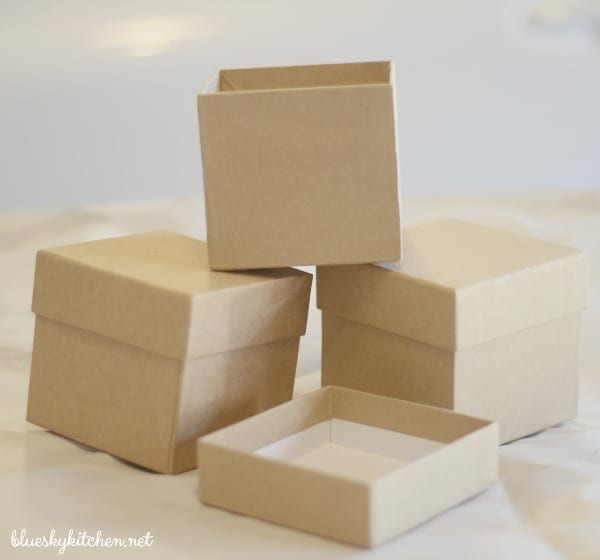
The inspiration for the gift boxes came from ones I saw before Thanksgiving at one of my favorite local design stores. They were about $16 each, much more than I wanted to spend. I immediately knew how I would use them and that I could make them myself. I loved the simplicity of the plain, brown boxes. Remember the line from “My Favorite Things” from the Sound of Music”? “Brown paper packages tied up with string?” I’ve always loved that image. First step was to find the boxes. One my next trip to Michael’s, I found the perfect ones, but they only had 3; I went to another Michael’s and they had 4. I needed at least 8. After Thanksgiving, I returned to the first Michael’s and found 3 more, so now I have 11. 8 to work with and 3 to spare.
I knew that I wanted a gold and silver color scheme for our holiday table. Fortunately, I already had both silver and gold glitter. I also had several rolls of gold patterned washi tape. I did buy 2 silver patterned rolls. I bought a new can of spray adhesive, and a roll each of skinny gold and silver ribbon.
This post contains affiliate links to products that I love, use and recommend. If you order any product through this site, I may receive a small compensation. You don’t pay one penny more!
Supply List
8 Kraft mini~boxes
glitter in desired colors
washi tape in desired colors/patterns
ribbon in desired colors
spray adhesive
Duck Tape
wax paper
How to Make the Cutest, Glittery Gift Boxes
Let’s get started.
I set up my adjustable work table (I love this table because it has 3 different height adjustments, is light~weight and folds for storage and travel) in the garage. I set my HomeRight Tablestop Spray Shelter on top. I have say again, I don’t know how I survived spray painting and DIY projects before my Spray Shelter.)
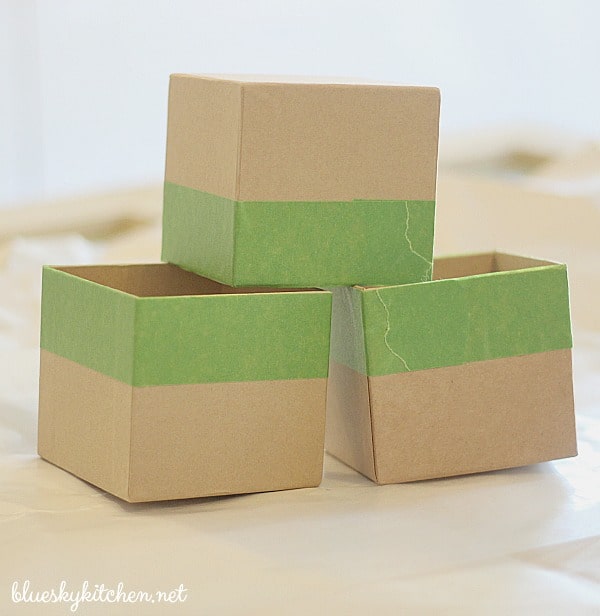
I wanted the glitter to cover about 2/3 of the bottom of the box, so I taped off the top 1/3.
I put a large piece of wax paper underneath the boxes and sprayed the un~taped portion of the box with glitter.
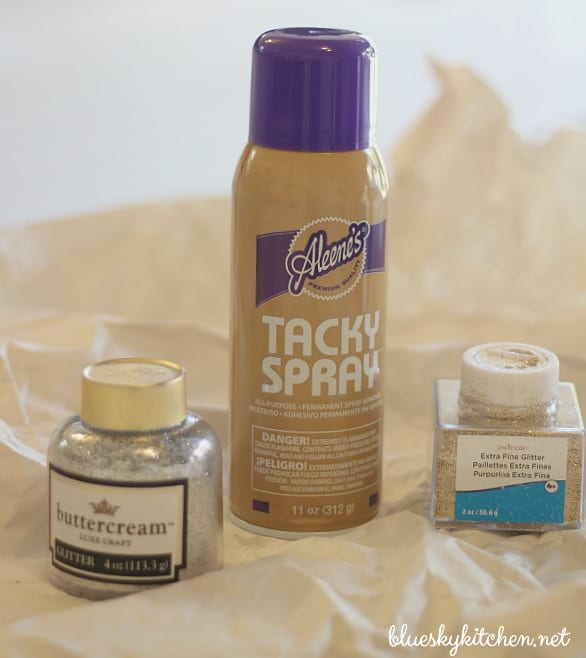
Then sprinkle the sprayed part with your glitter. Cover the box with a pretty heavy coat of glitter, then shake the excess off onto the wax paper. Set aside and repeat with the remaining boxes.
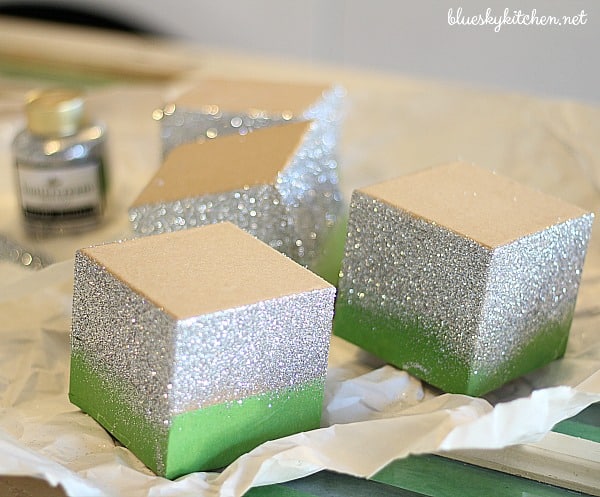
By the time I sprayed all the boxes, the first ones with dry and no glitter fell off. Then carefully remove the Duck Tape.
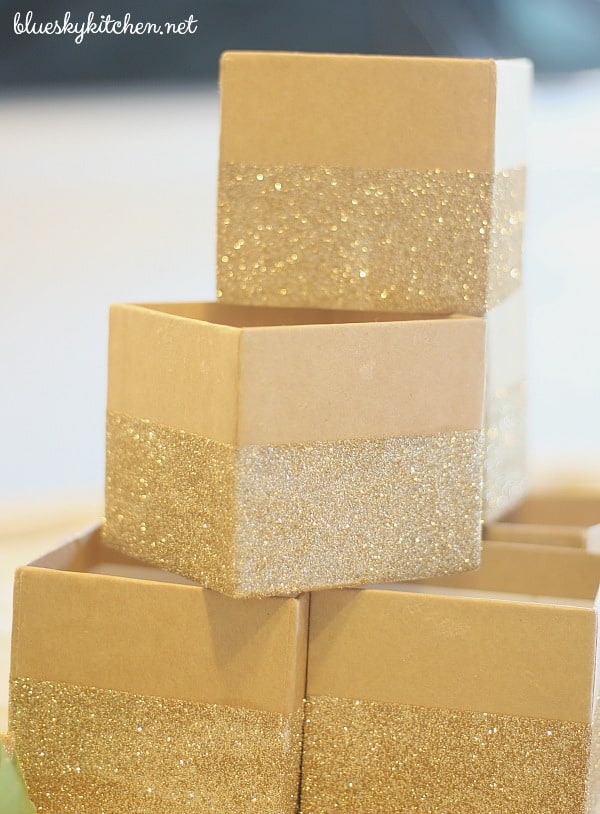
For the lids, I used silver and gold washi tape to create a semblance of a wrapped present. I love using the washi tape because it sticks.
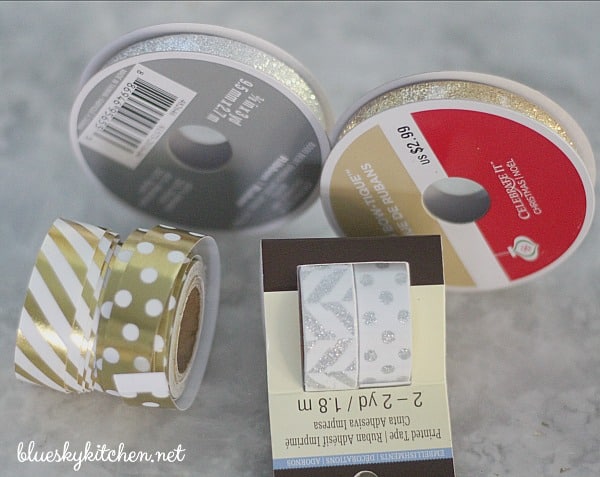
I only taped the lids, but you could certainly wrap the entire box with ribbon.
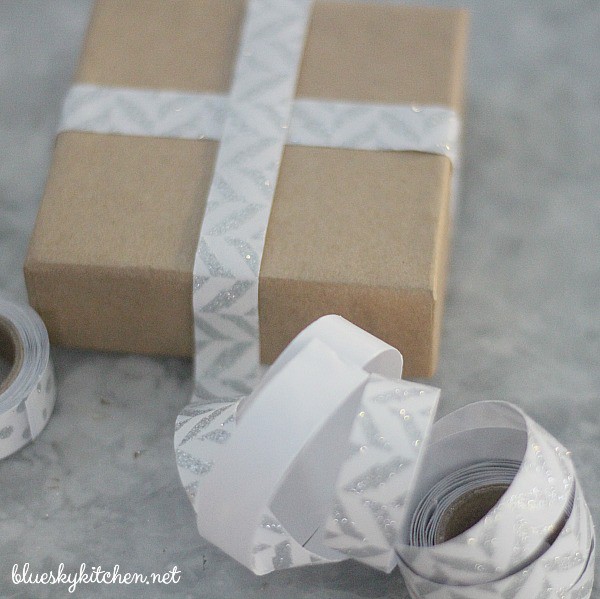
Lastly, I made a small bow and taped it to the lid with a small strip of washi tape.
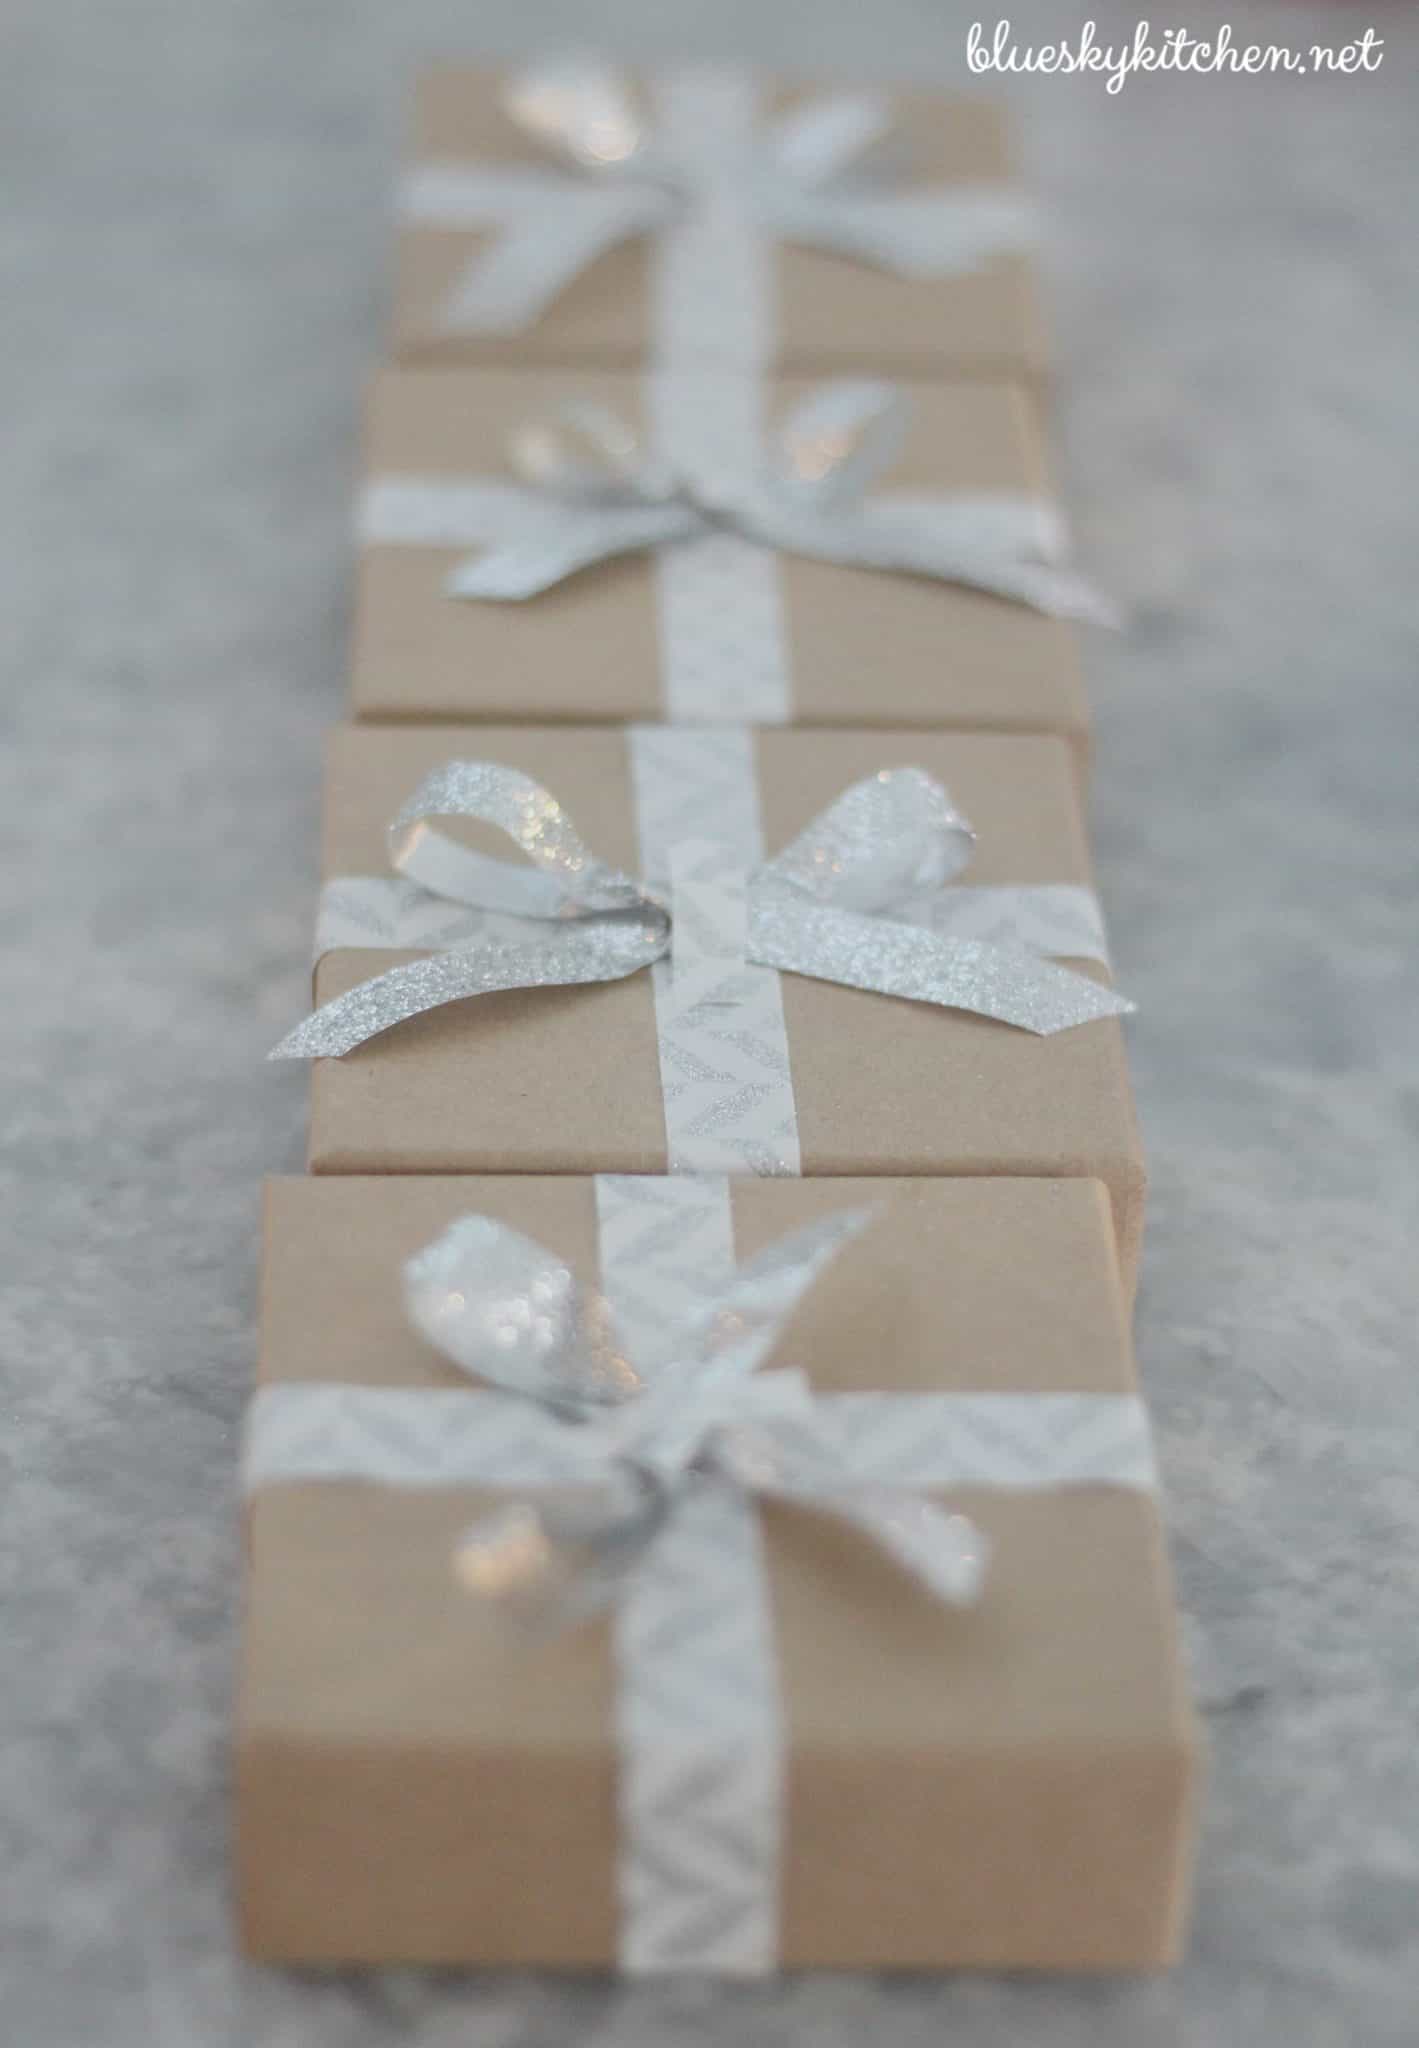
Put the lids on the boxes and you are ready to place your boxes as part of your holiday decorations or fill them with your gift. For my holiday tablescape, I placed one of each place setting. They really were the little extra that made the table extra special.
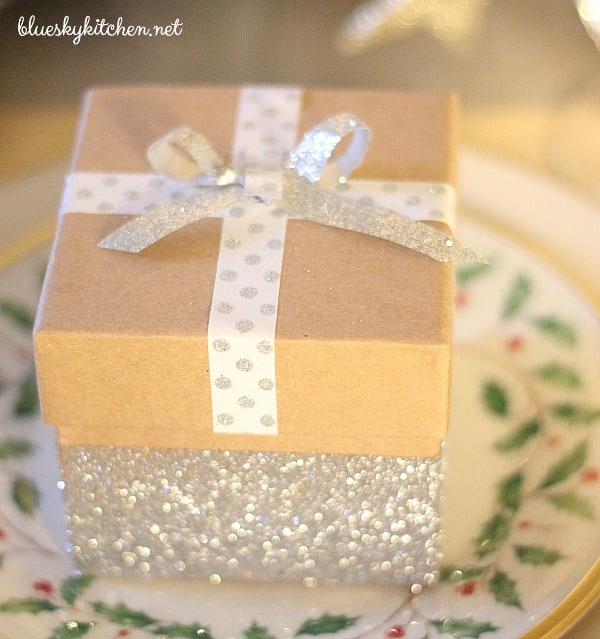
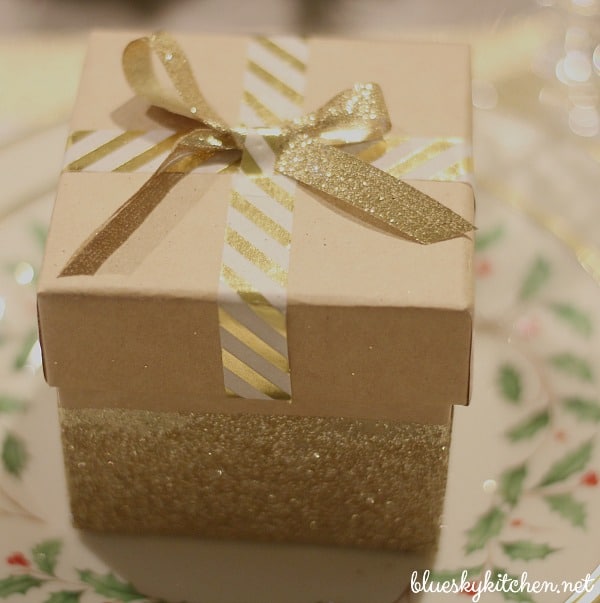
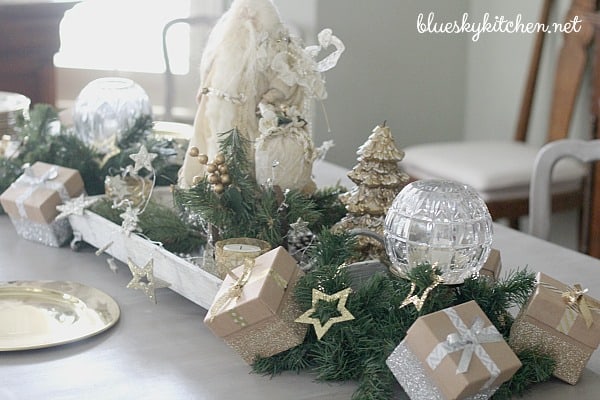
For the holiday party we hosted on Saturday I had to remove the place settings as we were serving a buffet. I placed 4 gift boxes, 2 gold and 2 silver, around the garland wreaths at each end of the centerpiece.
Kraft Mini~Boxes $1.49 each
Gold and Silver Washi Tape $10.49
Gold and Silver Skinny Ribbon $3.00 ~ $4.00
Tacky Spray Adhesive $8.99
*Gold and Silver Glitter $4.99 each
*Duck Tape
*already had on hand
Since I have ribbon, washi tape, Duck tape, spray adhesive, and glitter left for future projects, I’m estimating that each box costs about $2.00 ~$2.25
That was it. One of my favorite DIY projects ever. I love the sparkle and whimsy of these little boxes so much that I may not use them for gifts, but keep them for decorations. But they would be perfect to hold 1 large cupcake, muffin, mini~bundt cake or whatever your little gift~giving heart desires. I hope you liked learning how to make the cutest, glittery gift boxes. Since several larger sizes are available, I might make some really big ones for next year. I’m already thinking about Valentine’s Day. How does red and pink sound?
What’s up next at Bluesky Kitchen? A fabulous showhouse in Atlanta decorated for Christmas.
Friday’s The Bulletin will feature a new “Sweet Shark can’t quit eating these; they are so good” party~perfect chocolate truffle. Be sure to sign~up to receive the recipe in your inbox.



These are so pretty, and so easy to make, Lovely!
Marsan, I’m so glad you like this project. Thanks for visiting Bluesky Kitchen.
I absolutely love this idea!! The boxes are stunning! Thank you so much for sharing at The Crafty Corner link party.
Antonella, I’m so glad you like this little project. Coming from you that’s high praise.
Thank you for joining the Holidays Celebration Link Party. Pinned!
Teresa, thank you for hosting. I enjoyed the party.
What a lovely idea! I love the extra bling!
Mary, thanks for your comment. Bling is always good!
They are just amazing, thank you for sharing! If you can, come and join the Holidays Celebration Link Party (http://keepingitrreal.blogspot.com.es/2016/12/holidays-celebration-link-party-3.html) and bring all your holidays posts!
Have a wonderful weekend!
Teresa, happy to come to your party. Glad you liked the glitter boxes. They’re one of my favorite Christmas projects.
Featured! (http://keepingitrreal.blogspot.com.es/2016/12/holidays-celebration-link-party-3-the-features.html)
Thank you again for joining the party, and happy holidays!
Yippee! Thank you so much.
I love these boxes, Carol! I can imagine decorating with them but also putting a sweet little gift in them. Great job!
Thanks Stacey, they were fun to make.
These are so pretty – does the glitter fall off easily? I’d love to try this!
Hi Patti. No, the glitter stays on very well, I think. There is a little bit on my dining room table, but nothing that I can’t brush off in my hand. I used very fine glitter, so that may have helped. Thanks for dropping by Bluesky Kitchen
Love this idea and the outcome looks professional. If I don’t get around to doing it for Christmas, then I will do them for Valentines.
Jennifer, Valentines would be a great time to make these boxes for girlfriend gifts. I can see red and pink glitter with pretty bows!