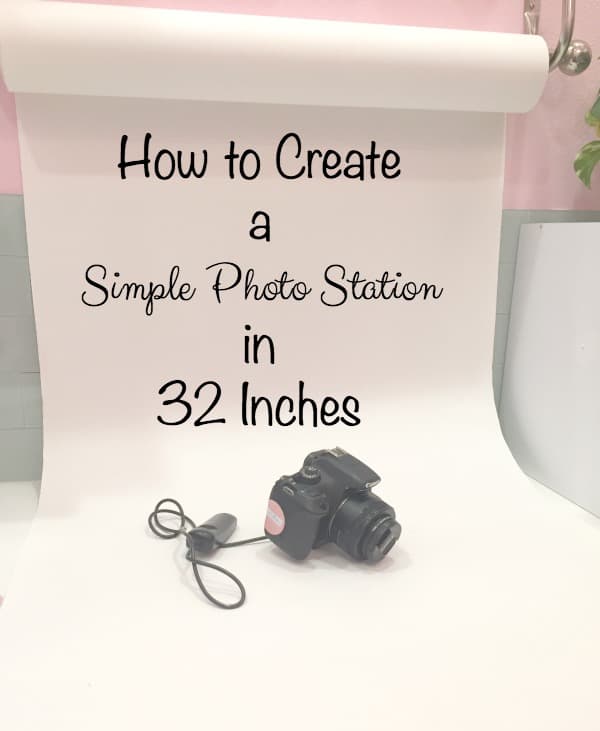
How to Create a Simple Photo Station in 32 Inches
This is the first post that I’ve ever written just for bloggers so I’m excited to share it. We all know how important beautiful photos are for our blogs, Instagram, and Pinterest. If you have an etsy shop, it’s super important to take great product shots. I’ve been in photography learning mode for a year since I bought my first DSLR camera ~ yippee, I switched to manual mode 2 months ago. As bloggers, we take photos of our homes, our DIY projects, our food,whatever it is that we are writing about in a post. Having the right lighting, interesting props, and the proper lens are just a few things that contribute to a lovely, special photo. Most of the time, we may be shooting photos on our coffee tables, our kitchen tables or wedged in between doors to get the best possible angle and the subject completely in our photo. But many times, we need to focus just on the subject with no background “interference”. We need a place that is dedicated to just taking photos that doesn’t have to go away so the family can eat dinner on the kitchen table. How to do that? Create a photo station. I was finally able to do that when I had my own office. It’s too wonderful not to share so I’m going to show you how to create a simple photo station in 32 inches.
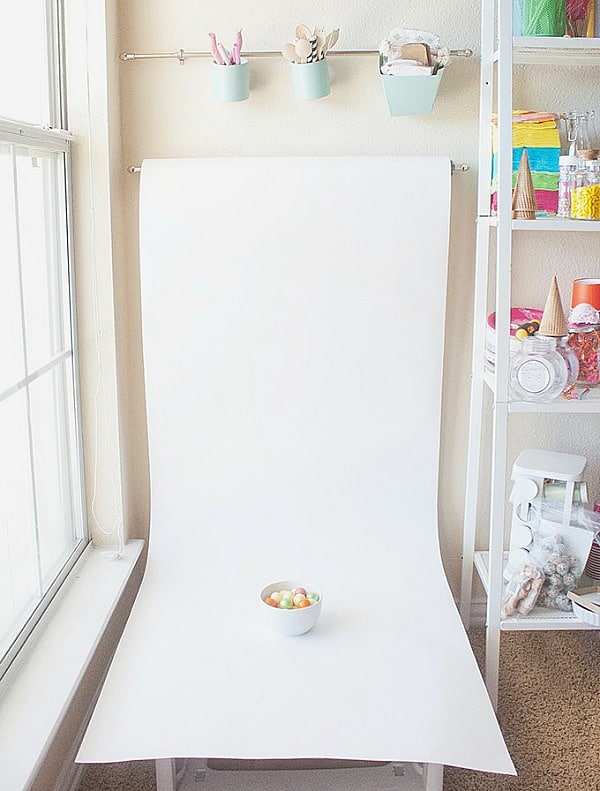
The idea for my photo station came from Melissa at Design. Eat. Repeat. When I saw her idea for creating a photo station several months ago, I immediately Pinned it and put it on the proverbial mental back-burner. I knew that I couldn’t duplicate her set~up. Her wall space and ample floor space allowed Melissa to place a table in front of the window as her photo table. I didn’t have an office at the time and I knew that if (became a when) I did get an office that it wouldn’t have the space she had or the window she had.
This post contains affiliate links to products that I use and highly recommend. If you order any product from this site, I may receive a small compensation, but you don’t pay one penny more.
When we were almost through with the office and I was outfitting it will shelves, bookcases and other organizational supplies, I knew I could focus on a place that would work as a photo station. I didn’t have much space. My counter is almost 26 inches deep which was fine. It was the width on the counter that I had to deal with. It would all start with the photo paper. Just like Melissa, I ordered the Savage Seamless Background Paper on Amazon. The length of the roll of paper is 26 inches (there are 53~inch and 12~inch rolls, so that was the minimum amount of space I would need. Just FYI, the roll is 12 yards long so it will last you a long time. The paper is bright white which is perfect for using as a backdrop for your photography.
After I installed my Aspect Backsplash, I could focus on constructing the photo station. My office countertop is L~shaped. The photo station would go on the “office” side of my L~shaped counter ~ that’s the shorter side at 74 inches. The other leg of the L, which I refer to as my “craft” station, is 84 inches. Between the edge of my 3 shelves on the left side of the wall and the file cube on the right side of my countertop, I had 29 inches ~ just enough for the roll of photo paper.

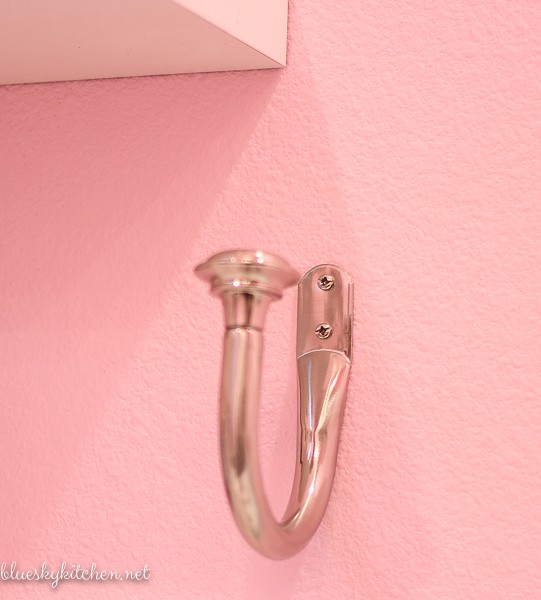
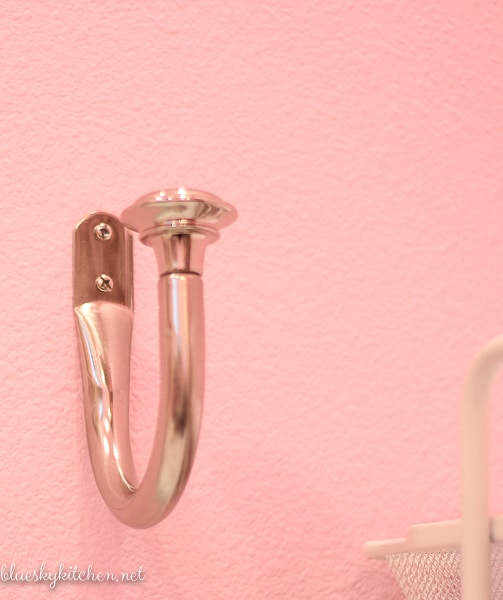
Now to hanging the roll. You have to have a rod for the roll to hang on which is no problem. The trick here is that the roll of 12 yards is thick ~ about 3+ inches. Any support for your rod has to be deep enough for the roll of paper to fit between the wall and the hanger and easily be pulled down for use. Does that make sense? Melissa said she found a rod at Target but didn’t mention the type of holder for the rod. I did find a rod at Target that was adjustable, but I couldn’t find the right type of hanger ~ until I saw these curtain “tie~backs”. The metal finished matched the rod and they they were almost 4 inches wide. I thought they would work and they did!
I measured the width of the paper roll (26 inches) + 1 1/2 inches of clearance on each side and screwed in the drapery holdbacks 29 inches apart.
Next all I had to do was place the rod inside the paper roll and set it on the rod holders (drapery holdbacks). The width of the rod was 32 inches from end to end.
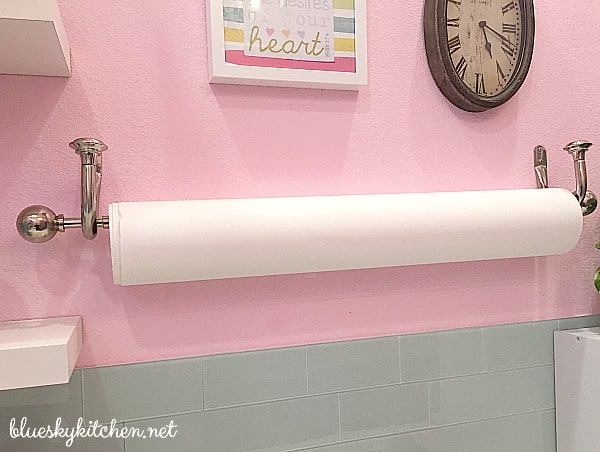
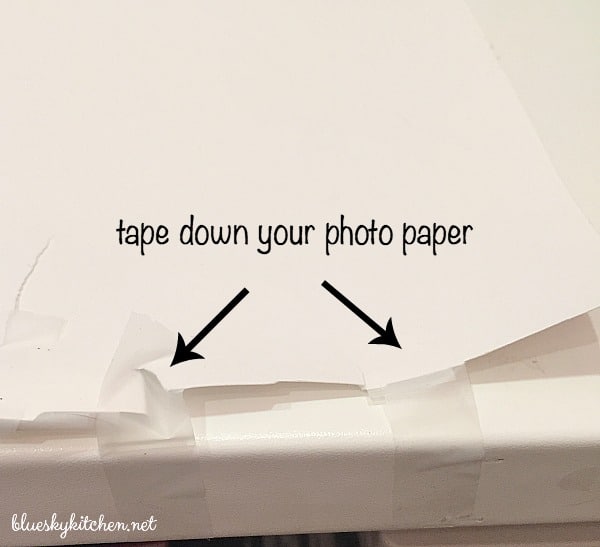
When I use the photo paper for a photo shoot, I just pull it down to the edge of the counter and use scotch tape to hold it down to the counter. I
Here’s how my set up looks for a photo session.
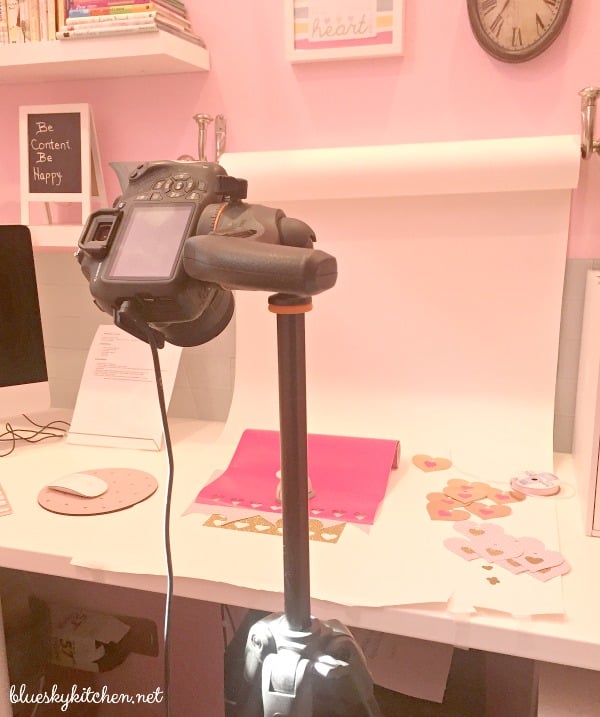
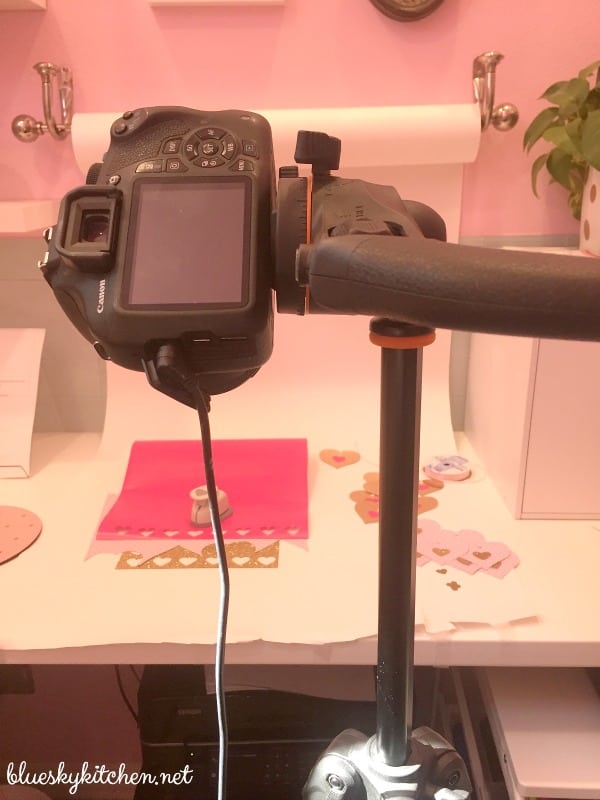
It’s now so easy to get a nice, clean, white backdrop for my photos. No lines of poster board. When I’m not taking photos, I just roll the paper back up. Now you see it, now you don’t. Easy come, easy go. I have clipped wrapping paper to the photo paper for a backdrop, like here.
Figuring out how to create a simple photo station in 32 inches was so easy. I think it took me less than 30 minutes to install it. And it didn’t cost much at all.
Savage Photo Paper Roll ~ $13.99
Drapery Rod ~ $ 13.79
Drapery Hold backs ~ $10.99
Total Cost of Photo Station ~ $37.77
I’d say that’s very reasonable for a space I use almost every day, has given me just the perfect spot for taking photos and will be of use for years to come. I’m betting that the roll of photo paper lasts for a very long time. I haven’t had to cut off any smudged or dirty spots yet. The natural light from my office widow is great on a sunny day and the 3 LED can lights provide clear white light.
Thanks to Melissa at Design.Eat.Repeat. for the inspiration.
Now it’s your turn to share where your photo station is. #photostation
Have a great weekend. Don’t forget that tomorrow on The Bulletin I’m sharing 2 brunch recipes from my Valentine’s Brunch for my girlfriends.
Places where I have linked up this week:
Amaze Me Monday Celebrate Your Story Happiness is Homemade Home Matters Linky Party Home Sweet Home Inspiration Gallery Inspiration Monday Made by Your Monday Monday Social Moonlight and Mason Jars Pin Junkie Pin Party Pin Worthy Projects Show and Share Talk of the Town The Creative Circle The Scoop Think Tank Thursday This is How We Roll Tutorial Tuesday Valentines Day Vintage Charm Wine’d Wednesday Wonderful Wednesday Blog Hop



Carol, I’ve been meaning to stop here and tell you l love your background idea!
Well, thanks. It’s made taking designated shots for crafts/DIY projects so much easier.
What a great idea! And I LOVE the pink wall and gray tile!
Thank you Liz. I appreciate you visiting Bluesky Kitchen and your comment.
What a great idea! I struggle with images and definitely don’t have a photo station. Thanks to your post I’m inspired to make one. Thank you for sharing with us at #OvertheMoon Link party. I’ve pinned and shared.
Sue, that’s great. I love that the photo station can be an inspiration.
Nice easy photography nook.
Kathleen
Yes, it is. One of my favorite parts of my office.
You created such a clean and pretty photo station for an inexpensive price! I love that it was all under $50 and that it looks like it will last you such a long time. Thanks for the step by step tutorial, Carol I can’t wait to try it myself for my food photos! =]
Danielle | FollowMyGut.com <3
Danielle, thanks so much and I hope the post was helpful. I’m trying to calculate my cost per usage for the photo station. Obviously the more I use it, the cost goes done. I’m aiming for less than a penny per use.
This is a perfect little practical set up. I am going to pin and share this. Well done!
Leanna, I’m so glad you liked it. Thanks for sharing. I really appreciate it.
This is such a great idea, Carol. I’m going to add this to my new house wish list.
You are so lucky that you can plan ahead for a photo station. You must be having a blast working on the house.