How to Make the Best Red Velvet Cake
We are another week closer to Valentine’s Day. In keeping with the Valentine’s week theme, let me ask you: What do you give your Valentine on this special day? Flowers? Chocolate? A card? I bake a cake. A Red Velvet Cake to be exact. And not just any Red Velvet Cake, but the Best Red Velvet Cake.
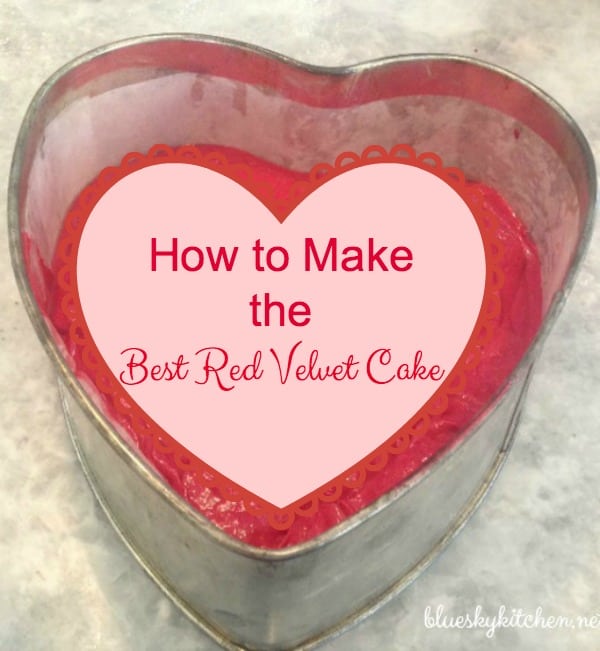 Red Velvet Cake is Sweet Shark’s favorite and I try to make him one every year for Valentine’s Day. He’s not surprised anymore, but he loves my little “act of kindness”. Over the years, I’ve used different recipes, even combining recipes because most Red Velvet Cake recipes are very similar. I’ve come up with this one and we think it’s awesome. Rich and moist, full of chocolate flavor with a bit of tang. All red velvet cakes have dark cocoa in the batter as well as some acid added, either vinegar or buttermilk or both. And, of course, red food coloring. Otherwise, the procedure follows a standard cake baking technique; that’s why this Best Red Velvet Cake is a great cake for novice bakers as well as experts. Usually, the frosting is a cream cheese one. Ready to bake? I’m going to show you how to make the best red velvet cake.
How to Make the Best Red Velvet Cake
This post contains links to products that I love, use and recommend. If you should purchase any product from this site, I may receive compensation, but you will not pay one penny more.
Cake Making Procedure
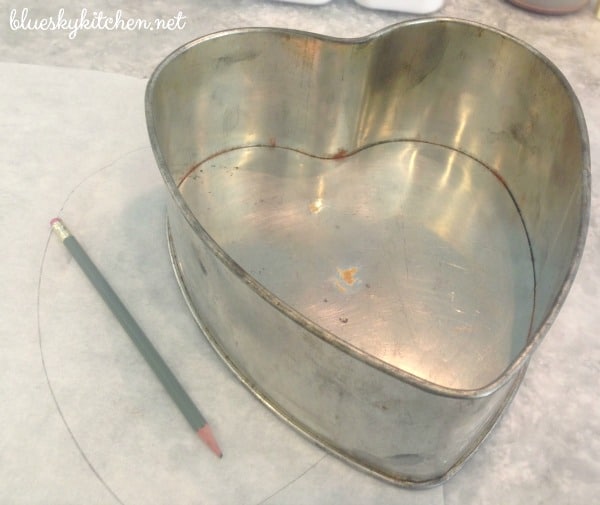
Making this cake is special because I use my mom’s heart-shaped cake pan. Here is a heart~shaped cake pan that’s available. I use a pencil to trace a heart on parchment paper.
TIP: Whatever size or shape pan you use, cut inside your pencil line to fit the pan. Then cut 2-inch strips to go around the pan.
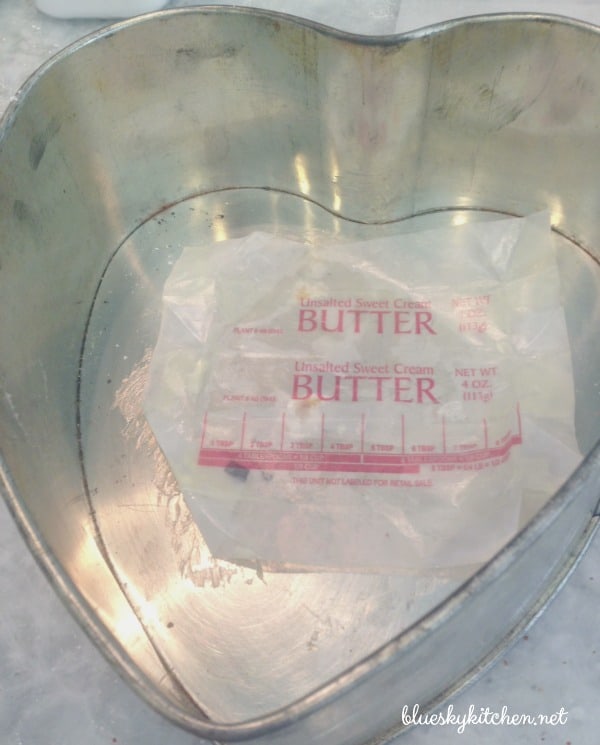
Grease the bottom and sides of your pan. Lay your parchment paper inside and then spray with cooking spray on top of the parchment paper. This makes removing the cake easy.
TIP: I save butter wrappers. Fold them in fourths, place in a ziplock and keep in the freezer. When you need to grease a cake pan, let the wrappers come to room temperature and use to grease the bottom and sides of your pan.
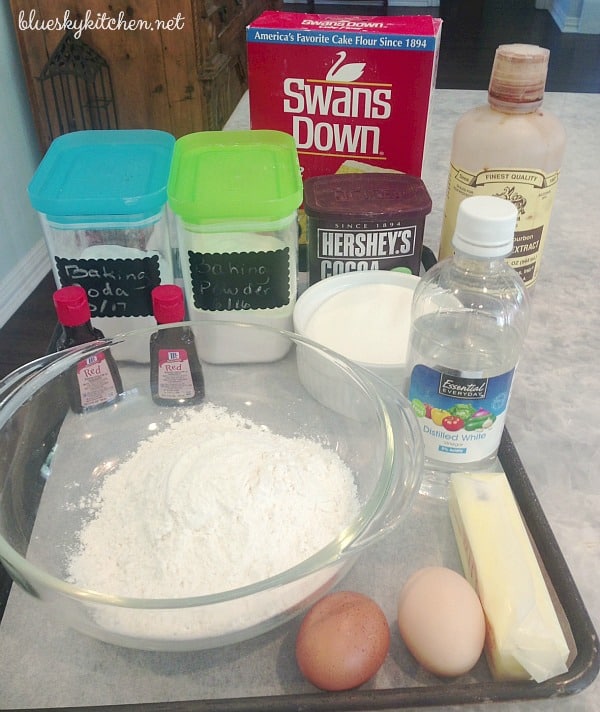
My mise en place for the cake. The only thing missing is the buttermilk which is still in the fridge.
TIP: I keep my baking soda and baking powder in air-tight containers ~ so much easier to measure out than out of the boxes and you can see how much you have.
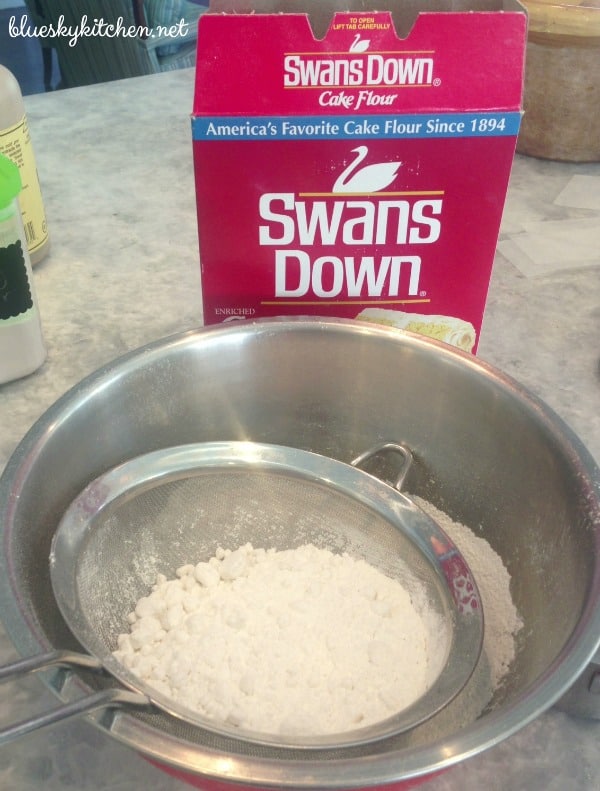
Sift your flour before measuring using a fine mesh sieve or your favorite sifter. Notice that this recipe uses cake flour and I always use Swan’s Down. It makes for a lighter crumb.
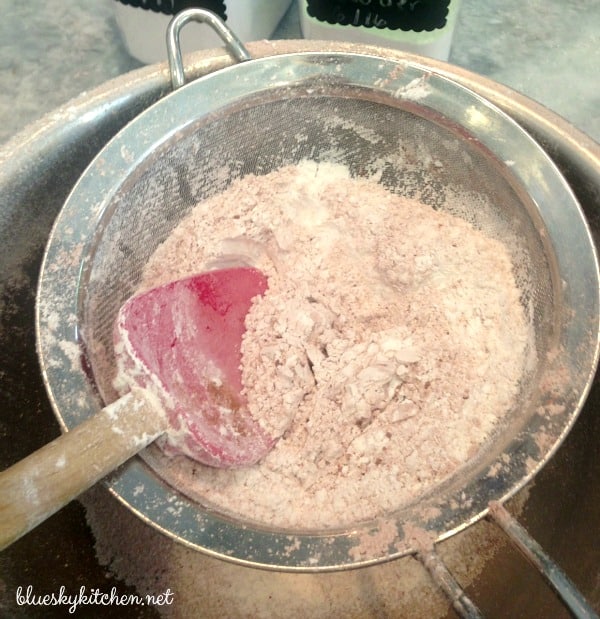
After adding the cocoa, baking soda, baking powder, and salt, you will need to sift all the dry ingredients together with the flour.
TIP: You can use a flour sifter (my favorite is the OXO with the plastic covers top and bottom) or a fine mesh sieve for sifting your flour. Sifting makes your cake light and airy.
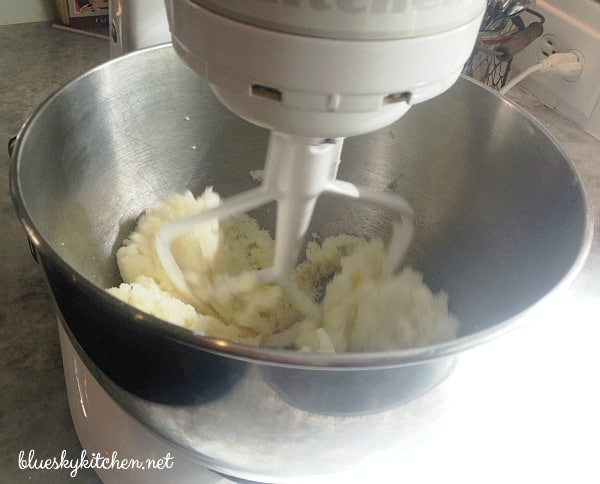
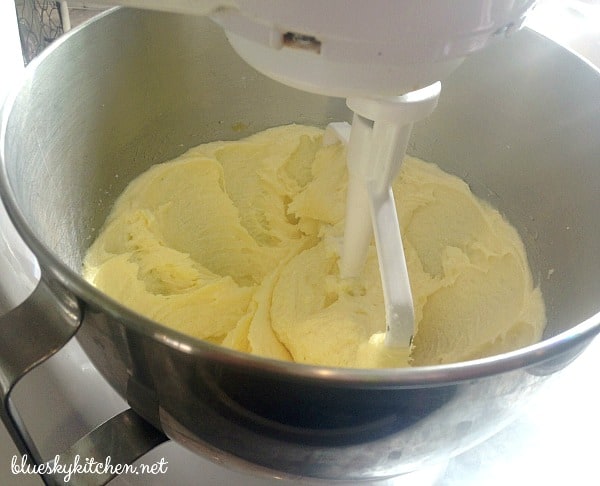
Standard cake making technique: cream your softened butter and sugar until smooth and blended.
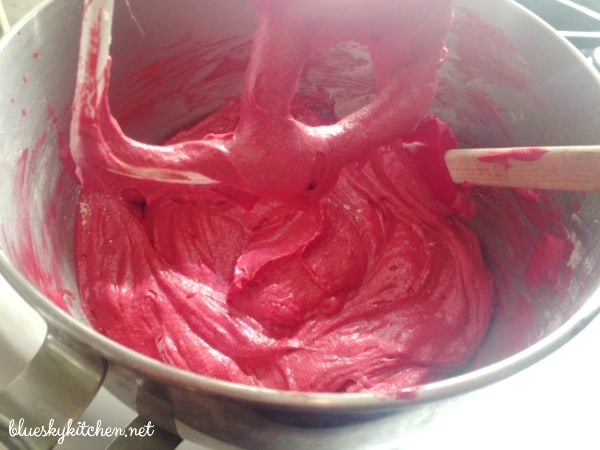
Next step is to add your eggs – in this case two – one at a time. This is when the batter gets a creamy consistency.
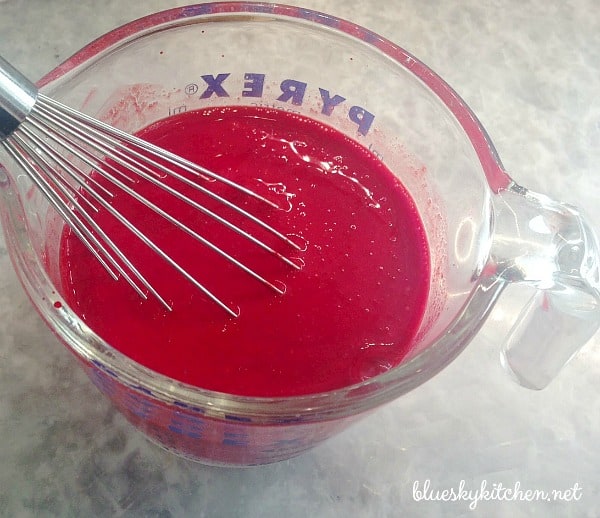
Whisk the wet ingredients – the buttermilk, vinegar, vanilla extract, and red food coloring to combine. I like to use a measuring cup which makes it easy to add to the mixing bowl. You can also set your measuring cup on a paper towel or wax paper so that the red food coloring doesn’t get on your counter.
Add the dry and wet ingredients: dry, wet, dry, wet, dry.
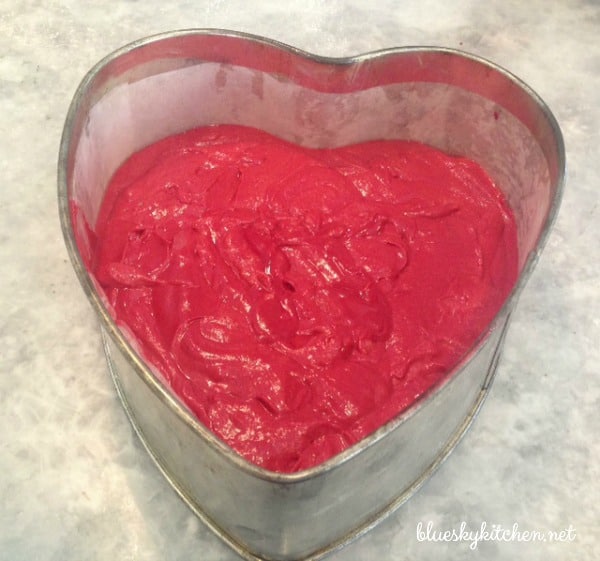
Pour the batter into the prepared pan. The original recipe calls for two 9″ round pans baking for 27 minutes. Since I put all the batter in one pan, I increased the baking time to 40 minutes. Check the cake for doneness by sticking a toothpick or wooden skewer in the center. It should come out with just a few crumbs on it.
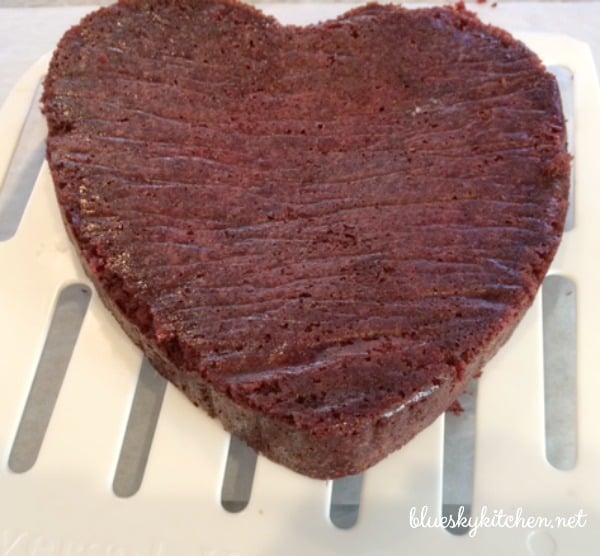
After the cake cools in the pan, carefully remove it from the pan and peel off the parchment paper. Using a serrated knife, cut the cake in half horizontally. Brush away any crumbs with a pastry brush.
Icing the Cake
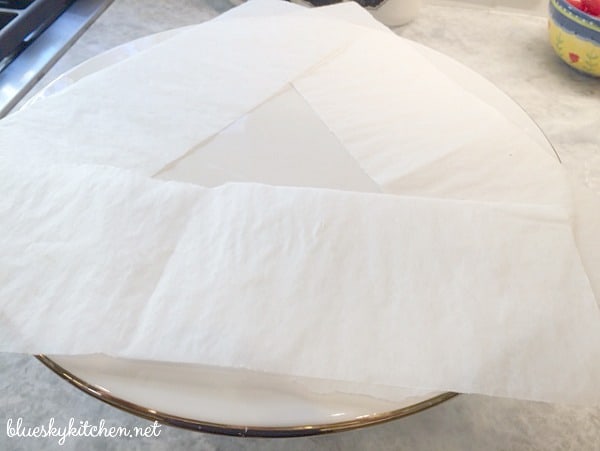
On your cake stand or platter, place three strips of parchment paper. This will make the cake much easier to ice and keep your cake stand cleaner.
A large cake mover makes moving the cake layers to the cake plate really easy. Place one cake layer on your cake stand, cut side down.
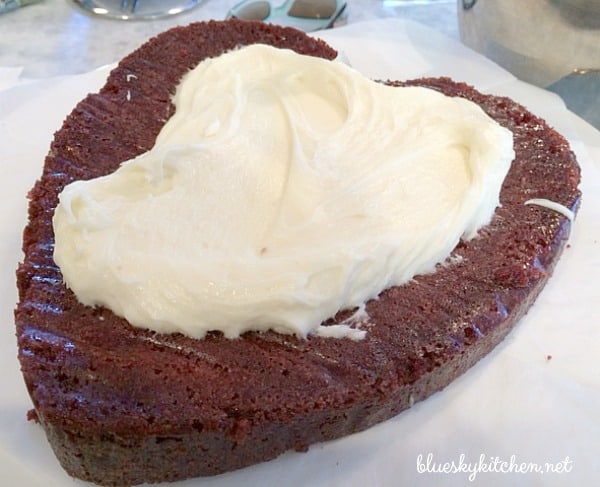
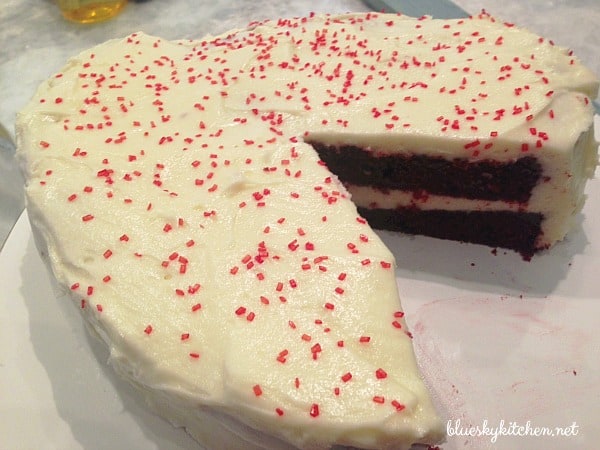
Make your icing and add 1/2 to the first cake layer. Smooth the icing to almost the edge of the cake with a cake spreader. The weight of the second layer will spread the icing to the edge. Place the second layer on top. Add the remaining icing to the top of the second layer. Spread the icing smoothly across the top and down the sides.
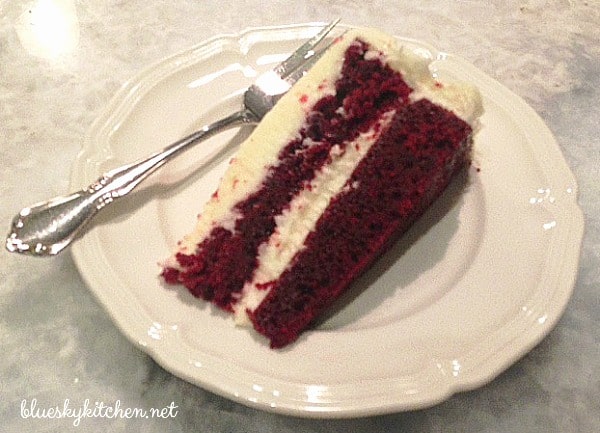
After icing the cake, I added red sprinkles to give the cake a little sparkle. Sweet Shark couldn’t wait to have a slice.
This best red velvet cake is so moist and will last for a few days, covered at room temperature. If you need to keep it longer, place it in an airtight container in the refrigerator. Refrigeration can dry out baked goods, so do this as last resort.
You can use this same recipe to make about 3 dozen cupcakes or 1 sheet cake (18 x 12-inch pan).




This looks really good. I’m in the mood for cake now….but it’s to early for that, lol. I appreciate the tip about keeping old butter wrappers and greasing the parchment paper. I’m not an experienced cook so I really appreciate little tips like that. Thanks!
Renee, thanks for visiting Bluesky Kitchen. I thing I’m always in the mood for cake! I’ve been saving butter wrappers for ages. Sometimes I have a dozen in the freezer. Let the wrapper sit out until it’s soft and you can wipe the butter in your pan. When you set the butter out to soften and then remove the wrapper, you get more butter on the wrapper for future greasing.