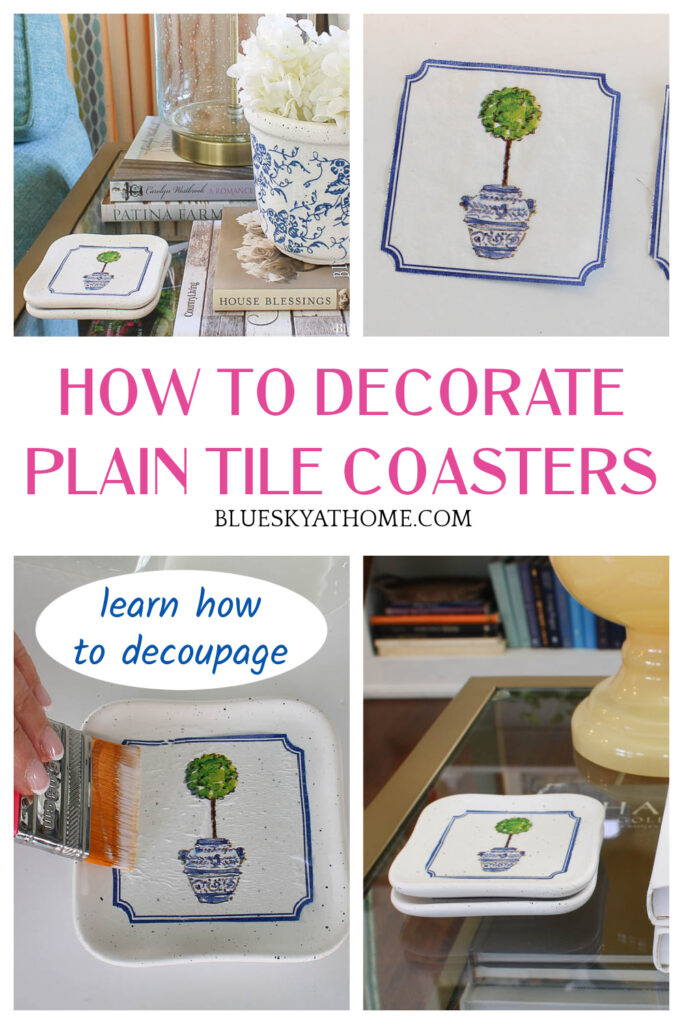
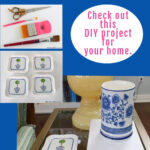
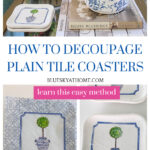
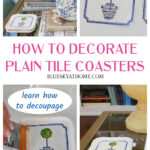
How to Decorate Plain Ceramic Tile Coasters
Do you know how to decorate plain ceramic tile coasters? This easy DIY project shows you how to decorate plain tile coasters into another pretty design element for your home.
When is a plain ceramic tile more than a plain ceramic tile?
When you dress it up. pain tiles or coasters can be dressed up with materials that add color, pattern and style to your decor.
You can paint a ceramic tile. You can stencil a ceramic tile. Or you can decorate a ceramic tile with a design from a napkin. It’s a process called decoupage.
I’m going to show you how easy it is to decoupage. A cocktail napkin can be the inspiration for changing a plain tile to a pretty coaster.

DECORATING CERAMIC TILE COASTERS
For me, it was good timing.
First, do you know what decoupage is? Well, let me tell ya.
It’s a process where a type of glue (ModPodge) is used to adhere certain mediums (paper, fabric) to other surfaces.
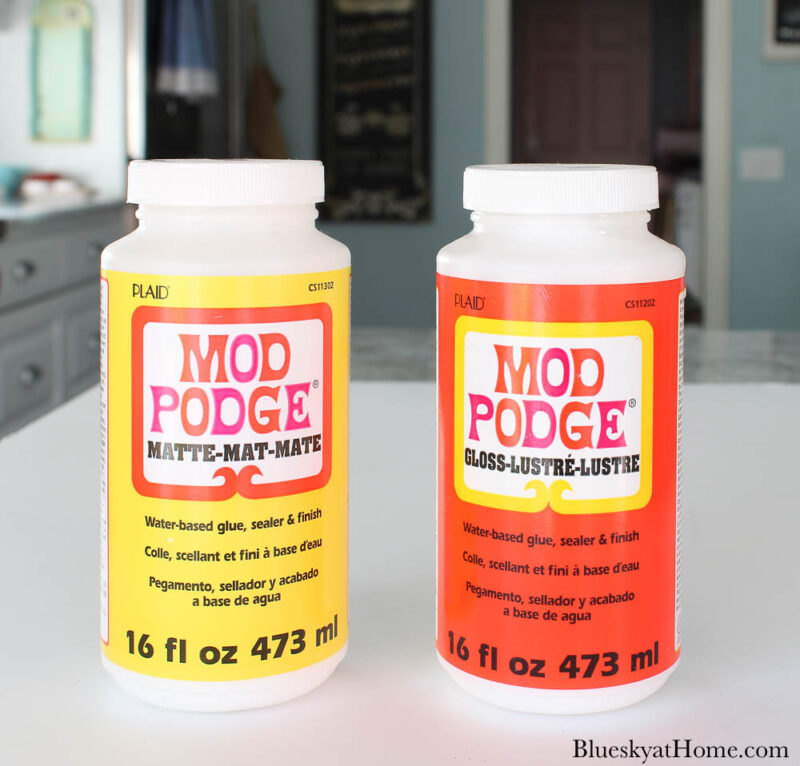
What is Mod Podge? “Mod Podge is a decoupage medium. It is a glue, sealer, and finish designed for craft and art projects. Like acrylic paint, it has a formula with several ingredients.”
And according to those who know, it is not watered-down glue.
Mod Podge comes in several varieties. I have both matte and gloss finishes.
In addition to your choice of Mod Podge, you will also need a few other supplies.
SUPPLIES TO DECORATE PLAIN TILE COASTERS
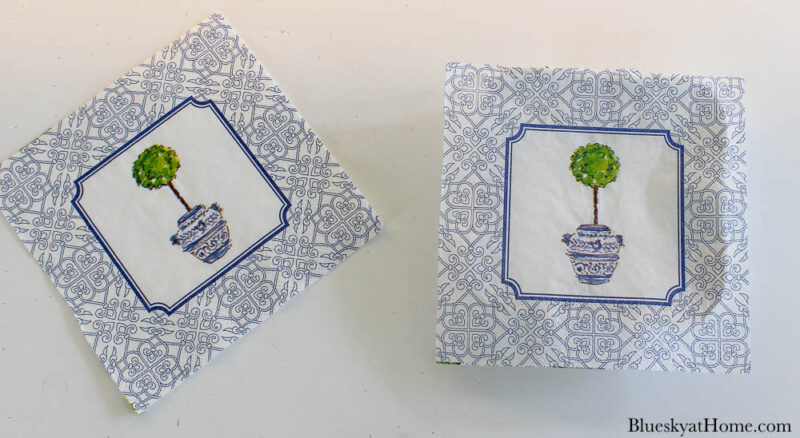
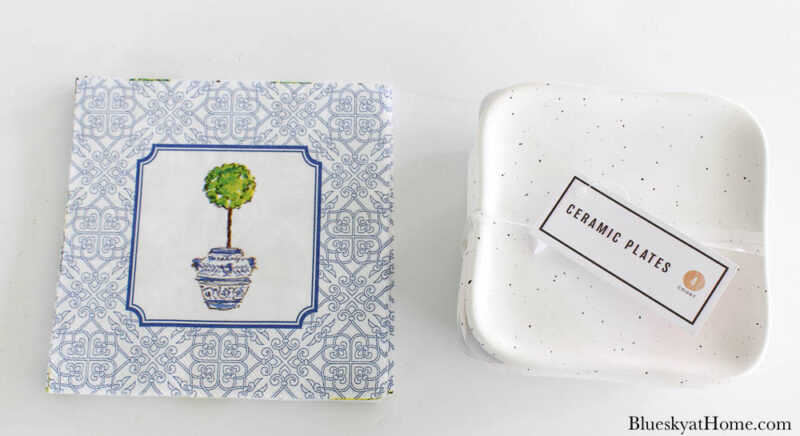
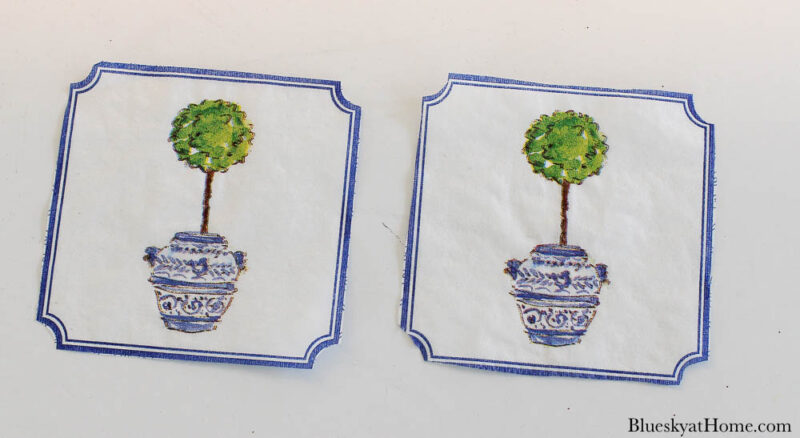
I have had the prettiest cocktail napkins that I love. Isn’t that topiary with the Chinoiserie vase awesome? I can’t resist anything in blue and white.
I’ve used a few of them, but I want to use a couple to decorate some tiles for our living room. I’ve just been waiting for the right time. It is now.
Next, you will need ceramic tiles or ceramic coasters. You can find very cheap inexpensive tiles at Lowe’s, Home Depot, or online in 4-inch or 6-inch squares.
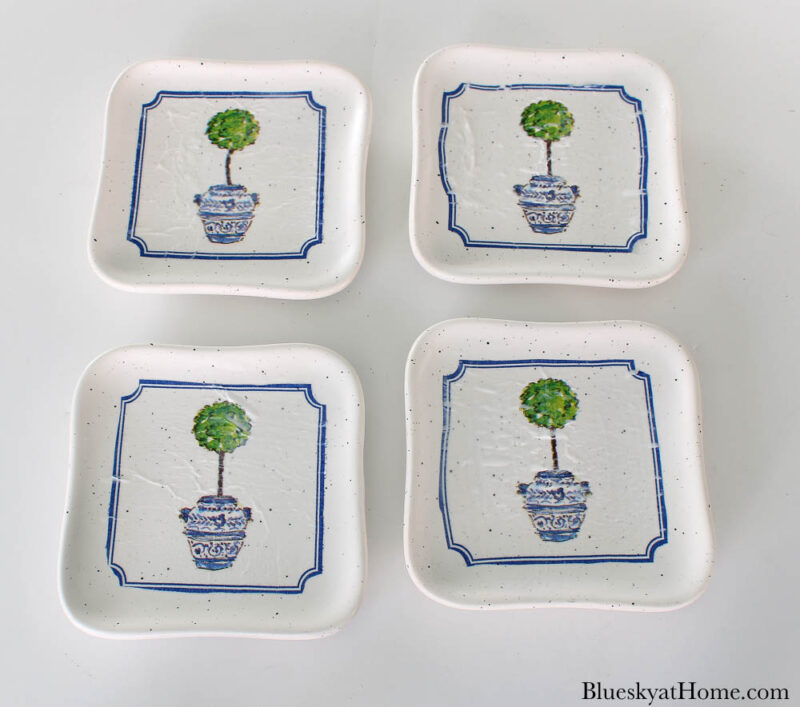
A couple of weeks ago, I found this cute set of four coasters in the Dollar Spot at Target. I couldn’t resist them, could you? Especially at $5.00.
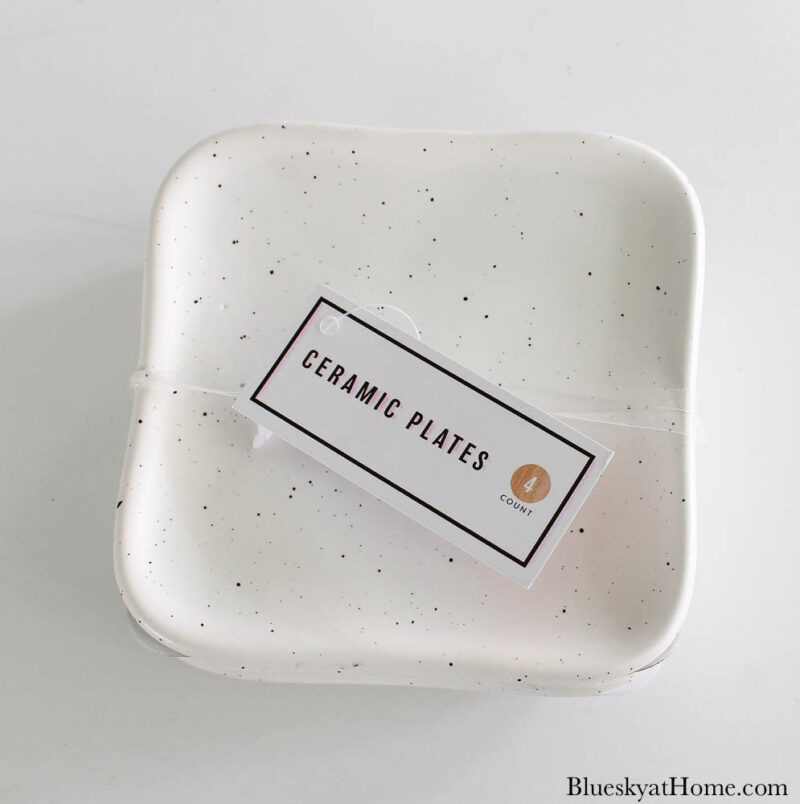
I thought the rounded corners and the little blue flecks were oh, so cute. Definitely perfect for a living room coaster.
I also found these square white tile coasters if you want ones without flecks of blue. If you want round coasters, this package is a good deal.
So, to recap, here are the supplies you need to decorate plain ceramic tile coasters:
- plain white ceramic tiles (4~or 6~inch square or round)
- your napkin design of choice
- Mod Podge in matte or gloss finish
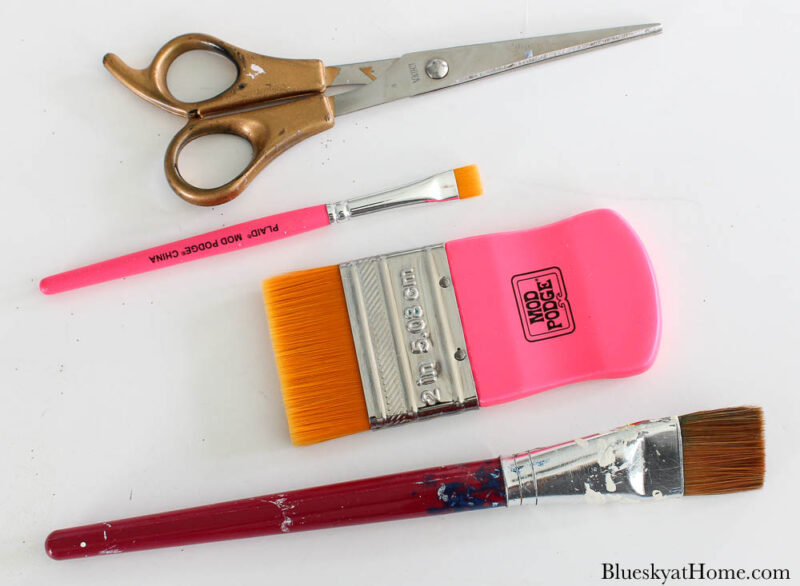
- synthetic paint brush, sponge brush or Mod Podge brush. i love the Mod Podge brushes They make applying the Mod Podfe super easy and they wash up great.
- newspaper or other protective surfaces to work on
- plastic cup for holding water
- plastic container for holding Mod Podge
- scissors


Ready to make decorative tile coasters? Me too.
MAKING DECORATIVE COASTERS
STEP 1 ~ Cover your work surface with newspaper, wax paper or craft paper.
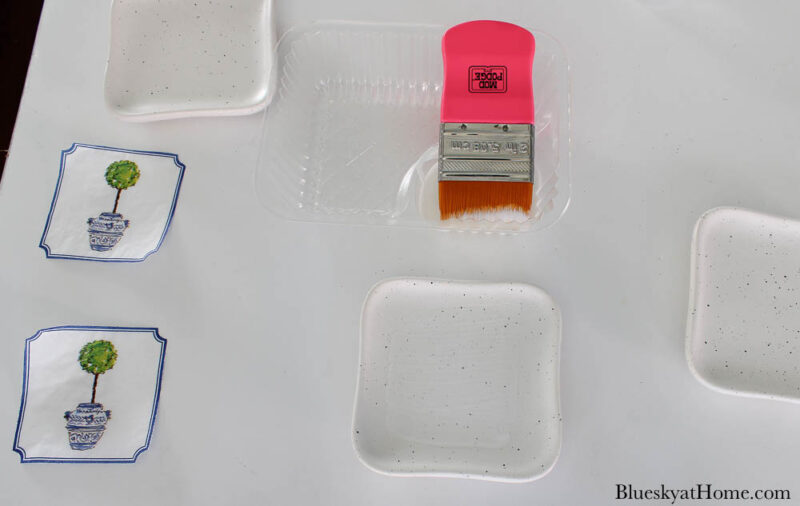
STEP 2 ~ Gather your supplies.
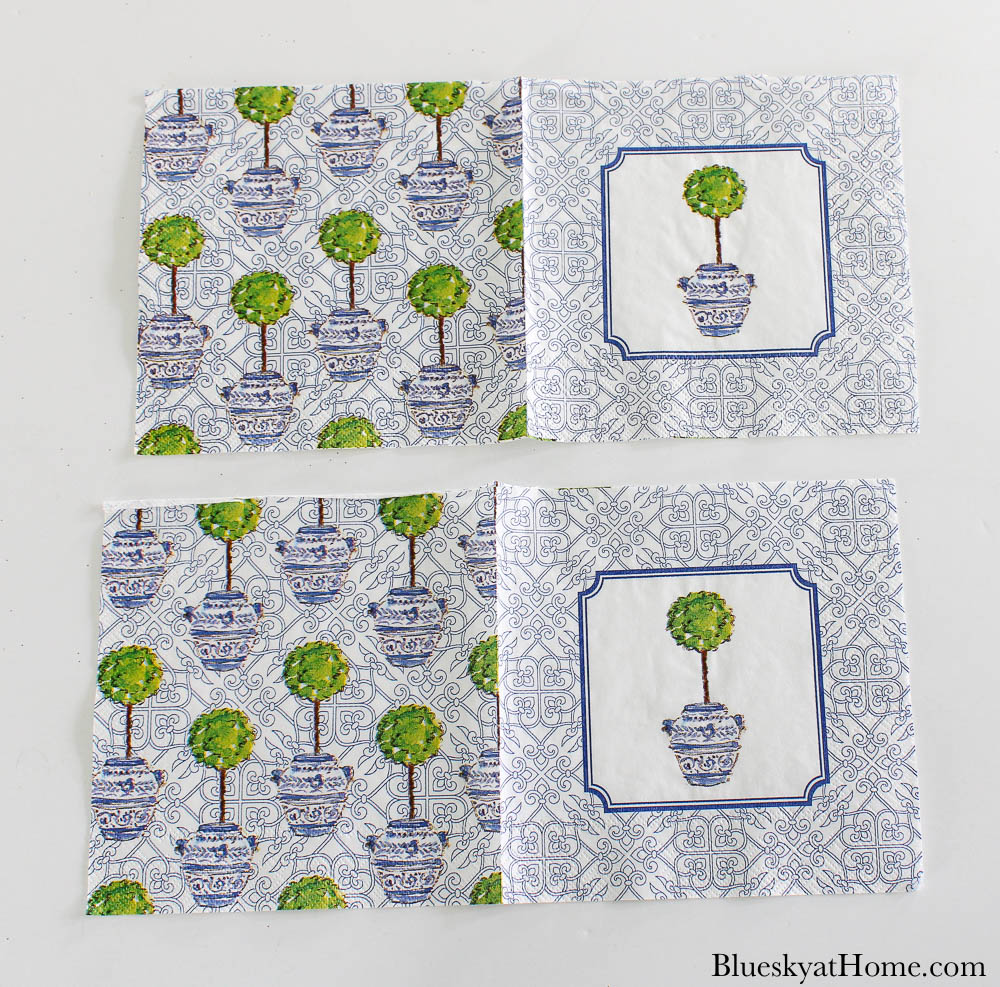
STEP 3 ~ Unfold your napkins. Decide what part of your napkin will be used for your design. I will use the two sections with the topiary design.
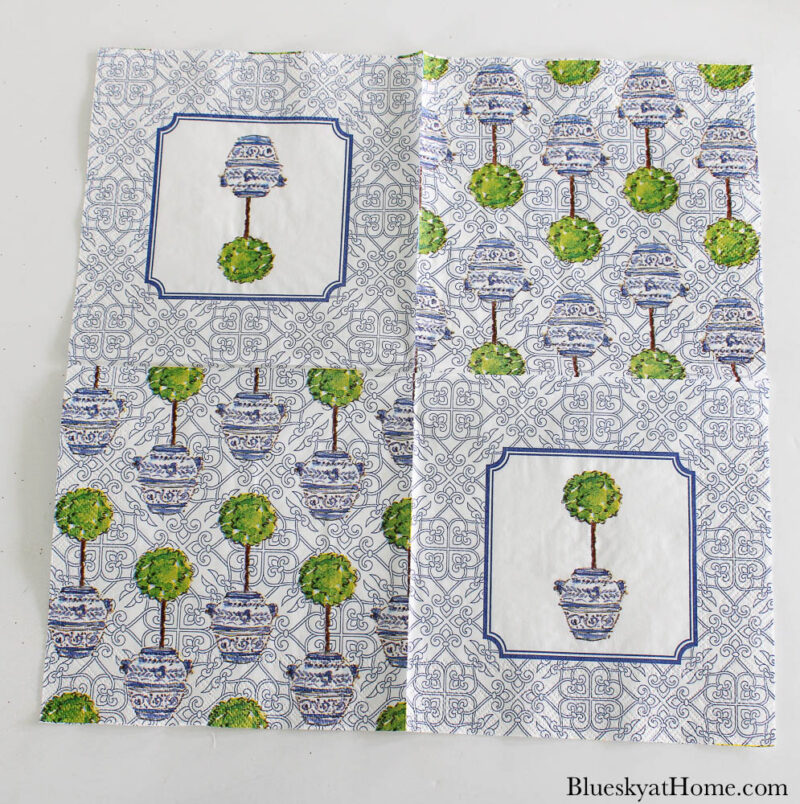
STEP 4 ~ Cut apart the areas of the napkin you don’t need. I will definitely save the extra parts for another project.
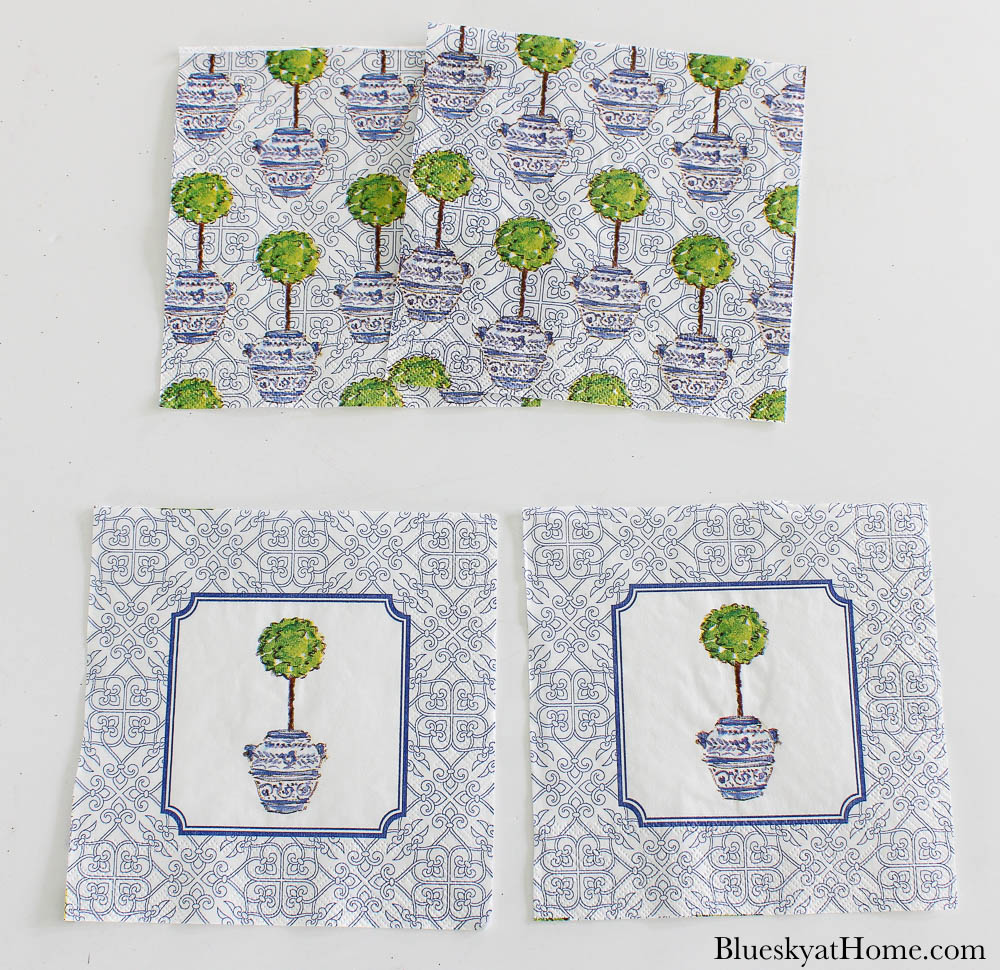
STEP 5 ~ Now it’s time to separate the back layers of the napkin from the decorative front layer. Napkins are either 2 or 3~ply. This napkin was 3~ply.
For the first napkin, I separated the back 2 layers first, and then I cut out the topiary with the blue border around it.
I discovered that doing it that way, made it very difficult to easily cut out the design. The paper was just too flimsy.
NOTE: My recommendation is to cut out your design first and then separate your napkin layers.
TIP: Make sure your scissors are really sharp.
STEP 6 ~ Pour a small amount of Mod Podge into a disposable plastic container. It’s much easier to work with it in this way.
TIP: I also like to have a small plastic cup of water to put the brush in after it has Mod Podge on it.

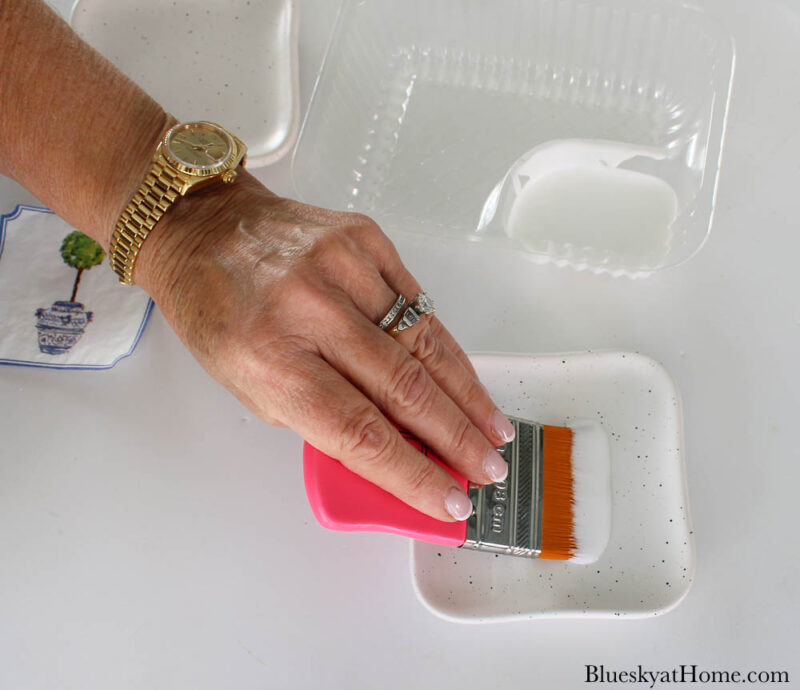
STEP 7 ~ Place a small amount of Mod Podge on the brush. Brush a small amount of Mod Podge on the surface of the tile coaster
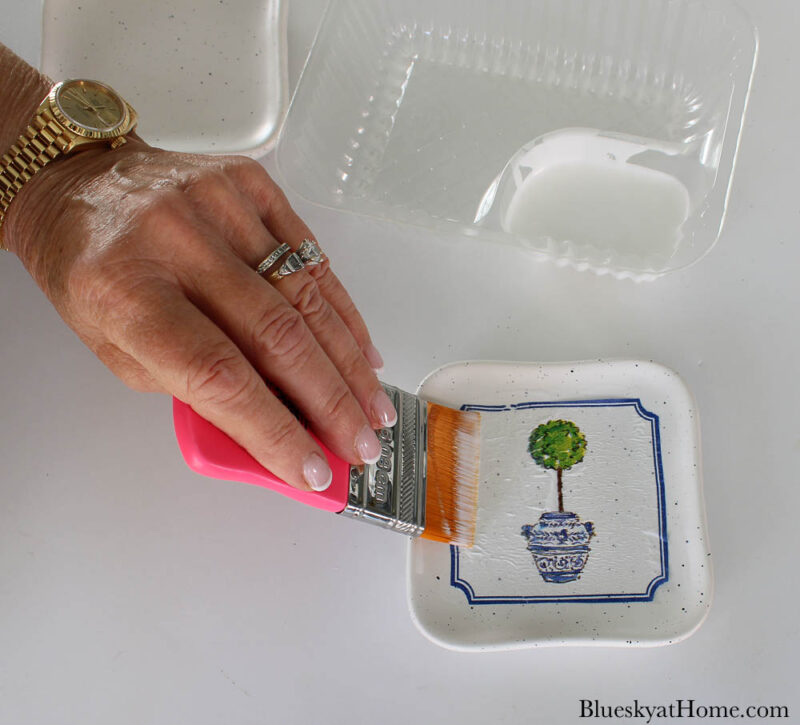
STEP 8 ~ Carefully place the napkin design on the tile coaster. Add more Mod Podge to the brush and gently brush across the surface of the napkin. Be sure to cover the edges of the napkin.
NOTE: You may see creasing or bubbles on the napkin. Most of those will go away as the Mod Podge dries.
STEP 9 ~ Allow the first coat of Mod Podge to dry for at least 20 ~ 30 minutes.
Because these coasters would have a glass set on them, I applied two more coats of Mod Podge to seal the napkin.
I’m predicting that the coasters will be used for wine glasses so there shouldn’t be much condensation.
You can see that in a couple of places, the design on the napkin moved a bit on the coaster. I’m not worried about this. It’s not perfect, it’s a DIY and I doubt any guest would notice it.
DISPLAYING YOUR DECORATIVE TILE COASTERS
STEP 10 ~ Place your decorated ceramic tile coasters where you want to use them in your home decor.
I placed two coasters each on two of our side tables in the living room.
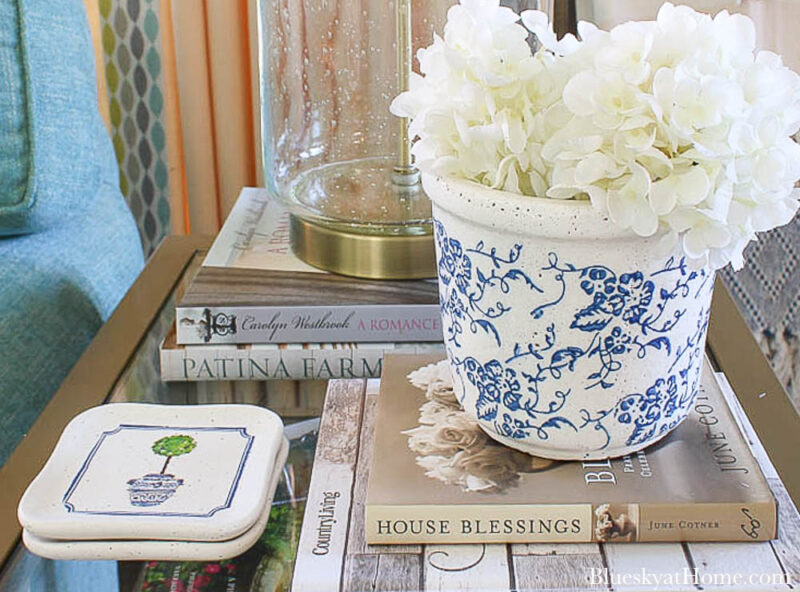
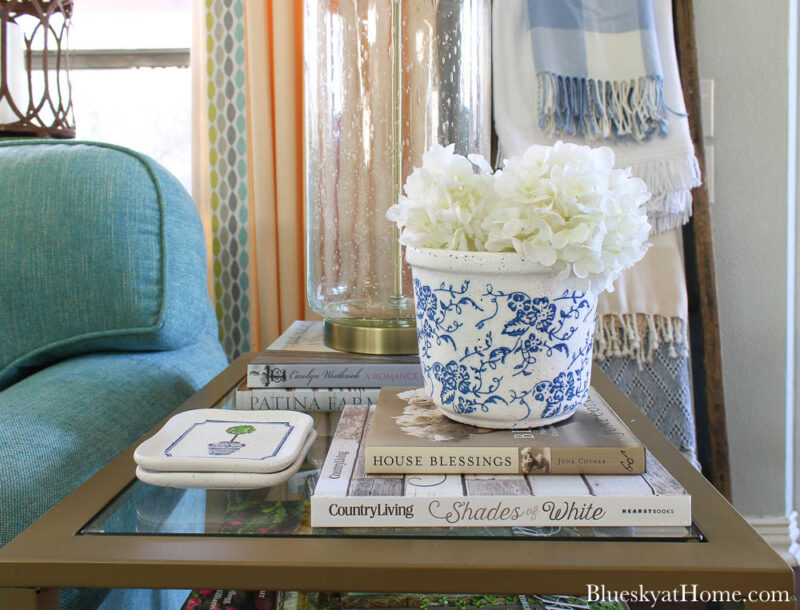
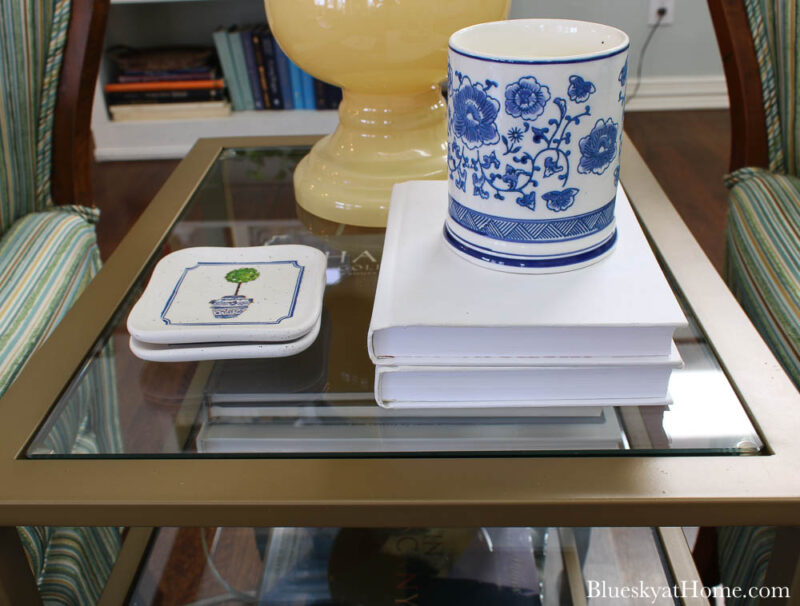
The decoupaged tile coasters act as another design element
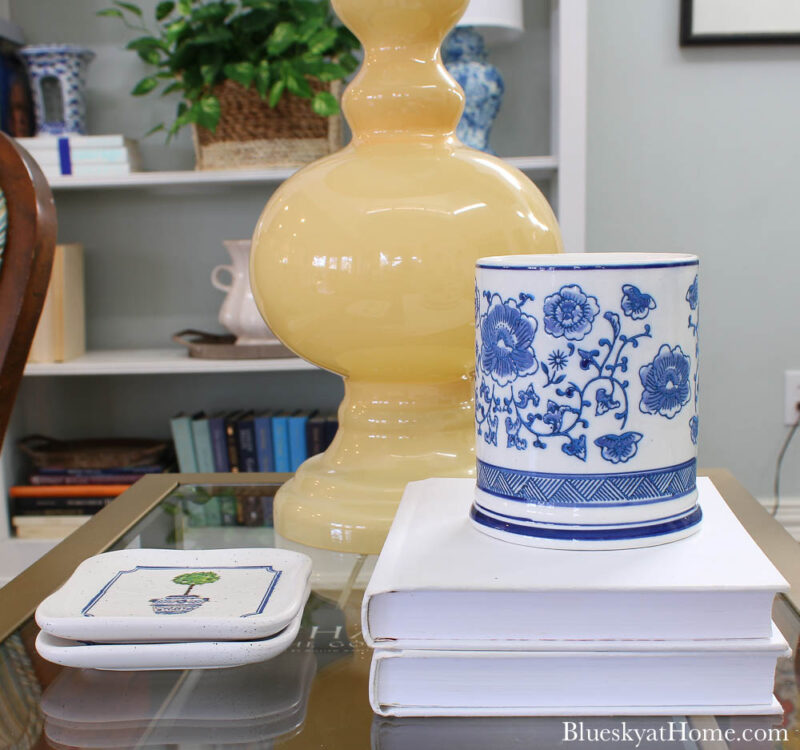
What do you think of this decoupage project? It was easy and inexpensive. The only new product I bought was the set of coasters.
I love the lovely blue and white traditional design that the coaster adds to our tables. They are a practical and pretty addition to our living room.
Here are some other ideas for using your tile coasters:
- Glue a hanger to the back of the coasters and hang them as art.
- Tie the tile coasters with a ribbon and give as a gift.
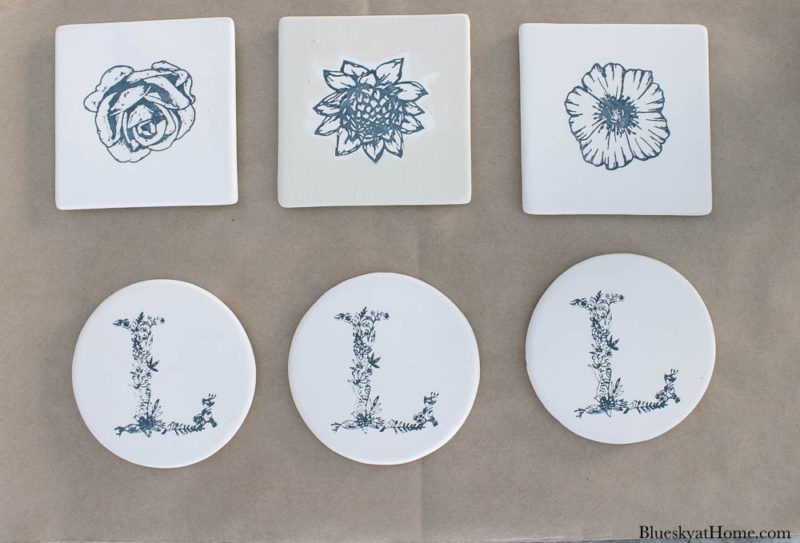
Last spring, I found some plain ceramic tiles at Target in a pack of 3 and made decorative coasters using stencils. They stay on our patio.
MORE DECOUPAGE PROJECTS
Would you like to see more decoupage projects? What some more ways to learn decoupage? It’s such a fun and easy craft method.
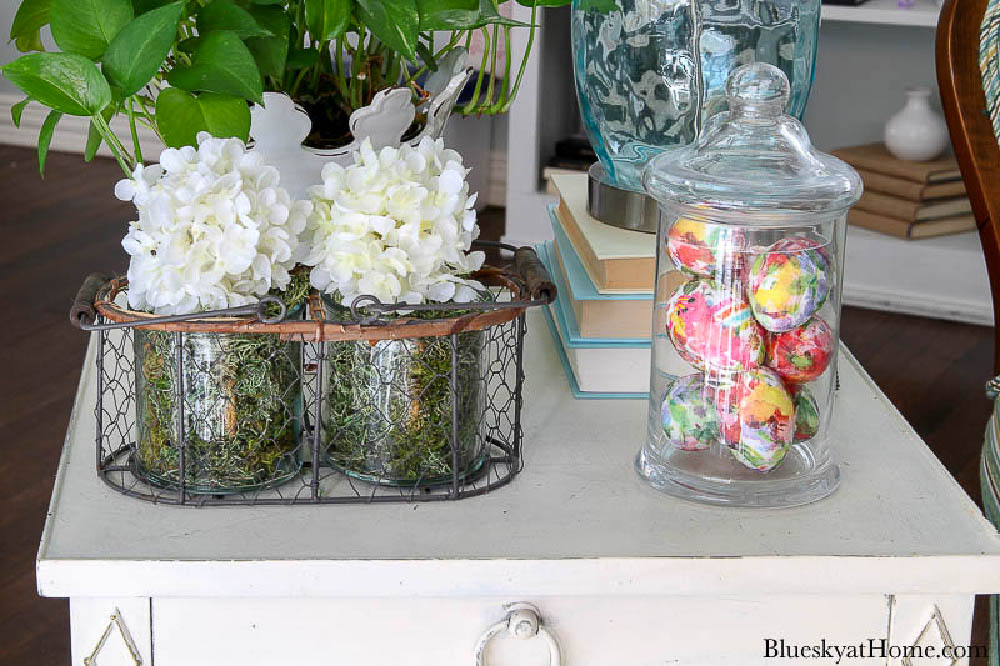
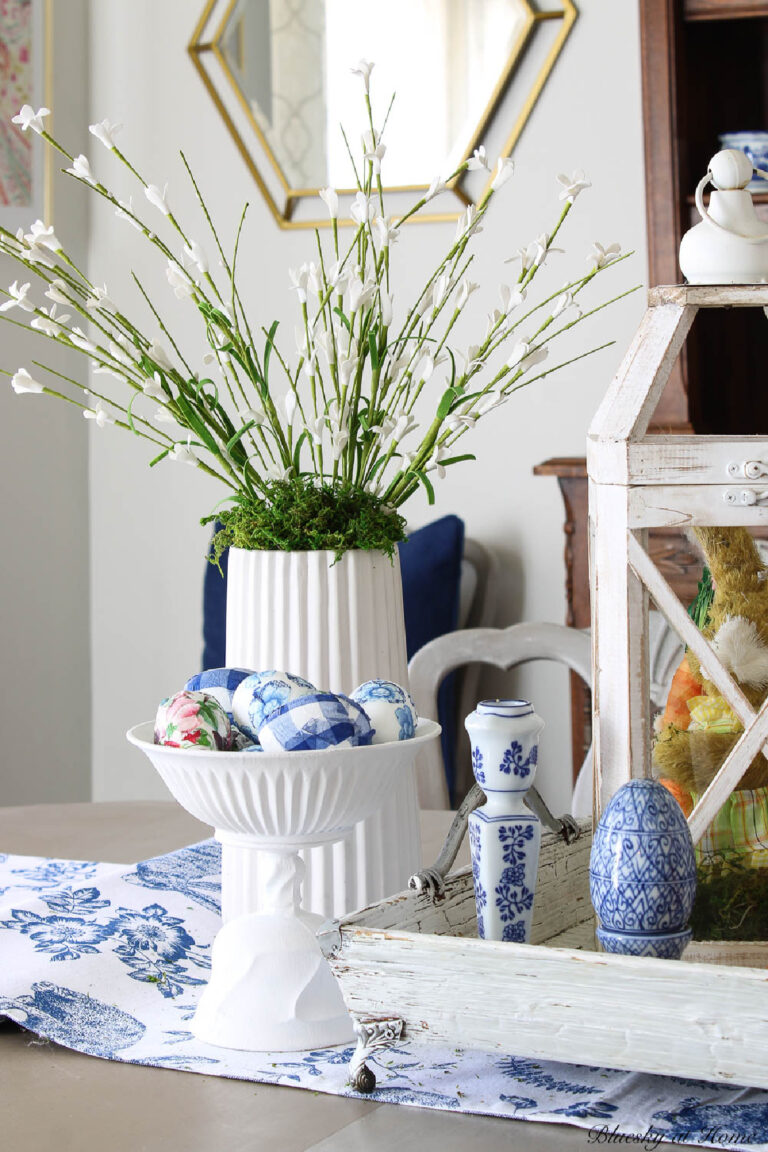
- How to Decoupage Easter Eggs and Decorative Balls
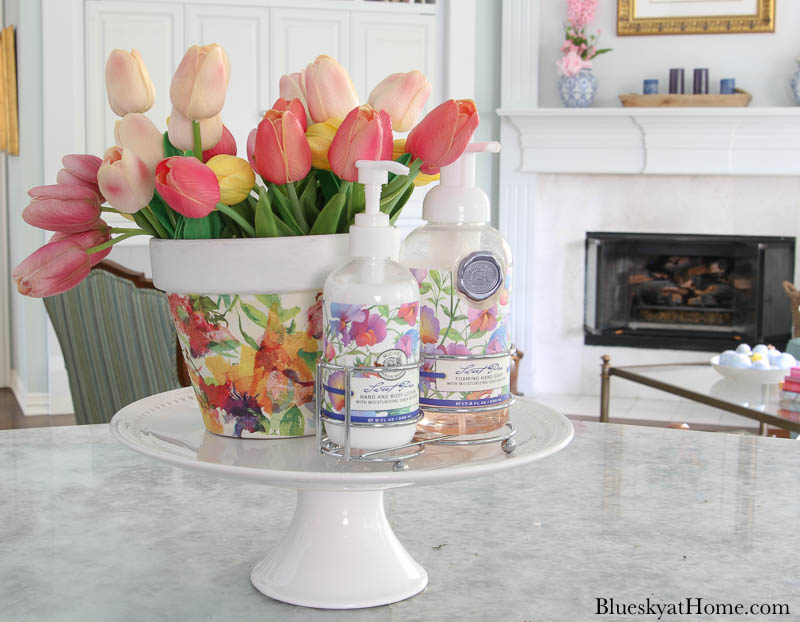
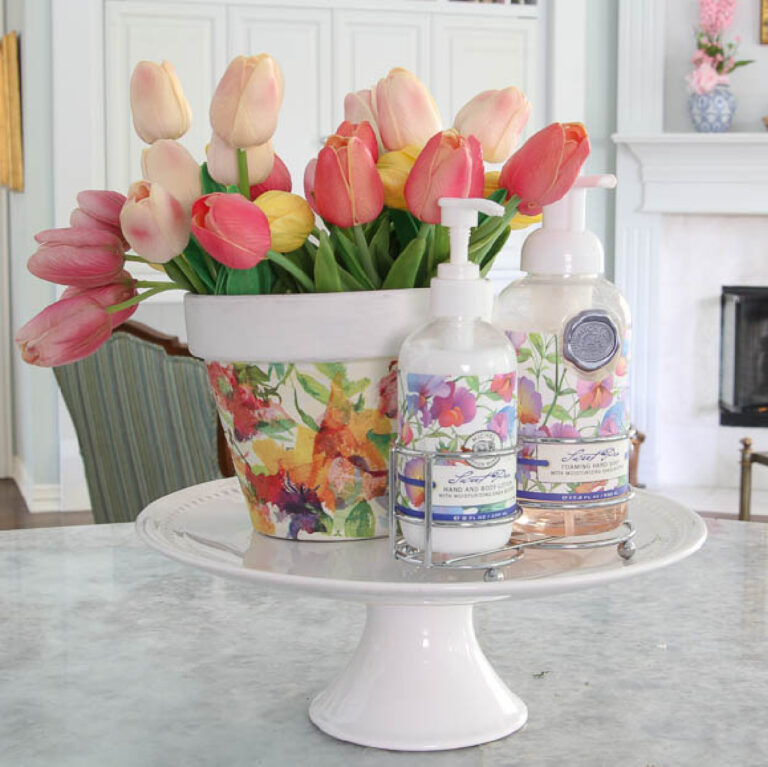
- 3 Ways to Decoupage Terra Cotta Pots
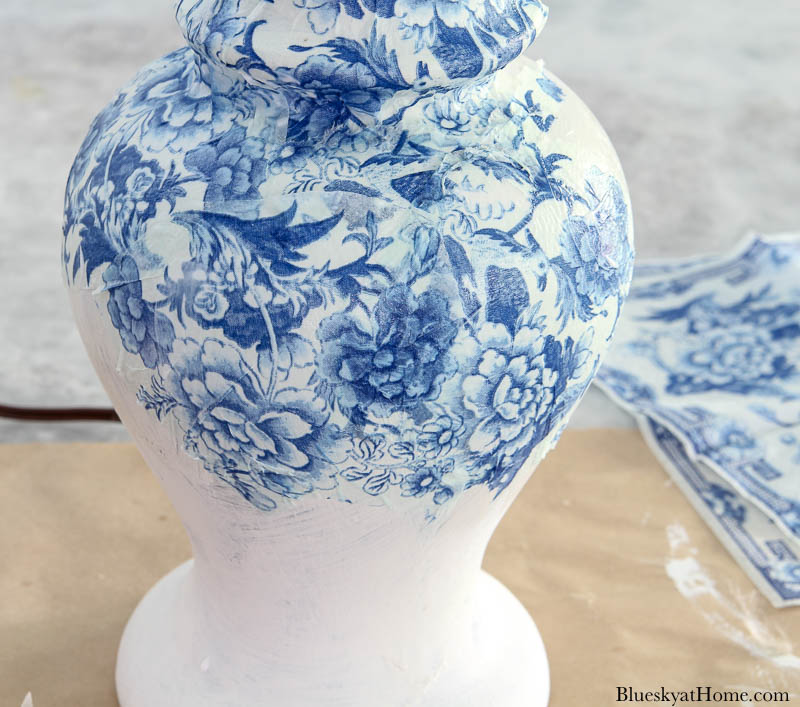
- How to Decoupage a Chinoiserie Lamp
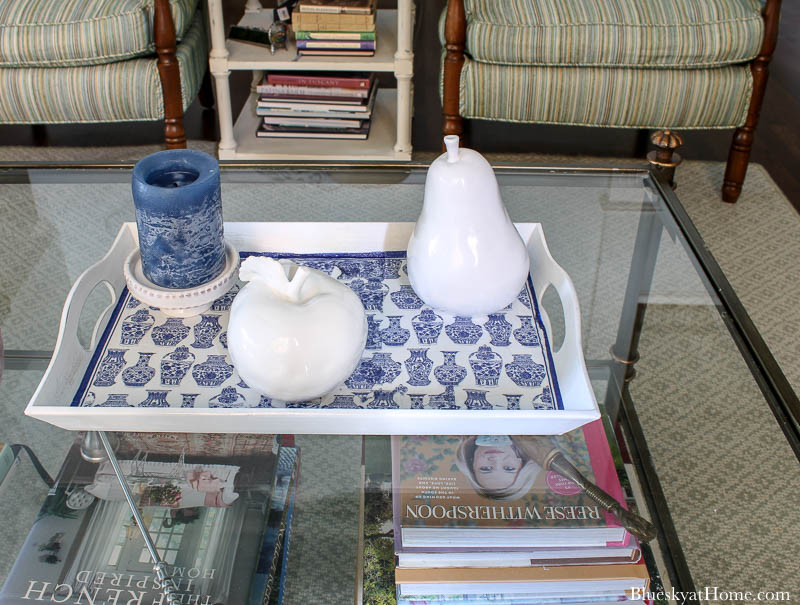
- How to Decoupage a Rescued Tray
Be sure to PIN these decoupage projects. If you want to see more projects, see my Decoupage Ideas Pinterest Board.


Thank you soo much for the step by strp process. It was very easy for me to understand I plan to practice on my thanksgiving and Christmas coasters.
Another successful decoupage project! Love it. And you know I love that blue and white chinoiserie topiary! Thanks for sharing at Vintage Charm! xo Kathleen
Super cute coasters. I love them. I would love it if you could share it on The Fabulous Friday Link Party this Friday. You can find it on my website.
Carol, your coasters turned out amazing! I am in the market for new coasters, so I will have to try your technique!
As always Carol, I love your project shares. Those look like high end coasters. Love how easy it was to make. Thanks for sharing!
Your coasters are so cool, Carol! I have similar cocktail napkins but in a purple design around the floral arrangement. All four squares are the same design on my napkins. I could never decide what to do with them but thanks to you, I can now make coasters. You’ve given us a very detailed tutorial! Thanks for the inspiration!
I love these turned out. It’s amazing what we can make with decoupage. Beautiful!
Love these. I’ve made coasters before using nautical maps. I still have them and love them. Great tutorial. They came out beautiful.
Girl you had me a blue and white napkin. I’m off to Target as soon as I finish writing this and I can’t wait to get those napkins. So cute! Thanks so much for sharing. Pinning for later!