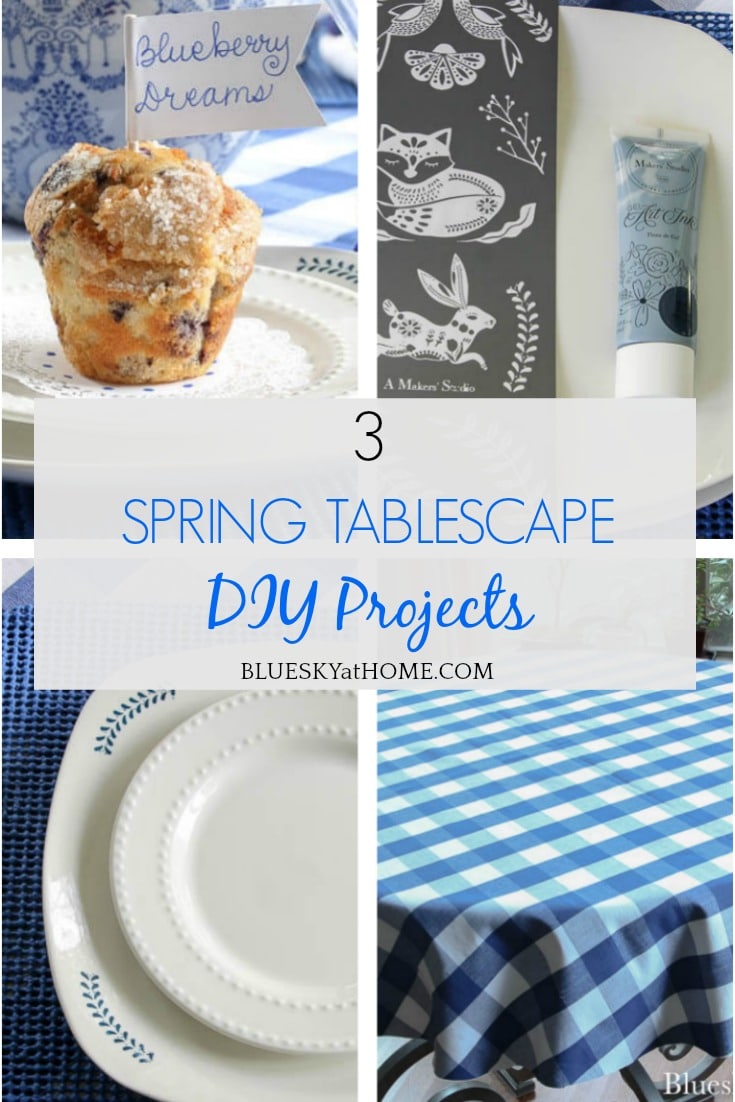
3 Easy DIY Projects for a Spring Tablescape
Almost every tablescape I create has some element of a DIY project included. I love giving a table a personal touch of customization. My recent spring tablescape was no exception. In fact, I included 3 easy DIY projects for a spring tablescape.
The opportunities to create a one-of-a-kind piece for your tablescape are endless. If you’ve followed Bluesky at Home for any length of time, you’ve seen projects from napkins to place cards, to placemats to glasses and party favors.

Some tablescape DIY projects are very intentional, part of the plan from the beginning of the project. Others are spur-of-the-moment, random acts of DIY that just come to me as the design evolves. This tablescape had both. What are the other things these 3 DIY projects for a spring tablescape have in common? They are all easy, quick, and inexpensive
3 Spring Tablescape DIY Projects
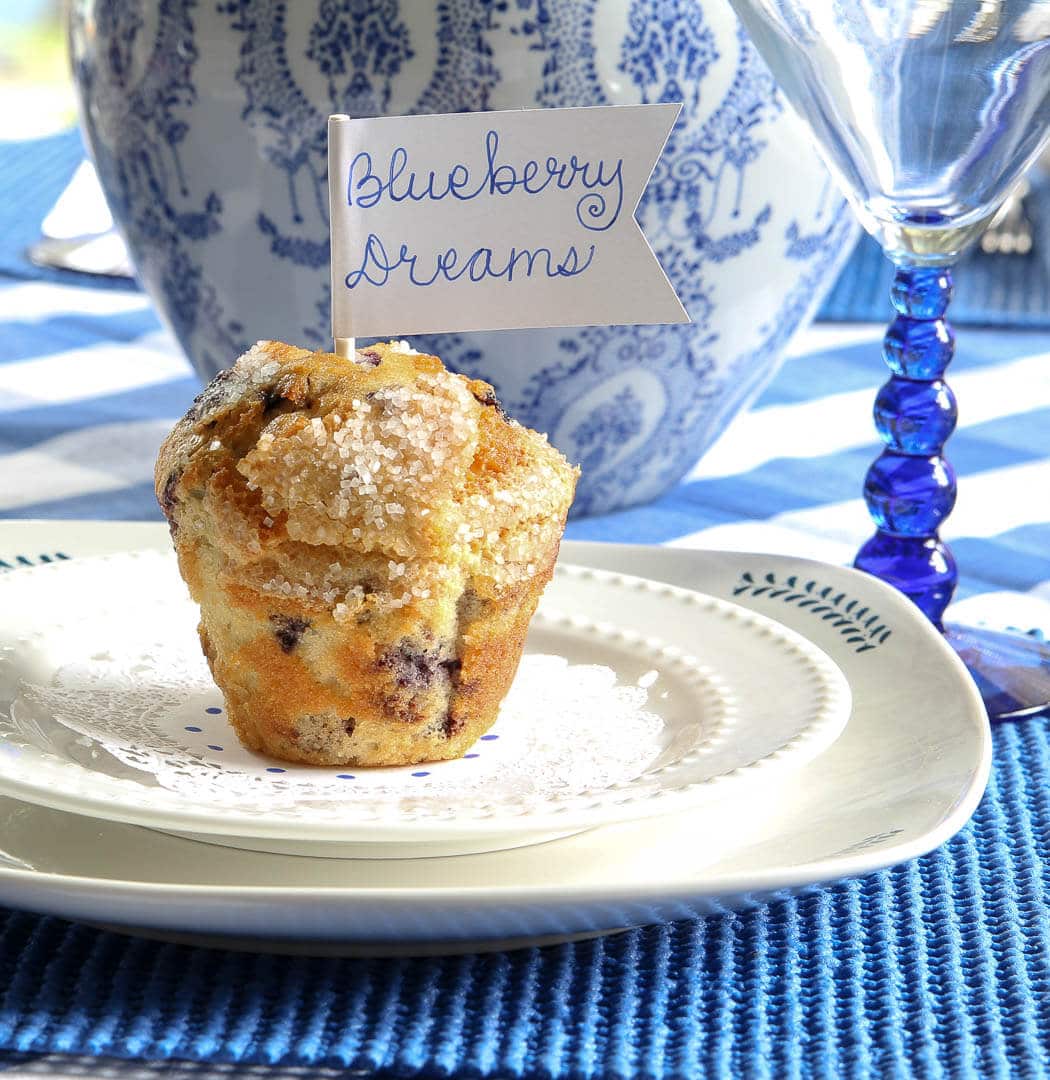
Let’s start with the last DIY project that I made ~ it’s also the fastest and the easiest. I think it’s super cute. And this is the one DIY project that wasn’t planned; it was a last-minute thought at the very end of the process. It came to be a little icing on the cake muffin.
Cupcake or Muffin Toppers
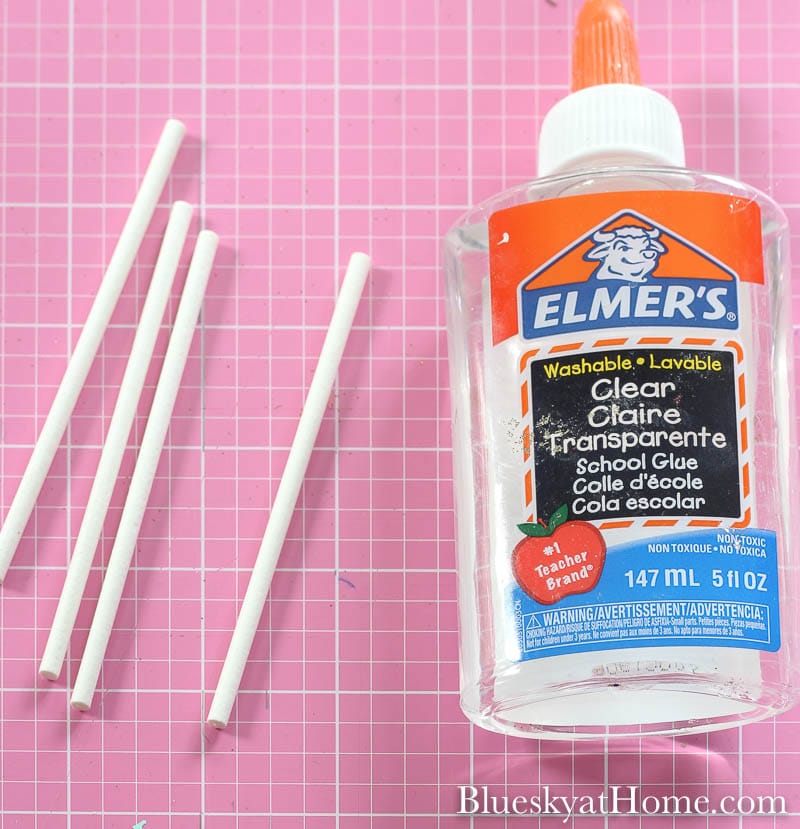
I love to use my Cricut to make toppers. For such a big impact, it takes just a few supplies:
- heavy paper or cardstock ~ I used Xerox 32-weight paper; it’s actually what I use for hand lettering; it’s very smooth, and heavier than printer paper, but not as thick as cardstock.
- pen or marker ~ I used a glitter pen
- glue
- paper pop sticks
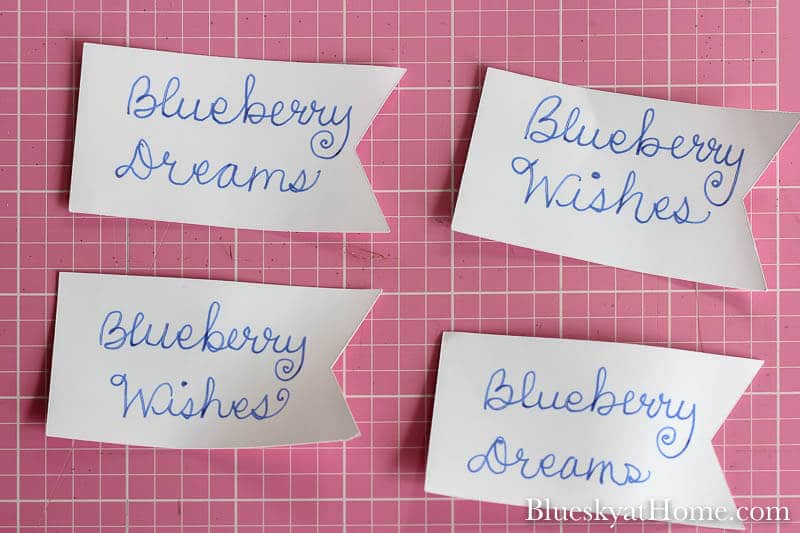
This project took just a few minutes. First, I found a pennant shape I liked and cut it out using my Cricut.
NOTE: if you don’t have a Cricut, cut out a 2 1/2 X 1 5/8 rectangle. On 1 end, cut a shallow “V” inward to make the pennant shape.
Using gel pens, I wrote a cute saying on them. If you wanted to use these as place cards, just write your guests’ names on the pennants.
Then I put a bead of clear Elmer’s glue on a pop stick to attach the pennant.
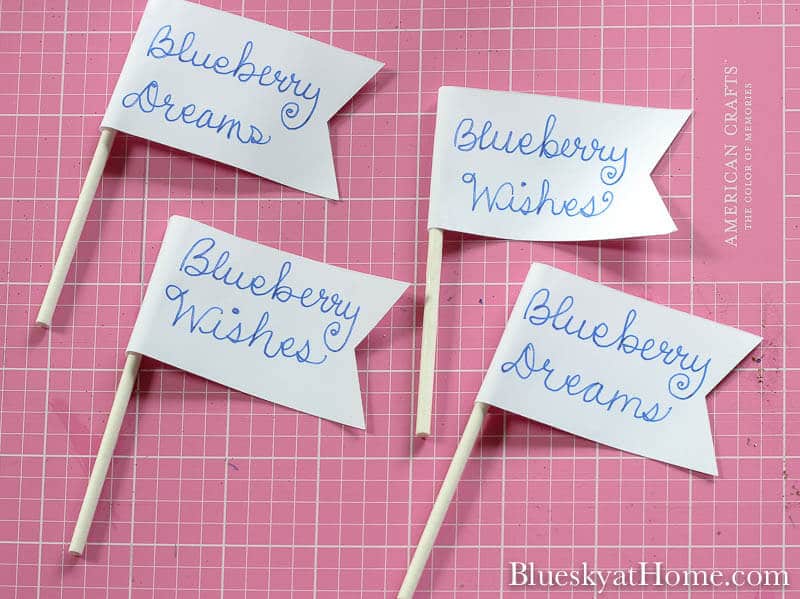
And finally, I stuck them into the muffins. That’s about as easy a tablescape DIY project as you can get.
Time on Project: about 10 minutes
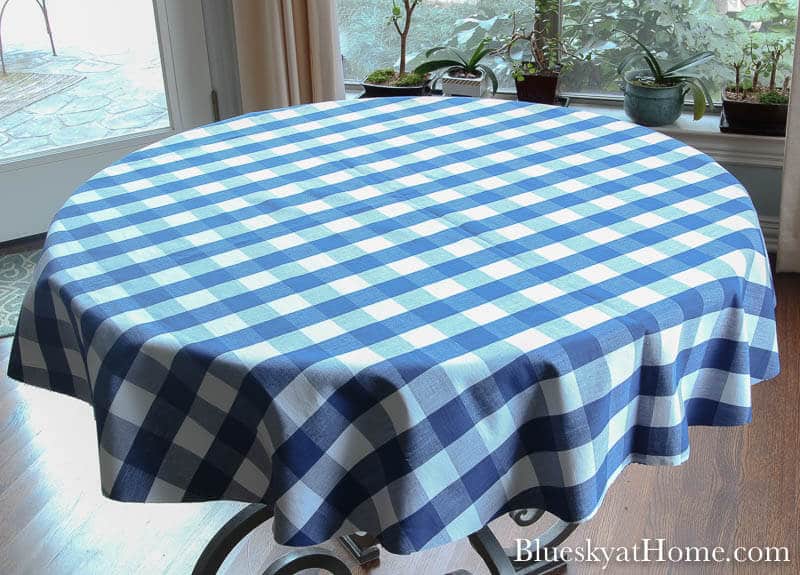
How to Make a Round Tablecloth
This was the first DIY project for my spring tablescape and it was planned from the beginning.
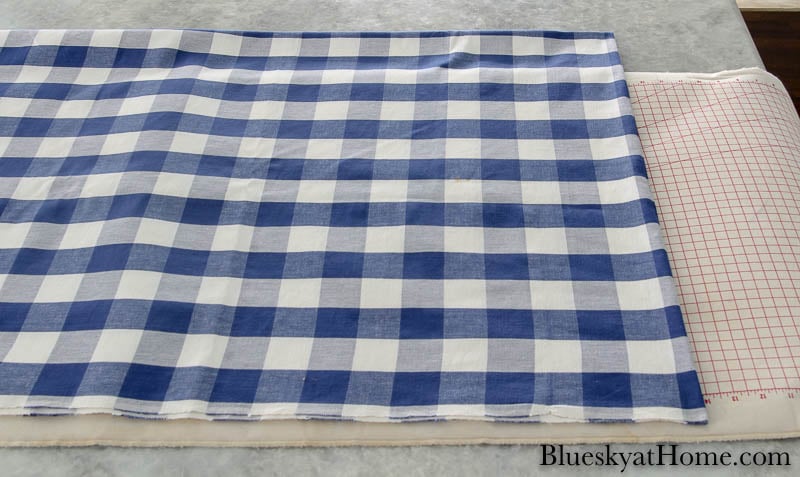
You can make any square or rectangular piece of fabric into a tablecloth, depending on the width of the fabric and the size of the tablecloth you need. This project is for a no~sewing required tablecloth, using only 1 width of the fabric.
TIP: Always iron your fabric first before you begin a project.
Step 1 ~ Measure the width of your fabric. This will be the diameter of your tablecloth. My fabric was 55 inches wide. My breakfast room tabletop is 42 inches, so I would have about a 12-inch drop all around.
Step 2 ~ Fold your fabric in half and in half again. You will have one side that is the fold; you will have 4 layers. Even up all sides of the fabric and smooth the fabric
NOTE: At the top of this photo is the first fold and the side is the second fold.
I always pin the folded side of the fabric to keep all the layers in place.
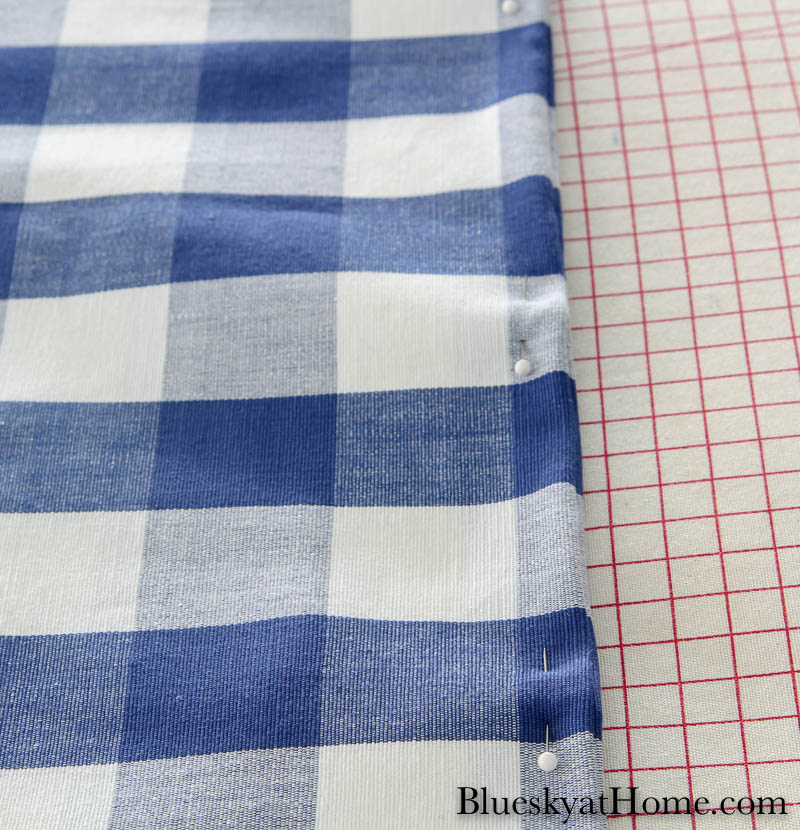
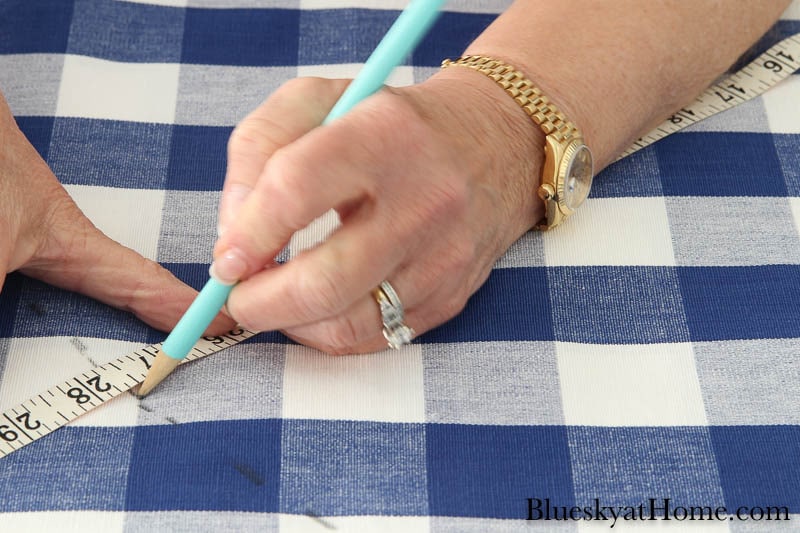
Step 3 ~ Use a cloth measuring tape to measure the tablecloth. Hold the metal edge of the tape at the corner of the fold and lay it across the folded side (where your pins are) to the edge of the fabric. Make your first mark. Repeat on the other side of the fabric where your first fold was. My mark was at 27 1/2 inches, half of the width of the fabric.
Step 4 ~ Holding the metal edge of the tape at the corner of the fold, slowly move it around the fabric, marking the length of your tablecloth with the pencil.
When you are finished making your measurement, use good sewing scissors to cut along the line. You now have your tablecloth. Take out the pins and re-iron, if necessary.
NOTE: At this point, you want to hem your tablecloth. You can turn the fabric up 1/2 inch around the circumference of the tablecloth and press the seam. Then you can either use Fabric Glue to make the hem or sew on your machine.
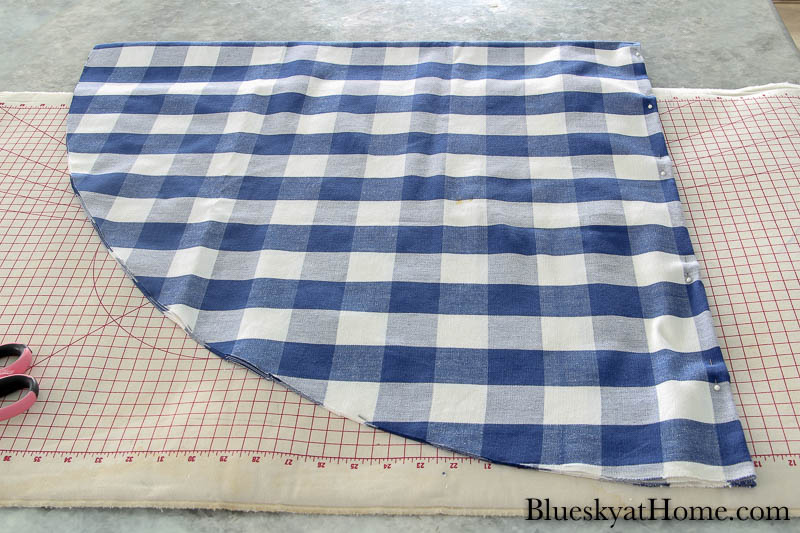
Here’s my finished tablecloth. In full disclosure, in the interest of time, I didn’t hem the tablecloth, but I will before I fold it away.
Time on Project: about 30 minutes.
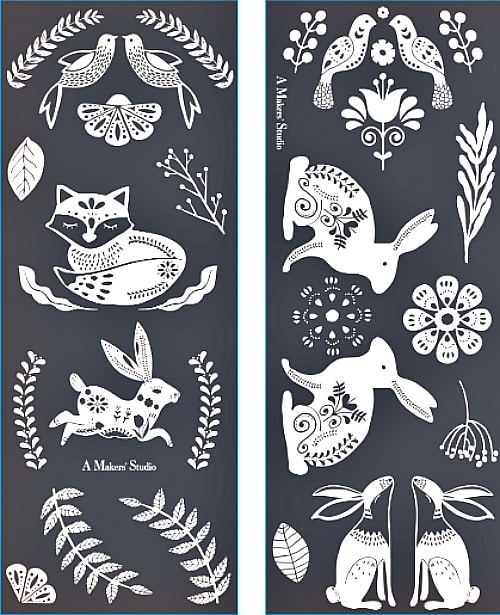
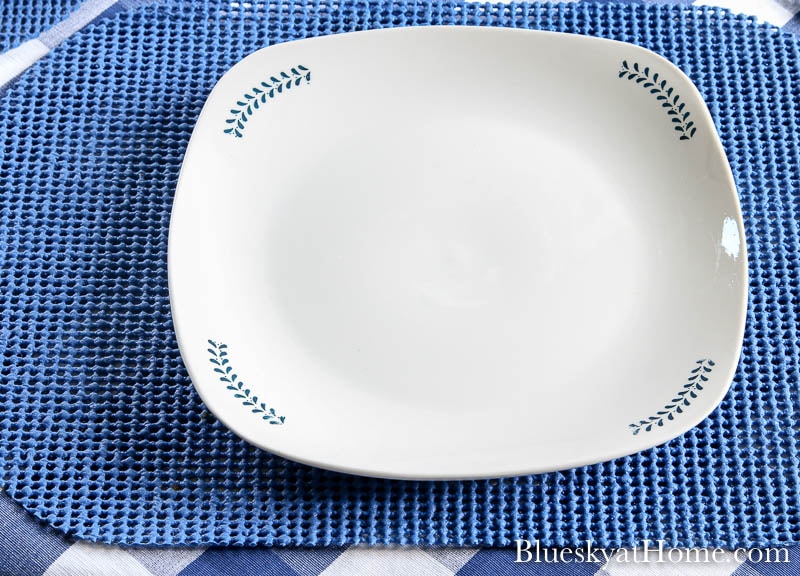
DIY Decorated Plates with Stencils
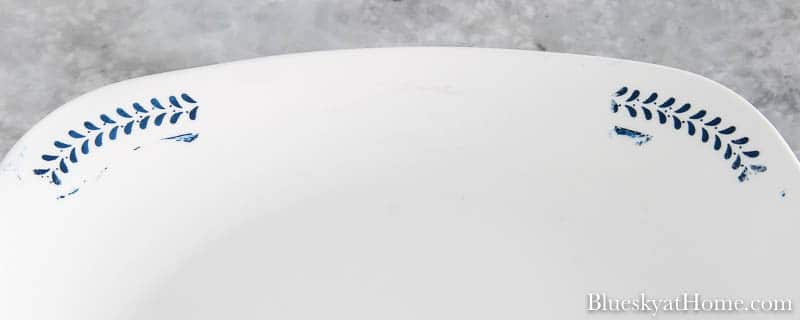
This may be my favorite DIY project for this tablescape because I love using stencils to paint on designs or words. A few weeks ago I bought 4 plain white square plates with rounded corners at Dollar Tree.
The stencil that I chose is one of the brand new 2020 stencil collections from A Makers’ Studio called Folk Art and there are 2 sheets of designs in the package.
If I had wanted this design to be permanent, I would have used our new Ceramic Paints. If you are not familiar with the Ceramic Paints, see this Valentine’s plate project.
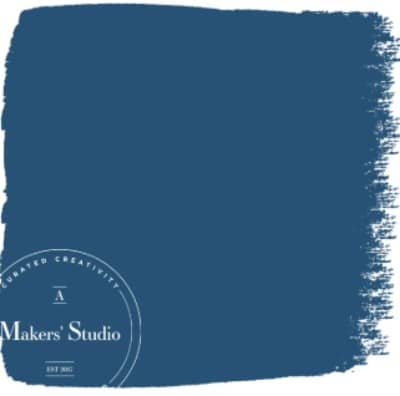
Because I might want to reuse these plates for another table, I chose to use our Gel Art Ink. I wanted a deep blue that matched the tablecloth color and the placemat color. I chose Hush Your Mouth which I already had.
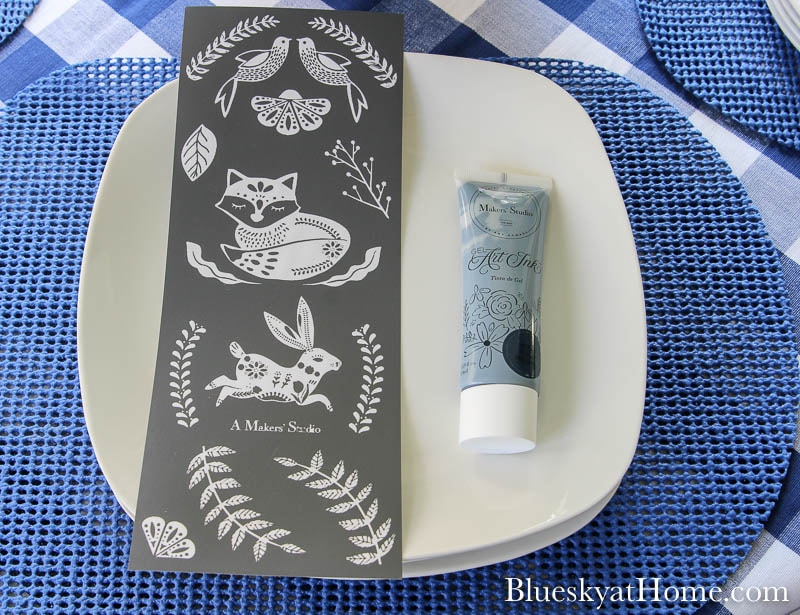
I cut out 2 matching leaf designs and applied them to 2 corners of the plate. I squeezed out a small amount of Gel Art Ink (It takes very little.) onto a piece of cardboard.
TIP: Save pieces of boxes for this.
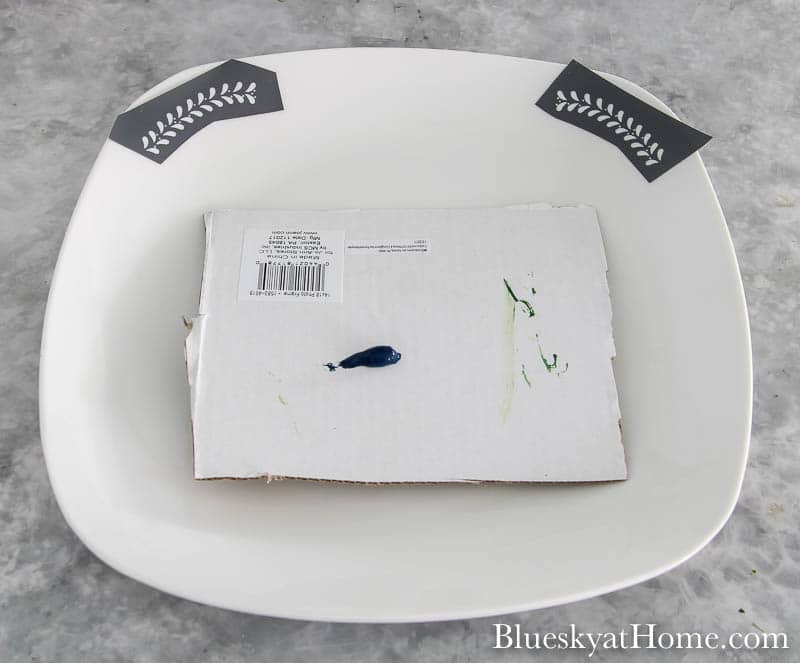
When I am stenciling pieces that are not flat, like a plate or glass, I find it easier to use my finger.
TIP: Plastic gloves from the restaurant supply are perfect for all sorts of paint projects.
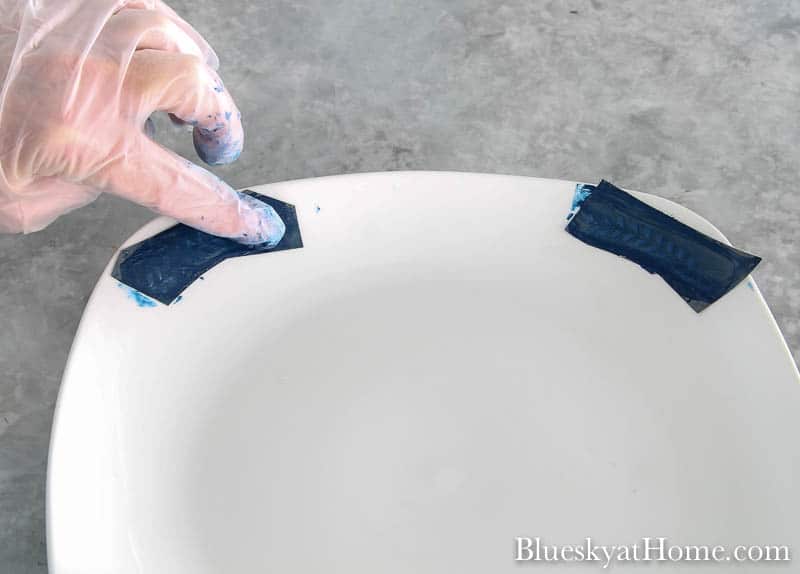
Since I had 2 matching stencils, I stenciled 2 at a time. I carefully rubbed a little of the Gel Art Ink across and into the stencil. Then I carefully removed them from the plate and place them on the other 2 corners.
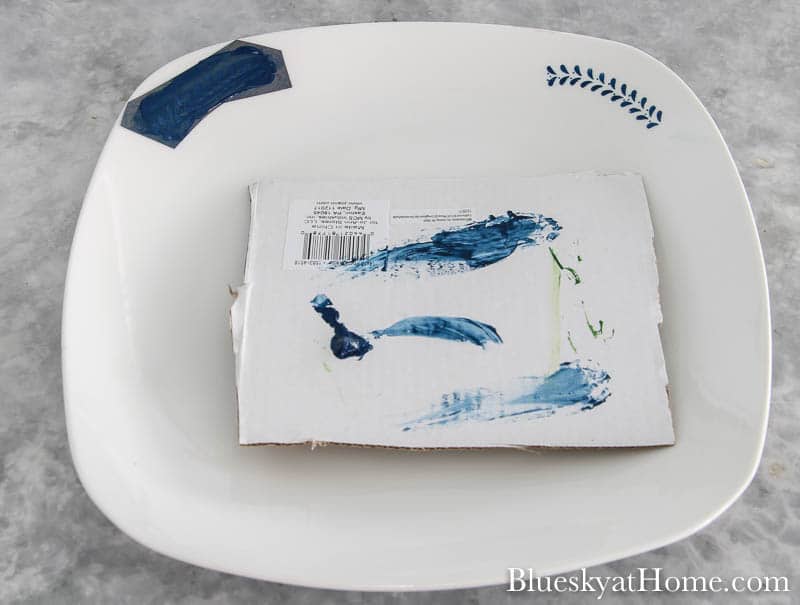
NOTE: Don’t worry if you get some Gel Art Ink on the plate. It will wipe off easily with a slightly damp paper towel or Q~tip.
I repeated with the other plates.
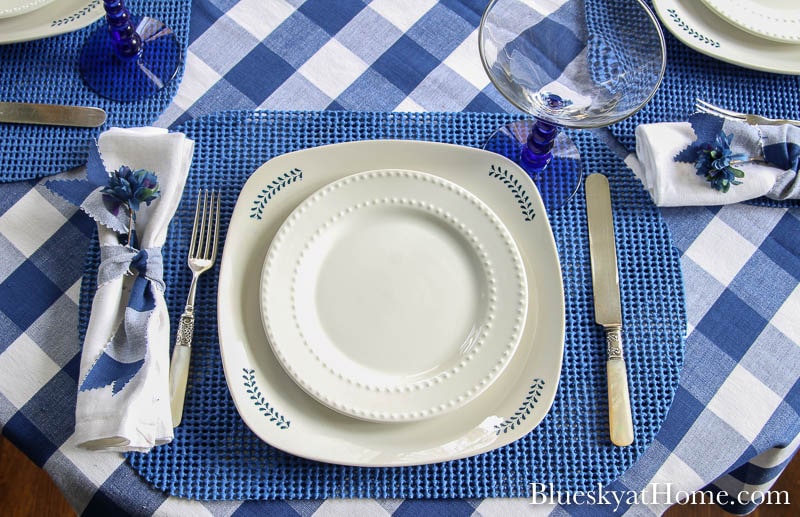
Super easy and I had a custom-designed plate for my tablescape.
Time on Project: less than 1 hour.
I think all 3 of these spring tablescape DIY projects added to the overall look of my table. I also now have a tablecloth that I can reuse.
If you like these DIY projects and don’t want to forget where you saw them, then be sure to PIN them to your favorite Pinterest Boards.

I’ve got some more DIY projects up my sleeve so please check back.


love how it all comes together to make a nice tablescape thanks for sharing
come see us at http://shopannies.blogspot.com
Great projects. Your attention to the little details is what makes your tablescapes so special! I made a blueberry cake this a.m. for church luncheon tomorrow. Rolled the thawed, drained berries in flour so they wouldn’t sink, put them on top of the cake. They sank anyway. Oh, well; it’ll still taste good!
Thank you, Kathy. That tip for using flour with berries in baked goods is a very good one. As long as it tastes good, that’s what counts ~ the the love that goes into it.
Hey Carol, fun projects to try. I especially love the “Blueberry Dreams” flags in the muffins. Just adorable!
What fun! You are so creative friend! Love the idea and tutorial for the round table cloth. I need to make one of those!
Happy day!
karianne
Thank you so much, sweet friend. You can definitely make a tablecloth; right up your DIY alley.