How to Make an Easy Rustic Cotton Boll Wreath
Texture is a major aspect of fall decor. The soft, fluffy texture of cotton bolls instantly brings warmth and coziness to any space. I’ve created a rustic cotton boll wreath that perfectly captures the essence of fall. Its natural, neutral tones and organic materials complement the changing season beautifully.
Unlike bright orange pumpkins or bold autumn leaves, this wreath offers a sophisticated, understated combination of rustic and elegance that you’ll love for fall decor.
If you’re new to wreath-making, this project is an ideal starting point. It is so easy. There are no complicated instructions or long list of supplies.
If you are a pro at wreath-making, you’ll appreciate just how easy and quick it is to make this cotton and grapevine door wreath.
The forgiving nature of cotton bolls means there’s no “wrong” way to arrange them, and the simple construction process builds confidence while creating something truly beautiful.

Where to Hang Your Rustic Autumn Wreath
This versatile wreath works wonderfully in so many places throughout your home:
- Hang it on your front door to welcome guests with rustic charm
- Display it above a mantel for cozy living room ambiance.
- Use it as a centerpiece for your dining room table.
- Hang it above a bed for a cozy addition.
- Hang it in your office to add a touch of natural warmth.
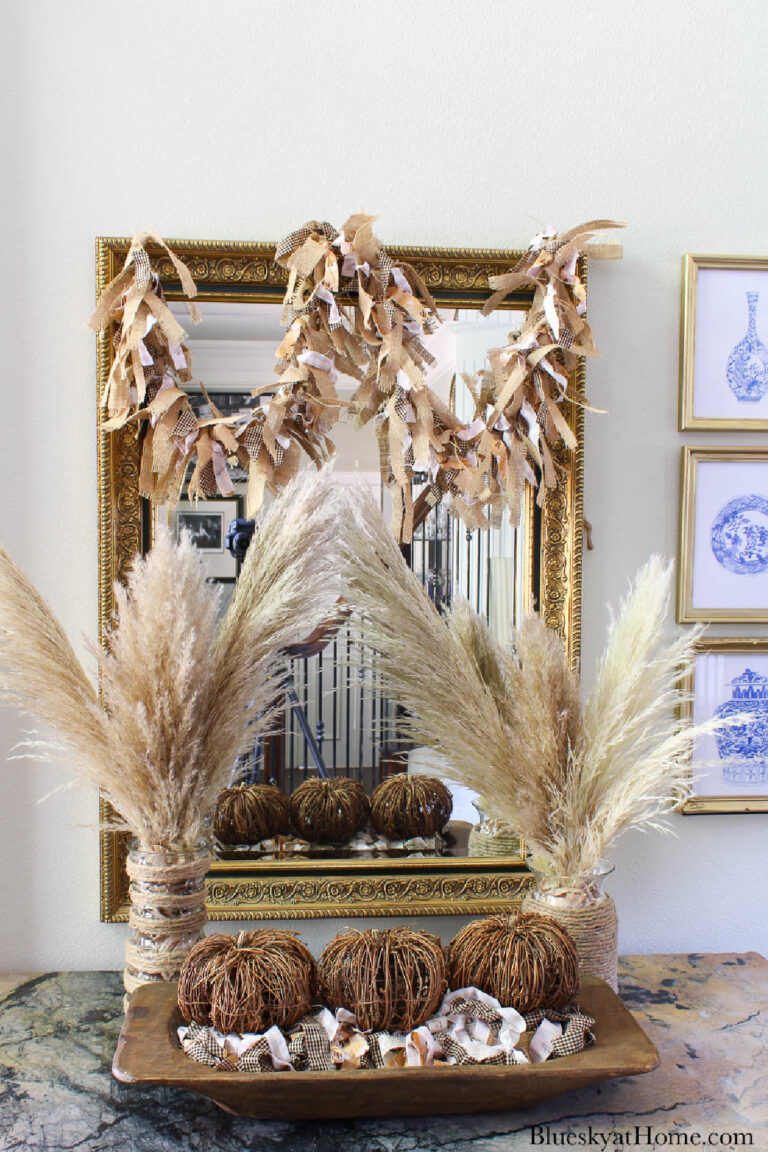
Initially, I had planned to hang the rustic wreath on the mirror in our entryway. Once it was finished, I decided to try it on our front door to say, “hey, neighbors, fall is here!”
Supplies for This Natural Handmade Fall Wreath
This post contains affiliate links to products used to create this project. If you should order any item from this site, I may receive compensation, but you do not pay a penny more. Your purchase is greatly appreciated as it helps support the continued publication of this site.
You don’t need any special tools or advanced crafting skills – just your hands and a bit of creativity.
There’s not a glue gun or paintbrush in sight.
You only need four simple supplies and one tool to create this stunning piece, and you can complete the entire project in less than an hour.
- grapevine wreath: 14 – 18 inches in diameter; choose the size that works for you.
- cotton boll wreath: 12 – 14 inches in diameter
- wired burlap ribbon: 2 – 3-inches wide.
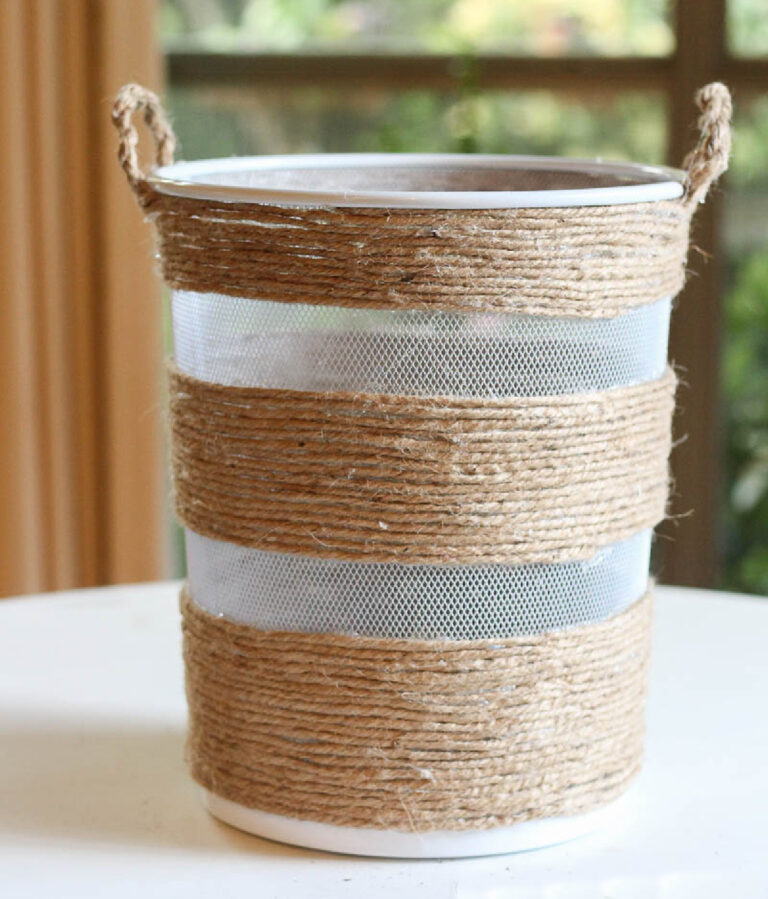
- thin jute twine
- The only tool you need is a pair of scissors. I used my favorite craft scissors.
I like that all the elements have a natural fiber texture to them that is just right for the feeling of fall.
My grapevine wreath is 18 inches in diameter. I have used it for multiple wreath projects. It is so versatile for different seasonal decor and holidays.

I already had this cotton boll wreath. In fact, it was the inspiration for this natural fall wreath. Years ago, a client of Sweet Shark’s gave it to me when he found out that I was a blogger.
These come in different sizes, and the size can be changed depending on how you adjust the stems. I stretched my wreath from 18 inches to 24 inches.
You can see how bunched up this wreath is. It’s been on the top shelf of my bookshelves in my office for a years.

Here is what the back side of the wreath looks like.

OPTIONAL: You could also use cotton boll stems. You can insert them into the grapevine
Since I had a piece of wired burlap ribbon on hand, that’s what I used to make a bow. I love the natural color and texture of burlap, so it was the perfect choice. You could use a pretty plaid or check ribbon in fall colors.
To attach the cotton boll wreath to the grapevine wreath, I used thin jute twine.
The craft scissors are to cut the twine and the burlap bow tails.

Assembling the Grapevine/Cotton Boll Wreath
This wreath has five simple steps.
Step 1 – Adjust the stems of the cotton boll wreath. They are easy to move around to the size and shape that you want. Not only can you move the stems around, but you can adjust each cotton boll.

It looks so much better after you arrange the stems and the cotton bolls.

Step 2 – Use your jute twine to attach the cotton boll wreath to the grapevine. I looped the twine around the two wreaths and tied it tight. From there, I started looping the twine around the two wreaths between the stems.

No one will ever see the twine. As you loop it around the wreaths, pull it fairly tightly.

Step 3 – When you get back to where you started, tie the twine pieces together and cut off the excess twine.


Wasn’t that easy? It takes less than 10 minutes to assemble the two wreaths.
Step 4 – Make your bow. The piece of burlap I had was seven feet long. I used all of it to make two loops on each side with tails.

I used the same jute twine to tie the bow together.

Don’t cut off the excess twine.
Step 5 – I cut “V’ notches at the ends of the tails. Tie the bow to the wreath tightly. Cut off the excess twine.

Your wreath is done in about 30 minutes.
Hang Your Wreath
To hang our wreaths on the front door, I attach a clear plastic hanger with a wire hook with an adhesive back. If you don’t have a wreath on it, the hanger is almost invisible.

I’m sure this is the easiest and fastest wreath I’ve ever made. It took about 30 minutes, and some of that time was spent taking photos.
Once I had the wreath hung on the front door, I tweaked the stems for the best shape and cotton bolls so they were facing out.

Need more fall wreath ideas? Try one of these:
If you want a quick, easy, and affordable wreath, this one is for you. Another bonus? You can later take the cotton boll wreath and the grapevine wreath apart to reuse again in other ways.

This is one to save and PIN. Check out my Pinterest Boards: Fall DIY Projects, Autumn Ideas, and Fall Home Decor.


Carol,
I love this wreath. Congratulations, you are being featured on TFT. I hope you stop by. https://eclecticredbarn.blogspot.com/2025/09/projects-to-create-on-tft.html
Hugs,
Bev
Thank you for the feature, Beverly. I appreciate it.