How to Make Christmas Pinecone Place Card Holders
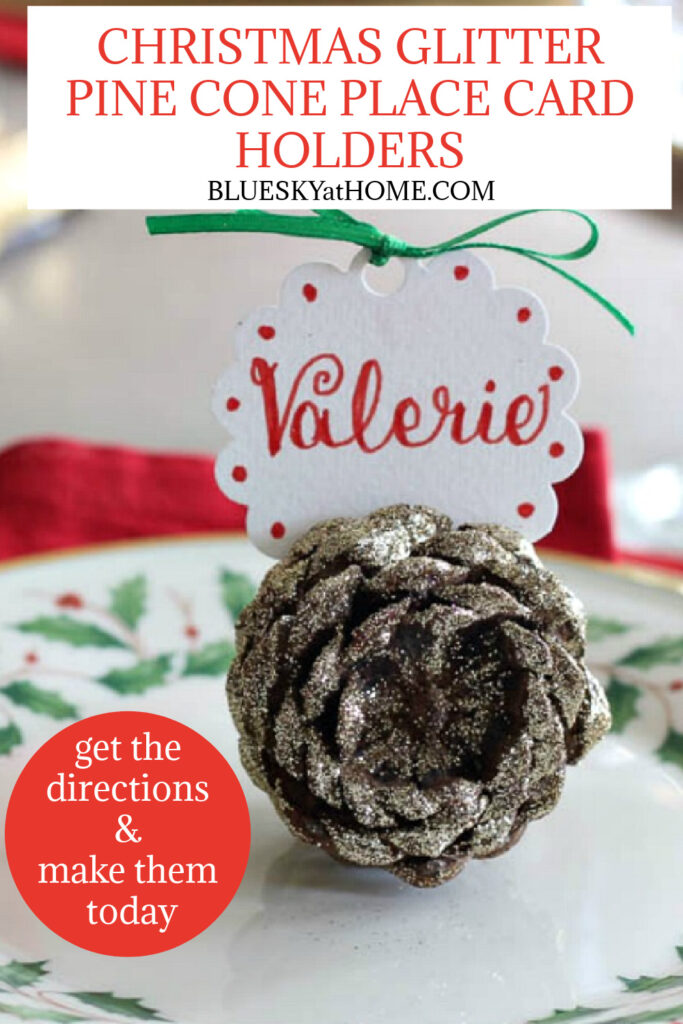
Are you planning to have guests over for Christmas dinner? Want a quick idea to dress up your table? These Christmas pinecone place card holders and place cards will add a special touch to your holiday table.
I love details on a tablescape. That’s one reason I love place card holders and place cards. So enjoy this easy way to make Christmas pinecone place card holders ~ and the place cards too.
Whatever the style of your table, place cards and place card holders bring an extra bit of fun and design to the table.
Regardless of the formality of your table, I think dinner parties are so fun. I read in a Miss Manners’ column her lament that people don’t have dinner parties anymore.
She said that there’s no party that is more conducive to genial hospitality and conversation than hosting friends around the dining table. I agree.
You can solve all sorts of table situations by providing place cards since you decide where everyone should sit.
When you are hosting friends and family, it’s so nice to keep any confusion on where guests will sit at a minimum (especially if Aunt Martha and Uncle Harry are still debating the “to wear a mask or not” dilemma or who mother loved best.).
So if you want a simple but pretty solution, let me show you how to make Christmas pinecone place card holders that will keep Aunt Martha and Uncle Harry from ruining your dinner party.
Even if it’s just family coming over for Christmas Eve or Christmas Day, they’ll appreciate the extra time you spent making the table special.
WHY MAKE PLACE CARD HOLDERS
Dinner parties give you the opportunity to bring out your best dishes and napkins, silverware and glasses, even if it’s just a few times a year for a special occasion. Sitting at a lovely table puts us on our best behavior.
For extra guidance on entertaining etiquette, read this post on 21 Tips for Holiday Etiquette.
Not only are these DIY Christmas pinecone place card holders easy to make, but they are also inexpensive. They looked great on my Santa’s sleigh~inspired Christmas tablescape.
SUPPLIES FOR YOUR PINE CONE PLACE CARD HOLDERS
This post contains affiliate links to products used in this project. If you should order any product through this site, I may be compensated, but you won’t pay a penny more.
You may very well have all these supplies on hand, which I did.
- pinecones ~ 1 for each guest; what you don’t use, save for other decorations or projects
- clear glue
- small paintbrush
- glitter in your choice of color ~ I chose gold for this project
- a piece of wax paper
Since my color theme included gold for this particular tablescape and I already had 2 jars on hand, I used gold glitter. It takes so little glitter since it has a big impact.
MAKING THE PINE PLACE CARD HOLDERS
My local Central Market carries bags of cinnamon~scented pinecones for BOGO. I think a bag was about $2.00 so I grabbed two bags.
They have been sitting in the garage by the back door and it was nice to smell the cinnamon going in and out of the house.
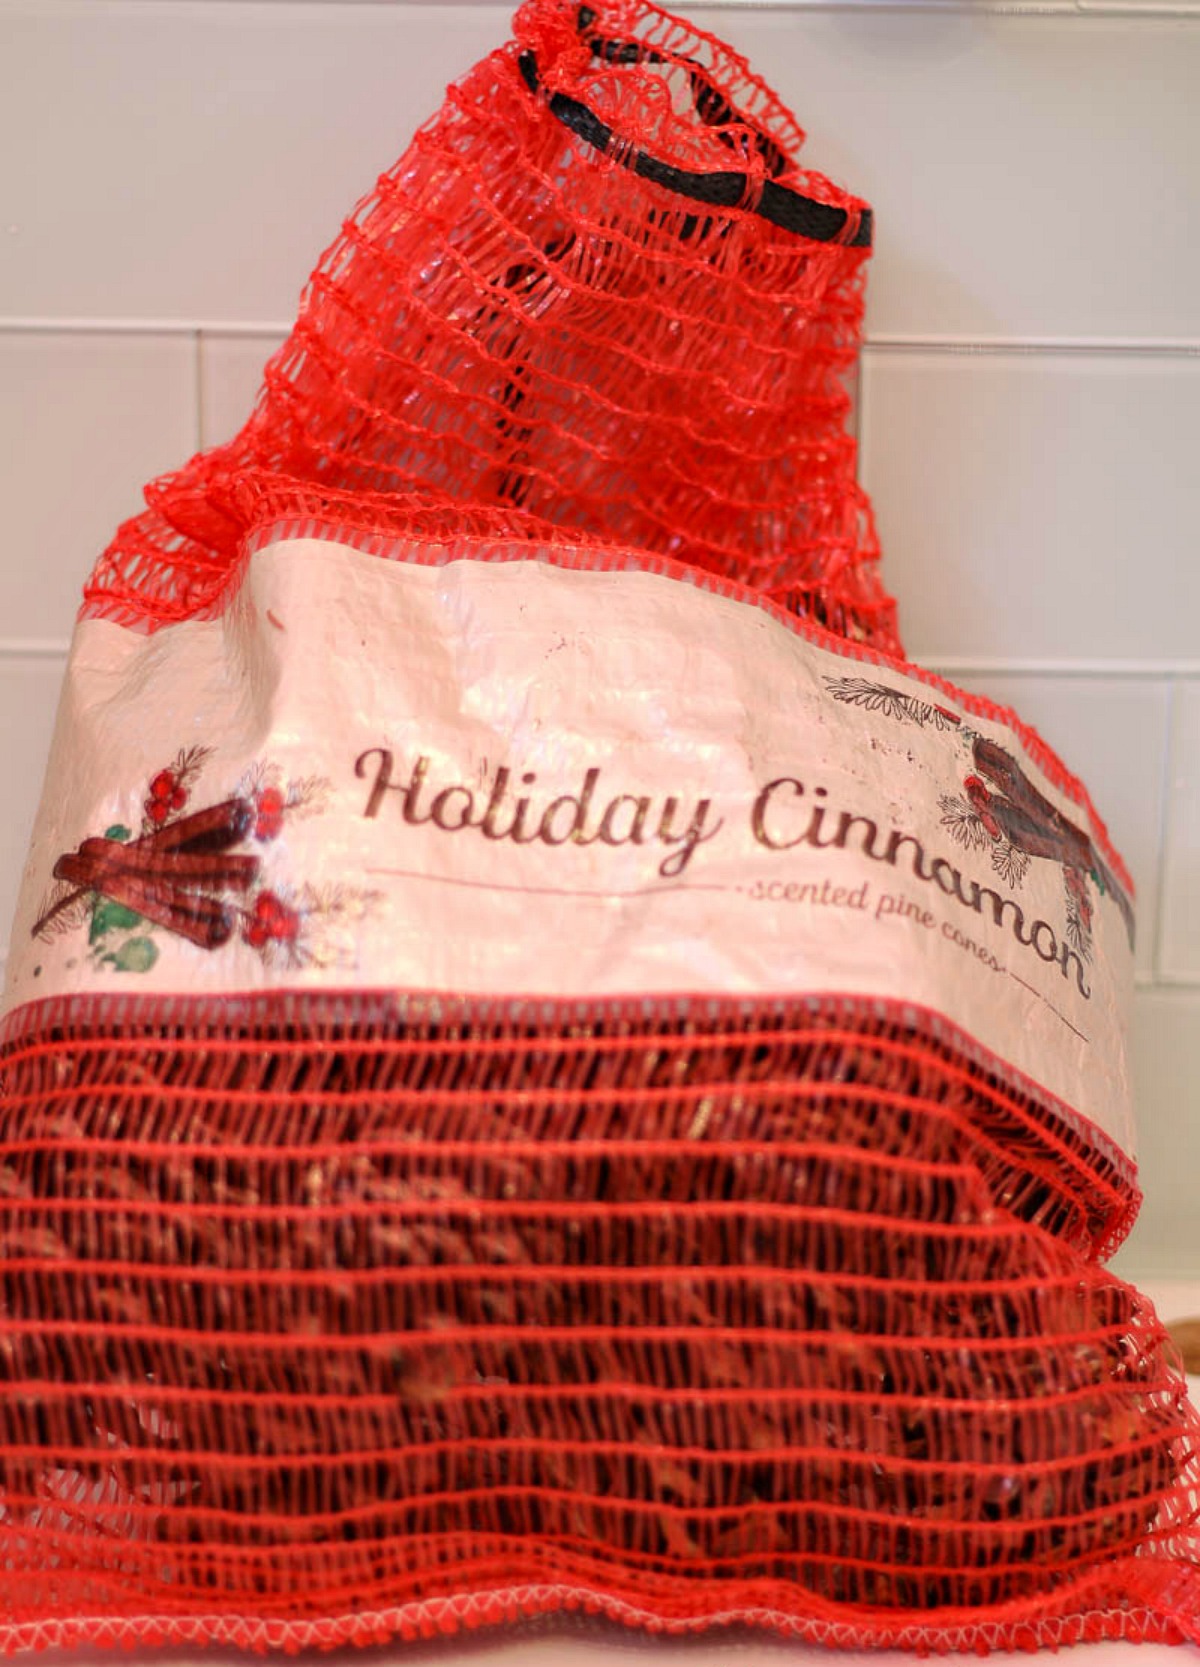
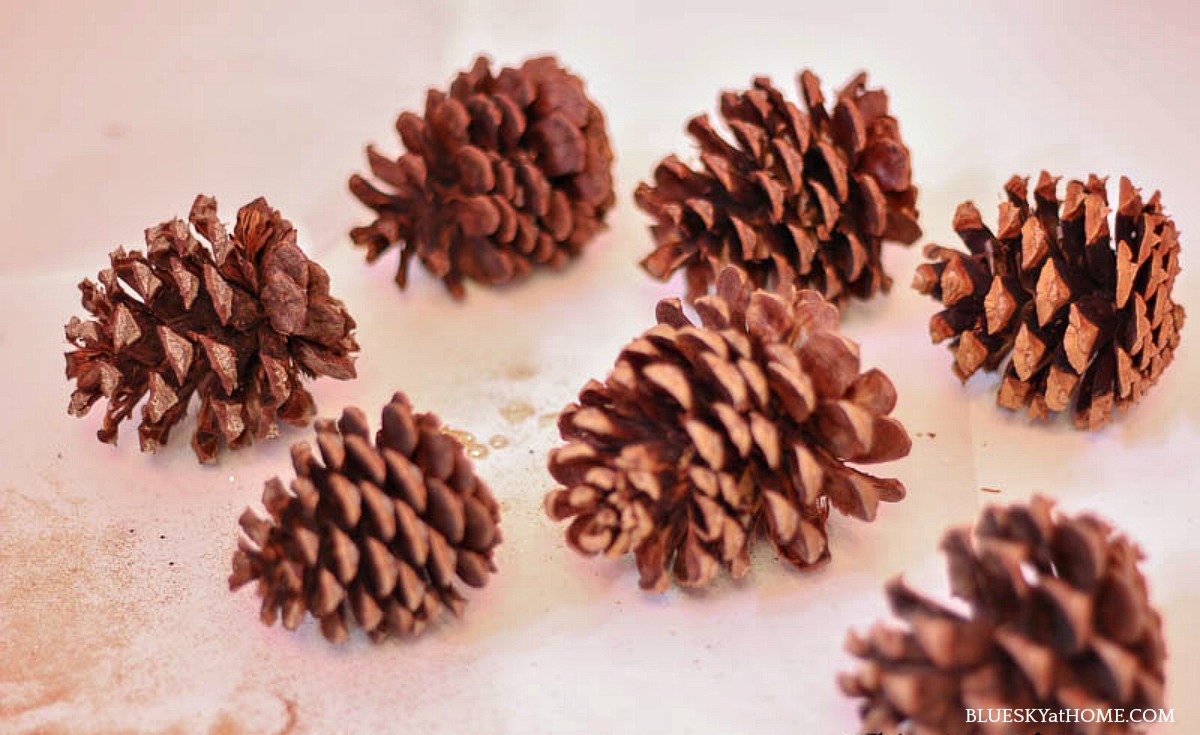
I needed 8 pinecones ~ one for each place setting. I picked out ones that were on the small side.
For my glue, I used good old Elmer’s Clear Glue.
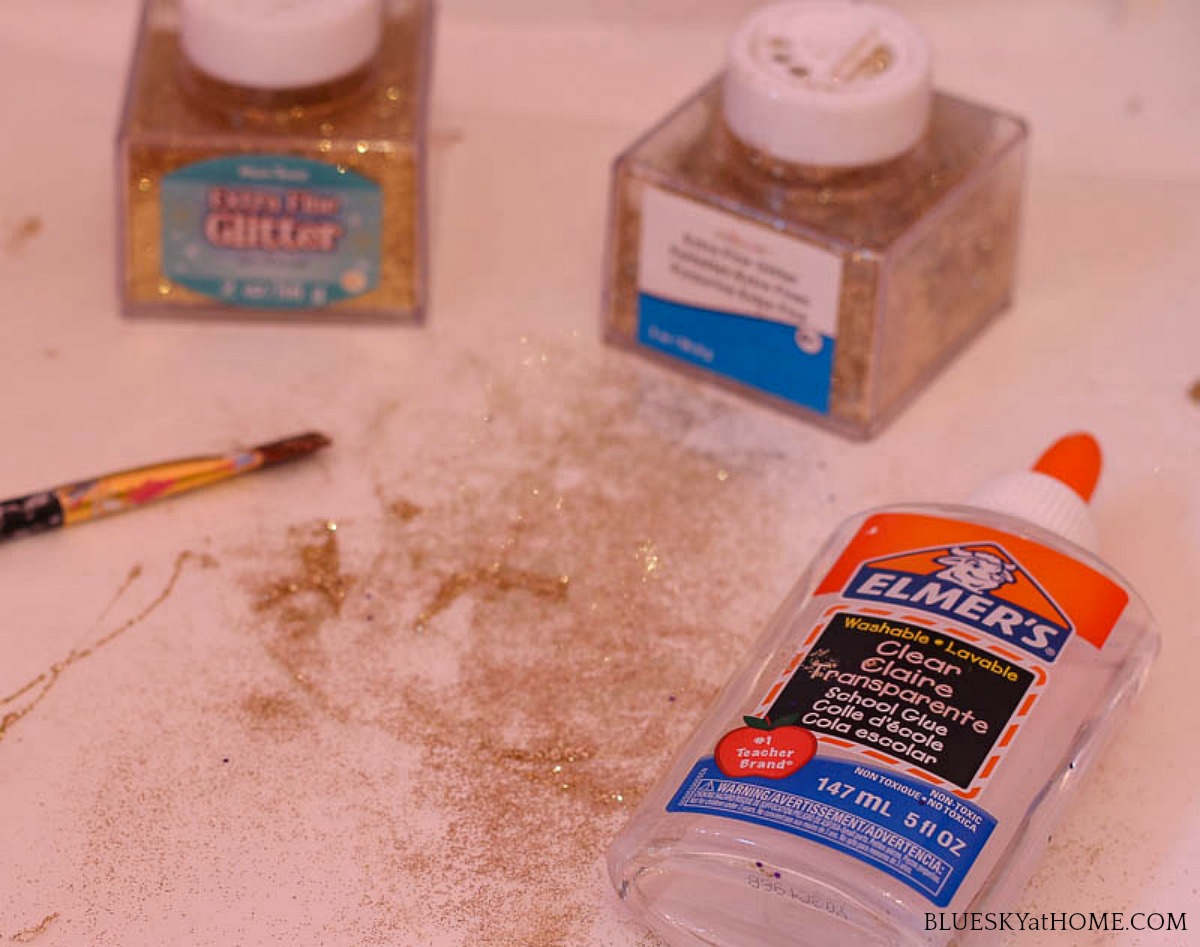
TIP: For glitter projects, I always put down a piece of wax paper to work on. I squeezed a big “glob” of glue onto the wax paper. You could also put the glue on a small paper plate or cup.
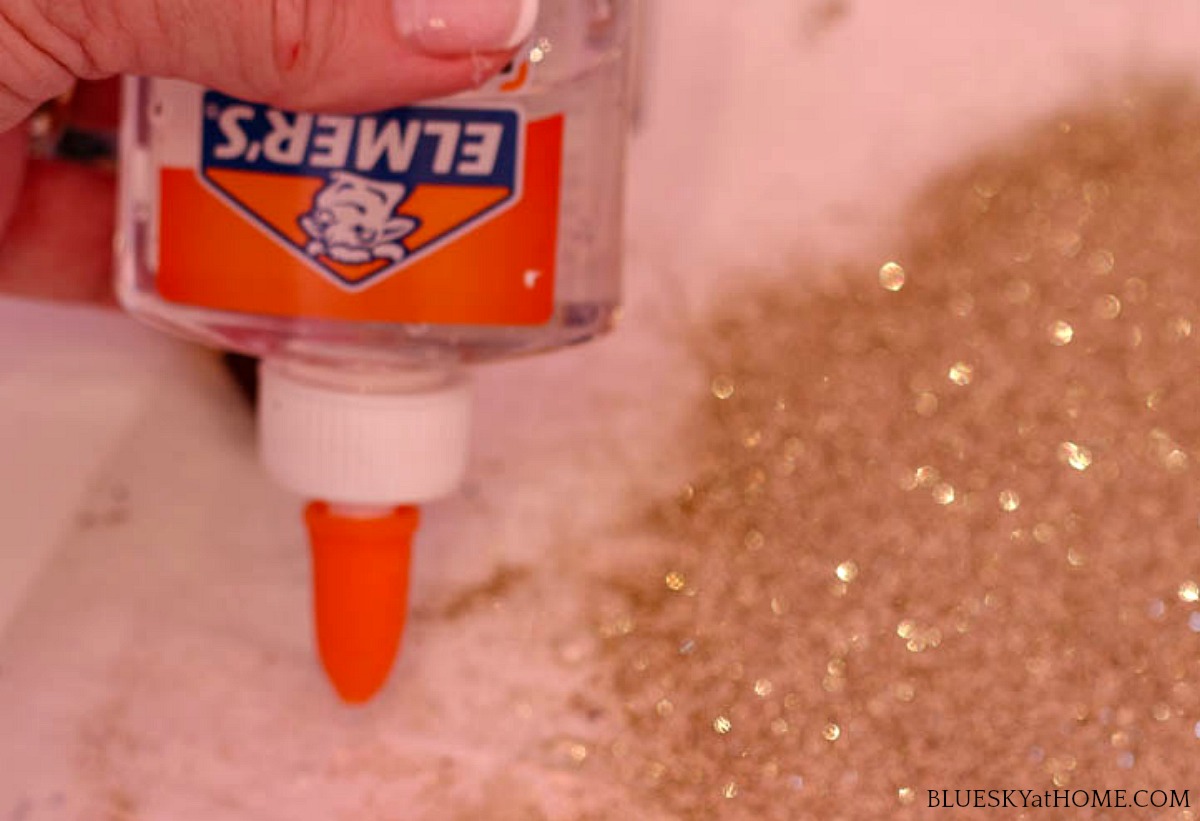
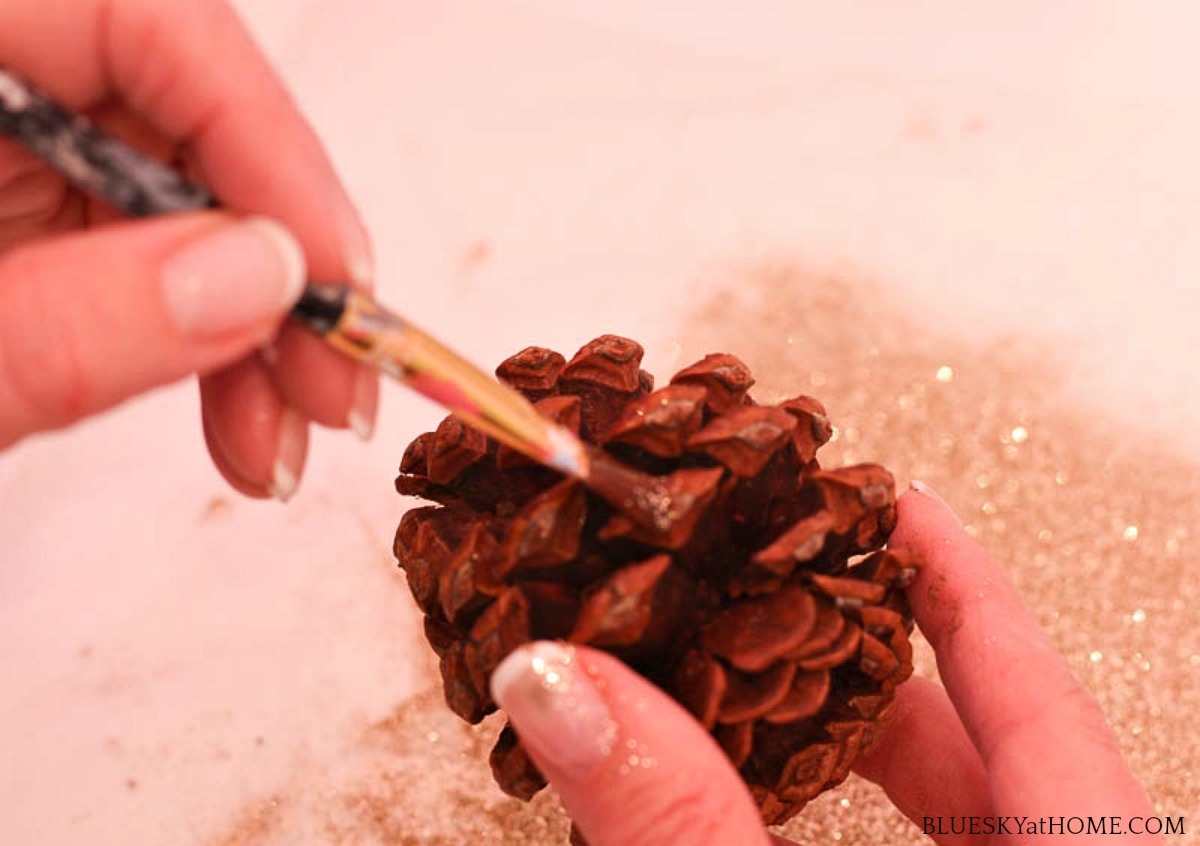
First, using a small, inexpensive paintbrush, brush glue on the ends of the pinecone. You only have to go about 3/4 of the way around the pinecone since one side will be touching the table.
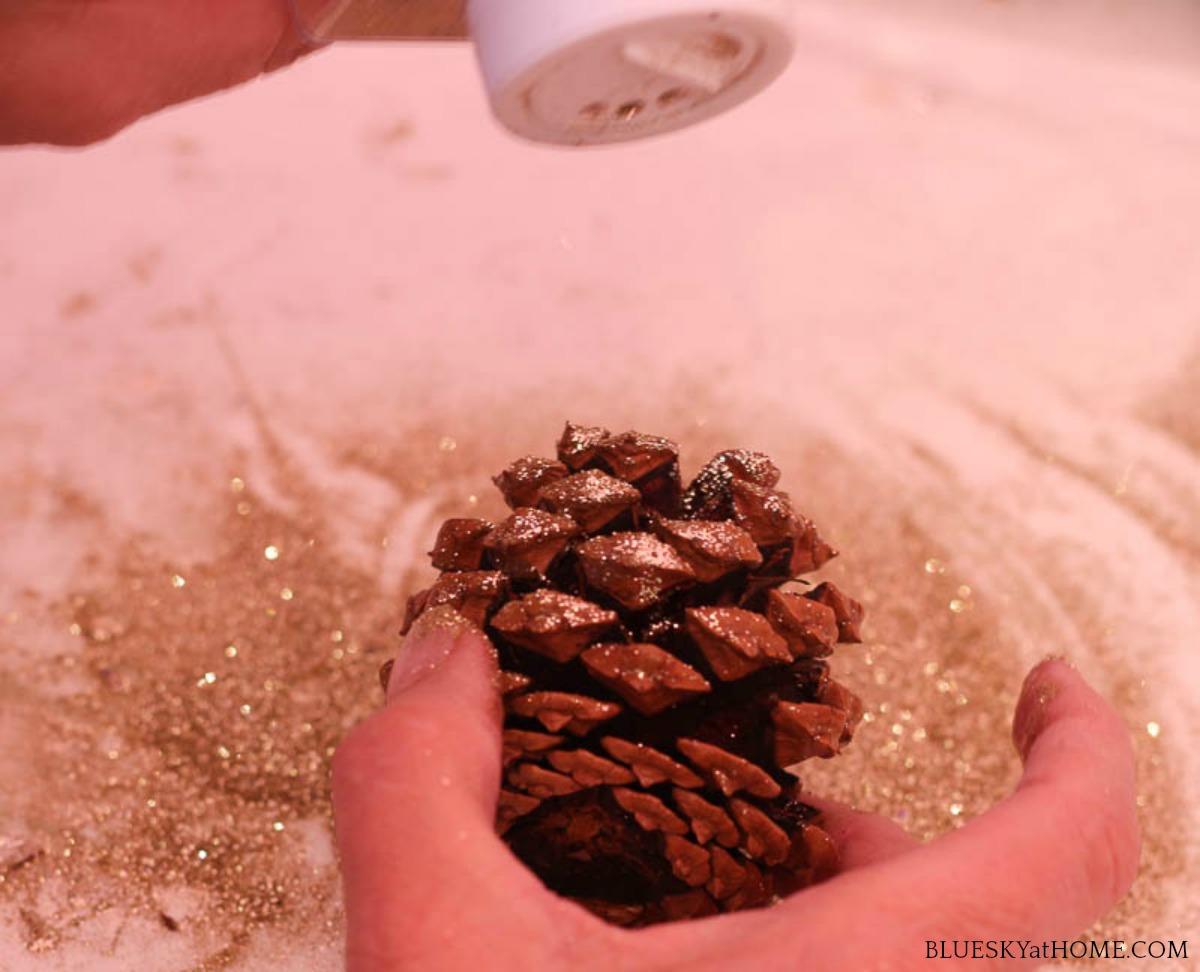
Then sprinkle the glitter onto your pinecone. The excess will land on the wax paper. Shake the pinecone to remove extra glitter. Set aside to dry. Repeat with all your pinecones.
TIP: I found I didn’t need to completely open all the holes on the glitter. You’ll get enough glitter to come out with just one hole open.
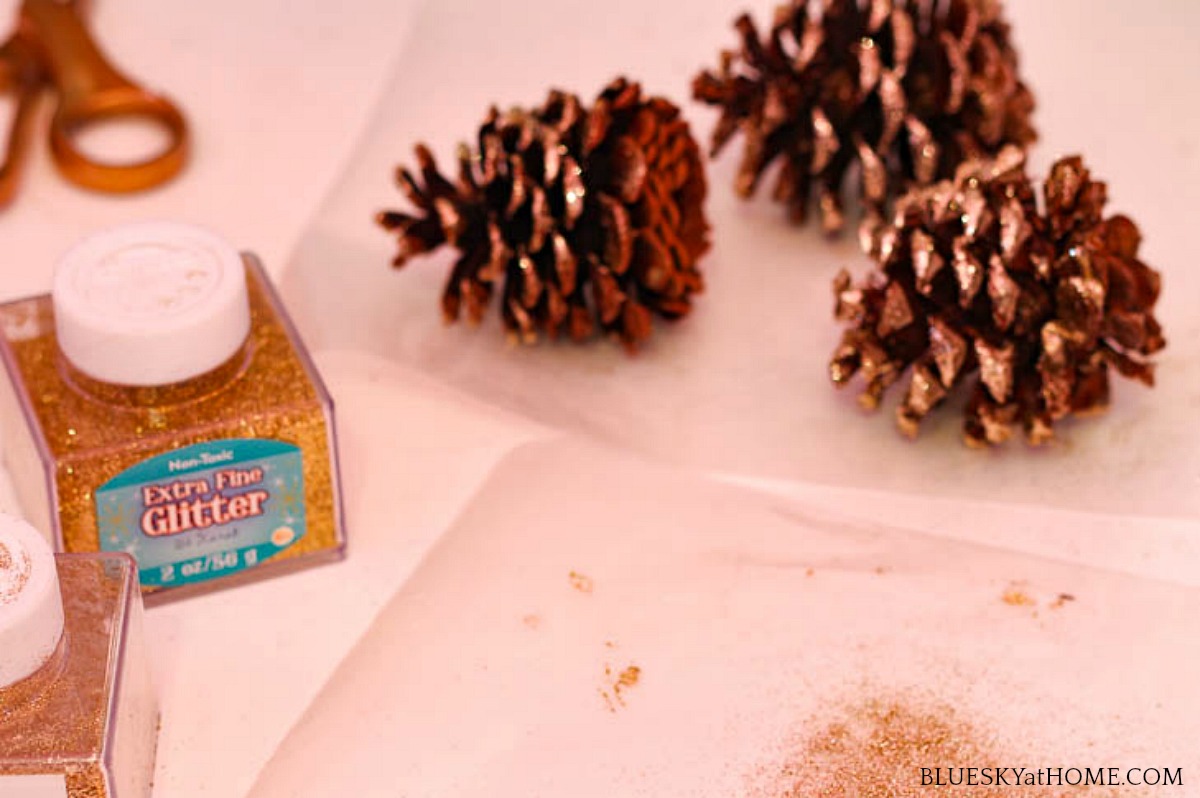
When you are done glittering, you can take the top off the glitter jar, pick up the wax paper and let the excess glitter fall back into the jar.
MAKING THE PLACE CARDS
You might remember the DIY place cardholders and the place cards that I made for our Thanksgiving tablescape. Glitter and glue were involved in those place cards too. These are even easier.
All you will need:
- cardstock in choice of color
- paper punch in choice of shape
- marker in your choice of color
- ribbon in your choice of color
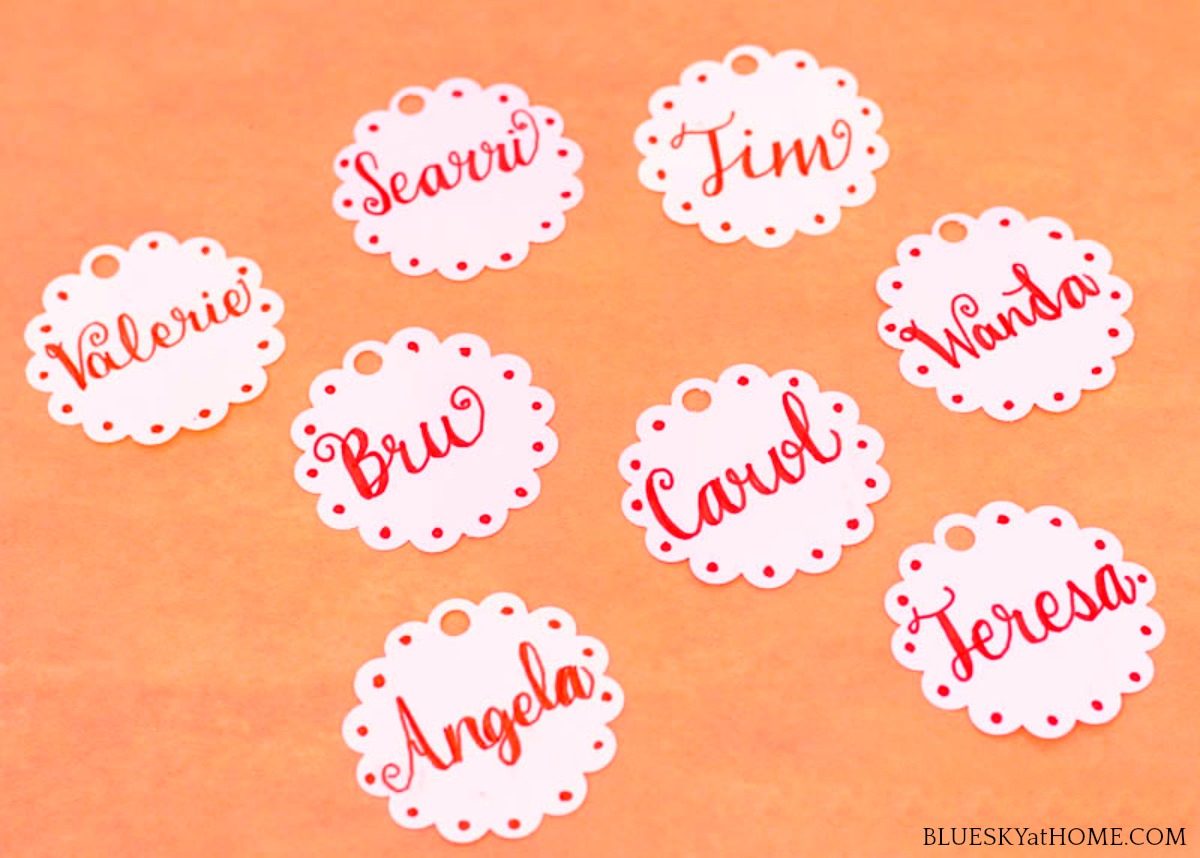
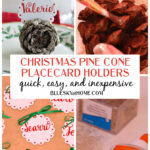
Red and green were also part of my color scheme, so I used white card stock. A 2 1/2~inch round scalloped edge paper punch was just right.
I used my red #856 Tombow hand~letter pen, but a Sharpie would work just as well. I had skinny green ribbon and red and white stripe twine to choose from.
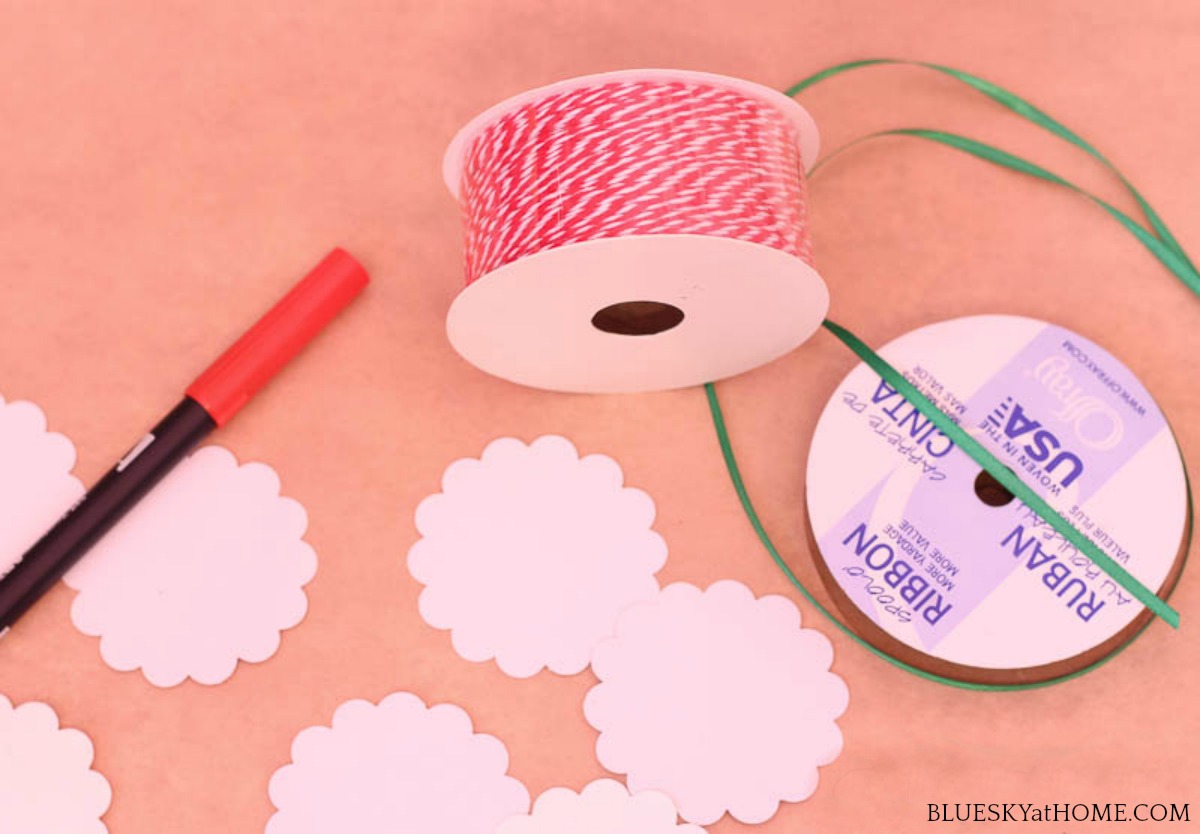
I hand~lettered each name (I am getting better!!).
I could have added glitter to the place cards, but since the pinecone place card holders had glitter, I decided to go simple on the place cards: one little red dot was just right.
Now, punch a hole at the top of your place card. (Seven of 10 of my tennis team were coming to the dinner party plus our coach.)
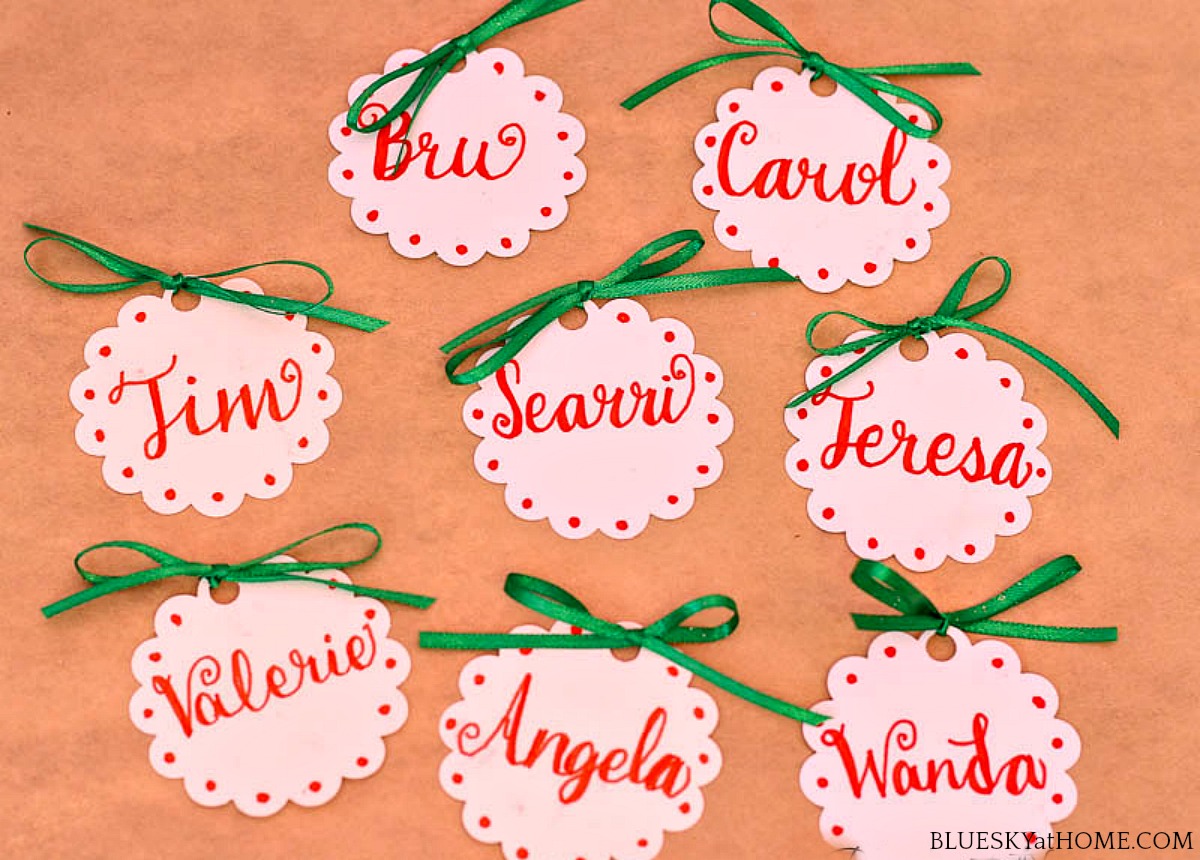
Next, add bows in your ribbon of choice. I chose green to contrast with the red writing and it has more body than the twine.
I thought that I would place the pinecones sideways, but the place cards won’t go in the “slots” that way.
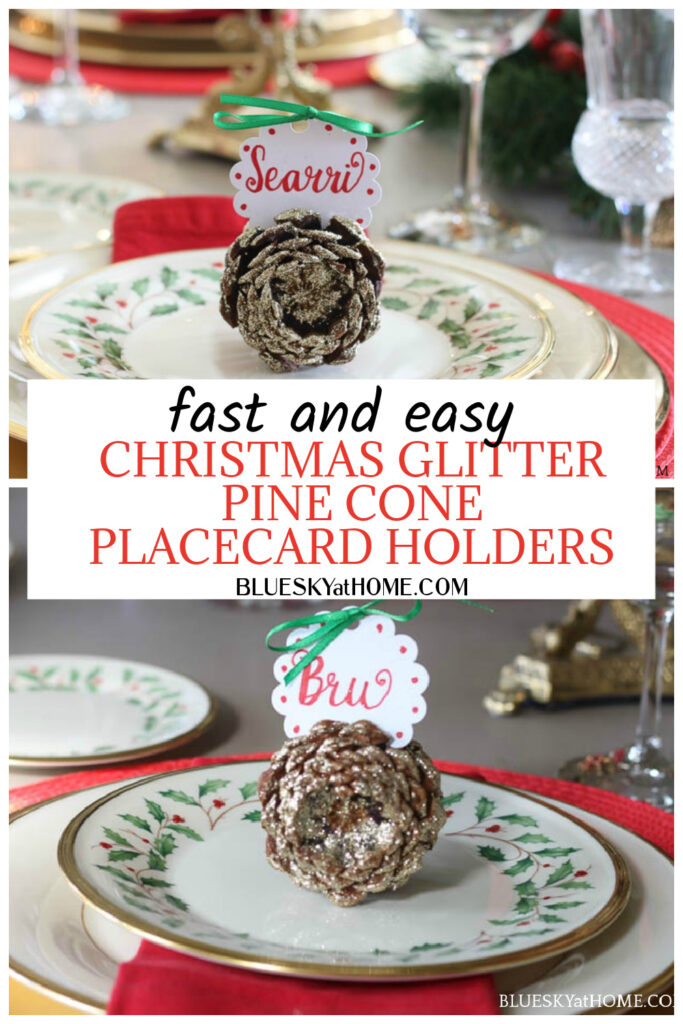
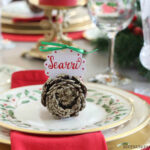
I found that the best placement for the pinecone place card holder was longways with the bottom facing forward. But that left the bottom without any glitter.
Back to the drawing board wax paper.
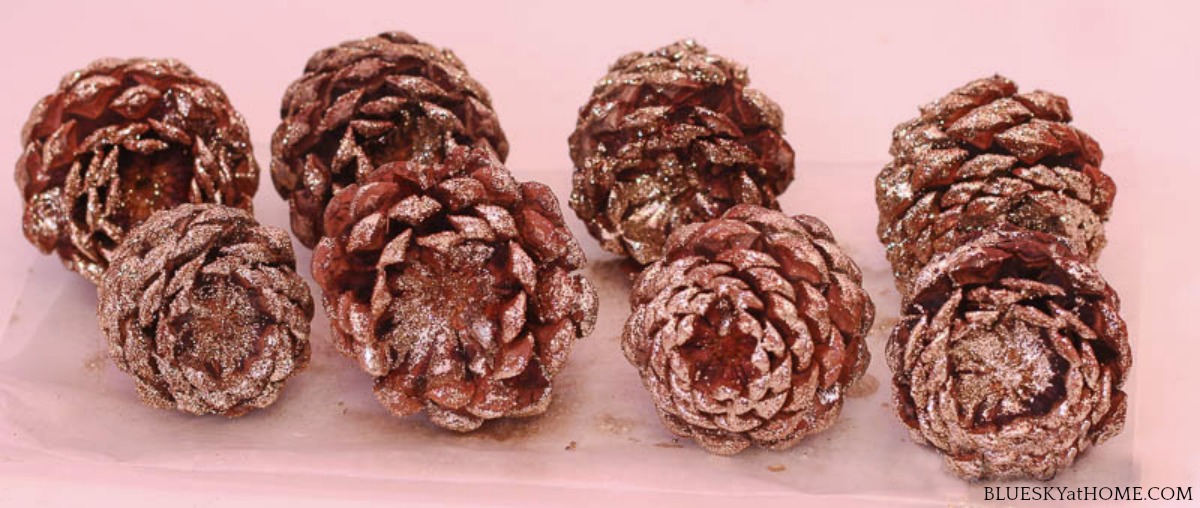
This time, I placed all the pinecones on the wax paper. Now you can brush glue on all of them at once and sprinkled glitter on all of them, so this method went very fast.
I discovered that pinecones are just like snowflakes ~ everyone is different.
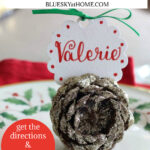
Now just put the pinecone place card holders on the table ~ I put mine directly on the salad plates ~ don’t worry the glitter was completely dry and none came off.
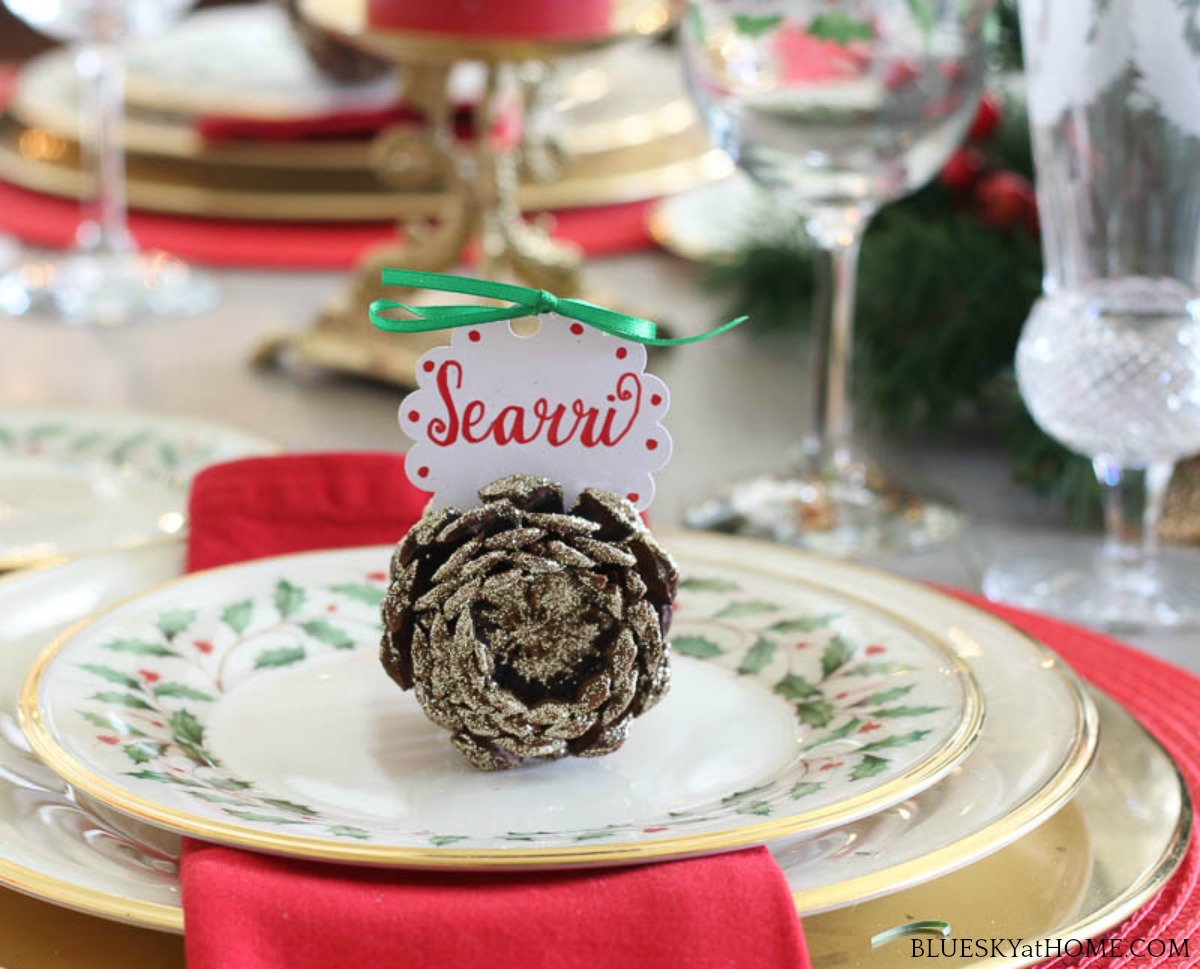
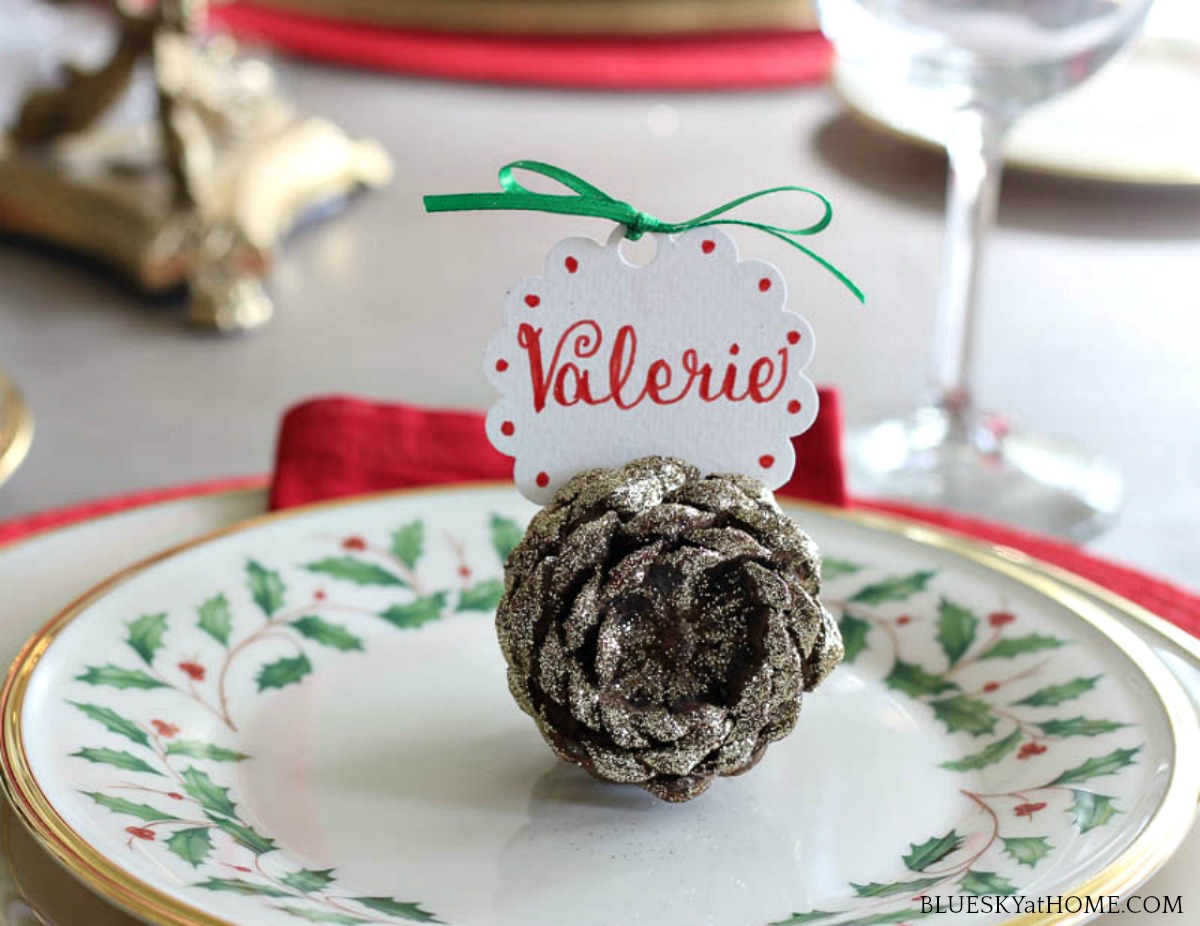
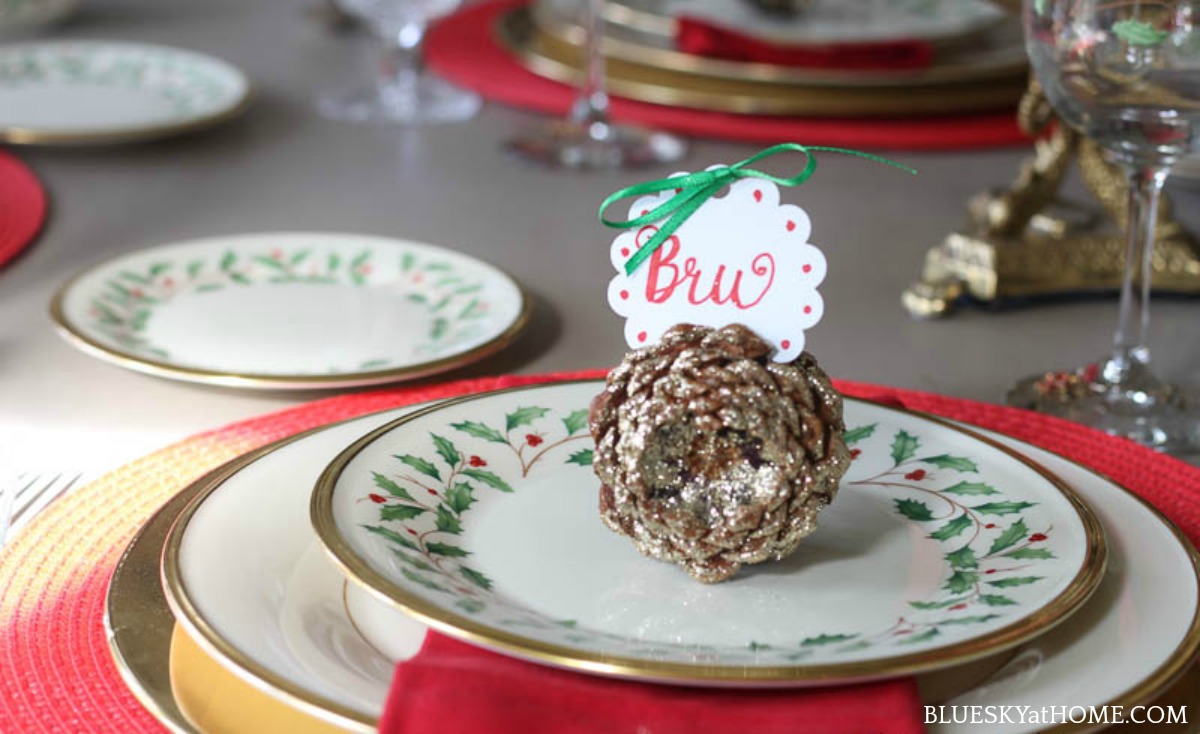
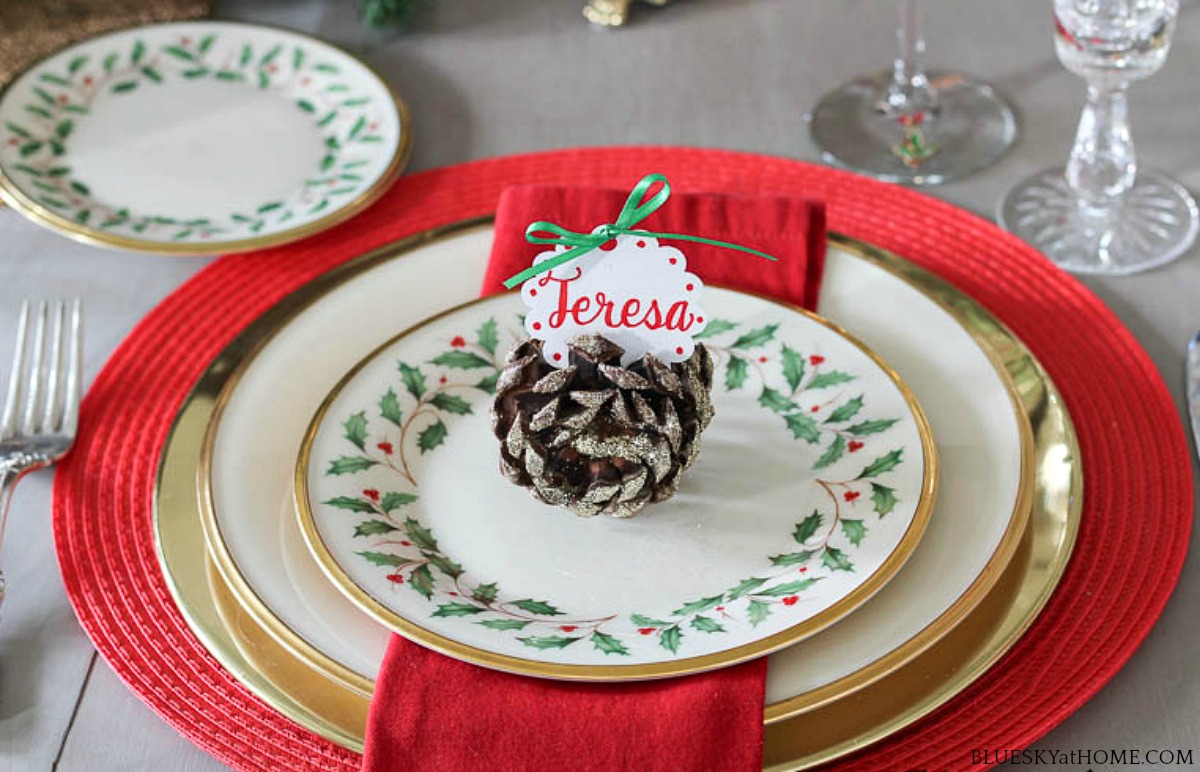
I love how the pinecones fit the casual side of the tablescape theme but have a little bling in the glitter. Super easy, fast, and very inexpensive to make.
To store them for future use, I think I will wrap each one in plastic wrap and put them all in a large ziplock bag.
What do you think? Would you make these?
TIP: I think this is a project you could let kids do for you while you are baking or wrapping gifts.
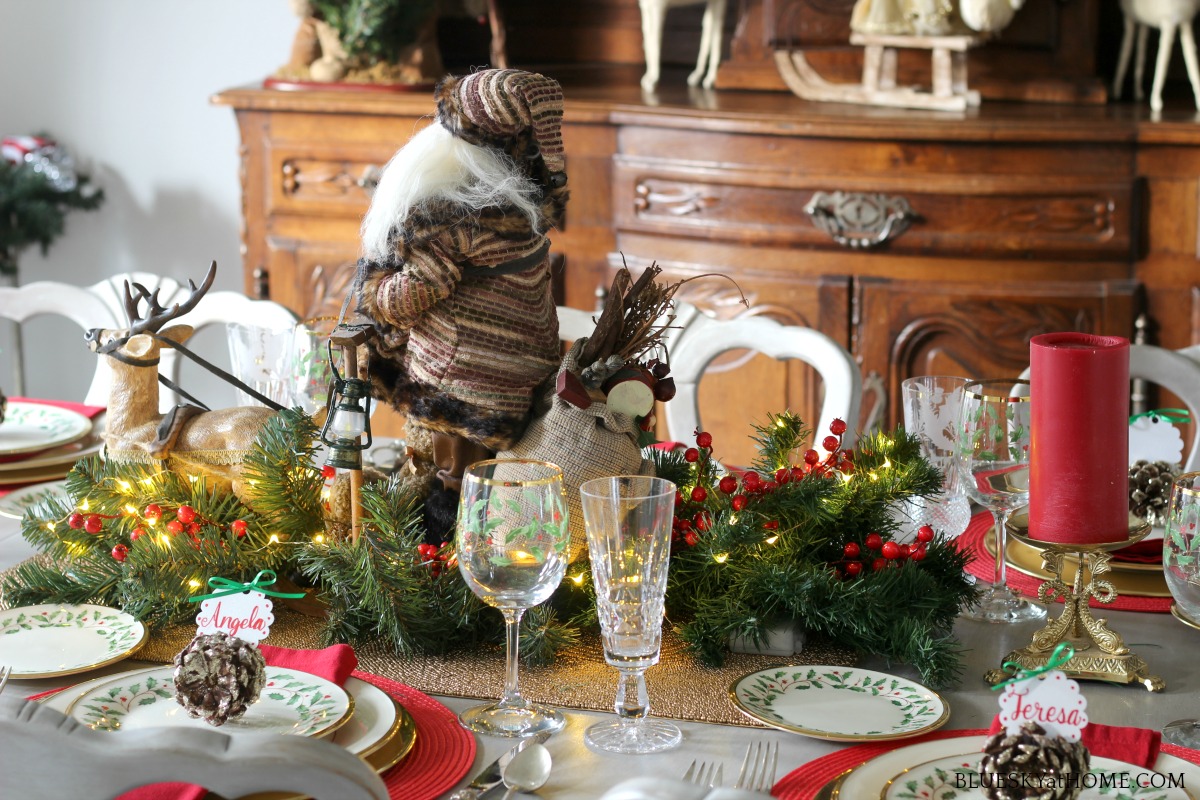
My tennis team loved the place cards and pinecone place holders. A couple of ladies asked to take them home as a little favor. I was happy to oblige.
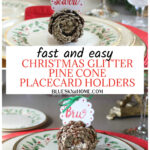
Before you go, please PIN this Christmas pinecone place card holder to share. If you are not hosting Christmas dinner this year, you’ll have the project ready for next year.




These are beautiful, what a gorgeous idea.
Thanks, Julie. They did turn out so cute.
These are simple and lovely! I love rustic and glitter – so it’s a win-win! Thanks for sharing at Vintage Charm. Pinned! xo Kathleen
Cute. Your tablescape is beautiful.
Thank you so much for hosting the party. Have a great week.
Merry Christmas,
Kippi
Carol, these pinecone place card holders are just too cute! I am definitely going to make some for this weekend! Thanks for all your DIY’s and the great instructions that go with each one! Enjoy your week! Hope that your little dog is back to good health.
So cute and I pinned it.