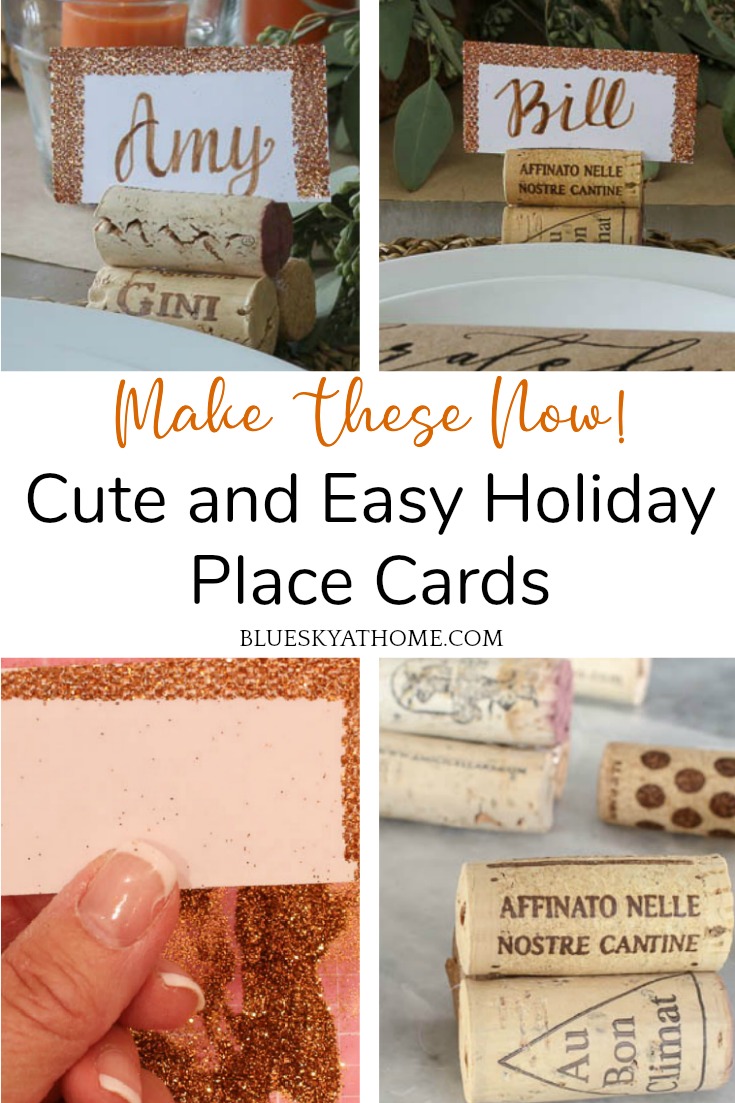
Cute and Easy Holiday Place Cards
Ready to start planning your Thanksgiving table? I have the perfect little project for your holiday place setting ~ cute and easy place cards and place cardholders.
I can’t resist sharing these cute and easy holiday place cards and place card holders that can be made and adapted for fall, Thanksgiving, Christmas or New Year’s Eve.

The process is easy, like the best DIY projects, but have a big delivery factor. Big bang for your buck (as in not much moola) and time.
Cute and Easy Holiday Place Cards
This post contains links to products that I highly recommend used in this project. If you should order any product from this site, I may receive compensation, but you don’t pay a penny more.
I saw the idea for the place cardholders on Pinterest, but I didn’t save it (shame on me). Once again, I had all the supplies on hand (always a big plus) and knew that they would be just the perfect little place cardholders for my Thanksgiving tablescape.
I recently shared the seasonal napkin rings that I made for this holiday tablescape.
As I’ve mentioned before, I love place cards and I love including something handmade in all my tablescapes. It’s the personal touch that tells your guests that you care. I find our friends love the little touches and I love how pleased they are to find something special at their place setting.
SUPPLIES FOR PLACE CARD HOLDERS
We are wine drinkers and over the years, we have thrown away hundreds of wine corks. A few years ago I suggested to Sweet Shark that we should start collecting the wine corks and put them in a pretty bowl on his bar.
That worked great until a few months ago when the corks were overflowing the crystal bowl. We are constantly picking up and retrieving corks off the floor. It was time to get rid of some of the corks and start over.
Then I saw the idea to use wine corks to make place cardholders. I went through the collection and pulled out a few dozen so that I would have plenty for any future projects.
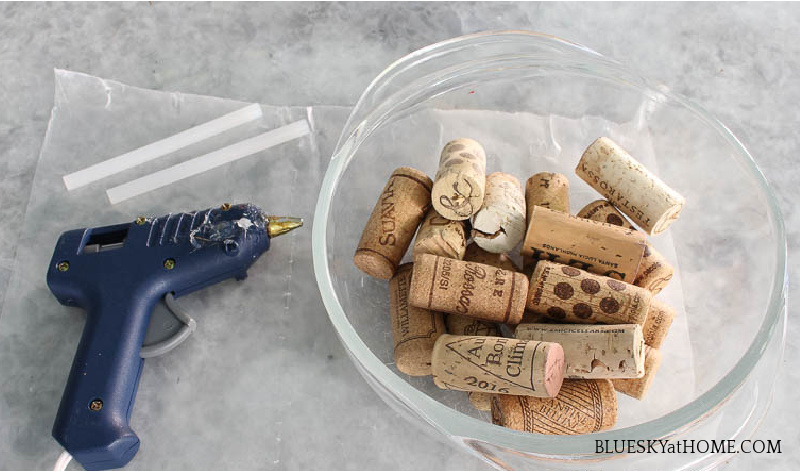
So here is what you need:
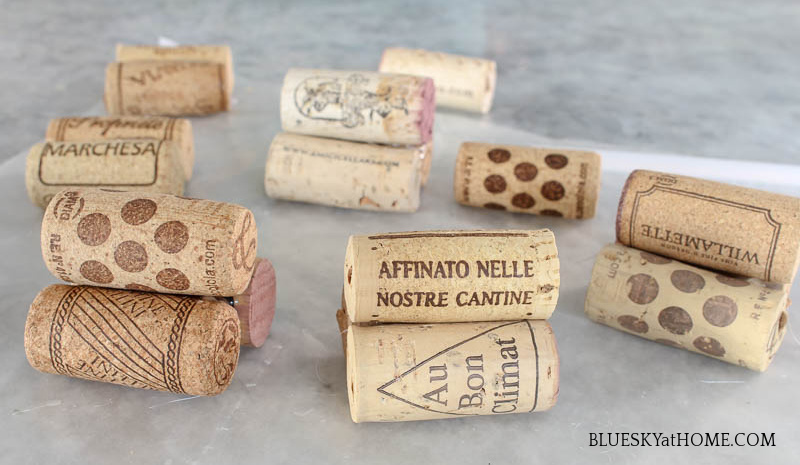
- wine corks ~ 3 of the same size for each place card holder
- this is my new wireless hot glue gun
- piece of wax paper
- knife
That’s it, you say? Yep, that’s it.
I needed 6 sets of place card holders, so I needed 18 wine corks.
MAKING THE CORK PLACE CARD HOLDERS
Step 1 ~Gather the corks you want to use in a bowl or container. I selected corks that were different and had interesting designs or logos. I especially love the ones with polka dots.
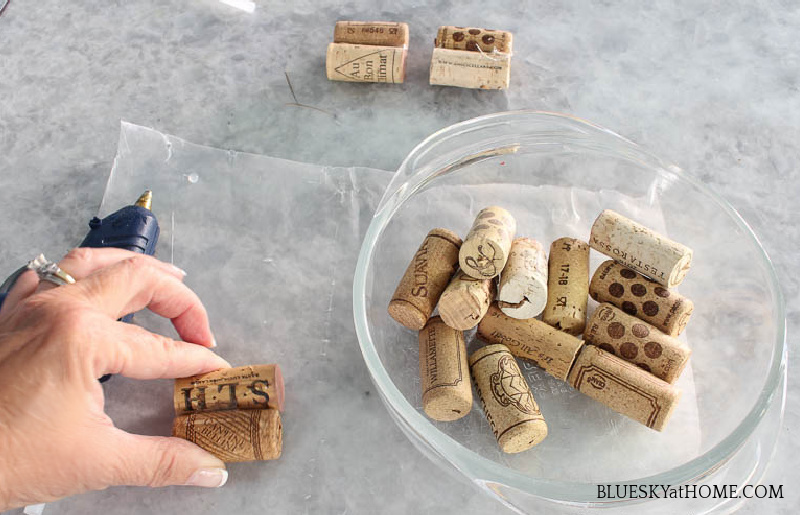
Step 2 ~ Heat your glue gun.
TIP: I like to place my glue gun on a piece of wax paper to protect the granite surface. Just throw it away when you are done.
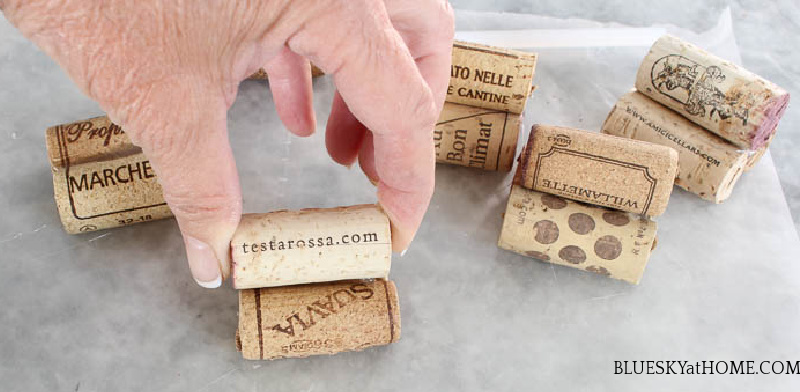
Step 3 ~ Next pick out 2 corks that you want to go together on your place cardholder. Hold together tightly with your thumb and forefinger.
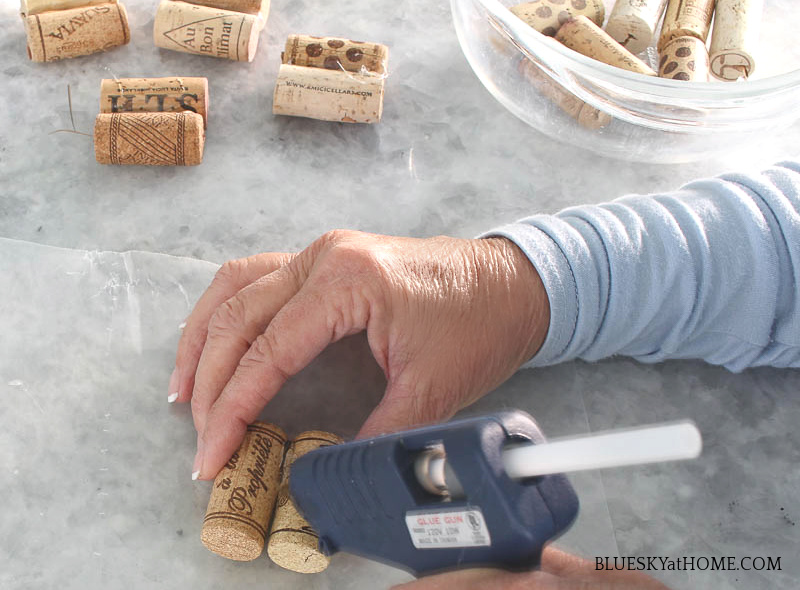
Step 4 ~ Run a bead of glue down the center of the 2 corks and hold together for a few seconds.
Step 5 ~ Pick out the corks that you want on top. Using a small kitchen knife, cut a slit across the top of the cork from end to end. It doesn’t have to be deep. Sweet Shark did this step for me.
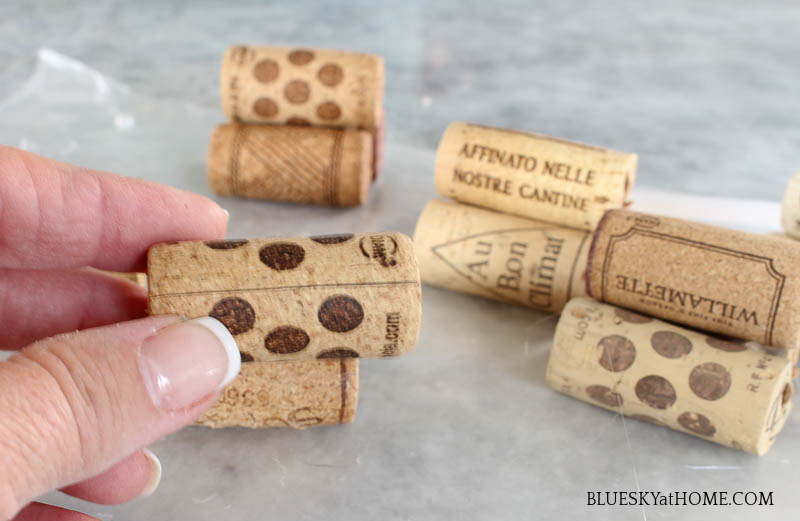
Step 6 ~ Run a bead across the “seams” where the 2~cork base is glued together.
Step 7 ~ Place the 3rd cork on top of the glue and hold in place firmly until the top cork is set.
TIP: Be sure your slit is facing up!
You can complete each cork place holder individually or do all the bases and go back and add the 3rd cork on top ~ whichever you like.
Wasn’t that easy?
SUPPLIES FOR YOUR PLACE CARDS
Here’s where you can get creative and match the place cards to your theme or the holiday.
Here are the supplies you need to make these cute and easy place cards:
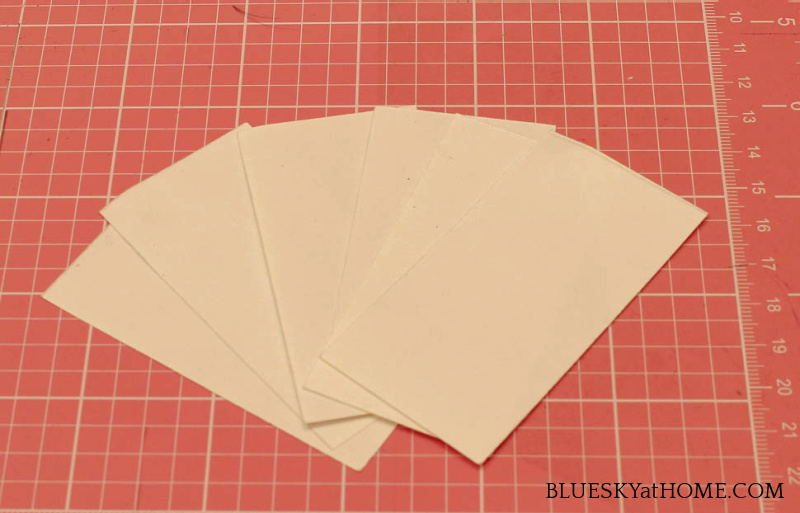
- 3 X 5 unlined index cards or white cardstock
- pencil and ruler
- scissors or paper cutter
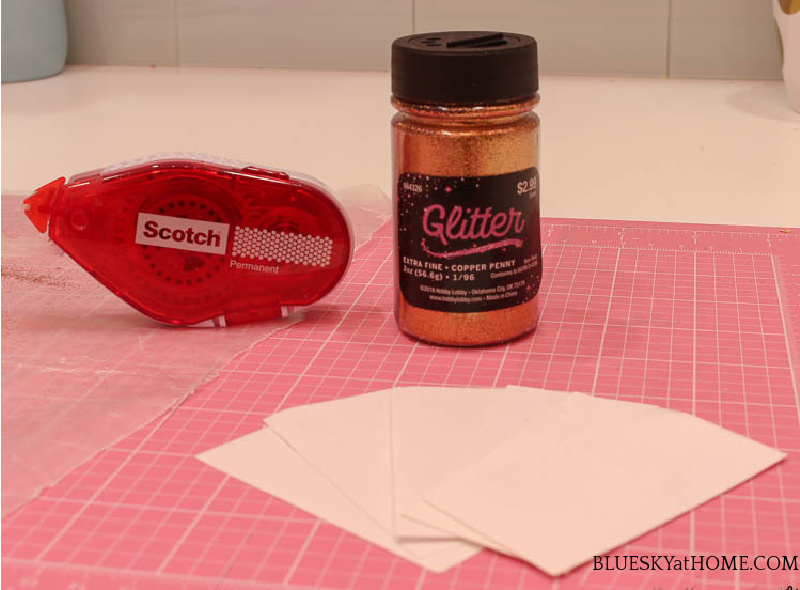
- scrapbook permanent adhesive
- copper glitter or your choice of colors
- Tombow hand lettering pen or fine point Sharpie in choice of color
For the place cards, I used the unlined index cards since I had half a package in my paper box. I needed 6 place cards so I used 2 index cards.
MAKING YOUR PLACE CARDS
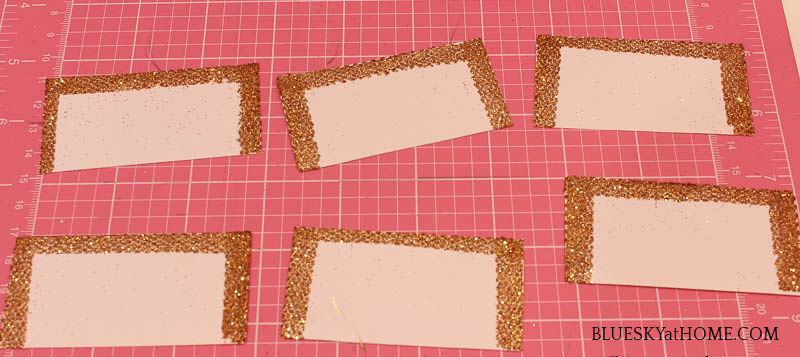
Step 1 ~ With your ruler and pencil, measure and draw 3 X 1 1/2~inch rectangles. Cut your index cards using scissors or a paper cutter. I like the paper cutter because you get a more accurate and clean cut.
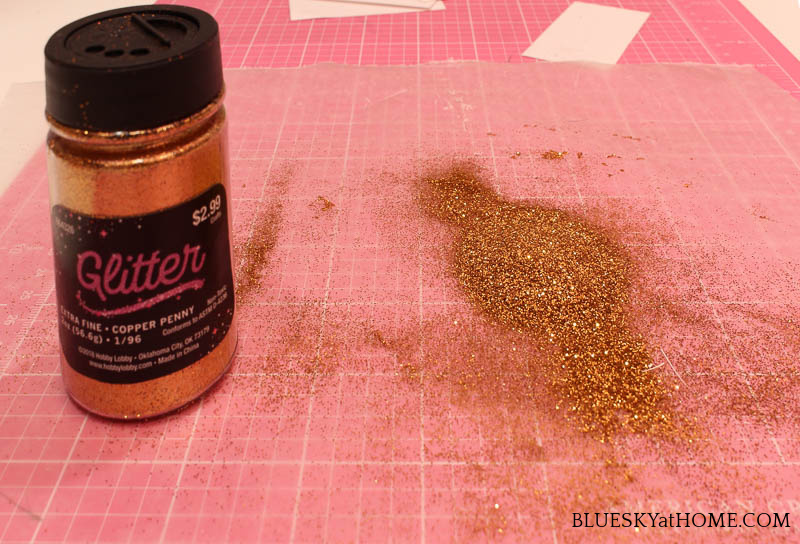
I already had glitter in gold, silver, and red, but I wanted something more fall-ish. The only supply that I bought was glitter in a color called Copper Penny.
I found that scrapbook adhesive was the easiest product to use for this place card project. No messy glue.
Once again, I used a piece of wax paper to work on.
Step 2 ~ Sprinkle some of the glitter onto the wax paper.
TIP: When you are done with your place card holders, you can pick up the wax paper and return any glitter back to the jar.
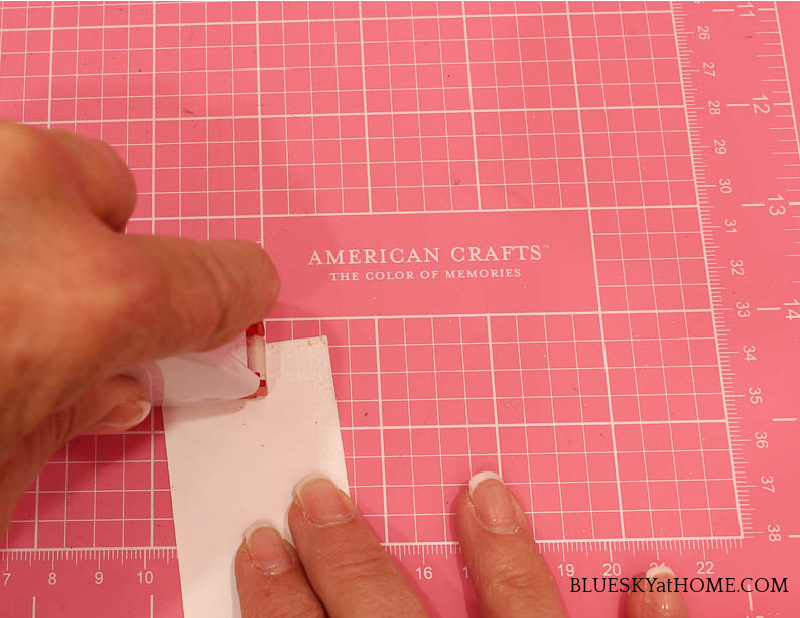
Step 3 ~ Run the Scotch adhesive down the edge on 3 sides of the place card paper ~ 1 long side and the 2 short sides.
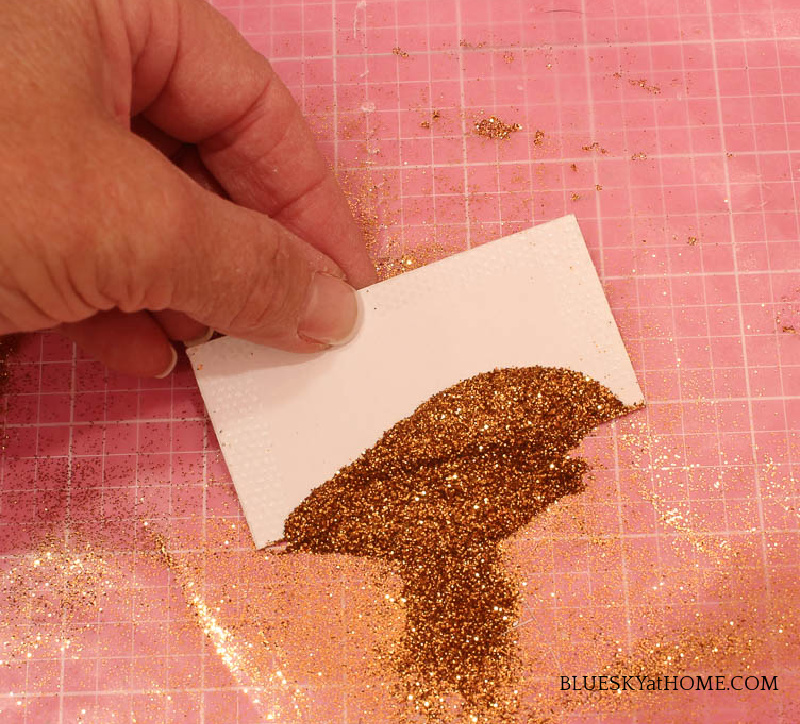
Step 4 ~ Slip the edges of the place cards under the glitter. The glitter will stick to the adhesive. No drying time required.
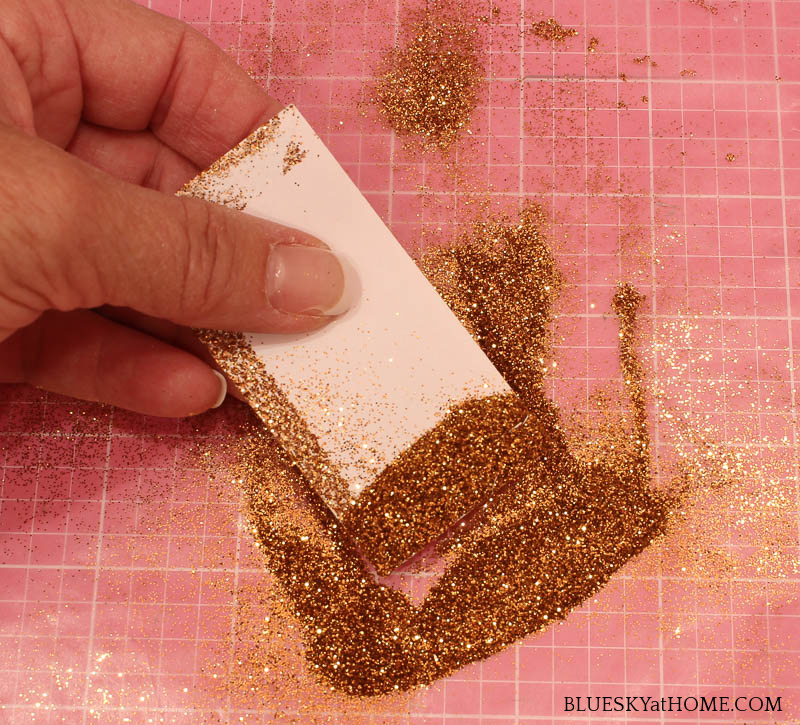
Step 5 ~ When you have the glitter on 3 sides, just tap the card to your work surface to shake off any excess glitter. Repeat with all your place cards.

These 6 place cards took about 3 minutes. You can use any color of glitter that fits your event or theme: gold, silver, red or green, blue.
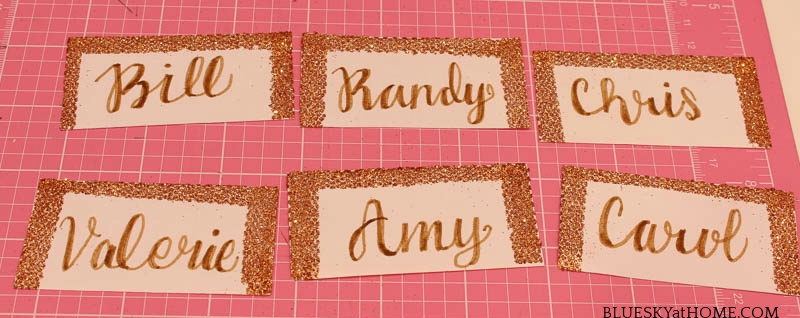
Step 6 ~ Now you are ready to add the names to your place cards. I was really, truly going to use these place cards and place card holders for a dinner part the weekend before Thanksgiving.
You can write the names in your own handwriting, print or script. I used my hand lettering skills that I’ve been practicing.
You can use a fine point Sharpie in your color of choice. I used my Tombow Duel Brush Pen, number 997. It looks like a caramel color on the tip, but comes out a bit bronze/copper which really matched the glitter quite well.
My hand~lettering is getting better ~ I try to practice every day. It’s not perfect, but I was pleased with the results.
If you haven’t guessed yet, Sweet Shark’s real name is Chris. Don’t tell anyone.
Step 7 ~ As the last step, slip the un~glittered side of the place card into the slit of the cork place cardholder.
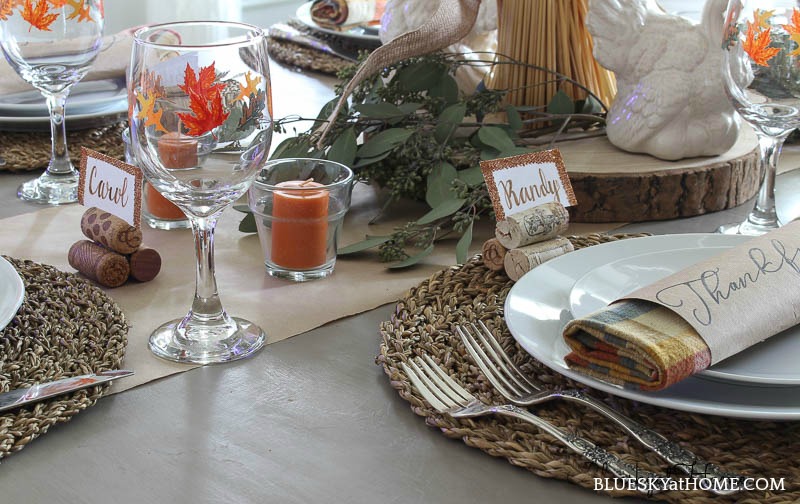
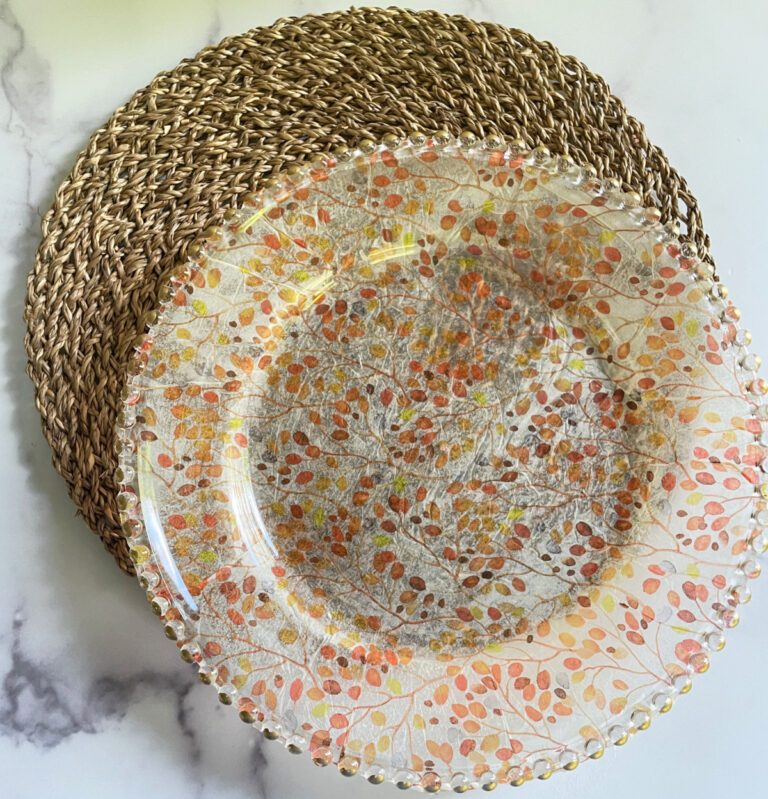
All that is left is to place your cute and easy place cards on your table. I really got excited when I saw how they looked on my Thanksgiving tablescape.
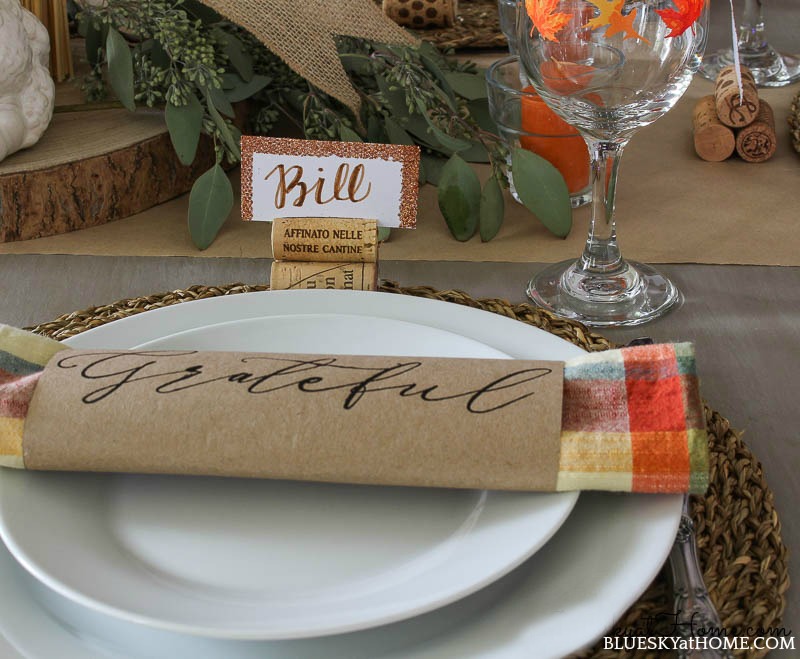
The cork place cardholder has a natural, organic look, but the glitter on the place card has an elegant feel.
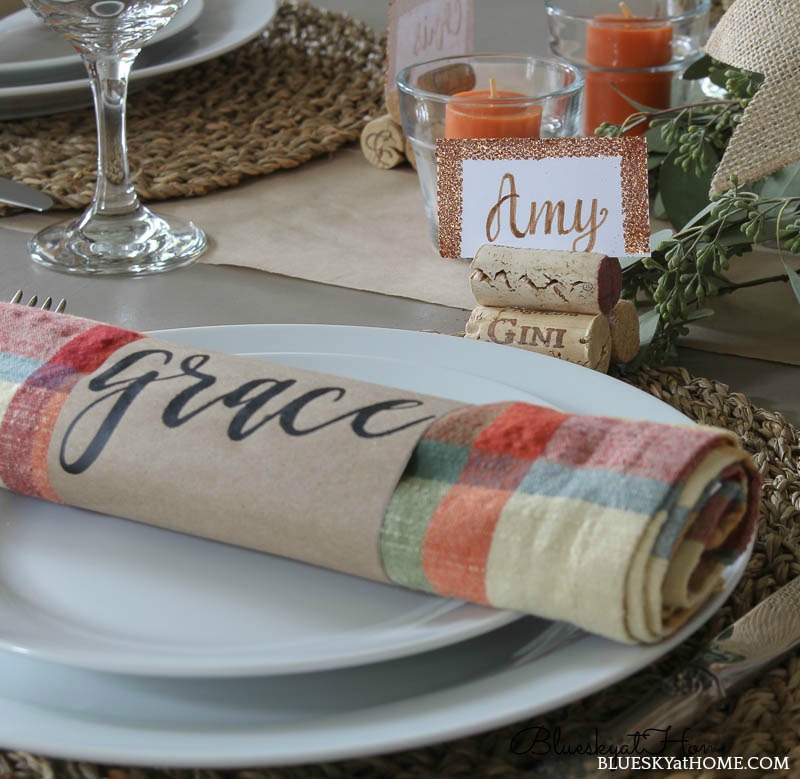
You could definitely use the place card and the place cardholder separately.
I hope that these cute and easy holiday place cards and place card holders will give you inspiration for your own table settings. They really were fun to make, took very little time, and definitely inexpensive.
Would you make these? You could do it this afternoon. Or you can PIN it for later.

By the way, if you don’t have wine corks at home, ask your favorite restaurant or wine store to save some for you.
If you would like some other place card ideas to save or later, check these out: 5 Easy Halloween Place Cards

Cute idea. It’s been way too long since I played with glitter! I love the look you created. And your lettering is beautiful! Thanks for sharing. I’m visiting from the Happy Now linkup today. Have a great day Carol!
Thank you for visiting, Marielle. I’m so pleased that you liked the project. You can’t go wrong with glitter!
Carol, such a clever idea ! I love how it turned out and I love your handwriting.
Thank you for sharing with Meraki Link Party.
Much love
Naush
Carol, I love all you ideas and this one is perfect for a holiday table. Changing the colors and wording it could be use anytime of the year. Great tutorial.
Very cute! I certainly should have plenty of wine corks to use. LOL! I love these. Will definitely be pining and giving it a try.
Cute idea, Carol and I’ve got lots of corks for this project! Thanks for sharing.