3 Easy Easter Tablescape DIY Projects ~ Behind the Scenes
I love to dress up my table settings with handmade decorations. For my recent Easter tablescape, I made three easy projects – behind the scenes. Joanna Gaines had her Behind the Design show and I’m sharing my behind-the-scenes easy Easter tablescape DIY projects. We’re DIY sisters; Joana just doesn’t know it.
Anywho, after showing you my Easter tablescape, I have to bring you the behind-the-scenes. I love seeing how things are done, whether it’s a home reno, a fixer upper, a DIY project or a tablescape.
The before and after is so much more fun with the “this is how it’s done” in between. That’s why I love sharing these Easter tablescape DIY projects; I want you to see exactly how to create the projects that I do so that you can do them too.

3 Easy Easter Tablescape DIY Projects – Behind the Scenes
Let me explain why I’m a stickler for creating enhancements to my tablescapes and to our home.
Several years ago I worked with a friend who was a special events professional – actually, she handled my older daughter’s wedding reception. During the 6 months of planning the reception (which turned out to be beautiful!), I tried to soak up as much as I could from her. I learned some very helpful tips from her.
I’ve never forgotten this entertaining tip. Just like eating with our eyes first, our guests see our pretty tablescapes first. They take in the colors, the patterns, the textures, the details.
Think about the things that your guests touch: napkins, napkin rings, glasses, silverware, dishes, even the tablecloth or placemats. Those are the things that they feel. Seeing and touching are senses to think about when we create a tablescape.
My friend even made sure that the monogrammed hand towels in the restrooms of the reception venue were of good quality. She said that you don’t want your guests drying their hands on rough, cheap hand towels so spend a little more money to treat your guests.
After the reception, we made sure every extra towel made it to the bride and groom’s new home in Atlanta, where they used the towels in their powder room until they ran out. Today, I always have nice, monogrammed guest towels in our powder bath for company.
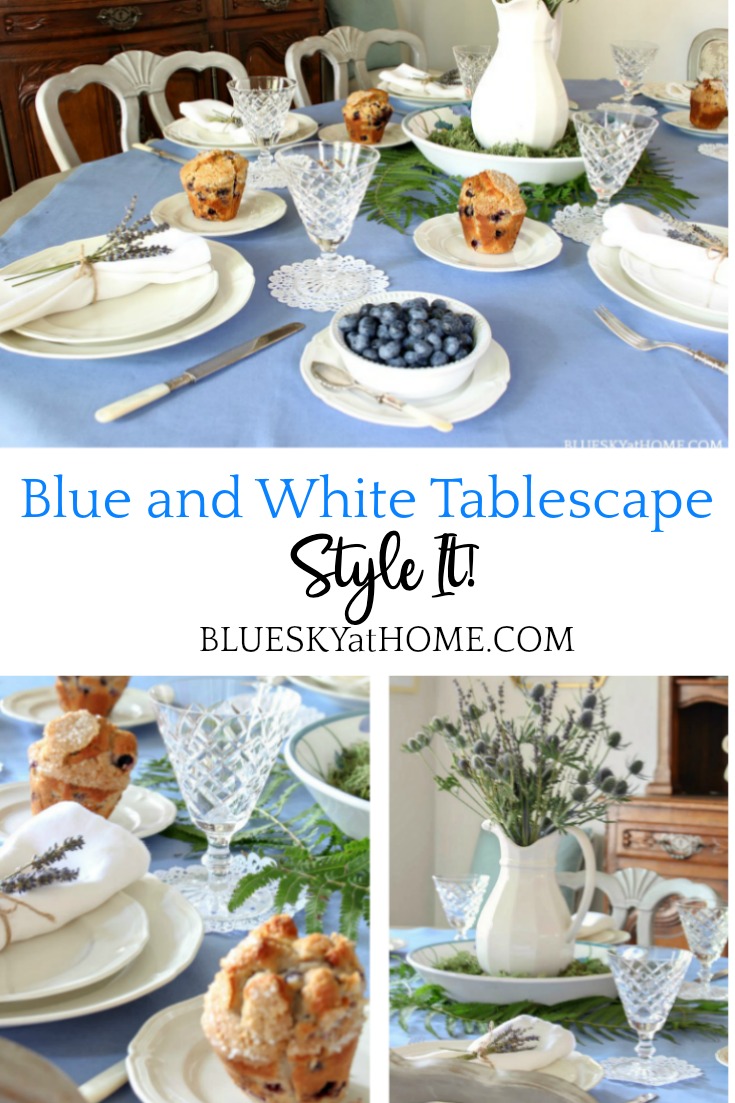
The best way to have easy access to more fabulous Easter tablescapes is to Pin them for future reference. I have a great Pinterest board called Tablescape Ideas if you want a quick way to see tons of pretty tablescapes for inspiration. You might even want to follow that board (Hint, hint!).
So now on to the Easter tablescape DIY projects.
Easy Easter DIY Project Number 1 – Stenciling Glasses
When my guests sit down at the dining room table, I want their eyes to see something special. If the occasion is a formal dinner party, it may be our beautiful crystal glasses.
For a more informal event, like Easter lunch or brunch, I like to have details that bring a sense of whimsy, and yes, cuteness. Adding a stencil that reflects the occasion – in this case, Easter – to the glassware is an easy way to repeat a motif and bring a smile to my guests’ faces.
Yes, you may have seen me do this before, but in case you haven’t, here’s how easy it is to stencil glasses. I love this little DIY project because it’s fast, inexpensive, impactful and again, just so darn cute.
Inexpensive wine glasses become something special. I love having a set of wine glasses from Dollar Tree, but Ikea or World Market are other good sources.
Here’s how to stencil the glasses:
- First, make sure that the glasses are glass and free of smudges.
- Then select your stencils. You need a stencil that is small to fit on the rounded shape of the wine glass. I pulled out all the Easter stencils I had from A Maker’s Studio that I thought would be good candidates. I decided to use the flower, the carrot and the bunny stencils.
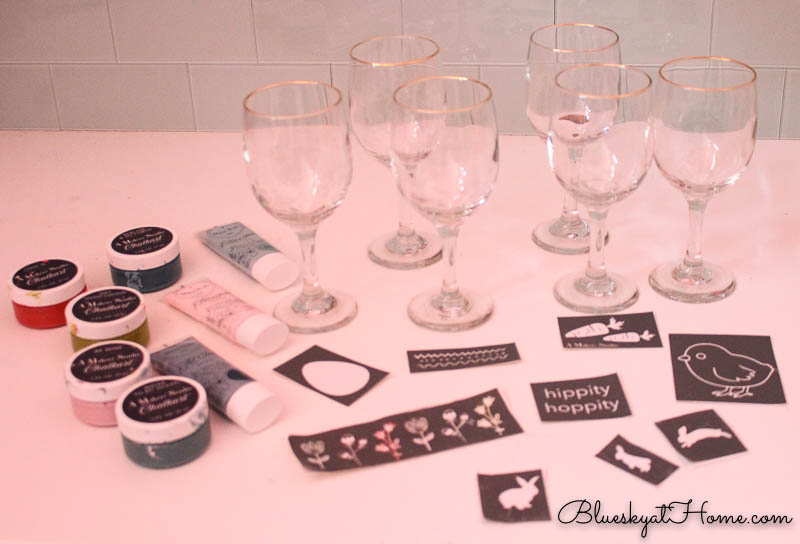
- Gather colors in ChalkArt that will work for the color scheme in your Easter tablescape.
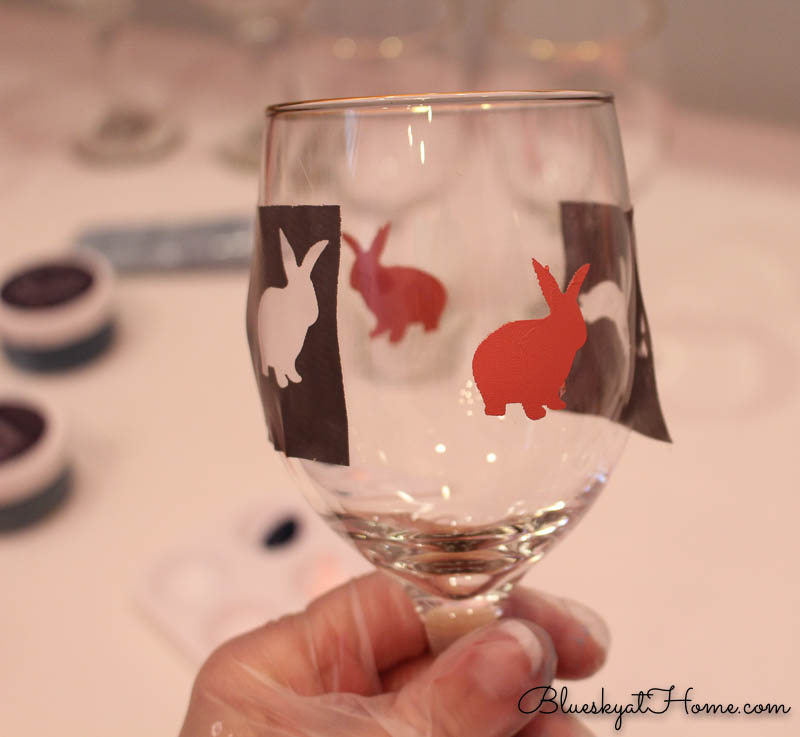
- Adhere the stencil to the glass by rubbing the adhesive backing onto the glass.
NOTE: Since you have to work around the shape of the glass, I like to use my finger to apply the ChalkArt. I like to wear a plastic glove to do this – it’s just easier to keep your fingers clean.
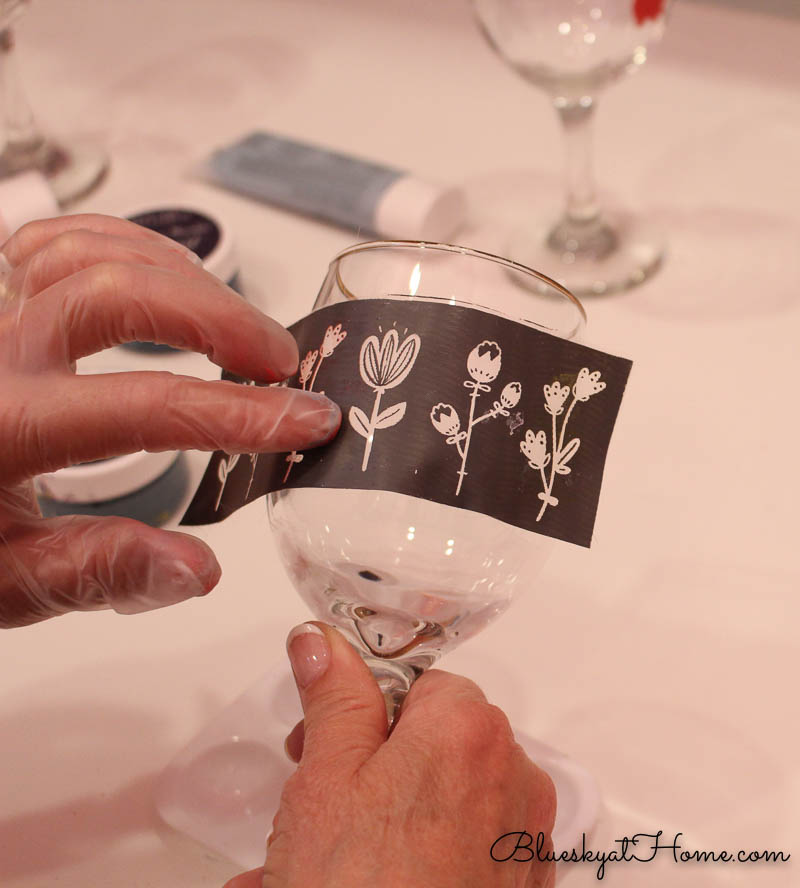
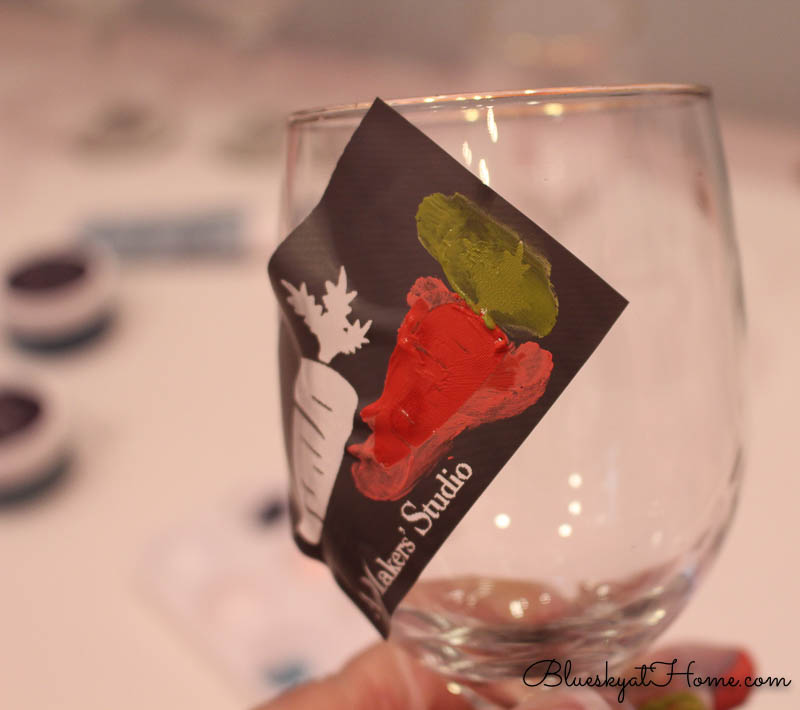
- Carefully apply the ChalkArt by dabbing and rubbing it onto the design.
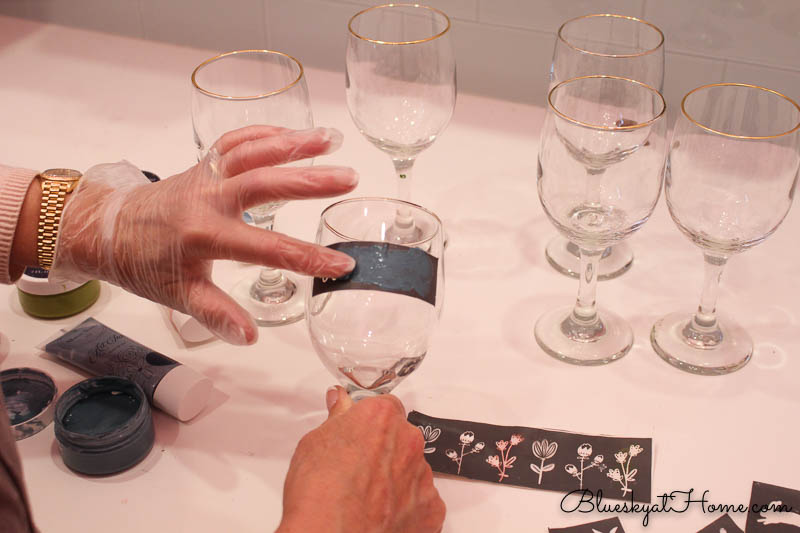
- Gently remove the stencil. (Place it in a container of water to soak until you are ready to clean off the ChalkArt paint.)
NOTE: I made a point of applying the same color ChalkArt to different stencils on the glasses so I didn’t have to change out the gloves as often.
NOTE: You do have 3 fingers you can use with 3 different colors before changing a glove.
TIP: If you have any excess ChalkArt on your glass or around the design, carefully remove it with a damp paper towel, Q-tip or paint brush.
You could use the same design on all your glasses or mix them up as I did.
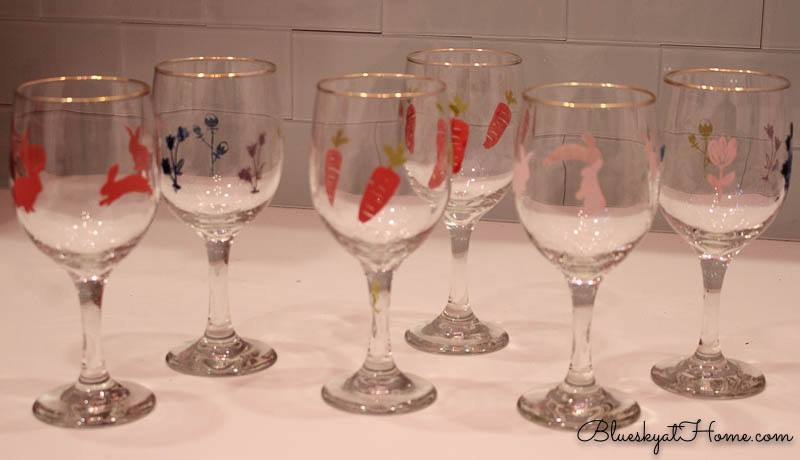
Done. Place your glasses on your table and wait for the compliments from your guests.

NOTE: when you are done with the glasses, remember you can just wash the stencil design off for your next tablescape.
Easier Easter DIY Project Number 2 – Cupcake Toppers
Cupcakes are pretty to begin with, but adding a cupcake topper is like, well, the icing on the cake. I made these cupcake toppers for Halloween several years ago.

For my Pink Champagne Cupcakes, I chose solid pink card stock from my paper stash. Actually, I used two leftover pieces from an earlier project.
TIP: Never throw away scraps of paper or fabric. You never know when you can make use of them.
The supplies for the toppers:
- cardstock in your choice of color/pattern
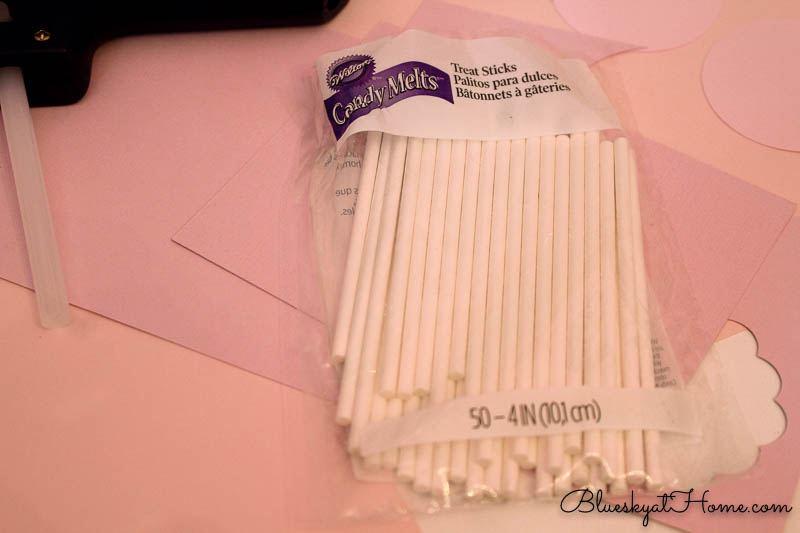
- treat sticks or toothpicks ( I used the 4-inch sticks)
- glue gun
- decorative element, such as embellishment, stickers, contrasting paper
- optional: double-sided tape or sticky tabs
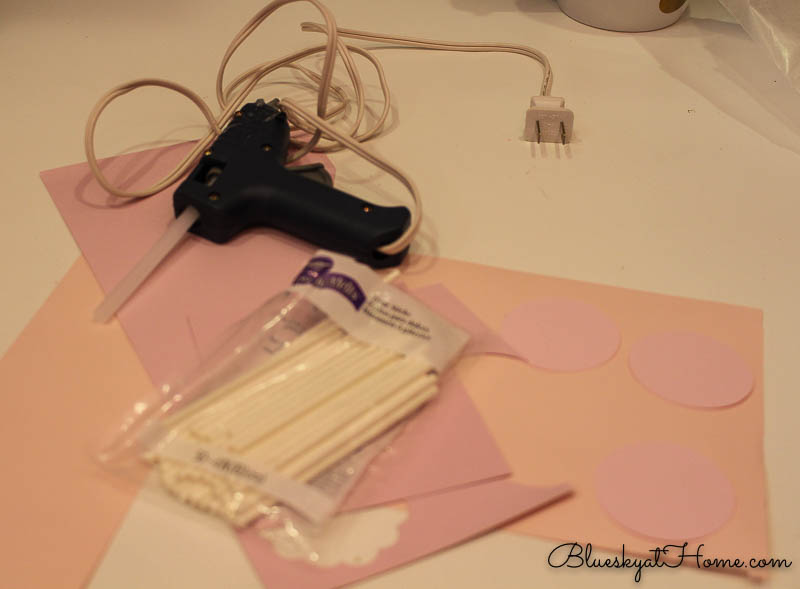
I used my Cricut to cut out 2-inch circles. If you have a Cricut, you might want to see this tutorial. If you don’t have a Cricut, you could use a large circle cutter or cut out by hand, but that is hard and doesn’t result in a clean circle.
Cut out 2 circles for each cupcake topper.
I used my glue gun to attach the treat sticks to 1 circle and then I attached the 2nd circle to the treat stick. I put 1 little dot of glue in 2 places on the rim of 1 of the circles and pressed the circles together.
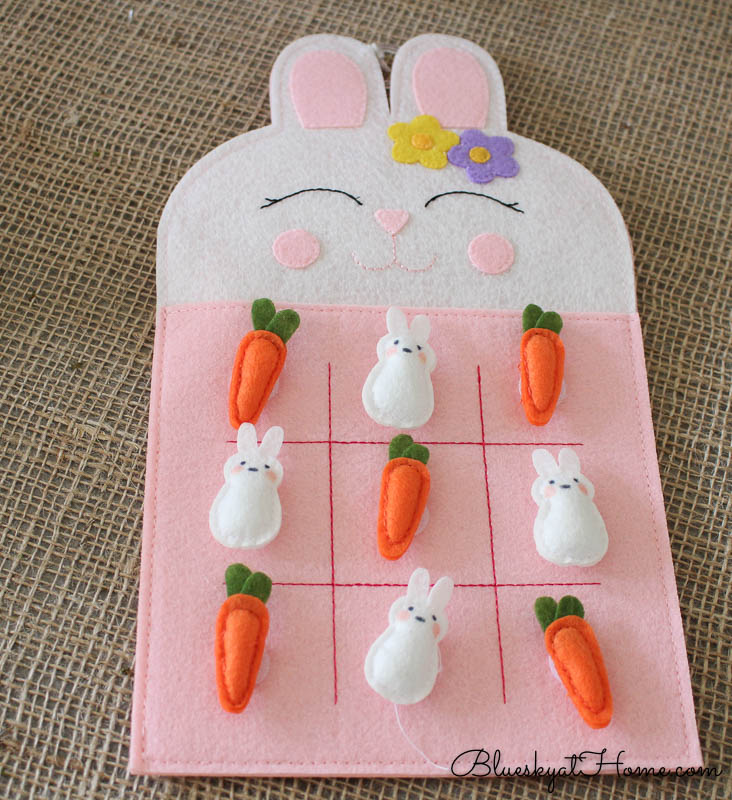
For my embellishments, I used these darling felt bunnies and carrots that I found at Pier 1. This tic-tac-toe game was my inspiration for the cupcake toppers. (The sales lady asked if I was buying it for a grandchild; no, it’s for cupcake toppers!)
The bunnies and carrots had velcro on the back. To attach them to my circle, I used a small piece of 3M Command double-stick tape.
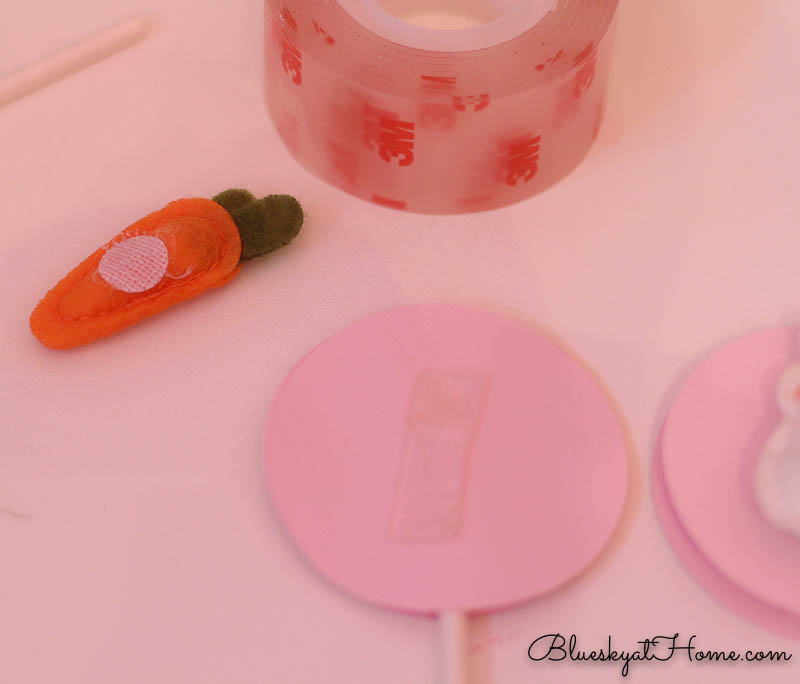
Easy peasy and so stinkin’ cute.

If you want to reuse the pink circles, all you have to do is remove the double-sided tape and return the bunnies and carrots to the tic-tac-toe game.
Easiest Easter DIY Project Number 3 – Napkin Caddies
Talk about an easy DIY project. I’ve made napkin caddies, or pouches, or whatever you want to call them before – like these last fall.
I decided to do these napkin caddies at the last minute because I thought my place setting and silverware looked a little bare.

My green and white gingham napkins from the spring tablescape were just begging to be used again. The gingham would repeat the gingham pattern in the bread and butter plates and the green color fit in perfectly with my pastel Easter color scheme.
But these are the easiest you will ever make. They are fast to make and require no supplies.
All you need is a napkin or piece of fabric about 14 – 18 inches square. The napkin/fabric should be in keeping with the color scheme of your tablescape.
Here’s how to make the napkin caddies:
- 1 – fold your napkin in half
- 2 – fold up the bottom of the napkin at the fold, leaving about 3 inches of space at the top of the napkin
- 3 – fold the napkin in half horizontally
- 4 – fold again halfway across the napkin
- 5 – fold one more time to match the edges of the fabric.

This is harder to explain in writing than it is to do!
Finally, turn the folded napkin caddy over and insert your silverware into the pocket that you have formed.

Each napkin caddy took me about 10 seconds! It was one of my favorite things on my Easter table for the time I spent.
Remember, your guests will see first how cute this napkin caddy is and then they will notice when they remove their silverware.
For more Easter DIY cuteness, try these easy air-dry clay Easter eggs.

That’s all, folks. 3 easy Easter DIY projects that will enhance your Easter table.
Great ideas. If I had to choose a favorite it would have to be the glasses. So very cute but all of the ideas are great! TFS
Thank you for the inspiration, esp. the tic tax toe to cupcake topper idea. I like it all
Hi Gail, finding the tic~tac~toe game was a pleasant accident. Thanks so much for visiting Bluesky at Home and commenting. I really appreciate it. Have a great day.
I cannot believe Easter is only a few weeks away. So many cute projects you have and the glasses are so cute with the stencils.
Betty, I am obviously slow in reply to comments! Can’t believe it’s Holy Week. We plan on using the glasses on Easter.