Best Chili Recipe for Your Super Bowl Party
In a few weeks, the nation will gather with friends around our TV screens to watch the biggest sporting event – the Super Bowl. Food for these gatherings is as important as watching the commercials. Our favorite dish to make is a great batch of good old Texas chili. I have what we consider one of the best chili recipe you’ll ever try.
There’s something undeniably comforting about a simmering pot of chili. It’s a dish known for its heartiness and depth of flavor. It’s the perfect dish for a family dinner on a chilly evening or even better for hosting a boisterous group during a Super Bowl party. It’s perfect for any game day.
Chili is a crowd-pleaser, effortlessly accommodating various taste preferences with a few simple tweaks to its core ingredients.
The interesting thing about chili is that no two pots are ever the same. Although every home has its special preparation, it’s the nuances that make this dish a beloved staple across countless kitchens.
Join me as we explore how to craft a bowl of chili that promises robust flavor in every spoonful and a sense of warmth that extends well beyond the last bite.
Aside from being customizable, chili has many other great attributes:
- It goes well with beer or margaritas.
- It can be made ahead
- It freezes well.
- It can feed a crowd.
- It can be reused in different ways.
- It’s inexpensive to make.
- It can easily be doubled or tripled – you may need a bigger pot.
Super Bowl Chili Recipe for Pinterest Challenge
Why am I sharing the best chili recipe for the Super Bowl today?
It’s Pinterest Challenge day. Our illustrious hostess, Cindy of County Road 407, decided to do something different. Instead of giving us an image from Pinterest for inspiration, she gave us a theme: Super Bowl recipe.
What fun! I knew exactly what recipe I would share.
You are in for a treat as several blogger friends share their favorite Super Bowl dishes. If you are joining me from Renae of Peacock Ridge Farm, then welcome. Renae is an accomplished cook, so I know you enjoyed her dish.

Before we get into the recipe, let me reveal our view of chili.
If you’ve visited Bluesky at Home for any length of time, or read my About Page, you know I’m from Texas, born and raised. So is Sweet Shark. We are Texans through and through.
That means that our chili is all beef.
There are regional varieties of chili made around the country and some people create lighter versions with ground chicken or turkey and an abundance of vegetables. Those versions just aren’t found in the Lone Star State.
You may have heard the saying, “Don’t Mess with Texas”. We have another one, “Don’t Mess with Chili”.
That means no beans in our chili. No vegetables other than onions and tomatoes for flavor. No crazy garnishes.
Our traditional chili is all about the beef and the seasonings. It’s really a very simple dish made in one pot.
That doesn’t mean that I wouldn’t try your chili version if I were at your house. I definitely would.
The Story Behind This Best Chili Recipe
For several years, Sweet Shark’s business partner and his wife hosted a big Super Bowl Party. Since the Cowboys sadly were never in the game, most of us didn’t watch the game much. We paid more attention to the commercials. The party was more about gathering with friends to visit and eat.
The main attraction was the chili cook-off. There was room in the kitchen for about five people to bring all their ingredients, their pot and utensils.
Sweet Shark loved being part of the competitors. He would work on his recipe for a couple of weeks before the event.
The highlight was when everyone grabbed small bowls and tasted one version of chili after the other. It was a fun, good-natured taste-fest.
So that’s how this chili recipe was born and nurtured.
Ingredients for the Perfect Blend
Embarking on preparing to craft the best chili begins with assembling the right ingredients. Good chili has five ingredient categories:
The meat: 2 – 4 pounds “chili grind beef”, 80-20% lean to fat.
The aromatics:
- yellow onion
- garlic cloves, peeled and chopped
The seasonings:
- kosher salt and freshly ground black paper
- chili powder
- ground cumin
- cayenne
- canned chipotle en adobo*
- tomato paste
- dried bay leaf
The liquids:
- beer (for deglazing)
- diced canned tomatoes
- beef or chicken broth
The garnishes (We don’t get fancy with the garnishes.):
- grated or crumbled cheese, such as cheddar, Monterey Jack, or queso fresco
- diced avocado
- chopped fresh cilantro
- chopped onion, white, yellow or green
A sturdy foundation is built with beef. Sweet Shark likes to use what is called “chili grind.” Sweet Shark likes an 80/20 mix. It has the most flavor.
You may notice the different looks of the meat.When he decided he wanted to make a bigger batch and went back to the grocery store, only 90/10 was available.

The aromatics play multiple roles—they include chopped yellow onion and garlic cloves. Their inclusion ensures a multi-layered savoriness, while also contributing essential vitamins.
A proper spice arsenal is key; it should feature tablespoons of chili powder, ground cumin, smoked or sweet paprika and cayenne. These spices infuse the meat with that iconic chili taste and elevate the flavor profile.
As we turn to liquids, chicken or beef broth provides a savory base, and canned tomatoes with their juice add tang and richness.
Chipotle en adobo (Jalapeño chiles that have been dried, smoked, and then packed in a flavorful sauce made of tangy tomatoes and spices. Available at any grocery store.) adds another layer of spice.
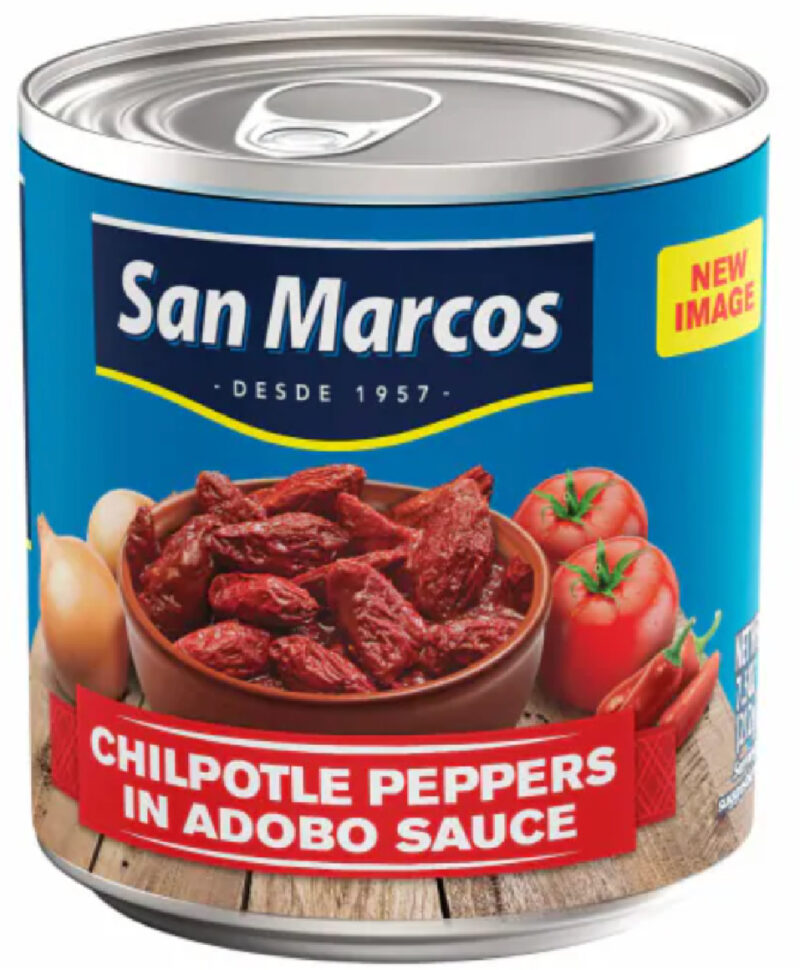
Finishing touches like green onions and fresh cilantro bestow a burst of brightness. All these elements merge to form a full-bodied and deliciously satisfying bowl of chili.
Equipment for the Best Chili
Another reason that chili is a great dish to make for large gatherings? You need just a few tools:
- a large pot, like a Dutch oven. Our favorite is our Le Creuset Dutch oven.
- measuring spoons and liquid measuring cups
- chef’s knife for chopping onions, garlic, and herbs for garnish
- large spoon for stirring the chili
Step-by-Step Chili Creation
- Prep Your Ingredients: Begin by dicing the yellow onions and chopping the garlic cloves.
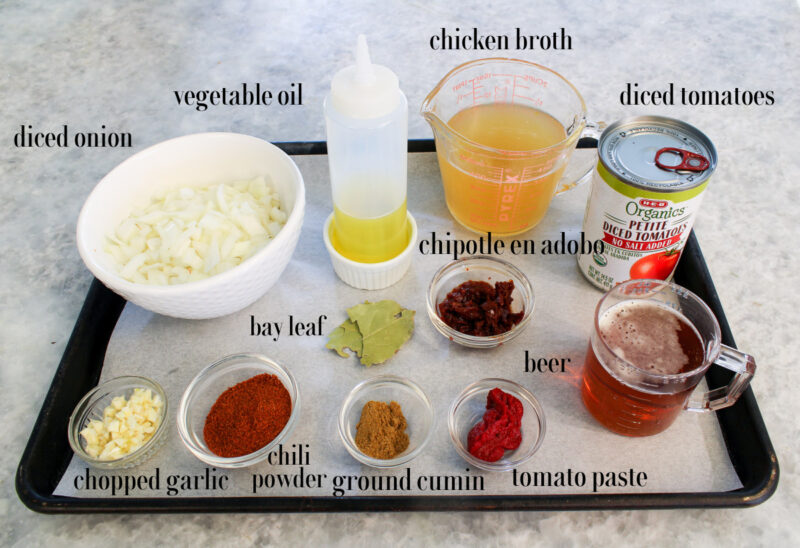
- Measure Your Spices – the amount of spices you use depends on your taste and heat preferences. The amounts and which ones you use are entirely your call.
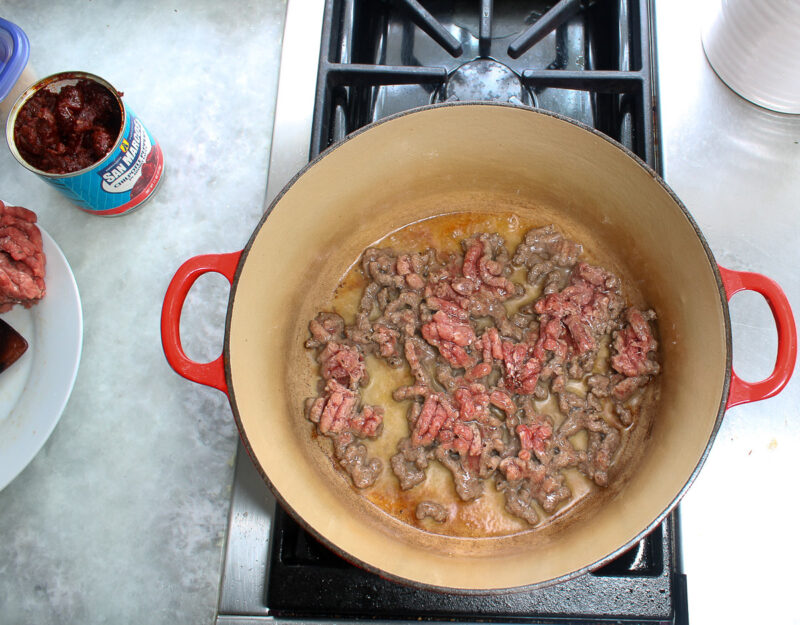
- Brown the Meat: Over medium-high heat, add a couple of tablespoons of vegetable oil. Then add your choice of beef to the pot. Cook until it’s well-browned, stirring occasionally, making sure to break it into smaller chunks. Remove to a plate to drain.
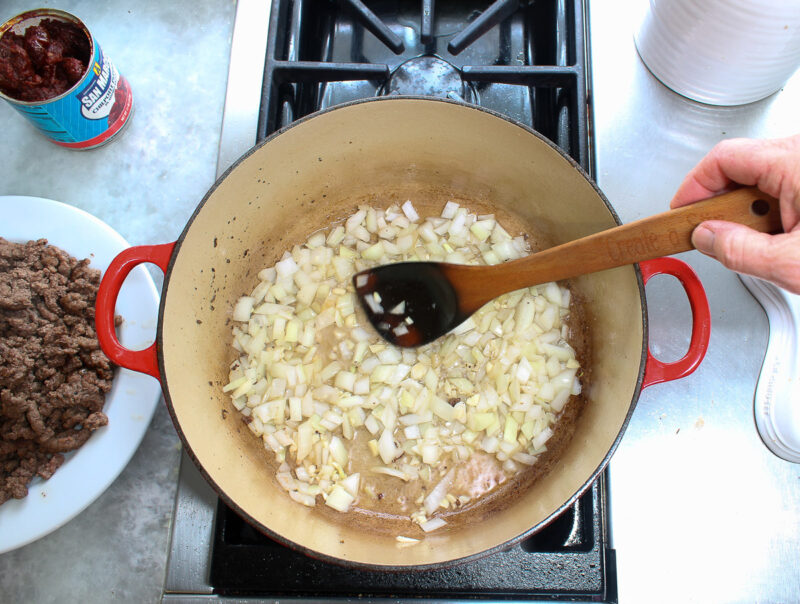
3. Sauté the Aromatics: If necessary, add another tablespoon of vegetable oil to the pot over medium heat. Add the onions, followed by the garlic. Sprinkle with kosher salt. Cook until onions turn translucent, stirring with a wooden spoon.
4. Add your Spices: You know how much heat you want in your chili. Start with small amounts. You can add more if you want more heat. Stir in the spices – chili powder, cayenne, cumin, smoked paprika, and one of two minced chipotle peppers, depending on your heat preference, plus one to two tablespoons of the sauce. Cook, stirring until fragrant, about 1 – 2 minutes.
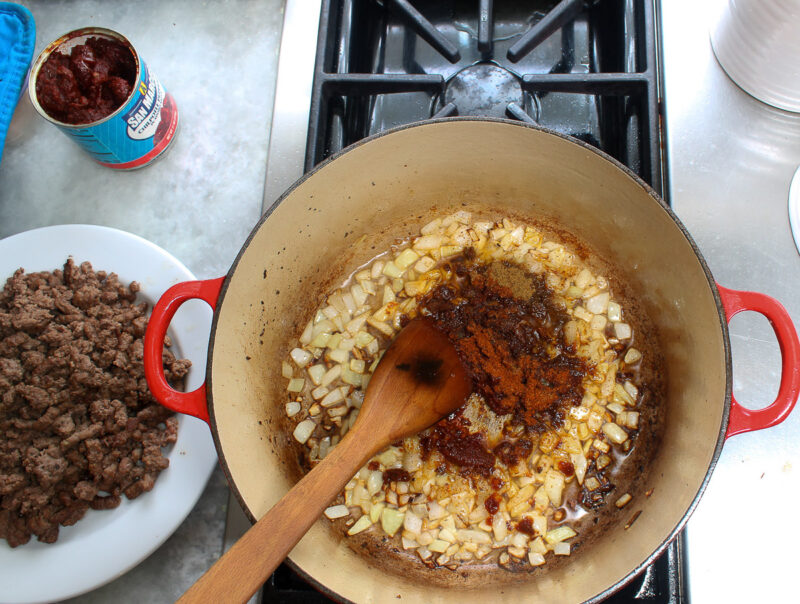
4. Deglaze the Pot: A deglazing liquid, such as beer, dissolves the browned bits left on the bottom of the pot. It can also add flavor. Turn the heat up to high and scrap the bottom of the pot to loosen any browned bits, until most of the liquid is evaporated, about 2 minutes.
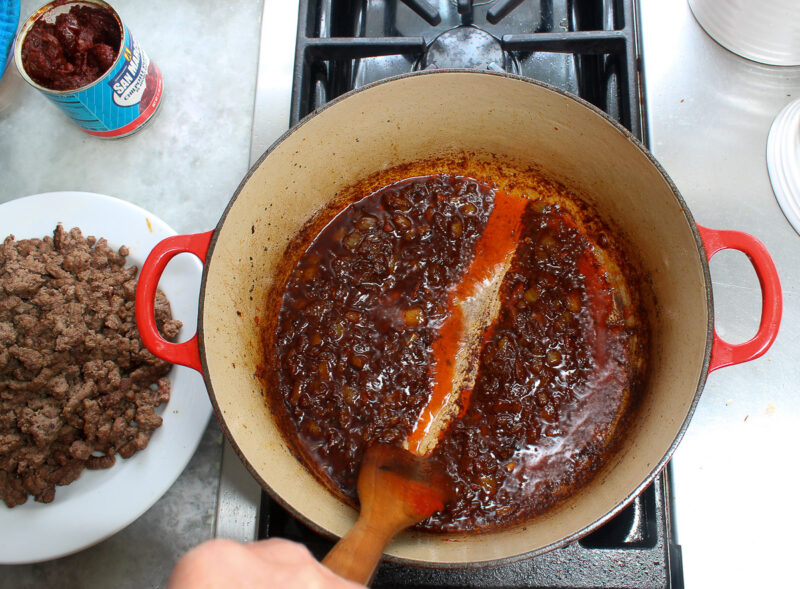
5. Add Liquids: Stewing liquids cook the meat gently. Pour the beef or chicken broth into your pot. Add diced tomatoes for a chunkier chili texture. The tomatoes also add some acidity to the chili. Stir to combine all the liquids and seasonings.
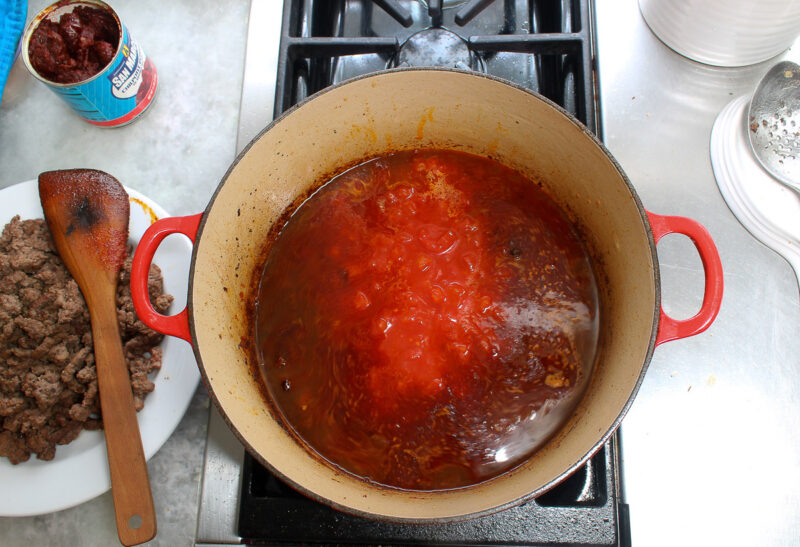
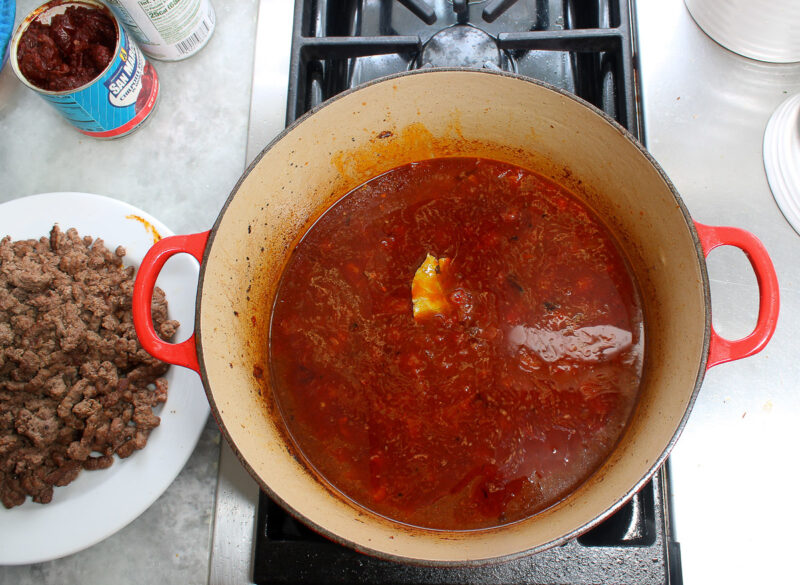
5. Simmer the Liquids: Bring the liquids to a simmer for about two minutes.
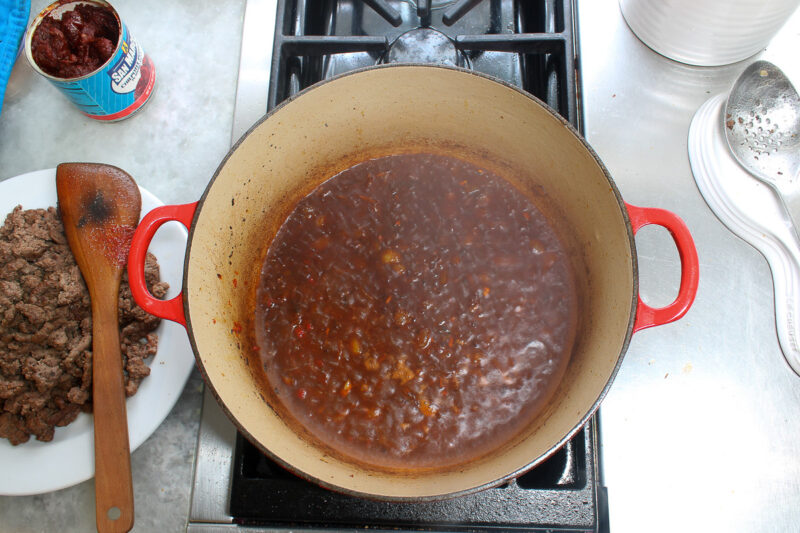
6. Return the meat: Add the cooked meat, with any accumulated juices to the pot. Cover with a lid for a thicker consistency, or leave it uncovered to reduce the liquid and concentrate the flavors.
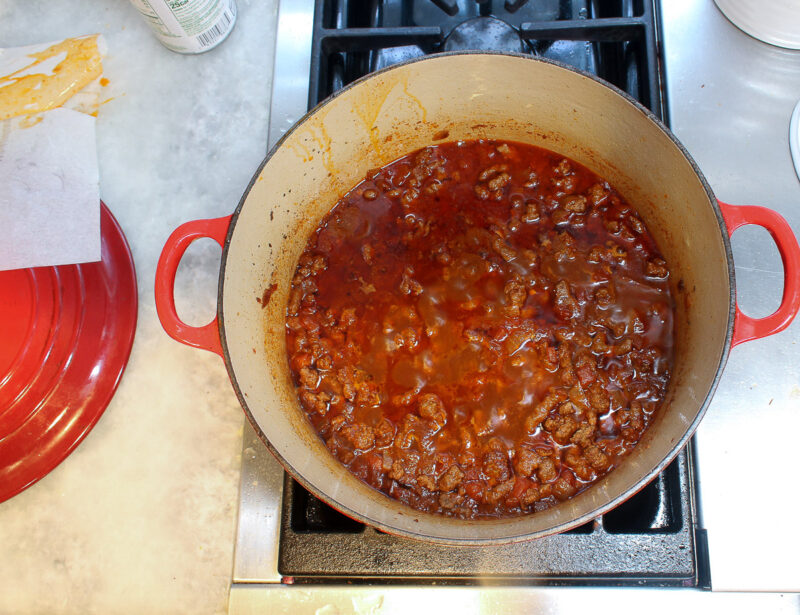
7. Cook to Robust Flavor: Continue cooking on low heat for at least 30 minutes to an hour. The longer chili simmers, the deeper the flavors develop. Keep an eye on the liquid level, adding more broth if it gets too thick.
8. Adjust Thickness and Flavor: Taste and adjust seasonings. Add more broth if the chili becomes too thick
9. Finish with Freshness: Just before serving, remove bay leaf and discard. If you like, add a splash of acid to brighten the flavors. You can use a squeeze of lime juice or a dash of red wine vinegar.
Customizing Your Spice Level
Personalizing the heat level in this chili recipe can be adjusted to everyone’s taste buds. Sweet Shark likes his chili spicy. Since I can’t handle highly spiced chili, he is nice enough to tone down the spices. These provide flavor without overwhelming heat.
For those of you who crave more intensity, you can toss in diced jalapeños or serranos, occasionally leaving seeds in for extra fire. A little more chipotle en adobe can turn up the heat for individuals who love a spicy kick.
NOTE: Remember, when adding spicy elements, do it gradually – you can always increase the heat, but it’s tough to dial it back once it’s in the pot.
Best Chili Recipe for Your Super Bowl Party
Equipment
Ingredients
- 2 pounds chili grind beef 80%-20% mix
- 3 tablespoons vegetable oil divided
- 2 cups medium diced yellow onion
- 2-4 garlic cloves peeled and chopped
- kosher salt to taste
- 1 tablespoon tomato paste
- 2 tablespoon chili powder
- 1 tablespoon ground cumin
- 1-2 teaspoons smoked paprika
- ¼ teaspoon cayenne
- 1-2 chilis from can of chipotle en adobo with 1-2 tablespoons sauce
- 2 bay leaves
- ¾ cup beer deglazing liquid
- 1 ½ cups chicken or beef broth stewing liquid
- 1 14-ounce can diced tomatoes with liquid
- 1 tablespoon acid – fresh lime juice or red wine vinegar optional
Garnishes
- grated or crumbled cheddar, Monterey Jack, queso fresco
- diced avocado
- diced yellow or red onion or sliced green onion
- chopped fresh cilantro
- tortilla chips
- jalapeño cornbread
Instructions
- Over medium-high heat, add the two tablespoons of the vegetable oil to the Dutch oven or pot. Add your choice of beef to the pot. Cook until it's well-browned, stirring occasionally, making sure to break it into smaller chunks. Set beef aside to a plate.
- If necessary, add another tablespoon of vegetable oil to the pot over medium heat. Add the onions, followed by the garlic. Sprinkle with kosher salt. Cook until onions turn translucent, stirring with a wooden spoon.
- Stir in the spices – chili powder, cayenne, cumin, smoked paprika, bay leaves, and one or two minced chipotle peppers, depending on your heat preference, plus one to two tablespoons of the sauce. Cook, stirring until fragrant, about 1 – 2 minutes.
- Add the deglazing liquid (beer) to the pot. Turn the heat up to high and scrap the bottom of the pot to loosen any browned bits, until most of the liquid is evaporated, about 2 minutes.
- Pour the stewing liquid (beef or chicken broth) into your pot. Add the diced tomatoes and juice. Stir to combine all the liquids and seasonings. Bring the liquids to a simmer for about two minutes.
- Return the cooked meat, with any accumulated juices, to the pot. Stir to combine with the liquids. Cover with a lid for a thicker consistency, or leave it uncovered to reduce the liquid and concentrate the flavors.
- Continue cooking on low heat for at least 30 minutes to an hour. The longer the chili simmers, the deeper the flavors develop. Keep an eye on the liquid level, adding more broth if it gets too thick.
- Taste and adjust the seasonings. Add more broth if the chili becomes too thick.
- Remove bay leaf and discard. If you like, add a splash of acid to brighten the flavors. You can use a squeeze of lime juice or a dash of red wine vinegar.
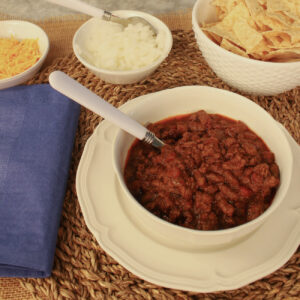
- Serve the chili with a variety of garnishes.
Notes
What to Serve with Your Chili
Once you have a steaming pot of chili ready, the right garnishes and sides can elevate the dish from satisfying to truly unforgettable.
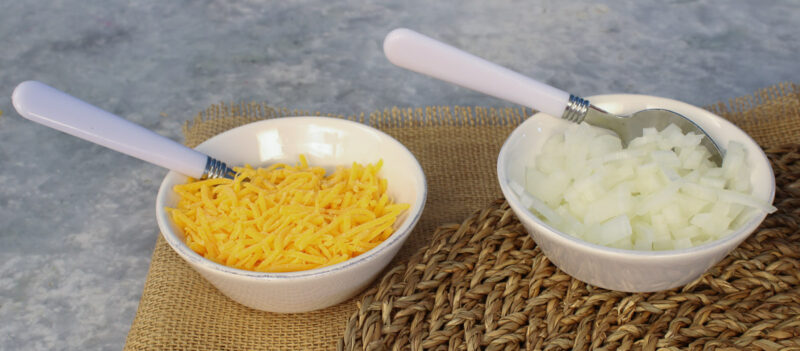
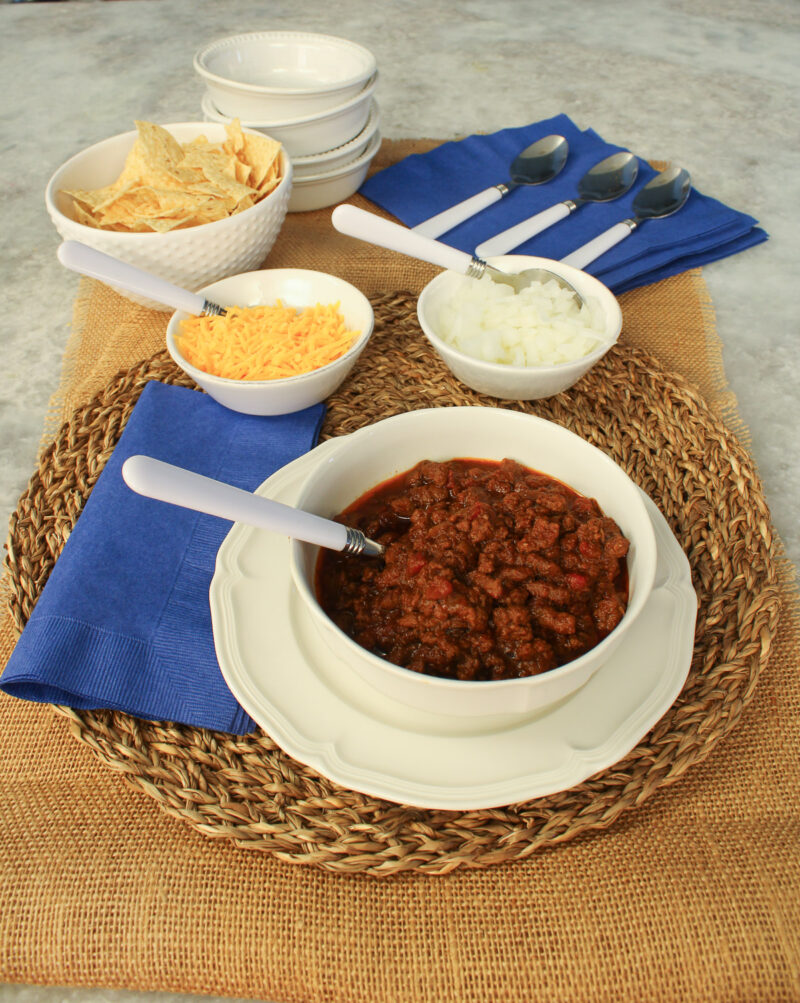
- Cheese is a classic choice – sprinkle shredded cheddar or jack cheese over the top for a melty delight. If you like, a dollop of sour cream offers a cool, creamy contrast to the hearty warmth of the chili.
- Chopped onion, green onions and fresh cilantro add a burst of color and freshness. Finely chopped yellow onion or red onion provide a spicy bite that complements the deep flavors of the chili.
- For those who love a bit of crunch, tortilla chips are a perfect companion, great for dipping or crumbling on top.
- If you’re thinking of a low-carb option, chopped avocado makes a wonderful, guilt-free accompaniment.
- We like to serve tortilla chips with chili.

One of my favorite accompaniments is cornbread, a southern staple that’s ideal for sopping up every last bit from the bowl. I love to serve my Jalapeño Cornbread with chili.
Don’t forget to have good cold beer or a delicious margarita with your chili. It’s a pairing made in chili heaven.
I love to have one of Sweet Shark’s margaritas with my chili.
When we serve chili, we make sure the table has these garnishes, letting everyone customize their bowl to their liking.
How to Store Your Chili
Storing and reheating chili properly means you can savor your delicious creation again on a busy night. We always make a big batch, knowing that chili freezes beautifully.
Let the chili cool to room temperature before placing it in the fridge. Use airtight containers, leaving some space at the top as chili expands when frozen.
To defrost, place the container in the refrigerator the night before you plan to enjoy it. Reheating is a breeze: pour the chili into a pot and warm it gently over low heat, stirring occasionally until it’s piping hot.
The beauty of chili is that it often tastes even better the next day, as the flavors meld together. This makes it perfect for meal prep or entertaining.
How Can You Reuse Chili?
Leftover chili is great to reheat in a bowl, but what ways can you reuse chili?
- Serve it as topping on hot dogs – my favorite.
- Serve it over nachos.
- Use it over enchiladas.
- Fill flour tortillas with chili and cheese to make chili quesadilla.
- Make what we call Frito pie – my son’s favorite.
The Final Touchdown in Flavor
With a depth of flavor that only gets better with time, I can attest this is the best chili recipe you’ll find. It’s simple and delicious.
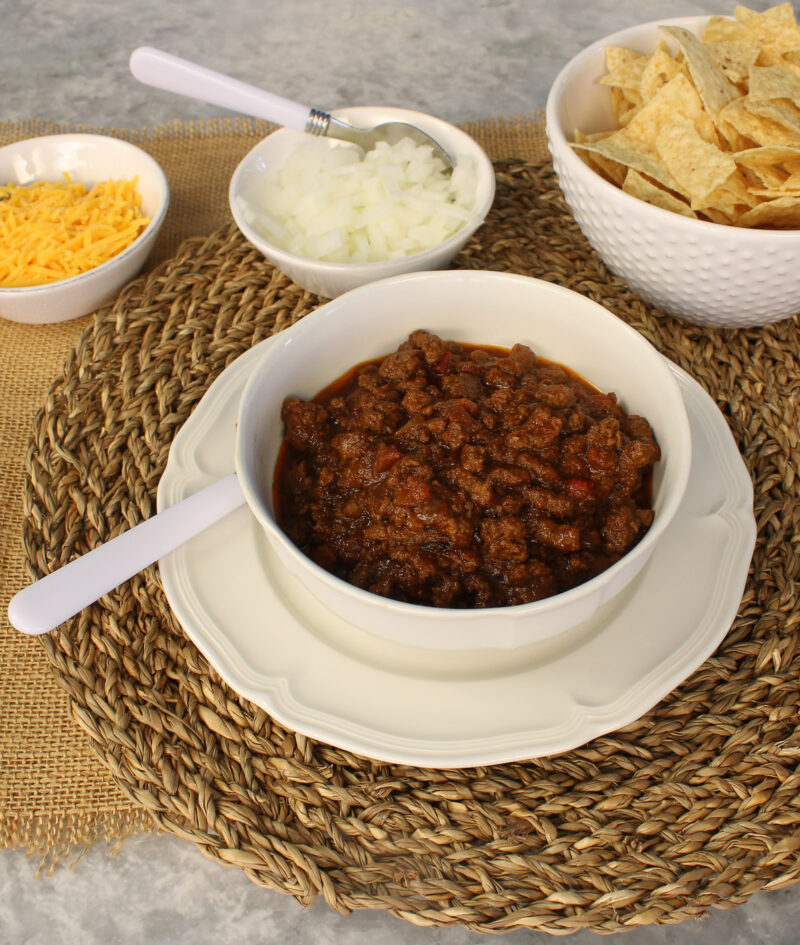
It’s just right for your next Super Bowl party or a comforting family dinner. Friends will savor the perfect blend of spices and textures, customized to their liking. Pair it with your favorite toppings or sides, and you’ve got a meal that’s sure to be remembered.
It’s bound to become a favorite, leaving everyone eagerly waiting for the next time you say, “Chili’s on.”
Be sure to visit my friends’ suggestions for serving at Super Bowl time. Next on the “menu” is Lynne of My Family Thyme who is sharing a delicious layered dip.
And don’t forget to PIN this chili recipe. Print it off to keep it handy. You can also check out my Recipes Pinterest Board.




Yum! I’ll take mine spicy please!! Thanks for the yummy recipe for one of our favorite football meals!
Kristin, I’m a whimp when it comes to spicy. I like lots of flavor. Sweet Shark is a hotter-the-better-guy!