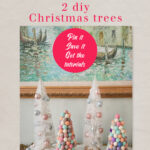
DIY Christmas Tree Holiday Vignette on a Tray
Do you wish that you had elves helping you decorate for Christmas? I’m playing elf and sharing with you how to create a DIY Christmas tree holiday vignette on a tray. There two types of DIy trees and a garland that are easy to make.
Somehow this year, I’ve developed a DIY Christmas tree addiction. There are many different ways to make cute small trees that fit into small spaces.
All you need is a little imagination and some readily available supplies, and you are on your way to creating little vignettes throughout your home.
For this Christmas vignette, I’m using two easy ways to make Christmas trees. What makes them a vignette is that they are gathered together on a tray.

Why a tray?
Well, trays, along with baskets and other containers, are perfect for creating a base to gather any group of decorative items.
Whether your vignette is on a coffee table, a mantel, a side table, or your kitchen table, a tray is your best decorating friend.
Before I share my Christmas tree vignette on a tray, let me show you how to make these easy DIY Christmas trees.
Two Styles of DIY Christmas Trees
I love the personal touch that DIY Christmas decorations give to our homes. I don’t know if a Christmas decoration can get easier than these bottle brush Christmas trees.
My first DIY Christmas tree project of this year was these yarn Christmas trees. Last year I made these glitter Christmas trees.
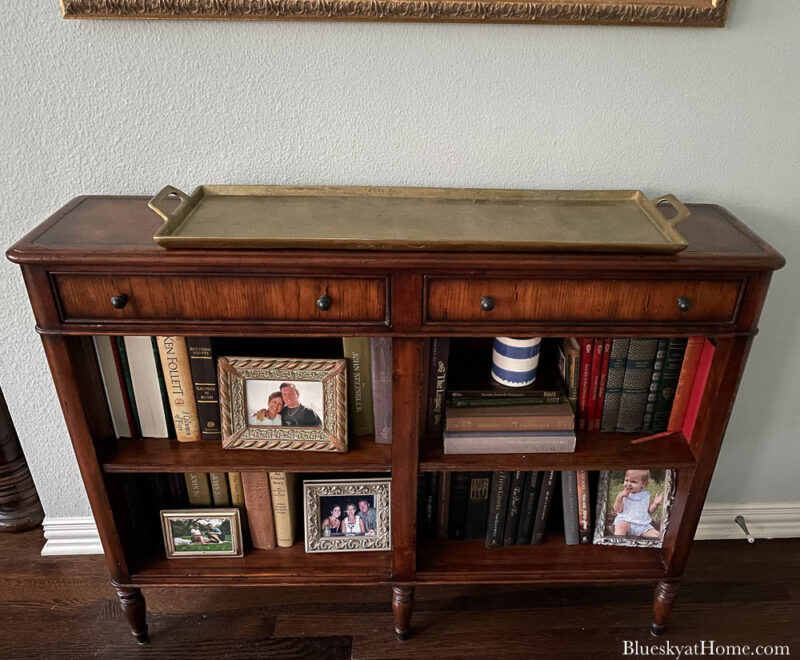
This Christmas tray vignette would go in our bedroom. The console table across from our bed would be the perfect place to highlight a Christmas arrangement.
I’m changing up the color palette for our bedroom this year to pink and blue.
I had two kinds of DIY Christmas trees in mind for this Christmas vignette on a tray: bottle brush trees and felt wool ball trees.
Of course, for both styles of trees, you can choose any color palette that fits your color scheme.
What Supplies Do You Need for the Bottle Brush Christmas Trees?
A few weeks ago, on my almost-weekly trip to Dollar Tree, I found white bottle brush trees with lights for $5 each. Those don’t seem to be available anymore, but I really like this alternative tree.

I had already purchased small pink and blue Christmas ornaments for Christmas craft projects.
- bottle brush Christmas trees in your size and color of choice, preferably with fairy lights. Here are 6-inch trees
- batteries for the Christmas trees
- mini-Christmas ornaments in your size and colors of choice; I ordered ones similar to these pink ones and blue ones
- hot glue gun and glue sticks – this is the one that my younger daughter gave me for Christmas
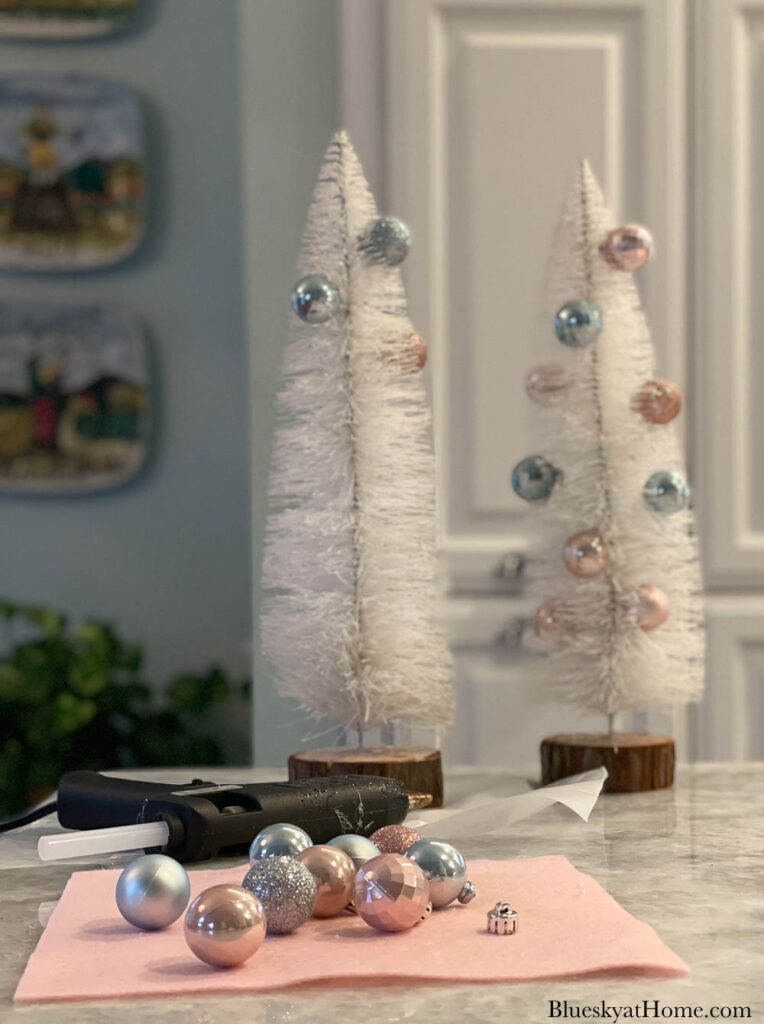
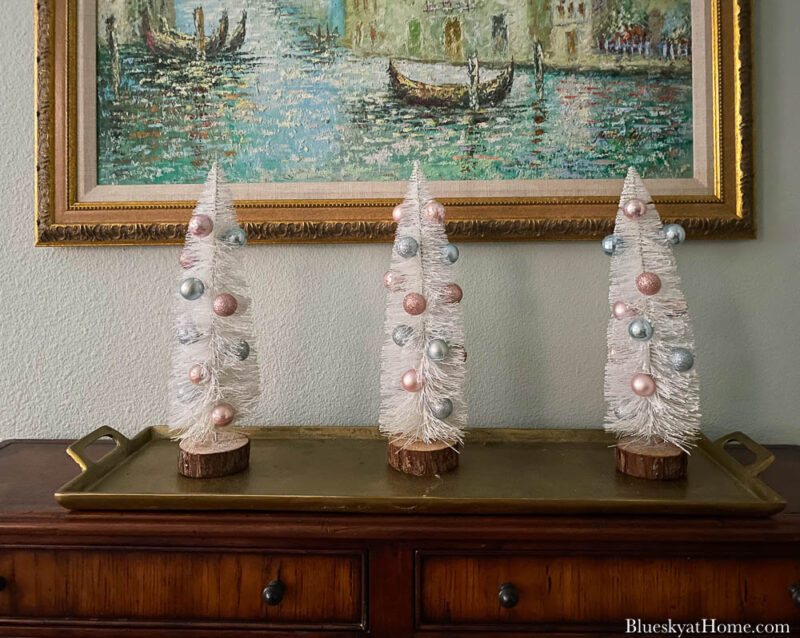
Bottlebrush trees and mini-pink and blue ornaments are a match made in Christmas DIY heaven.
Making the Bottle Brush Christmas Trees
This project is so easy it’s like a recipe that really isn’t a recipe.
First, heat up your glue gun.
NOTE: Since my glue gun was old, I set it on a large piece of wax paper to protect my work surface. Lucky for me, my younger daughter gave me a new Ryobi glue gun for Christmas. Projects requiring a glue gun got so much easier this year.
While the glue gun is heating, you can add batteries to the fairy lights.
Next, remove any attached hangers from the mini-ornaments.
TIP: I kept all the plastic hangers for other projects.
Carefully run a circle of glue around the spot where the hanger was.
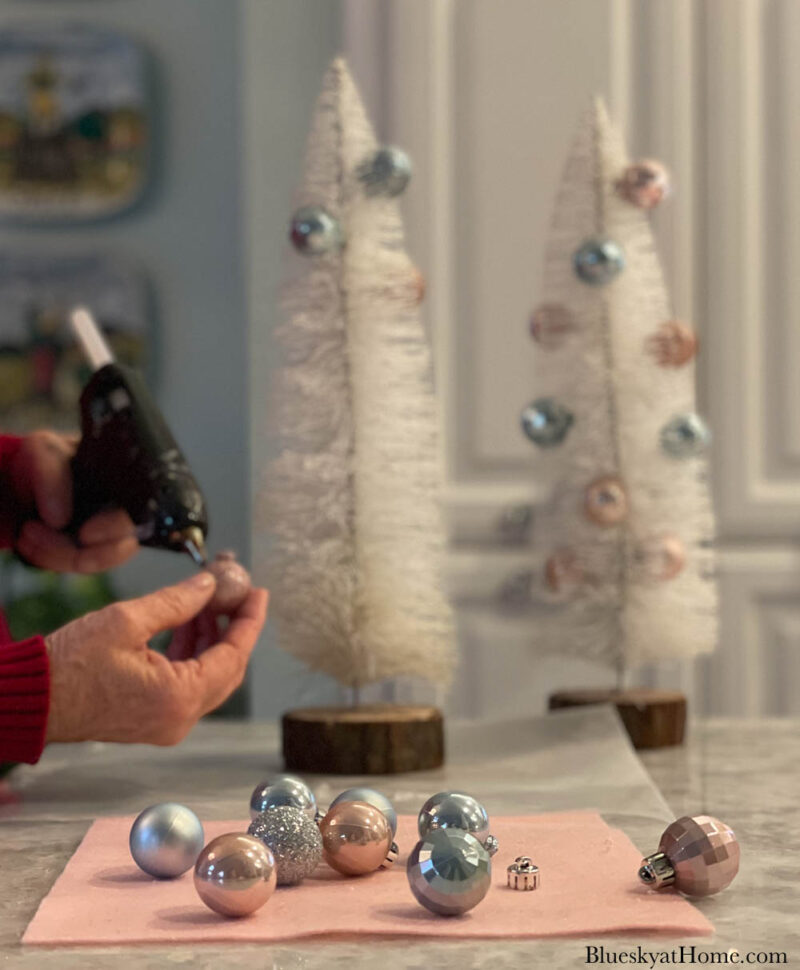
With your other hand, separate a section of the bottle brush tree “branches”. Push the ornament into the tree as far as it will go. Hold for a few seconds until the glue sticks.
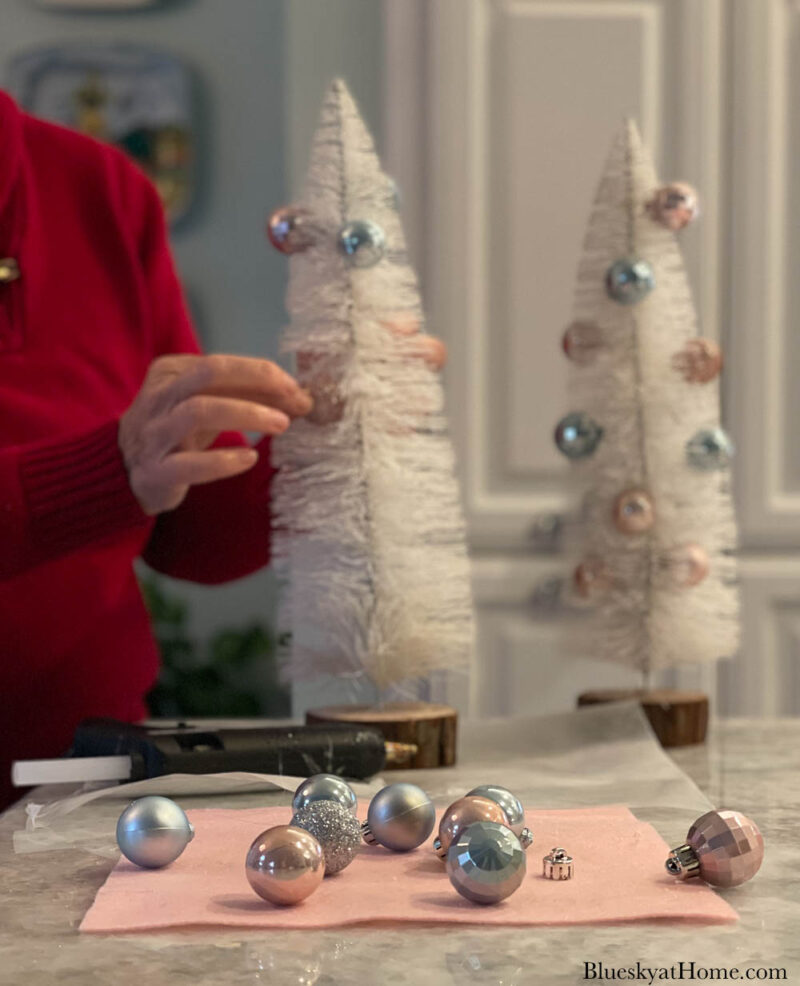
NOTE: I started at the top of my tree and worked down and around it. I tried to alternate the colors as much as possible.
How many ornaments you glue to the tree is totally up to you. I put about 3 inches between my ornaments.
That’s it. It’s as easy as singing jingle bells 3 times.
What Supplies Do You Need for the Felt Ball Trees?
These felt ball trees are as easy as the bottle brush ones.
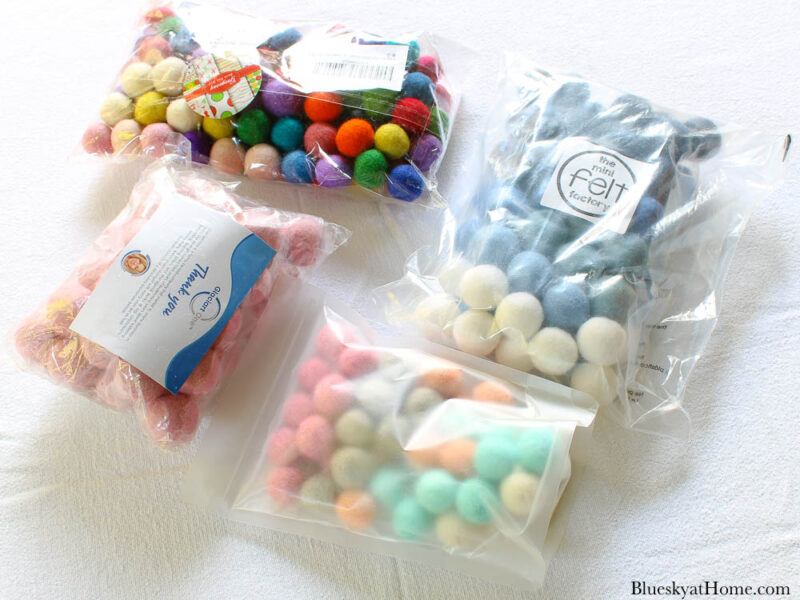
- styrofoam cones in the sizes of your choice. For this project, I used two cones. These are 13-inch cones; these are 7.5-inch cones; I ordered these 11.8-inch cones.
- wool felt balls of your color and size of choice. I used this package of multicolored pastel balls (50 to a package). I used about 2 1/2 packages of these pretty felt balls.
- hot glue gun and sticks
I had a couple of different size cones on hand, but I chose the ones that were smaller.
Making the Felt Wool Ball Christmas Trees
Place a fresh piece of wax paper on your work surface and heat the glue gun.
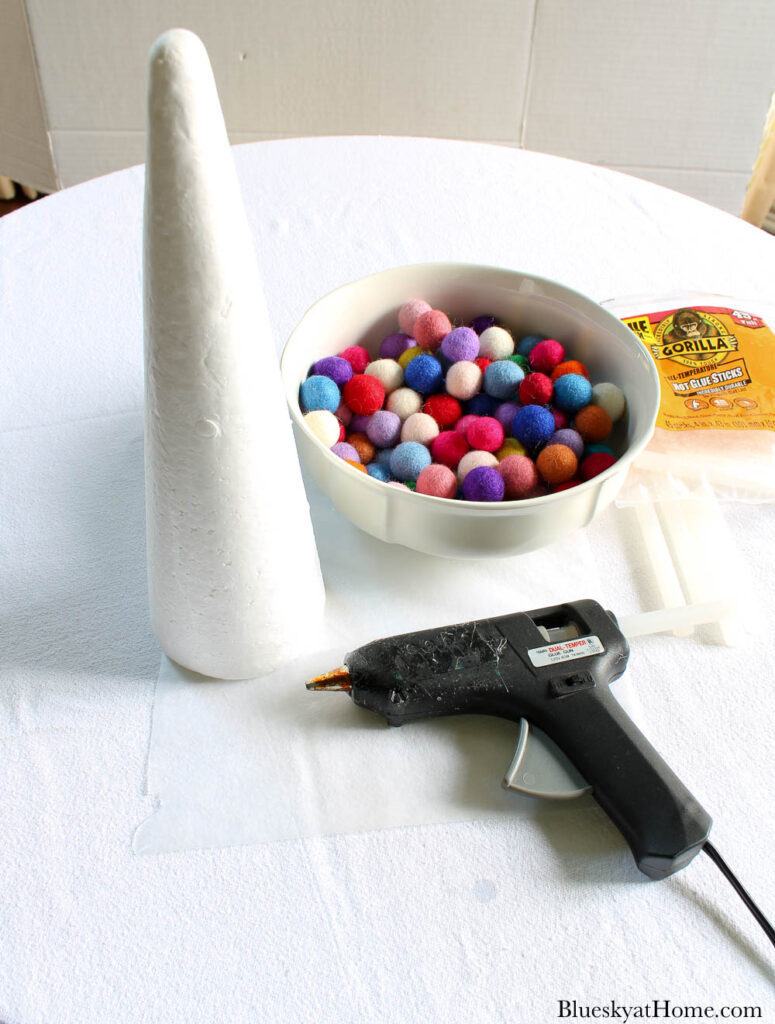
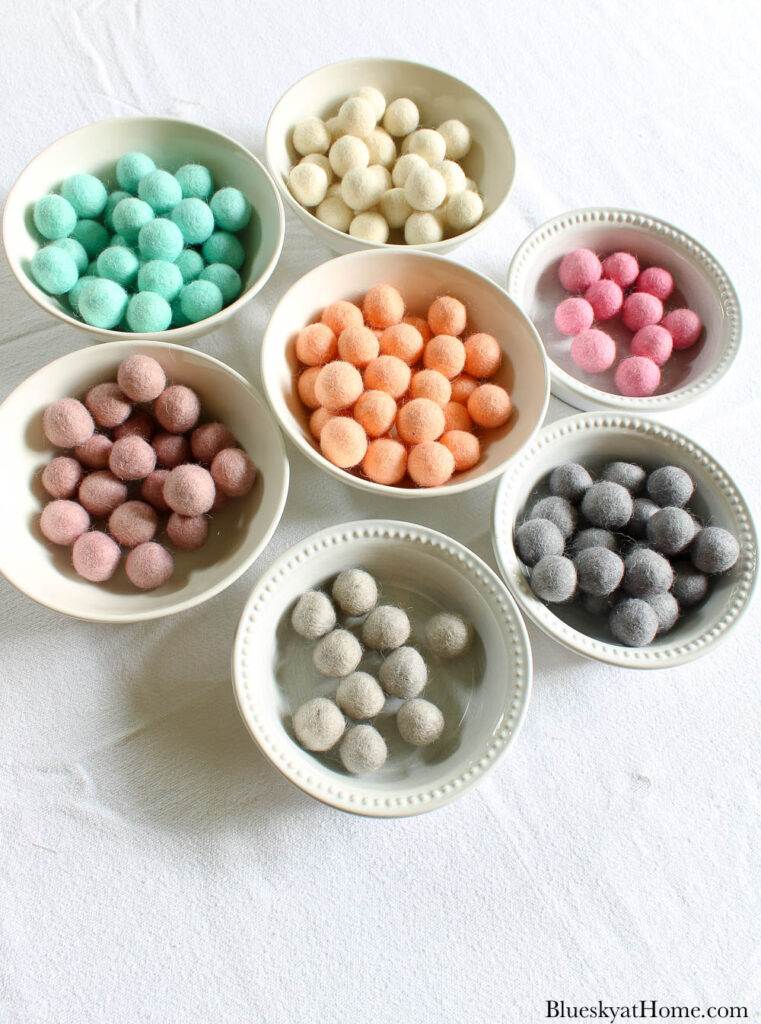
While it’s heating, separate the colored balls into different bowls. This is the easiest way to arrange the balls on the trees in a random manner.
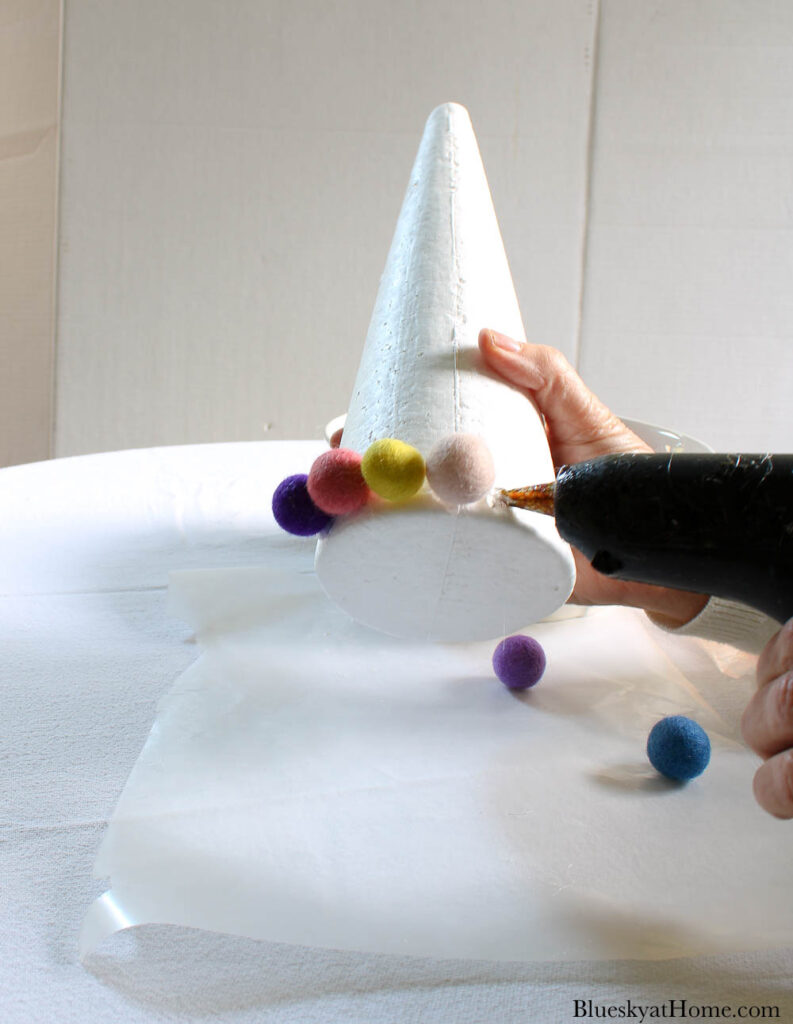
Starting at the bottom of your tree, add a small dollop of glue to a felt ball.
I also made a felt ball tree in bright colors for our living room. For that tree, I used 1 1/2 packages.
Place a ball at the edge of the bottom of the tree and press to the styrofoam cone and hold it there for a few seconds.

Continue around the circumference of the cone, placing the felt balls close together. On the next row, place the balls in between the two balls in the first row. Press into the space between the two balls in the first row.
Guess who finished off the felt ball tree for me? Our older daughter’s family was visiting for Thanksgiving. Annabelle loves crafts and worked like an elf.
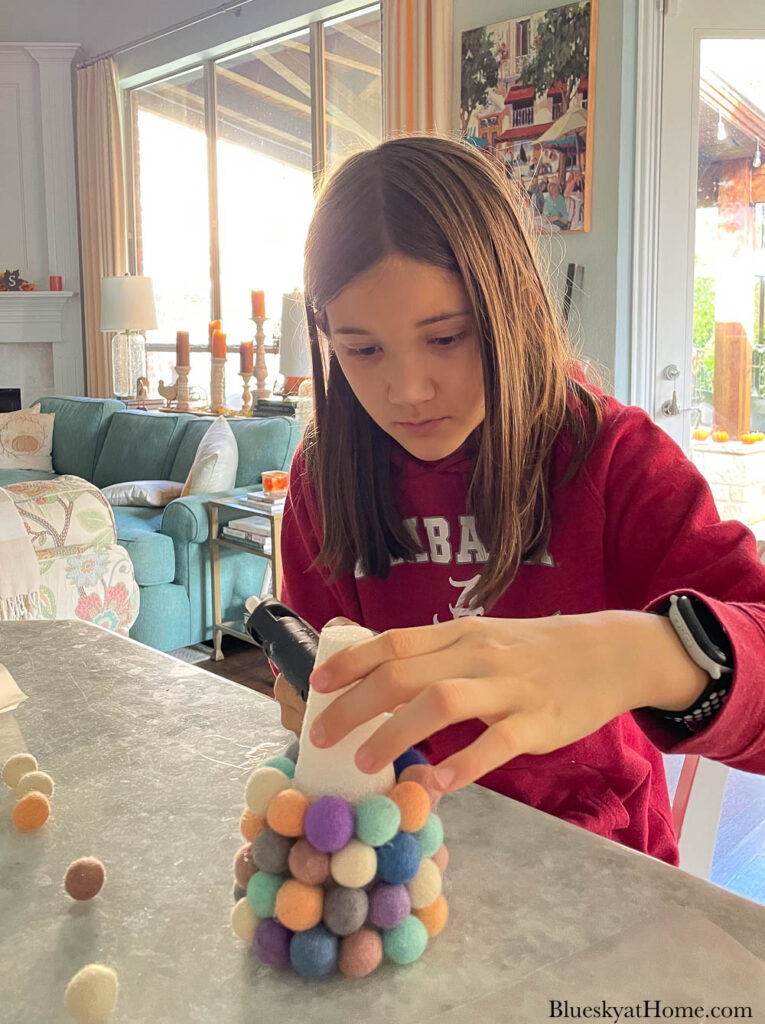
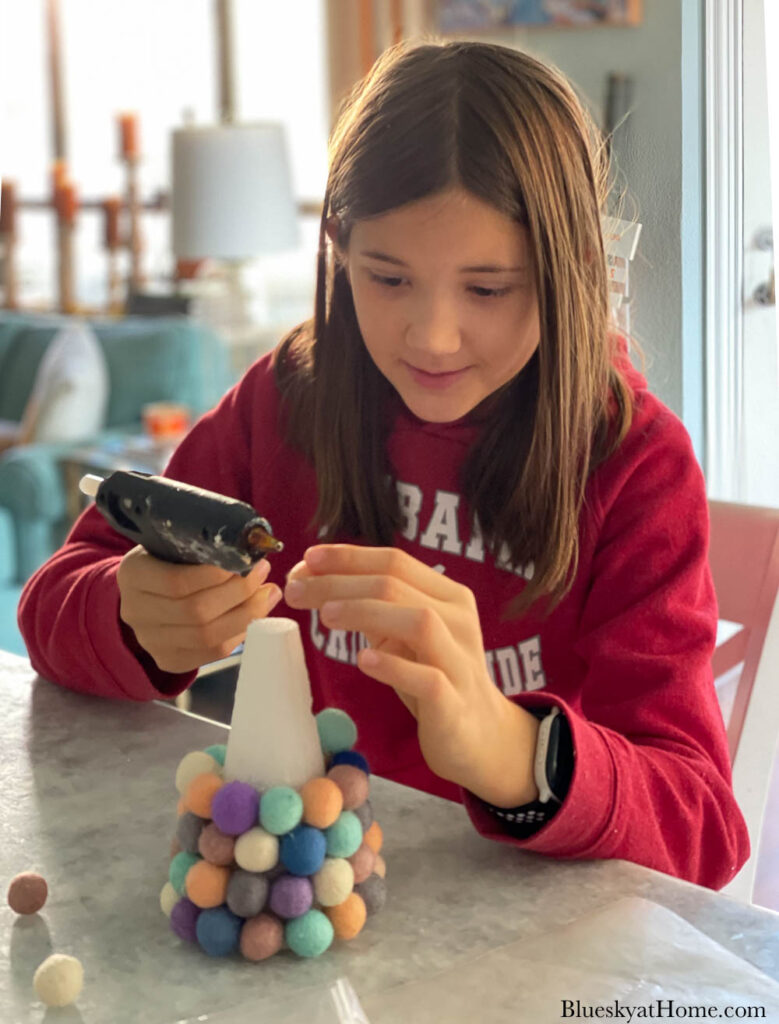
Continue around the tree, making sure to alternate the color of the felt balls, until you reach almost to the top of the tree.
Top the tree with one last ball or another type of tree topper.

Pull off any “glue strings” from the Christmas trees.
Different Ways to Arrange the Felt Balls
OPTION 1: Use either multi-colored felt balls, as I did, or one color. You could also make an ombre effect or a striped look.
OPTION 2: You could also place the wool felt balls around the tree in a “polka-dot” pattern. Good for when you are running out of felt balls.
OPTION 3: You could also add battery-operated Christmas lights to the felt ball trees.
Your DIY Christmas Trees are done.
These faux holiday trees are easy to make, inexpensive, and can be used throughout your home.
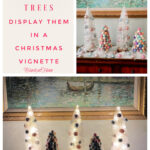
Arranging your Christmas Tree Holiday Vignette on a Tray
This holiday vignette came together so quickly.
For my tray, I needed a rectangle to fit on our console table. My brass rectangle tray was perfect.
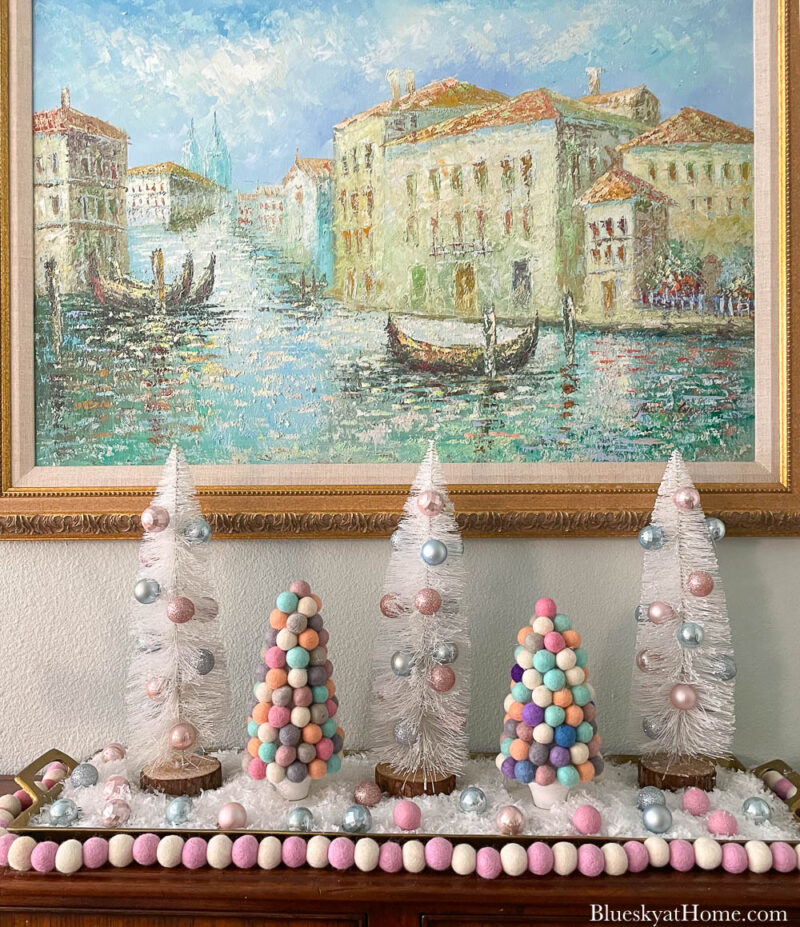
Next came three bottle brush trees. You can use how many you need to fill your tray vignette.
Then came the two wool-felt balls trees.

I was able to find my bag of faux snow in the garage. I sprinkled handfuls of snow around the trees on the tray.
Then I sprinkled some of the leftover pink and blue ornaments from the bottle brush tree.

Don’t these trees look pretty lit up?

Final Embellishments to Your Christmas Tray Vignette
The next morning after creating this tray vignette, I decided I wanted a little more embellishment on the vignette.
Since I had more pink and white felt balls, I decided to make another felt ball garland (like the ones I made for our new bedroom white Christmas tree). See DIY Christmas garland for detailed instructions.

You could also add some faux or fresh greenery.
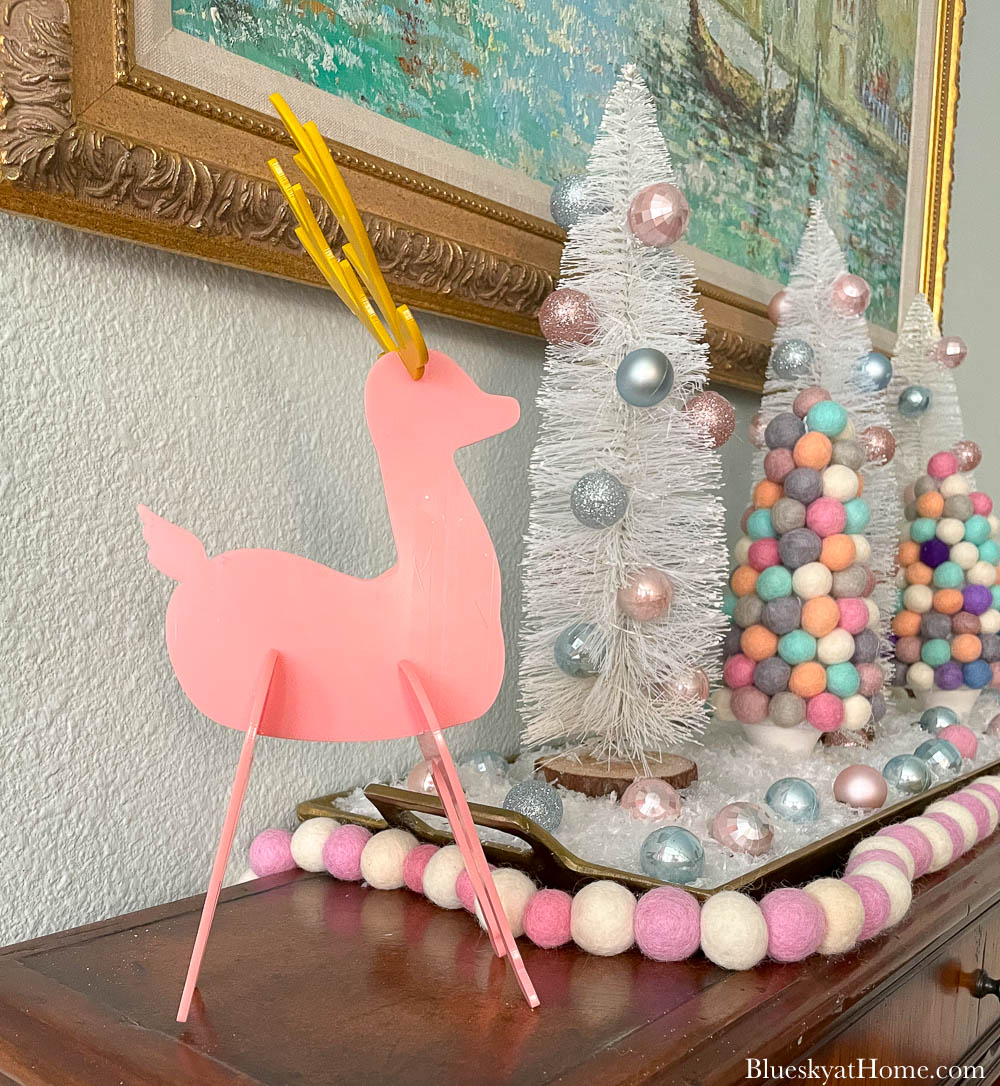
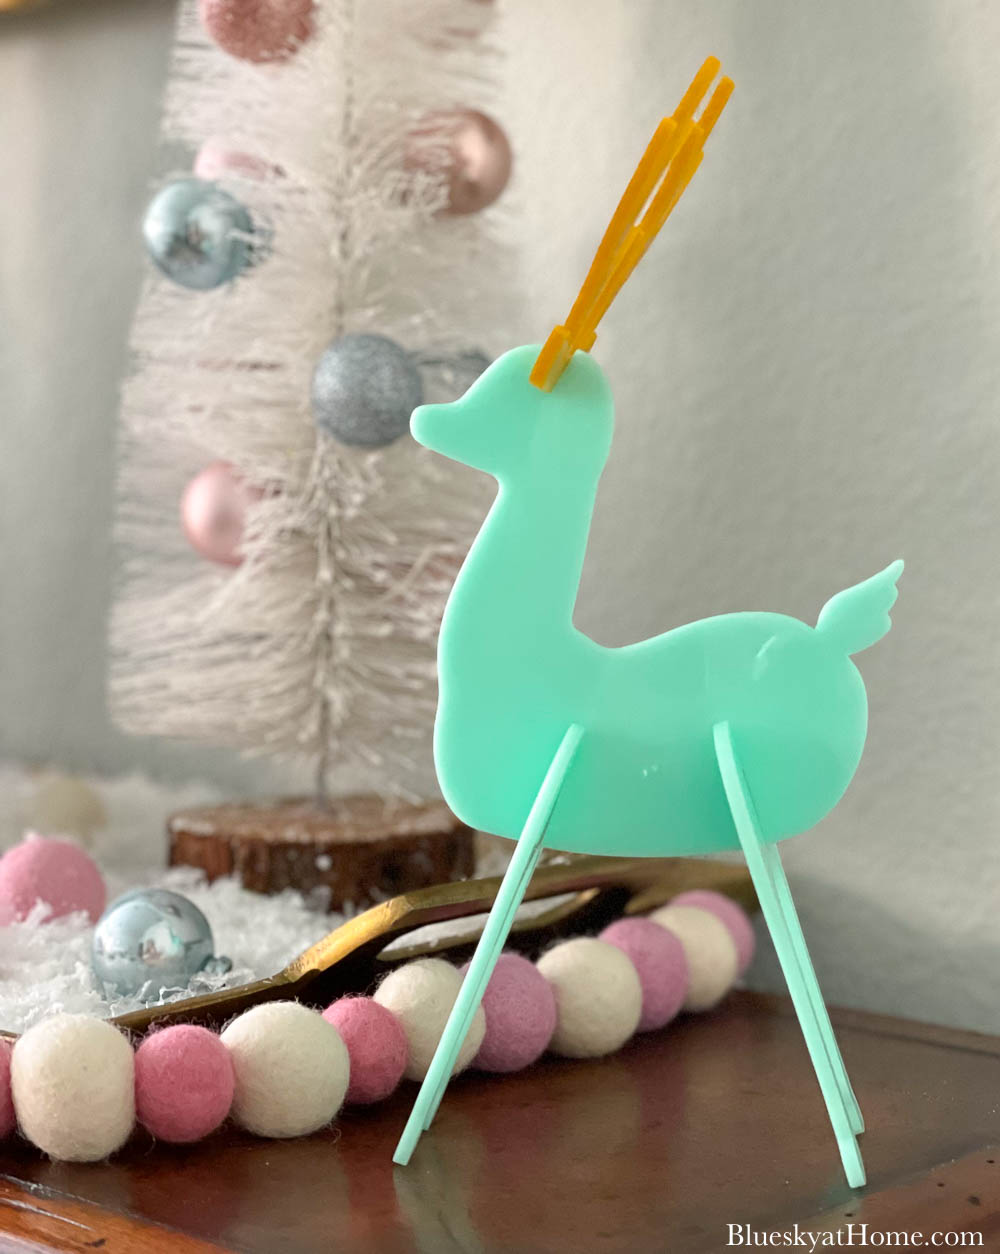
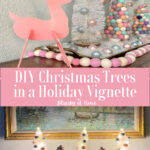
As a final cute embellishment, I used two acrylic reindeer which I bought last week during my shopping spree with my daughter.
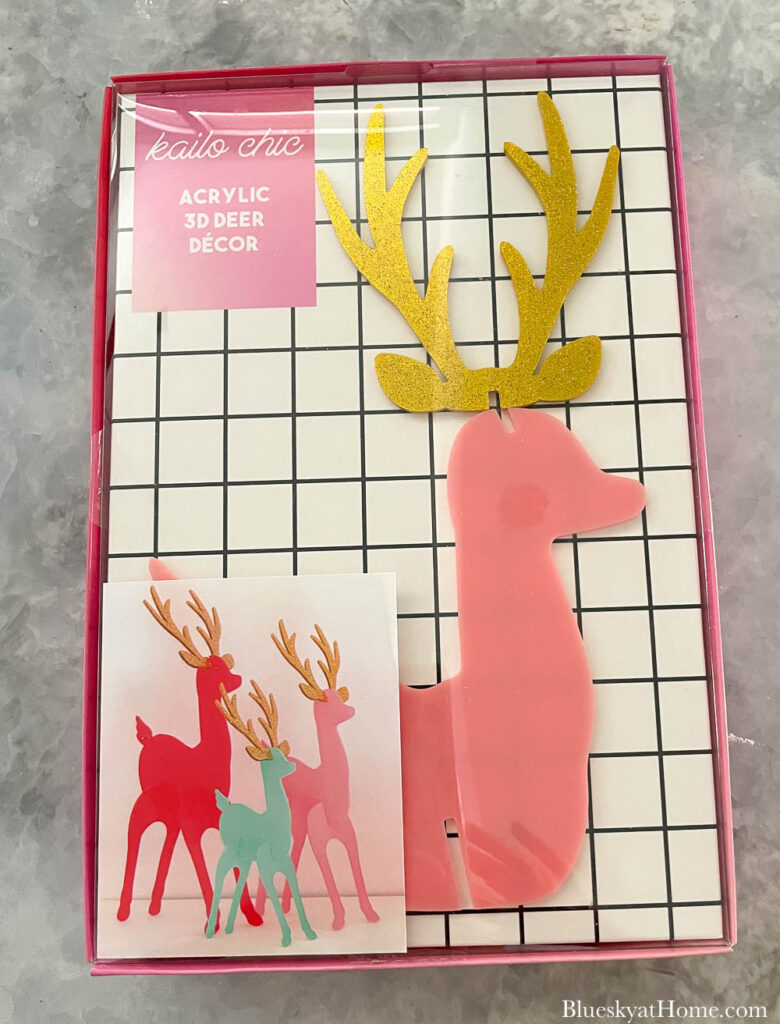
I didn’t realize until I opened the package that it was from Kalio Chic (not an affiliate link).
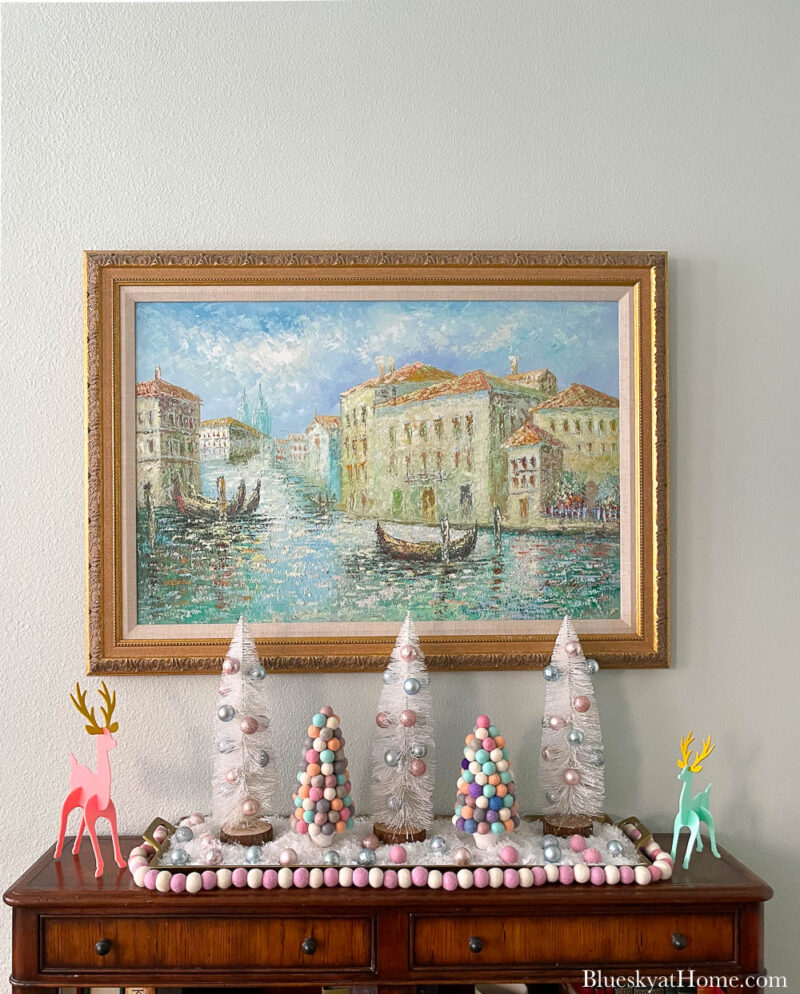
I used the pink and aqua reindeer, which picked up the colors of my vignette and adds another festive touch.
It’s usually the small touches that create an interesting focal point.

Since this table is narrow, this Christmas tray vignette fits perfectly. I love the pastel colors and the lighted trees. And how quickly the Christmas vignette came together.
Christmas Tree Tray Vignette Supplies


I’m not done, but we now have the beginning of the spirit of Christmas in our bedroom.
Here are more Christmas decorations for you to see and try:
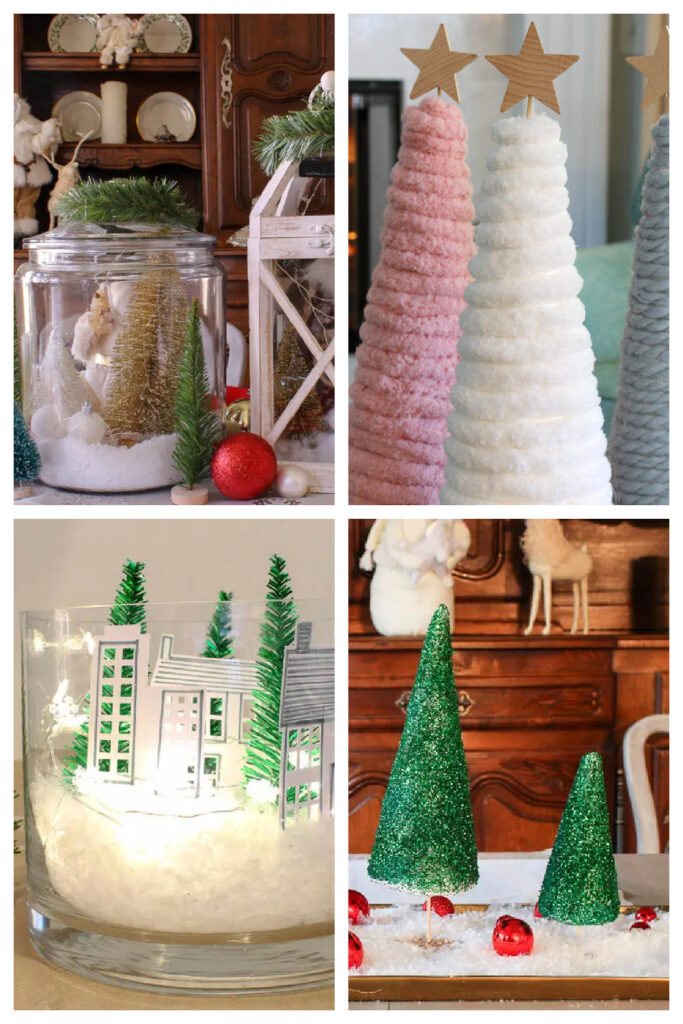
- DIY Christmas Tree Holiday Village
- Glitter Christmas Trees.
- How to Make Pretty Yarn Christmas Trees
- Ideas for Christmas Trees in Your Home
Here are some of my Pinterest Christmas Boards to give you more ideas:
- Christmas DIY Ideas
- Christmas DIY Projects/Bluesky at Home
- Christmas Home Decor
- Christmas Inspiration
Are you inspired to make a DIY Christmas tree holiday vignette on a tray? I would appreciate it if you would PIN this project to your Pinterest Christmas boards.


Enjoyed seeing your trees. I have started making some projects for our church Christmas fair and for gifts. Can’t believe it is the end of July already! I love bottle brush trees–especially decorating them for the dollhouse people! I have made a few Halloween ones, too!
Thanks Kathy. Good for you for contributing to the Christmas fair. Hope you can use some the DIY posts as inspiration.
These are so cute! I’m loving your Christmas color scheme! Next year I’m going to borrow your idea for our master bedroom Christmas decor. I’ll be featuring your post on Thursday’s Crafty Creators. Hope to see you there! It was great touring with you as well! Tell Annabelle “Roll Tide!!” Our kids have been saying it since they could speak lol. My son has already decided that’s where he wants to go to college when he’s old enough (I don’t even want to think about that!!).
Your pastel color scheme for your vignette is so pretty! The wool ball trees look amazing. So nice to tray hop with you.
I love all of your wonderful trees. I may like the pompom tree most of all. The non traditional colors make it even more festive. Love it all!Thank you for joining in the fun. Pinned! Hugs!!
Carol! Your tray is so full of happy color! The deer are too cute! Thank you for sharing. Lovely hopping with you! Merry Christmas! Toodles, Kathryn
Carol, I am loving your pretty in pastel tray. How sweet to make some of the trees. The felt balls make wonderful trees. The reindeer are darling. The tray is a showstopper. A pleasure hopping with you.
Carol,
I love your trees and those felt ones are gorgeous. Love your tray vignette.
Have a lovely holiday season.
Hugs,
Bev
This tray is so fun and festive! Great job Carol. I love that it was something you could work on with your granddaughter too. I love how all the trees turned out. Have a great week.
Oh what a great idea! Thanks for the tutorial and I love that you made this a family affair! Making memories along the way… perfect!
This is so cute Carol! I just love the happy colors! The felt ball trees are adorable, and so easy to make! What a great idea, thanks for sharing. Happy December!
So pretty and fun! I love all the happy colors, Carol! Great to tour with you!
Shelley
Hi Carol! I love that you used pastels for your Christmas decor. These are both great DIYs and I love how the trees look all lit up at night. The tray is the perfect footprint for your console table and it all came together beautifully. Nice to be joining together on this tour. Enjoy the season. XO- MaryJo
Lots of great ideas! Thank you.
HI Carol,
I love seeing friends joining in on these parties! Okay I love your felt pom pom (balls) Christmas trees. I love them because at our house, with two Bernese Mountain dogs, my felt decor would be like a lint brush! So pretty! You have stepped up your craft game, girl! xo laura in Colorado
PS Is your son still in CO or did he travel to new state?
Hi, Carol; your DIY trees are so lovely, both kinds, and I like how they coordinate so tastefully with the painting above the vignette!
LOVE your brass tray Carol – that’s so perfectly sized for your console too! So fun that you got to create with your darling girl. That makes it all even more fun. 🙂 It’s great to share this tour with you. Happy Holidays!
Carol,
This is so darn sweet!!I love what you did with the trees and I would have never thought of felt balls and lighting those little trees!! Thanks so much for sharing!! It is just darling!!
hugs,
Deb
Carol, what a great tutorial. Love the soft pastel colors you used in creating your trees and tray. It’s great that your crafts can be created by younger members of the family.
Lynne
Such a fun tray, Carol!! Those little trees with the felt balls are ADORABLE! What a creative way to add color to the holidays. So fun hopping with you today!