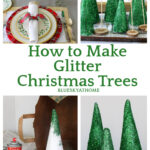
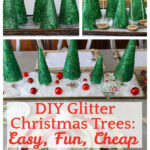
How to Make Glitter Christmas Trees
Glitter is one of the best things to add sparkle to our Christmas decorations. I can’t think of anything as pretty as glittery, sparkly colorful Christmas trees. I’m showing you how to make glitter Christmas trees.
At Christmas, we like bright, shiny things. Glitter is one of the brightest and shiniest items we can use to make Christmas DIY decorations. Why do we love to use glitter for DIY projects?
- It comes in dozens of colors.
- It’s inexpensive.
- You can apply it with different types of adhesives.
- You can use glitter on many different surfaces.
I can’t remember exactly where I got the idea for using glitter to make Christmas trees. I’m sure I saw a picture on Pinterest and loved the idea.
I figured out in my head how to make glitter Christmas trees and the supplies I would need. Would you like to make some DIY Christmas trees?

I knew exactly where I would use these glitter Christmas trees – on my Christmas tablescape. The trees would be the focus of my centerpiece.
As I anticipated, the supplies were few and the project was easy.
Supplies for the Glitter Christmas Trees
- styrofoam cones in varying sizes
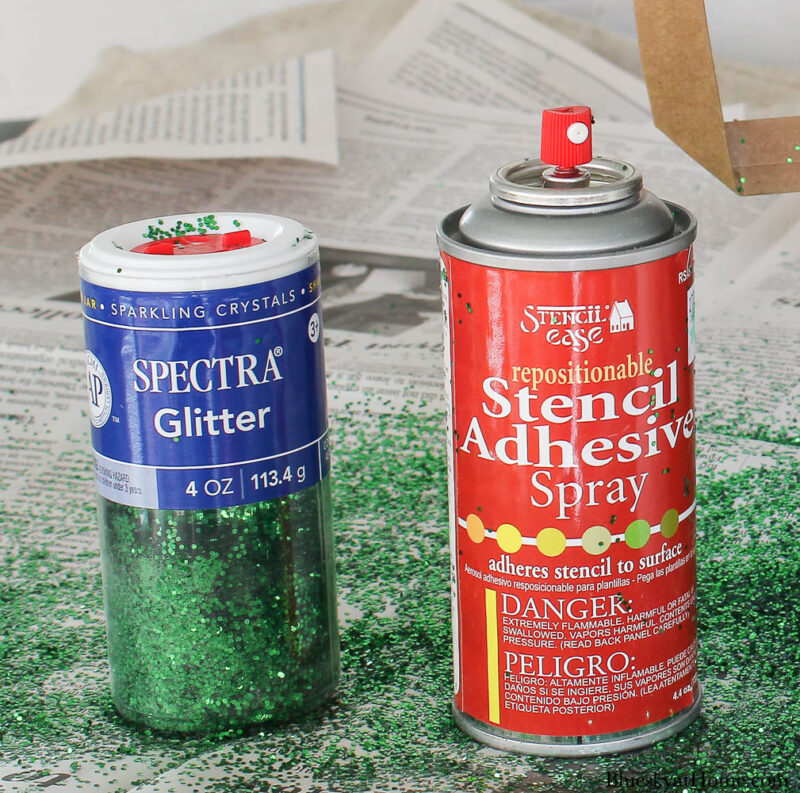
- large jar of glitter in your color of choice ~ I used green glitter.
- spray adhesive or glue of some sort ~ I’ll share what I used.
- newspaper, craft paper or drop cloth to project work surface
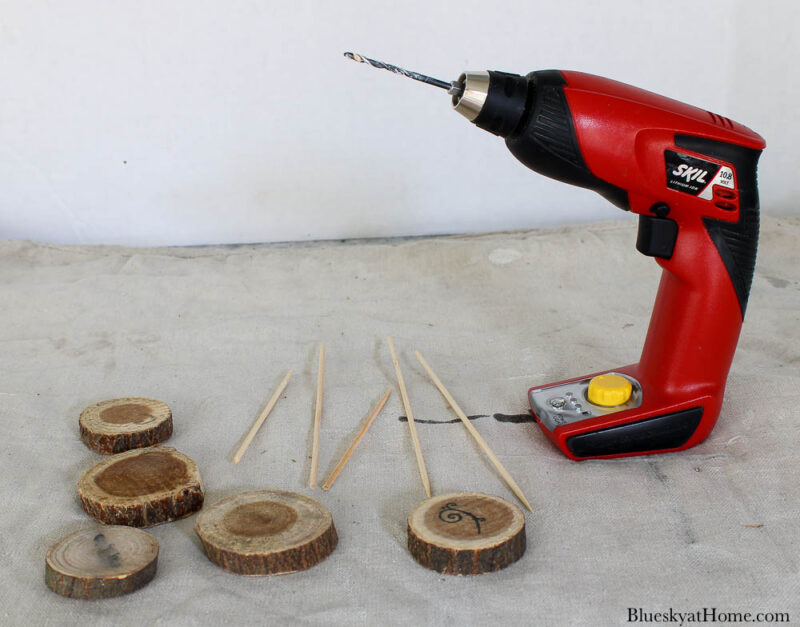
- wood slices and small skewers for stands (or for appetizers!)
- glue


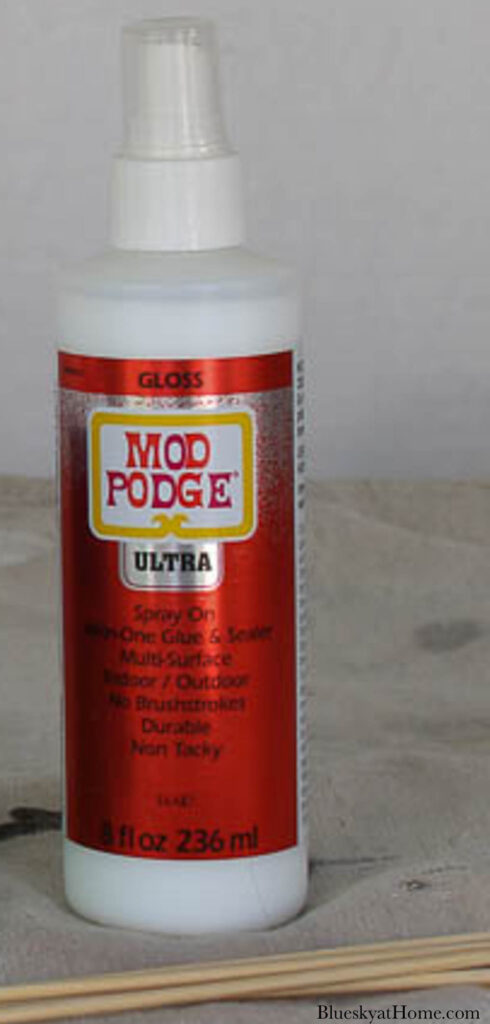
As far as the adhesive, I had a spray bottle of Mod Podge on hand which I thought would be a great option.
Set Up Your Work Area
Normally, when using a spray adhesive, I would work outside in the garage. The day I was making my glitter Christmas trees, it was too cold to do that. (If I had waited one day, the weather was warmer, but I couldn’t wait.)
The styrofoam cones came in a package of nine in varying sizes. I picked out five ~ 3 tall and 2 medium ones. I checked that they fit on the brass tray I would use on the dining room table.

First, I placed my drop cloth on the kitchen counter – the kitchen is where I create most of my DIY projects.
Next, I gathered my supplies.

Then, I placed several layers of newspaper on the kitchen counter and put a tri~fold poster board up around it. Then I placed an open paper grocery bag on top.
My idea was to spray the adhesive on the styrofoam cone inside the bag. Pretty clever, uh?

Applying the Glitter
Now I was ready to start applying the glitter to the cone. This is when I discovered that the Mod Podge spray pump didn’t work.
So I looked around my office. Unfortunately, I was also out of Tacky Spray. Fortunately, I had two cans of Stencil Adhesive. They were leftover from my pre~A Makers’ Studio days when I used Stencil Adhesive for vinyl stencils. What not try it?
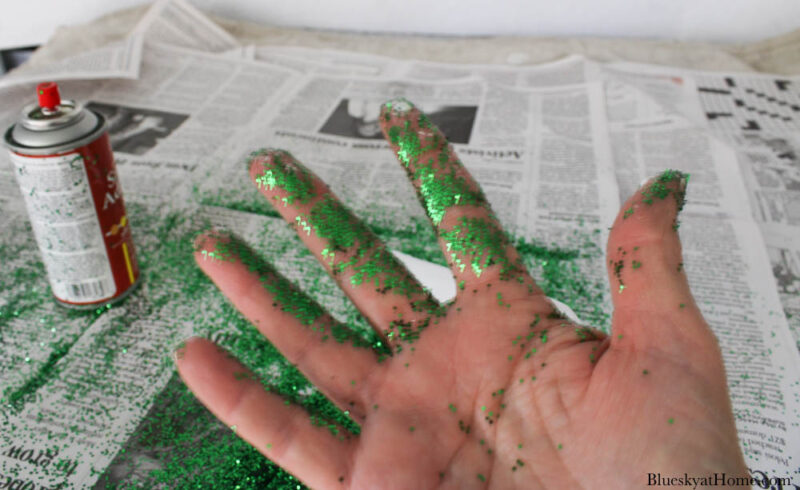
I sprayed as much adhesive as I could on the cone. Then I just started shaking the glitter on the tacky areas and shaking off the excess.
The newspaper will catch the fallen glitter, which you will pick up with your fingers and use on the cones.


I continued this process:
- spraying the adhesive on the cone in the bag
- shaking on the glitter
- shaking off the excess
- setting the cone on a sheet pan covered with a piece of newspaper to set
- repeat
Warning: This project can get a little messy. I’ll show you a better method for adding the glitter in a moment.
When all the styrofoam glitter Christmas trees were dry, I was ready to add the stands.

Making the Christmas Tree Stands
I didn’t want to sit the Christmas trees directly on the brass tray on the dining room table. Here is where the wood slices and skewers come in. You could also use thin dowel rods and cut them to the length you want.
I had several wood slices left from earlier projects.
I used my electric drill (one of my favorite toys) and a pilot bit to drill a small hole in the center of the wood slice.
Then I squeezed out a small bead of Gorilla Super Glue into the hole.
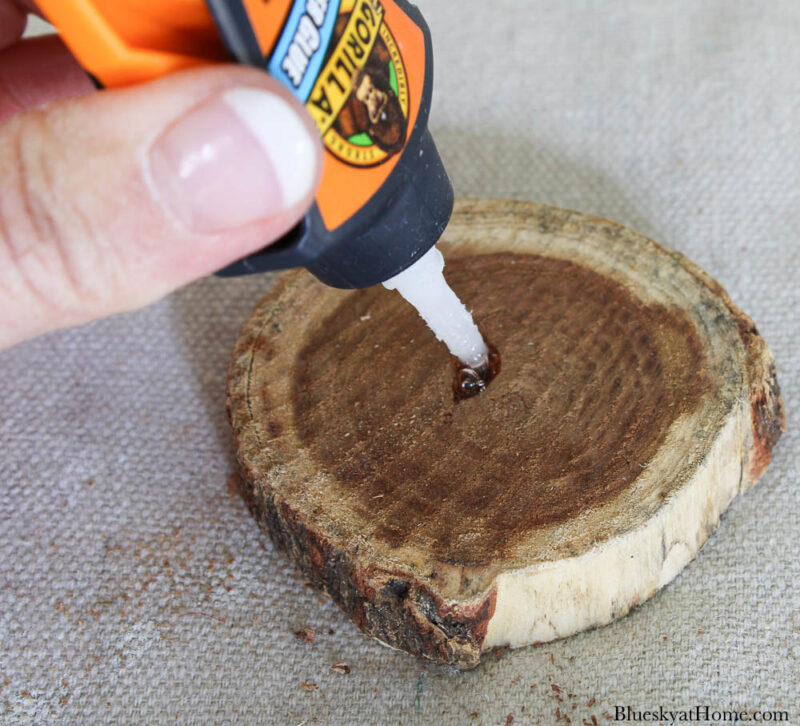
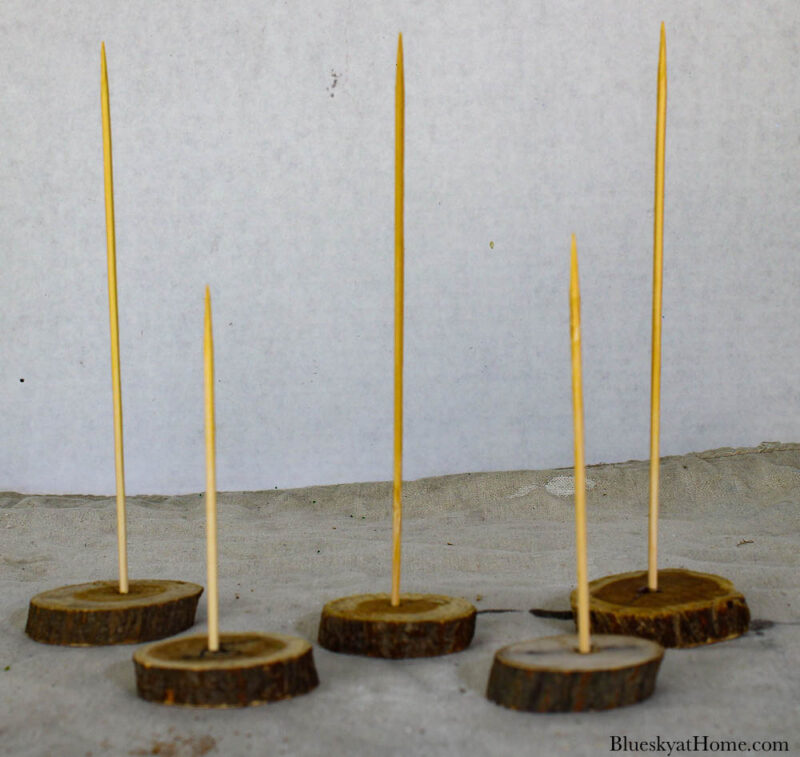
Finally, I put the blunt end of the skewer into the hole.
NOTE: I did cut a couple of the skewers shorter so that the trees would vary more in height, but that is strictly optional.
I placed the stands on the sheet pan with the glitter trees and took them into the dining room.
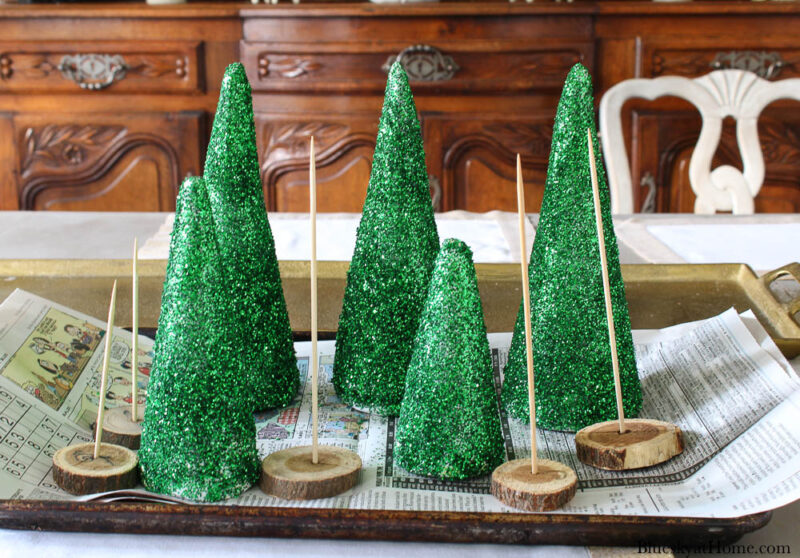
Then I carefully poked the sharp end of the skewers into the trees.
Do What I Suggest, Not What I Did
At this point, I noticed several spots on the trees where the glitter was a little thin. So back to the kitchen for a little more glitter-shakin’.
Here’s when I discovered how I should have applied the spray glue and glitter in the first place. This time, I just picked up the wood slice base, put it top-down in the bag, sprayed on the adhesive where it was needed, sprinkled on more glitter, and shook off the excess.
It was so much easier this way. And best of all? My hands didn’t get sticky with glitter.
You may have been wondering why I didn’t do the project this way to begin with. I have no idea. Christmas DIY overload?
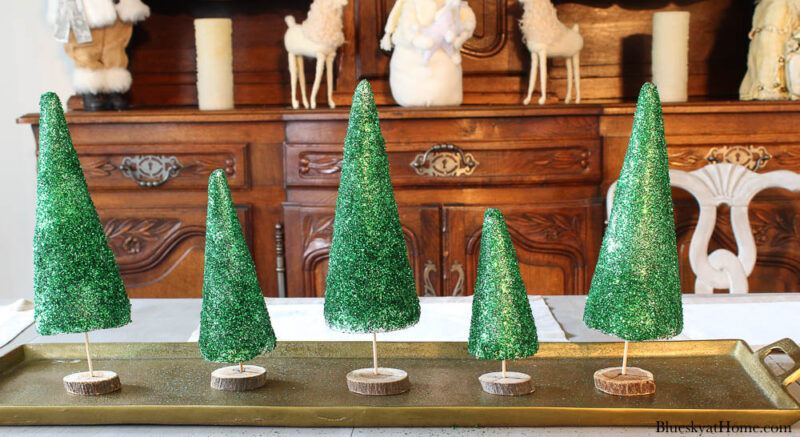
Anyway, when I finished reapplying the second round of glitter, I took the glitter trees back to the dining room. Now I could begin styling the Christmas centerpiece.
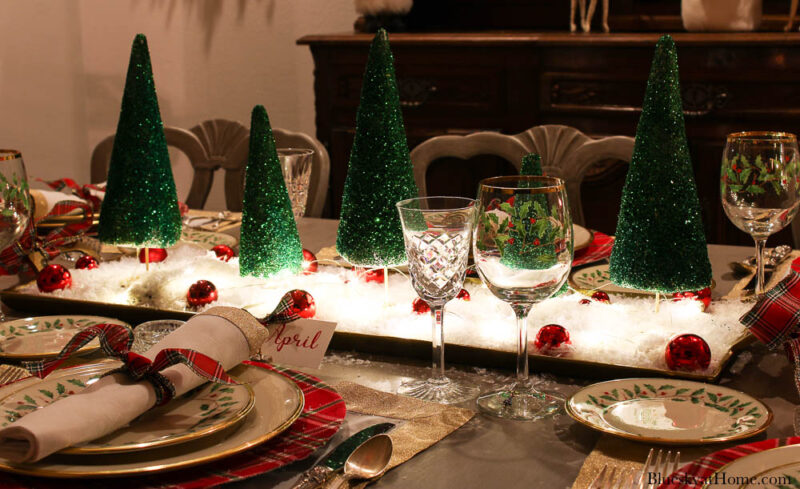
Green Glitter Christmas Tree Centerpiece
I added faux snow around the base of the trees. This is one reason why you want to place your trees on a tray. Besides holding the snow in place, the tray makes for a cohesive arrangement.
Then came some small red Christmas balls.

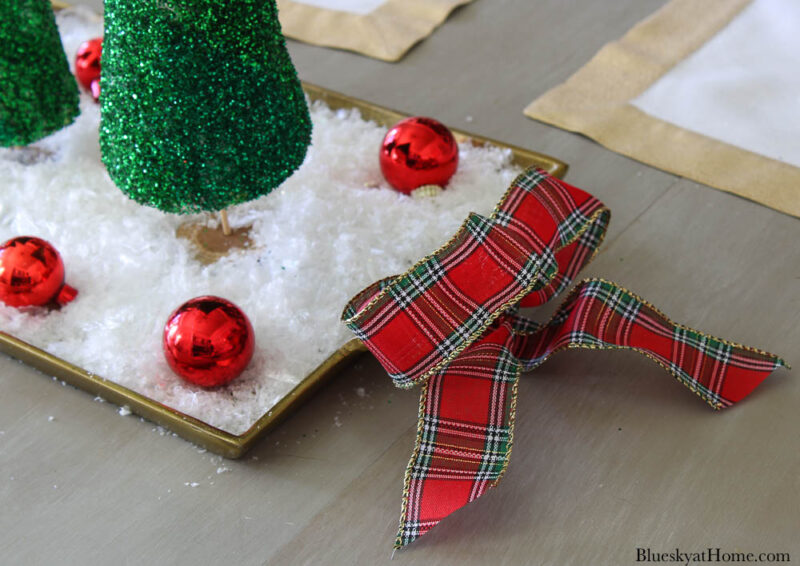
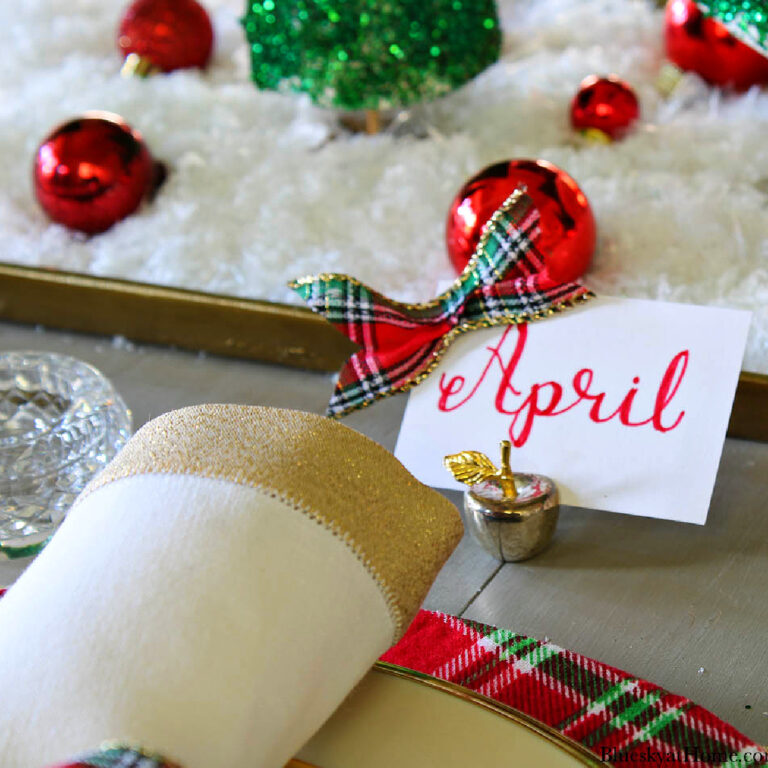
I also added some red plaid bows on the handles of the tray.
The last item for the centerpiece was one strand of battery-operated bright white fairy lights with timers.
I’ll share the complete Christmas tablescape with the chargers tomorrow on Day 4 of Christmas in July.
Our Christmas dinner party on Saturday night was a rousing success. Our guests loved the tablescape and the centerpiece. I told the girls that they would have to wait until today to see how to make the glitter Christmas trees.
Here’s a super easy DIY Christmas tree project – DIY Yarn Christmas Trees.
Where Else Can You Use These Glitter Christmas Trees?
- on the mantel
- on your coffee table
- in your entry
- group together on a round tray
- anywhere!
Making glitter Christmas trees would be a fun project for older kids ~ just put down a dropcloth so they don’t get glitter all over the place.
If you like this project, please pass it on, share and PIN IT. Don’t keep a good thing to yourself.


Just a thought, put a row of battery operated Christmas lights around the edge of baking sheet to make really festive?
That would. be a great idea!
Great tutorial, Carol! Working with glitter can be tough, sometimes but you nailed it! Looks great at night. Thanks for sharing at Vintage Charm. xo Kathleen
These turned out so cute, and were so simple. Thanks for sharing.
Thank you so much, Janet. They are fun to make.
Just my kind of project. And they look fabulous on your dining room table! Thanks for sharing at Vintage Charm and Happy Holidays! xo Kathleen
Your glitter trees are so cute Carol and I love how you made several to line up on your table centerpiece. Great idea!
P.S. I LOVE your new logo!
Great job on the trees and I love the new theme