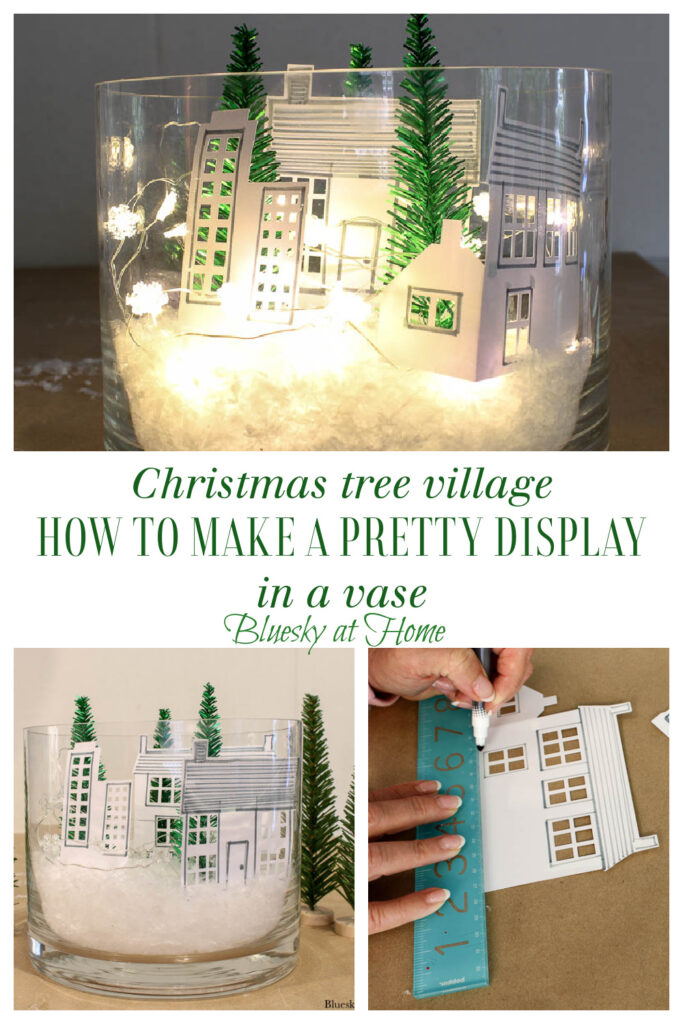
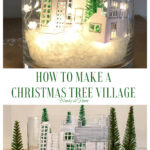
How to Make a Christmas Tree Village in a Vase
Christmas is almost here. Have you finished your holiday decorating? If you need just one more easy and quick Christmas decoration, then here is how to make a Christmas tree village.
You can easily create this magical Christmas decoration to display in your holiday home. This easy and inexpensive Christmas tree village project can be a focal point in many areas of your home.
This Christmas tree village may be a great project for your kids to create once they are out of school for the holidays. It can be made in less than an hour with inexpensive elements you make already have on hand.

This Christmas tree village in a vase or jar will add sparkle to any room in your home.
How to Make a Christmas Tree Village in a Vase
I loved how simple, pretty and easy it is to make this Christmas tree village. I also love that you need just a few supplies and virtually no DIY skills!
Supplies for Your Christmas Tree Village
You may already have most of these supplies on hand.
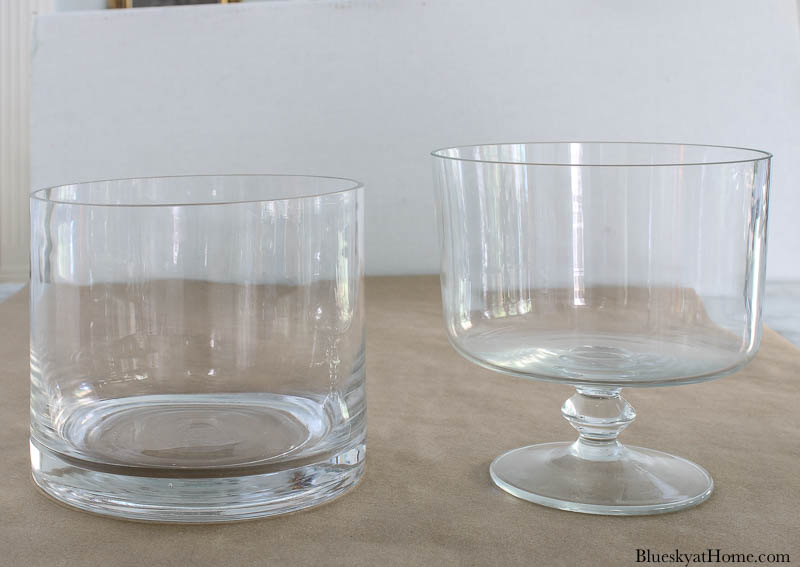
- large glass vase, large jar, large cloche, a trifle bowl, covered cake stand

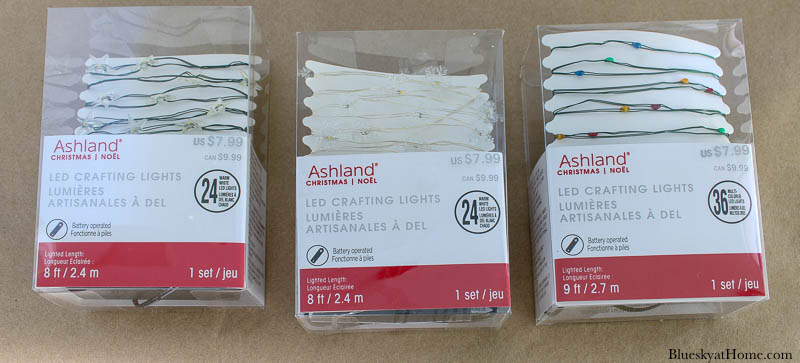
- battery-operated lights – I always have these on hand. You can find them online, at Target, Michael’s, Joann or Hobby Loggy. Choose either white or colored lights for your Christmas village scene.
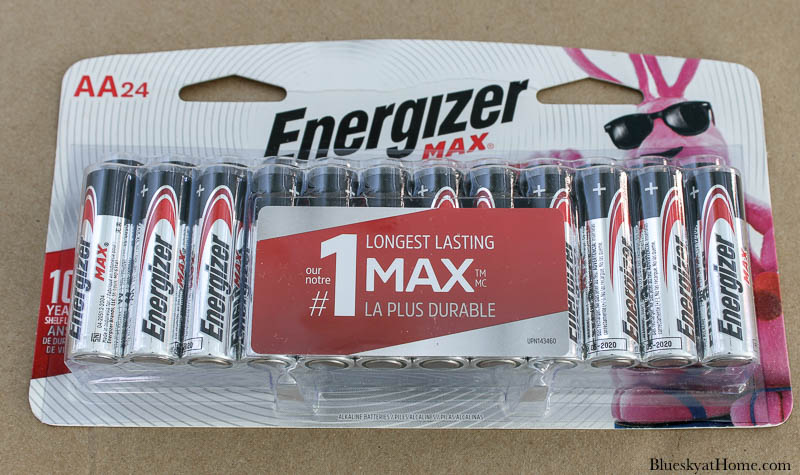
- batteries – I always have batteries on hand for lights
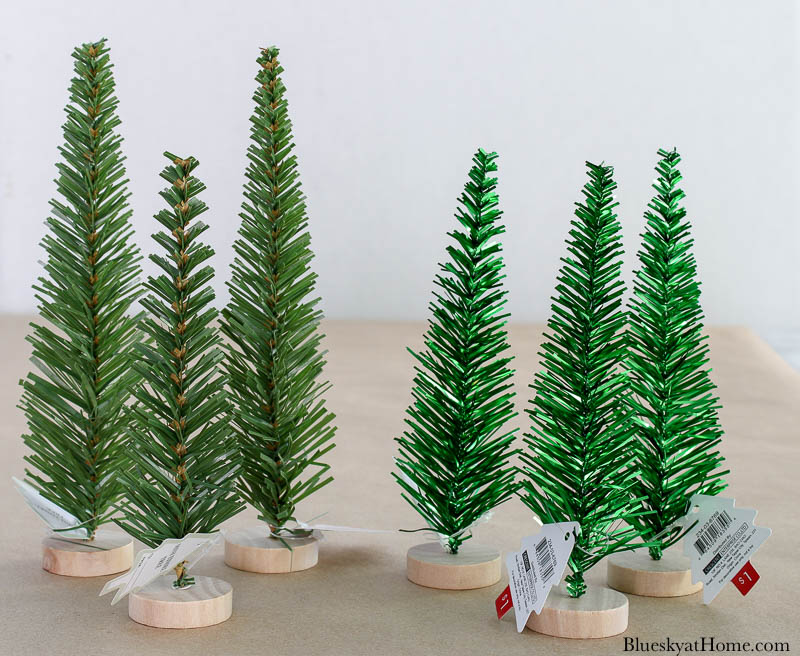
- small faux Christmas trees – I found 2 different styles in the Dollar Spot at Target. Small bottle brush trees are another great option.
- cut-outs of houses and buildings – I used my Cricut to make these.
Assembling Your Christmas Tree Village
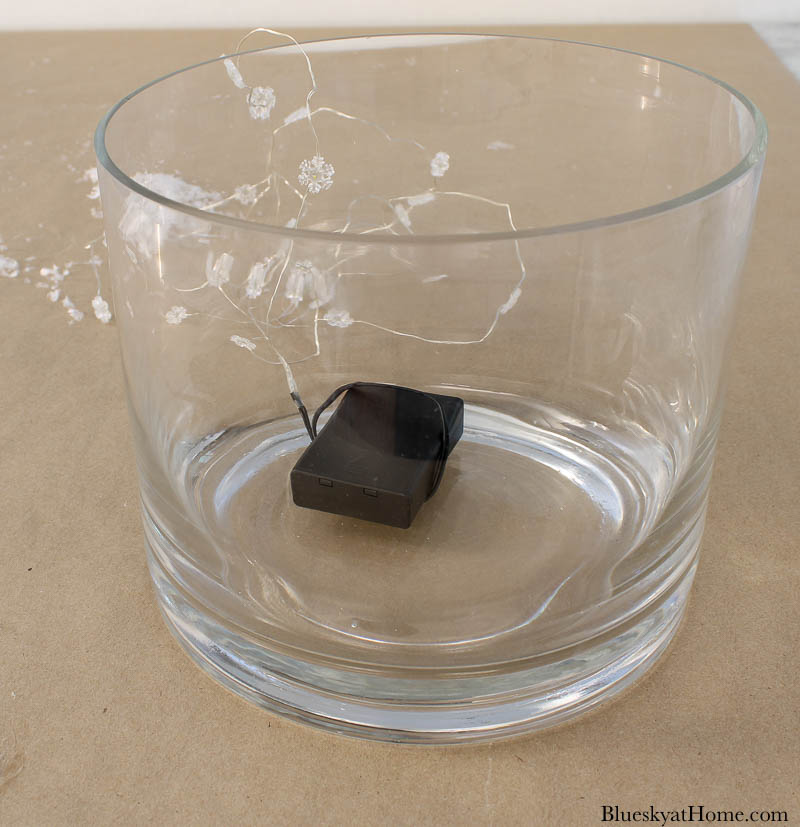
The round open vase was the easiest option. I bought it at an estate sale last summer.

I had these snowflake lights on hand. They were the biggest and brightest lights I had.
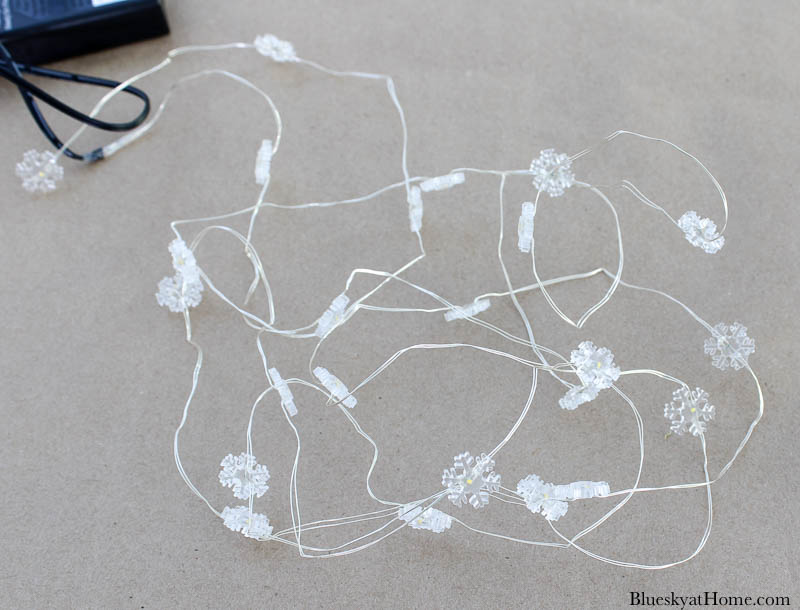
Be sure to check your lights first.
Assemble Your Christmas Vignette
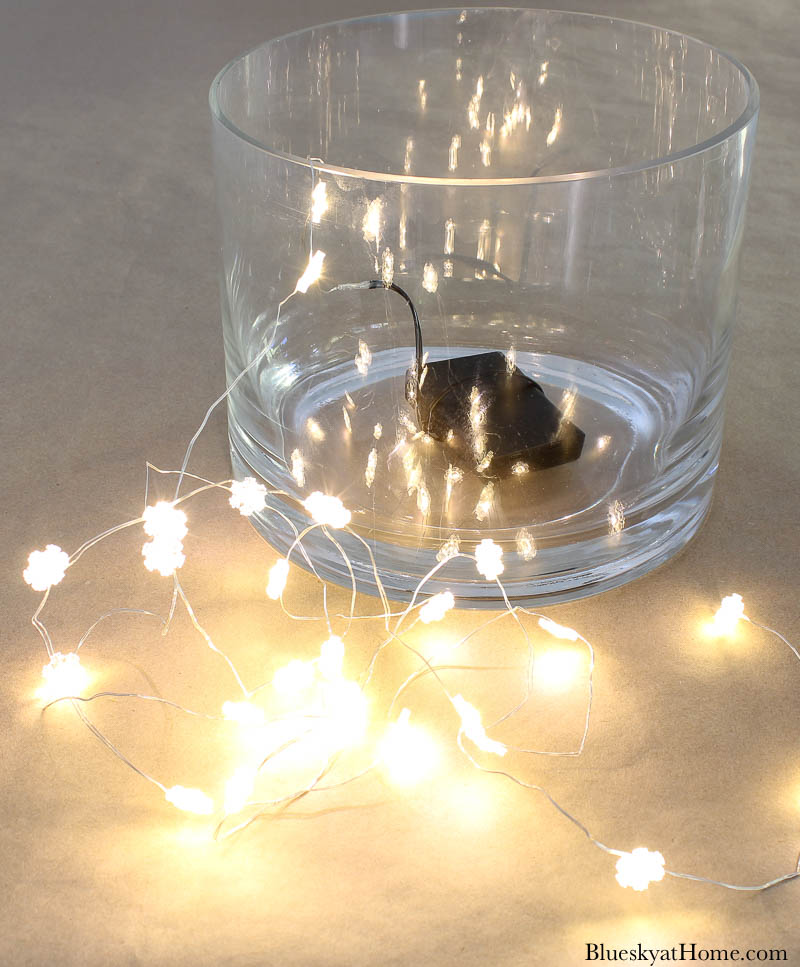
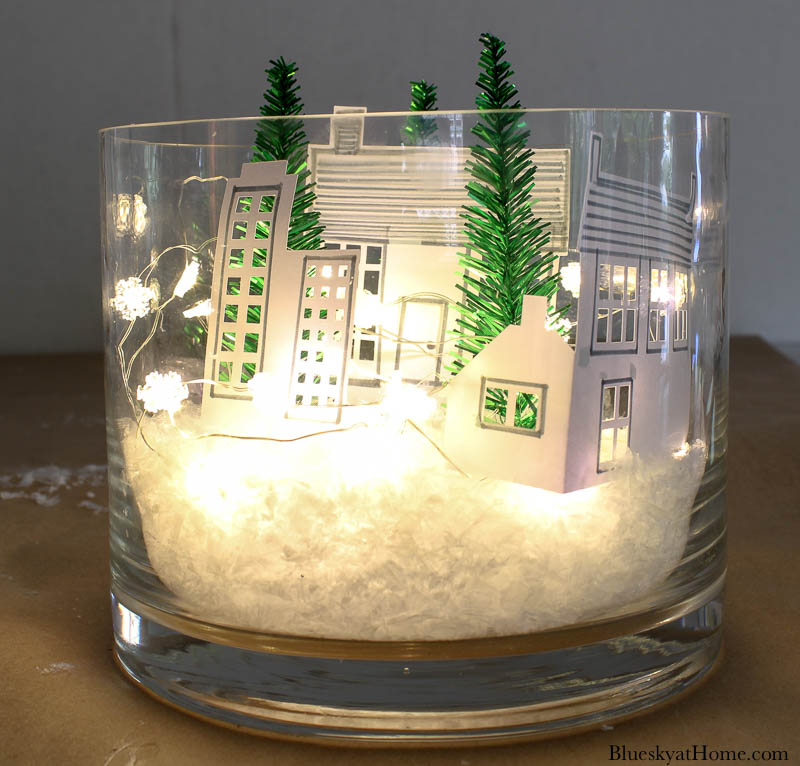
Step 1 – First, place the light pack in the bottom of the vase.
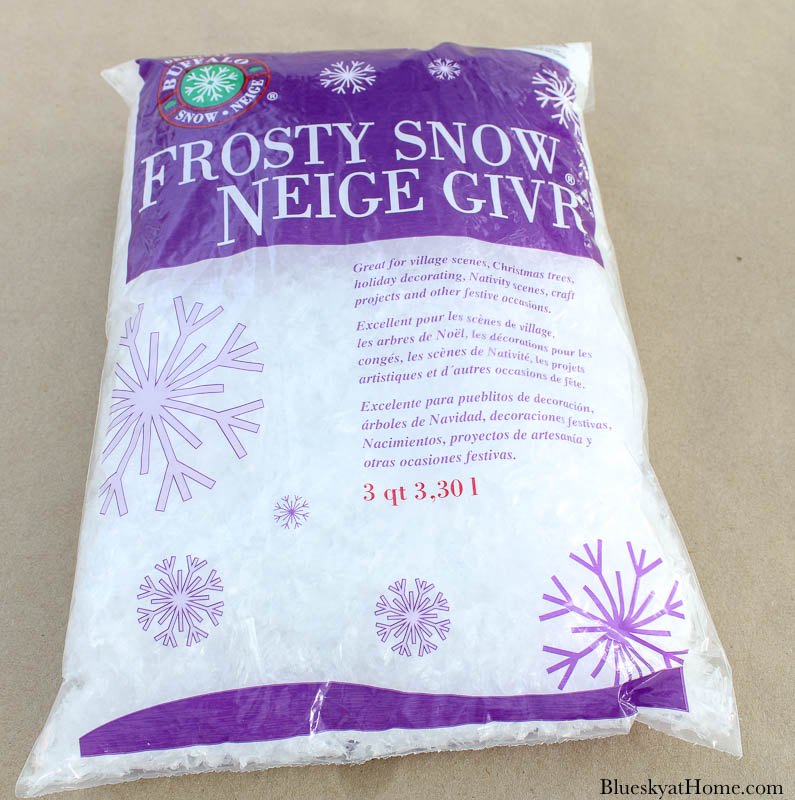
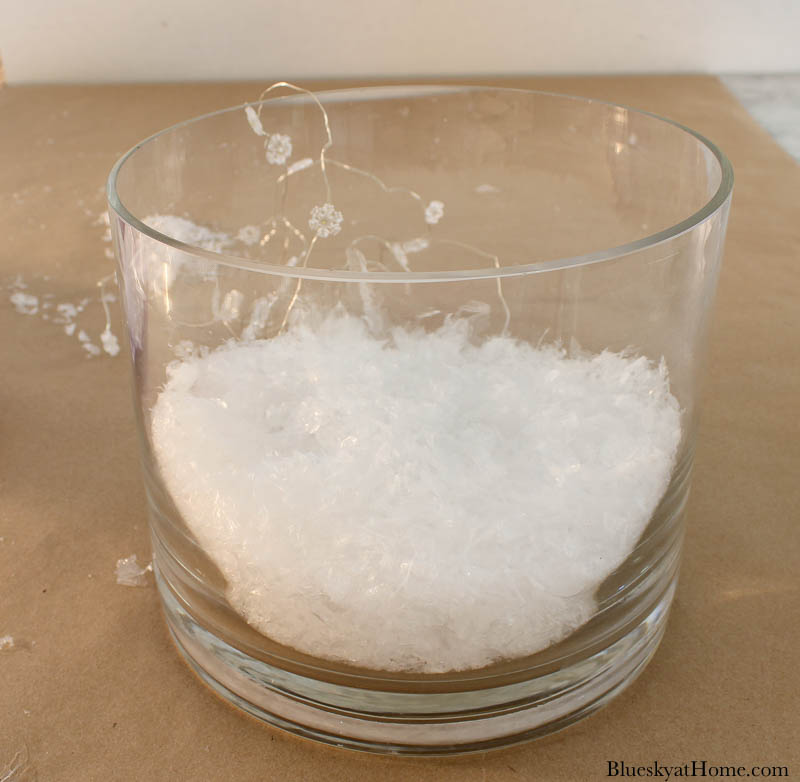
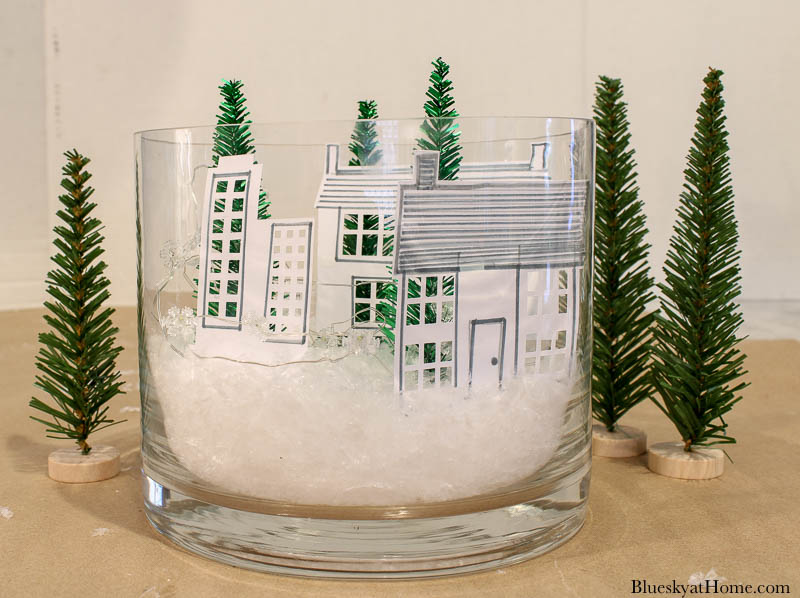
Step 2 – Fill your vase or jar with the faux snow. I put about a 2-inch depth.

Step 3 – Now, add your miniature faux Christmas trees. I chose to use the ones with shiny branches.
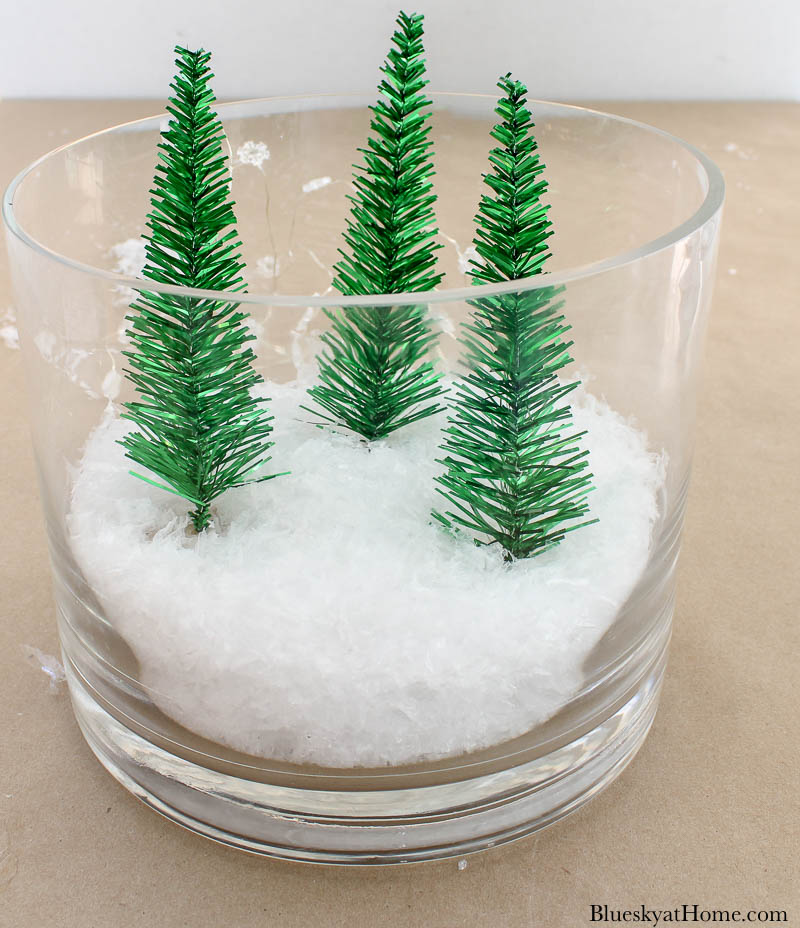
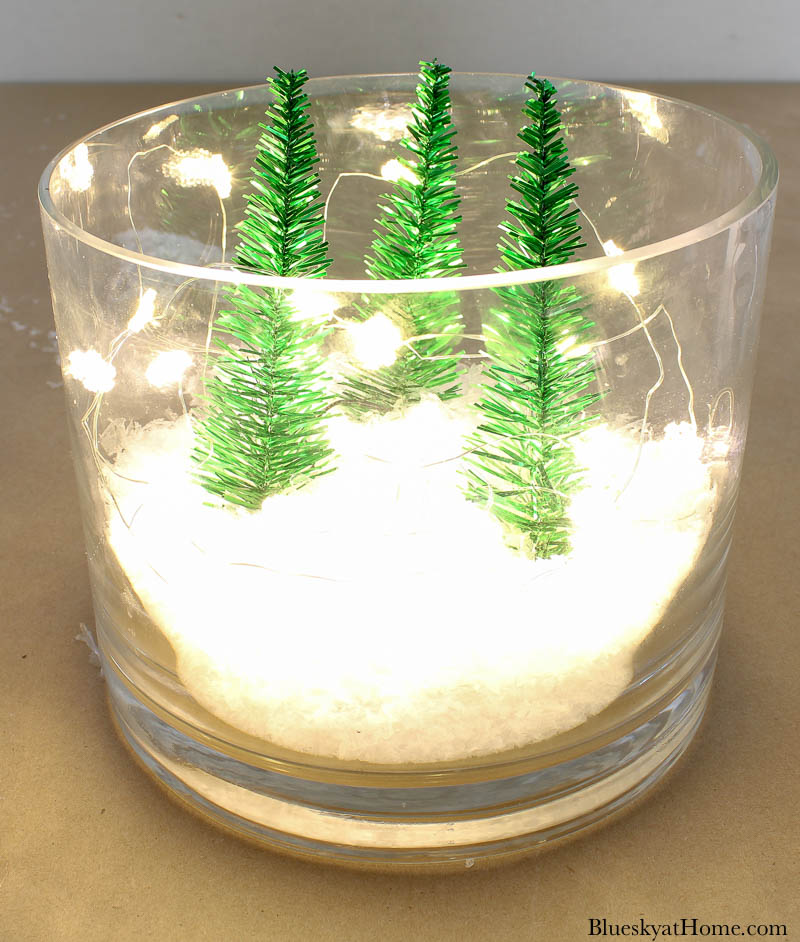
I turned the lights on to check how they looked.
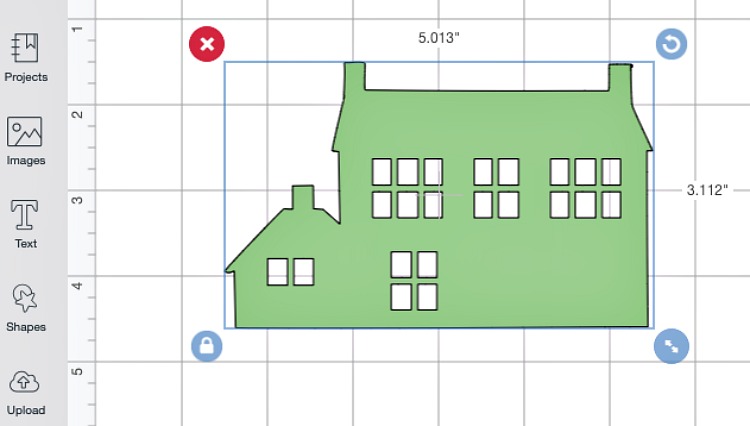
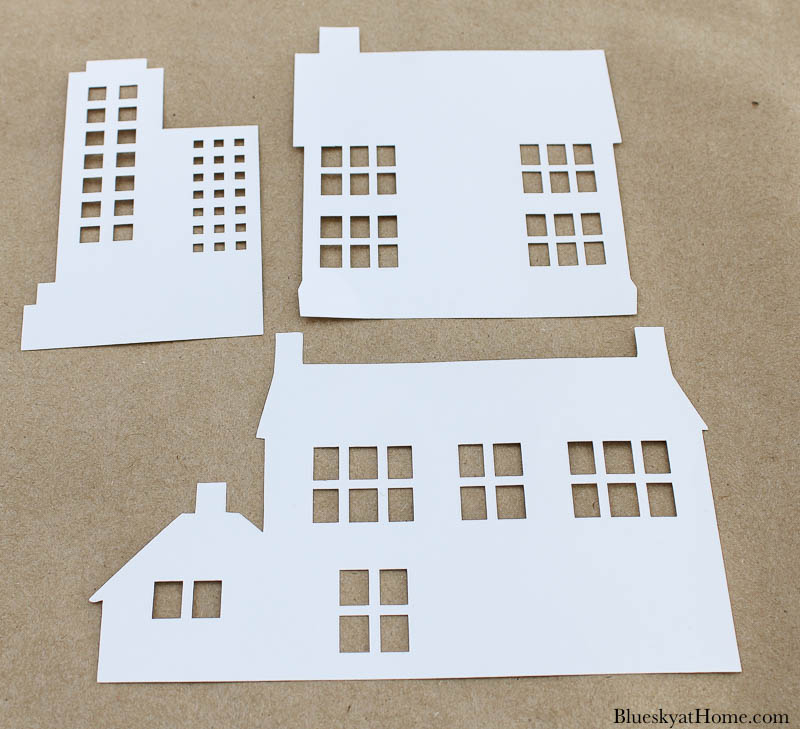
Step 4 – Now you will need to make your buildings or houses. I used my Cricut Air and Circuit Design Space to find and cut out 3 buildings. You could hand draw these – or have your kids draw them.
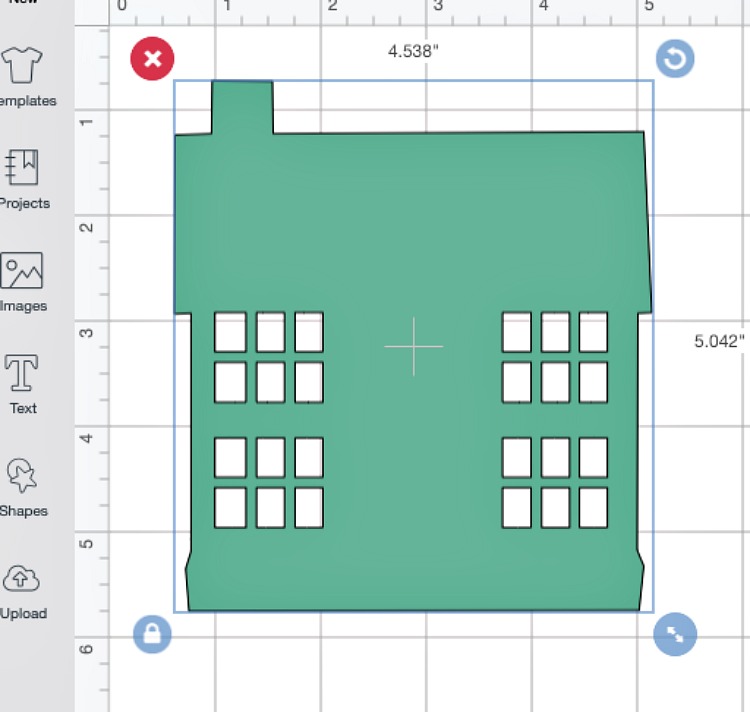
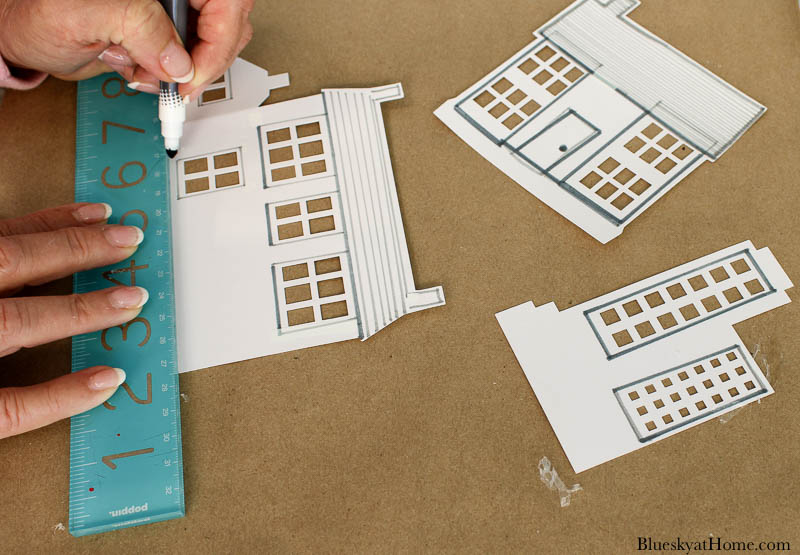
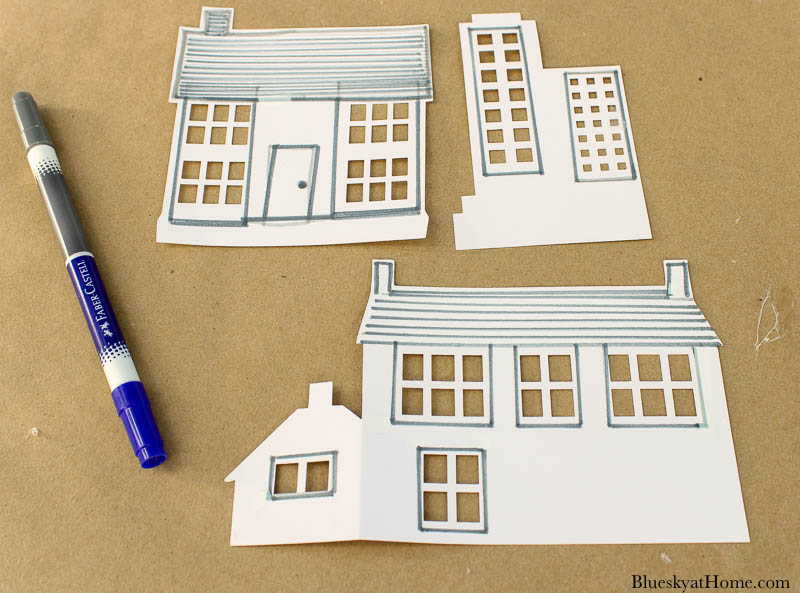
Then, I used a marker and ruler to outline the doors and windows.
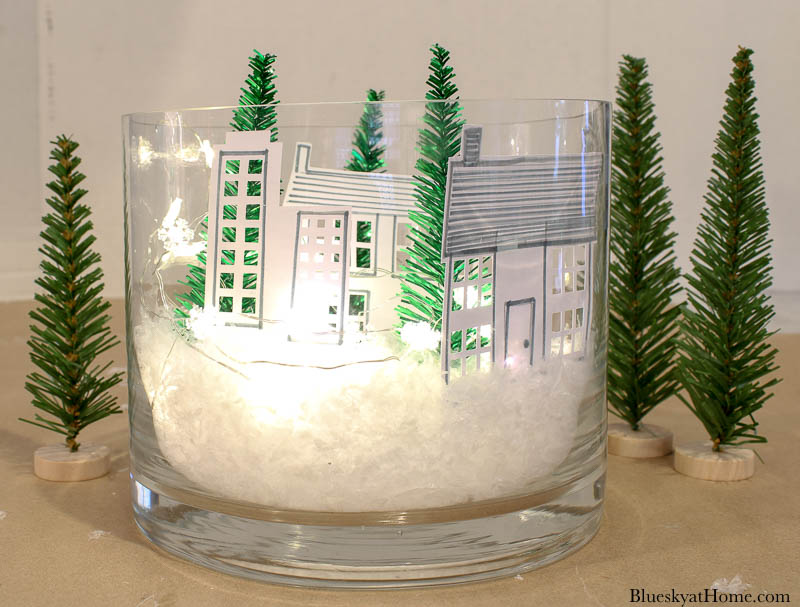
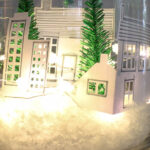
Step 5 – Next, add your buildings to the vase jar. I placed mine against the glass of the vase. I also added the other 3 trees to the outside of the vase for added color and filler.
Finally, turn the lights on to check how your Christmas tree village vignette looks.
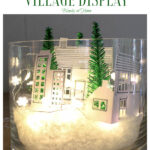
Christmas Tree Display
Since this Christmas tree village is small, you can put it in so many places: on a table, the mantel, a bathroom counter or the kitchen counter. It would be perfect for a child’s room as a Christmas night light.
This Christmas tree village in a vase would be pretty in any room. Let the kids choose.
Here’s another favorite Christmas decoration project of mine.
Be sure to PIN this project. You’ll love how easy, fast and inexpensive it is.


I love your snow village, Carol! The lights and the snow make everything so magical and I love this is something everyone can get involved in and put their own spin on too. It’s fabulous! I hope you and your family have an amazing holiday season, CoCo
Thank you so much, Coco. Have a merry Christmas.
Your village is lovely! AND it could be left up all winter, too! I think I’d like to try it with some old Christmas card pix as my artistic ability is in the negative range. Crafty, but not artistic! Hope you and yours have a Merry Christmas and Happy New Year. Safe travels!
Hi Carol – This is such a creative idea! It would be great for a table centerpiece. Your photos and step by step instructions are really helpful. Thank you for sharing this post on the Home Imagined Link Party. Wishing you a Merry Christmas.
Carol, this came out so pretty. My kids would love to make this with me. Thanks for the creative idea. Its also perfect to keep up in the winter too. Thank you for joining us at the Home Imagined Link party. I hope you have a good week and a Merry Christmas.
Cute project, Carol!!
So simple and affordable! I love the lights in it…it really glows beautifully against the glass!
This is such a cute idea! I love the house templates you used, Carol!
Carol your take on this challenge is just adorable! I love the Cricut houses and those little trees ares so cute too! The snowflake lights are adorable. I am going to keep my eye out for those.
So fun joining you for this challenge. Happy fall-i-days!
Your village is darling, Carol, and the Cricut makes things so much easier. I LOVE my Maker! Thank you for sharing at Party In Your PJ’s.
I love the lights…Thanks for sharing on our Linky Party!
What a great project. It is the best argument for having a trifle-type bowl or a glass cake cover that I can think of!!! I have discovered the little strings of lights at Dollar Tree. I recently got a long skinny picture of our city next door and am tempted to use that for the house pictures. And as I love the little red trucks with bottle brush trees tied on top, I may have to add one of those, too! I think I could love one with a Halloween theme, too!
I love all the detail Carol. Your Pinterest Challenge project turned out beautifully.
It turned out so pretty Carol! I love how much the little lights add to it! Love the inspiration!
What a great idea to use your Cricut, Carol! I’ll have to remember that for future Christmas craft projects. Your village turned out so sweet with the added hand-drawn accents. Happy to be hopping with you again!
Glad you liked it, Crissy. I do love my Cricut. I should use it more. Happy to be hopping!!
You are so smart to think to use your Cricut to make your houses. The fairy lights look so pretty lit up around the houses. Are you leaving them on until the batteries die?
I’m so impressed with the detail you put into making those houses! Excellent job!
Carol, I so want to see these photos but NONE of the photos on your blog are loading for me. I don’t think it’s my machine as I can see other blog images (and your type font), including the other turnabout hosts. Just wanted to let you know. It sounds like a darling project and I love the others I’ve seen.
Jeanie, the images are working fine as far as I can tell from other bloggers. Sorry. You might refresh the site.
Great idea Carol using your Circuit. I’ve thought about getting one, maybe someday when I have more time to use one. Love the design and the details you added!
Thank you, Michelle. Cricut is a great tool to have. Always check my site for sales.
This is totally a great replica of Katrin’s! I love it! The houses are super cute, too! I wanna know how you turned the lights on without messing up all the snow??? @.@
Such a charming little village, Carol! And so smart to use your Cricut! Thanks so much for the step-by-step process! I haven’t used my Cricut for so long! I guess I should dig it out of the basement! I’d love to make houses like yours for a Christmas garland. Thanks for the inspiration!
I want a Cricut! Maybe Santa will find me one this year;) Sure makes cutting out cute houses easy! I’m kind of doing all three holidays at once at my house right now;) Life of a blogger, right?
Lora, you will love a Cricut. If you do order, I’d love for you to use my affiliate link on the sidebar. There will always be sales.
Your Christmas jar turned out perfectly! I love that you cut out the paper houses yourself instead of buying some. Thank you for joining in. Pinned
Thank you, Cindy. Thanks for hosting and inspiring us.
Carol,
Love your snow village. So happy to be doing this challenge with you.
Thanks so much, Rachel. What a fun project.Can’t wait to use it at Christmas.
What a sweet scene. I love the fairy lights you used and am off to Micheals.
Hi Laura, fairy lights are the best for any setting. Happy to be hopping together.