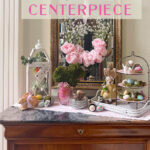
Simple Fresh Spring Centerpiece Idea
It’s offically spring. Don’t you think you need a simple fresh spring centerpiece idea? Well, I have one for you. And it has a touch of Easter.
The thing about a spring centerpiece? It can be used in places other than a traditional dining or breakfast room table.
It could be on a coffee table or on a mantel. Or even on an entry table.
That’s where you’ll find this simple fresh spring centerpiece idea.

I’m sharing a spring centerpiece idea that can morph into Easter. This spring centerpiece idea may or may not be on a table.
But it is absolutely wonderful.
SIMPLE FRESH SPRING CENTERPIECE IDEA
Want to see my inspiration for this spring centerpiece idea?
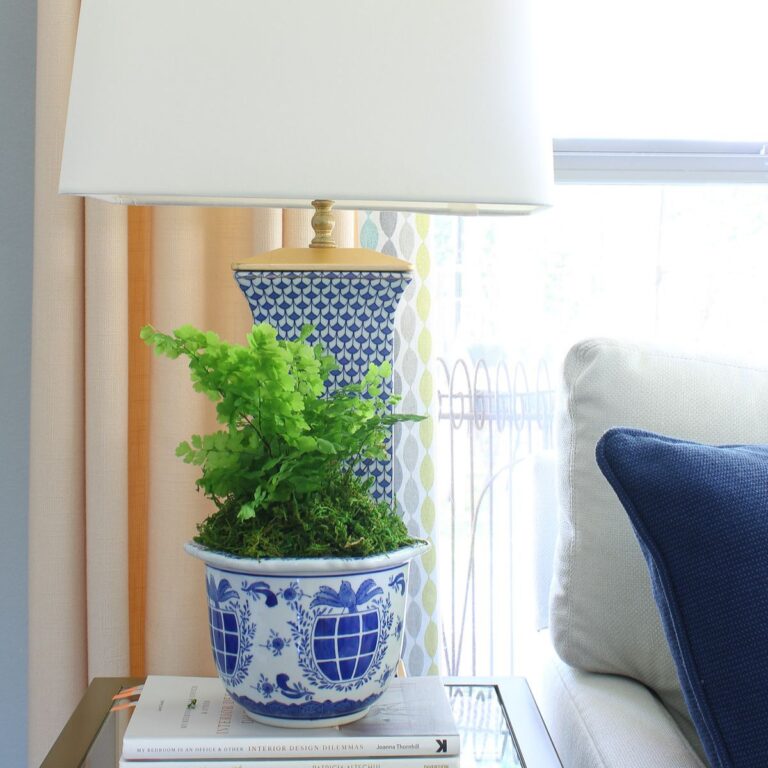
This lovely spring centerpiece ~ which is on a table ~ is from my friend Suzy at Worthing Court. Suzy and I met at Haven Conference and have twice been in the same mentor group.
Suzy is a delight. She’s also a wonderful decorator.
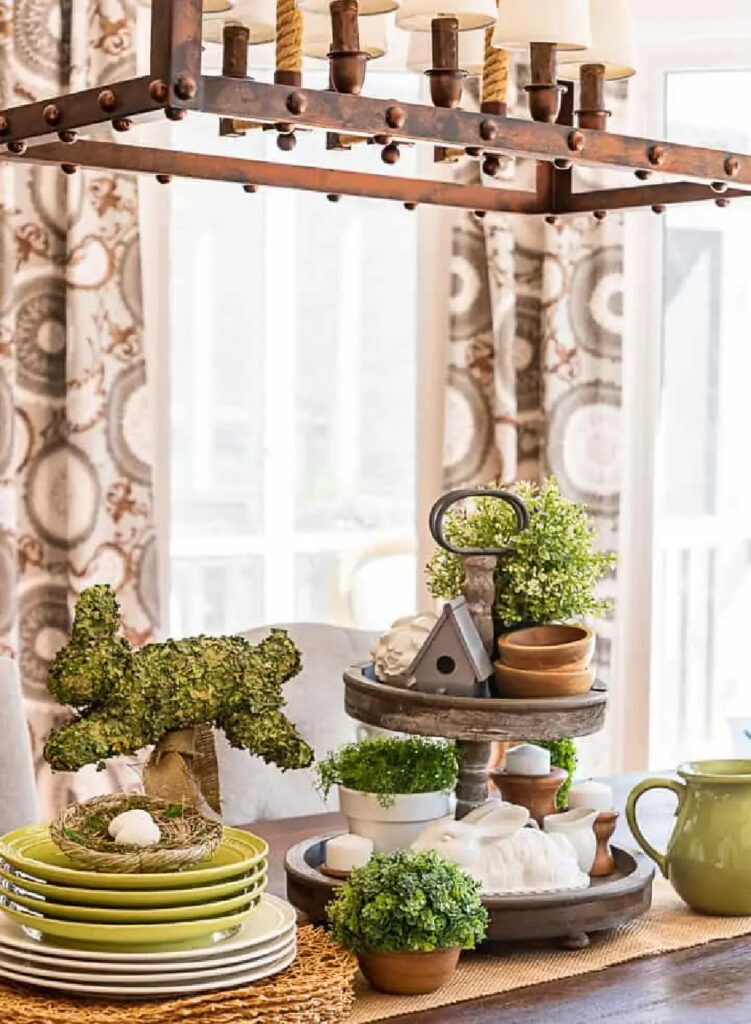
Isn’t this a pretty setting on Suzy’s table?
ELEMENTS OF THE INSPIRATION SPRING CENTERPIECE
Although we look at a vignette as a cohesive whole, it is fun to analyze the individual elements. We take apart our inspiration to put it back together for our interpretation.
- two~tiered natural tray
- white bunny
- moss~covered bunny
- greenery
- clay pots
- wood house
- stack of plates
- runner
- nest with egg
- stack of woven placemats
- green pitcher
Suzy’s color palette is neutrals with pops of green and white. My spring centerpiece color palette will be in pastels.
I have some of the elements that Suzy used.
- a three~tiered plate stack
- white bunny plus other bunnies
- greenery
- stack of plates
- runner
- nest
- eggs
One thing I don’t have is a wood house or a moss~covered bunny. No wood house will appear, but a moss~covered bunny? That is right up my DIY alley.
I’m also going to add a few items that Suzy doesn’t have:
- lantern
- wreath
Let’s get started.
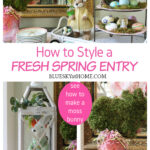
CREATING A SPRING CENTERPIECE FOR AN ENTRY
I have to share why this centerpiece is not on my breakfast room or dining room table.
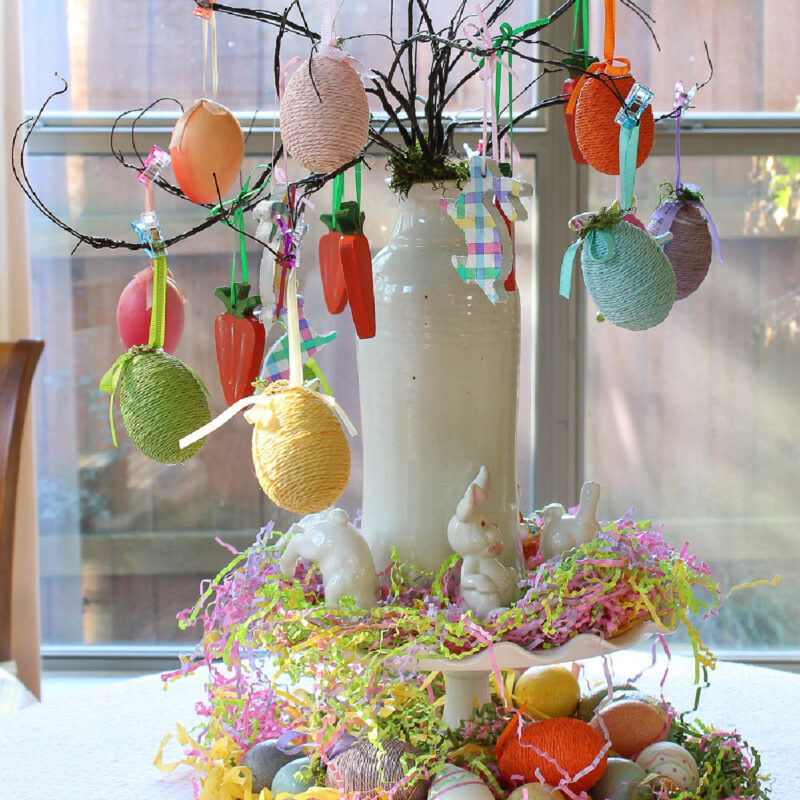
It’s not on my breakfast room table because last week I made an Easter bunny tree for that table.
It is not going anywhere.
The reason this spring centerpiece is not on our dining room table?
Because there is a big jigsaw puzzle on the table. It’s been there since the first week of January. Sweet Shark and I gave each other jigsaw puzzles for Christmas ~ totally unplanned..
Sometimes we work on it several times a week. Sometimes we don’t work on it at all. We need to set a deadline and get it done!
But I digress. Back to spring centerpieces.
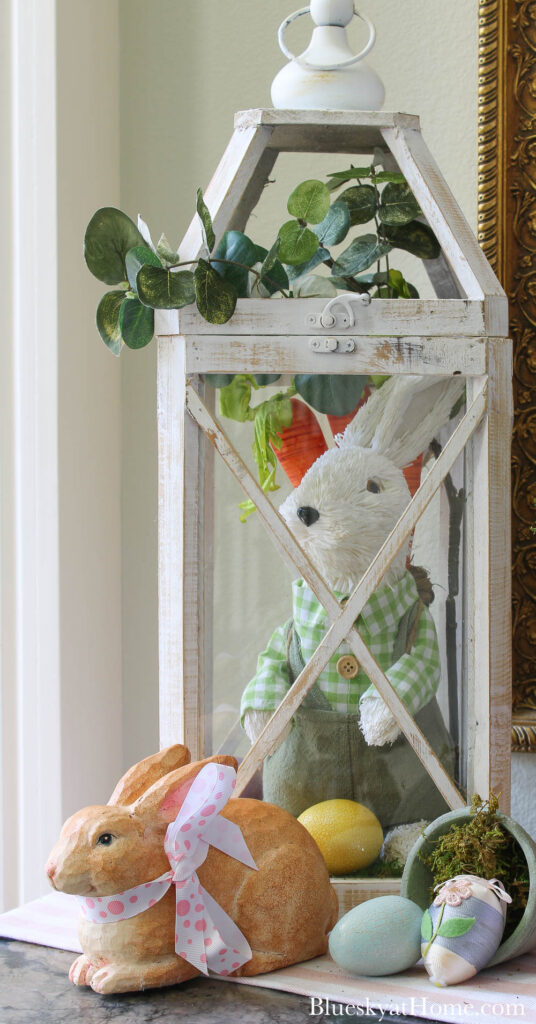
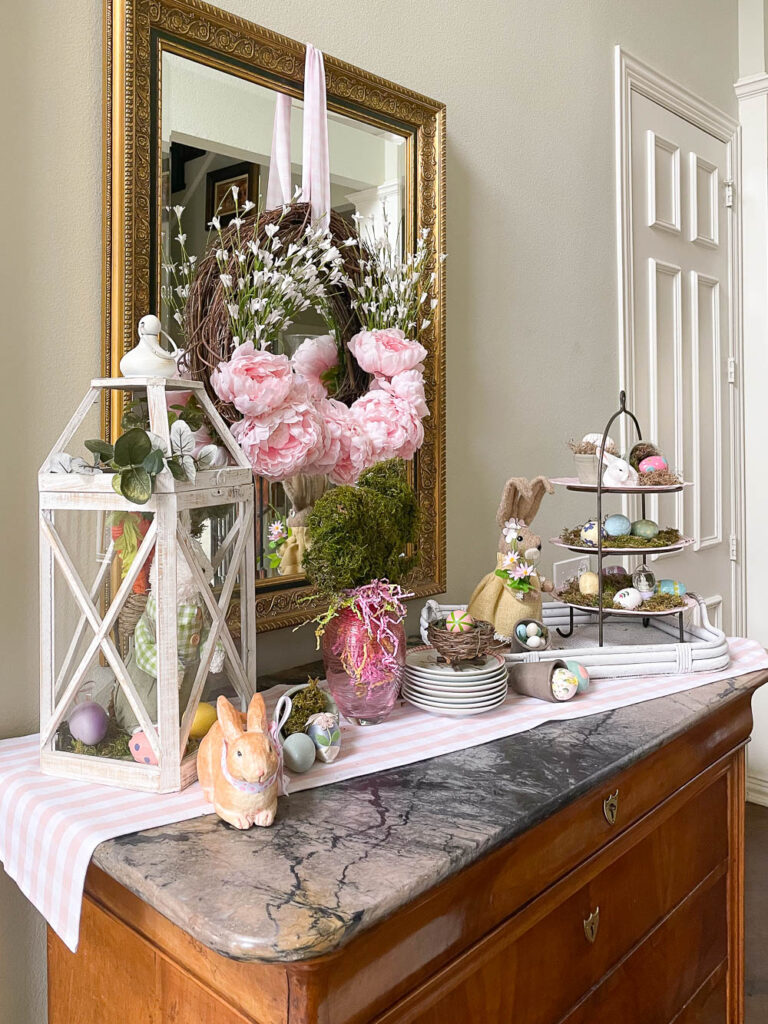
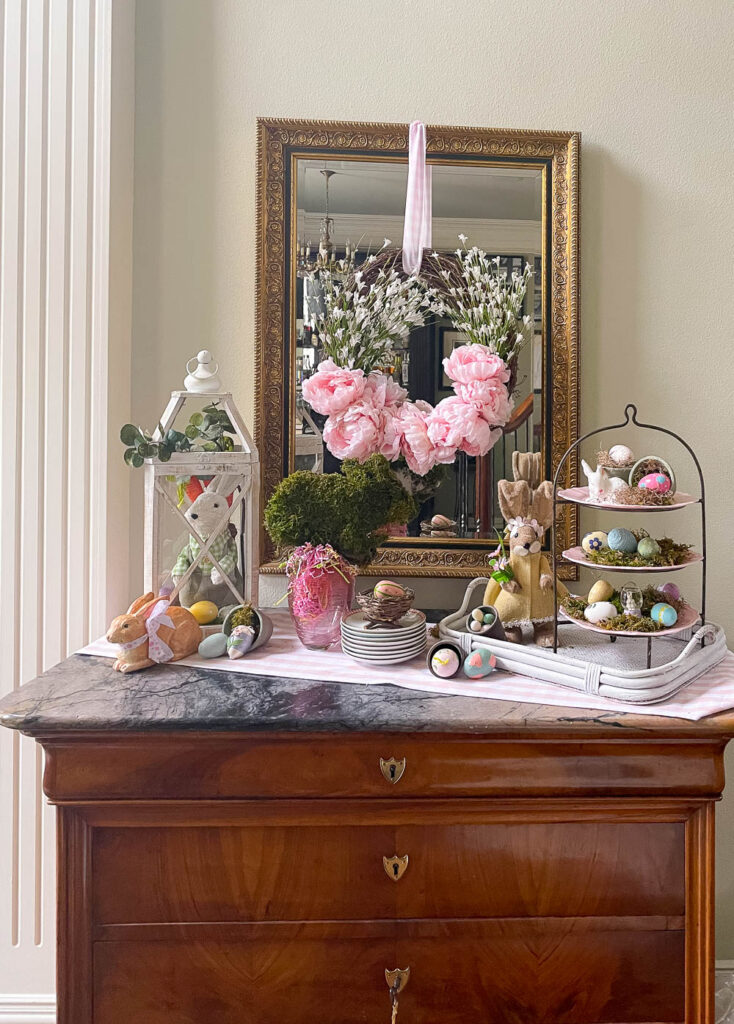
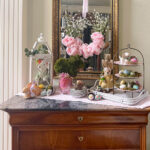
So the entry commode was the logical place for this spring centerpiece. The entry needs one, don’t you think?
WREATH FOR THE ENTRY
You may remember that I made this wreath for an early spring entry ~ which just happened to be last month’s Pinterest Challenge.
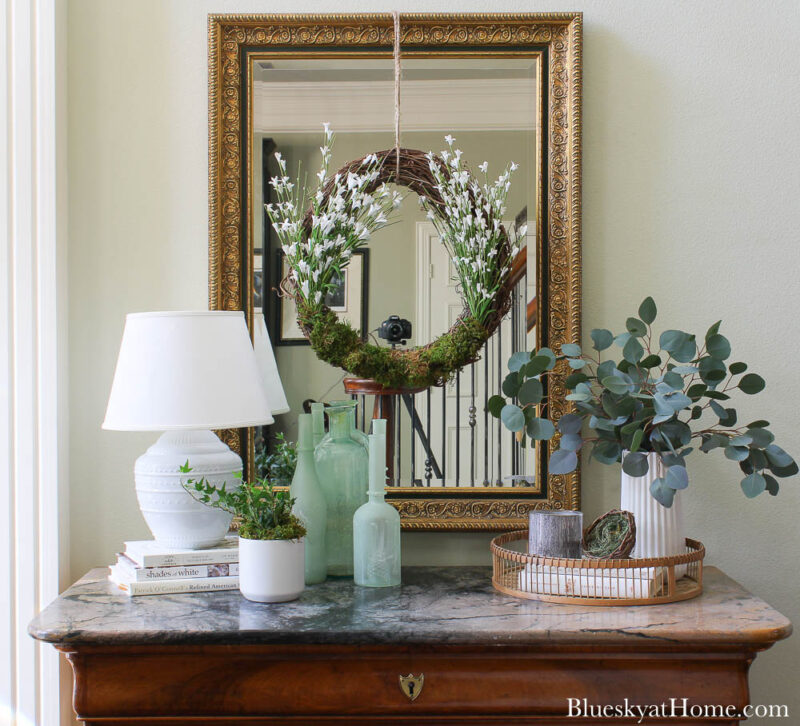
I removed everything from the entry, but I really loved that wreath. I decided to give it a more springtime look.
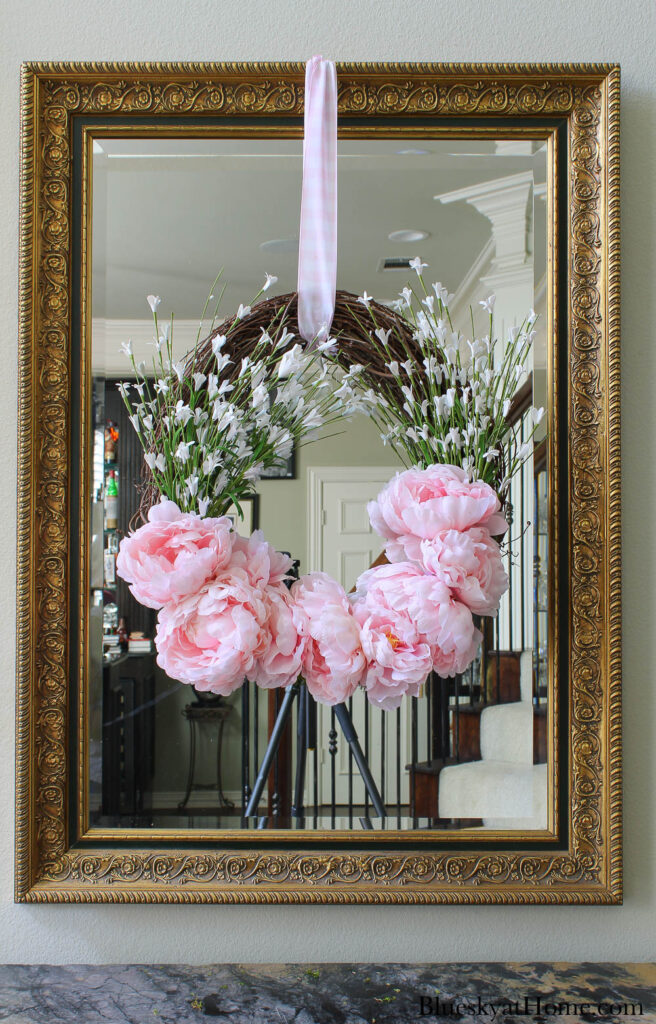
I pulled out several faux pink peonies from my faux pink peony box (I have so many, they have their own box.)
All I did was push the stems into the grapevine wreath and through the wired twine. I changed out the hanger from jute twine to a pink plaid ribbon. Easy peasy.
Suzy didn’t use a tray, but I needed something white to ground my arrangement.
This white tray is a $10 flea market find. It started out in a wood stain color. It didn’t stay that way long after I brought it home.
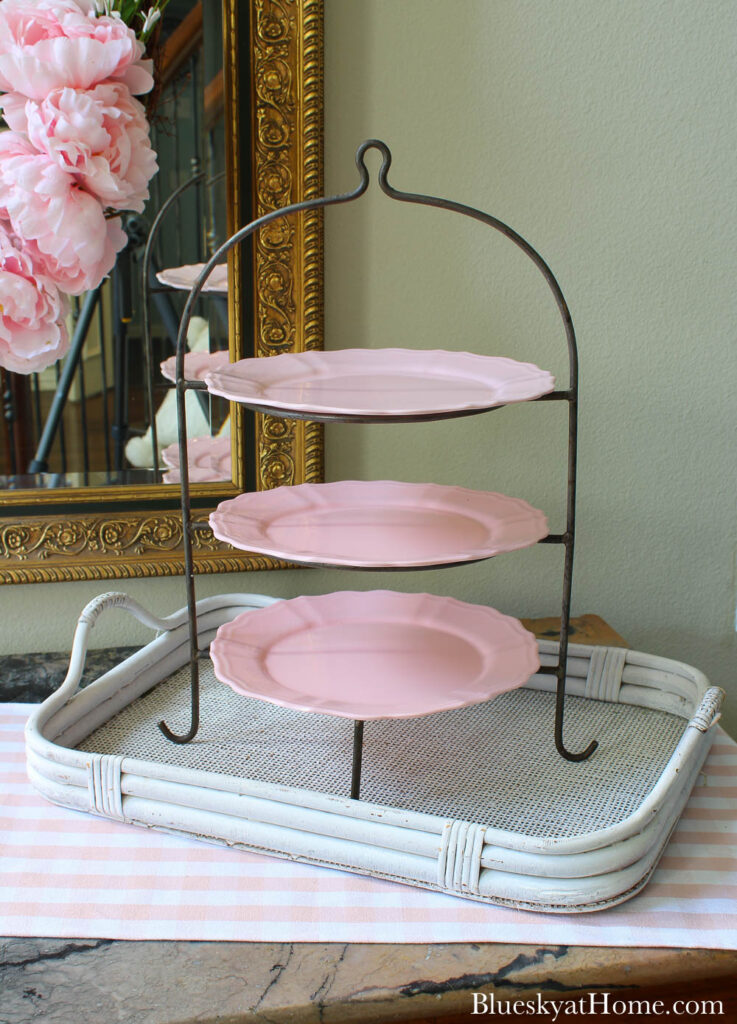
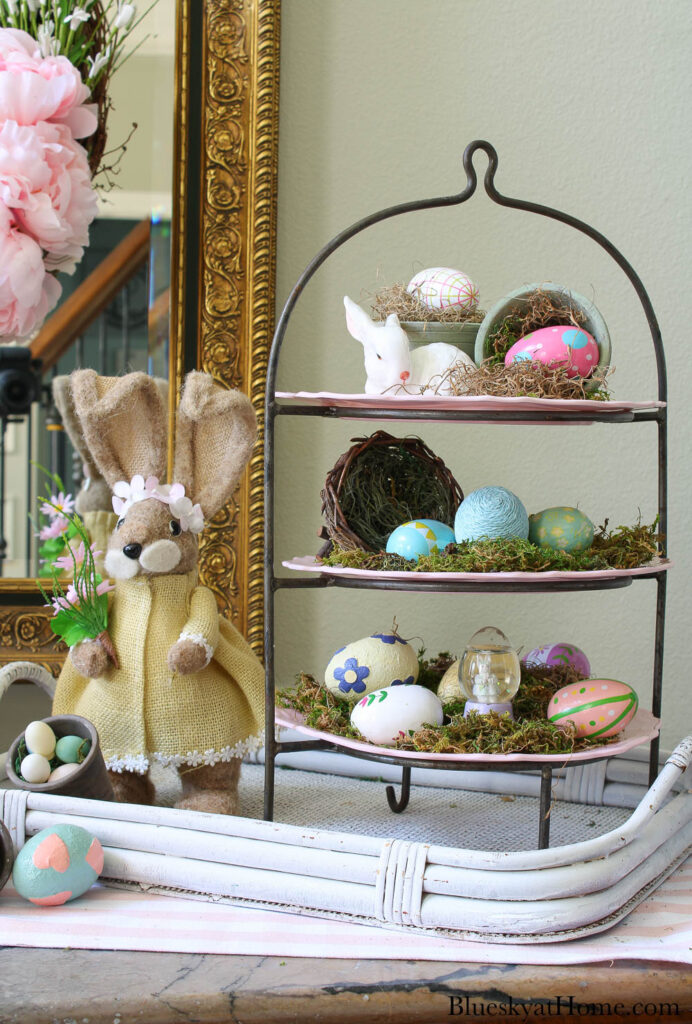
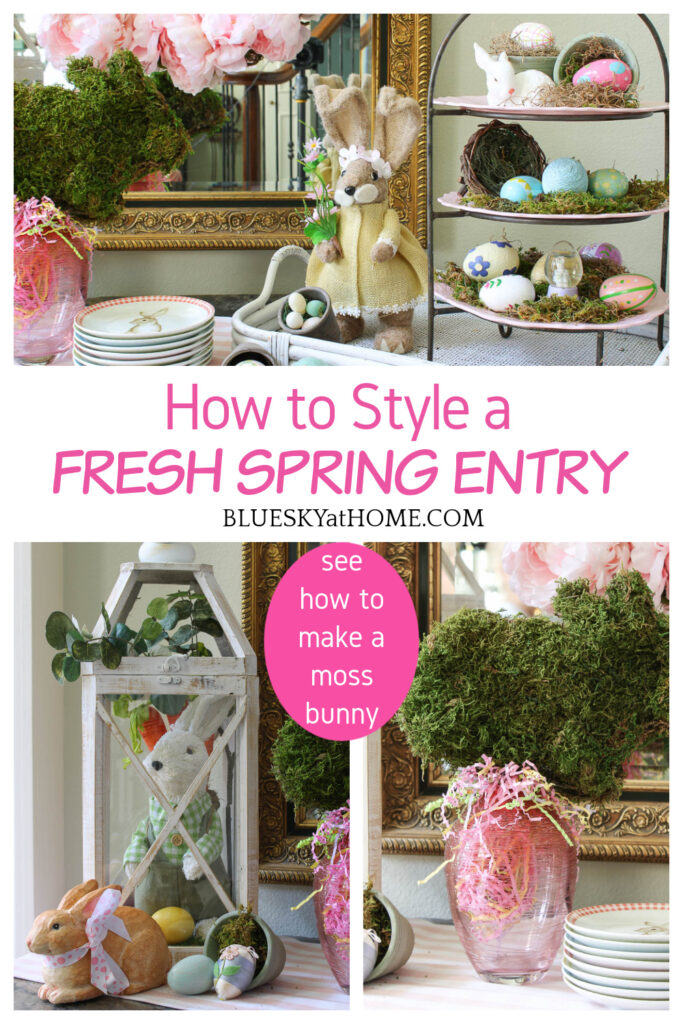
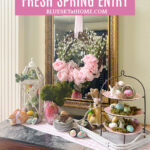
We have had this 3~tiered plate stack for over twenty years. It acutally has 3 copper plates.
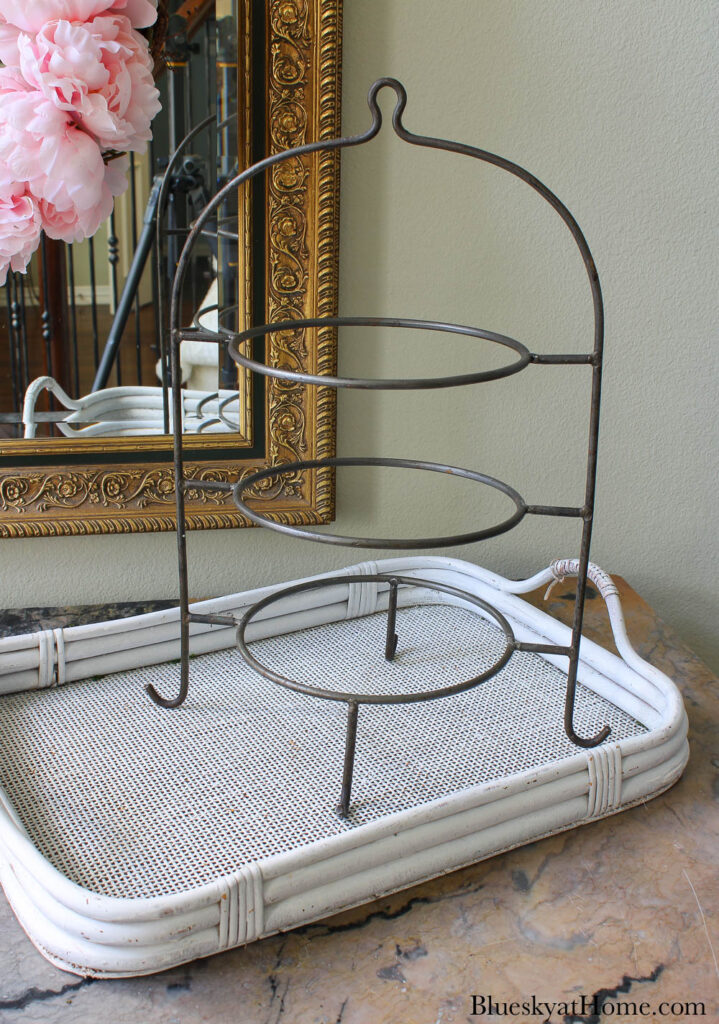
I found these pink dinner plates at Home Goods a few years ago. They fit perfectly.
I remembered this pink and white strip runner I found in the Dollar Spot at Target. It was a $5 item and the only one. I grabbed it.
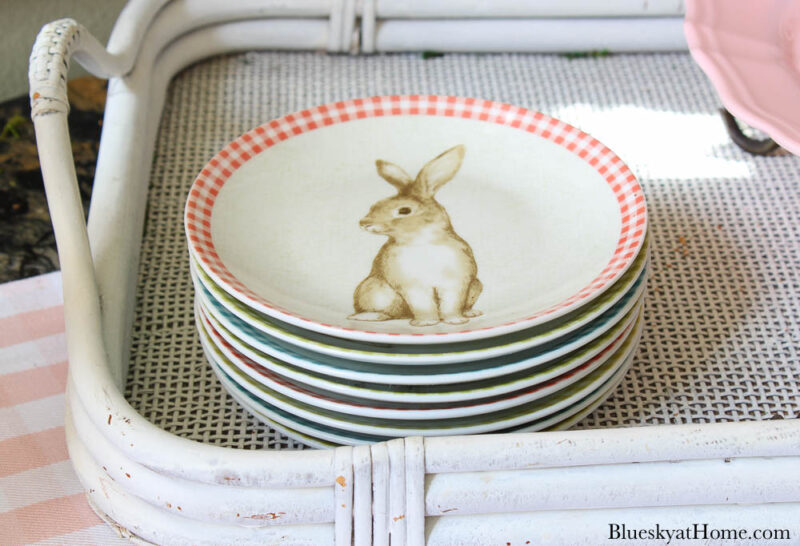
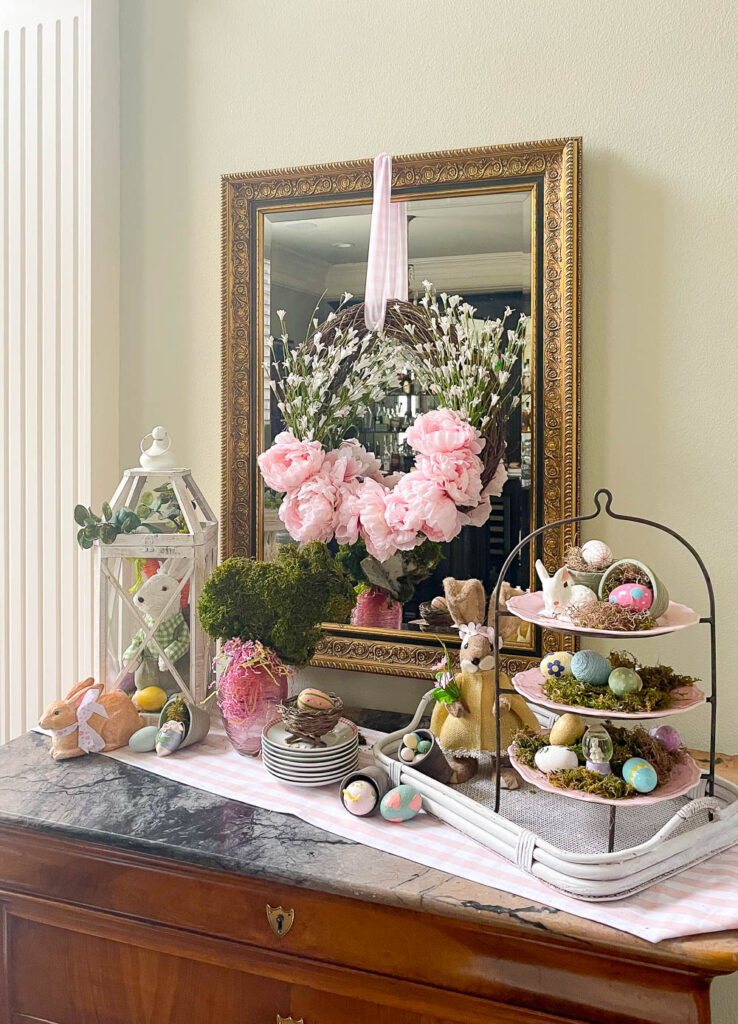
For my plate stack, I added this collection of bunny salad plates from Home Goods.
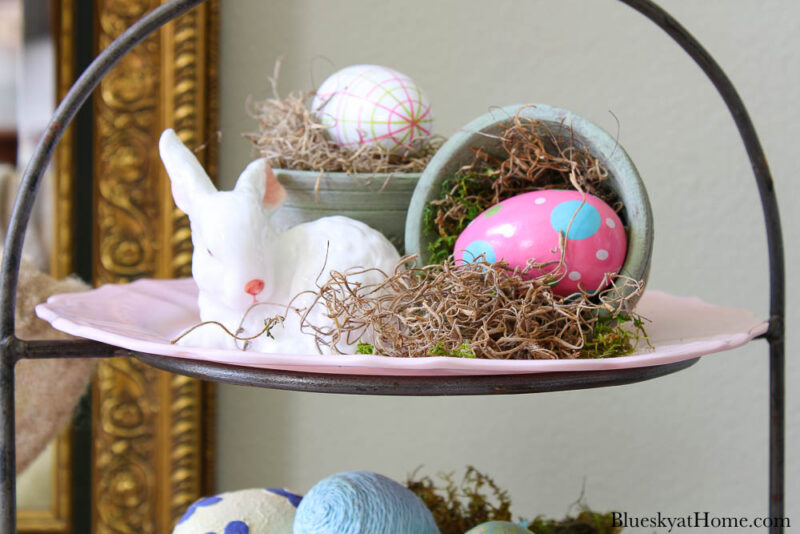
I decided to treat each plate on the stand differently. Using moss, eggs, bunnies in a slightly different form gave the stand more interest.
The top layer is decorated with two of my favorite green vintage clay pots, some Spanish moss, a whtei bunny and decorated eggs.
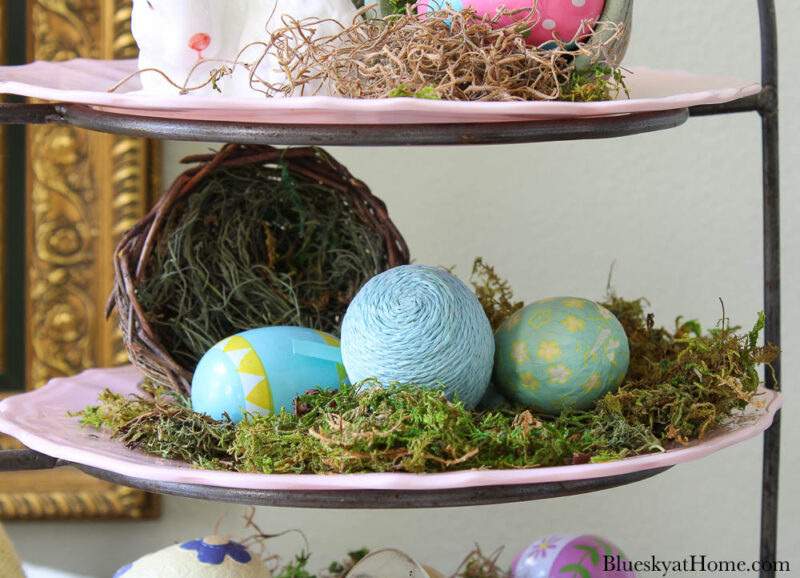
The middle layer gets green moss, several decorated eggs and a sweet little nest.
Don’t blink ~ the nest doesn’t stay long. I tweaked this arrangement a few times during this process.
The bottom layer has moss, eggs and the addition of a little bunny snow globe.
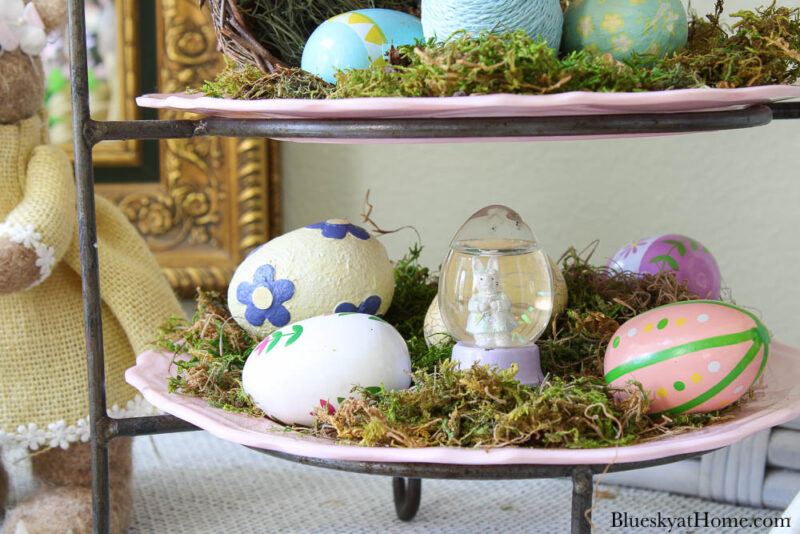
To fill in the rest of the tray, I added another girl bunny in a yellow dress. I added a couple more vintage clay pots and more eggs.
Did you notice that the plate stack is gone from the tray?
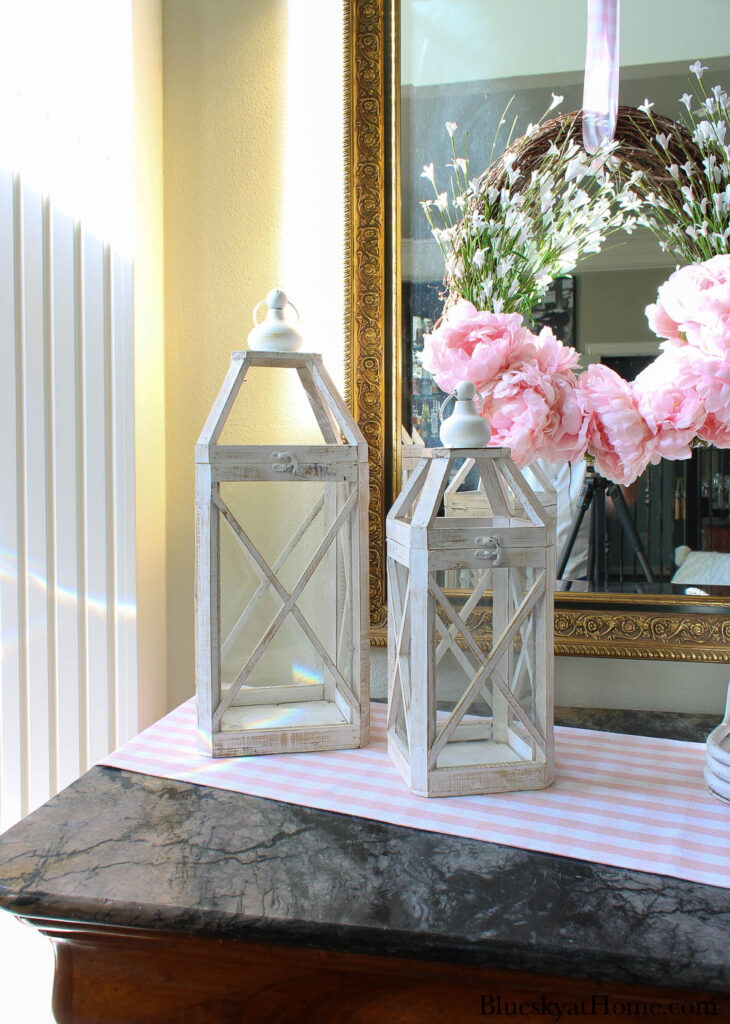
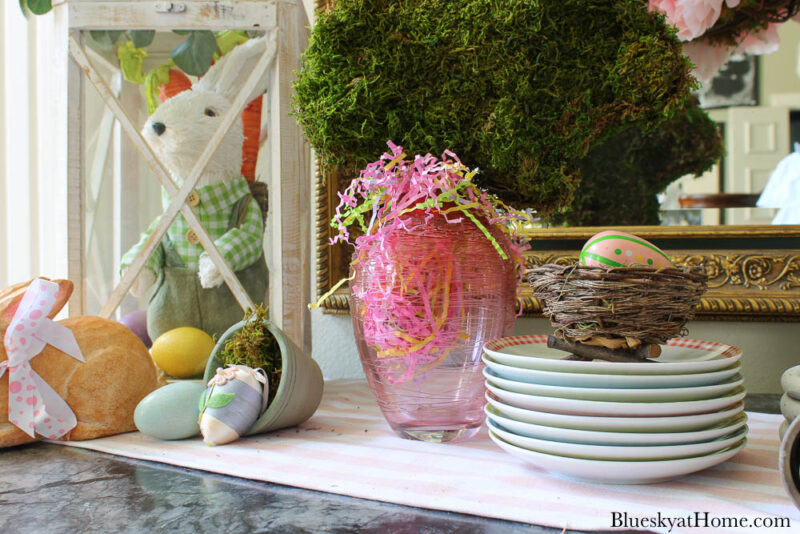
To balance this side of the centerpiece, I added my two white lanterns from Wayfair.
I used them for our Christmas table last year (no jigsaw puzzle!). They have been outside since last spring, so they needed a little cleaning up.
I stuffed two bunnies inside with moss, a few Easter eggs and some faux ivy. A neutral bunny with a vintage clay pot and eggs completed this side of the arrangement.
I immediately realized that I didn’t need the second smaller lantern.
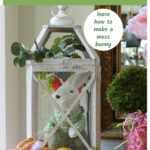
I needed a place for the moss~covered bunny ~ which at this point didn’t exist.
HOW TO MAKE A MOSS COVERED BUNNY
Sometimes do you surprise yourself with your ingenuity?
This was one of those times.
Here’s what I needed to make this moss~covered bunny:
- moss ~ my absolutely favorite Super Moss. I bought this box a few years ago and it just keeps giving and giving.
- spray adhesive ~ had on~hand
- bunny template?
- something to make the bunny out of


This is when I walked around the house looking for something to use as a template for a bunny. I found it in a wooden bunny that was sitting on the mantel.
Now I needed something to make the bunny.
Eureeka! A trip to the garage yielded a piece of styrofoam about an inch thick. I was in business.
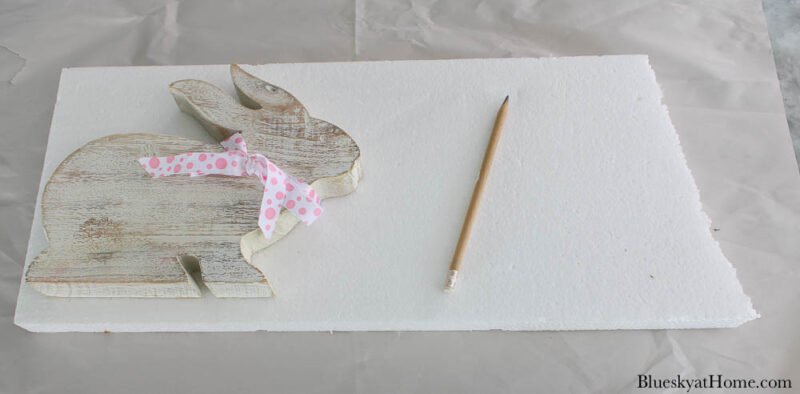
Using a pencil, I drew a line around the bunny. It’s kind of hard to see.
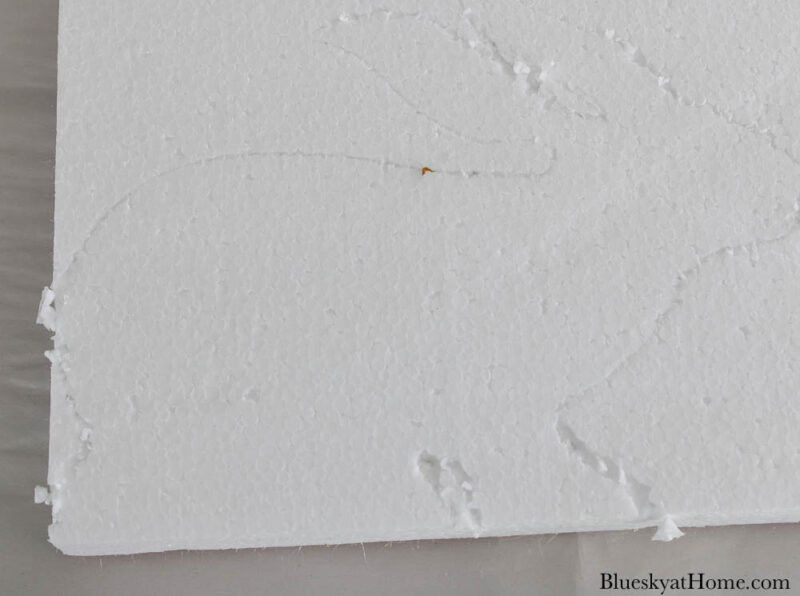
So I went over it in blue marker.

I used a smaller serrated knife to cut out the bunny. Stryofoam makes a mess so be sure to do this on paper so you can clean up.
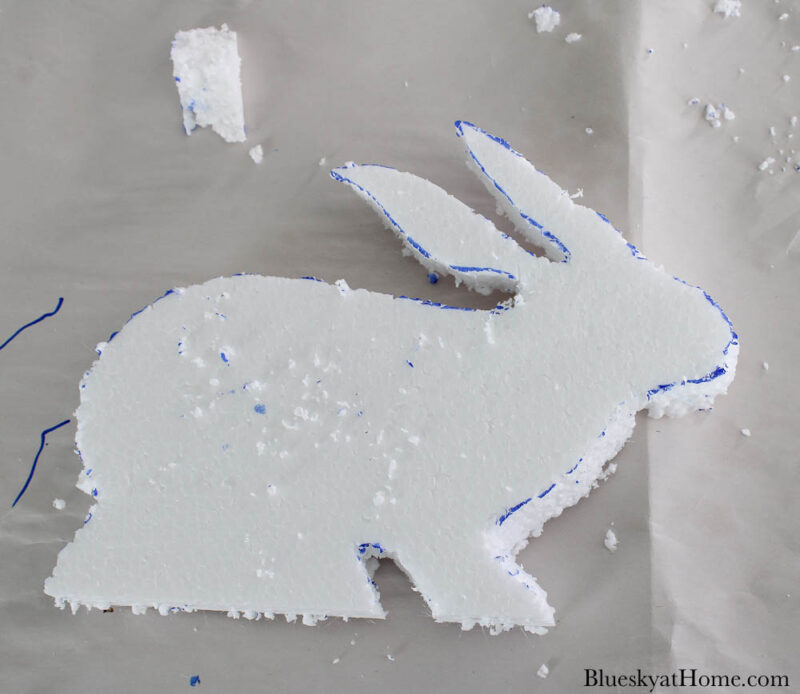
Here you can see the size of the bunny. It’s about 8 X 8 inches.

Remember, I said it’s messy. I used a lint roller to remove the pieces of styrofoam.
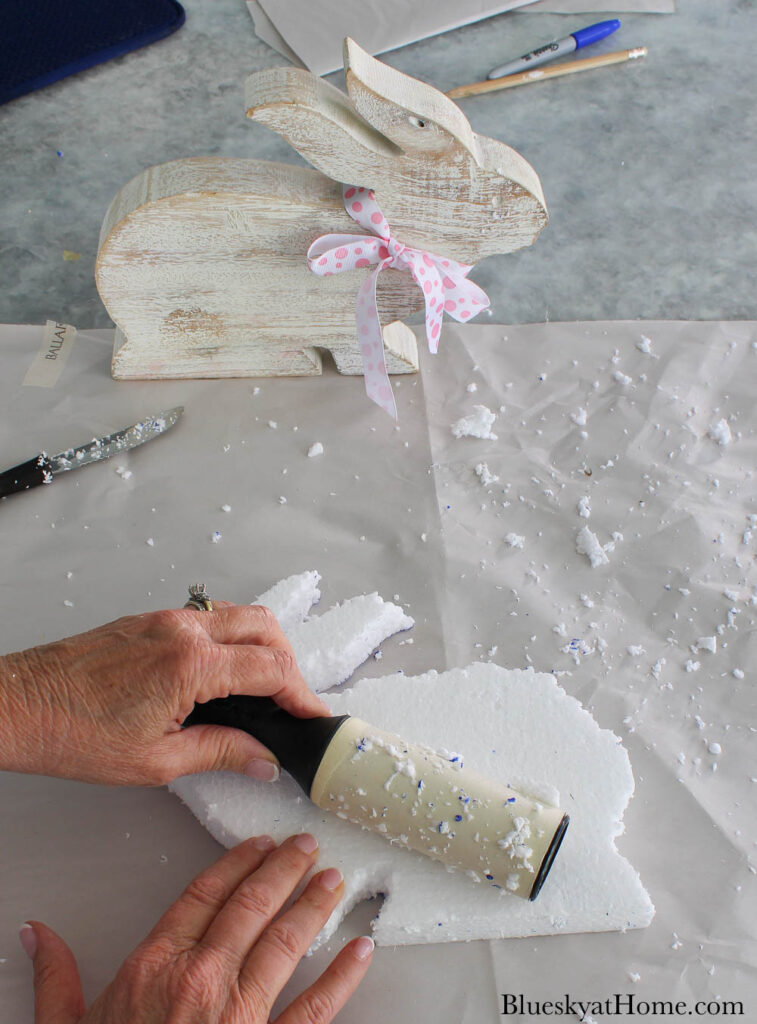
Now it was time to add the moss. I used a grocery bag to put the bunny in to spray the adhsive.
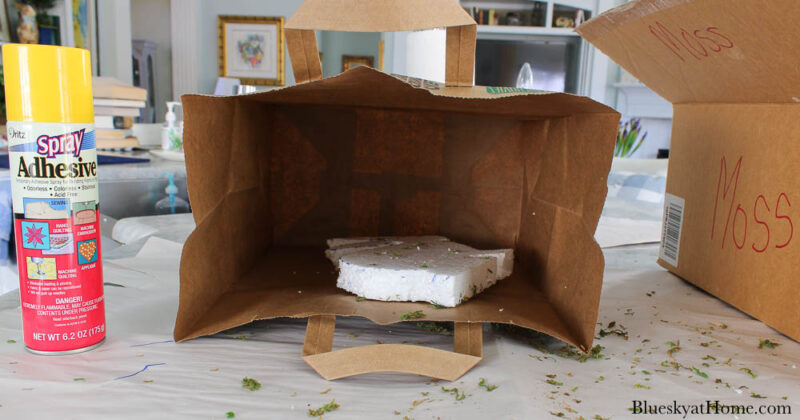
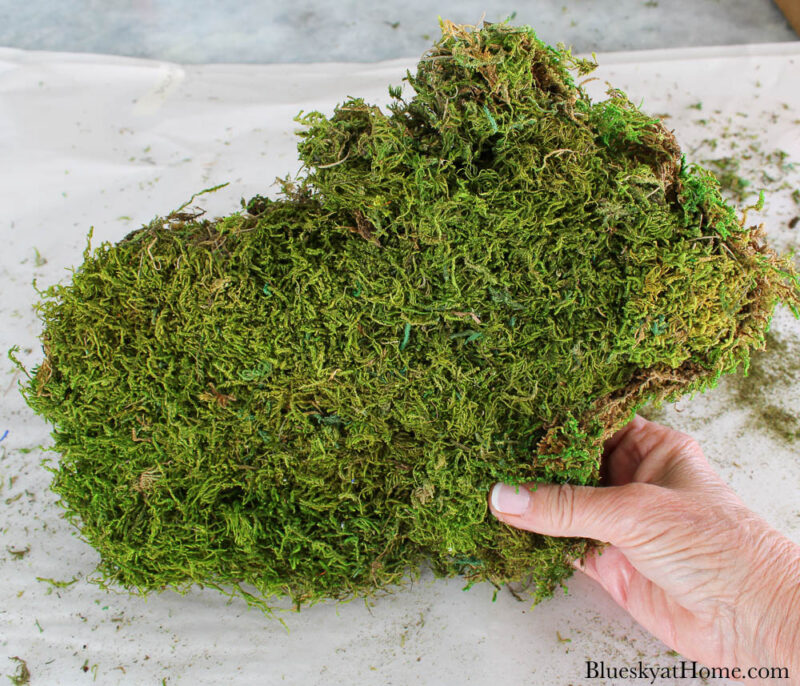
I sprayed one section of the bunny and added the pieces of moss, pressing down to adhere them. then, i repeated the process until the bunny was covered.
By the time I finished, I wasn’t sure I had made a bunny or a hedgehog. I pulled some of the moss off around the ears to help them show up better.
To give the “bunny” stability, I pushed chopsticks into him. Hope it didn’t hurt.
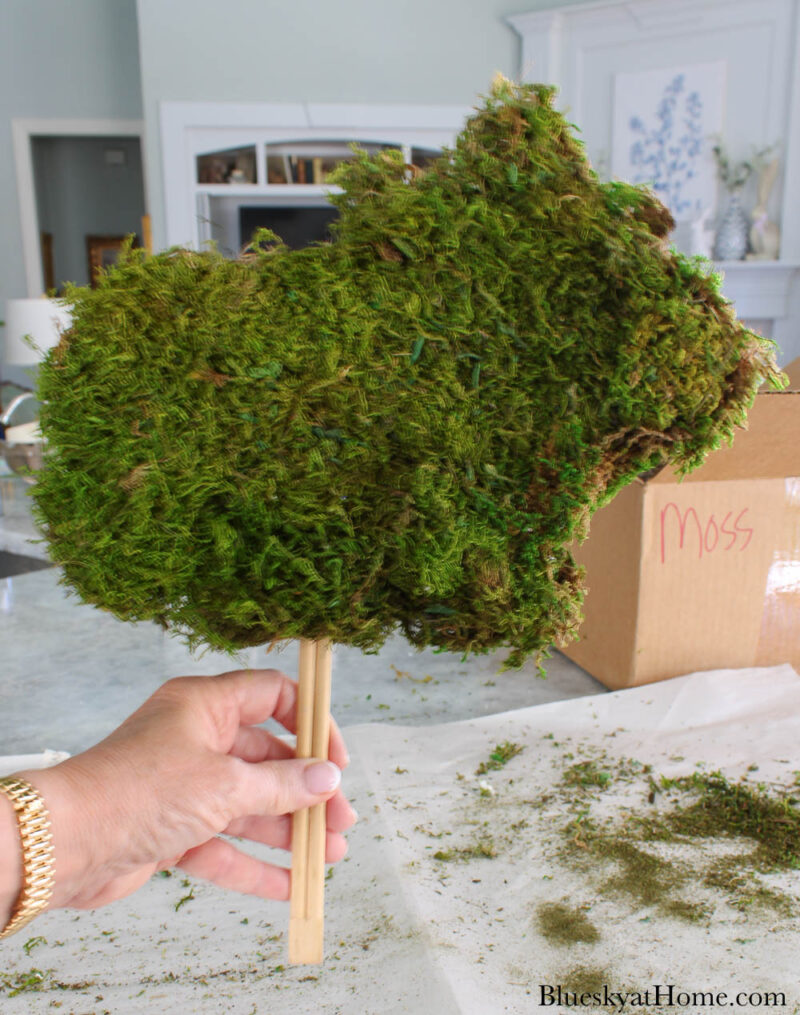
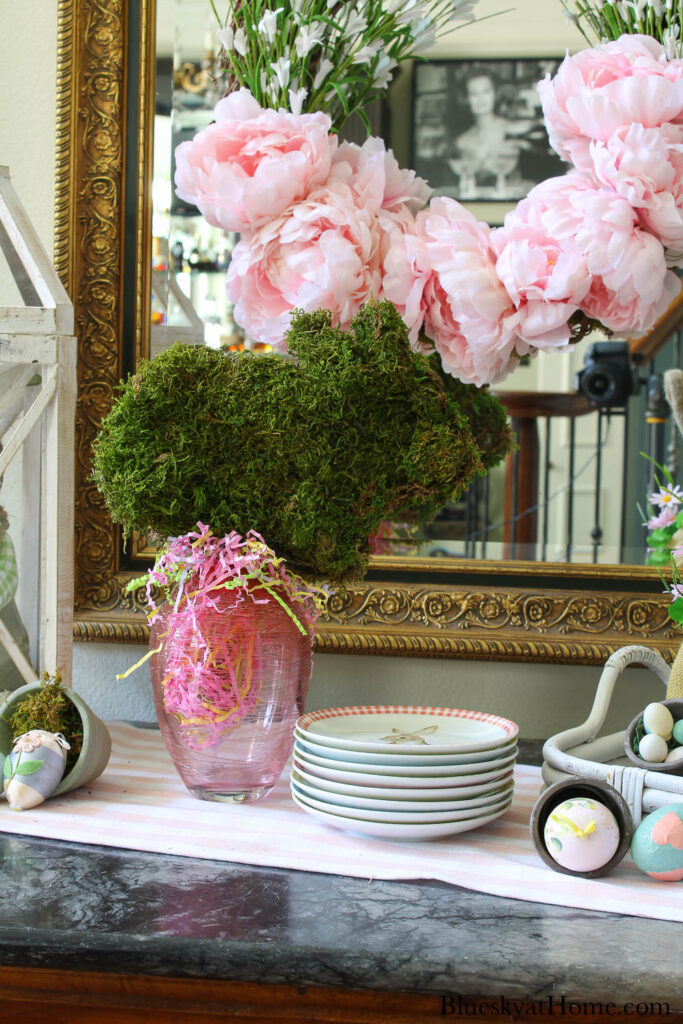
Now it was time to add my moss~covered bunny to the spring centerpiece.
FINISHING THE SPRING CENTERPIECE
I stuffed some pastel shred into a pretty pink vase and then added the bunny into it.
Here’s where the plate stack ended up.
And here is where the nest landed.
That completed my simple fresh spring centerpiece. I really should say a simple fresh Easter centerpiece.
I hope that you will want to save this fresh spring centerpiece idea for your future inspiration.
You may also want to see what items I have saved to my Easter Decorating Ideas or Easter DIY Projects Boards.


Just beautiful Carol! Thanks for sharing with us on Crafty Creators!
XOXO,
Niki
Love your creative take on this challenge! The mossy bunny is so cute and now I want to make one! That tiny little egg globe is the cutest!
Happy spring!
Thank you Amber. It’s so fun to decorate for spring.
Love your spring/Easter foyer display! It’s inspired me:) Thanks for sharing at Vintage Charm. xo Kathleen
Such great photos and spring ideas. Love your Easter entryway!
Thank you for visiting, Meagan. I’m glad you liked the ideas and photos. Look forward to having you visit again.
Hi Carol! Oh, your Eastering is just beautiful! I love everything you’ve done. Thank you for the tutorial of the moss bunny! I could do this.
Be a sweetie,
Shelia 😉
Shelia, thank you so much for your sweet feedback. Thank you so much for visiting. Hope to see you again.
I love your take on this challenge! The bunny plates are adorable, and your diy moss covered bunny is a great idea!
Angie, thank you for visiting and commenting. What a fun creative challenge.
What beautiful centerpieces! So many simple ideas to transform your home and get ready for spring.
What a festive entry to your home! Now you’re all ready for Easter! It’s all just adorable, Carol:)
I love that you created your centerpiece on your entry table. I really want to try and make a moss-covered bunny. Yours turned out so well. Every detail is perfect Carol.
Carol, your bunny centerpiece take-off pieces are perfect for your entryway!!! I love the bunny in the lantern and all the Easter eggs on the plates. Now of course I think I ought to move my centerpiece idea over to our sofa table… 😉 (I could put more goodies out!)
Happy spring and enjoy all of your centerpieces! They are all wonderful and I’ve enjoyed seeing them.
Hugs,
Barb 🙂
Love your sweet bunny and egg elements, Carol! Totally understand having to move something to fit your life… I do it all the time in MWA!
Such a lovely spring vignette. I adore the moss bunny!
Thanks for sharing! So enjoyed your devorating.
Tell me about your beautiful eggs, please. Is there someplace they can be purchsed?
Ethel, thank you for visiting and asking about the eggs. We have collected Easter eggs for years. I do have several from Pier 1 (the solid ones that look like they are wrapped with string). Many of the others we have purchased on trips. None of the ones I used are new. I’ll try to find some good resources to add to the post. Thanks for the idea.
Carol, you had the right idea to create your centerpiece on your entry table. What a gorgeous display and the eggs on the cake plates are so pretty! I love how your moss covered bunny turned out. I had to laugh at the chopsticks comment! Pinning!
Carol, I love “hearing” your thought processes as you work on the Challenge. They will certainly help in decorating and making home a comfort and relaxing sanctuary. Thank you so much!
Hi, Shirley. Glad you like my thinking. Former teacher in me is all about the process. Please visit again.
You are so crafty and what a fantastic idea to use a plate stand! I would have never thought to do that. Love everything about this, especially the cheerful colors. Thanks for joining in this month. Stay safe in our Texas spring weather. Pinned.
So much cuteness! I love all your creative and original ideas. Thanks for sharing!
Niky @ The House on Silverado
HI Carol
What a cute craft idea with the bunny! I love the lantern with the bunny inside! Very impressed with the puzzle! I buy a puzzel every year for the holidays so anyone can join in, but sadly we could not complete the 1000 piece one and I “folded” it up back into the box!
Love your table and those plates are adorable! laura
Carol,
Your entry table centerpiece is so cute. I love house your moss bunny turned out.