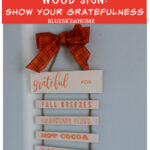
How to Stencil a Thanksgiving Wood Sign
Would you like an easy way to add Thanksgiving decor to your home? I’m going to show you how to stencil a Thanksgiving wood sign.
I know Halloween is coming up soon. Decorating for turkey time is on its heels and coming up fast. This Thanksgiving wood sign is just the right way to express your gratefulness.
Are you starting to think about decorating for Thanksgiving? November 1st is less than a week away. Do you want to be ready with some cute Thanksgiving decor?
Thanksgiving is about being thankful (duh!) and grateful for our blessings. That’s what the original Thanksgiving was about: thanking God for the blessing of the harvest and surviving a year of challenge and adversity.
We can be grateful for things large and small. What are you grateful for?
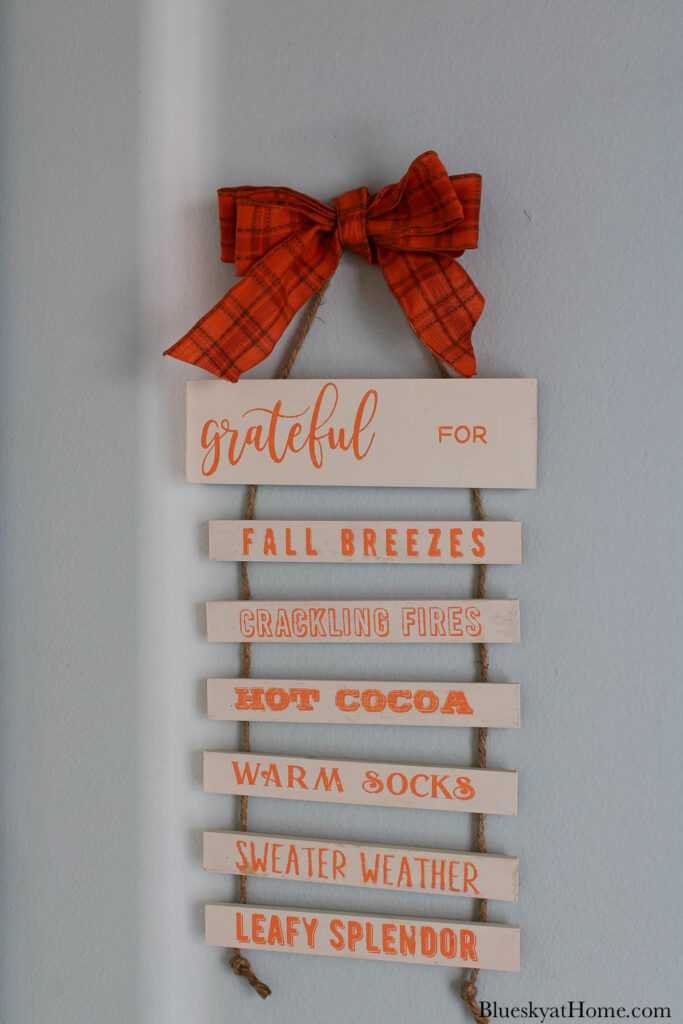
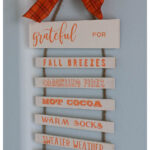
I created this grateful Thanksgiving wood sign to highlight some of the little things that I’m thankful for.

I’m especially grateful for my friends, my family, my fellow bloggers and you, my readers.
We all love to be creative and make our homes places of comfort and beauty. A grateful Thanksgiving sign is a great way to show what you are thankful for.
I’m so glad you are here. I’m grateful that I can share this easy DIY Thanksgiving project with you.
How to Stencil a Grateful Thanksgiving Wood Sign
Idea for the Thanksgiving Wood Sign
Any project always starts with an idea, an inspiration or a vision. My idea for a Thanksgiving project was to do a sign. The vision for the sign started with a trip to the garage. That’s where I keep pieces of leftover or collected wood.
Where do you get ideas for projects? I hope that Bluesky at Home is one place you find ideas. (Also, try shopping in your garage!)
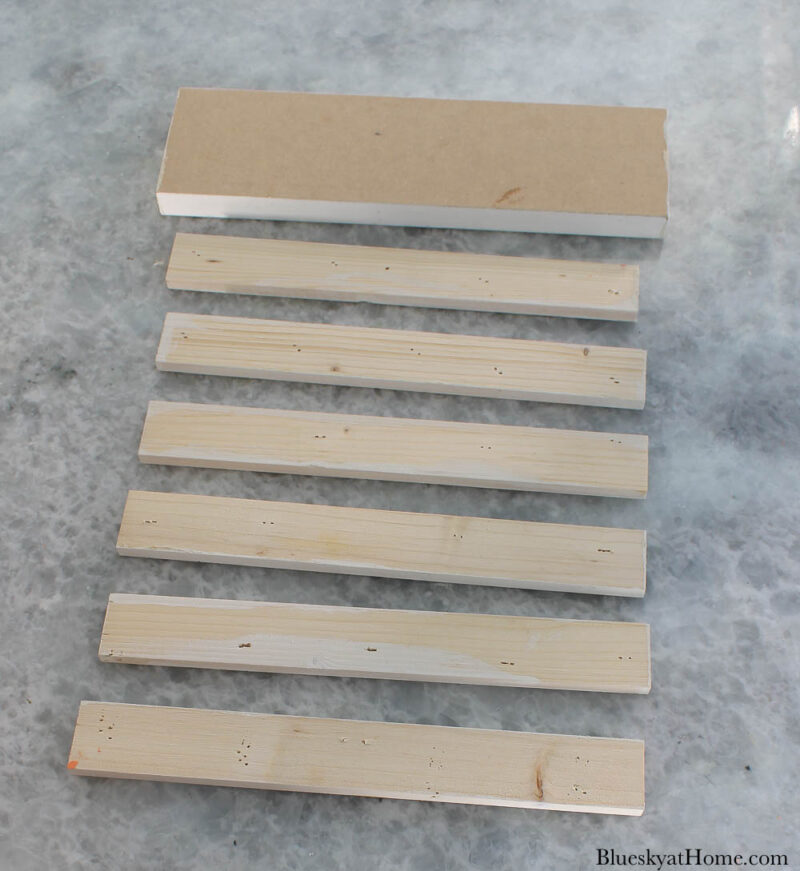
As I scrounged through a pile of wood, I found eight wood slats left over from the wine crates I found on the curb a couple of years ago. You may remember I transformed them into great storage drawers for my office.
I also found a piece of 1 X 4 that was 11.5 inches long. It was leftover from when we created a new closet upstairs for Sweet Shark.

Surely, I could use these pieces of wood to make a sign.
Why not use a stencil of fall sayings that I had already used? With that decision made, I was on my way to stenciling a grateful Thanksgiving wood sign.
What Supplies Do You Need for the Thanksgiving Wood Sign?
Fortunately, I had every single supply that I needed for this stenciled wood sign.
You can change the look of the Thanksgiving wood sign, depending on the size and number of wood slats that you have.
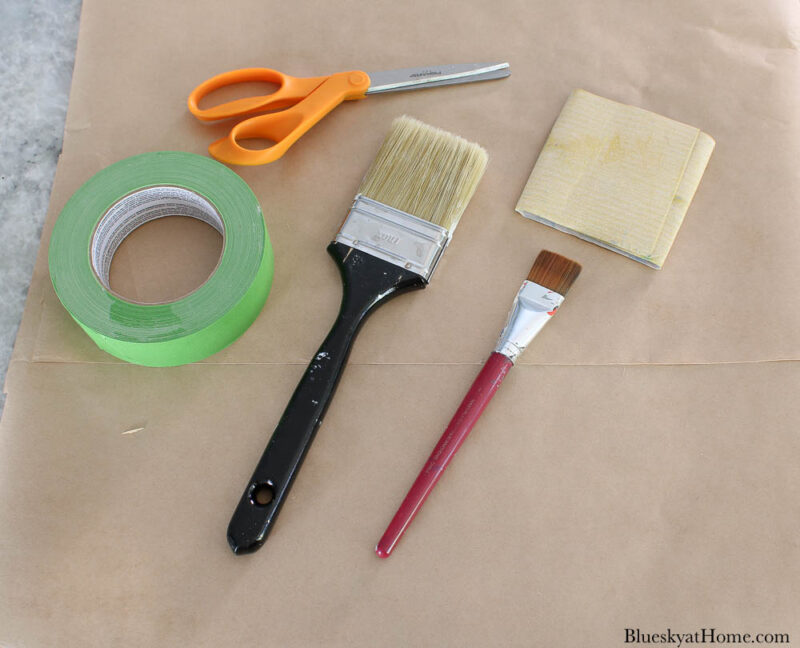
Here is what you need for your Thanksgiving wood sign:
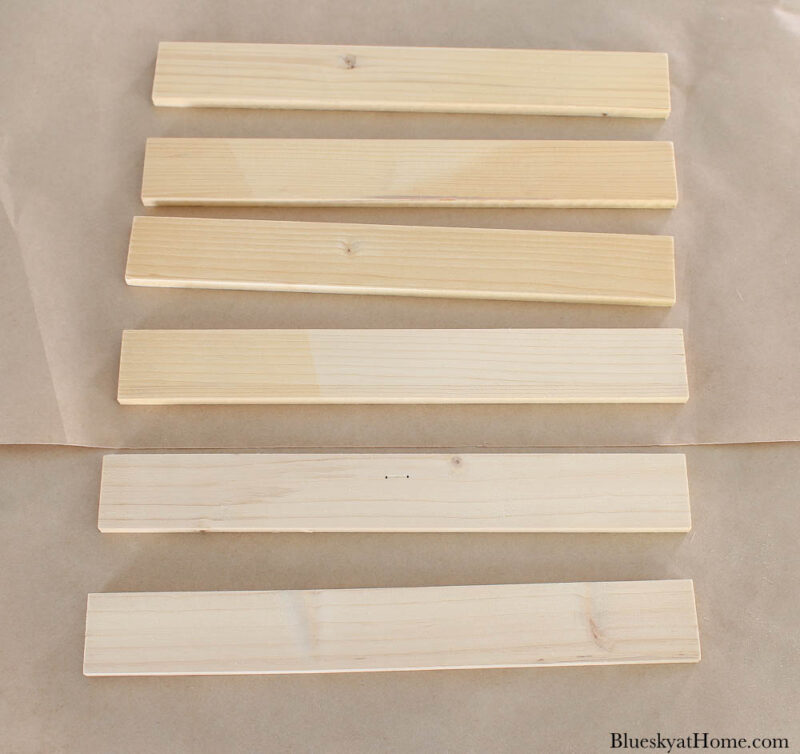
- wood slats of your choice ~ the slats I had were 10.5 inches long and 1.5 inches wide; I had eight, but used six of them.
- stencils of your choice
- ChalkArt paint for applying stencils
- chalk paint or acrylic paint of your choice
- scissors, painters’ tape, small paintbrushes, sandpaper
- jute twine for hanging signs
- staple gun
Preparing the Wood Slats
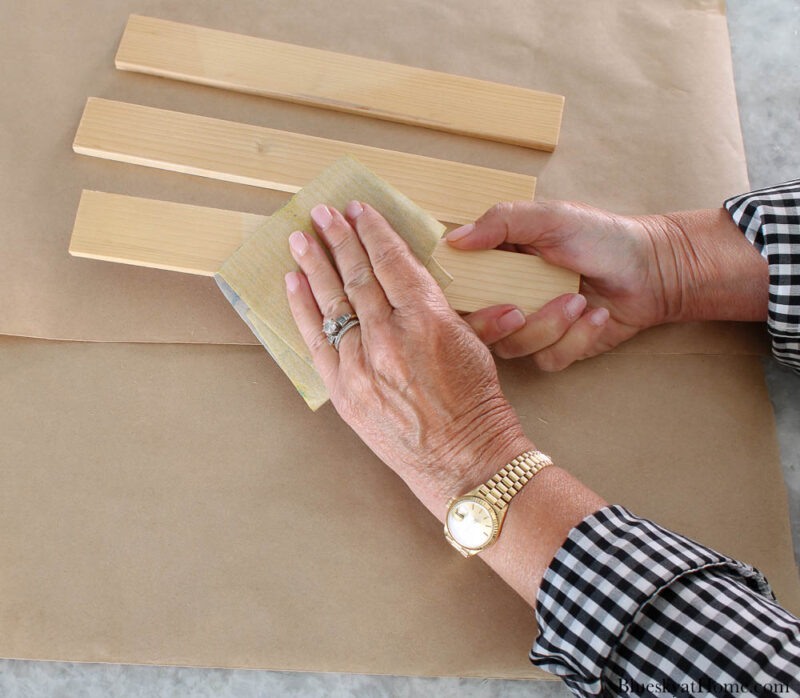
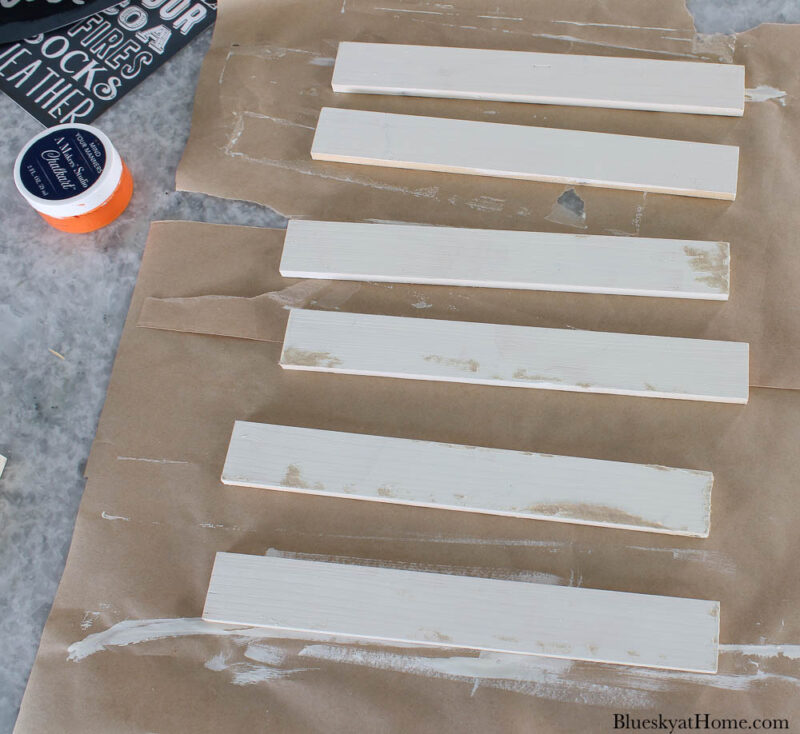
Step 1 ~ Wood slats are a little rough, so you will need to sand them lightly.
Step 2 ~ The wood needs to be painted before you can stencil it. I used some leftover chalk paint from A Makers’ Studio, but you can use any chalk paint or acrylic paint you have on hand.

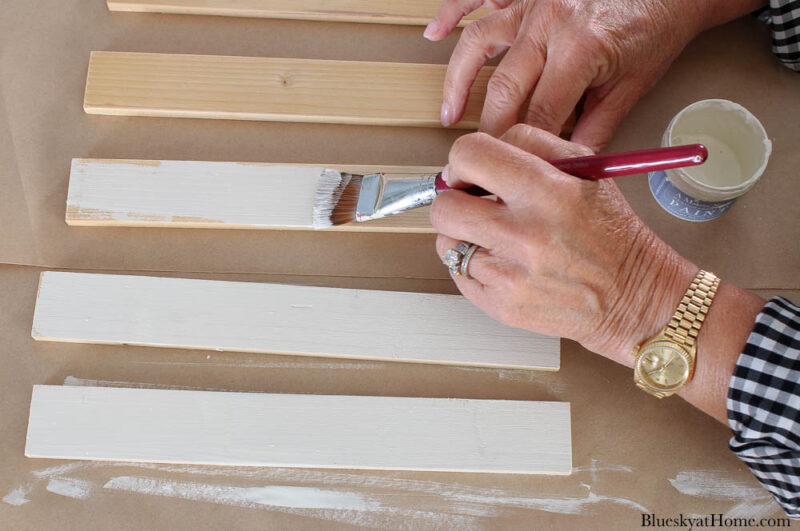
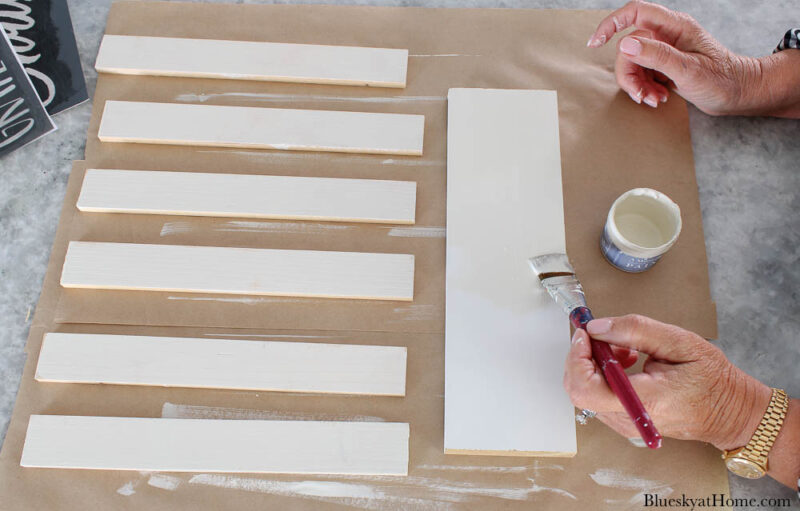
After painting the front side and letting it dry, I turned the wood pieces over and painted the edges. Unfortunately, the wet edges stuck to the craft paper and stuck in a few places.
I decided to leave it as-is for a rustic look.
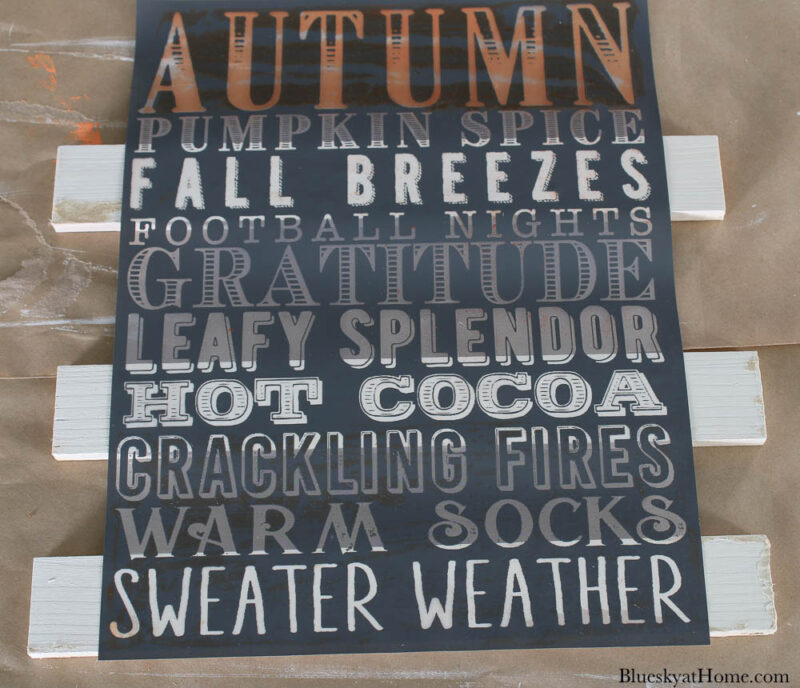
Stenciling the Wood Slats
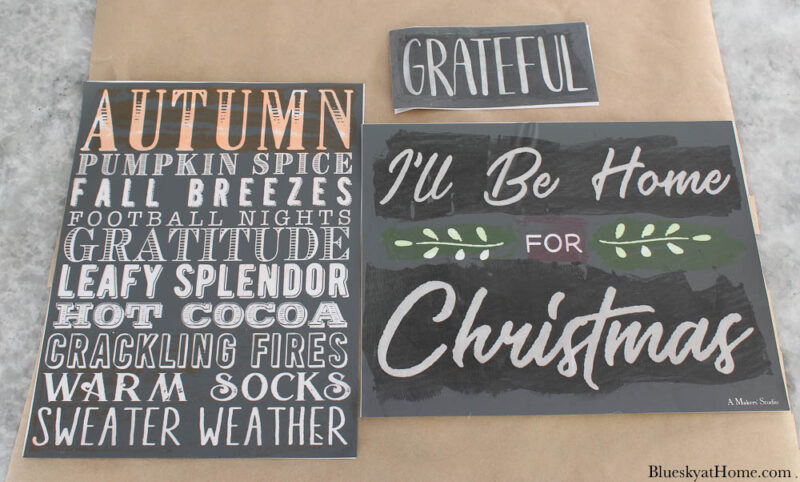
I found a “GRATEFUL” stencil in my stencil stash. I’ll use the “FOR” to go with “GRATEFUL” for the Thanksgiving sign title.
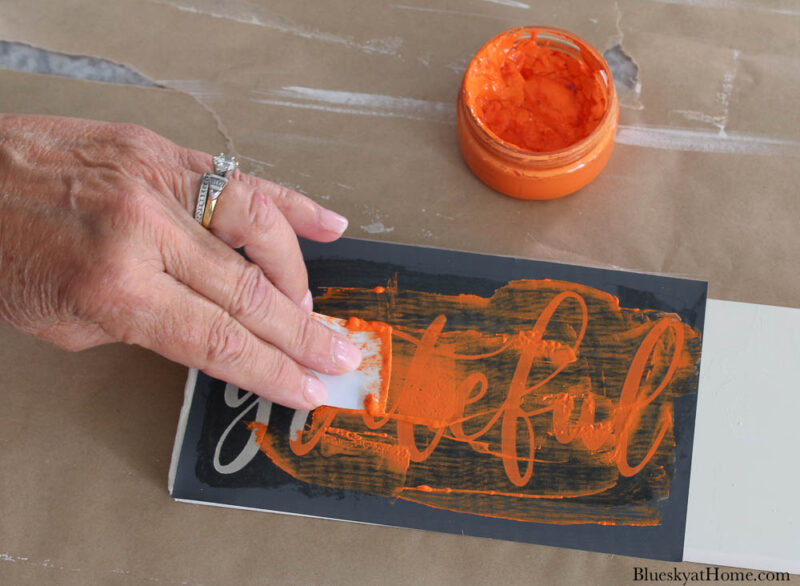
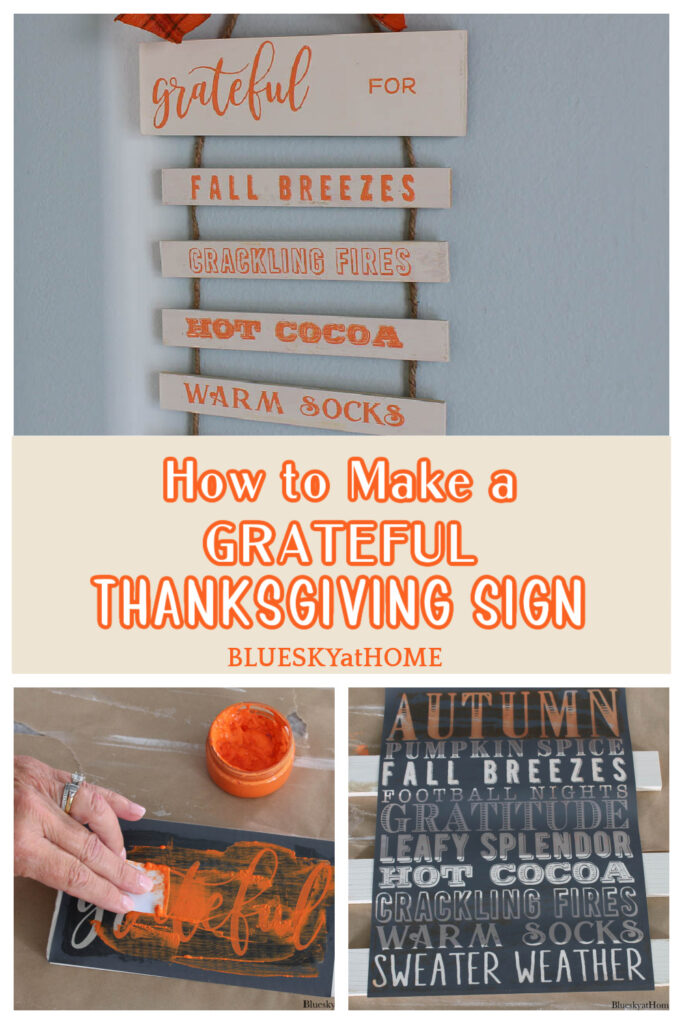
For this project, I’m using ChalkArt Paint in Mind Your Manners, a true orange.
I used the large 1 X 4 wood piece as my title. As you can see, I switched the “grateful” stencil to a different font.
Step 3 ~ Remove the stencil from the paper backing and set it aside. Place the stencil on your piece of wood and press down to adhere.
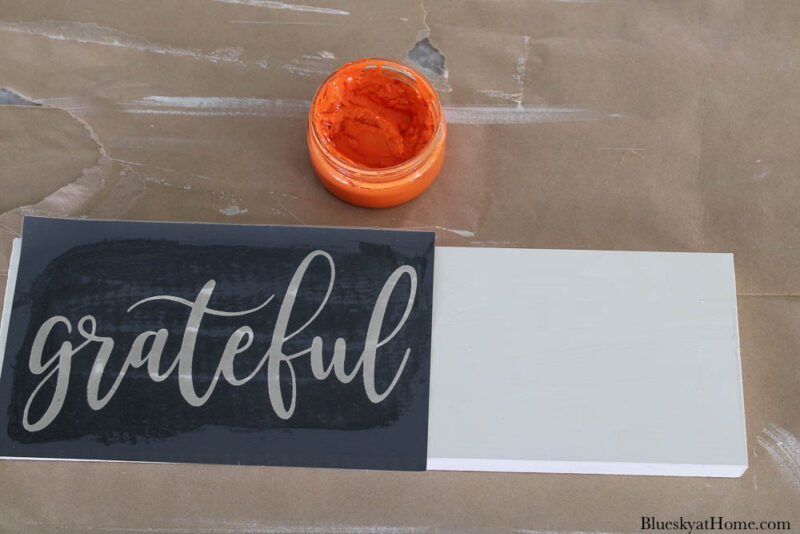
Step 4 ~ Use a plastic scraper to apply the ChalkArt to the stencil in a scraping motion, pushing the paint into the stencil. Scrape away excess ChalkArt.
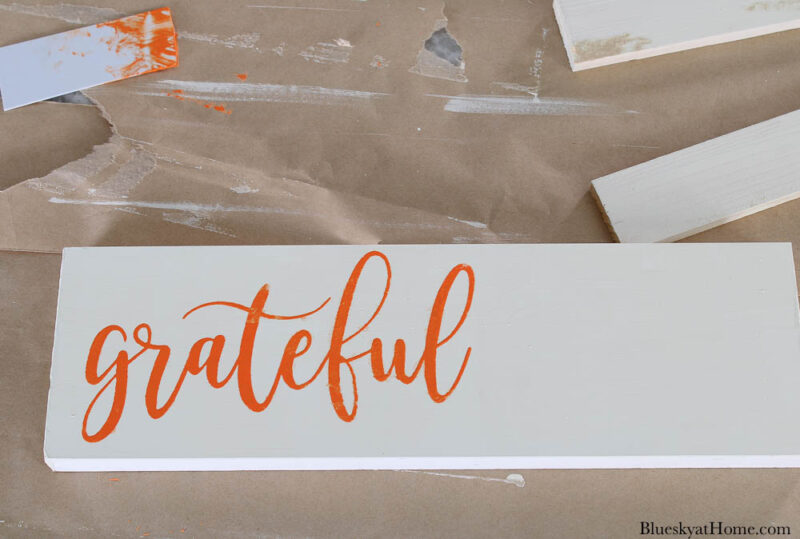
Step 5 ~ Carefully remove the stencil and allow the ChalkArt to dry (about 20 minutes).
CLEANING THE STENCIL: Place the stencil in a bowl of water or in the sink. While the ChalkArt on the sign is drying, wash the ChalkArt off the stencil. Place the stencil adhesive side up on a paper towel to dry.
Step 6 ~ Once the first stencil is dry (about 20 minutes), add the “FOR” stencil.

Step 7 ~ I picked six sayings from the Fall is My Favorite Season stencil to use. I removed the stencil from the paper backing.
Step 8 ~ Next, I lined up the six wood slats, spreading them out to allow for the lines of the stencil. I pressed the stencils down to adhere to the wood.
Step 9 ~ To make sure that I don’t get excess ChalkArt on the wood slats, I placed painters’ tape across the other stencils.
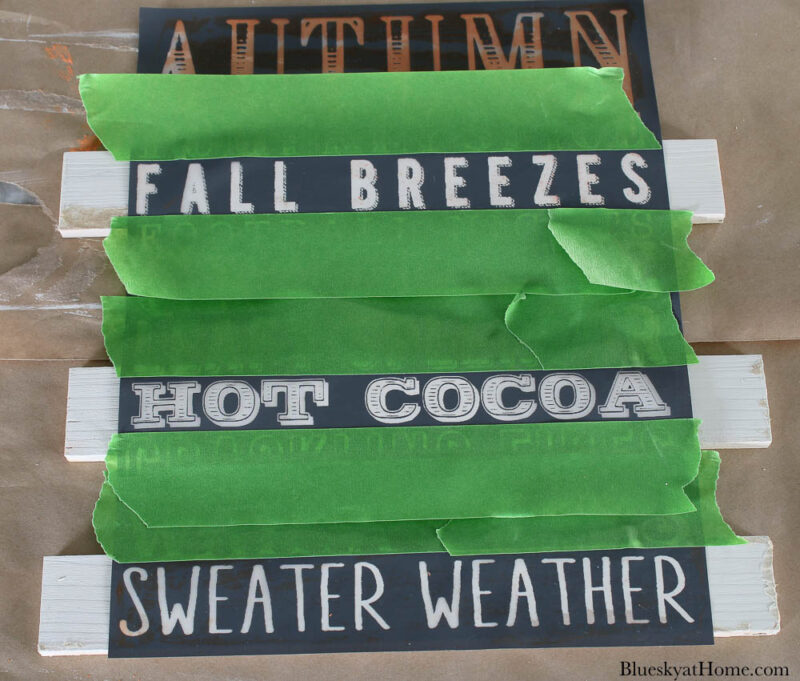
Step 10 ~ Apply the ChalkArt as I previously explained. This way, I was able to paint three stencils at once.
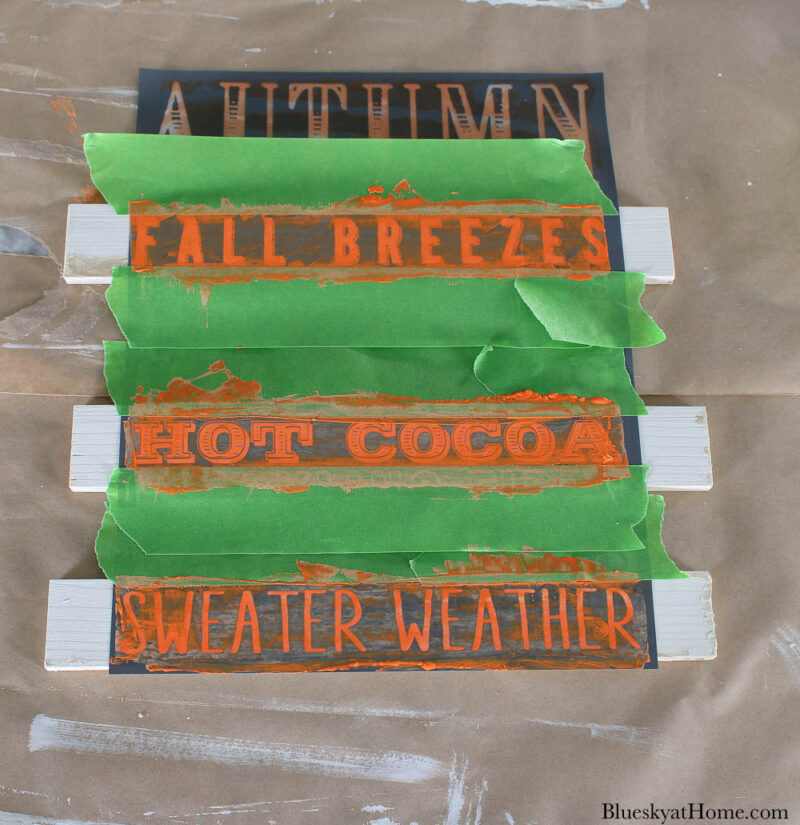
Step 11 ~ Adjust the stencil to apply ChalkArt to the remaining three wood slats.
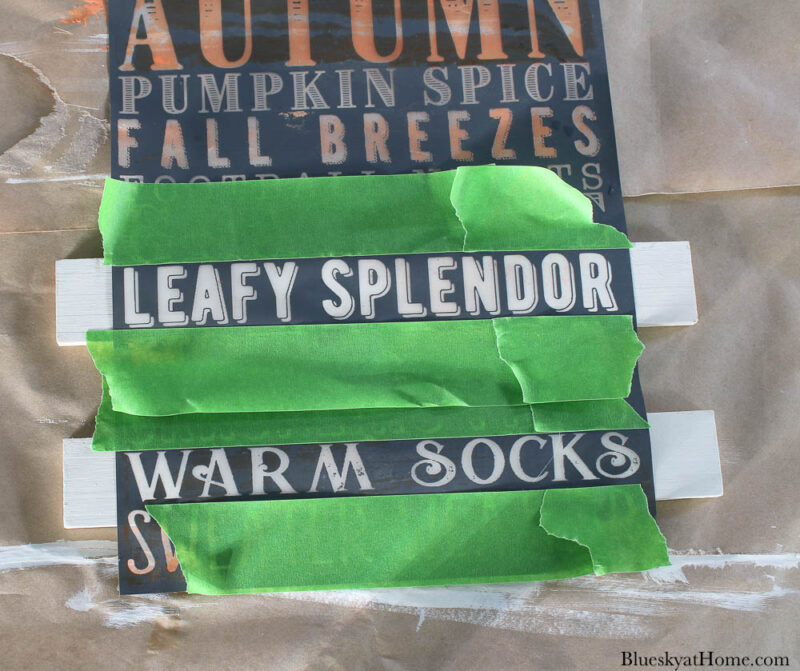
I now had my title wood slat and the things I’m grateful for.

Making a Hanger with Jute Twine
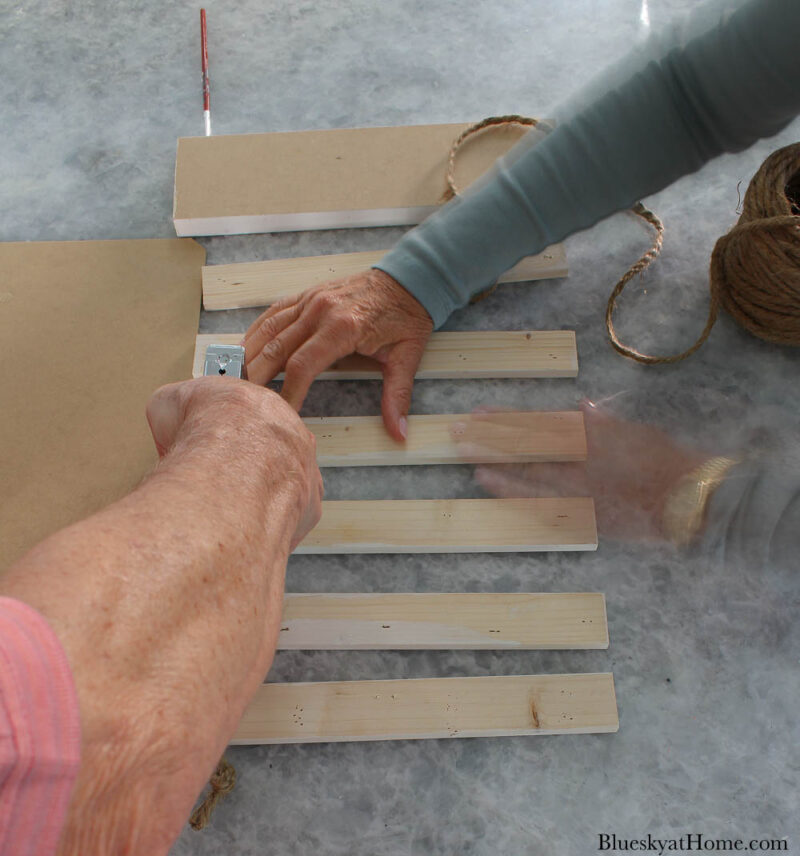
In order to connect the wood slats and hang my Thanksgiving wood sign, I first turned the slats over. I spaced them out, using an extra wood slat to get a consistent separation.
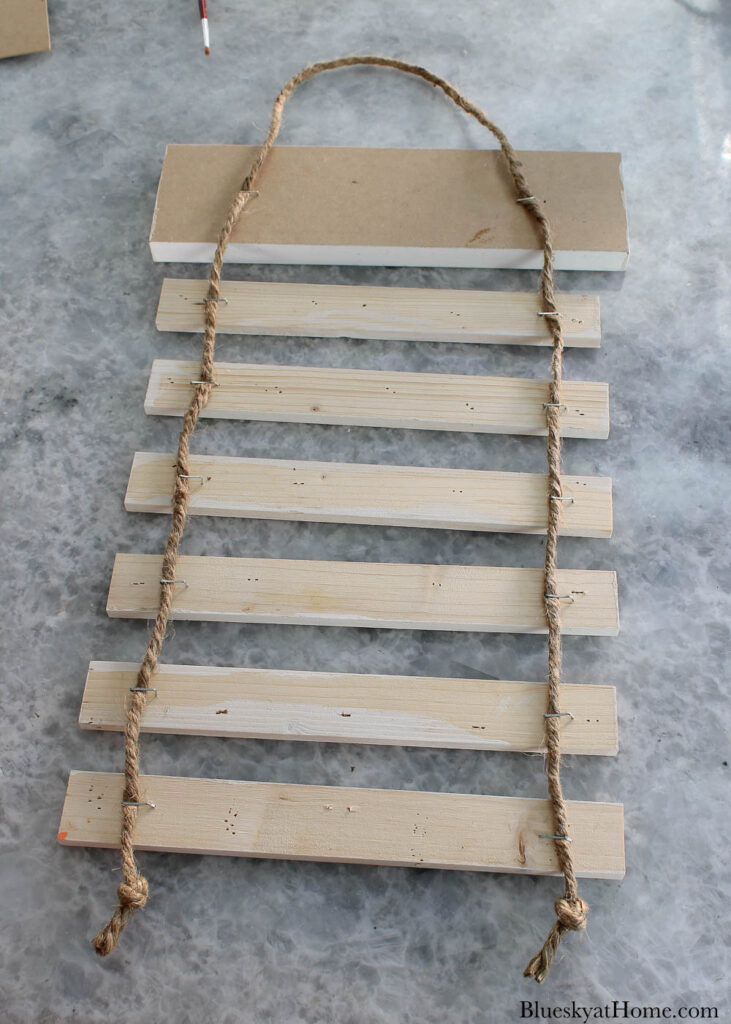
Then I used a staple gun to attach jute twine to the backs.
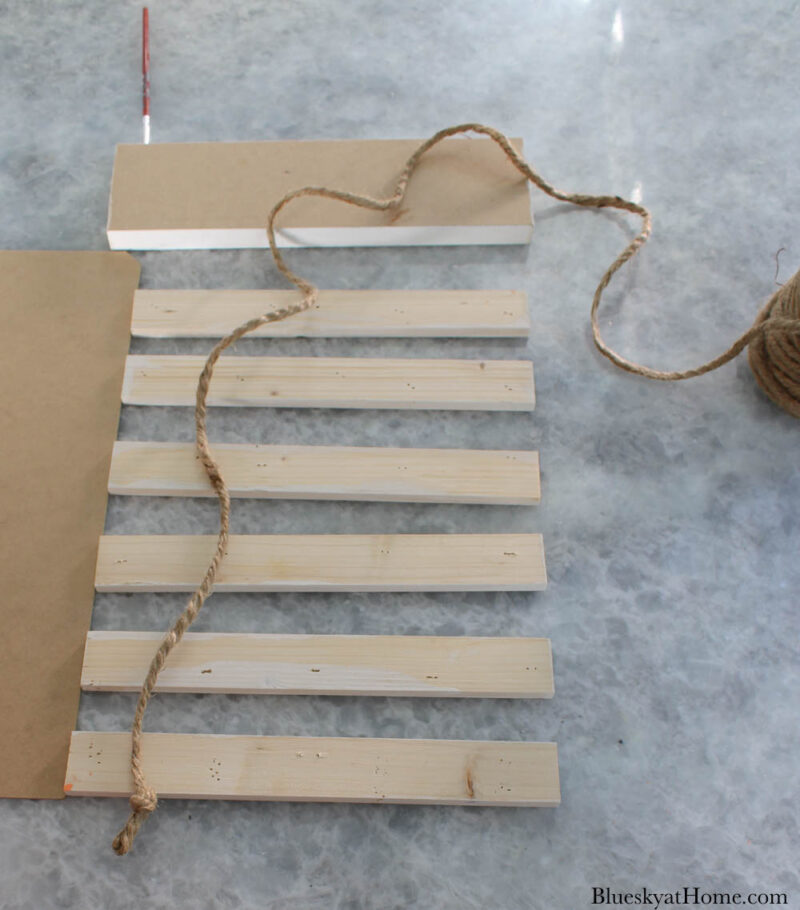
Sweet Shark helped me use the staple gun. I knotted the ends of the jute twine for interest.
Hanging the Thanksgiving Wood Sign
To be honest, I had a hard time finding the right place in our home for the wood sign. I finally found a good place – in our butler’s pantry. I removed an old framed dish towel (yes, a dish towel). This will be a nice sign to see when we come in the house.
I hung the sign on the existing picture hook. To hide the picture hook and give the sign more color and punch, I found a piece of plaid orange ribbon and made a bow. I think the bow really finished off the Thanksgiving gratitude sign.
Here are some more stencil projects you will really like:
- DIY Paint and Stencil Halloween Decorations
- Fun Thanksgiving DIY Wood Blocks
- Wood Christmas Signs
- How to Make a Stencil Sign with Scrap Wood
- Easy Dollar Tree Fall Yard Art
Thanksgiving Wood Sign Supply List


What do you think of this Thanksgiving wood sign project? It was so easy, took just a couple of hours (including drying time), and used supplies I already had. The perfect combination for a DIY project.
This is our first Thanksgiving decoration of the season. There are more to come. I hope this little gratitude project gives you inspiration for your own projects.
I would be grateful if you would PIN it. Here are more Thanksgiving DIY Ideas on my Pinterest Board.


Such a wonderful sign and it is the perfect time to share it. I hope you continue counting your blessings through the holidays. So glad to be a part of the hop with you this month.
Adorable sign Carol! I am grateful for this community of bloggers too! Such a blessing this group of creatives has become to me!
I love your Thanksgiving sign, Carol, and am grateful for those very same things too.
I also love using scrap wood, but I seem to be collecting it at a faster pace than creating art with it.
Very cute and a sign well worth remembering! I was really interested in how you hung all the wood slats together. That is a tip I will remember.
Wasn’t I clever? I couldn’t drill holes into the wood slats, so twine and staples seemed like a good idea.
Great sign Carol; I’m grateful for everything you have on your list and to you and all the other ladies in our wonderful creative craft hop. You all inspire me with your creativity!
Thanks so much, Sara. And thank you for hosting. Speaking or writing what we are grateful for is an affirmation.
Perfect for capturing all the fall feels.
You are so welcome.
Love your grateful sign, and what a wonderful idea, Carol! It would be great if we all made a grateful sign especially during these times! That would certainly be a good theme for a blog hop, too! Thanks for sharing!
Thanks so much, Gail. Gratitude is a daily practice.
Very cute Carol! Another great stencil masterpiece! The bow does finish it off perfectly and cheers to shopping your garage! Using the twine to put the pieces together and hang it is brilliant!
Thanks, Jenna. For hanging, that was the best option. Plus I love jute twine!
Such a sweet sign, Carol. I love that you used jute and added the bow as the finishing touch. Very pretty!
I love jute twine, Ann. It’s so useful in many applications. Plus it’s inexpensive and rustic.
What a cute sign for the season! Blessings, Cecilia @My Thrift Store Addiction
Looks amazing Carol. Love your tutorial you shared with us. Thanks for sharing.