How to Paint a Countertop with Some New Toys
So let me show you how to paint a countertop with some new toys. Kids aren’t the only ones who love new toys. We grown-ups love new toys, too.
What’s that saying? The only difference between a boy and a man is the price of his toys. Well, if you are a DIYer or painter or repurpose anything that gets within arm’s length, then you know we have toys.
I consider my Cricut a toy, although a bit more expensive one. My electric drill is one of my favorite toys. Last week I had 3 new toys, all of which helped me paint the countertops for our laundry room makeover.
Like Goldilocks and the 3 bears, one was small, one was medium, and one was really big. But unlike kids who may tire of their toys or not take care of them or lose them, I can promise you that I’ll take good care of these DIYer toys because they are all wonderful and I know I’ll want to play with them over and over.

Before we get to how to paint the countertop with some new toys, in case you missed it, I’ve been planning this small (as in no walls removed, no plumbing or electrical needed) laundry room makeover for quite some time.
I got my inspiration, then we painted the Palette in a Box boards for the laundry room backsplash, and next we installed the boards on the back wall of the laundry room.
Now it was time to paint the boards and moldings for the countertop. I needed paint and a place to paint and a way to paint that would give me the smoothest finish I could get. Then it was like writing a letter to Santa Claus and he gave you everything on your wish list. My gifts didn’t come by sleigh and reindeer, but by UPS; the result was the same. Squeals and handclaps and high fives.
Thank you to HomeRight and Amy Howard at Home for providing the supplies for this project. I’ve used them, love them and highly recommend them. All opinions are my own. If you purchase any product through this site, I may receive some compensation but you pay not one penny more.
How to Paint a Countertop with Some New Toys
Step 1 ~ Determining the Size of the Countertop
If you are planning a similar project, the first step is to determine the measurements of your laundry room countertops. This probably isn’t going to be entirely random. The height and depth of the washer and dryer and the width of your wall space will dictate the size of the boards you need. Because we didn’t want the countertop to sit directly on top of the washer and dryer, the height would be 40 1/2 inches from the floor. The depth of the countertop (from the back wall to almost the front of the W/D) would be 30 1/2 inches. The length of the countertop (the width of the W/D + the space for the hamper) would be 75 inches. One side of the countertop would be against the far wall. We would also need a vertical support board for the side of the dryer on the opposite side.
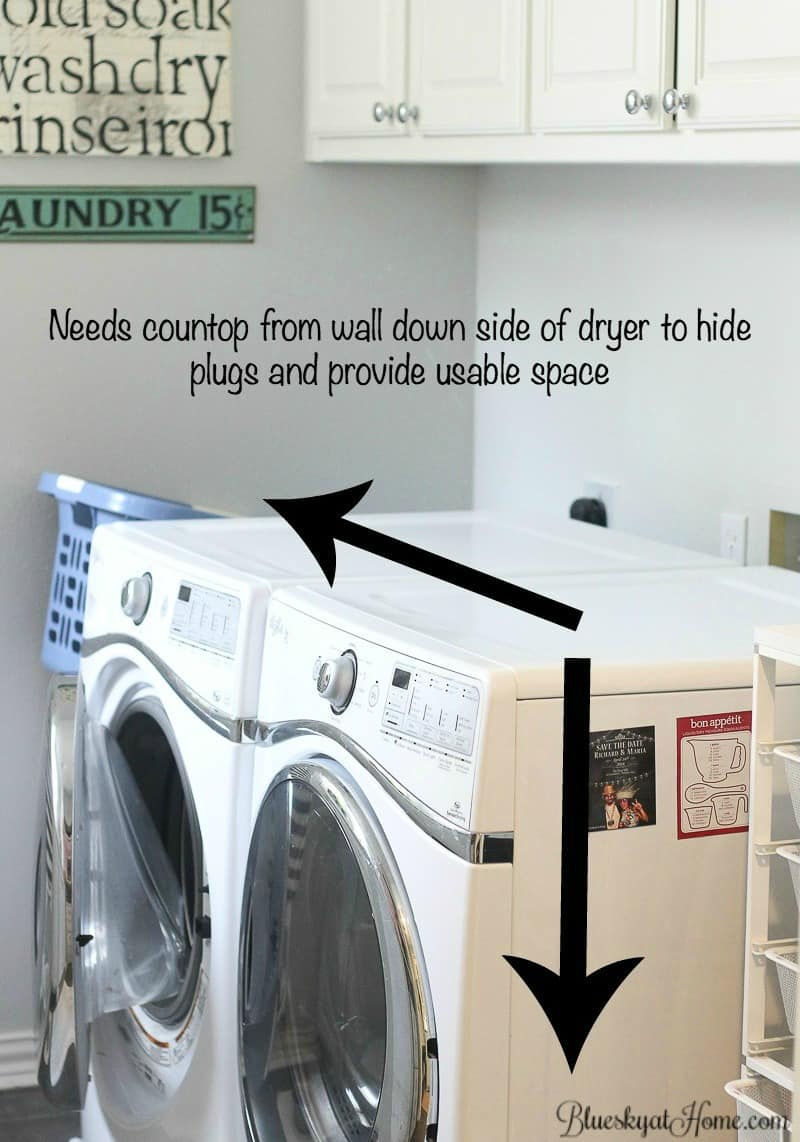
So we would need 2 boards:
1 ~ 75″ X 30 1/2
1 ~ 40 1/2 X 30 1/2
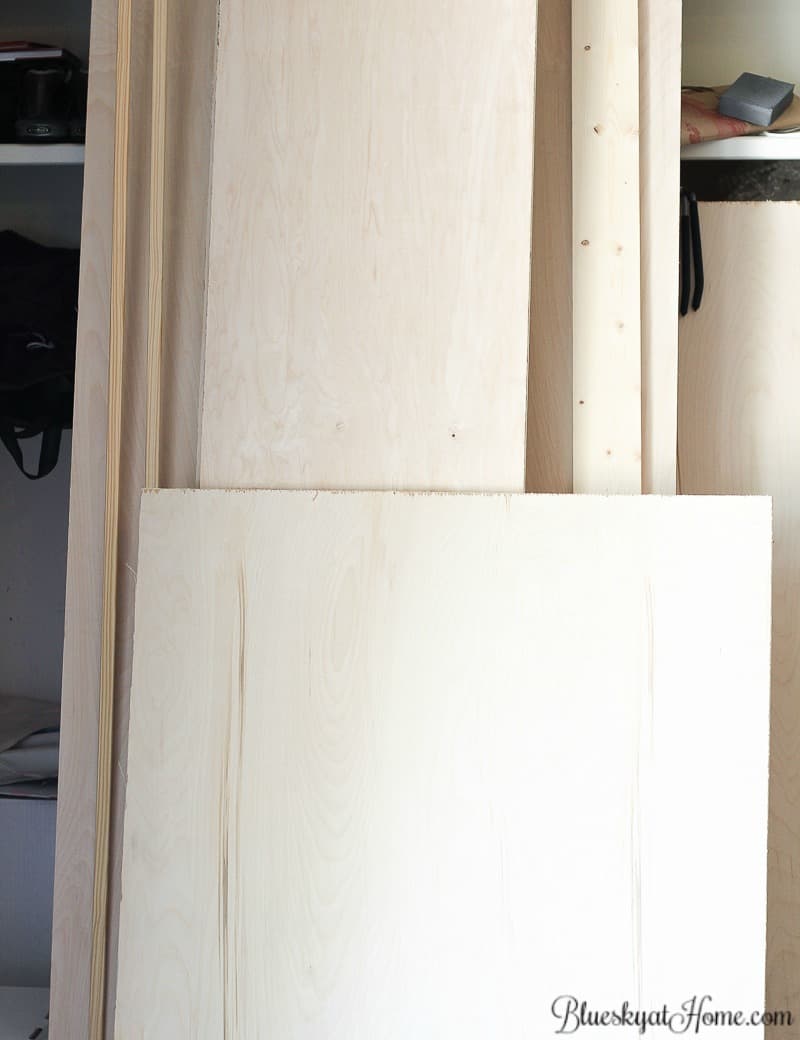
Step 2 ~ Choosing the Wood
Obviously, for countertops, you need something sturdy. Looking through all the wood choices at Home Depot, I found pre~sanded (that would be a time saver) Birch plywood came in 4 X 8 foot X 3/4~inch pieces. We would need to buy 2.
We had the nice man cut the boards to our measurements. We also bought 2 2 X 4’s to use as support pieces on the walls. We had quite a bit of wood leftover and we brought every bit home. I already have some ideas how to use the remaining pieces.
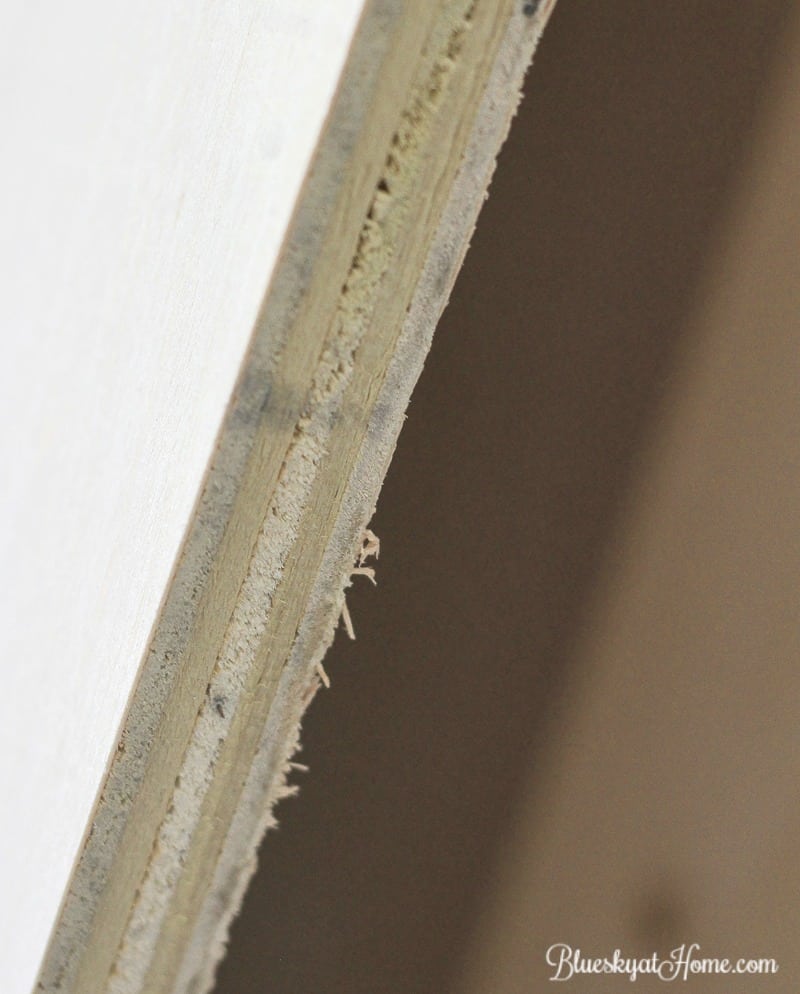
Step 3 ~ Prepping the Wood
Because the boards were pre~sanded, there was very little prep work. I did sand the edges of the 2 boards where the cuts had been made. Once the edges were smooth, I could start painting.
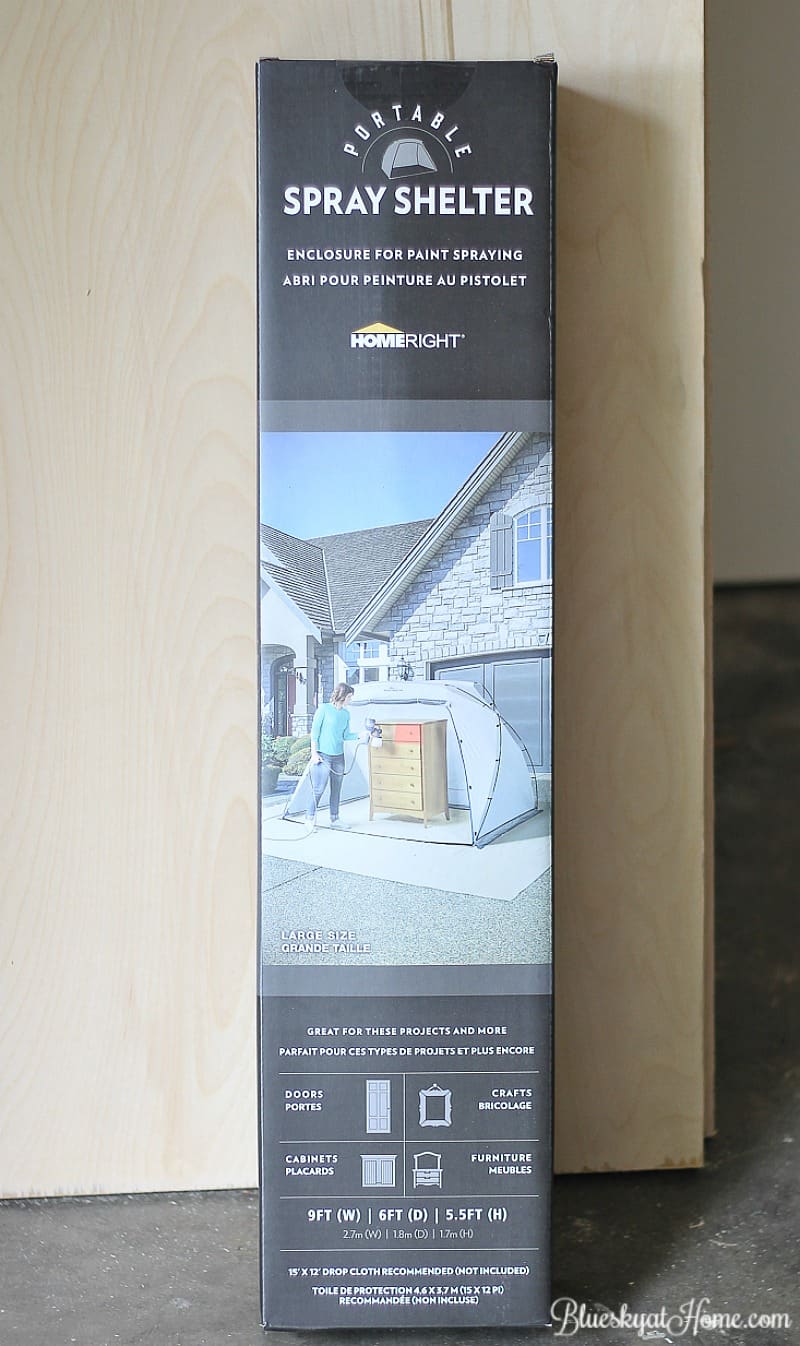
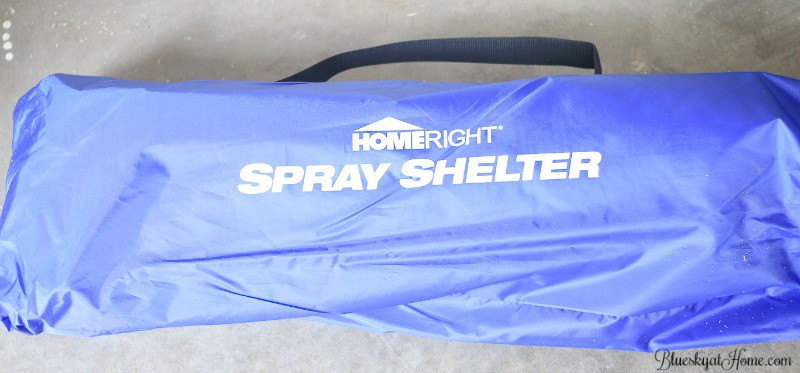
Step 4 ~ Setting up the HomeRight Large Spray Shelter
I can’t tell you how excited I was to use this product that HomeRight sent me several months ago. I have previously used the Tabletop Spray Shelter for several projects and loved it. Now the Tabletop version just pops up when you take it out of the zippered pouch and I thought the large spray shelter would too. It also comes in its own zippered pouch and I could tell right away that the setup would be a bit more involved.
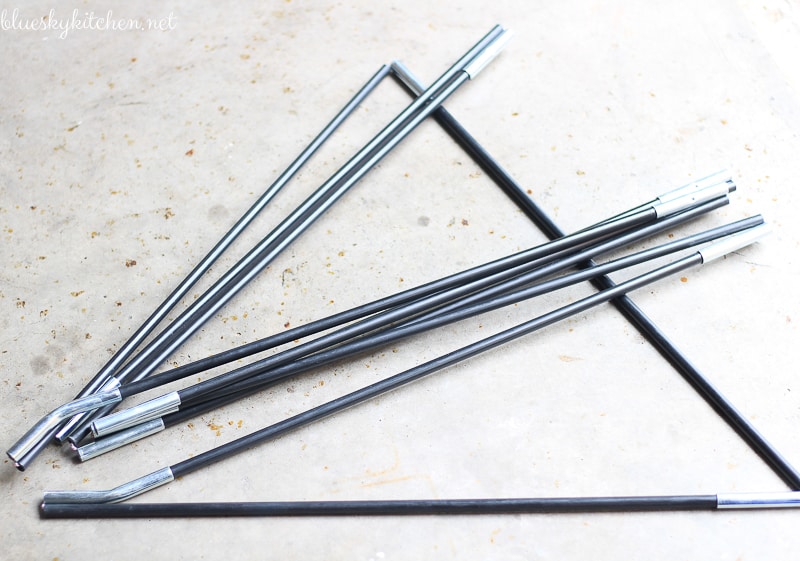
I would be painting on Sweet Shark’s side of the garage. I removed the tent and the support poles which I assembled according to the directions on the pouch. When the 2 poles are assembled, which is very easy, they are really long, so make sure you have plenty of space. I had to move a bit out into the driveway to accommodate the length. Sorry I didn’t get a picture of that.
Then you lay out the tent. I didn’t pay attention to how I was doing that, so I couldn’t quite figure out how and where the poles went it. So what does any resourceful DIYer do? I went in my office and Googled, “how to set up HomeRight Spray Shelter”. Don’t you love Google? There were several videos to choose from and after watching a few (thanks to Gail at A Repurposed Life for the most realistic one.), I was ready to tackle that spray shelter.
NOTE: All the videos tell you that you can put up the Spray Shelter in 6 minutes. I spent a few minutes unpacking the Spray Shelter, 3 minutes putting the poles together, 15 minutes trying to figure out how to put it together and watching videos. Once I had it figured out, it probably did take 5 minutes to finish the assembly. Next time will be a breeze.
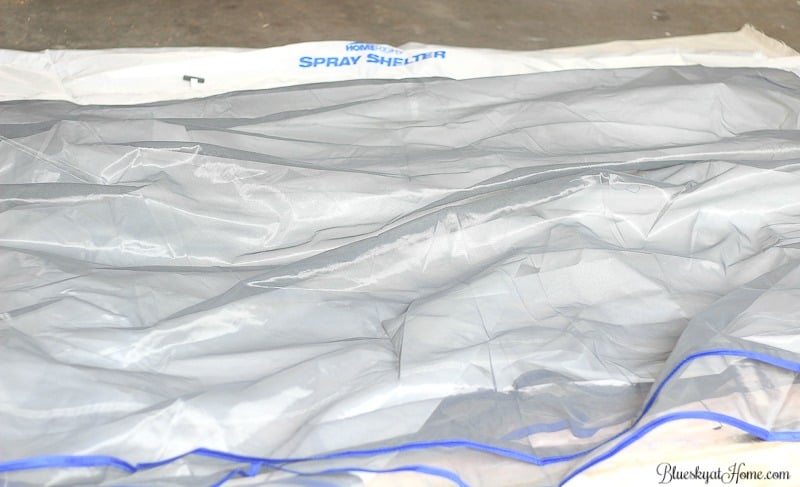
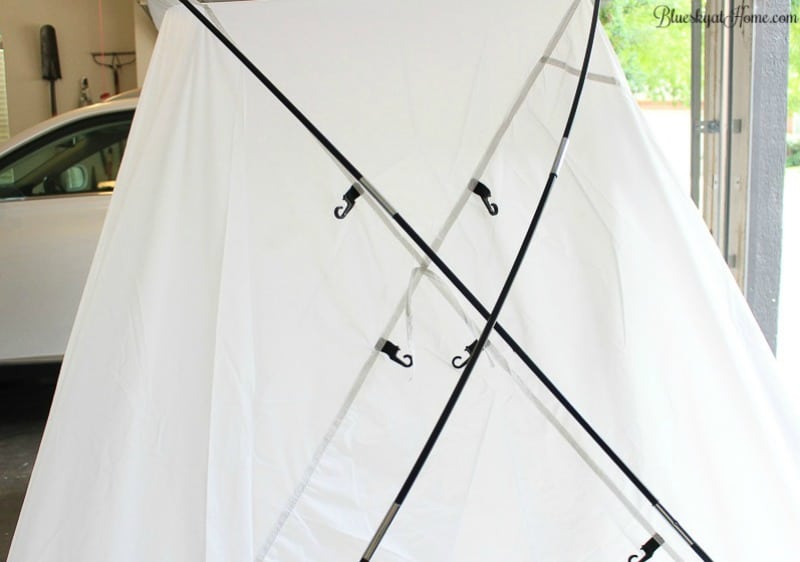
Once I found slipped the poles through the “sleeves”, crisscrossed them into the hooks at the bottom of the tent, and lifted it up ~ it’s very light ~ I had a tent!
My Spray Shelter has a front piece that the ones in the videos did not, so this may be a new feature of the Spray Shelter. Very smart addition since it means that you can close it and keep dust or bugs out while your project is drying. It has velcro tabs to seal it shut.
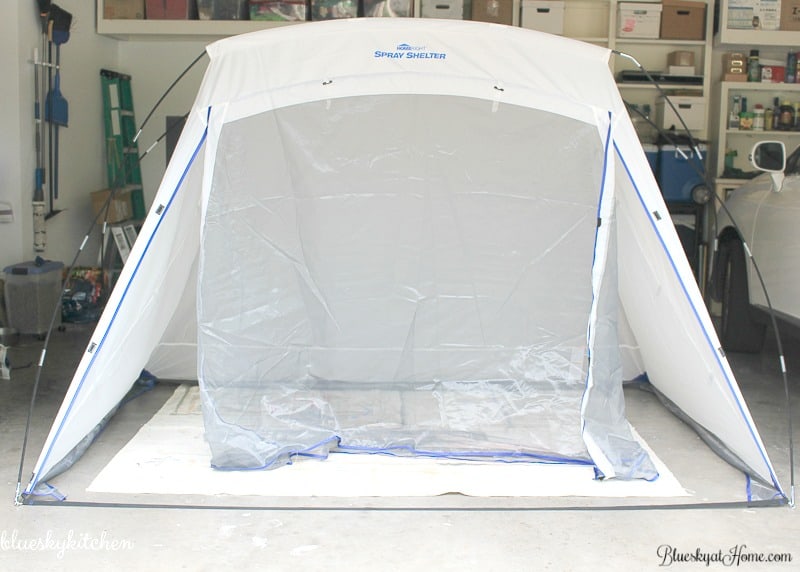
On both sides of the tent are hooks for securing the poles. They are easy to attach to the poles. Then you tie the poles where they cross. And you’re done!
NOTE: The Spray Shelter also comes with stakes to hold the tent down if you are using it on grass.
I was so proud of myself for putting the Spray Shelter together all by myself. Normally, I would have asked Sweet Shark for help, but he was taking a Saturday afternoon nap.
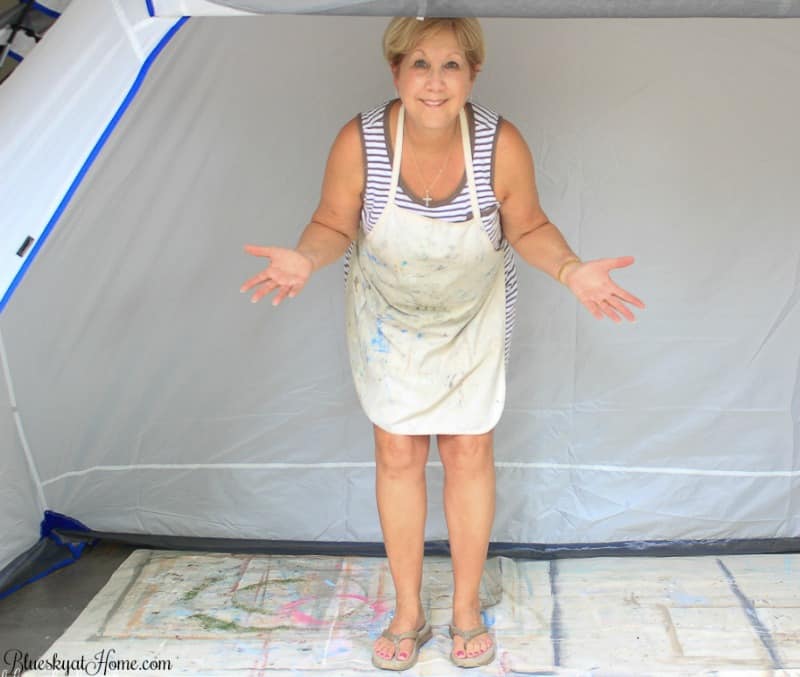
Now I laid my drop cloth down and I was ready to paint ~ almost.
NOTE: I had cut off about 2 feet of my drop cloth a few years ago for another project so it’s a bit small. I’m going to get another one to completely cover the painting space inside the Spray Shelter. We now have white color blocks on our garage floor.
TIP: You may notice I’m wearing my favorite flip~flops. After I finished all the painting and was taking a shower, I looked down and I had a “paint tan” on my feet. My pretty pedicure was also covered in white paint. From now on, I’m wearing my old tennis shoes. The white paint came off, but I think I’m going to need to get a re~polish.
Step 5 ~ Preparing my Finish Max Sprayer
I have wanted to try this product since I first saw it at Haven in 2015.
When HomeRight asked me if I wanted to try it, I yes, please. (I actually said, heck, yes!) Now was the time. I opened the box, unpacked the parts, read the directions, assembled the sprayer (actually, there’s not much assembly).
I knew that I would be using Amy Howard’s One Step Paint in Bauhaus Buff. I already had a quart can left from my barn door project. I love this paint. There is almost no prep, it goes on so easily, covers beautifully, and dries quickly.
Bauhaus Buff is a pure, clean white, exactly what I wanted for the laundry room. Following the Finish Max Sprayer directions and using the cup with a funnel provided to determine the thickness of your paint, I decided to thin my paint by about 40%. I placed the paint and water in the Finish Max container, stirred to combine it, and screwed it on the Finish Max.
Now I was ready to paint.
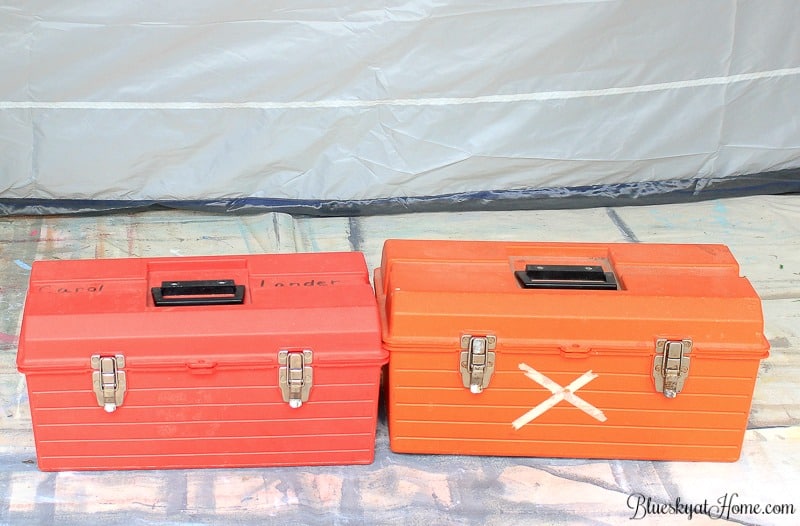
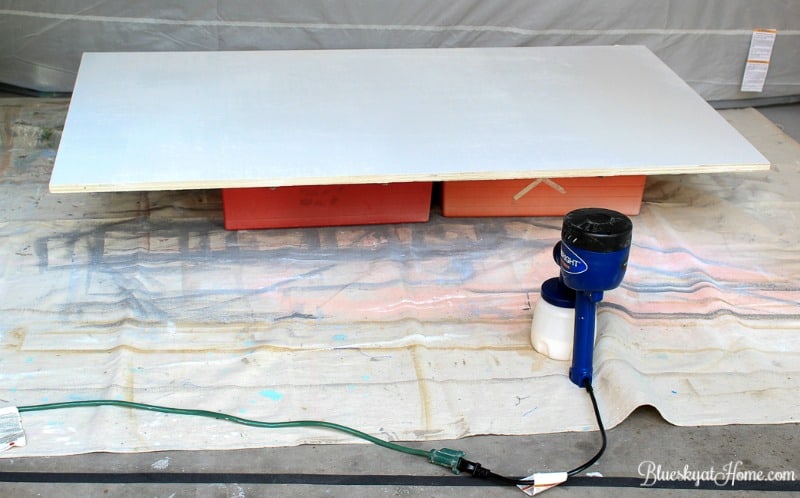
I didn’t want to lay the boards directly on the drop cloth so I used our tool boxes to set the boards on.
Step 6 ~ Getting Ready to Paint
TIP: You will need a long extension cord for the Finish Max Sprayer.
Sweet Shark got up from his nap just as I was ready to paint, so I asked him to take this video of my new toys.
I set the adjustable nozzle for horizontal and pulled the trigger. Let me show you how to paint a countertop in this video of my first use of the Finish Max Sprayer.
I couldn’t believe how easy it was. Like any spray paint, you want to slowly, but smoothly, pass your paint across your piece. Try to keep the sprayer as horizontal to your piece as possible. I used 2 coats of One Step Paint on the smaller board and it covered the wood beautifully. Since the larger board would get much more use, I just decided to give it a third coat.
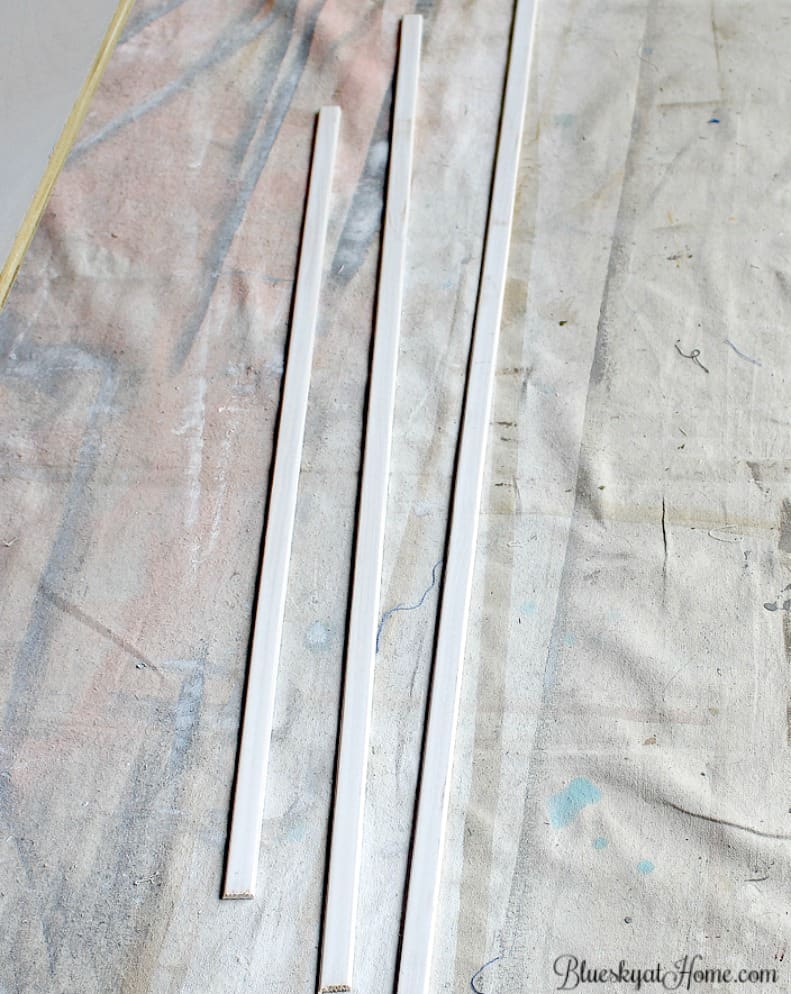
Since I did not want the raw edge of the wood to show on the front side of the countertop and I also need molding on each end of our backsplash, I found some flat 3/4~inch molding at Lowe’s and bought 2 pieces.
I needed to cut it into short pieces (the molding was 10 feet long). Here my other new toy comes into play. I bought a miter box and hand saw for myself; it came as a kit at Lowe’s.
Now I admit that I’ve never been a carpenter before and cutting wood isn’t in my DIYer resume, but this was so easy. I cut that molding into the sizes I needed so that I could paint them. Later, I’ll use the 45˚ to angle 2 of the cut pieces for the front of the countertop.

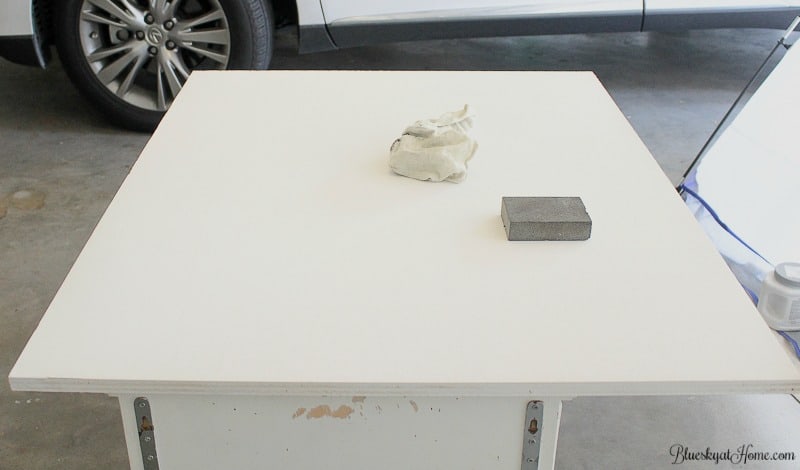
After the paint was dry on each board, I lightly sanded the tops with a sanding block to make them super smooth and applied a coat of Amy Howard Clear Wax. Then I lightly buffed them with a lint~free rag and my countertops were finished.
So all I needed to paint my countertops were 3 toys: my HomeRight Large Spray Shelter, my Finish Max Sprayer, and my new miter box and hand saw. And, of course, my One Step Paint. I am so happy with this project. I learned how to use 3 new tools, learned a new skill (sawing wood), and got a fabulous result. I hope you learned something new, too, about how to paint a countertop.
Next Step: Assembling the countertop, attaching the molding and installing the countertop. Stay tuned. I can see the finish line.


Can;t wait to see it installed. I, too, received the sprayer and tent and it is awesome! Thanks for sharing at Vintage Charm! xo Kathleen|Our Hopeful Home
Kathleen, we are almost there. Installation and decorating are left.
Love that spray shelter! I resist spray painting things because I typically get it everywhere! This would be so great for me. Can’t wait to see the finished counter tops!
xx
Neelam
Neelan, it’s a wonderful addition to any painter’s toolbox (it doesn’t fit in a toolbox, but you know what I mean.) It’s not that expensive and it will pay back time and time again. You can order through the blog!
What fun new toys!! And I completely agree, unlike my kids I don’t get tired of my new toys. In fact the more I use them the more things I think of to make with them.
I can’t wait to see the finished counter tops!
Rebecca, since then I’ve bought a few more “toys”. Thanks for visiting and commenting.
Can’t wait to see the end results!
Me too!!
Hi Carol, this is all fabulous. Great job and thanks for sharing the spray shelter. Your laundry is going to be awesome. Looking forward to the finish line. Happy Summer
It’s getting closer, hopefully in another week.
I also love m y spray shelter and sprayer. It makes the job so much easier. Pinned this post since I do want to make a counter like yours. Great job.
Debra, thank you so much ~ imitation is the best form of flattery!