How to Transform French Doors into a Barn Door
Have you had to wait a while for a vision to become a reality? Me too. Imagine remaking a set of vintage French doors into a stunning barn door – a classic and functional piece that will instantly elevate the aesthetic of any room. Here is how to transform French doors into a barn door.
If you’re anything like me, you’re always on the lookout for creative ways to spruce up your living spaces without breaking the bank.
I’m going to show you a fun and budget-friendly project that will add rustic charm and efficiency to your home.
The vision to transform French doors into a barn door was an accident. It led to the remodel of our laundry room.
Whether it is a home we are buying or building, a kitchen remodel, a dream vacation, a nursery for a new baby or a new office all your own, the “it” never is done soon enough.

Waiting to transform French doors into a barn door for our laundry room was hard, but worth the wait. See what we learned. Then learn from the mistakes we made before we had the barn door of our dreams.
This project took place a few years ago. This past weekend, a neighbor up the street came over to take a look at our backyard – they are thinking about adding a pergola like we did.
She had never been to our home and wanted a quick tour. When she complimented the barn door that we made from French doors, it reminded me of the project that I was so pleased with.
So why not share it again? I think you’ll love it, too.
How to Transform French Doors into a Barn Door
This story began on a girls’ trip to Roundtop.
If you are not familiar with Roundtop, it’s a twice-yearly huge flea market and antique show held in Central Texas, northeast of Austin. People come from all over the country to sell and buy.
Huge tents hold a wide variety of vendors selling everything to flea market shoppers and lovers of antiques and vintage items. All price points from super inexpensive to antiques worth thousands of dollars can be found.
I had been to Roundtop the year before but didn’t find much.
This year was different. I hit the jackpot, purchasing 10 awesome items.
The best thing I found was a pair of French doors in excellent condition – all the glass panes were in perfect condition.
I knew exactly where I wanted them – in our laundry room. I knew with a little ingenuity and paint, they would be the solution to my laundry room door problem.
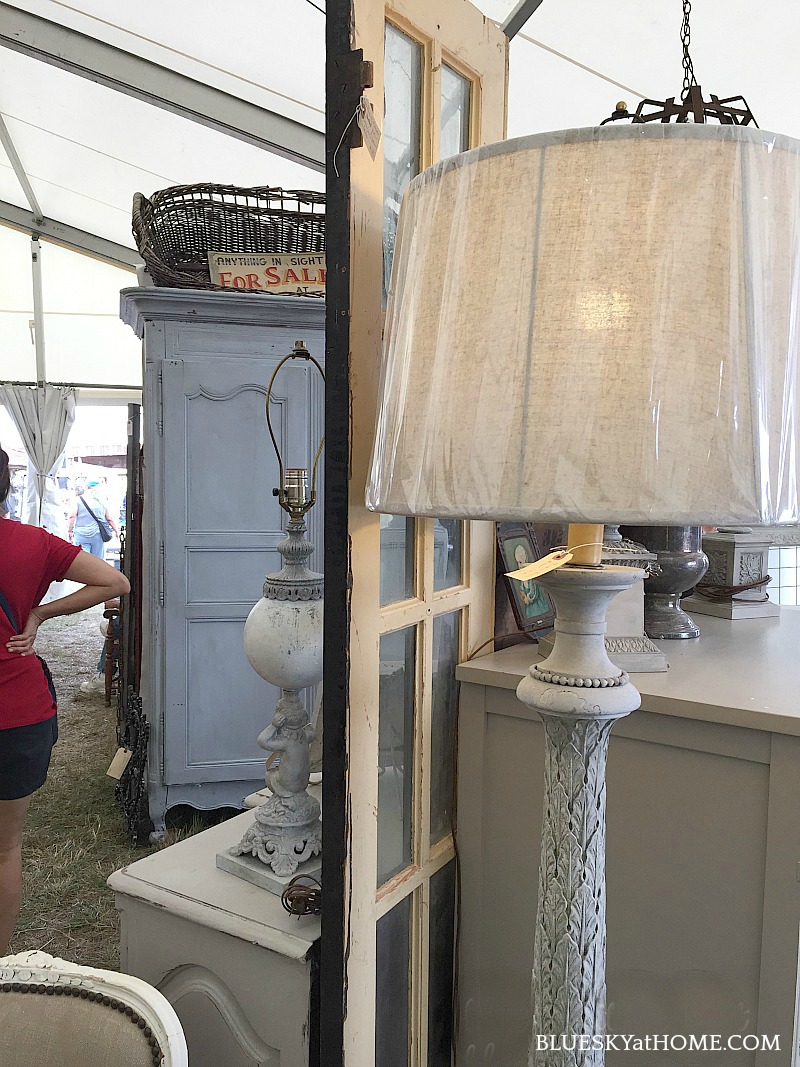
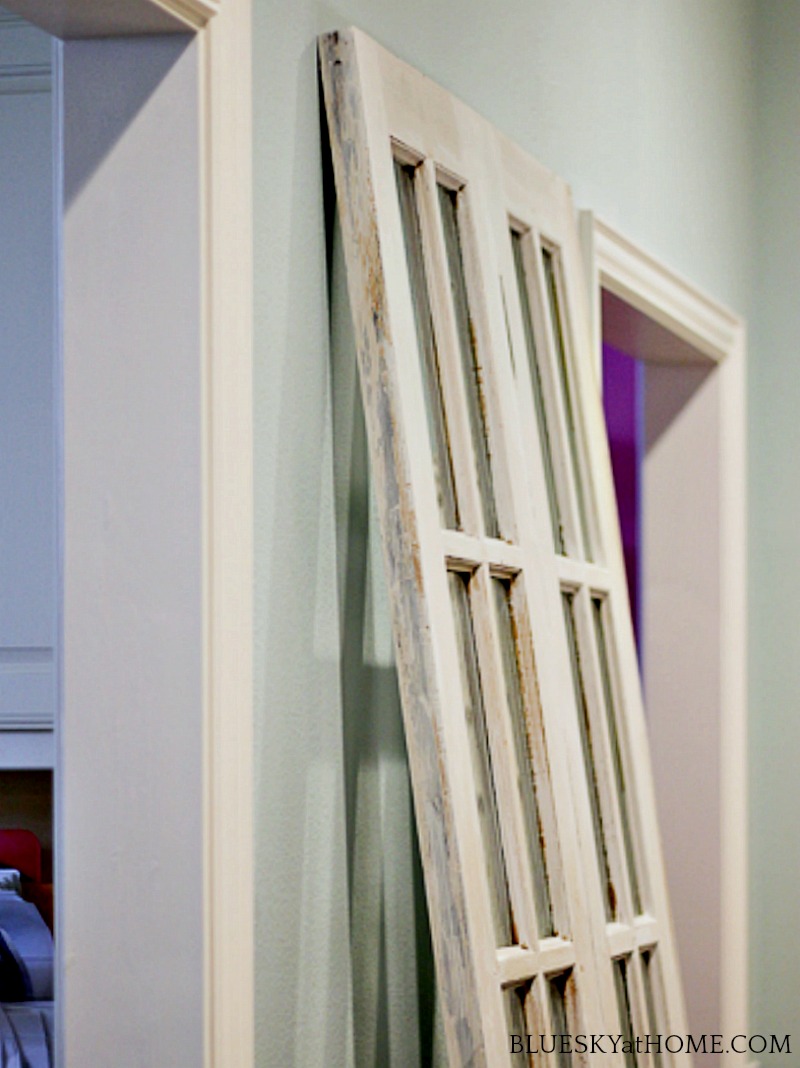
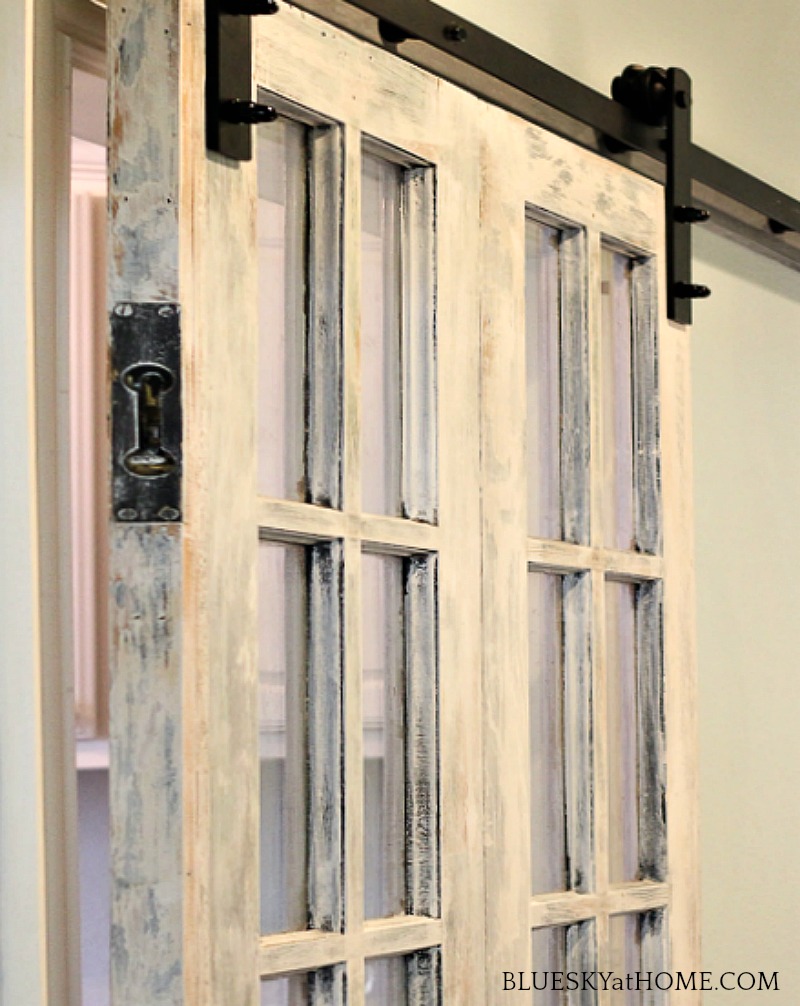
Here’s my first view of one of the French doors.
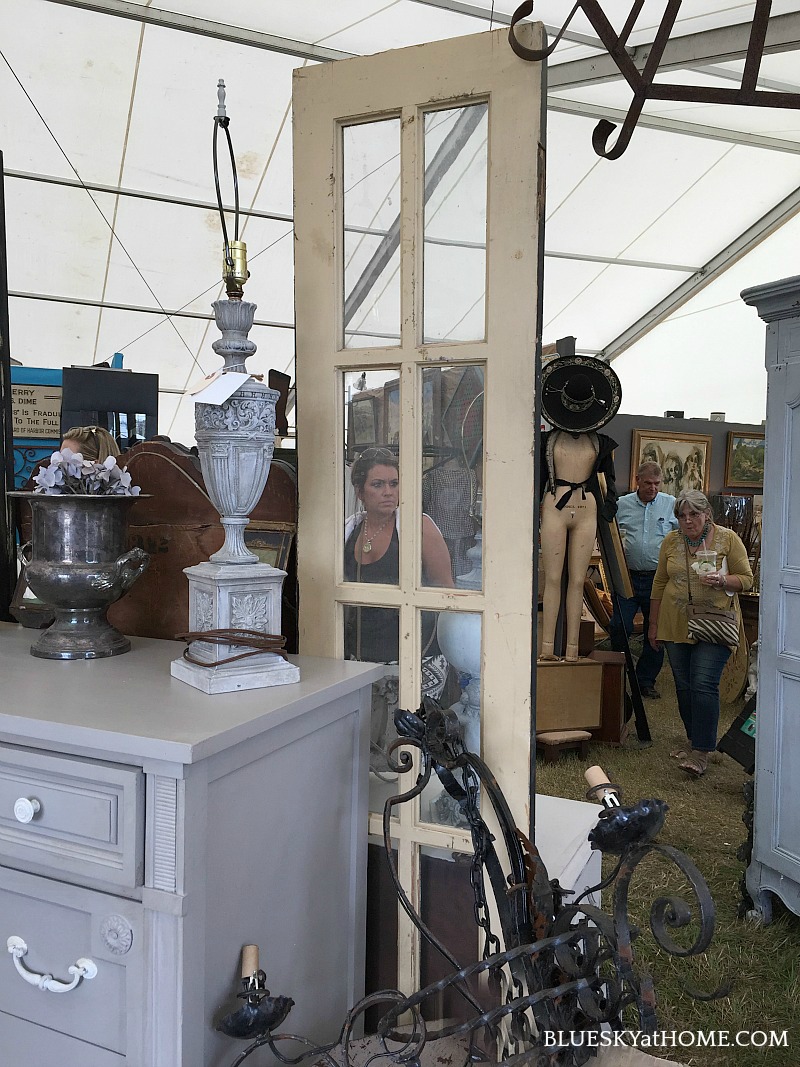
You can see that all the glass is intact. The doors were painted a weathered yellow on one side and multiple colors on the other.
Would they be the solution to our laundry room challenge?
Our Laundry Room Door Problem
We had five challenges with our laundry door.
- Behind our laundry room door were floor-to-ceiling built-in shelves. In order to get to the shelves, you had to come into the laundry room and close the door. Not a big deal, but a pain, nevertheless.
- We also had a pull~down hanger for clothes and you had to close the door to get to it.
- The door would never stay open when you were inside the laundry room.
- The biggest problem? Layla’s (and now Nola’s) food and water bowls are in the laundry room. Half the time we would come home and there was no dog to greet us. We would find her in the laundry room with the door closed. It was closing behind her and locking her in the laundry room. Poor puppy.
- I wanted more light in the butler’s pantry. There are two large windows in the laundry room which I hoped would allow more light into the butler’s pantry.
And I have to admit, I just wanted a barn door. I love the look and practicality of them. (In our previous home, we had four pocket doors and I love that they take up no space.) I wanted a door that looked old and used and loved.
Making Two French Doors into One Barn Door
Fortunately, the vendor of the French doors was from Dallas and she brought them back to Dallas at no charge. My son picked them up at her shop in his truck (Thank goodness for sons who have pick-up trucks) and brought them home where they stayed in the garage for several months.
During the construction on my office, our contractor took the doors to his workshop where his carpenter attached the doors together.
He took off the old hardware, cleaned up and sanded the door edges where they would be attached so that the doors would fit flush together.
Then they used what’s called a biscuit joiner (I had to ask what that was.) to cut holes on the side of the doors that would be attached together, adding wood glue to all the biscuit holes and down the side of the doors as well.
Then he inserted biscuits into the holes that he made, put the doors together, and used 7 clamps to hold the doors together for three days until the glue was completely dry.
After they brought the door (now it’s one door) back to our house, it was my turn to get to work.
This post contains affiliate links to products used in the creation of this project. If you should order any item from this site, I may receive compensation, but you do not pay a penny more. Your purchase is greatly appreciated as it helps support the continued publication of this site.
Preparing the Barn Door
We set the door on top of my work table in the garage. The challenge was that this was December (holidays, parties, travel, company) and it was cold in the garage. When it would turn warm for a day or two, I might be able to work for a couple of days, then have to stop for a few days.
Step 1 – Cleaning and Taping
The glass was dirty so the first thing I did was clean the glass using a razor and Windex.
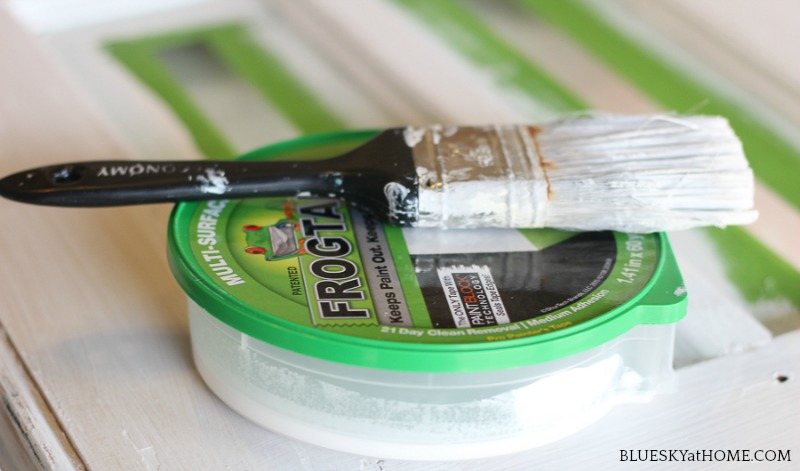
Next, I taped all the glass on both sides with Frog Tape. This step took quite a while but was worth it.
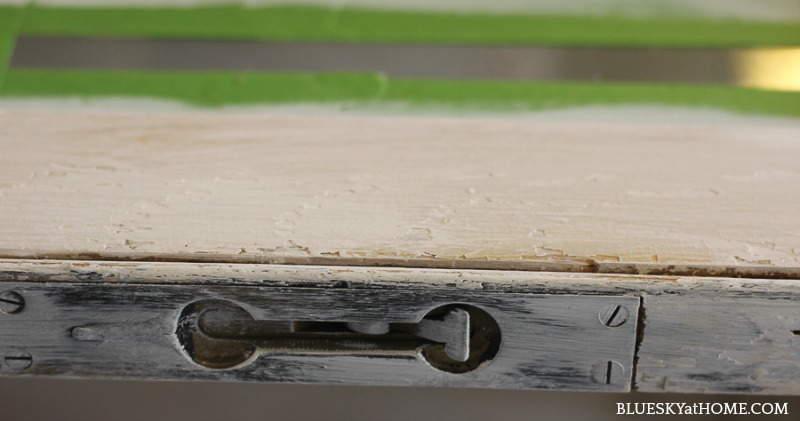
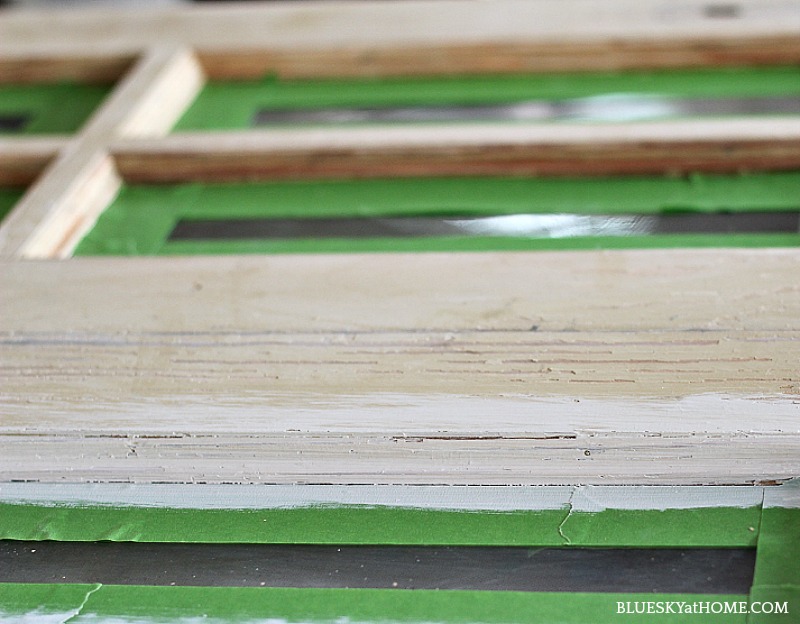
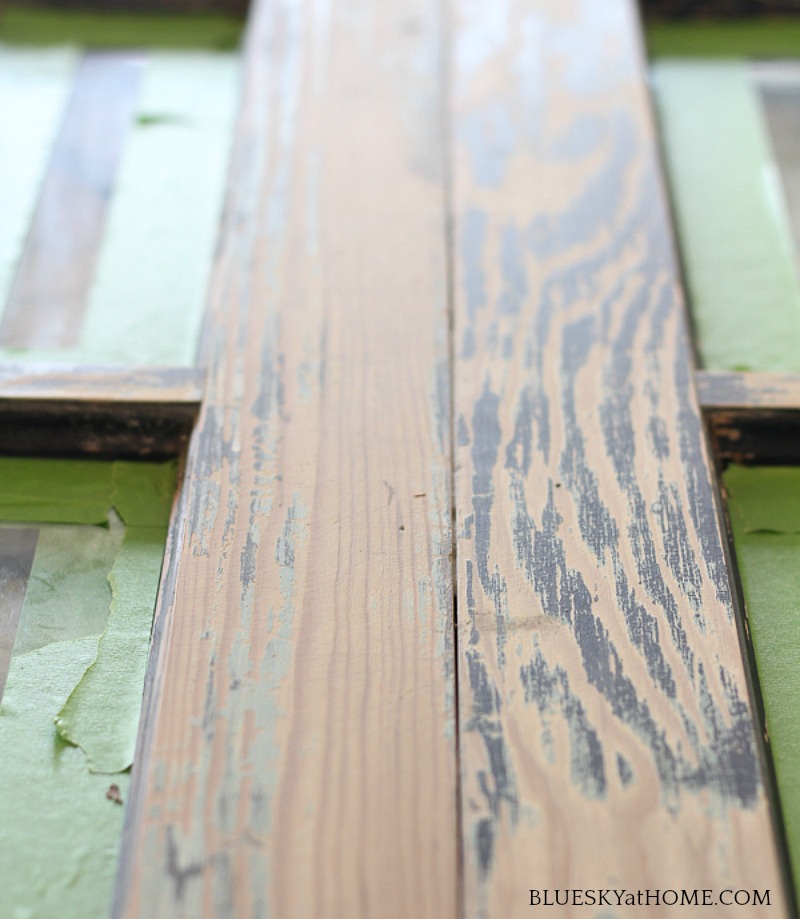
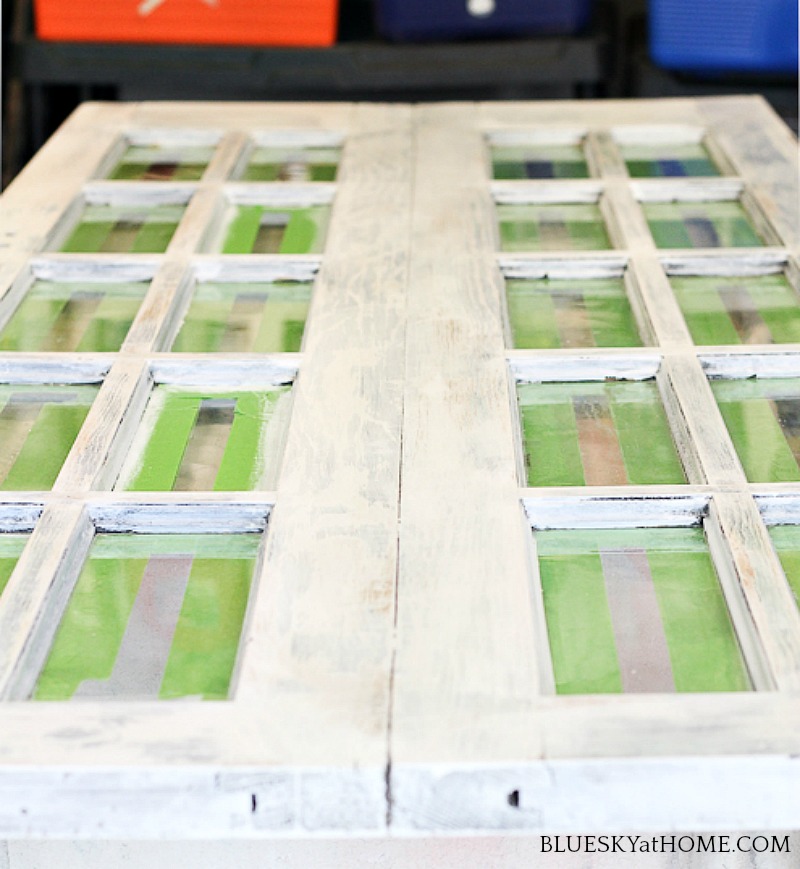
Step 2 – Sanding the French Doors
One side of the doors was painted a very pale yellow, but the surface was smooth. The other side of the doors had multiple layers of paint and I wanted to get down to the raw wood as much as possible.
I used a sanding block to smooth the wood and remove as much of the old paint as possible.
Sanding by hand such large areas is hard and time-consuming. I should have bought an electric sander. (A few years later, I bought this small electric sander.)
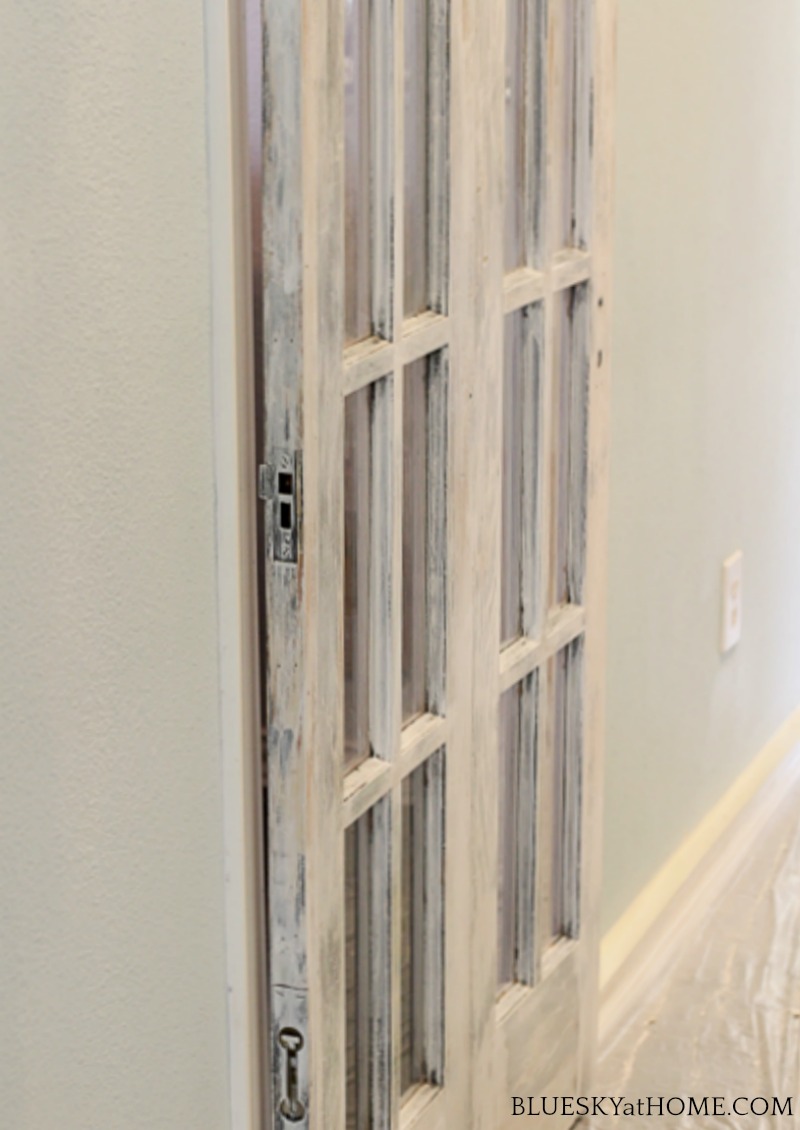
Here you can see the raw wood, the blue paint, and the black paint.
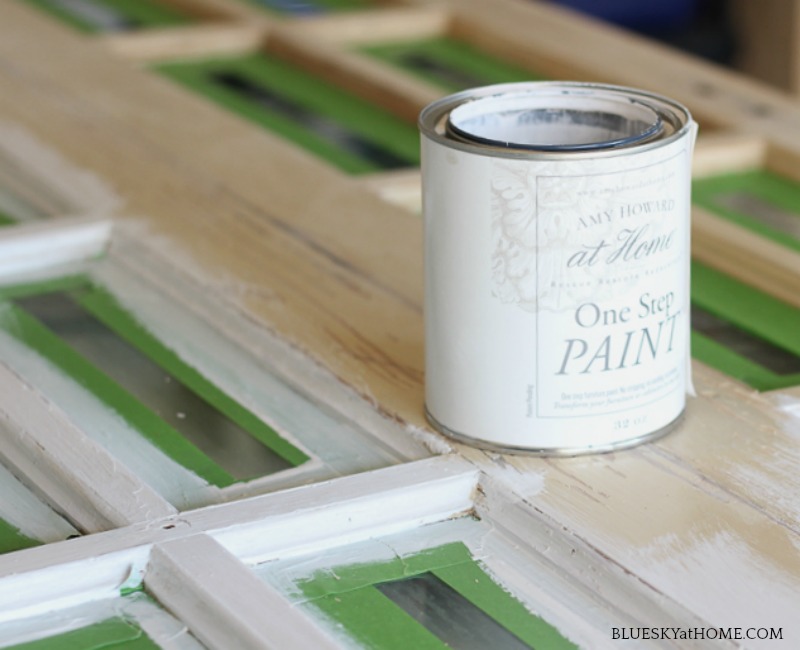
Step 2 – Painting the Barn Door
Now the fun begins. I knew that I would paint the door white. I used Amy Howard’s One Step Paint in Bauhaus Buff.
After all the sanding was completed, I was so happy that no priming was necessary before painting.
The One Step went on so smoothly; it was such a pleasure to paint with. And it dries so quickly. The paint covers so well and goes a long way. When I finished the project, you could hardly tell I’d used any paint from the can.
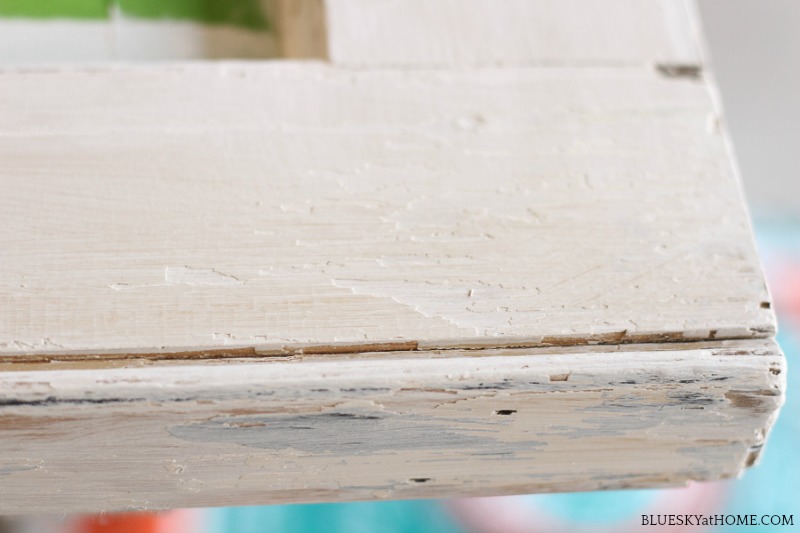
I was painting on the weekend so Sweet Shark was home. I painted the yellow side first, went inside for a snack, we flipped the door and I painted the second side. In about an hour I was done. I only needed one coat of paint.
Bauhaus Buff is a “clean” white, no undertones or blue or yellow, kind of like white balance.
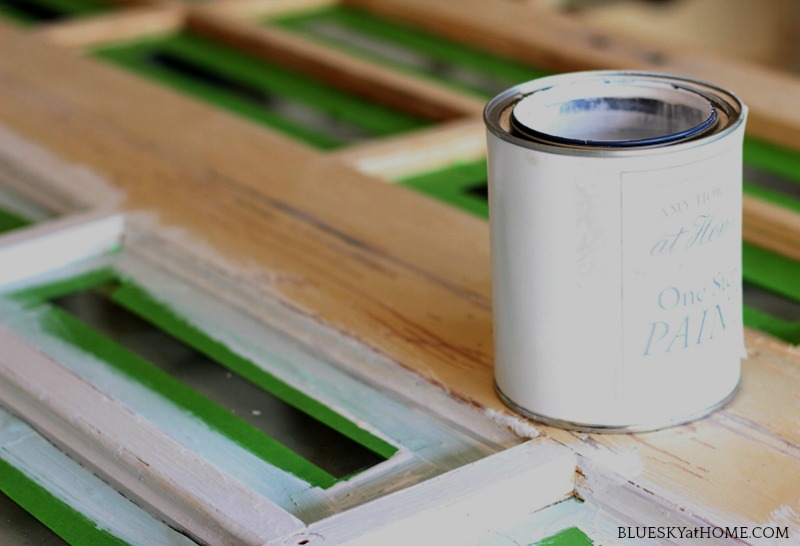
TIP: I found empty Frog Tape containers make great paint containers.
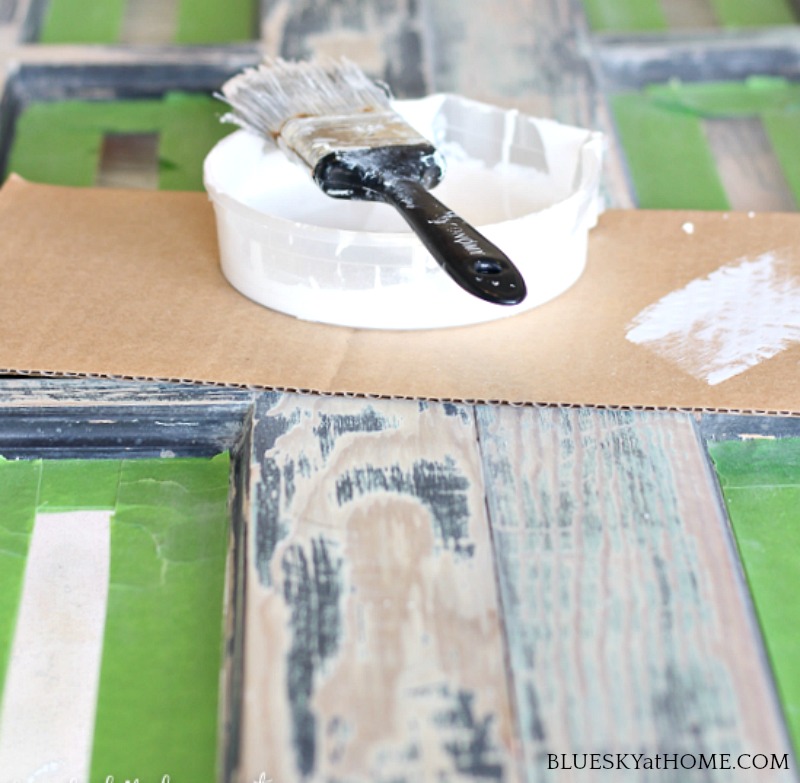
When you are through painting, put the lid on and the paint stays ready for the next painting session.
I love how the earlier coats of paint and the grain of the wood show through.
Waxing the French Door Barn Door
You don’t have to wax Amy’s One Step Paint, but I wanted to because it’s a door and would be in a high-traffic area. The laundry room opens to the butler’s pantry which leads from the garage to the kitchen.
I applied AHAH Light Antique Wax in a circular motion, using a lintfree rag to apply the wax. This wax goes on so easily because it’s in a liquid form, like softened butter. I also love the Mind Your Own Business Liquid Wax.
I only had to wait about 30 minutes for the wax to “set”, then I buffed the door with a buffing mitt. Another flip and I finished the second side.
The last step was to remove all the Frog Tape, which took a fraction of the time of putting it on.
I was so happy how the doors looked. That vision that I had when I first saw the French doors in Roundtop came true.
My part of the door project took about 2 weeks from start to finish because of the weather temperature in the garage. Since it was December, it was often too cold for me to work outside and I couldn’t paint when the temperature was below 50 degrees.
And, of course, it was also Christmastime.
Installing the Barn Door – the Oops.
Problem #1
Now I could hand the doors back to the workers for installation.
While I was doing my part, they had removed the old hinged door frame from the laundry room, built a new one and painted it.
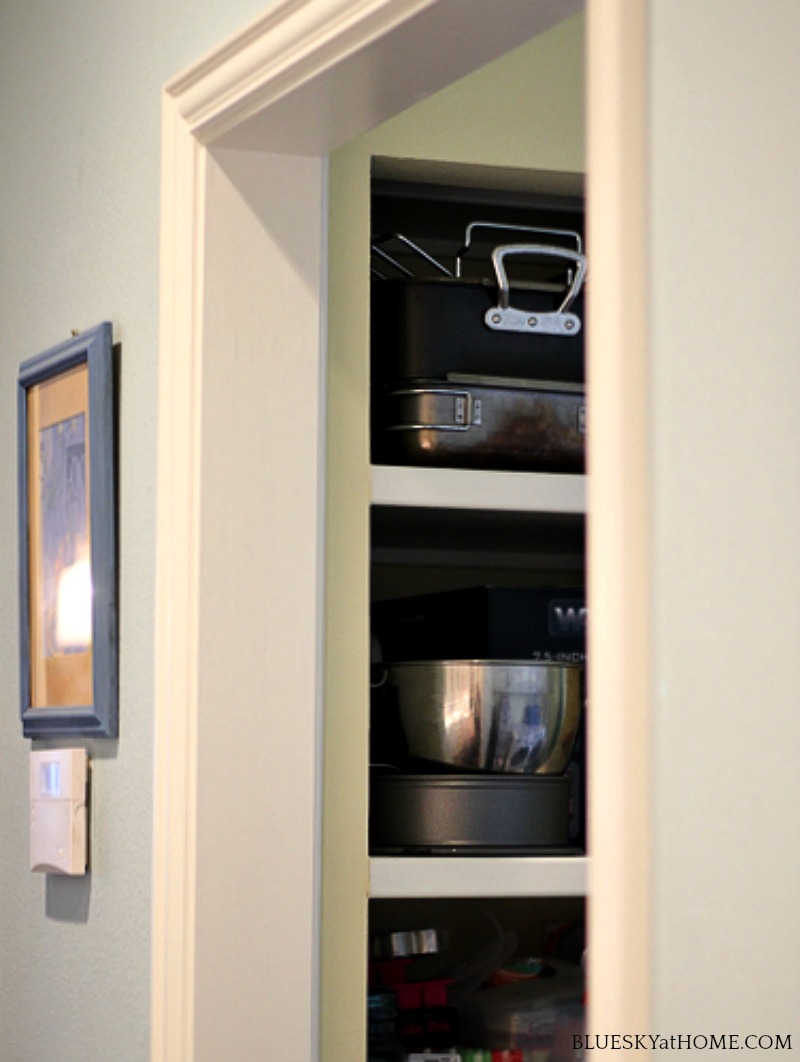
You can see the shelves in the laundry room where I keep extra cooking and baking equipment. That was hard to get to when the old door was there.
The barn door hardware had arrived and the workers were scheduled to come early the next morning. Sweet Shark and I decided to bring the door inside just to see how it would look in the space.
We set the door in the opening and immediately realized we had a problem. The opening was about 4 inches wider than the door. There would obviously be a huge gap when the door was installed. Yikes.
The next morning the carpenter and his assistant arrived and immediately saw the problem. (Didn’t someone measure the opening?)
The solution was to narrow the door opening by 4 inches. We just had to make sure that the opening allowed space for the washer and dryer to go through.
We needed a minimum clearance of 26 inches but actually got 29. The right side of the laundry room had the light switch so we added the 4 inches on the left side which worked better and hid the laundry room’s built-in shelves.
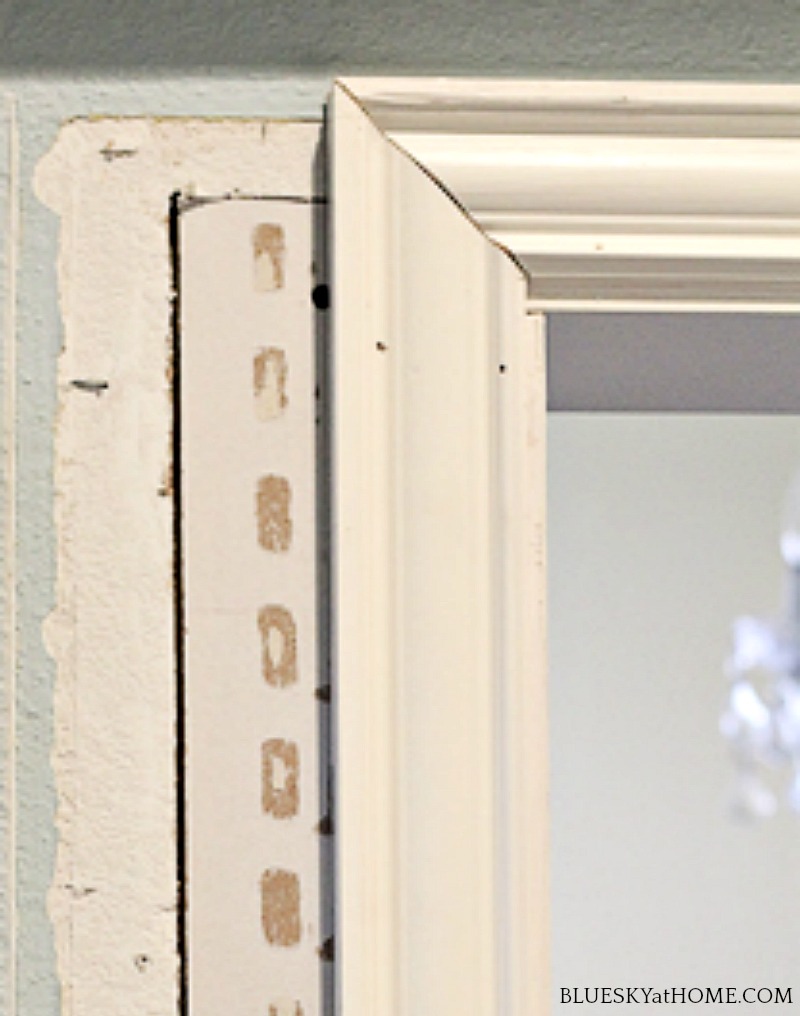
Once the old door frame was removed, they added a stud, sheetrock, and replaced the rebuilt door frame.
The painters would come another day to finish the extra 4 inches.
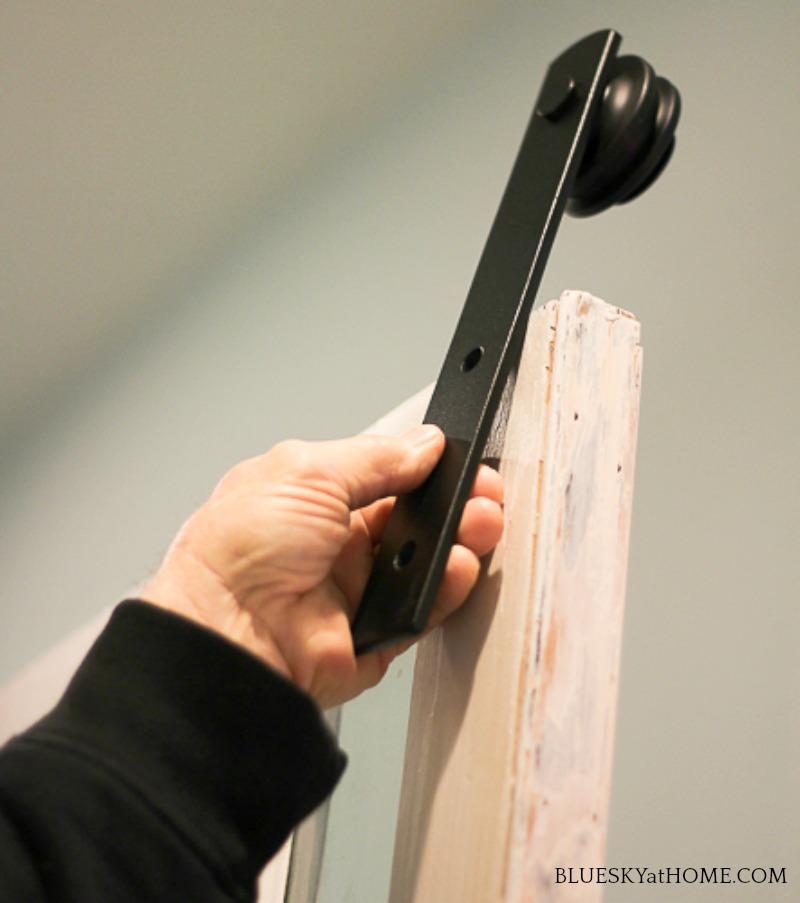
Hanging the Barn Door
Now they could install the barn door hardware and the door. They showed me how the height of the door can be adjusted as needed with the hardware. You need at least 1/8-inch clearance between the door and the floor.
TIP: measure your door opening and your door to make sure it covers the opening!
Problem #2
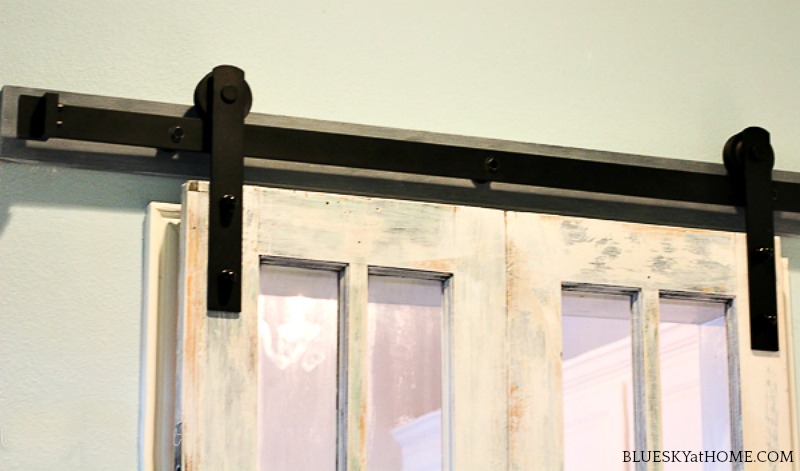
A few hours later, the door was up and I was ecstatic. It was beautiful.
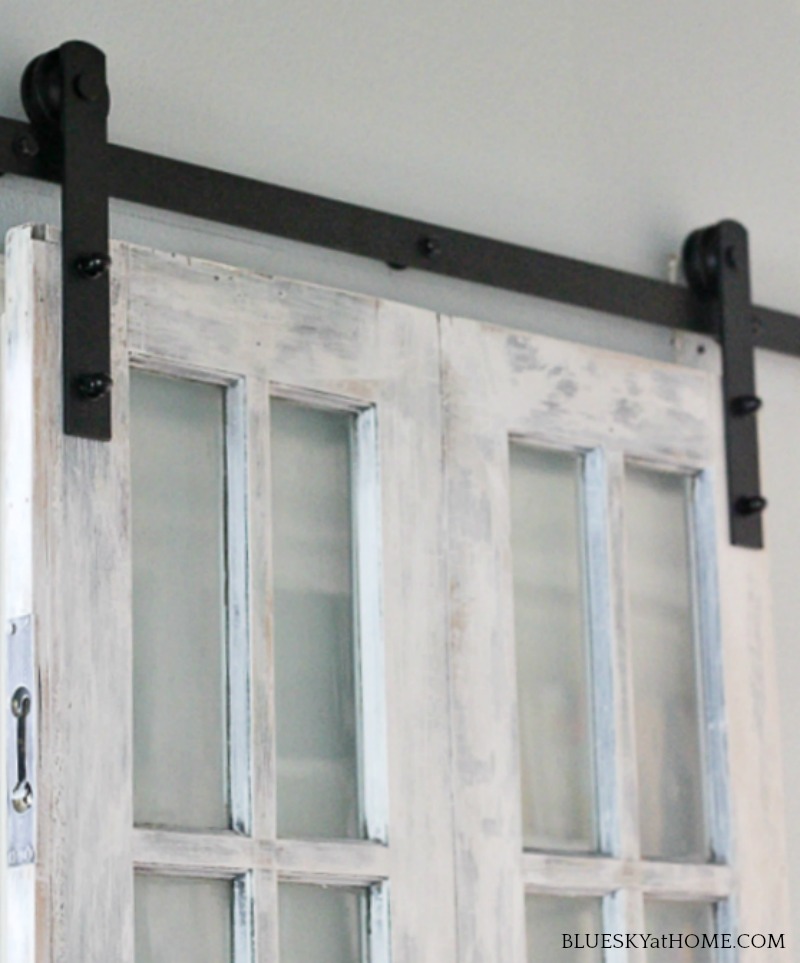
I loved the black hardware.
My excitement was quickly dashed when they showed me two new problems.
There was not enough clearance between the new door frame and the barn door. This meant that it wouldn’t slide unless you pulled the door away from the wall. About another 1/2 inch in clearance was needed.
Also, the barn door hardware wasn’t secure in the wall. All the hardware didn’t line up with the wall studs and would most likely pull away from the sheetrock.
Solution for both problems?
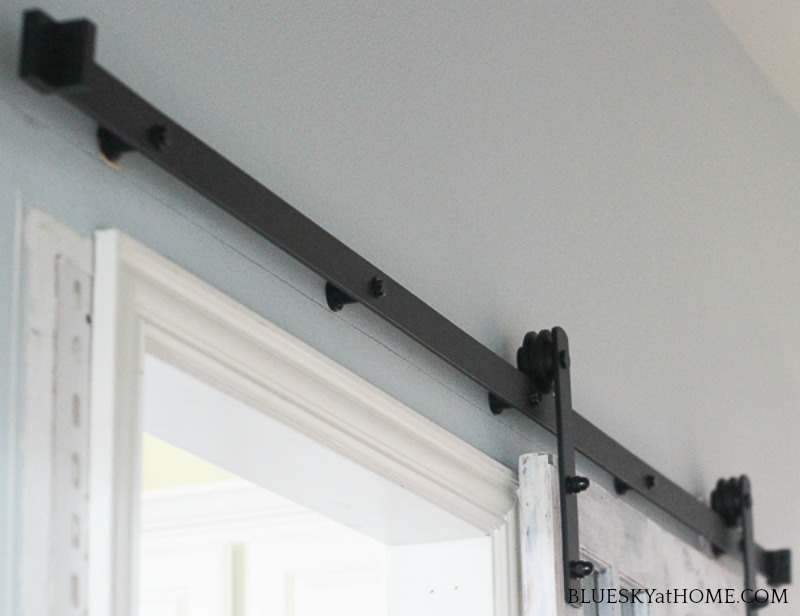
The hardware and door would be removed and they would mount a 1 X 4, 80 inches long on the wall. This would give us the additional clearance we needed and provide the necessary support for the door hardware.
I said that I would get the board and paint it and be ready the following week when they returned to finish the job.
TIP: Make sure you have clearance between the door frame and the door before installing the hardware and check your studs for support.
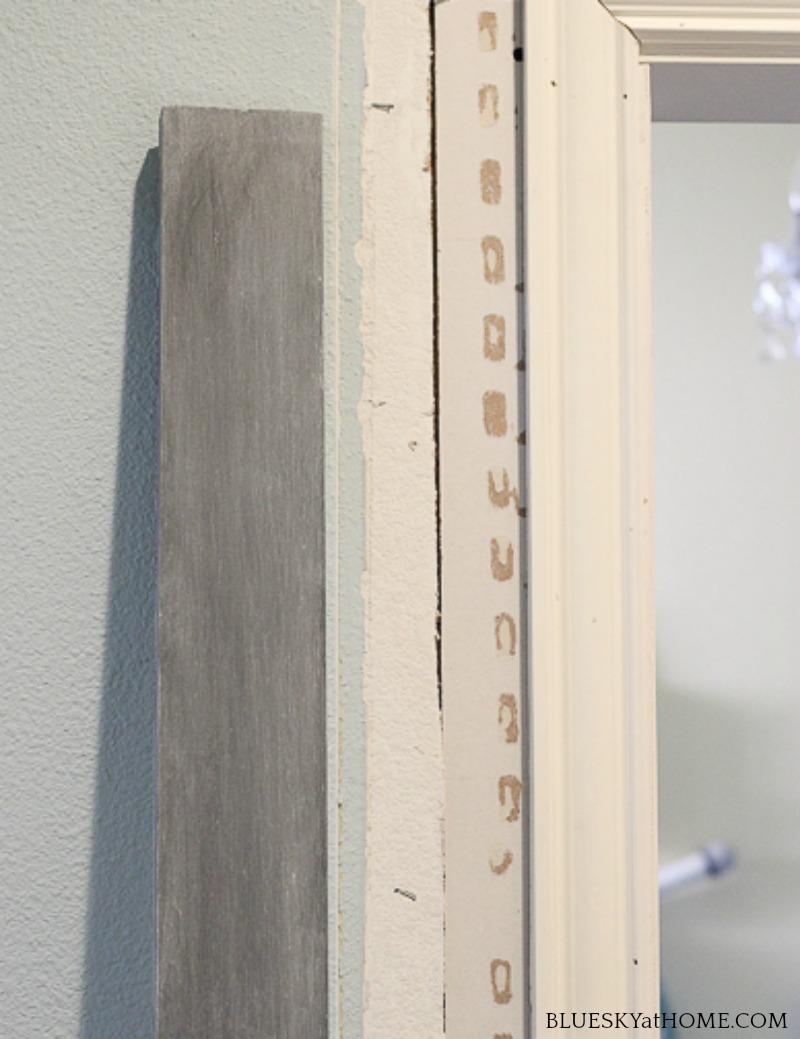
Painting the 1 X 4 Wood Support
I bought the pinewood at Lowe’s and had them cut the length to 80 inches.
Now to the painting.
Since the hardware is black, I painted the wood with some black chalk paint I already had. Then I applied Cerusing Wax to give the wood a bit of lightness, character, and depth. It was just perfect and took so little time. The addition of the Cerusing Wax gave the wood the right amount of weathered look. Now I just had to wait for the workers to return to finish the job.
Problem #3 Becomes a Win~Win
When we realized that 4 new inches of wall would have to be painted on the butler’s pantry side, I wasn’t worried; we had plenty of paint left from the original remodel. But the paint color in the laundry room was a different matter.
The laundry room is the only room in the house that didn’t follow our pale blue and green color scheme (I’m not counting my new office.). During the remodel, I decided to go completely out of character and use yellow. The problem was every yellow was too bright and the painters ended up mixing paint to make it lighter and I was just never happy with it.
And the “problem”? We had none of that paint. Nada. Zero. Was I upset? NO! I was thrilled. It meant I could repaint the laundry room and get rid of the yellow. A problem turned into a win~win. New paint color means a bit of a laundry room update ~ that story is for another day.
Finally, the Barn Door is Finished
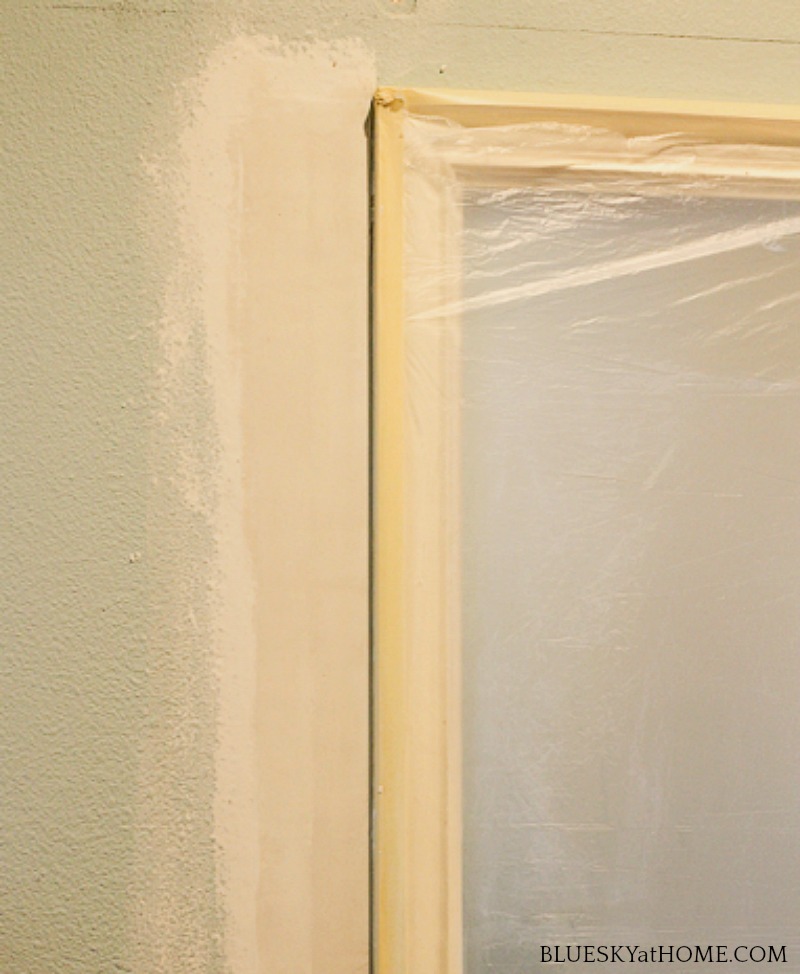
The next week the workers returned. The additional 4 inches of wall was completed.
- removed the door and hardware,
- textured and painted the butler’s pantry wall
- mounted my pretty backboard
- remounted the hardware and attached the barn door on top.
My flea market French doors are now the barn door that I first envisioned when I saw it at Roundtop. Here is what I gained:
- The hardware mounted on the wood board has more character and farmhouse feel. It creates a nice contrast against the black metal hardware.
- The laundry room is so much easier to navigate
- The butler’s pantry gets more light
- I got a new paint color in the laundry room to boot.
- The barn door usually stays open for Layla and can’t close behind her.
- The barn door slides so easily with just a touch of your finger.
Thanks for sticking around for the big reveal. It actually wasn’t hard to figure how to transform French doors into a barn door and it wasn’t hard to complete the job, even with the few hiccups we had.
I hope this barn door project inspires you. If you want a barn door for your home, look at old doors as possibilities.
If a project like this is in your future I have three pieces of advice:
- Measure your opening.
- Measure your door clearance.
- Make sure your wall will support the barn door hardware.
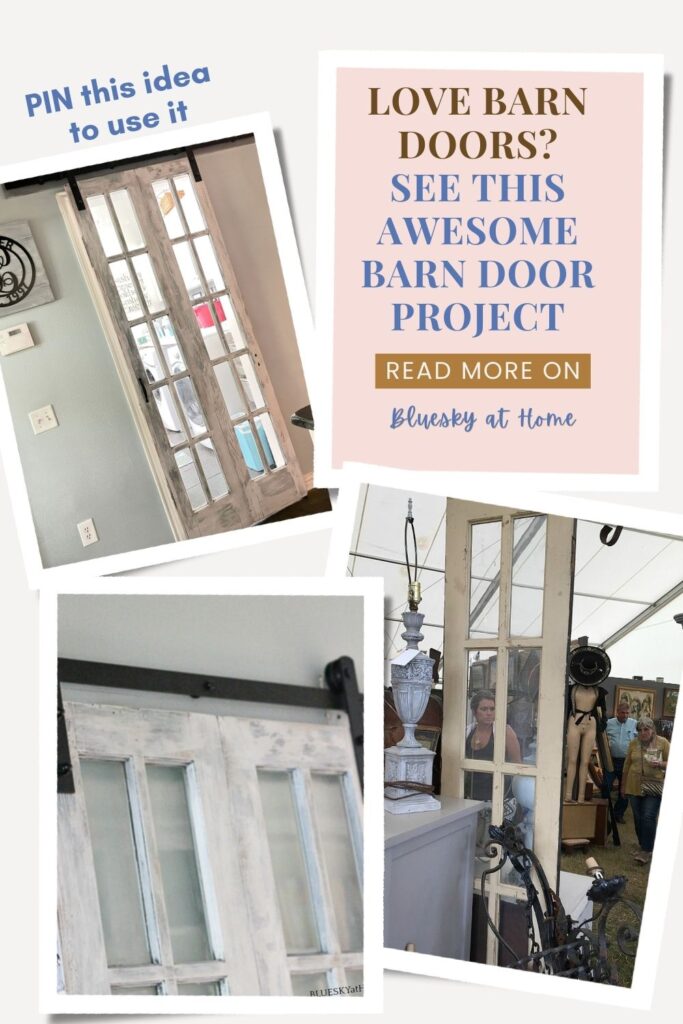
The next project is to finish the laundry room. The projects never end. Yeah!! Pin this project for your own inspiration and to remember the things to not do! Check out my DIY Projects Pinterest Board.


Great idea and fantastic job! Love it and pinned. And you’ll be one of my features over on Farmhouse Friday! Thanks for linking up!
Thank you, sweet friend.
These are so pretty! I just love barn doors, they are so practical! If you have time I would love if you would join us at our new link party, Embracing Home and Family on Fridays https://theeverydayfarmhouse.com/embracing-home-and-family-link-party-4/
Thank you so much, Jennifer. I will definitely visit and link. Thank you for the invitation.
I really love this style of door, they are gorgeous.
I love it Carol. We installed our first set of barn doors ten years ago and love them. We have since added several. Yes, we added a “header” board to give the depth needed to close the doors. Great tutorial! I read the entire post! Your tips will solve alot of headaches… you are paying it forward!
When is round top usually? I had a never that rented a small uhaul trailer and had a blast! I want to go! laura
Roundtrip normally starts in late March and goes for two week, then again in late September.
HI Charlotte. Sorry for getting back to you so late. I’ve only been to Roundtop in September. Hope to go in the spring one day.
WOW! I love this! I’m a huge fan of both pocket doors and barn doors so this is right up my alley! Very ingenious. Glad it all worked out:) Thanks for sharing at Vintage Charm! xo Kathleen Charm Bracelet Diva {At Home}
Don’t you love pocket doors! We don’t have any other place in our home for one. Barn doors are the new pocket doors ~ easier installation, less expensive and more character.