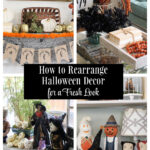
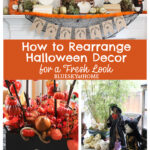
How to Rearrange Halloween Decorations for a Fresh Look Every Year
Tired of your Halloween decorations looking the same year after year? You don’t need to spend money on new decor to create a completely different atmosphere. The secret is learning how to rearrange Halloween decorations you already own to give your home a fresh, exciting look each season.
Before you head to the store for more plastic pumpkins and spooky signs, consider this: the decorations gathering dust in your storage bins have untapped potential. By simply rearranging, repositioning, and reimagining what you already have, you can create an entirely new Halloween experience.
Not only will you save money, but you’ll also avoid the hassle of finding storage space for even more seasonal items. Let me show you exactly how to breathe new life into your existing Halloween collection.
I don’t know about you, but I don’t like to spend money if I don’t have to. It’s not just about the money. It’s also about storing all this stuff. That’s why I repurpose and rearrange both home decor and seasonal decorations.
Are you with me on this?
If your home is already decorated for fall, you don’t want to take all your fall decorations down and start over for Halloween or Thanksgiving.
Your fall decorations can be the basis for Halloween or Thanksgiving decorations in a few weeks. All you have to do is rearrange your Halloween decor for a new look.
Adding your Halloween decor to your fall decorations and rearranging those witches and scarecrows from last year will give your Halloween decor a fresh look.
How to Rearrange Halloween Decor for a Fresh Look
This post contains affiliate links to products used to create this project. If you should order any item from this site, I may receive compensation, but you do not pay a penny more. Your purchase is greatly appreciated as it helps support the continued publication of this site.
To see how I’ve transformed last year’s fall decor into Halloween decor, you can take a look at last year’s Halloween decorations.
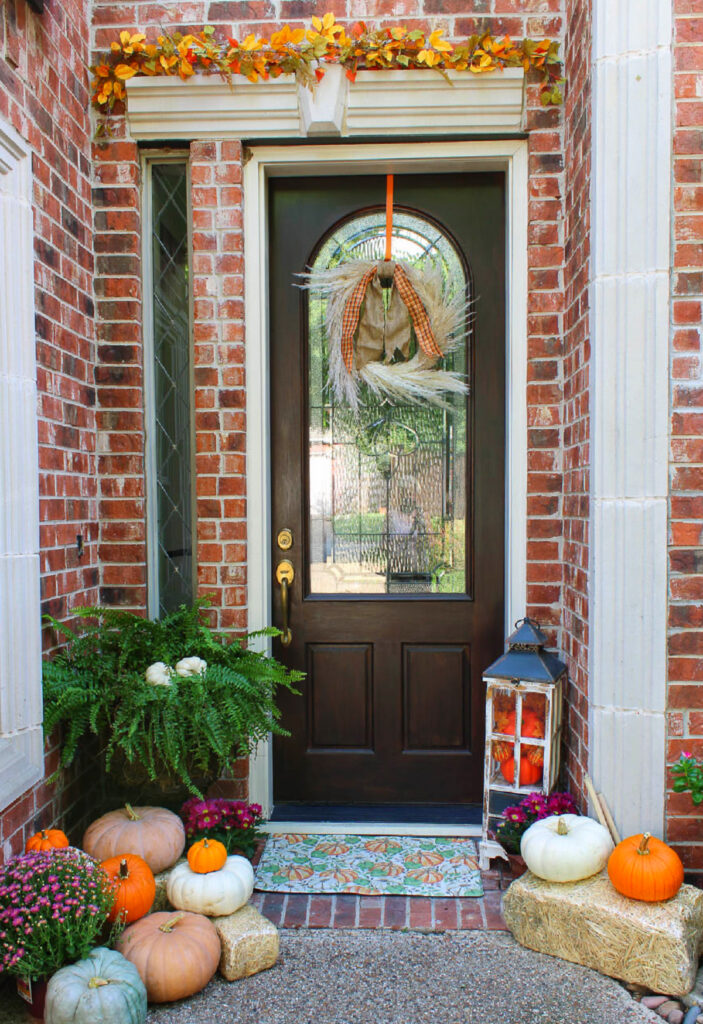
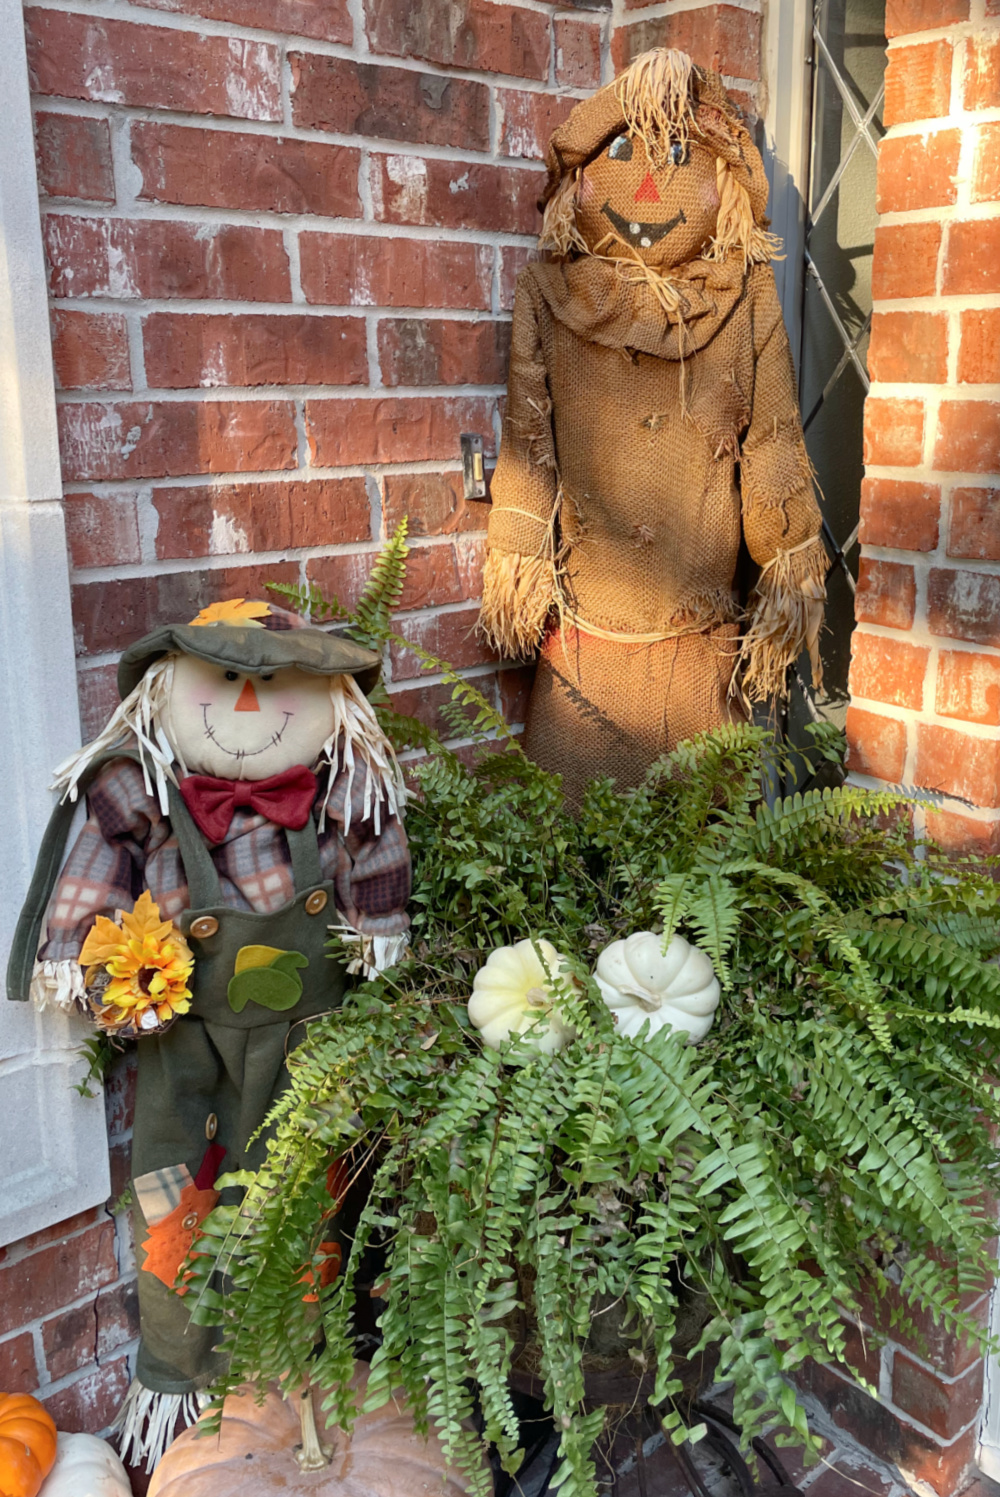
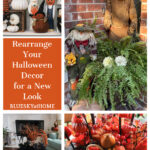
Let’s Start at the Front Door
My front door hanger that I made a couple of years ago for fall is still in great shape so it is staying for one more year.

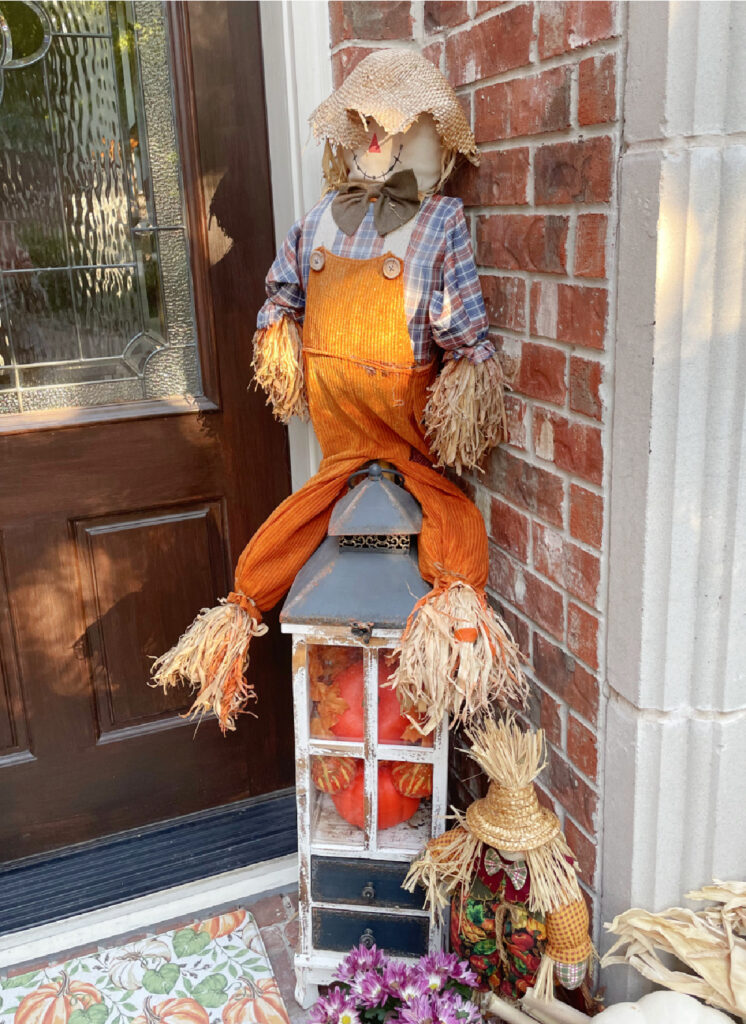
I can’t imagine Halloween and later Thanksgiving without our 2 scarecrows. Last year I used twice as many pumpkins in 3 different colors and a few mums to fill in.
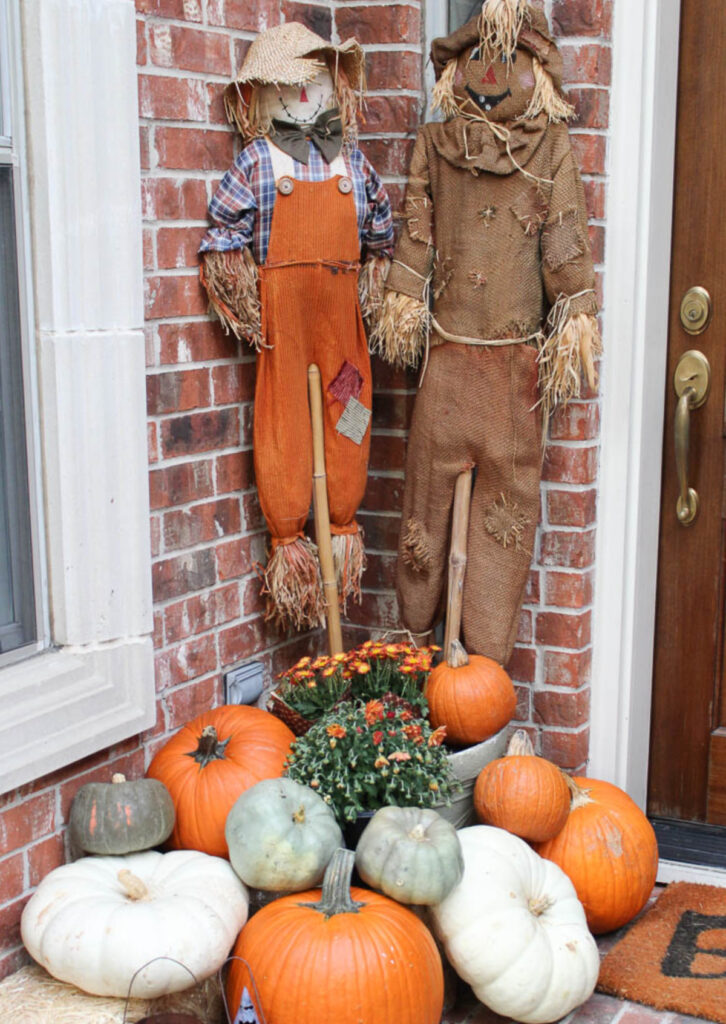
This year, all I did for the first week of October is add scarecrows to the small fall front porch that I created last week.
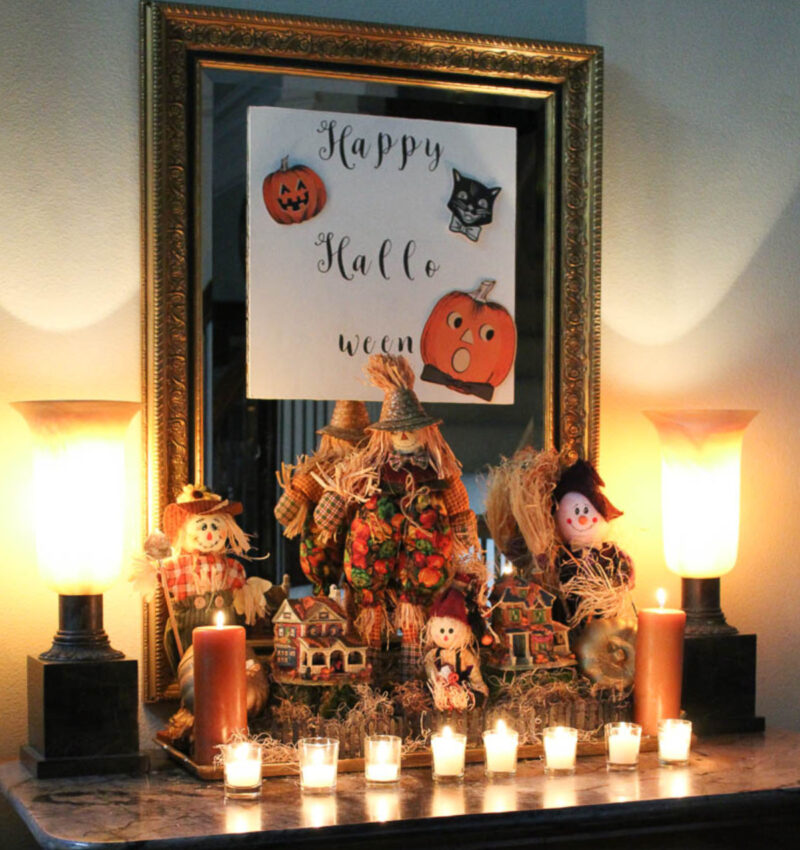
The Entry
I gathered scarecrows, pumpkins and haunted houses together for this Halloween vignette to greet guests.

Rather than a wreath on the mirror that year, I made a sign with paint and a script stencil.
In previous years, the pumpkin and cat paper cutouts were attached to pinwheel fans hung from our breakfast room chandelier. I used super sticky 3M tape to attach the sign directly to the mirror.
In the evening, our torchieres and lit candles add a magical glow.
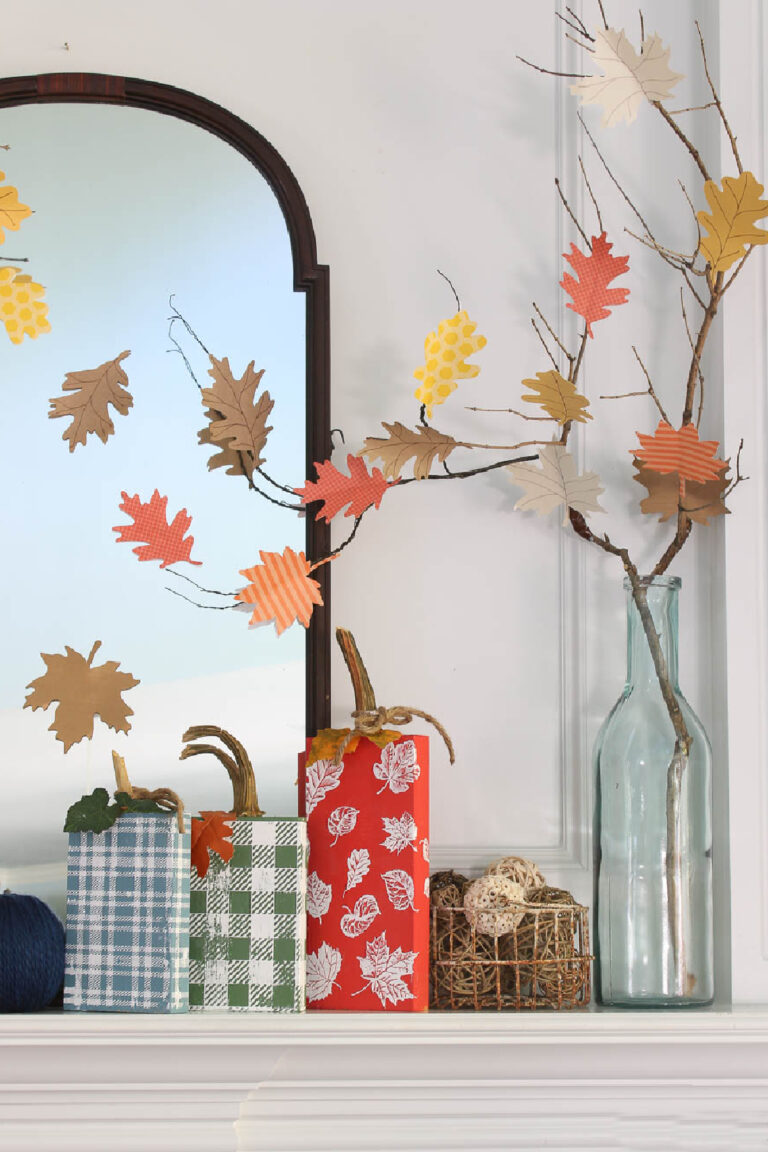
The Mantel
As I’ve mentioned before, the mantle is a natural focal point in any room. I didn’t take anything away from our fall mantle decorations.
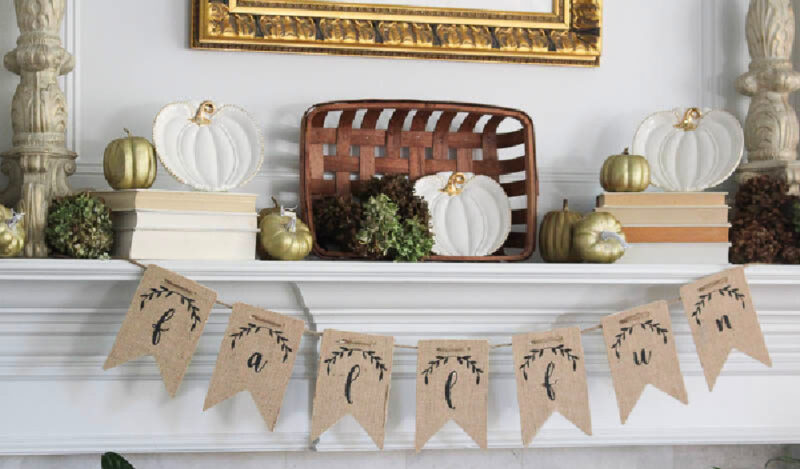
Adding Halloween decor to the existing fall decorations was easy.
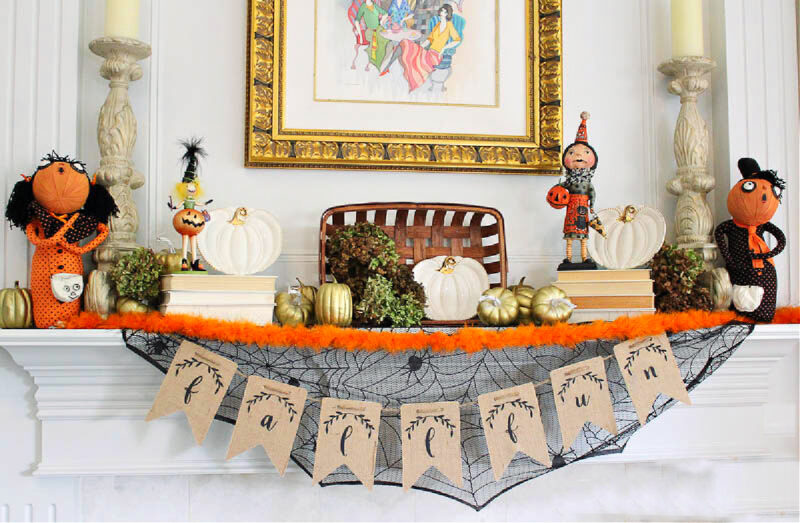
Under the Fall Fun sign that I made with wood, burlap and stencils, I added a black “web~looking” fabric that is an oldie, but goodie. A garland of orange fuzzy balls adds the pop of orange.
On the stacked books with my white and gold pumpkin plates, I added a few of our small witches.


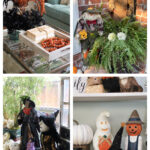
The Coffee Table
Another big focal point, the coffee table got a little switcheroo. Out came the cotton stems from the glass vase.
In their place, I inserted black and orange faux decor of beads and sparkling orange and black twigs surrounded by a black shiny garland.

In my grey-painted tray, I removed my grid of 9 pumpkins and just threw in a garland of glittery orange beads.
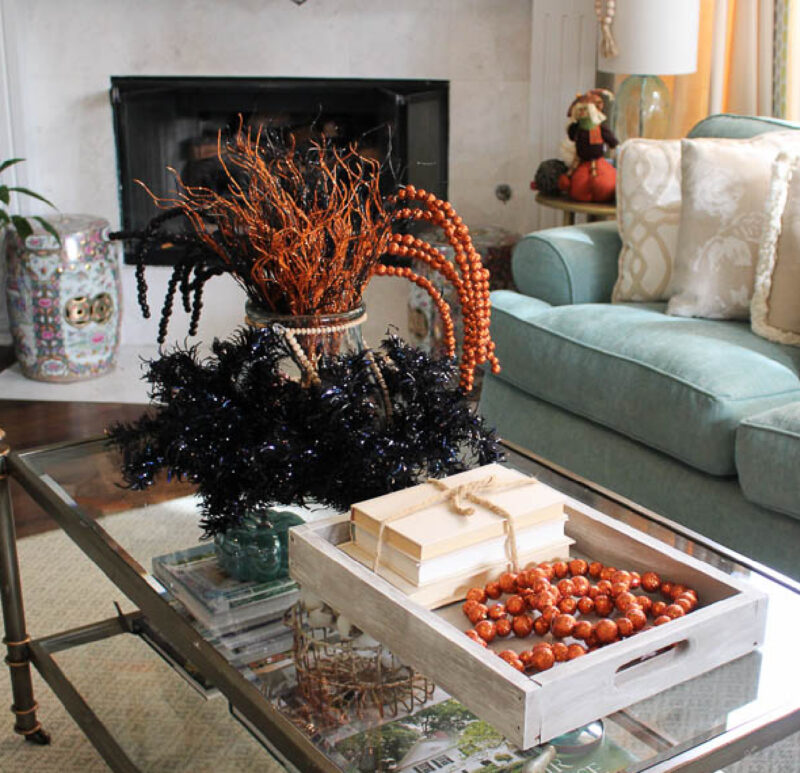
That was really easy and quick.
A side table gets a Halloween creature.

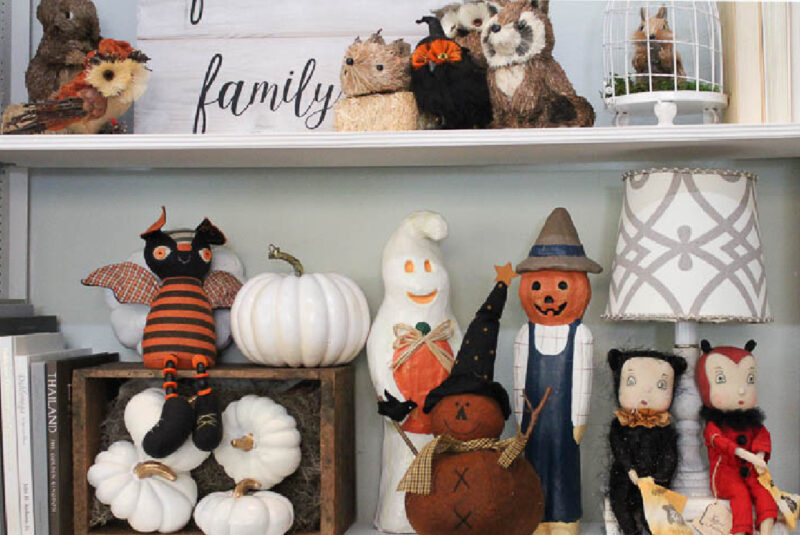
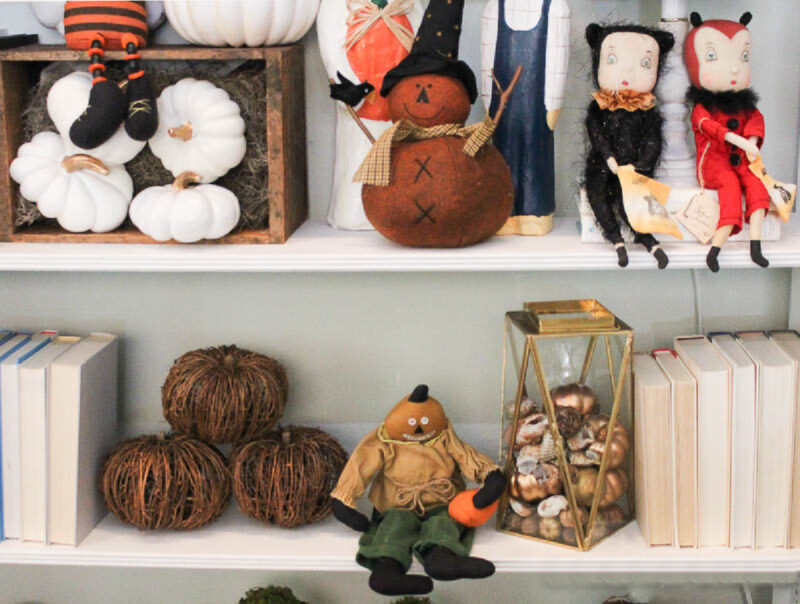
The Bookcase
For fall, I filled the shelves with twig pumpkins and natural woodland creatures. For Halloween decor, I added our one Halloween bird to the mix.


On the next shelf, I removed our turquoise birds and added more of our collection of witches and scarecrows. Old decor, but new arrangement and placement.
I actually really like how tight and full the shelf looks. Like a Halloween party crowd.
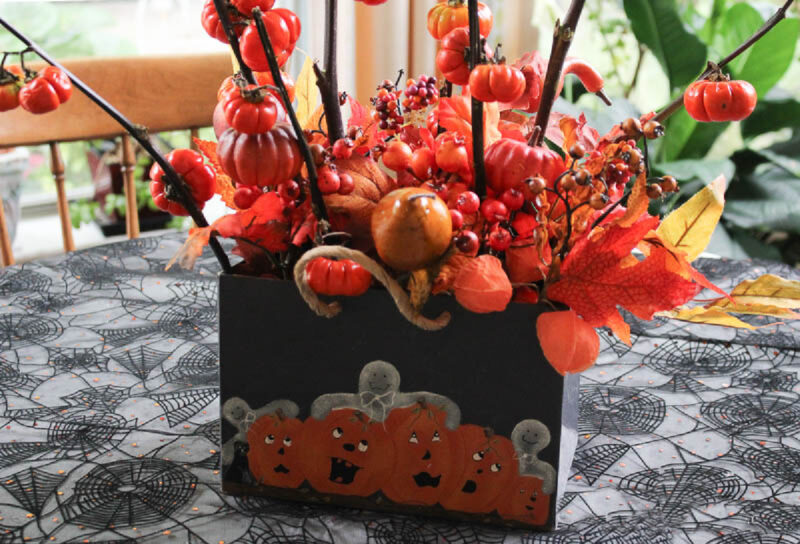
The Breakfast Room
The breakfast room table is covered in a black piece of fabric ~ no hemming or sewing ~ with spider webs. For a centerpiece, I used a trick-or-treat box that belonged to the kids years ago.
I first filled it with a piece of florist foam and stuck in what looks like pumpkins on a stick ~ real plants from Trader Joe’s. To that, I added pieces of faux fall foliage that we’ve had for a long time.
TIP: keep all your decorations in clear plastic containers. They will stay dust~free, last longer than in cardboard boxes and you can see what’s inside.
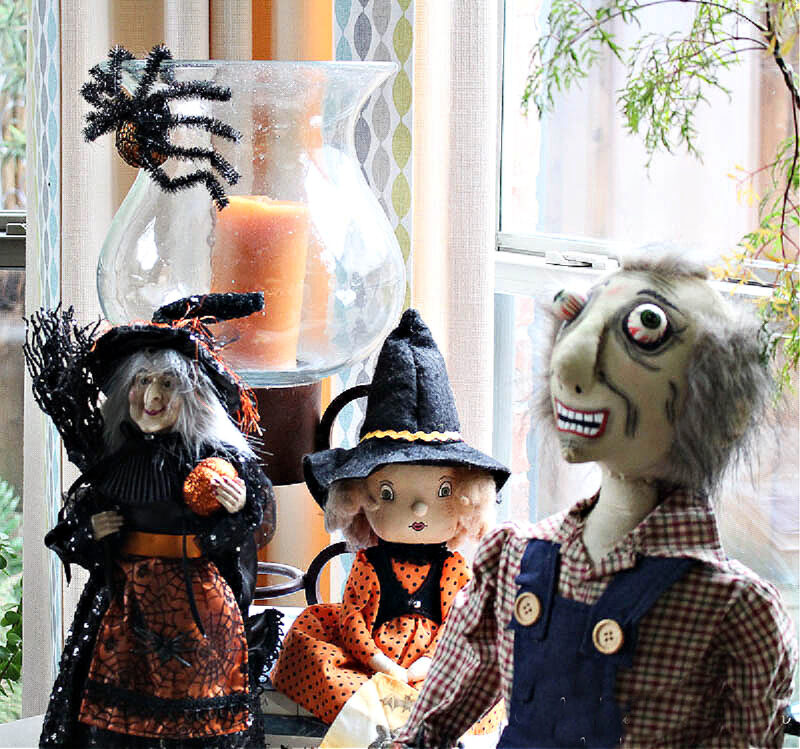
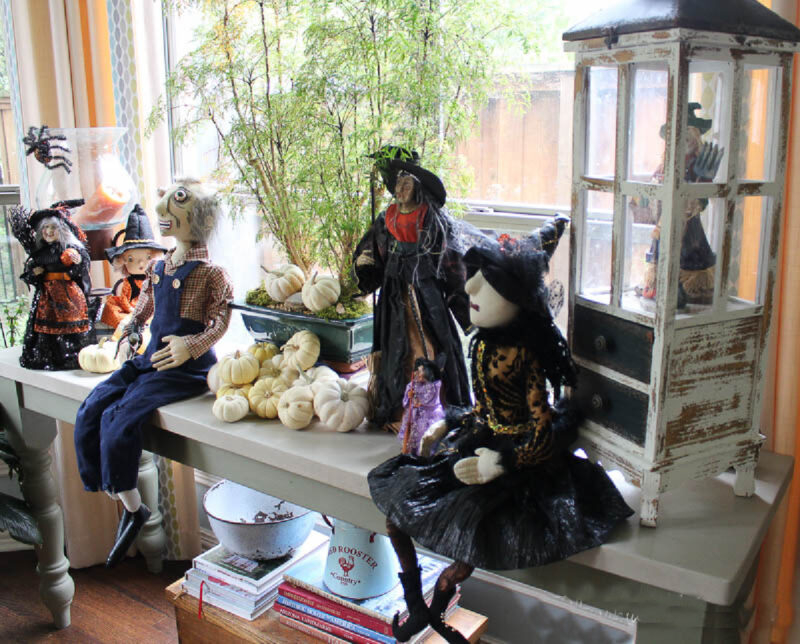
Console Table with Rearranged Halloween Decorations
The console table in front of our breakfast room windows became the stage for more witches of different sizes along with crazy Homer.
For many years, we collected them from different travels. We haven’t bought one in a few years ~ I don’t know where we would put another one.
The white mini-pumpkins that were on the coffee table tray found a new place in front of the witches.
You may recognize the tall white lantern on the right. It’s now on our front porch. Don’t you love accessories that you can move around to different places in your home?
This little easel, a freebie from Haven a few years ago, became a little Halloween message board using the typewriter font stencil and ChalkArt in Metallic Gold from A Maker’s Studio.
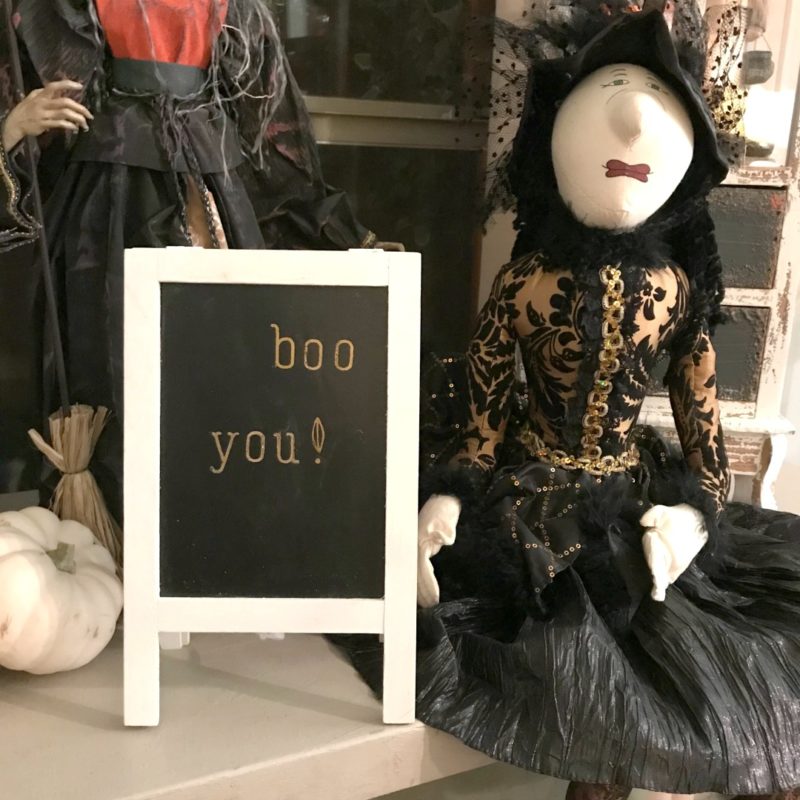
I love our spider. She’s really natural looking and she has been seen in a different place every year.
That’s how you can rearrange Halloween decor for this year.
Adding the Halloween decor to the already existing fall decor made the job so quick and easy. Layering in the Halloween decorations and just switching out a few items made the job a breeze.
Hope you’ve enjoyed my little Halloween from year-to-year for an updated look.
The only new items I purchased were the pumpkins in different sizes and colors and the mums. The Halloween decor has an all-new feel. We have another few weeks to enjoy our ghosts and goblins.
Please PIN this rearranging Halloween idea.


You go all out for Halloween, don’t you?! I would have never guessed! Super fun!
All great ideas Carol! I am so jealous of all of your beautiful Halloween decor! It’s gorgeous!
Christina, thank you for visiting. Sometimes I think we have too much and then I buy one more thing!
I like all your Fall/Halloween touches and how you arrange them throughout your home. Looks great! Love all those pumpkins arranged on your porch!!
Debbie, what a wonderful time of year to share our homes and ideas.
You have so much adorable Halloween decor!!