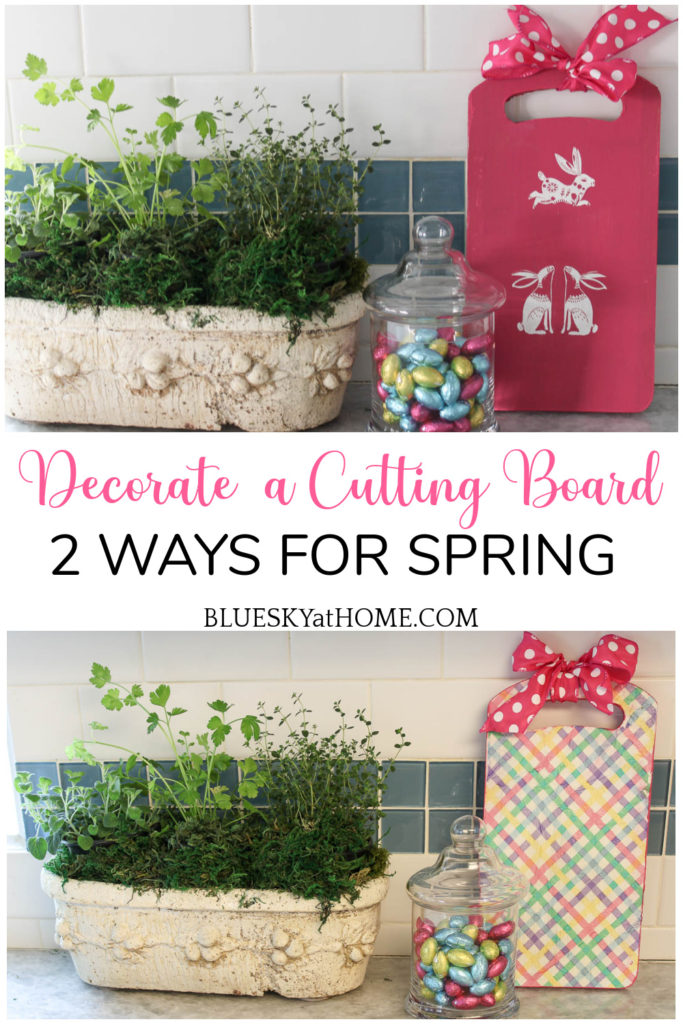
Two Ways to Decorate a Cutting Board for Spring
Cutting boards are fun items to keep in your kitchen. Not just for dicing and slicing. They can be lovely decorative items, too. Let me show you two ways to decorate a cutting board for spring.
Inexpensive cutting boards are available that are perfect for DIY projects. I have two different DIY projects to decorate a cutting board for spring or any occasion.
The great thing about cutting boards? They have two sides ~ which means you can decorate a cutting board in two ways. That’s like getting two decorative items for the price of one.
One cutting board ~ two projects. You can’t beat that.
You can decorate cutting boards for any season. Since we are into spring and Easter, that is the theme for my cutting board DIY project.

Two Ways to Decorate a Cutting Board for Spring
In addition to the cutting boards that we use in the kitchen for cooking preparation, I have two vintage cutting boards that I bought in Atlanta a few years ago.
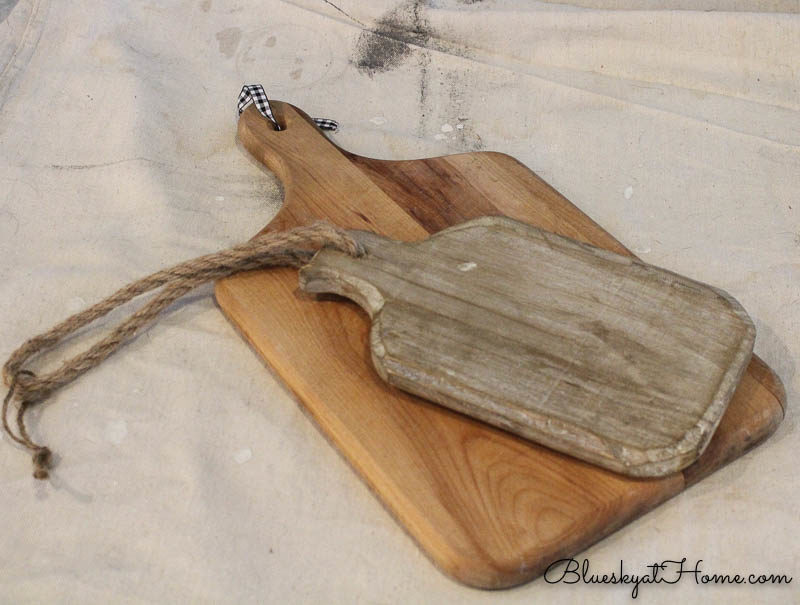
I love to add seasonal designs to them. Since I don’t want to permanently alter the vintage cutting boards, those projects have to be ones that are temporary.
This new cutting board DIY project was inspired by one I saw online. I’m sorry I didn’t save it. The creator used a wood cutting board from the dollar store. What a great idea.
I went straight to my local Dollar Tree, but, unfortunately, they didn’t have any wood cutting boards. I did find a bunch of other things that I thought would be good for spring and Easter projects.
I thought my vision for a spring/Easter cutting board project was over.
Until I got home.
Wood Cutting Board that is Better than Dollar Tree
What could be better than a $1.00 wood-cutting board from Dollar Tree?
A free cutting board.
When I returned home from Dollar Tree, I remembered that Sweet Shark had received a Christmas gift box from one of his clients. Inside were three sets of goodies for a charcuterie board. Each contained salami, cheese, crackers, and mustard. And guess what all these goodies were on?
A cutting board. In fact, there were two cutting boards.
We don’t need any more cutting boards to use in the kitchen. But guess who is confiscating them for decorative projects?
Each board has a nice “cut~out” for a handle or twine or ribbon. Perfect. And they are free!
Cutting Board Project – Decoupage
I decided to use one cutting board and decorate both sides. One side would have a spring theme and the other side would have an Easter theme.
Following the original inspiration of the cutting board I saw online, I would decoupage it with spring colors.
Supplies for the Decoupage Spring Cutting Board:
- A wood cutting board that you do not want to use in the kitchen
- Chalk or Acrylic paint
- Paintbrush for the paint
- Mod Podge in Matte or Gloss
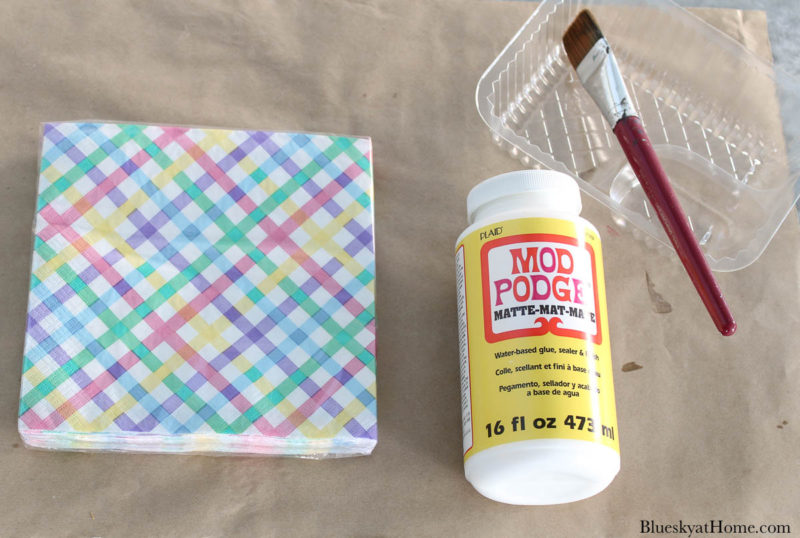
- Paintbrush or foam brush for the Mod Podge
- Pencil and scissors
- Napkin in spring motif
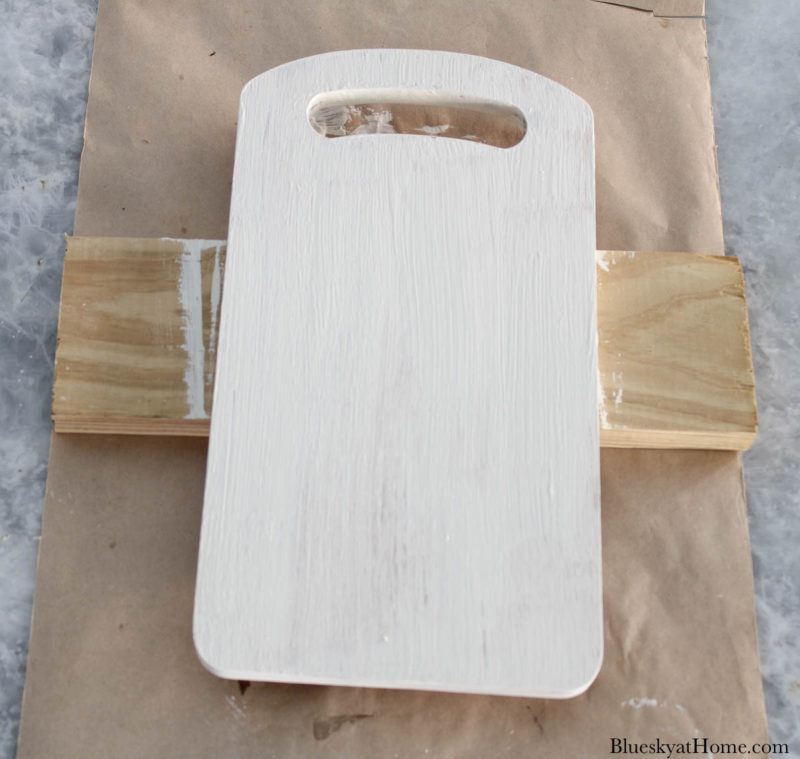
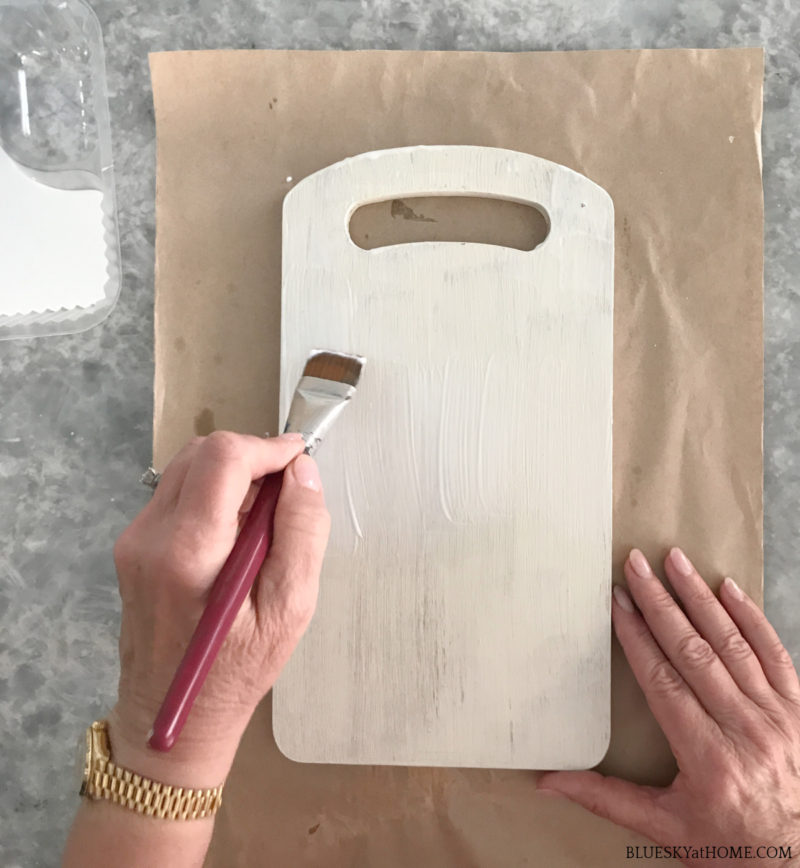
Step 1 – Paint the cutting board with your paint of choice. I used Rescue Restore Paint from A Makers’ Studio in Biscuits and Gravy. Allow it to dry completely.
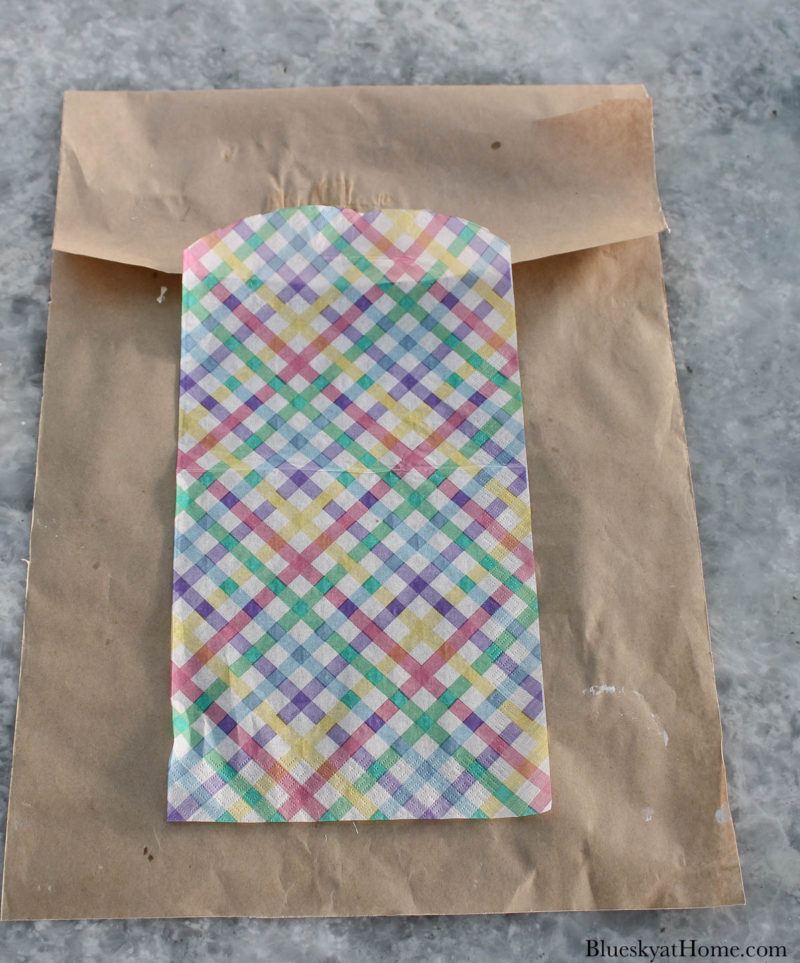
One of the items I found on my trip to Dollar Tree were these pastel design napkins, just right for a spring design.
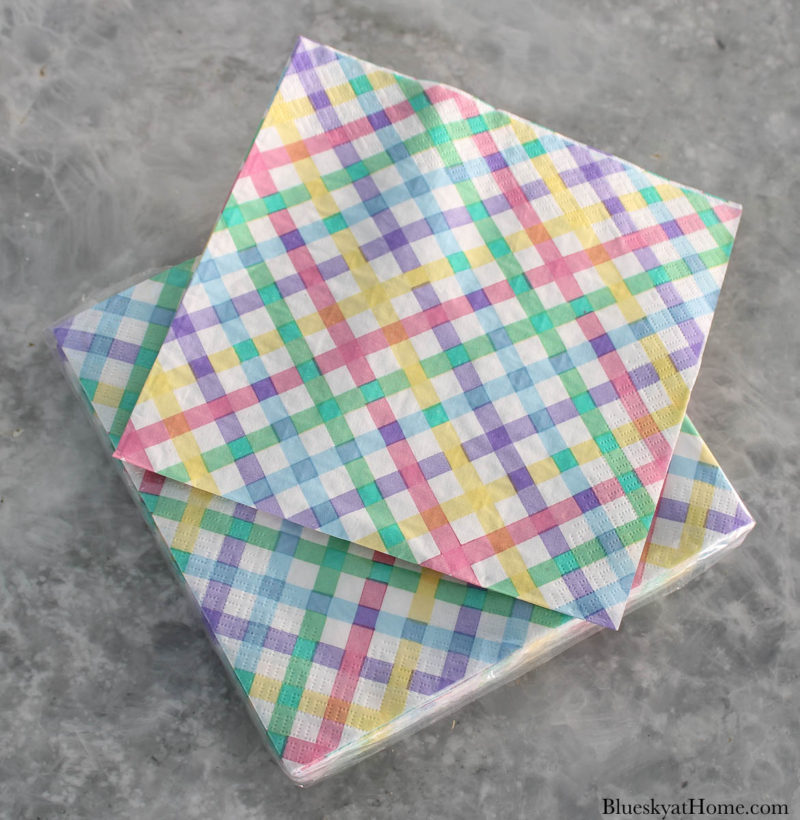
When I opened the napkin, I discovered that the design only covered half of the napkin.
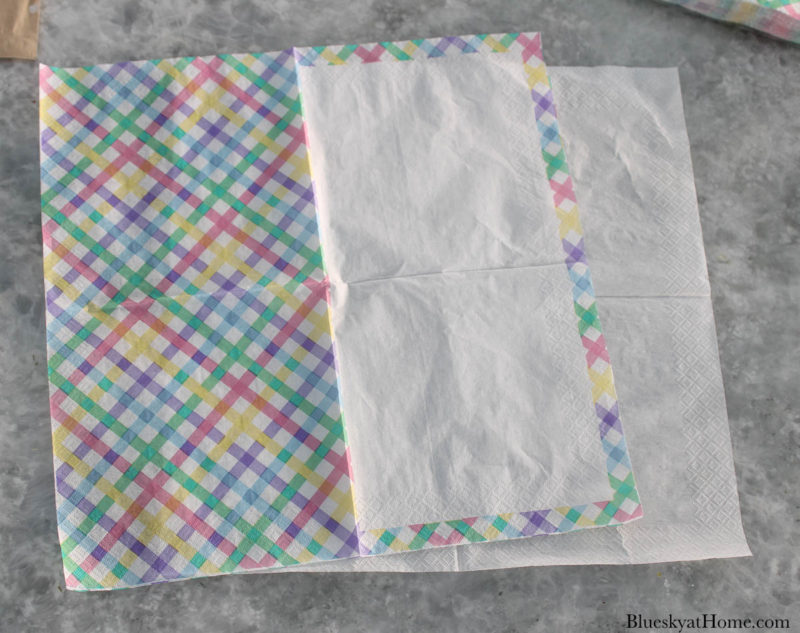
Fortunately, half of the napkin fit the width of the cutting board perfectly. I cut the napkin in half and threw away the blank side
Step 2 – Separate the front (top) layer of the napkin from the other layers. Napkins are either two or three layers. Gently pull the layers apart.
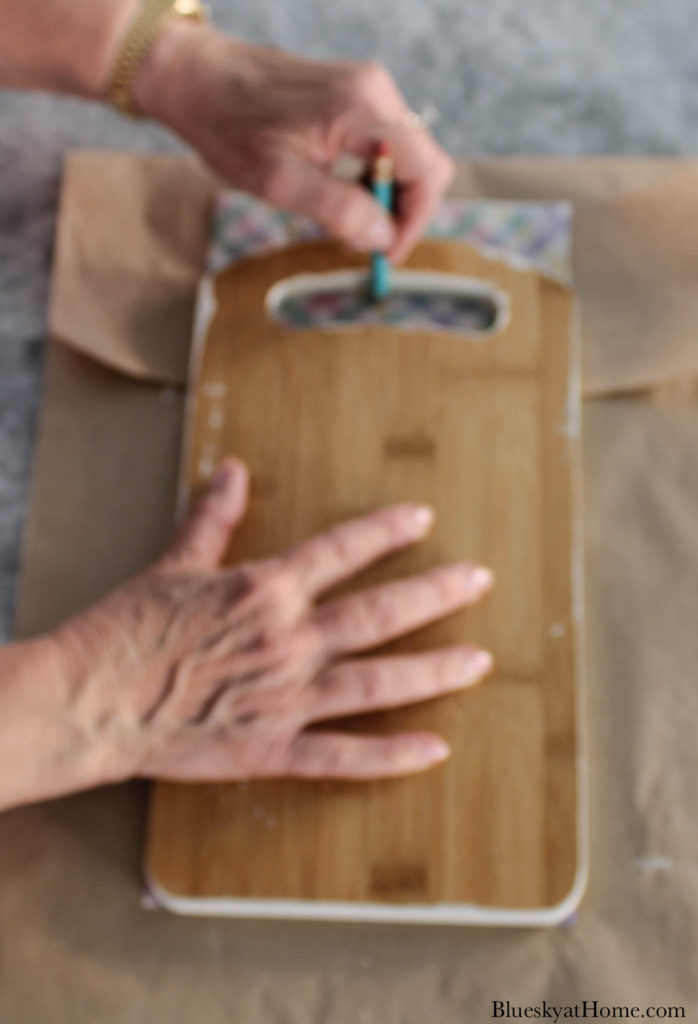
Step 3 – Using the cutting board as a pattern, trace around with a pencil.
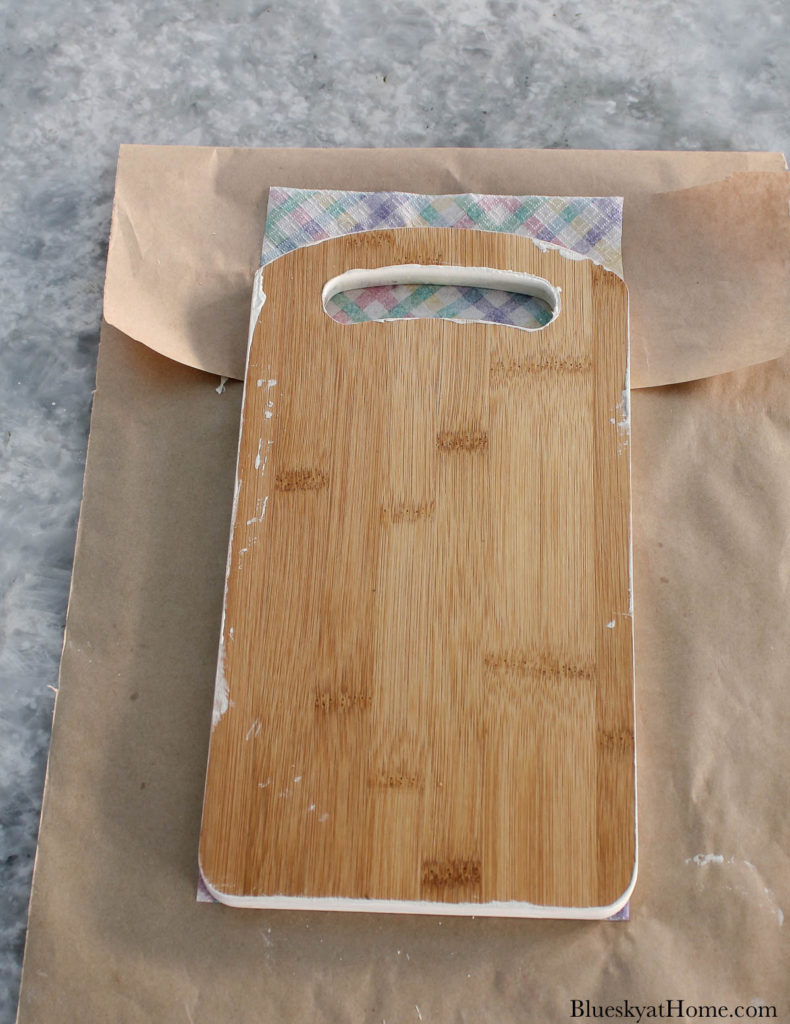
Sorry – this image is really blurry.
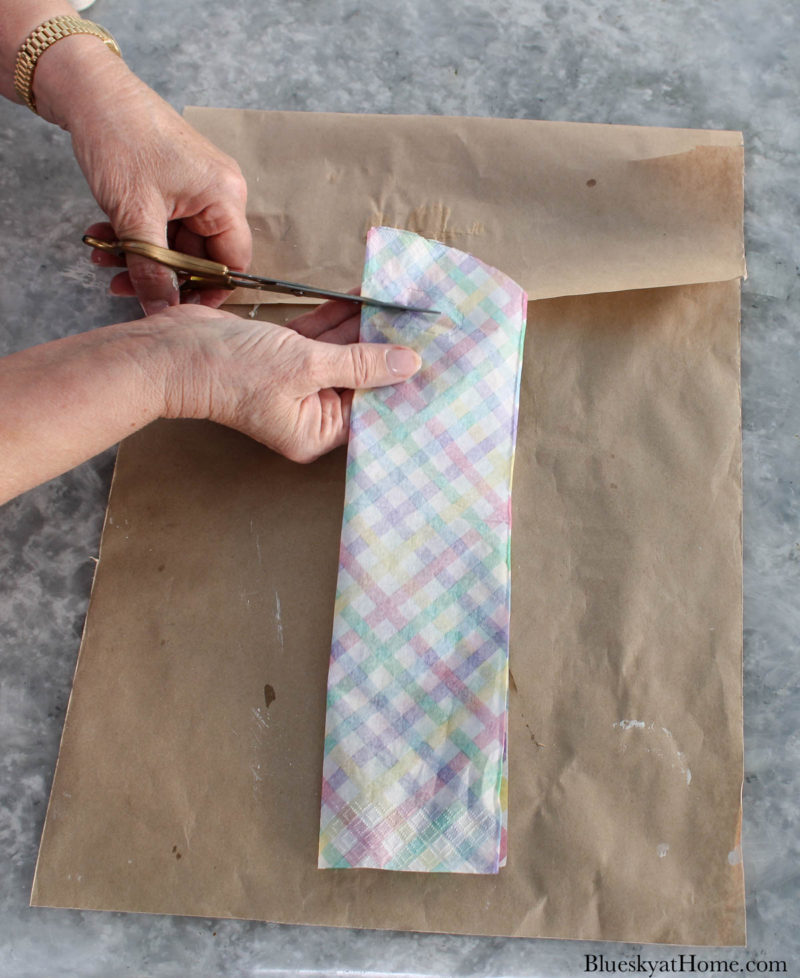
Step 4 – Cut out the napkin pattern to fit your cutting board.
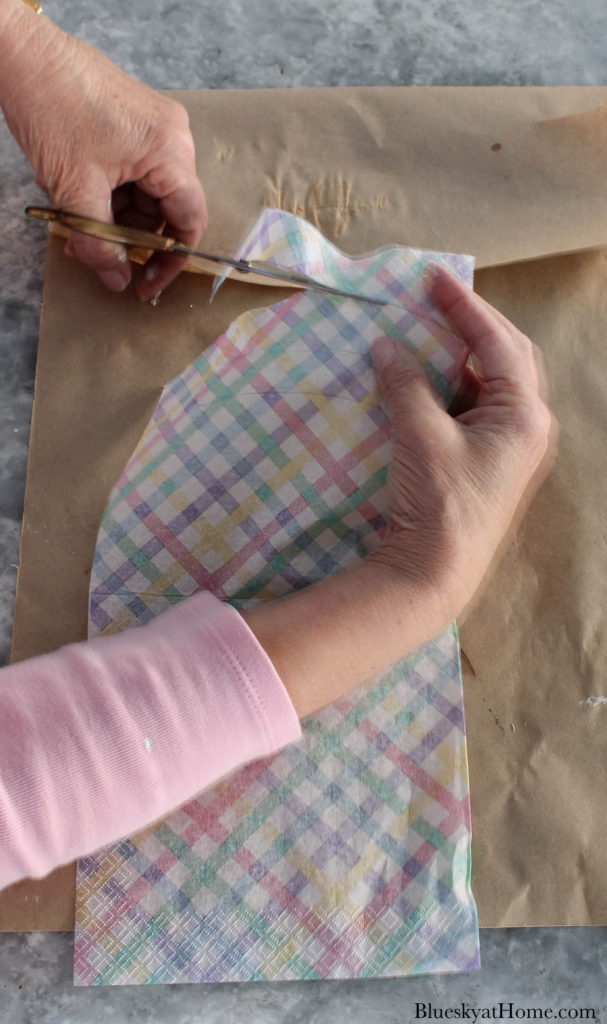
Cut away any extra trim and space for the handle. Folding the napkin in half made cutting the napkin very easy.
Step 5 ~ Use a Mod Podge brush or foam brush to apply the Mod Podge to the cutting board.
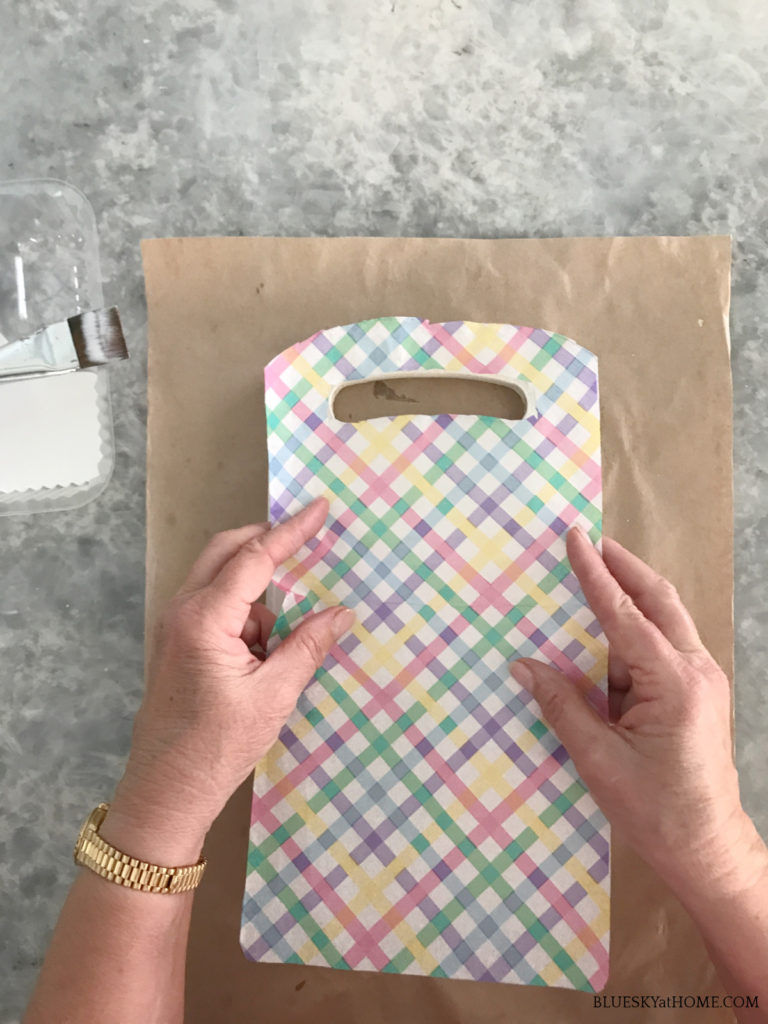
I applied the Mod Podge on the top half of the cutting board and laid down the top half of the napkin.
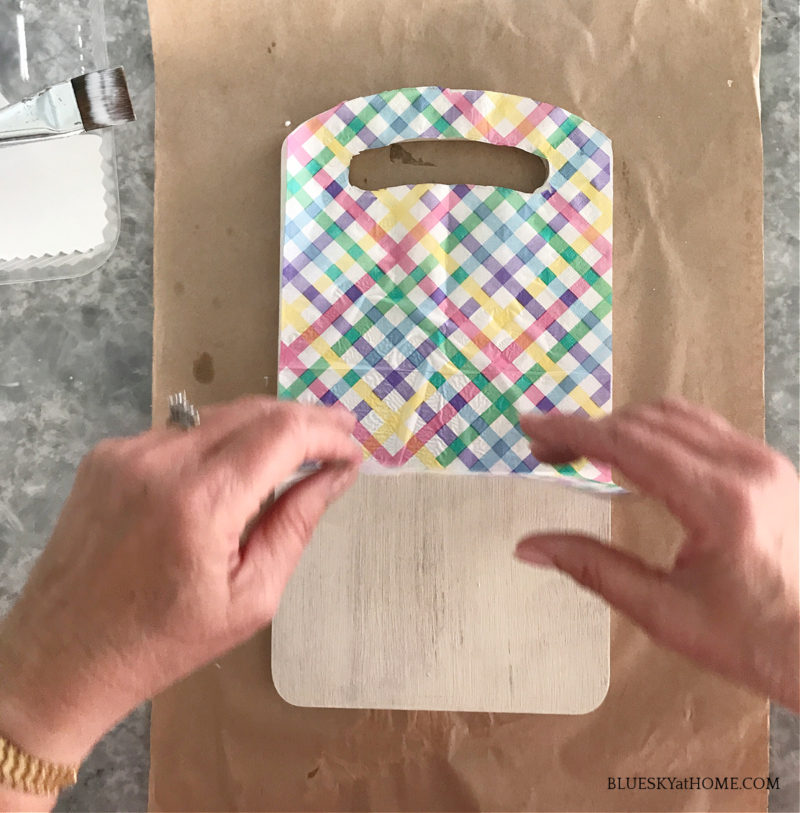
Then I applied more Mod Podge to the bottom half of the cutting board and laid down the bottom half of the napkin.
Be sure that all edges of the napkin are glued to the board. You can add more Mod Podge in those places.
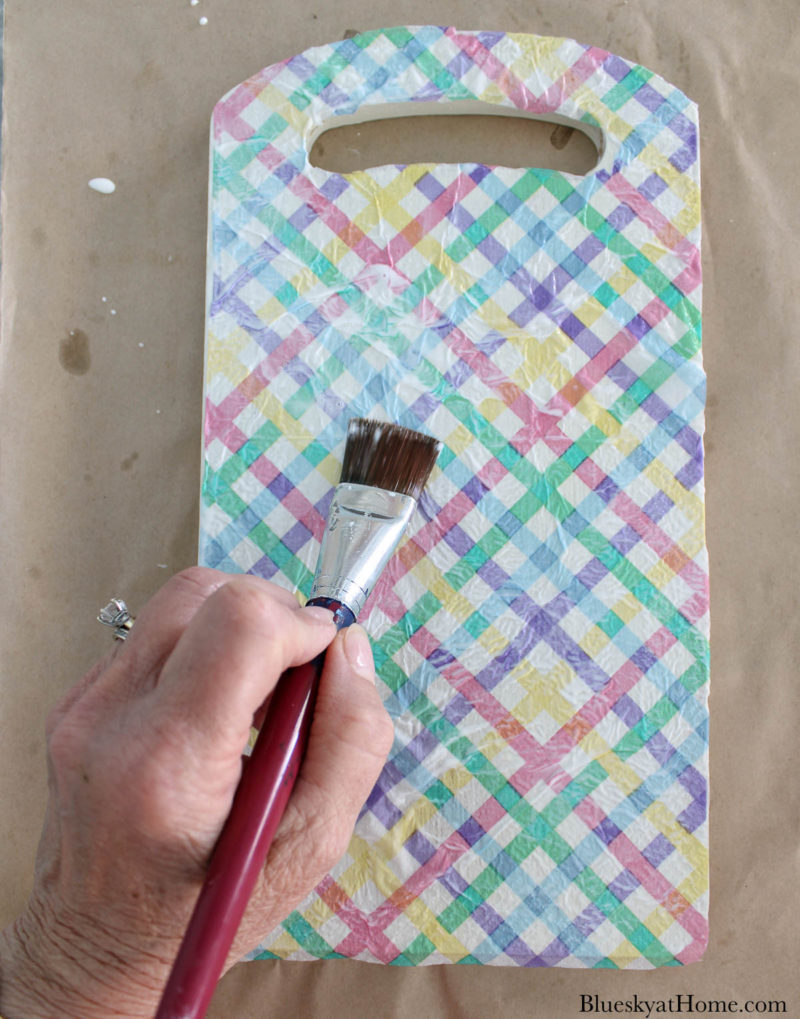
You will have wrinkles and maybe bubbles. Use your brush to gently smooth those out.
Step 6 ~ Apply a top coat of Mod Podge to the napkin, smoothing out the wrinkles. Most will disappear as the Mod Podge dries.
Let the project thoroughly dry until it is not sticky to the touch.
Once the project was completely dry, I used small sharp scissors to trim some of the overhanging napkin.
Your decoupage cutting board is done.
SPRING CUTTING BOARD WITH PAINT AND STENCILS
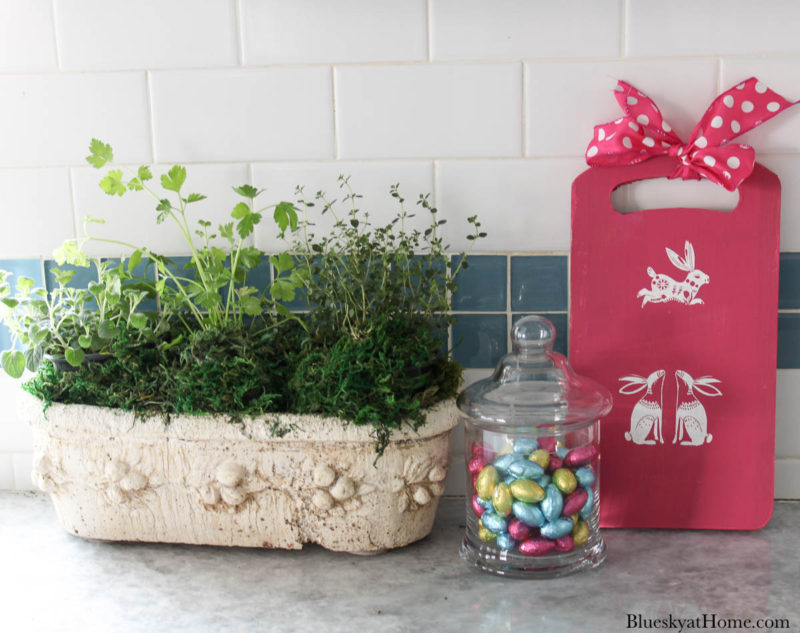
For this side of the cutting board, I decided to paint and stencil the board.
Supplies for the Paint and Stencil Easter Cutting Board:
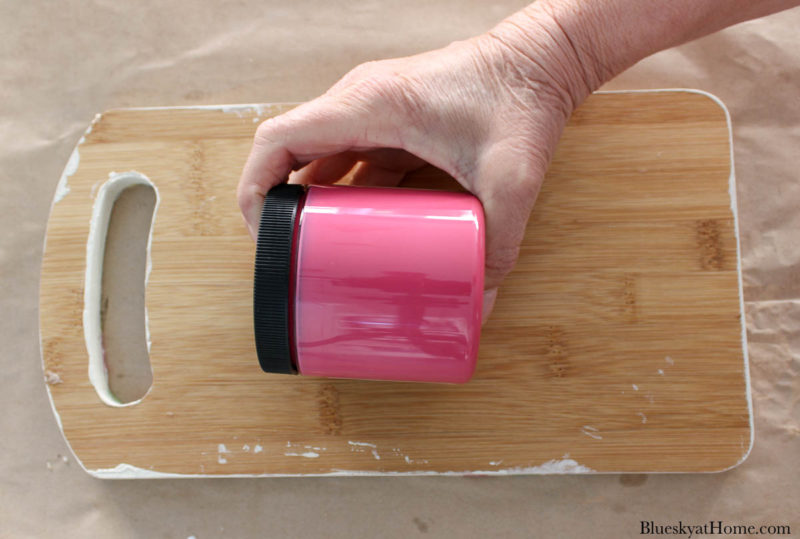
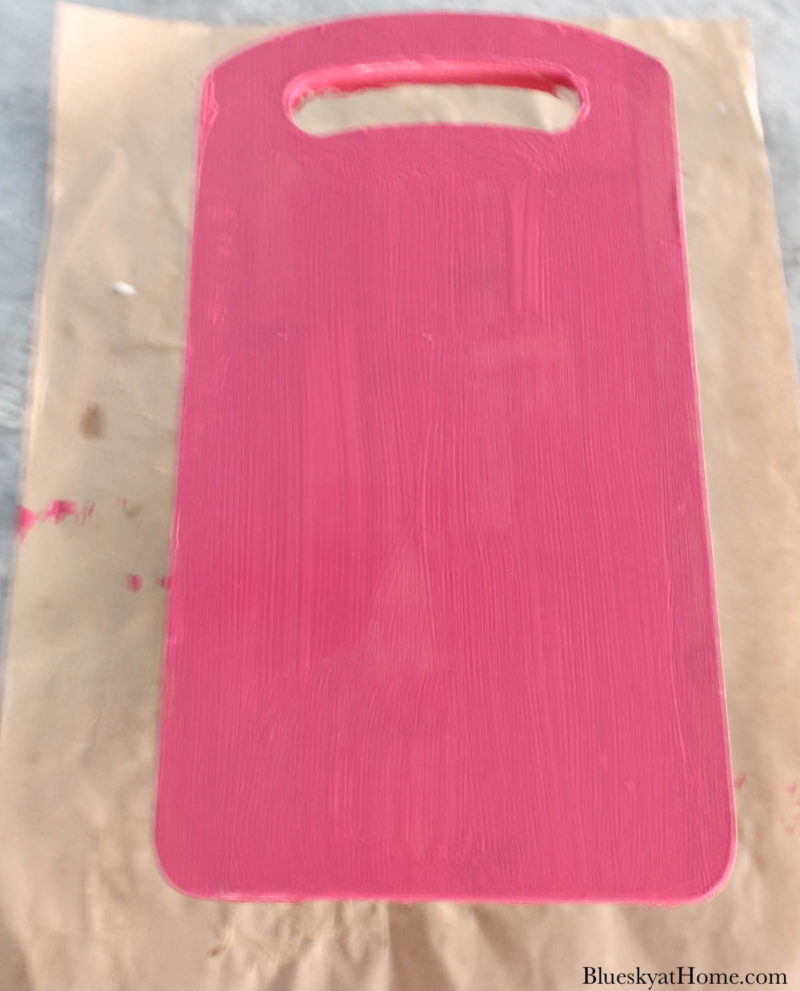
- Chalk Paint or acrylic paint of your choice. I wanted a bright pink, so I used Peony from Dixie Bell. I bought this jar about two years ago in Atlanta, but I’ve never used it.
- Stencil from A Makers’ Studio. I used two bunnies designs from Folk Art.
- ChalkArt from A Makers’ Studio in Peace & Joy.
- Plastic scraper
- Container for used stencils
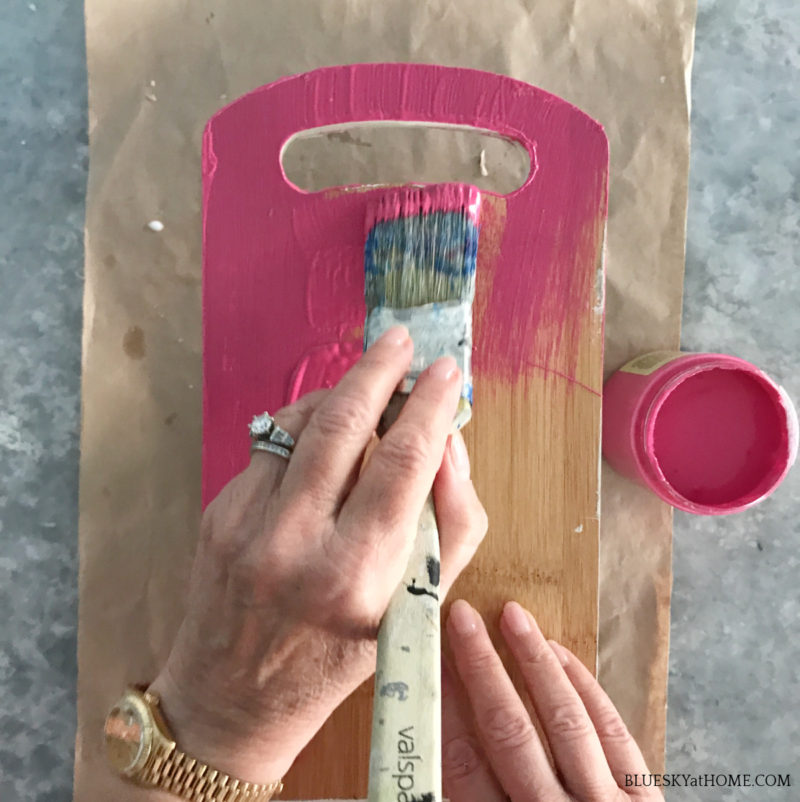
Step 1 ~ Paint your cutting board with your paint color of choice. Let the paint dry completely.
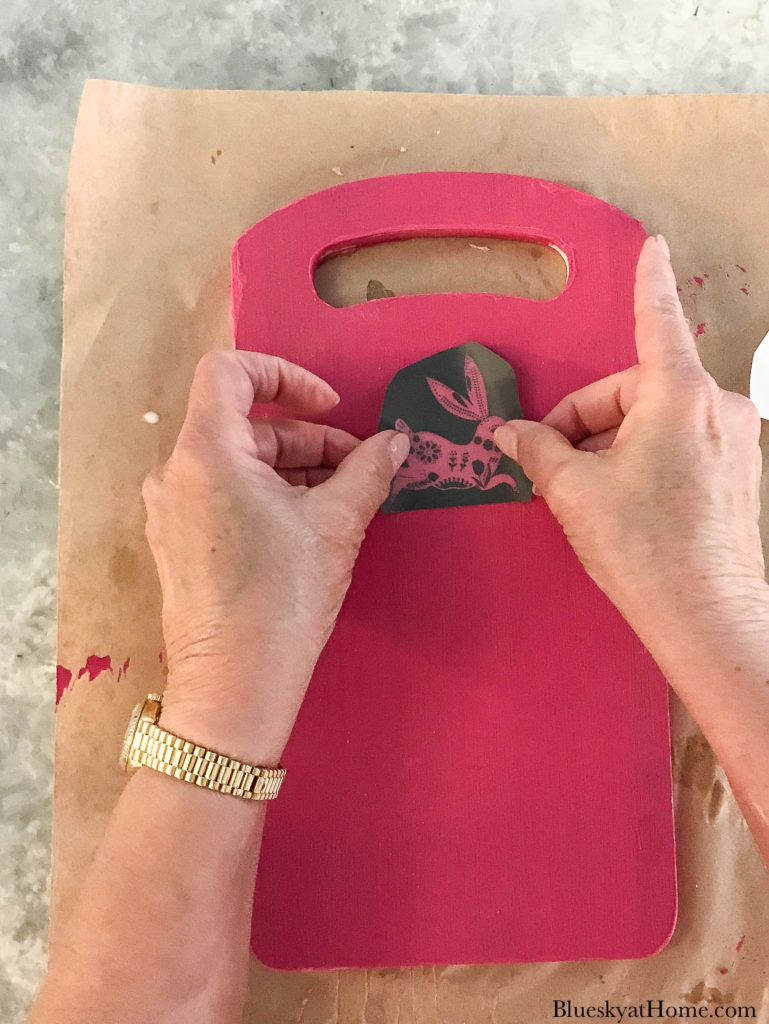
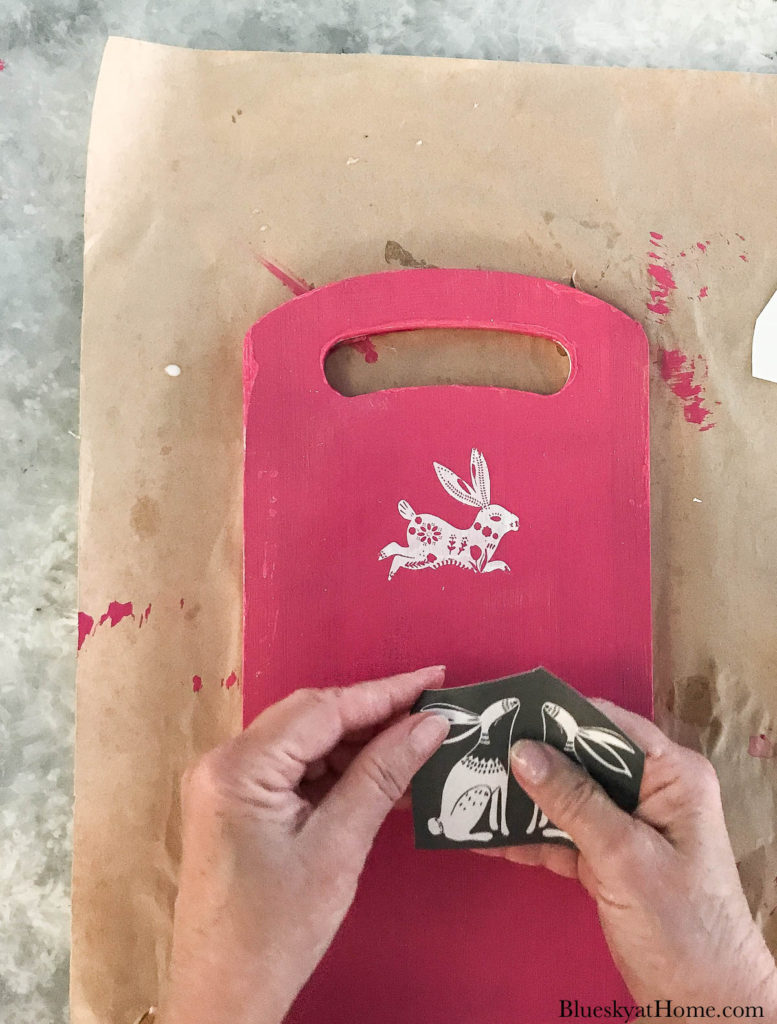
Step 2 ~ Place your stencil on the cutting board where you want it. I centered one near the top and the other one near the bottom of the cutting board.
The stencils are adhesive and repositionable so they will stay where you put them. RUb your hands across the stencil to smooth it down.
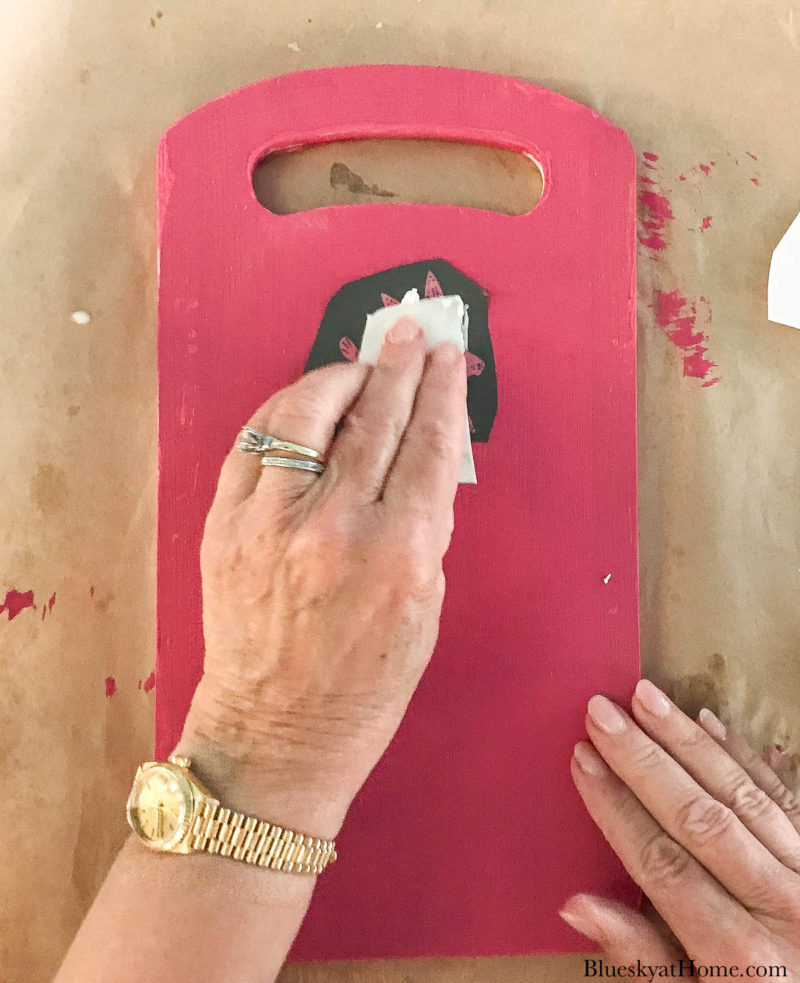
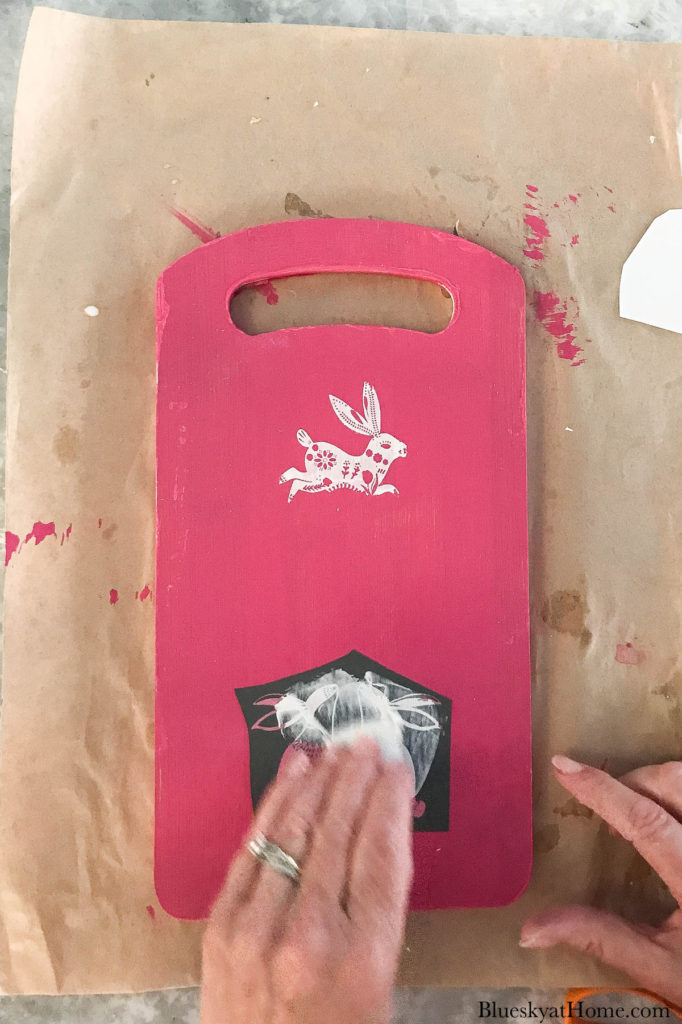
Step 3 ~ Put a small amount of ChalkArt on your scraper. Pushing the ChalkArt into the stencil, scrape it across the stencil until you have covered the entire stencil design.
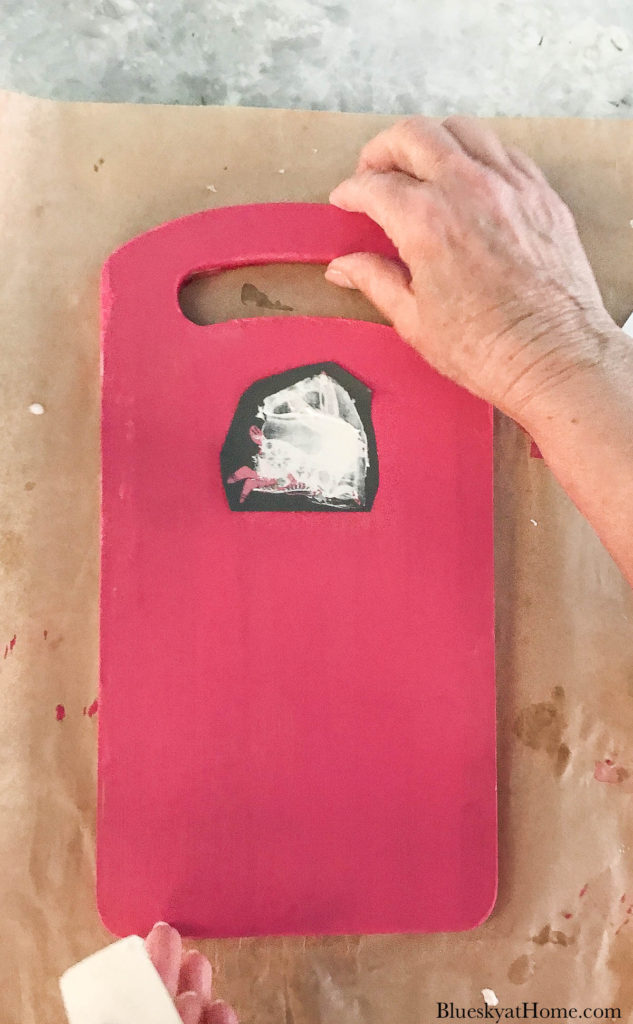
Step 4 ~ Gently remove the stencil from the wood surface. Check to see that all areas of the design are covered before completely removing the stencil from the surface.
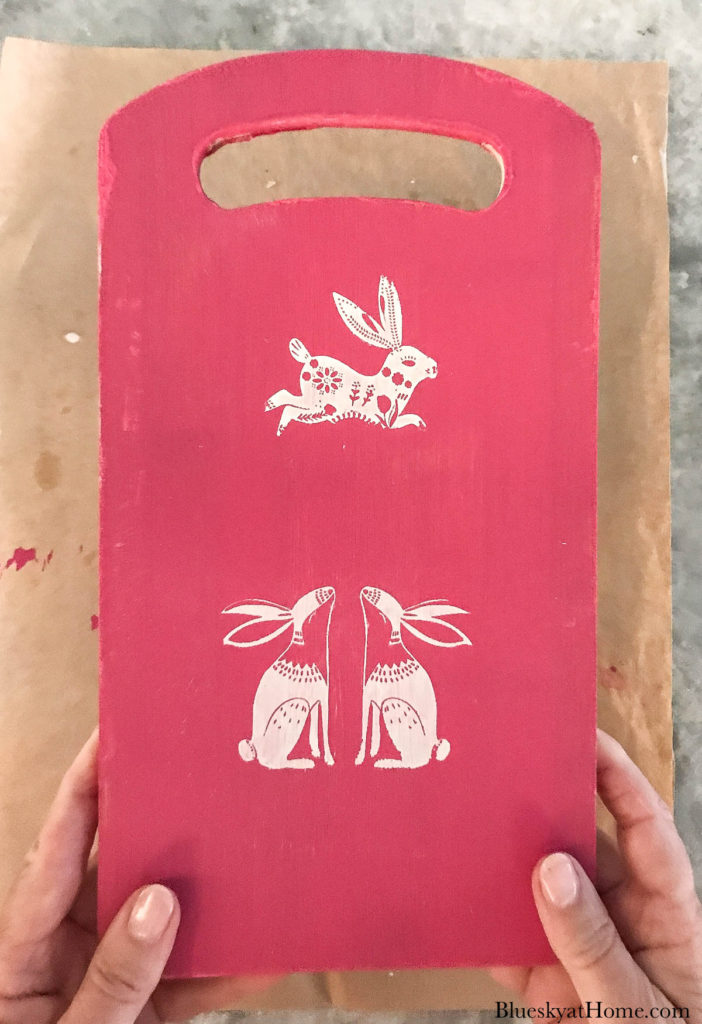
Aren’t these designs fun and interesting?
TIP: When you are done with your stencils, put them in a container of water until you are ready to completely wash off all the ChalkArt. Then allow the stencils to dry on a paper towel with the adhesive side up.
NOTE: If you get any extraneous ChalkArt on your surface, remove it with a damp paper towel or damp Q~tip.
Step 5 ~ Allow your ChalkArt to dry ~ about 10 minutes ~ before moving your surface around.
NOTE: see this post for tips on using stencils and ChalkArt.
I have so many Stencil projects here on the blog. For more ideas, just search STENCILS.
DISPLAYING YOUR DECORATED CUTTING BOARD
Use a ribbon or twine to tie a bow around the top of your cutting board or handle.
This polka-dot bright pink ribbon is just the right color. And I love polka~dots.
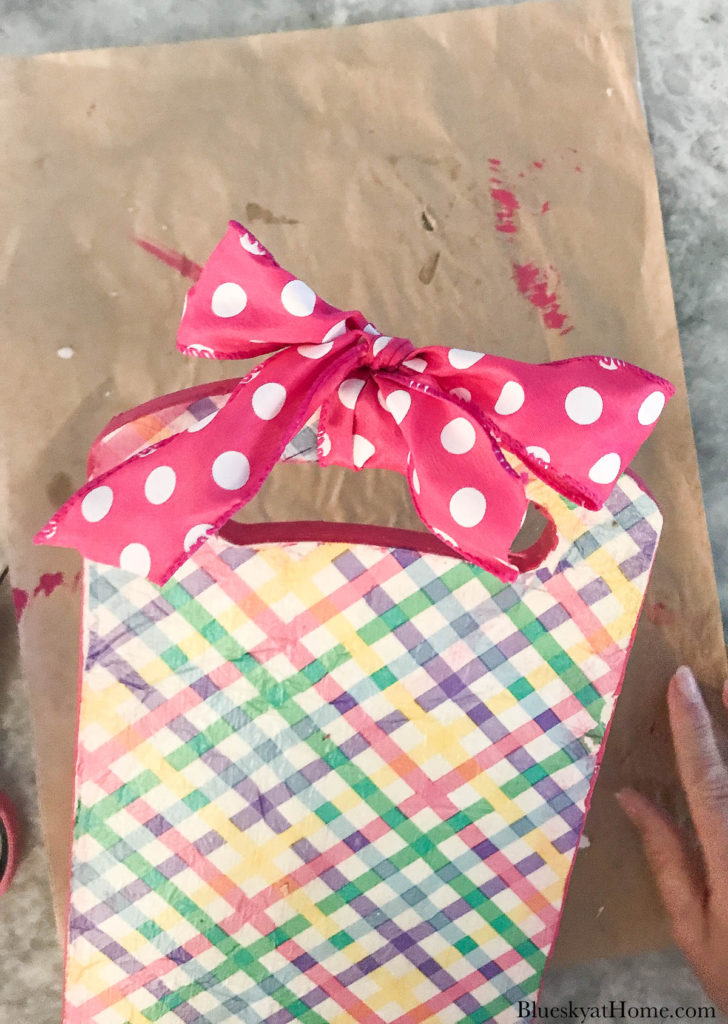
Then you can hang or display your spring cutting board, alternating the two sides.
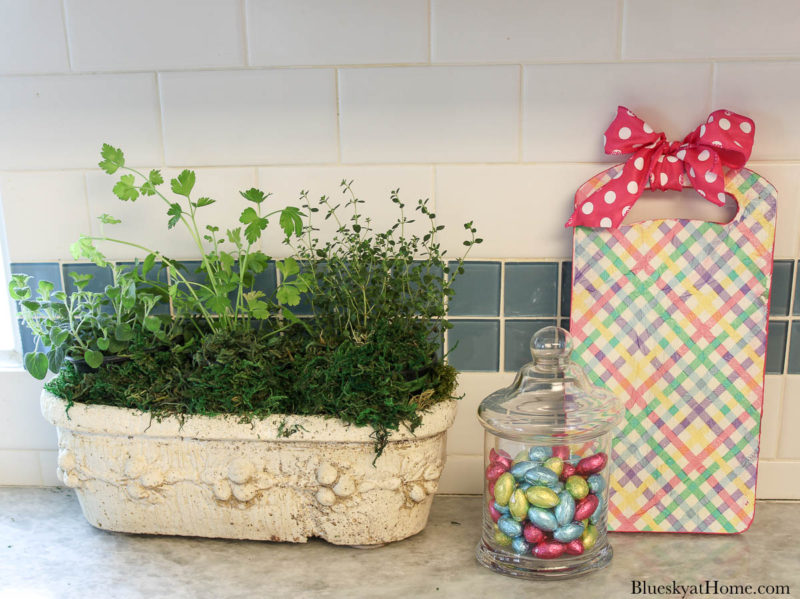
Easter candy is always a nice addition to an Easter vignette.
I hope that you will try this spring/Easter cutting board project. It was fun, easy, and very inexpensive. The only thing I actually bought for this project was the $1.00 package of napkins. There are 18 to a package, so this project cost me about 6¢.
Be on the lookout for inexpensive cutting boards. Then have fun with your project.


Sand Dollar Lane // My Wee Abode // Postcards from the Ridge
Our Crafty Mom // 2 Bees in a Pod
Sweet Pea // DIY Beautify // Live Laugh Rowe
1905 Farmhouse // Accidental Dreamhouse
Thistlewood Farms // A Life Unfolding // Noting Grace
Blue Sky at Home // The Tattered Pew
Zucchini Sisters // Hearth and Vine // Sonya Burgess Blog
My Family Thyme // The February Fox
The Little by Little Home // Worthing Court // Aratari at Home
2021 Link Parties March 1 ~ March 7
All About Home Anything Goes Pink Saturday Beautifully Made Busy Monday Celebrate Your Story. Creative Crafts Creative Muster Creatively Crafty Farmhouse Friday Friday with Friends Grace at Home Handmade Monday Happiness is Homemade The Happy Now Hearth and Soul Link Party Home Matters Inspire Me Monday Inspire Me Tuesday Keep in Touch Little Cottage Link Party Love Your Creativity Meraki Link Party Party in Your PJ’s Saturday Sparks Share Your Style Sunday’s on Silverado Thursday Favorite Things Vintage Charm Party Waste Not Wednesday Wednesday Link Party Wednesday Centerpiece Link Party Wonderful Wednesday Wow Me Wednesday

What a cute makeover, Carol ! I love the decoupage effect too.
Thank you for sharing with us at Meraki Link Party. We’re delighted that you joined the party.
Much love
Naush
Those cutting boards are so bright and cheery! (I must admit I’ve never thought of using one as a decoration!) Thanks so much for sharing this at our Party in Your PJs link party.
This is such a cute idea! I never would have thought of something like this, but now I want to make them for all the seasons. I pinned!
Lauren
These cutting boards are so cute, Carol! Thanks for sharing the DIY with us! I am definitely going to do one using a napkin with bunnies! You always have so many great ideas for us! Thanks, so much! Have a great week!
I like both of them. Great job!
Always love a cute Mod Podge project! So cute. Hope you have a great week.