DIY Christmas Vintage Cutting Boards Vignette
Are you a flea market shopper? Oh, good, me too. That’s why I am able to share this DIY Christmas vintage cutting boards vignette with you.
Vintage cutting boards are a popular item for our kitchen decor. This is the perfect time to use them as part of a Christmas vintage cutting board vignette. A DIY Christmas vintage cutting board can be used in so many ways in your Christmas decor.
Planning and creating for the Christmas holiday seems to be happening earlier than usual this year. Is everyone just so excited about celebrating Christmas this year? Are you ready to put on your Christmas DIY hat? Let’s play elf and get started.
This project is number three in this week’s Christmas in July. Decorating these vintage cutting boards for Christmas way ahead of time helps you prepare for Christmas decorations. Start early and you’ll be ready when it’s time to decorate your home.
I’ll take you through the process of making these Christmas vintage cutting boards.
DIY Christmas Vintage Cutting Boards Vignette
This post contains affiliate links to products used in this project. If you should order any product from this site, I may receive compensation, but you will not pay a penny more.
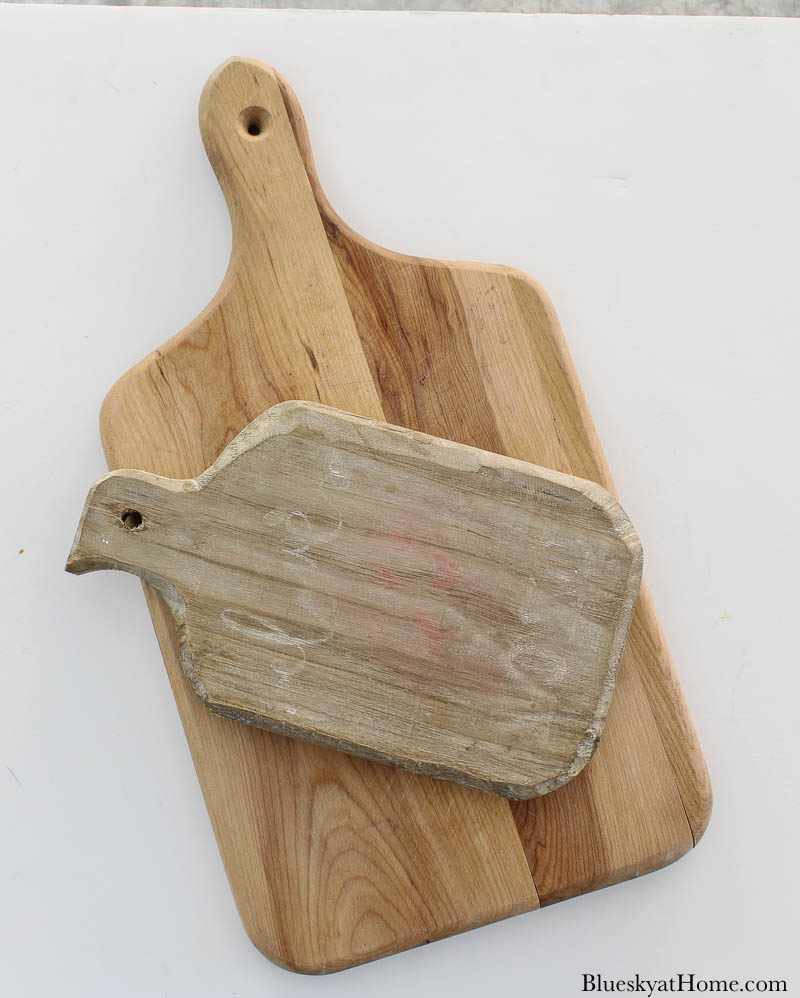
I found these vintage cutting boards a few years ago in Atlanta. Since I never intended to use these cutting boards for food, they are great for kitchen and seasonal decor.
I first used them as decor a couple of years ago for Valentine’s Day.
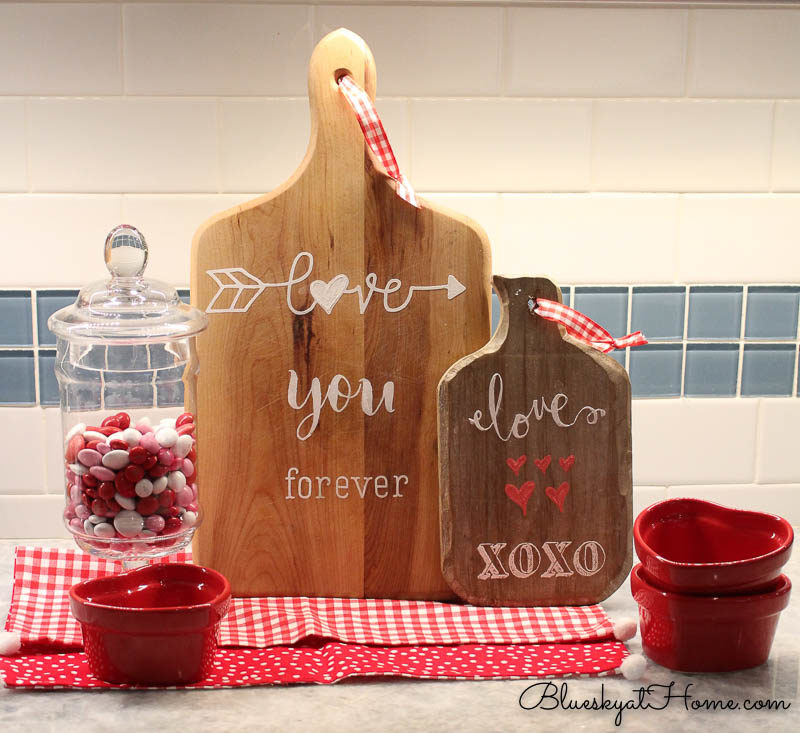
Now is a great time to decorate your vintage cutting boards with a Christmas theme.
SUPPLIES FOR THE VINTAGE CUTTING BOARD PROJECT
Just a few supplies will get you started on this DIY Christmas cutting board project.
- your vintage cutting boards
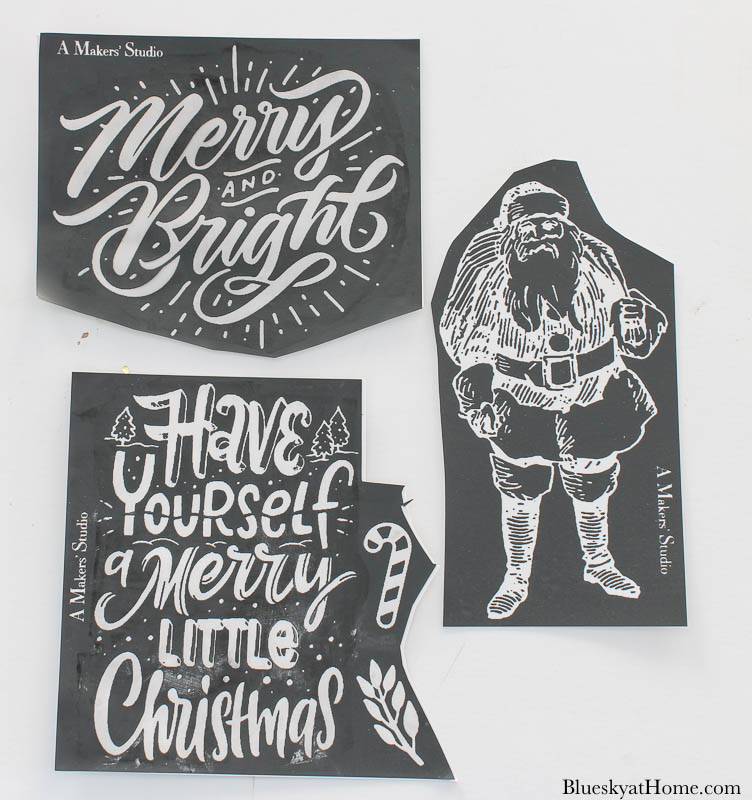
- Christmas stencils of your choice: I used some of the Christmas stencils from A Makers’ Studio. These stencils are a year old, but some are still available. I promise that there will be many new ones coming out in the next few months.
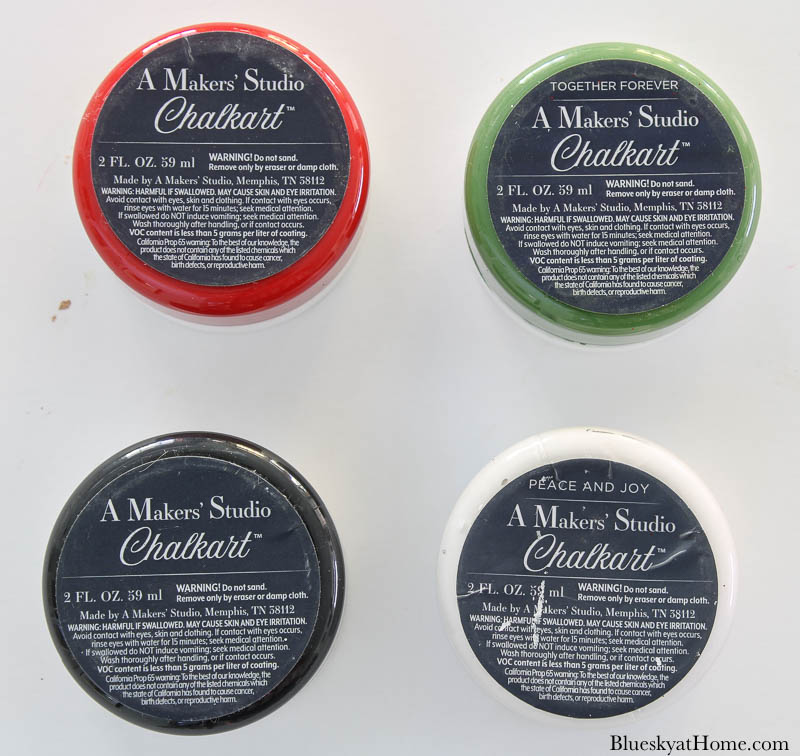
- ChalkArt from A Makers’ Studio. I used 4 colors: Preaching to the Choir (black), Peace and Joy (white), Together Forever (green). For red, I used a brand new color, a bright Christmas red ~ Love Bug.
- plastic scraper
- painter’s tape (optional)
HOW TO DECORATE A VINTAGE BOARD WITH A SANTA
Step 1 ~ Choose your stencils and your ChalkArt colors
Step 2 ~ Place your first stencil on your cutting board.
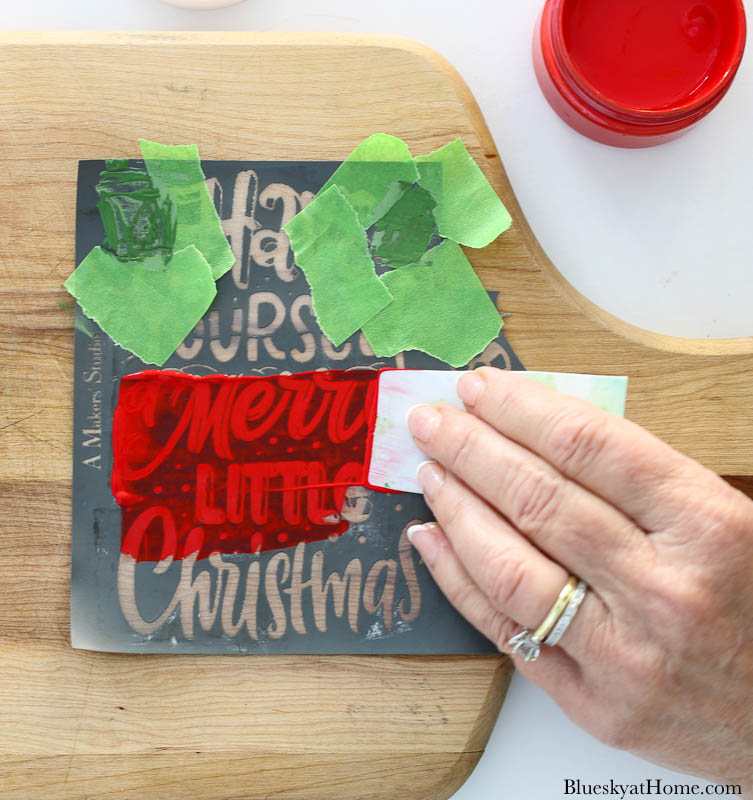
TIP: If you are using multiple colors, use painter’s tape to cover the area around the design.
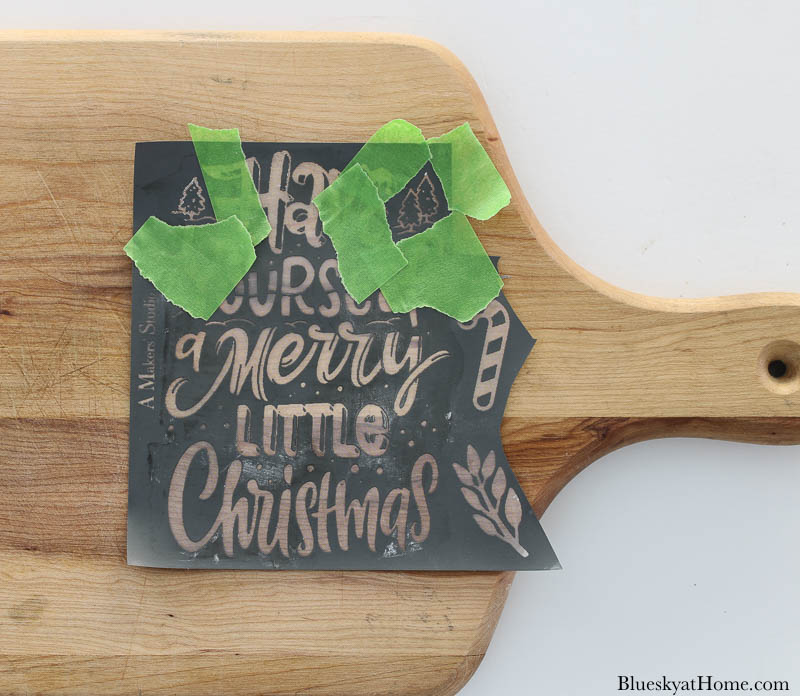
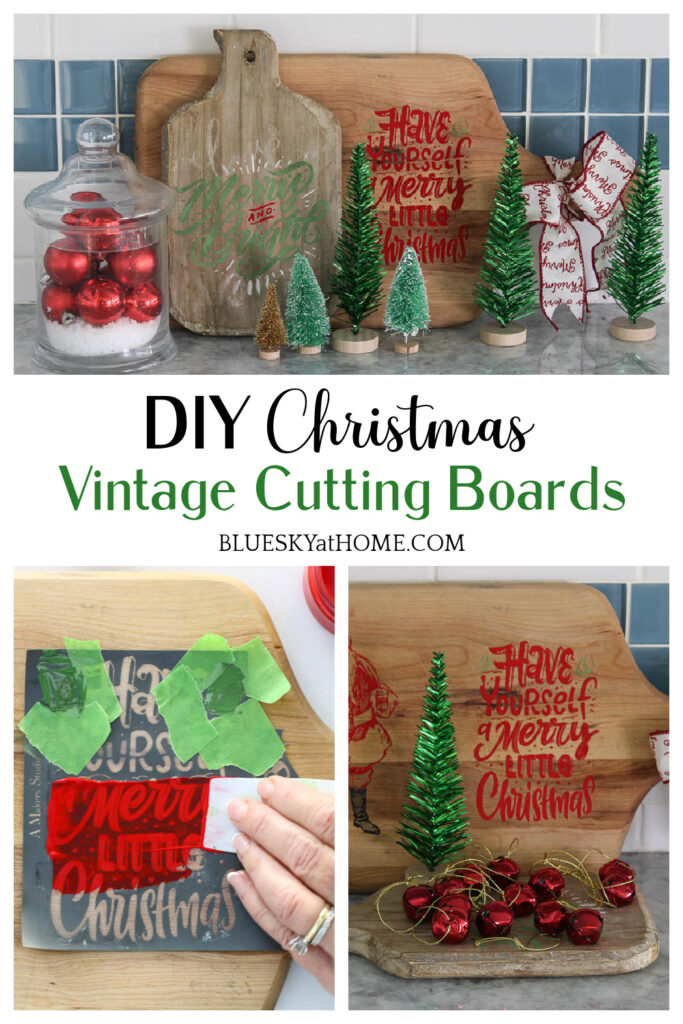
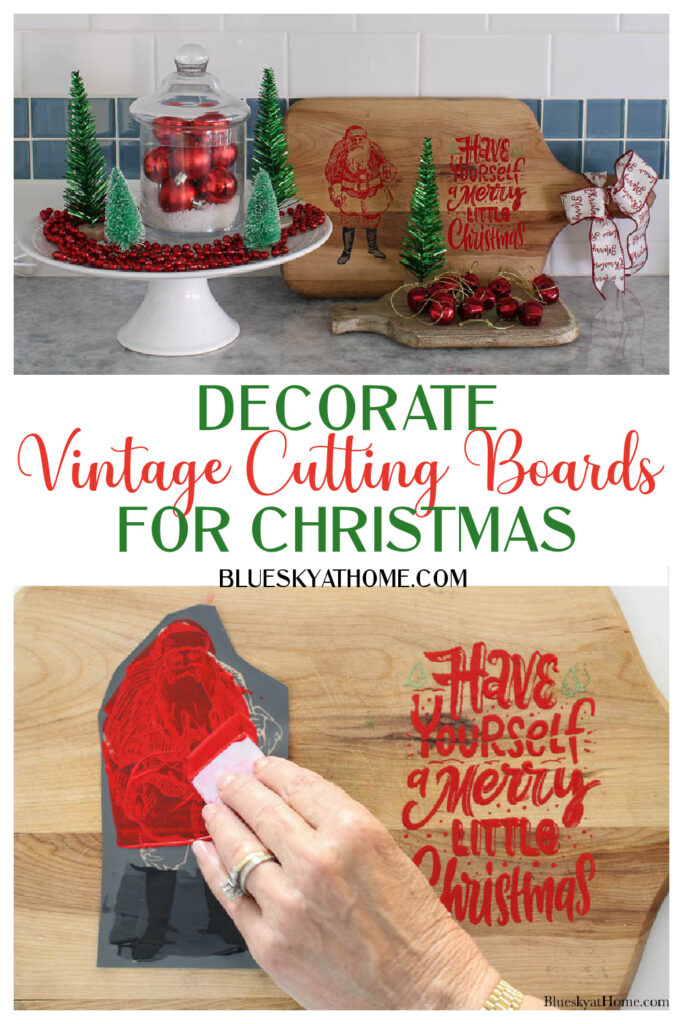
For this cutting board stencil, I was using red and green ChalkArt. Apply the ChalkArt with your plastic scraper.
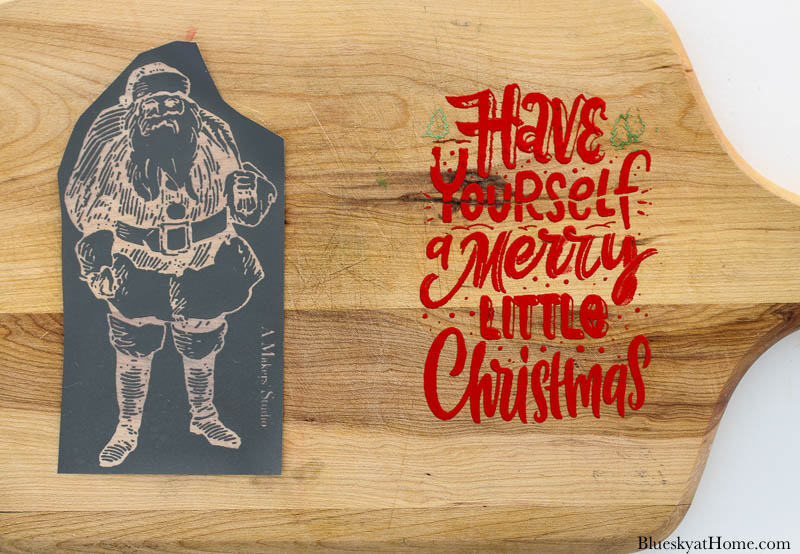
For the Santa stencil, I used black for Santa’s boots.
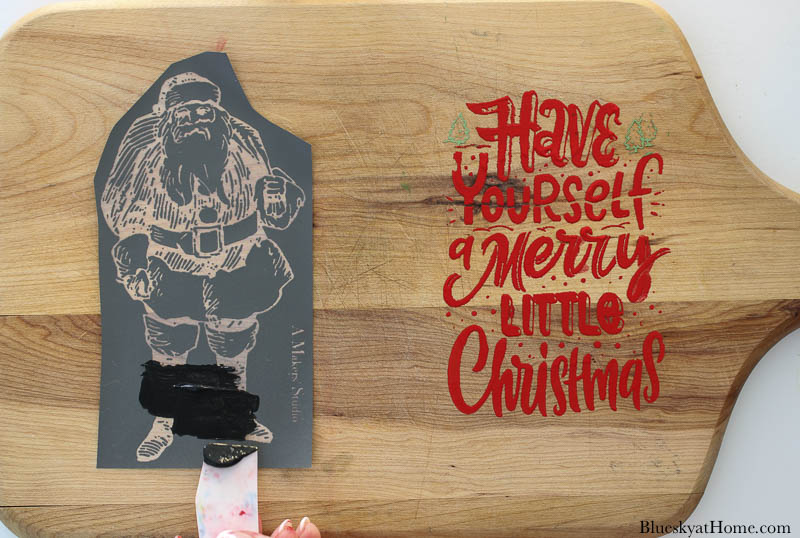
I painted the rest of Santa in red.
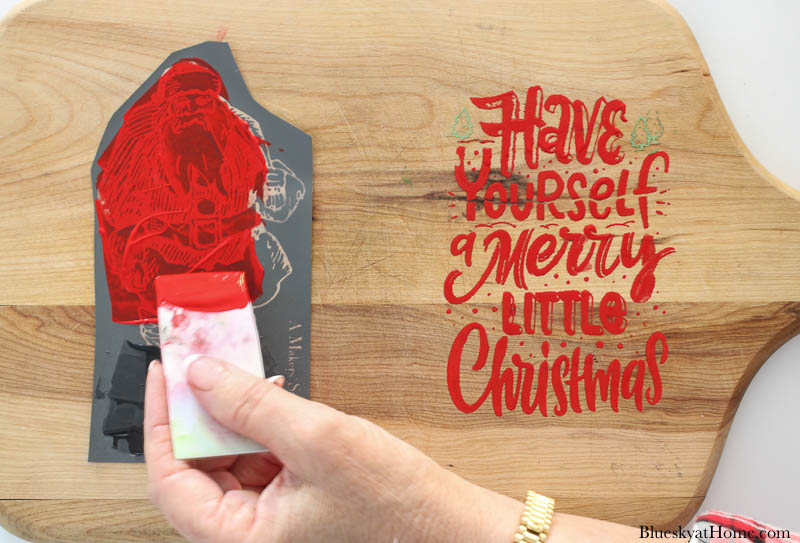
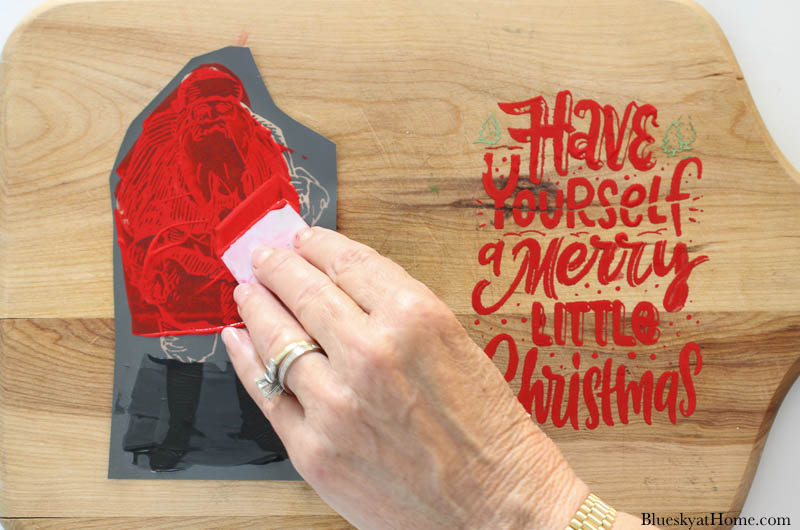
That’s how easy my first Christmas vintage cutting board was.
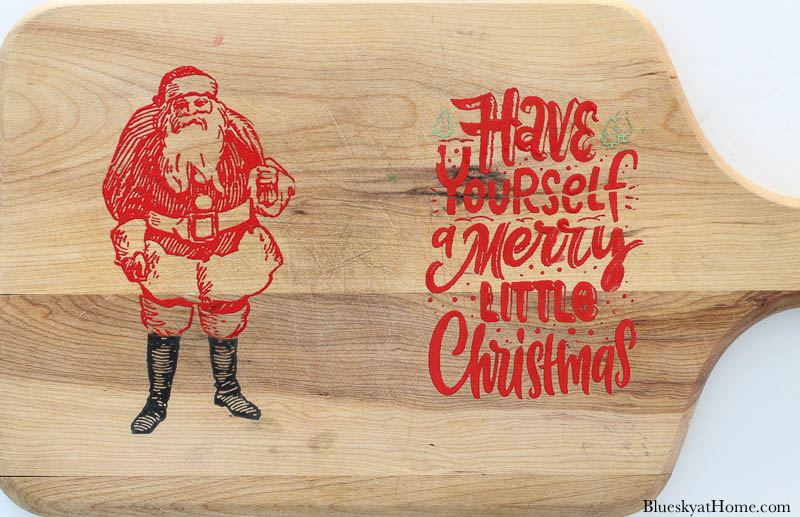
Let your stencil dry for about 15 minutes. When your stencil is dry, you can rub your hand across it.
NOTE: Remember that you can remove the stencil by washing off the ChalkArt with soap and water. For a wood cutting board, you will have to rub it hard with a damp paper towel.
Check out these tutorials on Christmas gifts and other Christmas stencil signs.
MERRY AND BRIGHT CHRISTMAS VINTAGE BOARD
For my other vintage cutting boards, I used another Christmas stencil. Follow the same procedure as above.
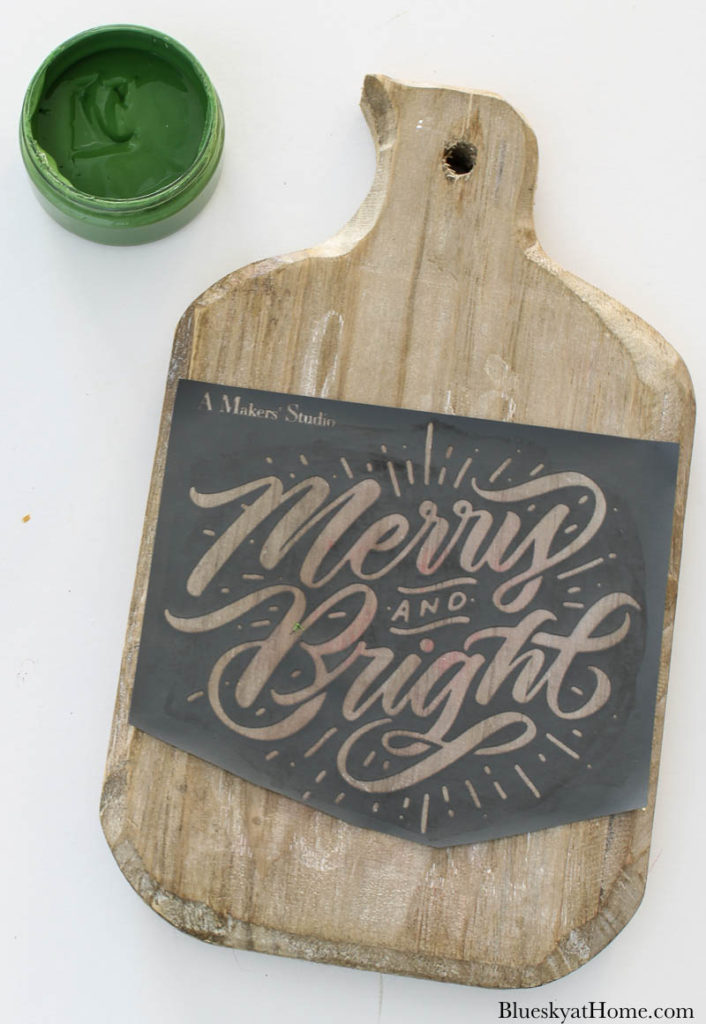
I used green and red ChalkArt with just a little bit of white.
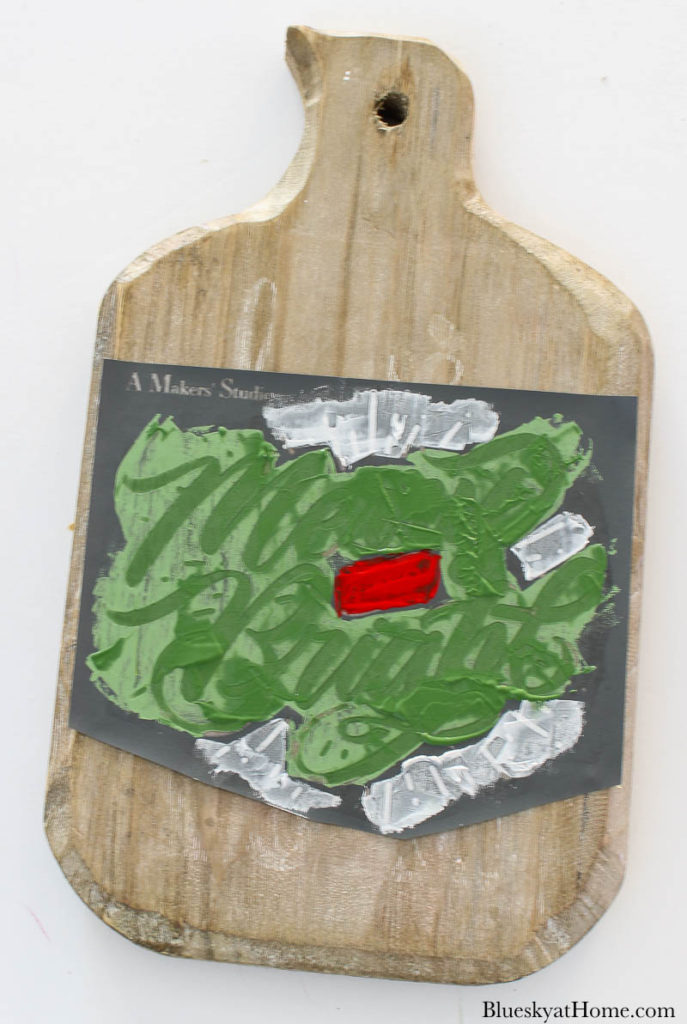
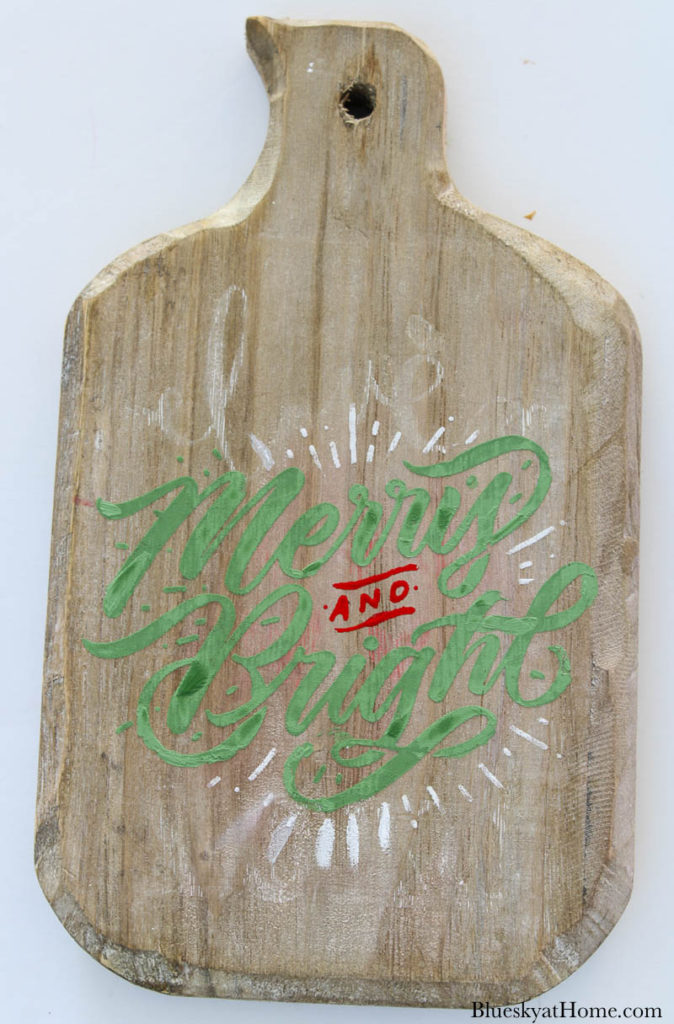
DISPLAY YOUR VINTAGE CHRISTMAS CUTTING BOARDS
Now you can use your cutting boards in a Christmas vignette.
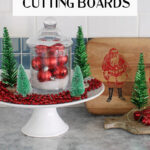
First, I made a Christmas bow around the handle of one cutting board. For the first vignette, I used:
- one of my apothecary jars filled with faux snow and red Christmas ornaments
- some new bottle brush Christmas trees
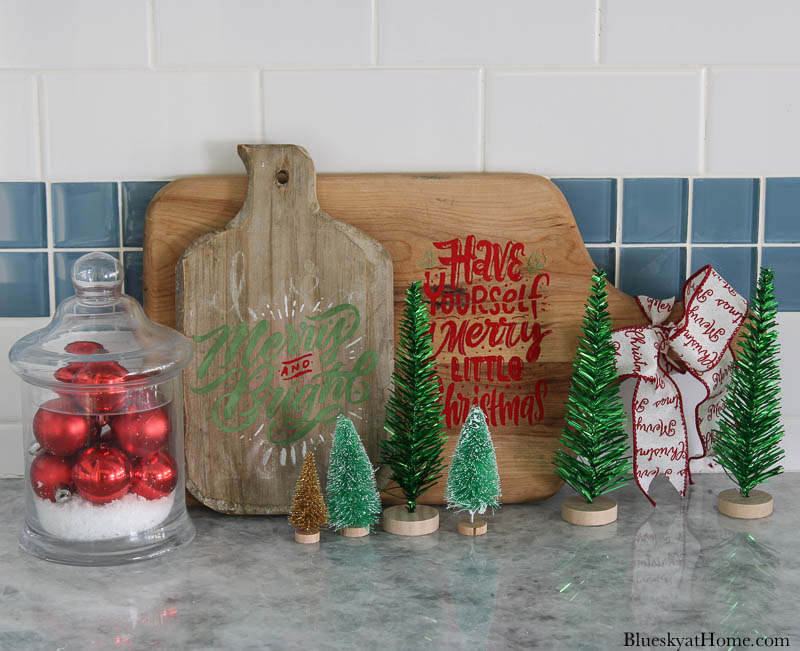
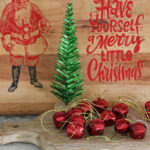
For another vignette, I used a cake stand for height and added red beads. I used the smaller cutting board to hold red jingle bells.

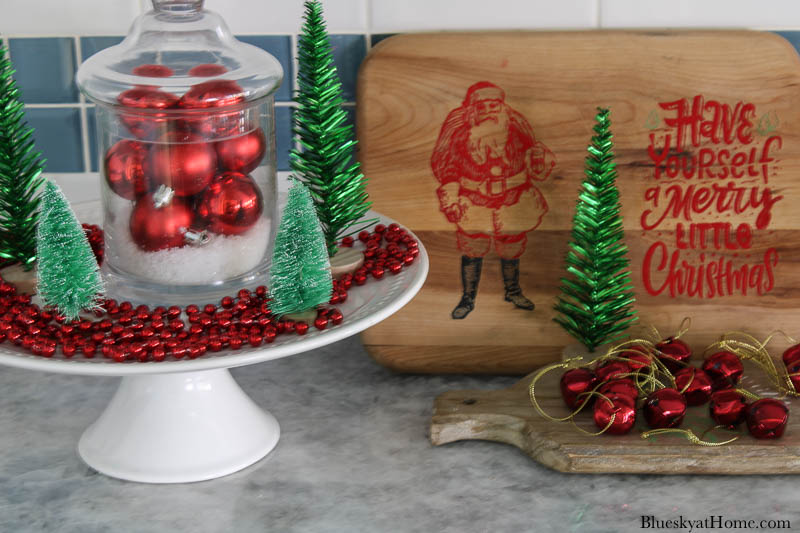
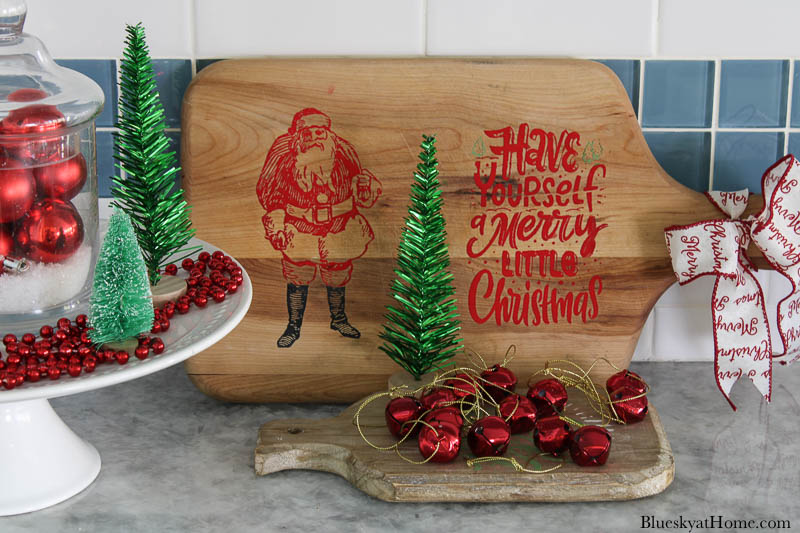
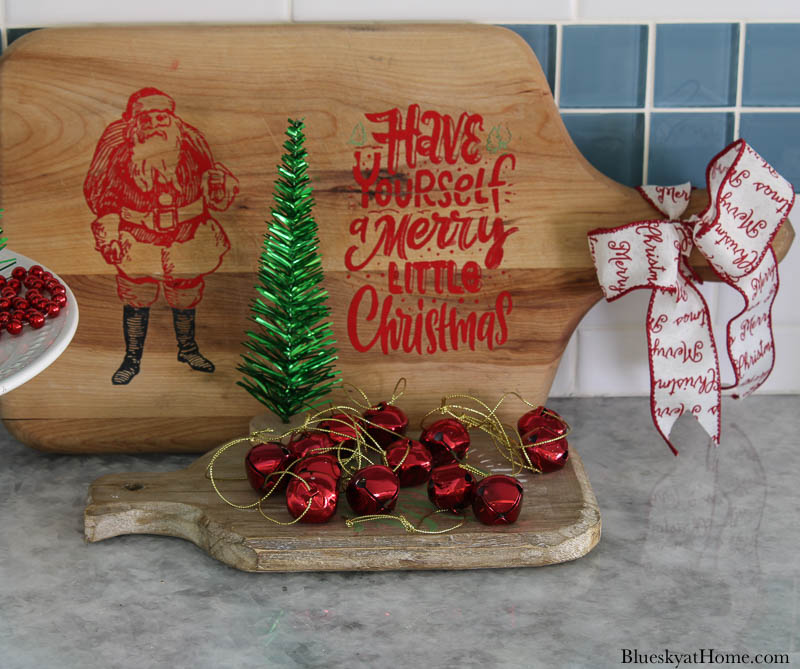
Wasn’t that an easy way to use vintage cutting boards as Christmas decorations? Style the cutting boards any way you like. The stencil designs are what make them special.
I hope you like these simple DIY Christmas crafts for your next vignette. Keep your eyes open for vintage cutting boards at flea markets, antique malls, and estate sales. Get a few to have ready when you are ready to make a Christmas craft.
Don’t forget to PIN it!



Carol it’s over 100 outside, but I got a fresh cool breeze reading your Christmas vintage craft!
Beautiful projects. I will be looking for cutting boards the next time I go thrift shopping. Thanks so much for sharing. #HomeMattersParty
Carol, I always pick up cutting boards at thrift shops and estate sales. They look great grouped together! I love how you stenciled yours and created a Christmas vignette in your kitchen. The Santa has a cool vintage look, too. I love that the chalk art washes off and you can create something new for the next season. Pinned 🙂
Thanks so much Rebecca. I’m ready to find some more old cutting boards. Yeah, the ChalkArt washes off – another great feature. Happy Holidays.
Carol, This is a lovely way to add Christmas decor to your kitchen. It is great that they can be washed off and re-done for a different holiday or with a different design on them. I thought maybe you had to sand them off. I hope you and sweet shark have a lovely Thanksgiving!
Love these Carol! What a fun decoration to bring out every year. I really messed up my first stenciling try on an old dresser but you make it look easy. Maybe I’ll give it another try. Pinned!
Your cutting boards are amazing, and I want to learn more about the Maker’s Studio Chalkart. That looks like so much fun to work with. Wonderful crafting with you!
Such a festive vignette with your stenciled cutting boards Carol! Love the addition of Santa! So happy to be hopping with you again ♥
Very pretty and festive! It’s great crafting with you, Carol!
I think these cutting boards are adorable. BUT, I would have just used the other side of the boards and preserved your Valentine decor! You make the stenciling look so easy. Your tutorials are always so easy to follow!
Always enjoy seeing your stencil projects Carol. But, I think the Santa board is my favorite! Especially like how you did his boots in black. So festive and cute!
Carol, what a festive way to upcycle your flea market cutting boards. I love the retro vibe! Pinned & tweeted! Happy Thanksgiving! Blessings, Cecilia @My Thrift Store Addiction
These turned out so cute and what a great gift it would make! I’ve never visited A Maker’s Studio so that’s a great find. I can’t wait to poke around her shop. Thanks for being in the hop and happy Thanksgiving!
So cute Carol! Those stencils are fantastic! Such a unique idea to use cutting boards, they have so much personality!
Love the cutting boards Carol. I have never used the stencils, I need too. Love the clean look.
That is adorable! Love the vintage look. Pinned
These are beautiful Carol. I really love the traditional colours and vintage vibe.