Simple Front Door Flower Basket Idea
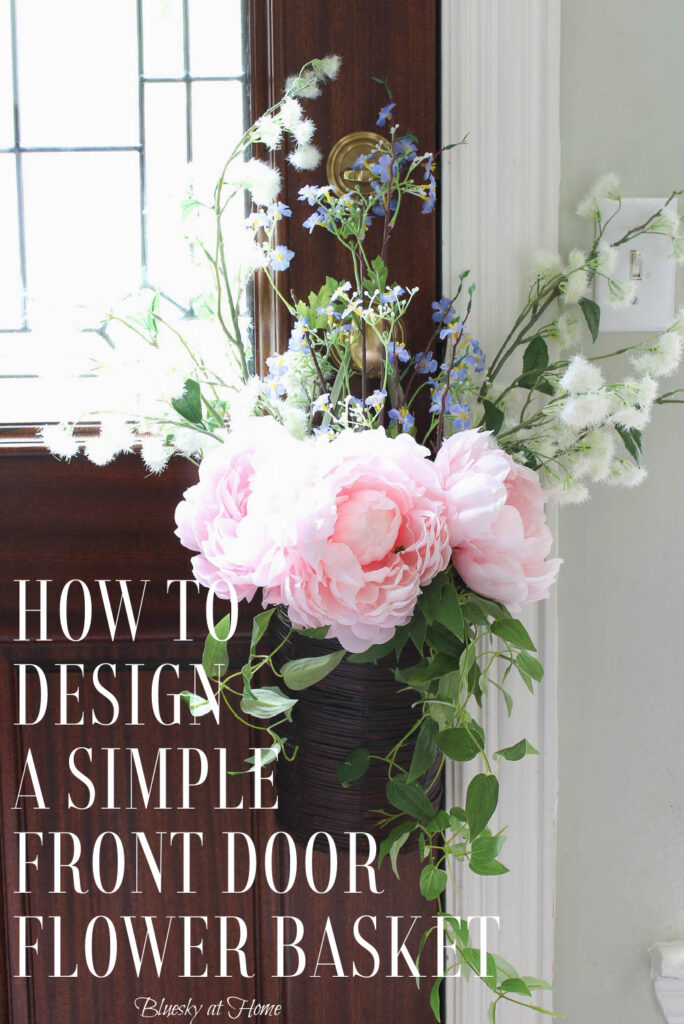
When you walk in your front door, you want to project a welcoming feeling to your guests. One way to do that is with this simple front door flower basket idea.
If you are lucky enough to have a front porch, your flower basket will be protected. If not, like me, you may have to move your front door basket inside. Either way, you can enjoy the colors of spring flowers.
This spring basket idea is easy to make and will give your plenty of time to enjoy it before you change out the flowers for a summer basket arrangement.
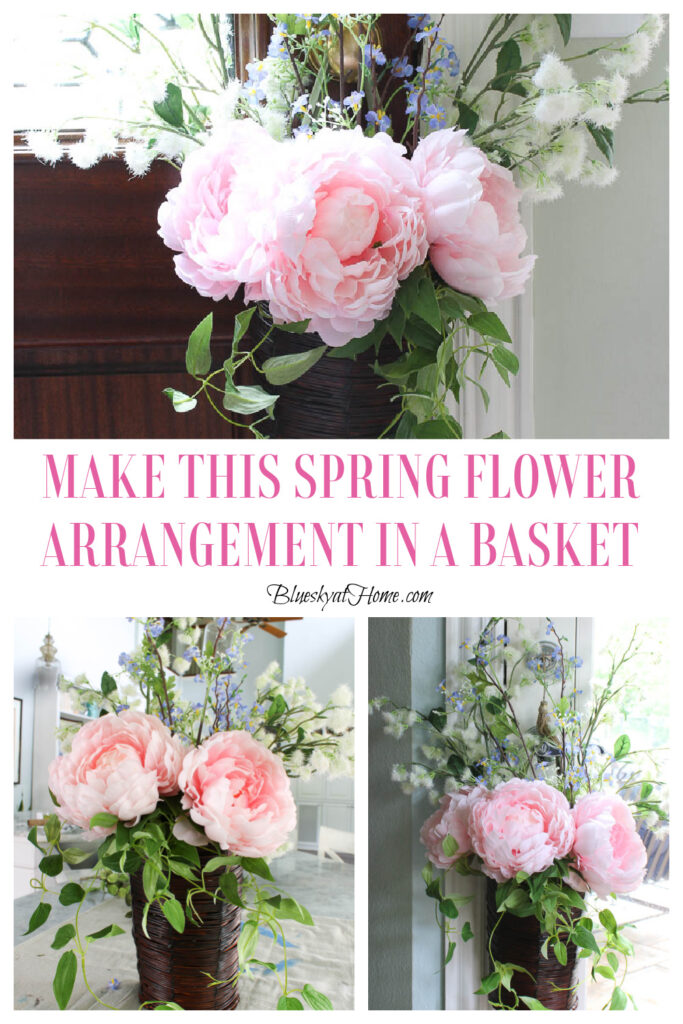
Here’s my version of a pretty basket using faux flower stems.
Hanging Basket Inspiration
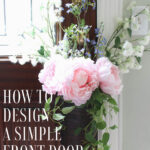
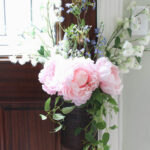
Today is Pinterest Challenge day, and thanks to our hostess, Cindy of County Road 407, we have a beautiful photo to inspire us.
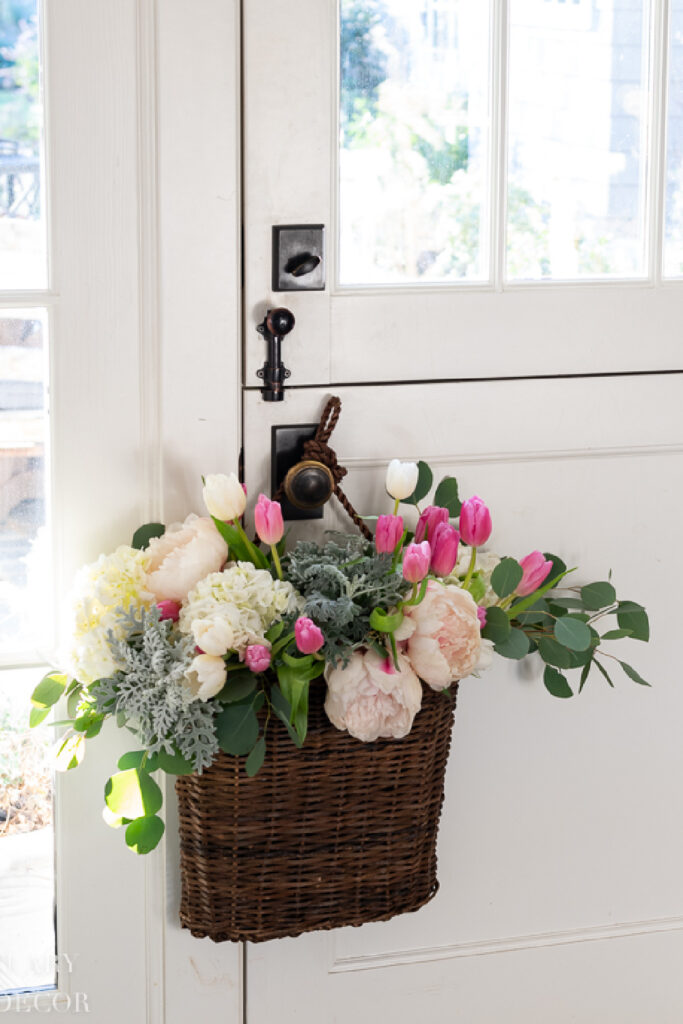
This pretty flower door basket is the creation of Karen of Sanctuary Home Decor. Doesn’t this lovely arrangement look like she picked the flowers from her garden? That’s the look that I am trying to emulate.
If you are joining me from Renae of Peacock Ridge Farm, I welcome you to Bluesky at Home. Renae and I live in different parts of the county, but we both love sharing a great DIY project that makes our homes pretty.
Supplies for the Simple Hanging Door Basket
I also love when Cindy’s Pinterest Challenge photos use supplies I already have on hand. I had a wicker basket that I had been dying to use.
I found this basket last year at Joann – and it was free! When I entered the store, a sign announced that you could pick 6, yes 6 things from aisle 6 for free. I headed over there with a cart and started searching for items that I could use for projects at home.
After a thorough examination of the shelves, I found a woven basket full of flowers, a twig wreath with flowers, a raw wood welcome sign, and 3 ceramic vases. I obviously can’t count because when I got to the cashier, I realized I had 7 items. The cashier said not to worry; they were trying to clear the shelves for new merchandise.
I have used the vases, and now I had the perfect basket for this spring flower door hanger. The price tag says $59.99. I would never have paid even 50% off for it, but free is perfect.
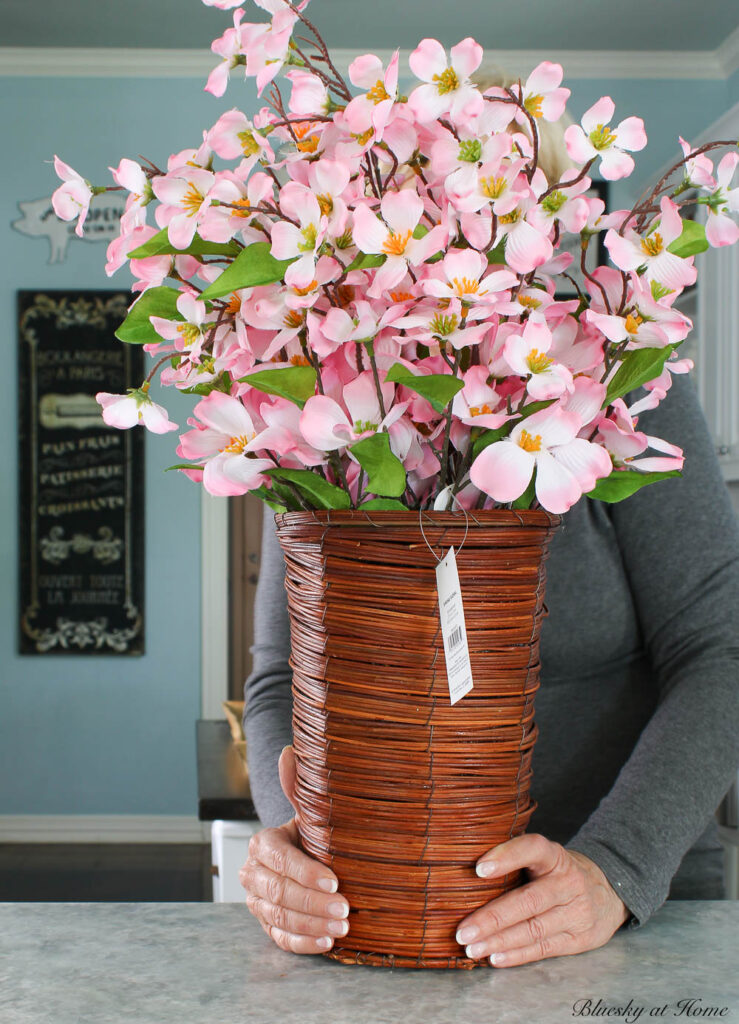
Here’s what you will need for this project:
- A wicker or woven basket, preferably with a flat-backed basket, which mine was.
- a variety of your own favorite spring flowers or favorite colors of colors. You could use fresh flowers for this basket, but faux flowers are much easier: you don’t need to figure out how to place the flowers in water and keep them from dying.
- ribbon for hanging
Now my basket wasn’t exactly perfect. I wasn’t a fan of the reddish tint of the basket. Also, the flowers included were already stuck/glued into the styrofoam. I never buy containers with flowers or plants glued into styrofoam, but remember this basket was free.
Before I could design my own spring flower basket, I had to prepare the basket.
Preparing the Basket
The first thing I needed to do was pull out the existing faux flowers. I thought this step might be a big problem, but fortunately, the flowers pulled out of the styrofoam easily.
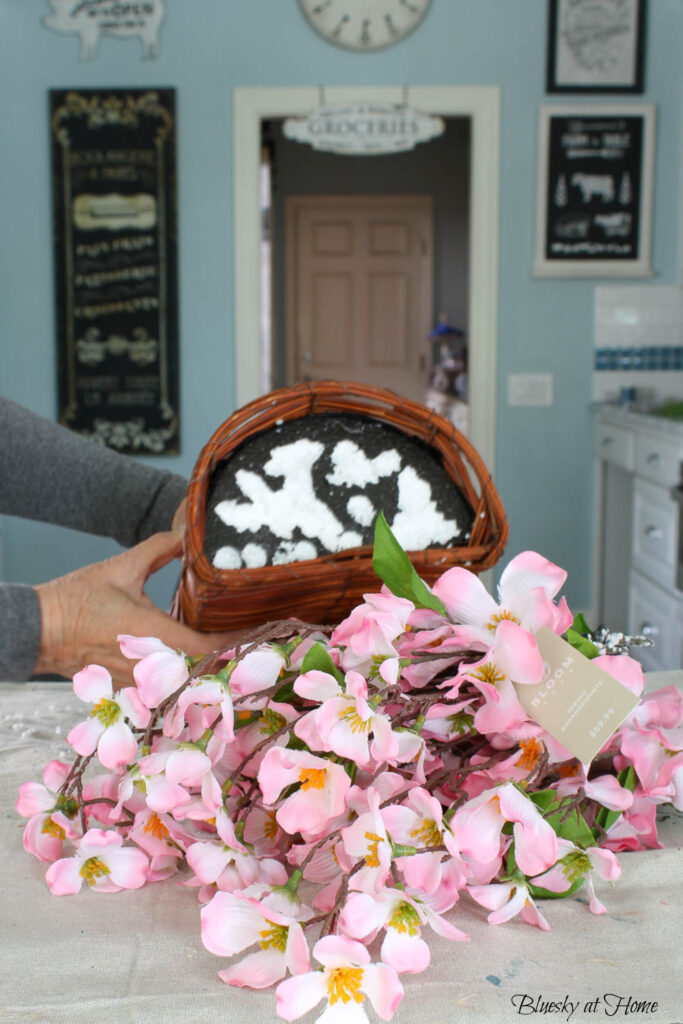
Next, I had to get the styrofoam out of the basket. I started by using a large knife to cut into the styrofoam. Then I switched to a large metal spoon. Most of the styrofoam came out in big chunks, but small pieces found their way to the floor.
TIP: if you ever have to remove styrofoam from a basket or other container, be sure to do it over a trash can. Styrofoam can be a real mess.
After a bit, I realized that the styrofoam was wedged inside a plastic bag. I was able to pull the plastic bag out of the basket and the rest of the styrofoam came out in a big chunk. Now the basket was empty and ready for the next step.
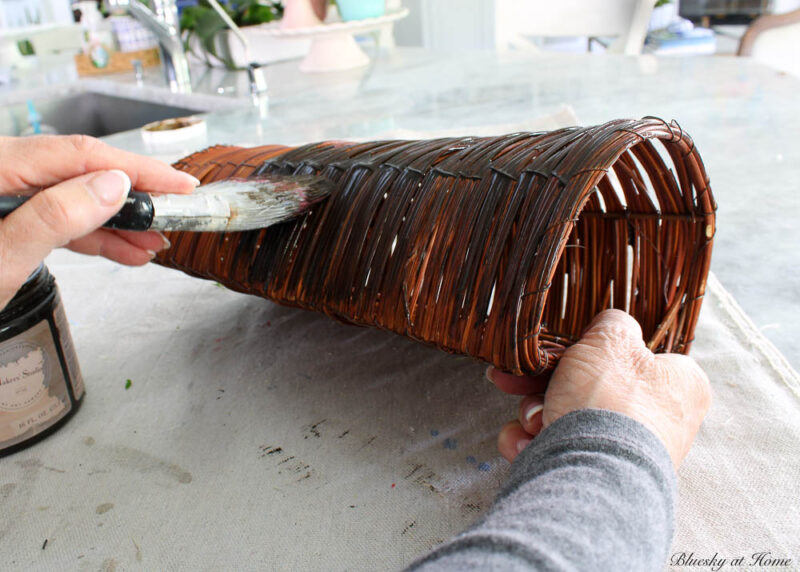
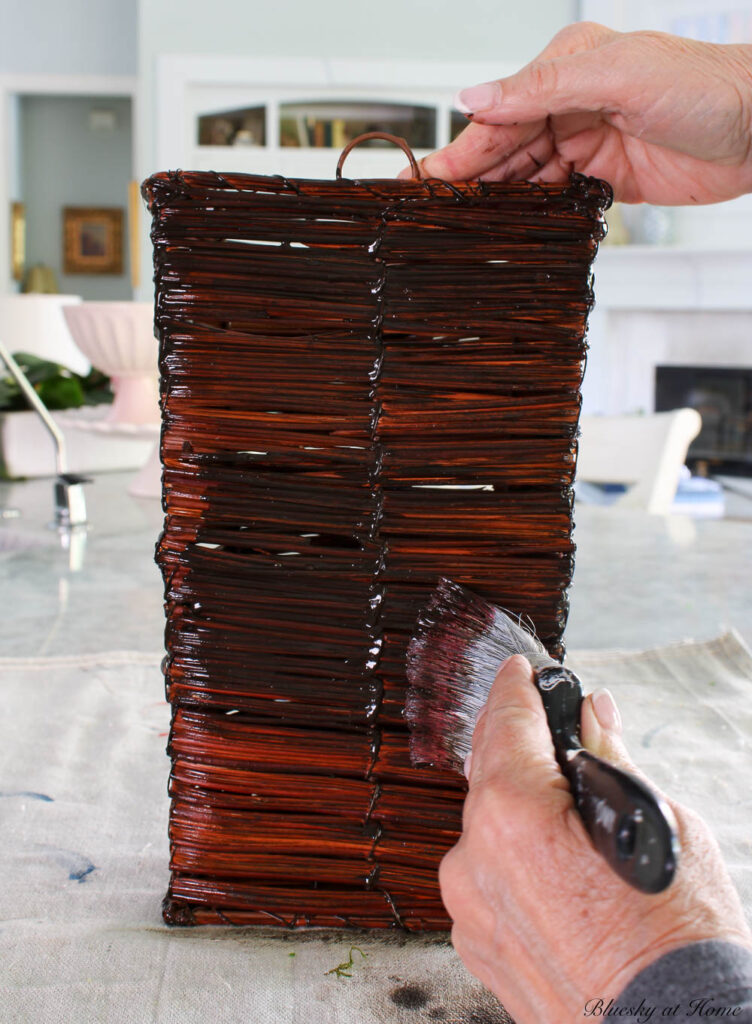
The second thing I needed to change was the color of the stain on the basket. I wanted a darker stain without the red cast.
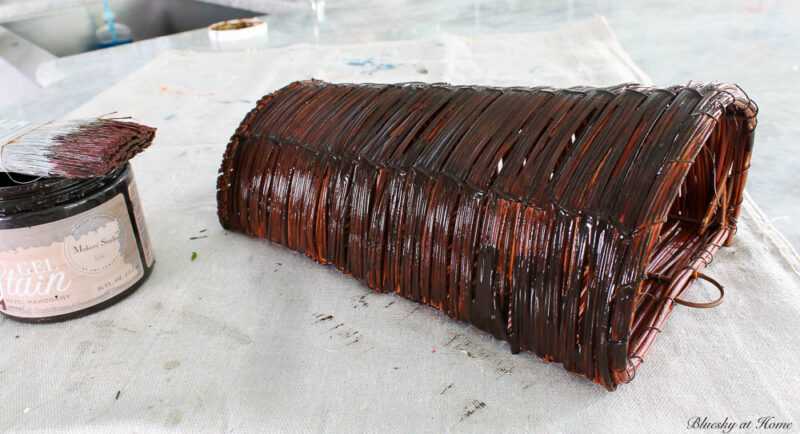
I still had plenty of Gel Stain from A Maker’s Studio. I have previously used it to stain our front door and patio table. This stain color is Hazel Mahogany, a deep brown.
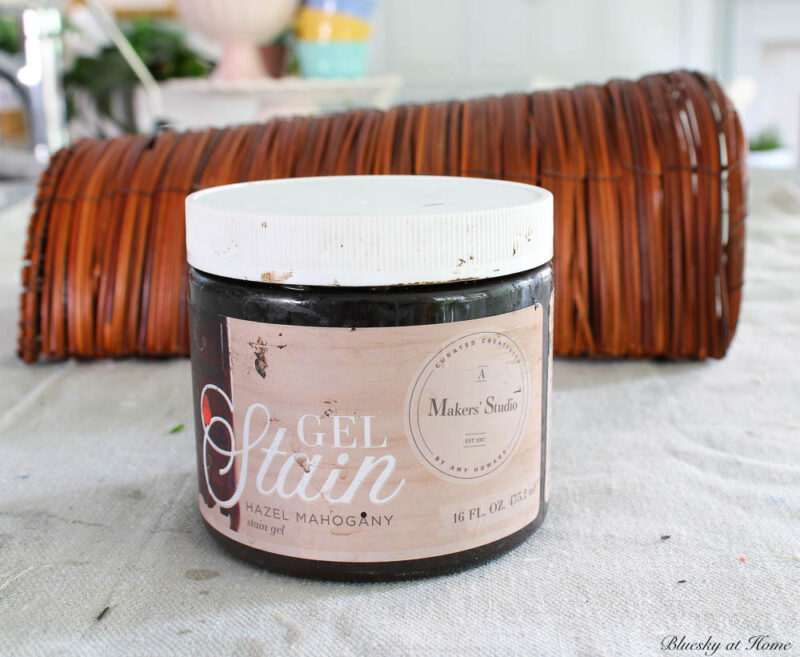
I applied the Gel Stain (It’s water-based and easy to clean up with soap and water.) with a chip brush. First I painted the front of the basket and then the back of the basket. Finally, I painted the bottom of the basket. I let the basket dry overnight (It was almost dinner time).
Now, I was ready to add my faux flowers.
Making a Hanger for the Flower Basket
Before I added my flowers to the basket, I needed a way to hang it. Although the basket had a twig hanger, that wouldn’t work for making this basket into a door hanger. I thought ribbon would work well.
I found two possibilities, one in blue and one in sage green. I decided to use the green ribbon.
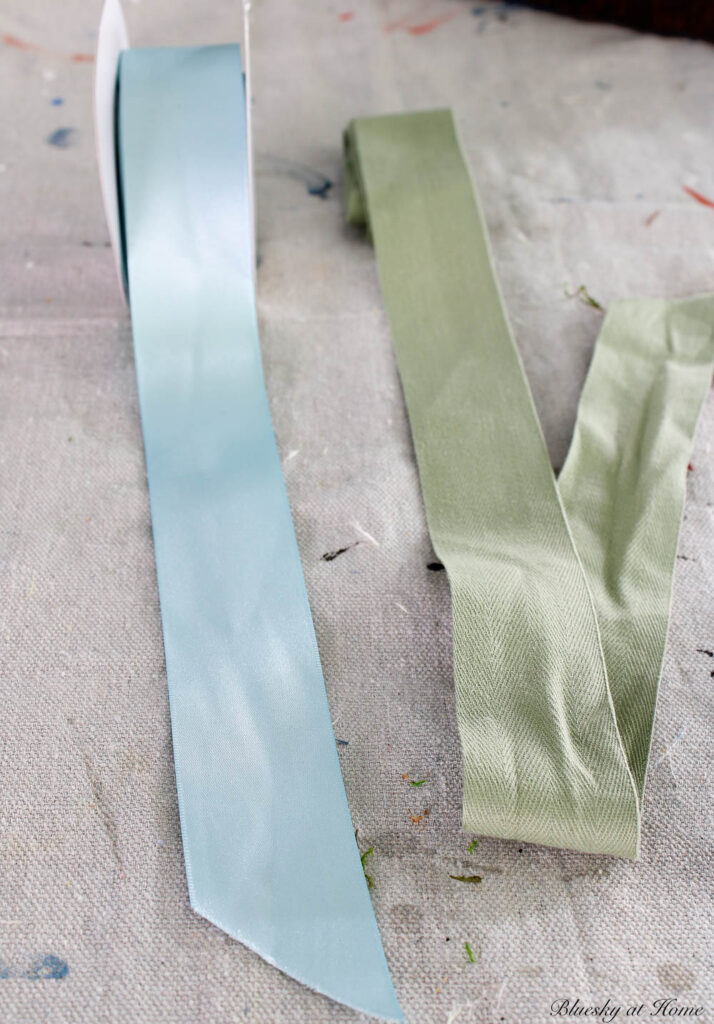
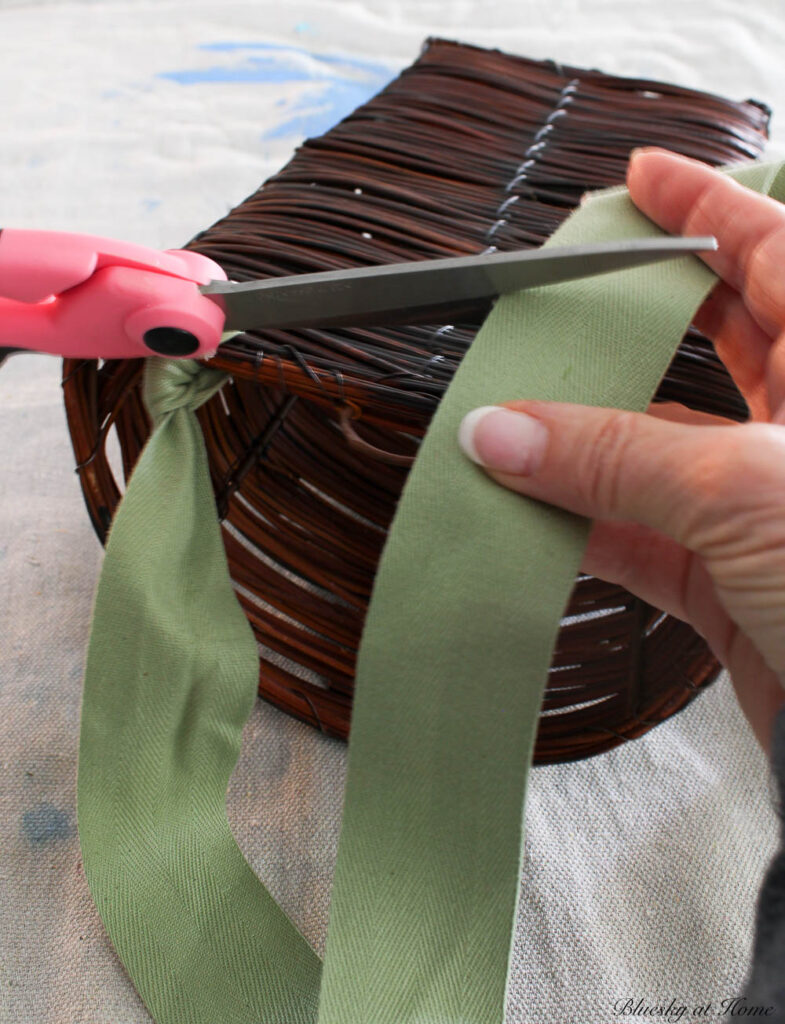
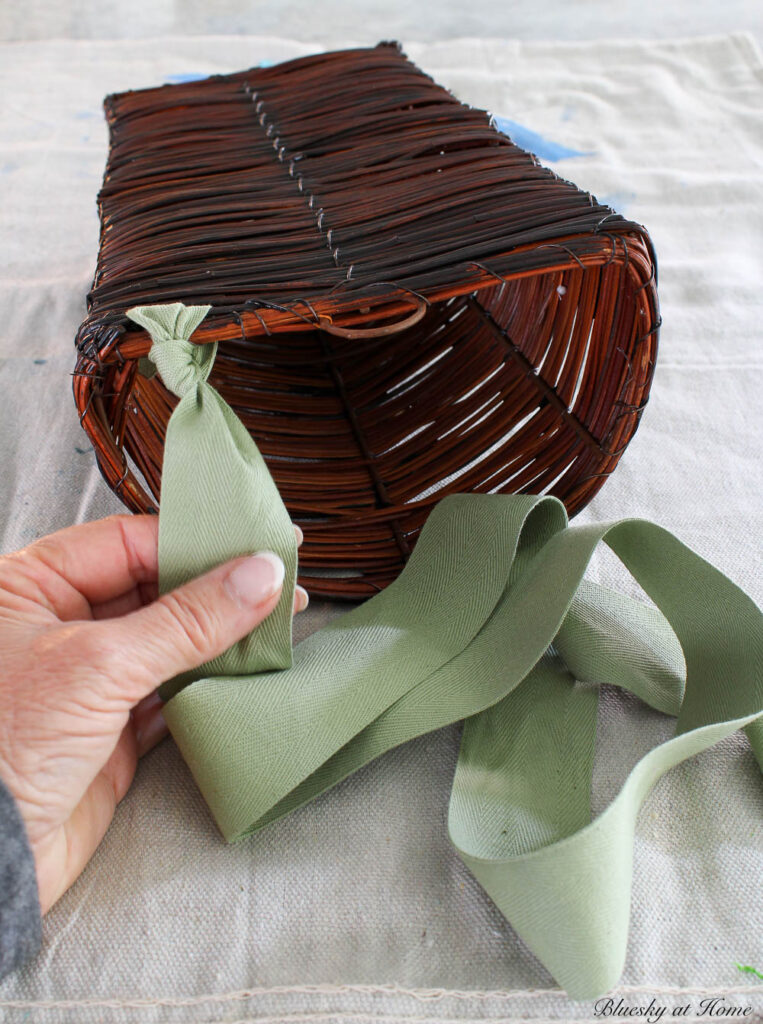
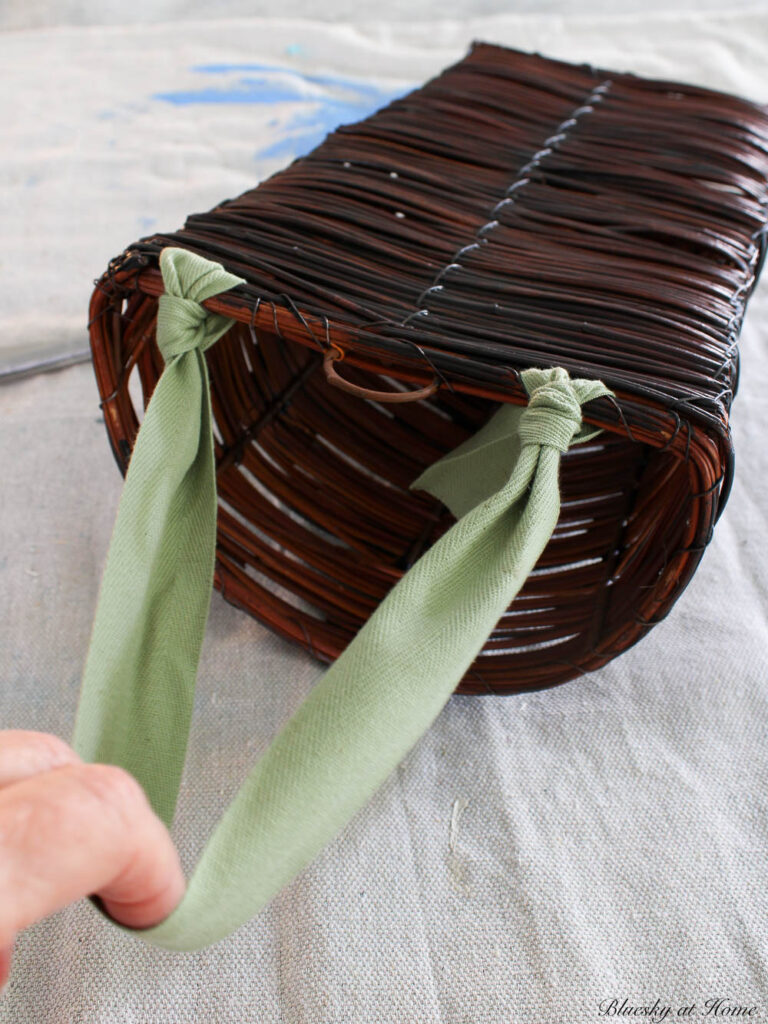
I clipped the ends of the ribbon at a slant and slipped one end through a slit in the back of the basket and tied a neat knot. Then I repeated this on the other side of the basket.
Filling the Basket with Faux Flowers
I didn’t think floral foam would be necessary to hold the flowers. As it turned out, all the faux stems fit snugly inside the basket. Obviously, the size of your basket determines how many flowers you will need to fill it.
I gathered a variety of faux spring flowers to use. I knew I wanted blues, pinks, and whites. I added some bright yellow tulips but then decided not to use them.
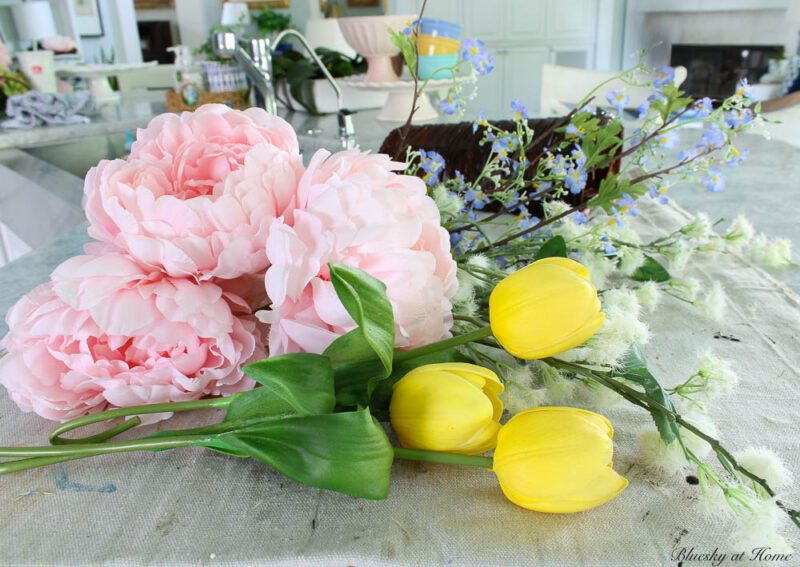
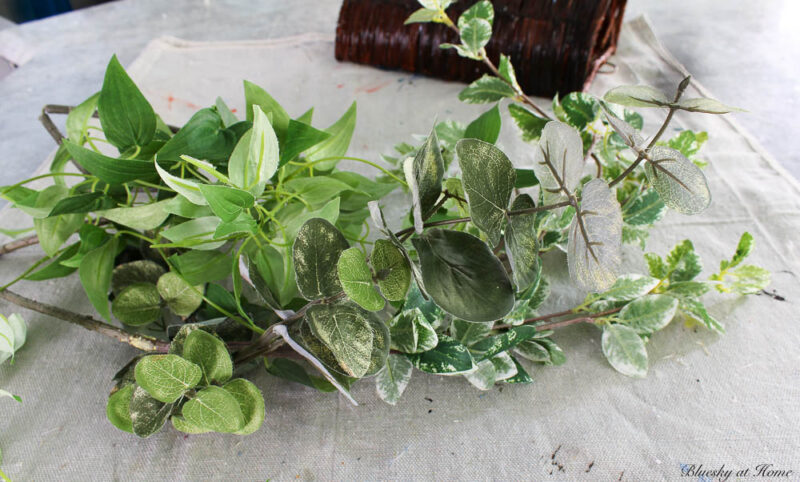
I collected some greenery to hang down from the basket.
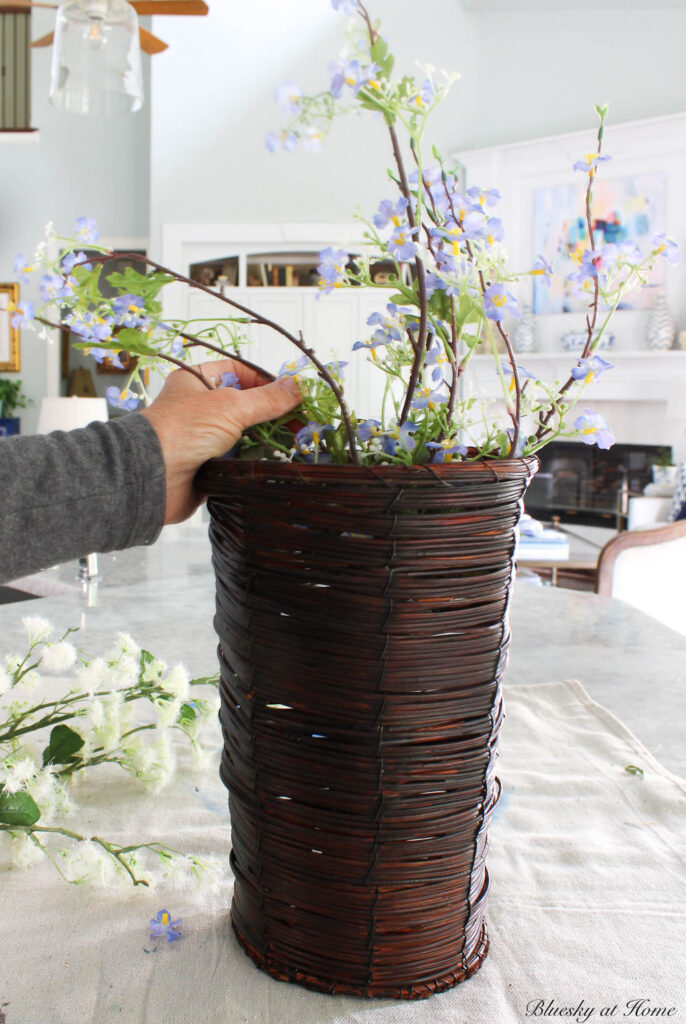
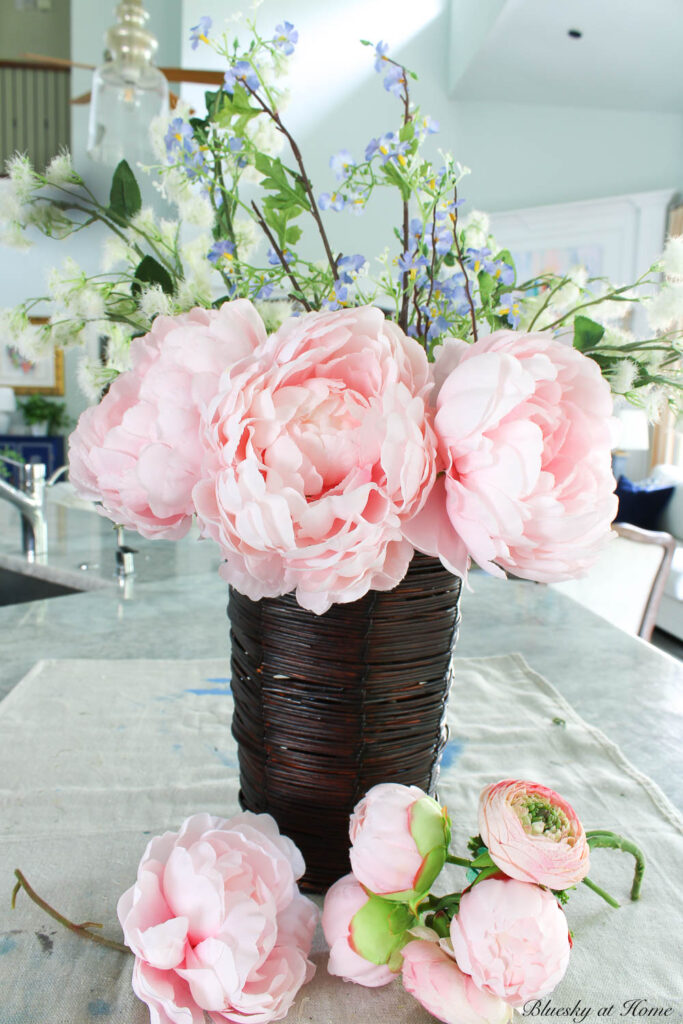
For my faux florals, I chose one large pick with small blue flowers and put it in the back center of the basket. I don’t know what type of flower it is, but I like its airy look, and the touch of blue.
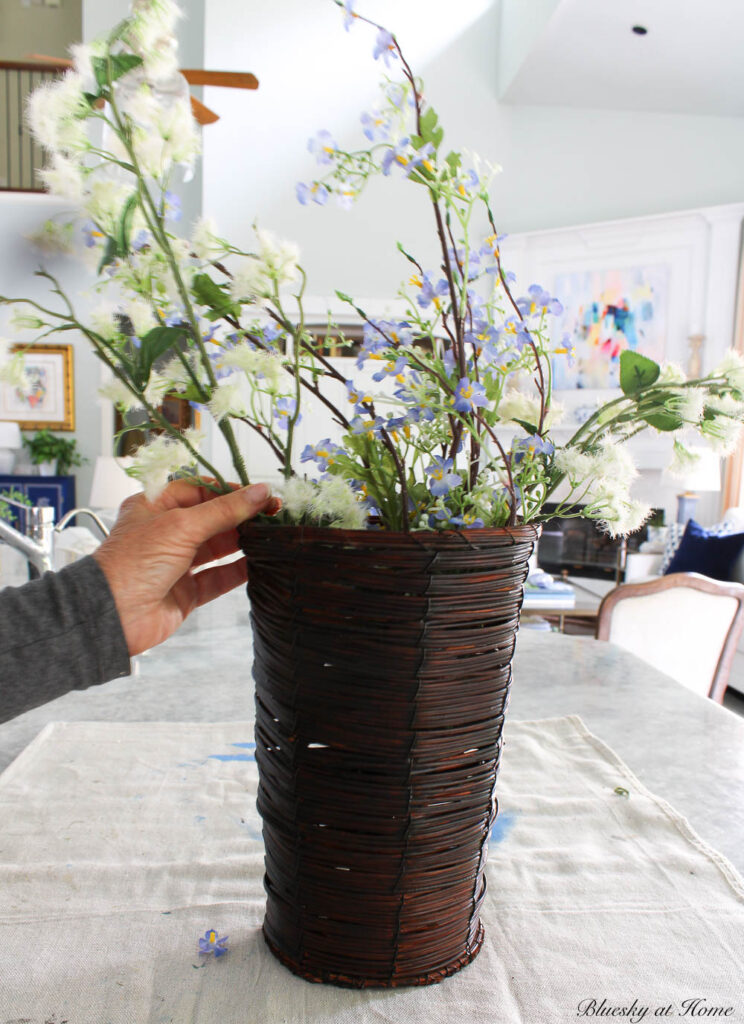
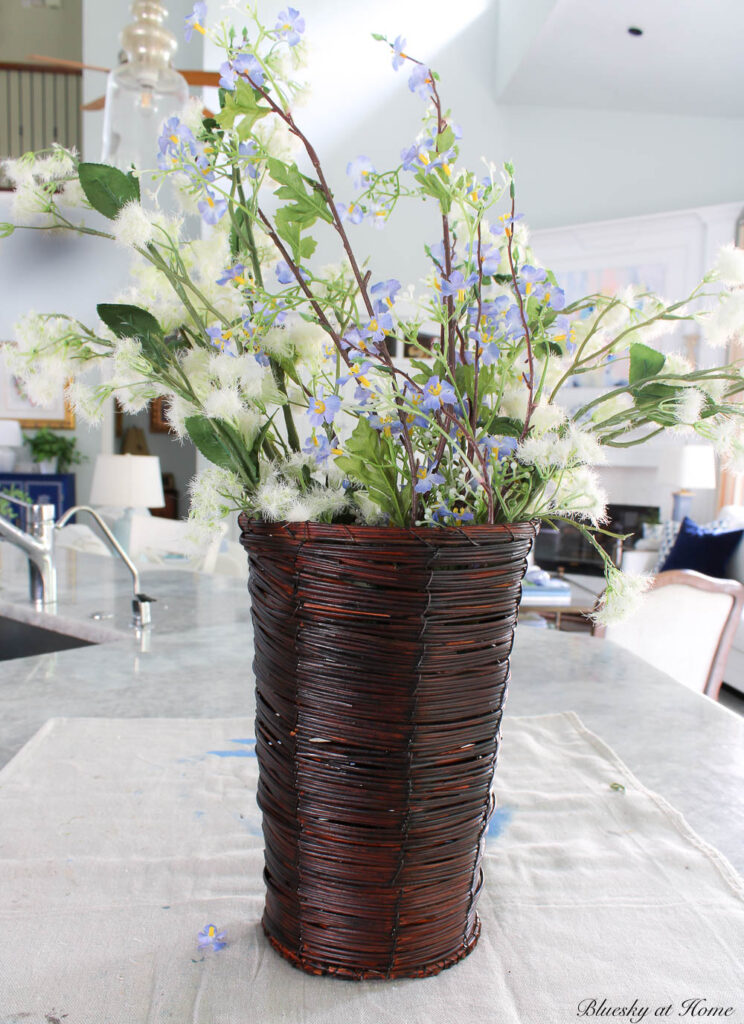
On each side of the blue flowers, I placed two picks of white whispy flowers. This continues the soft look of the spring arrangement. Together these stems are the “thriller” of my flower arrangement.
Peonies are one of my favorite flowers, and I have several faux stems. Unfortunately, we don’t have fresh peonies to enjoy as our peony bush stopped producing blooms two years ago.
I wanted their pretty pink shade to provide a pop of color. The peonies provide the “filler” in the center of the basket.
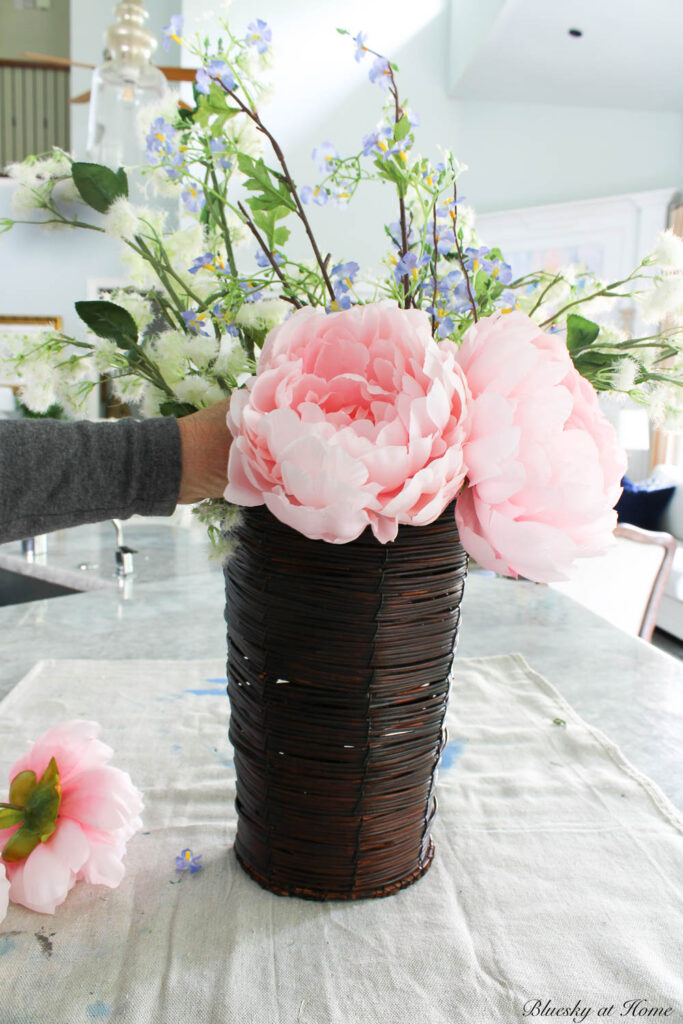
For the “spiller”, I used faux greenery. The trailing greenery softens the front of the basket.
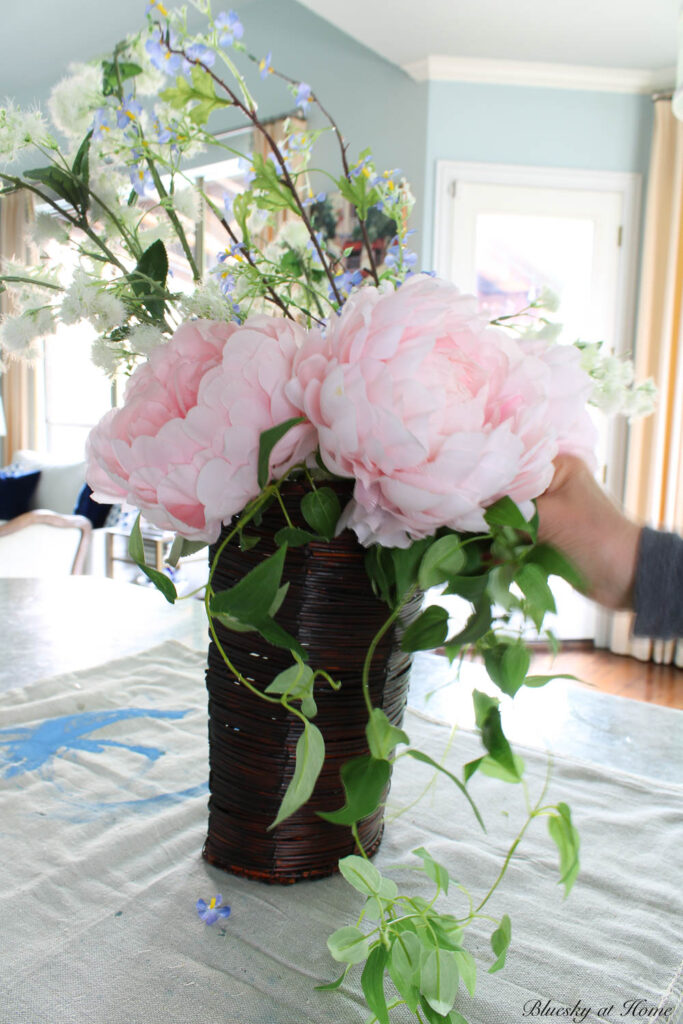
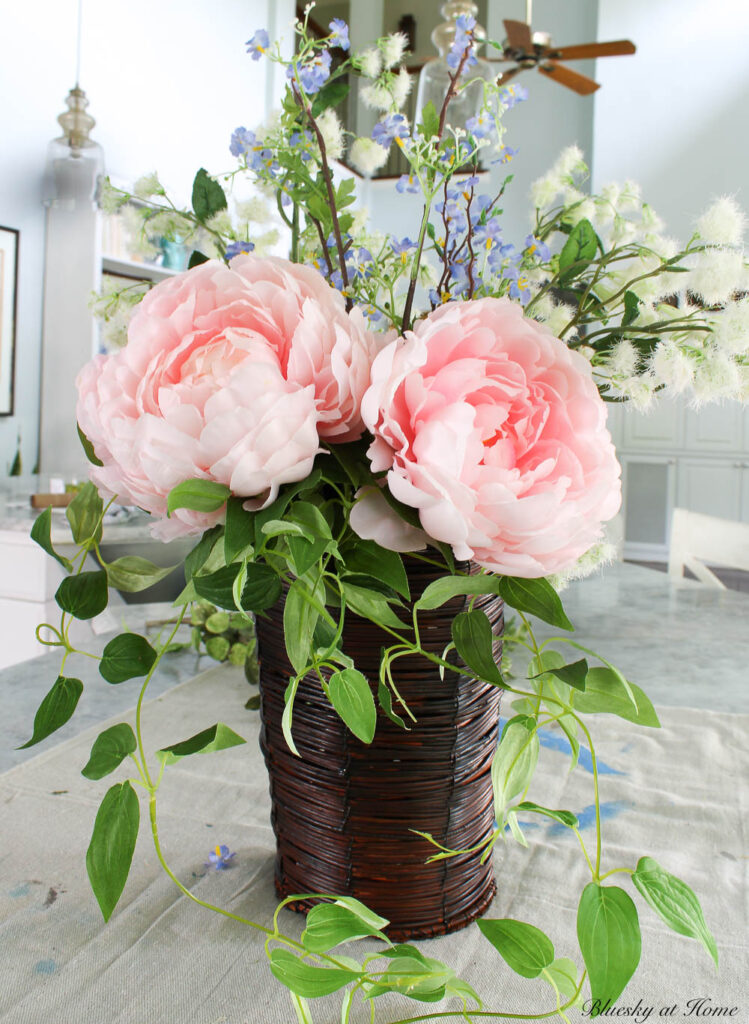
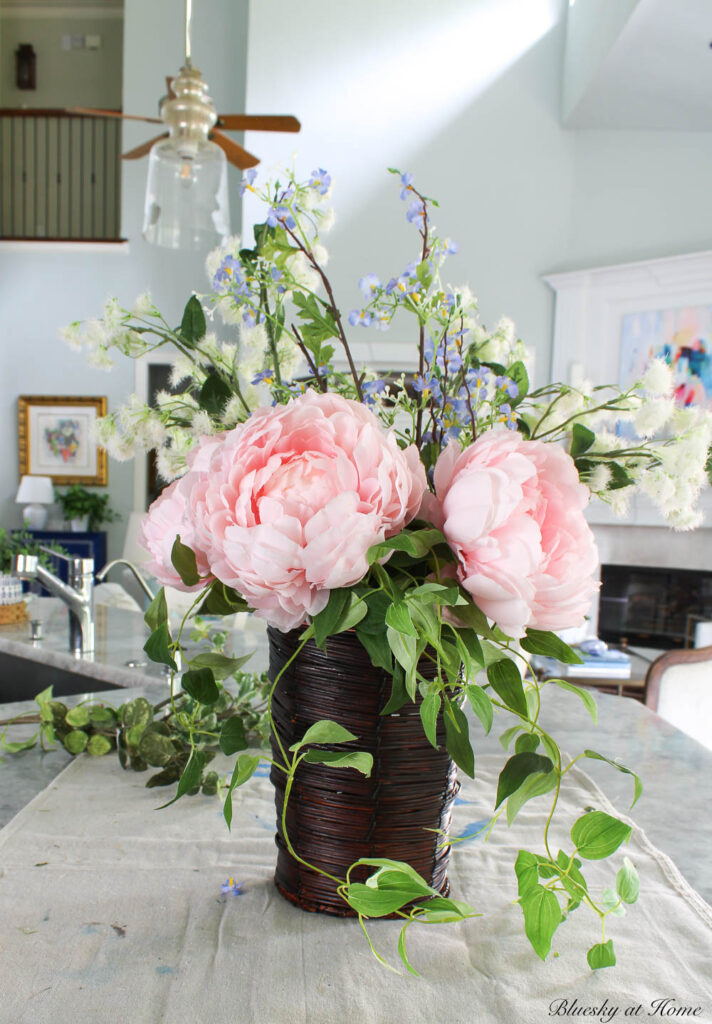
Filling the basket with faux flowers was easy and took just a couple of minutes.
Hanging the Simple Spring Flower Basket
The finishing touch is to hang the basket. Just for fun, I tried the basket by the back door.
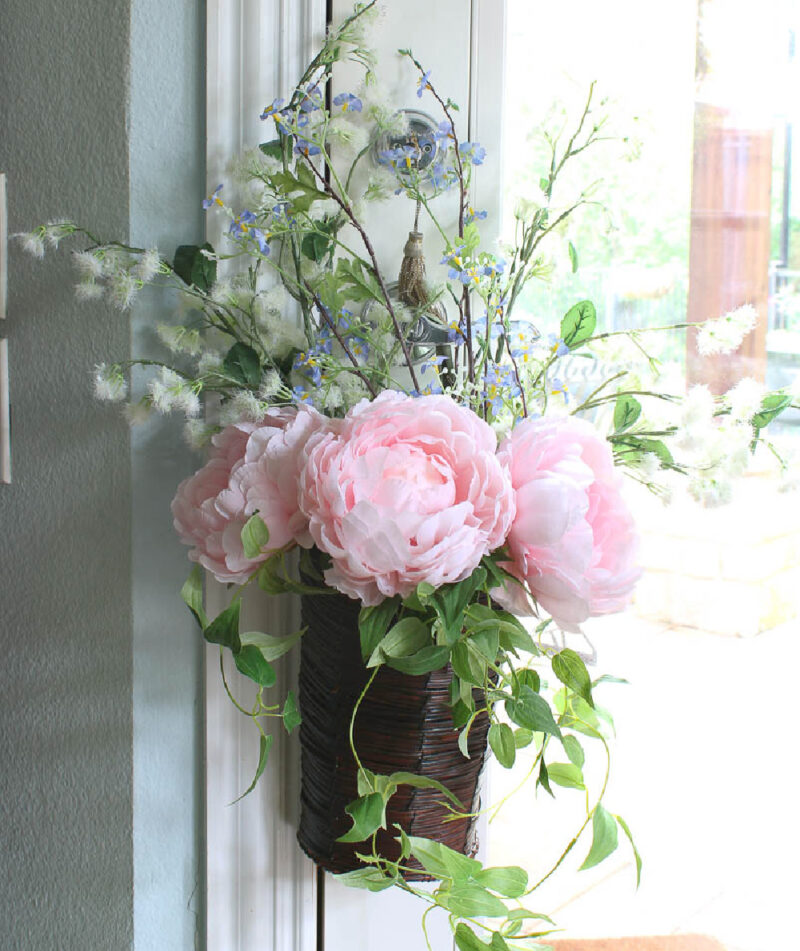
Then I moved it to the front door. The sun was really coming in through the glass.
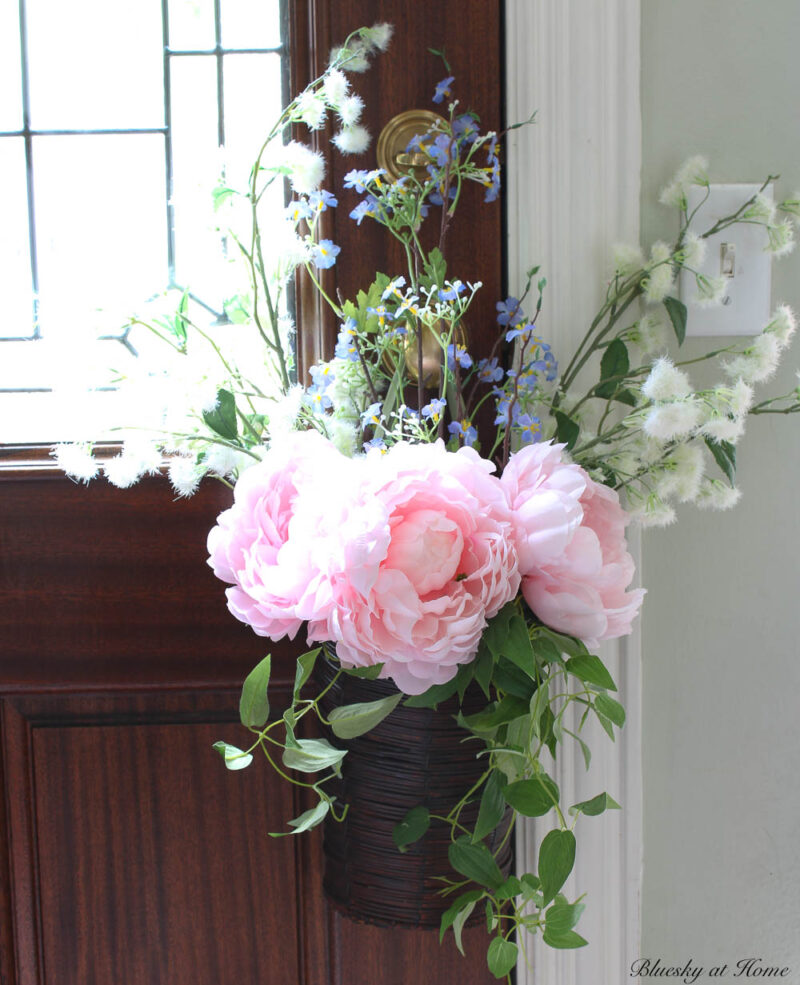
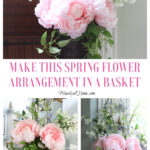
You can easily make this spring flower basket with a simple basket and a few faux stems. It will add a nice touch of spring to your entry and to your home.
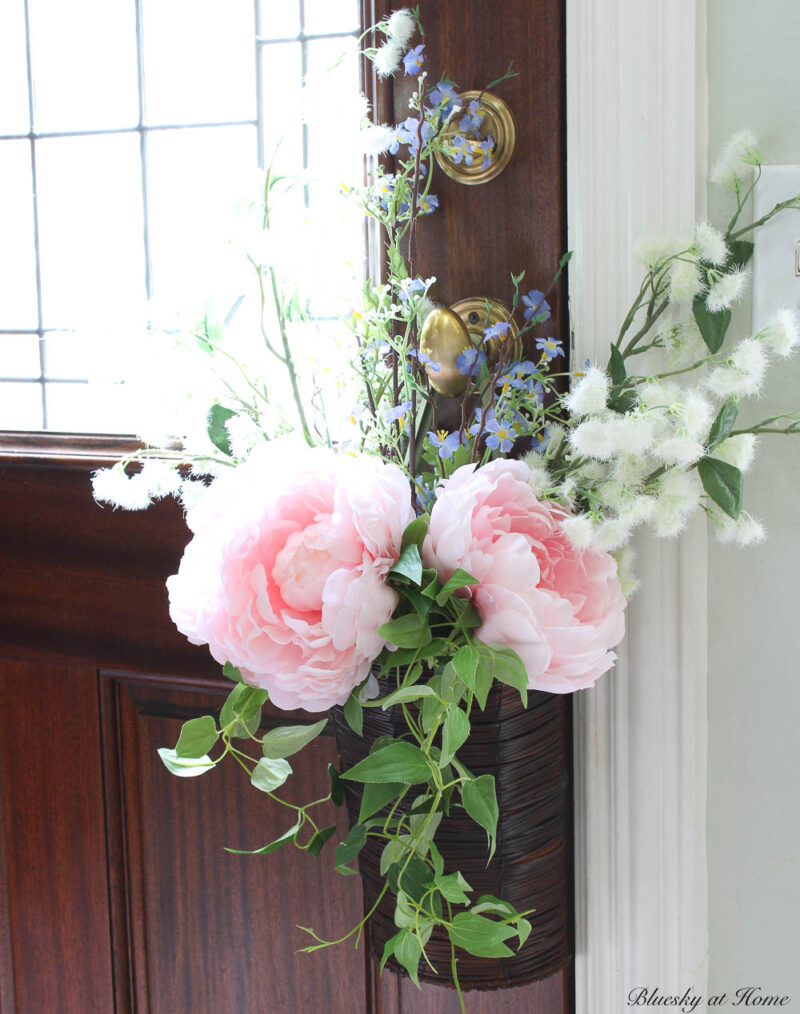
If you like this idea for a simple spring flower basket, please PIN it.
Here are some other basket decorating ideas:
- 3 Ideas for Decorating Baskets for Summer
- How to Make a Spring Flower Basket Arrangement – with Real Flowers
Next up on this blog hop is Wendy of WM Design House. I know you’ll enjoy her design






So charming and sweet Carol! Great job. Thrilled to be featuring you in Fabulous Friday Link Party!
Your flower basket is simply gorgeous! What awesome luck getting free items at JoAnn’s. Thanks for sharing at the #HomeMattersParty.
Your basket came out beautifully. I found myself thinking of different flower combos–sunflowers for late summer into fall, pine greenery and pointsettias for Christmas, etc. Our Joanne’s has never done “free” when I’ve been; what an awesome thing to do! Years ago, I hit Michaels when they said you could fill an hand basket for $5 or a cart for $10. And I had gone there with a $10 bill to spend. Coincidence–when God does a miracle and decides to remain anonymous! Your idea was perfect for May Day, too!
Love your gorgeous basket Carol and especially like your ribbon hanger!
What a lovely basket, Carol!! How crazy that JoAnn’s was doing that!! You scored an amazing basket, that’s for sure! I love all of the flowers that you chose to use in your basket. The pink peonies are beautiful. Such a great DIY for Spring!
What an awesome idea. Although we share accommodation with our daughter and SIL I can still use this idea for our entrance, this is so beautiful.
I visited you via To Grandma’s House we go! (Wednesday Link Party #345)
If you are not already part of SSPS, this is a personal invite to hop over and come and share your posts with us at Senior Salon Pit Stop, every Monday to Saturday.
See my entries: 61+62 and then navigate to the bottom of my page for the Senior Salon Pit Stop linkup, we hope to meet you there virtually.
I love your basket transformation Carol. You did a great job updating the color and your flower choices were perfect.
Thanks so much for your sweet compliment, Wendy.
Wowza, your basket turned out beautifully and what a great post. It’s amazing how a little stain can transform an old basket and the flowers you chose are perfect! Thank you for joining in. I tried to pin several photos but nothing would pin.
My Joann’s had a similar giveaway last year, too! So great! Your basket looks so pretty, Carol! Happy spring!
Love how the peonies just fill the whole arrangement and love how you used the ribbon. So fresh and pretty for Spring! How fun to grab 6 free things from Joann’s; lucky you!
Wow Carol, you have the best luck finding good deals! Love how the basket looks with the gel stain, and the ribbon. Beautiful flowers too and looks so realistic!
The transformation of your basket is so clever. The floral arrangement is gorgeous.
I love your basket, and your tutorial is so perfect. That is always such a help. Staining the basket makes it look really expensive too. Great ideas and such a pretty floral arrangement.
What a great freebie! I adore your arrangement. The cascading vines are a gorgeous touch!
Carol your basket is absolutely beautiful! Great job. Now I’m on the hunt for a basket!
I love the new color of the basket after the stain, Carol! Great idea. And your floral arrangement is so pretty, too!
HI Carol. Free! You had me at free! I love the work you put into it! Looks amazing with the flowers! xo laura