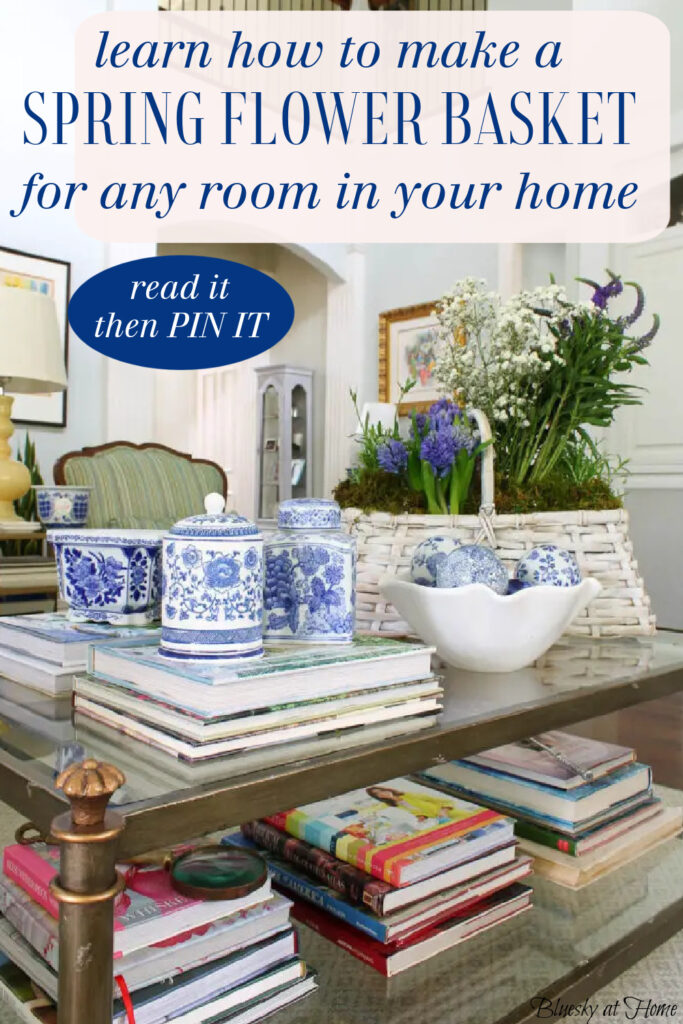
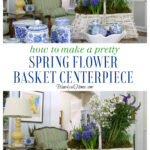
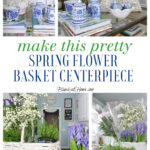
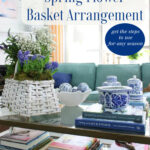
How to Make a Spring Flower Basket Arrangement
Spring flower arrangements add beauty and design to our homes. You can use all sorts of flowers and containers to create a centerpiece. How do you make a spring flower basket arrangement? Let me show you one way.
Baskets are one of our favorite items to use in home decor. They are nice to have by themselves or they help us contain decorative objects. We also use baskets to hold things from practical to pretty.
One of those pretty things to put in a basket is flowers. I recently created a spring flower basket arrangement for our living room coffee table.
The steps I took to create this basket arrangement filled with spring flowers are simple. You can follow them to create a basket flower arrangement for any time of year.
With spring around the corner, I wanted to share this spring flower basket arrangement that I made last year. It inspires me and I hope that you will get some inspiration, too.
Spring Flower Basket Arrangement
Are you beginning to think about spring gardening and decorating?
In March spring begins to slowly show its pretty face. Then April is the first month of the year when flowers begin to grace our gardens and flower beds. We want to bring the colors and beauty of flowers into our homes.
Combine a lovely basket with pretty flowers – fresh or faux and you have the makings for a beautiful spring flower basket arrangement.
This makes a wonderful centerpiece to use in your home.
How Do You Make a Floral Basket Centerpiece?
It’s not hard if you follow these steps.
Step 1 – Decide where you want your arrangement
Since I wanted to create a fresh spring flower arrangement for our living room coffee table, I chose my basket and flowers with that area in mind.
The location of your arrangement will determine your next step. Our coffee table is a large rectangle so I can use a large basket.
Step 2 – Select your basket
Your basket should be large enough to comfortably fit the space you have. If the basket is too small for the space, it might get lost.
I had a couple of baskets I could use, but I chose one of my all-time favorites. I’ve had this basket so long that I don’t remember when or where I bought it.
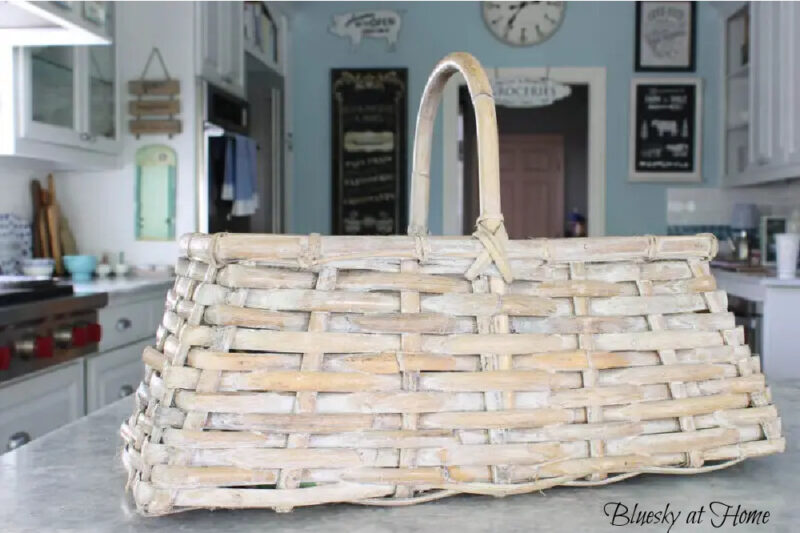
I love the shape of it with the handle. The finish is whitewashed, but very faded.
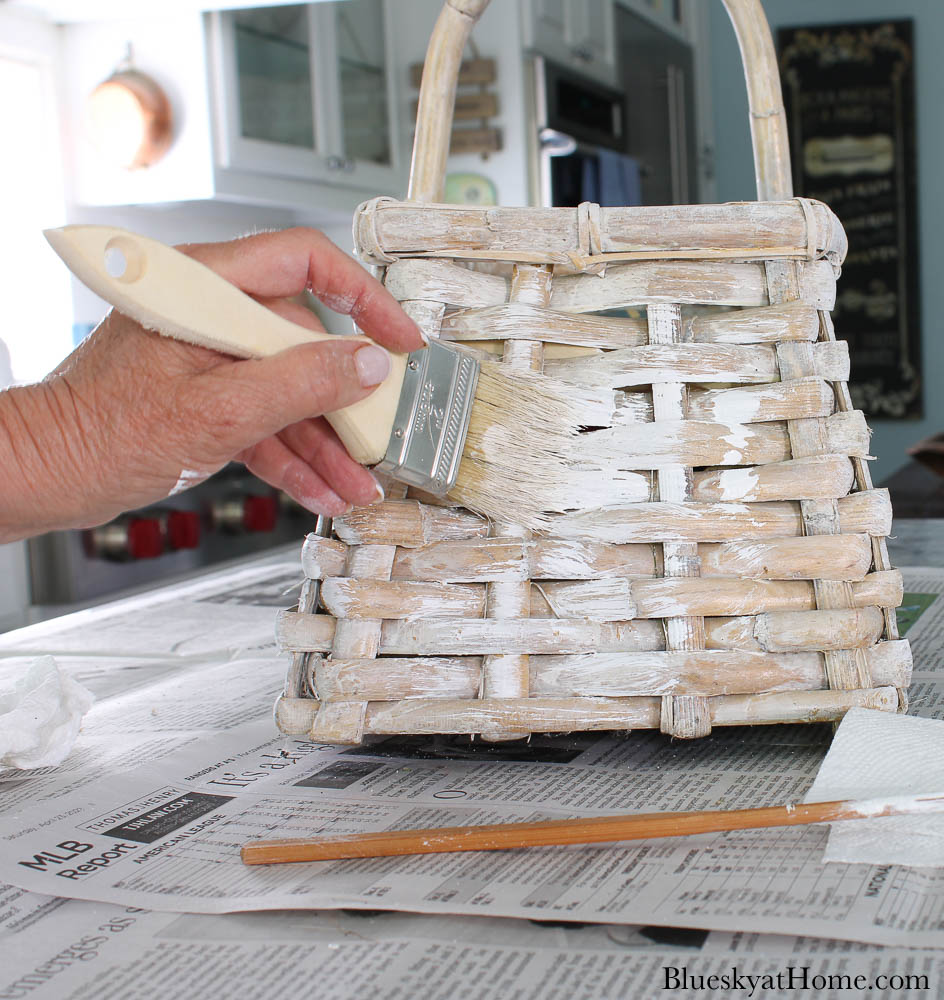
Step 3 – Prepare your basket
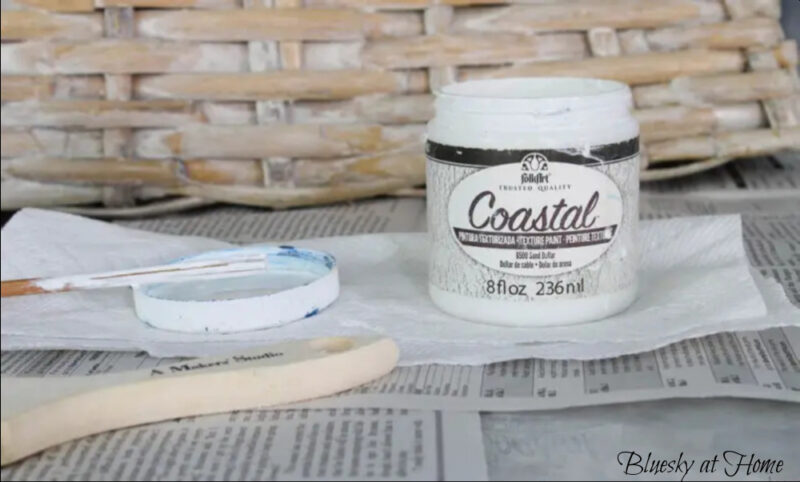
I wanted my spring basket to be whiter. To get that look, I used some old paint that I’ve had for over four years. It was part of a free box of 12 paints from FolkArt at Haven in 2018.
The paint had dried a bit so I filled the jar with water and shook it and stirred the paint until I returned the paint to a creamy consistency.
Then, using a damp 2 1/2-inch brush, I lightly applied the paint to the basket.
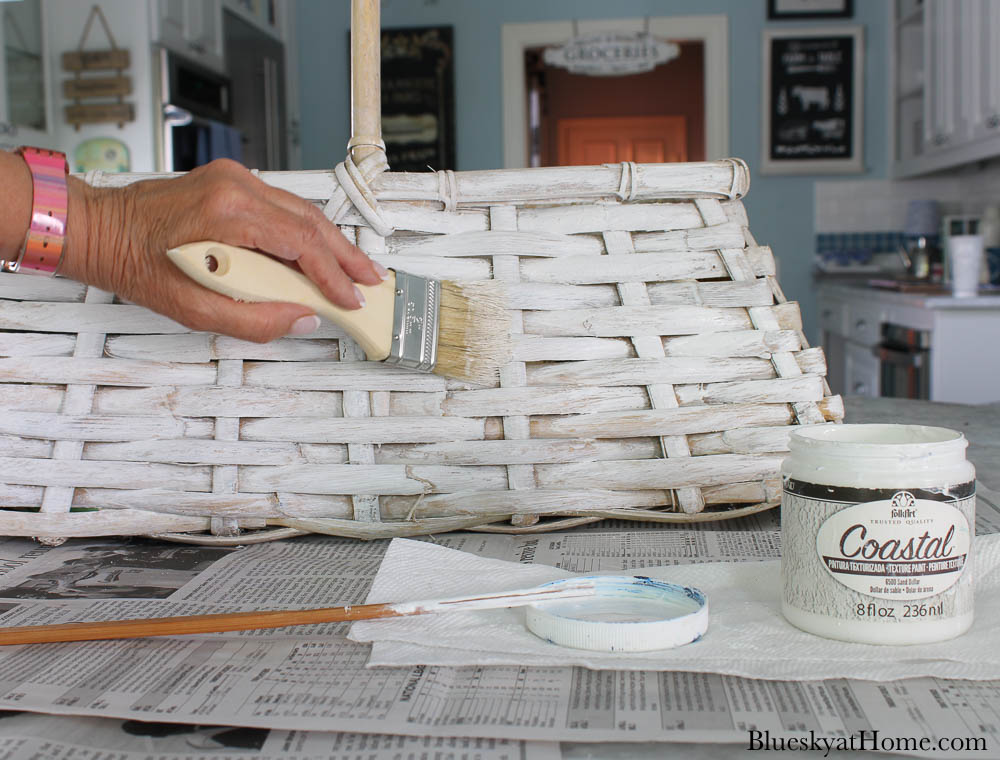
Next, I wiped off the paint with a paper towel.
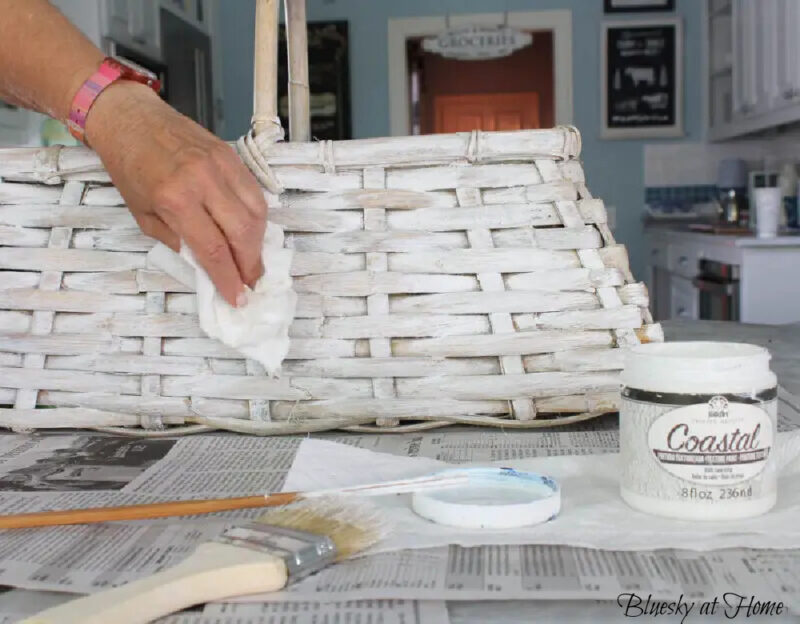
The whiter basket will work better with my flower colors. It also looks fresher.
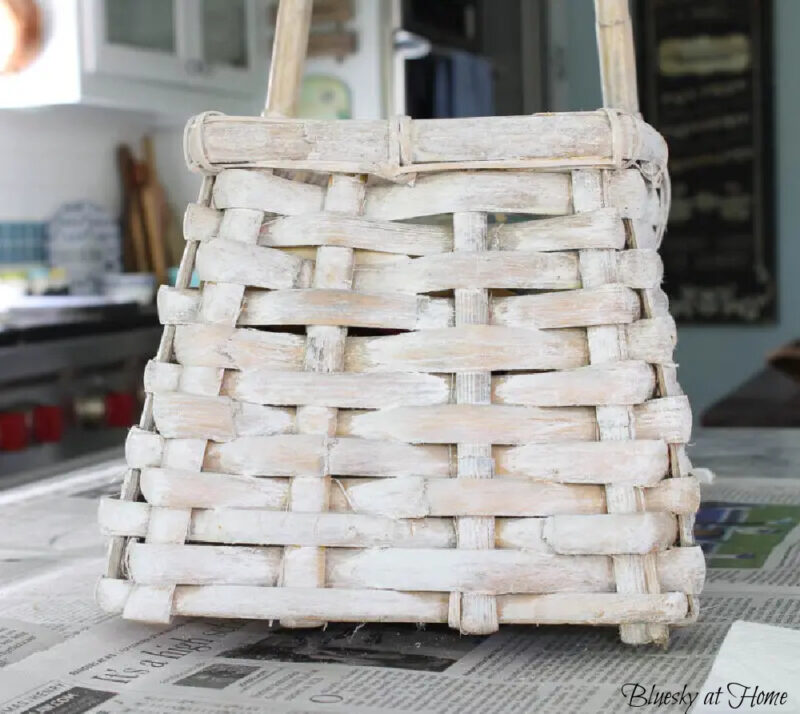
I’ve had the basket so long that the newspaper stuffing inside it has turned yellow. I removed the old paper and replaced it with fresh newspaper.
Step 4 – Select your flowers
The color scheme I wanted for my spring flower basket arrangement was blue and white.
It’s a little early for cutting flowers from our yards – there are none yet. Fortunately, we have plenty of sources for fresh flowers, from our local grocery stores, garden stores, and flower shops.
A trip to Trader Joe’s resulted in finding my colors.
- baby’s breath for white
- blue hyacinths
- a blue flower called Victoria
TIP: Carry a bucket in your car for flowers. Last year a nice guy at Trader Joe’s gave me one for my car. They will give you one if you ask. I usually pour my leftover water from tennis into the bucket.

Unfortunately, Trader Joe’s didn’t have any blue hydrangeas. Or lavender.
I made a stop at Lowe’s where I did find pots of lavender. They aren’t blooming yet, but in a couple of weeks, I’ll plant them in a larger pot and put them outside. By June, we should have blue blooms.
The label on these flowers said “Victoria”.
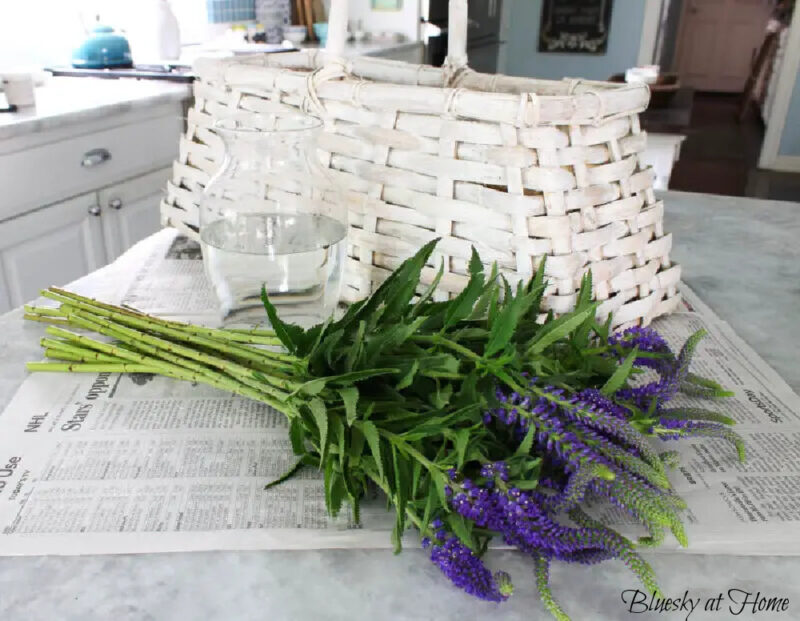
As soon as I brought my flowers home, I trimmed about 1 inch from the baby’s breath and Victoria. I removed a few leaves from each bunch of hyacinths. Then I let them soak in the bucket of water. I also watered the lavender really well.
I actually did this before I started painting my basket.
Step 5 ~ Assemble your spring basket arrangement
Now it’s time to start filling your basket.
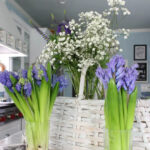
First, I gathered a few glasses. (You can use vases for your flowers, too.) I needed one glass for the Victoria, one for the baby’s breath, and one each for the two bunches of blue hyacinth.
Next, I made space in the basket for the Victoria and the baby’s breath in the center of the basket next to the basket handle.
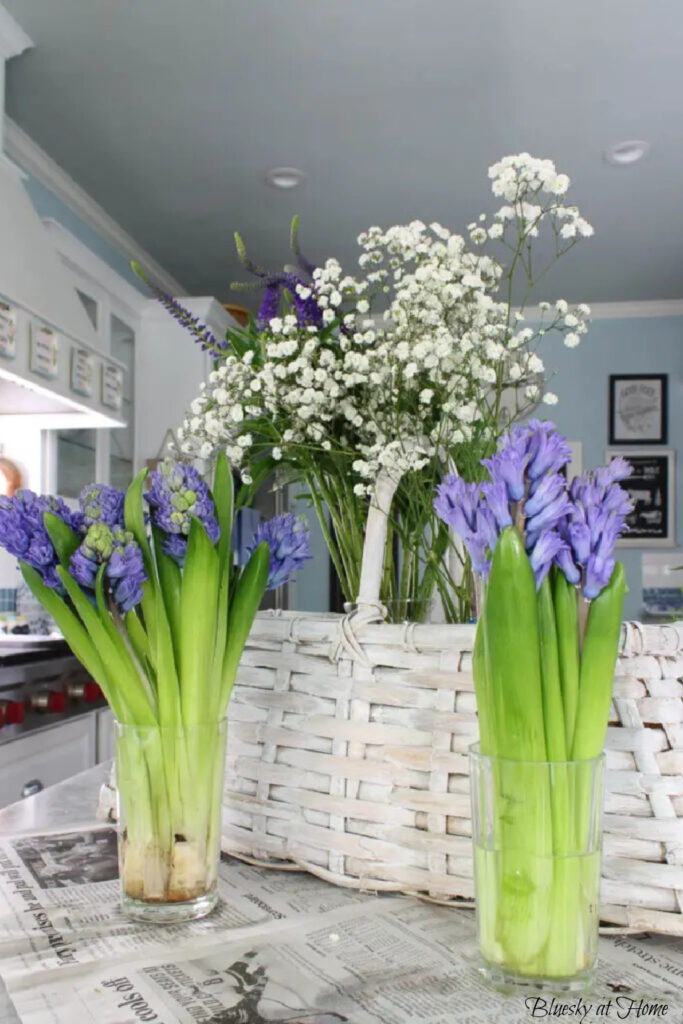
Then I placed one pot of lavender on each end of the basket. I tilted them outward.
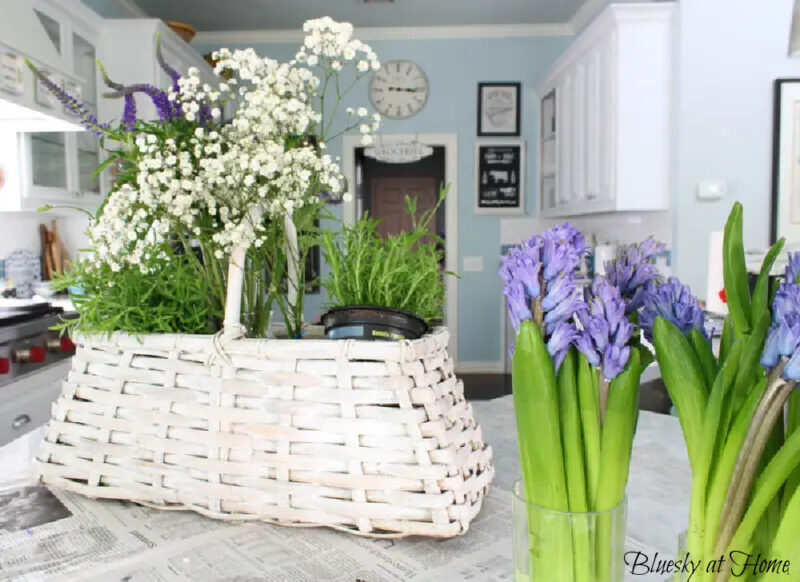
Finally, I added the glasses of hyacinths next to the lavender. All the glasses were tucked in nice and tight.
Step 6 ~ Finish the flower basket
No flower arrangement is complete without a finishing covering of moss.
I had just enough moss left to fill in around the glasses of flowers.
I’ve shared many times how much I love moss to give flower arrangements a professional finishing touch. The previous box I bought lasted about three years. Per pound, this is the best buy I’ve found for Super moss.

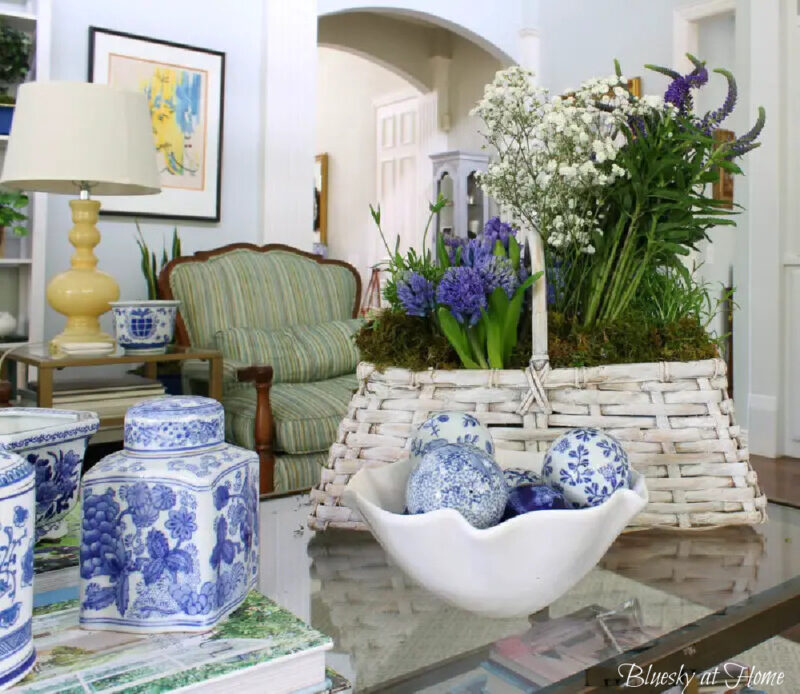
The spring flower basket was finished, but I wasn’t. It was time to make it part of an arrangement and style the coffee table.
From Spring Flower Basket Arrangement to Coffee Table Centerpiece
This coffee table vignette came together so fast and easily that I didn’t take pictures as I went. So I’ll show you the parts of the completed vignette.
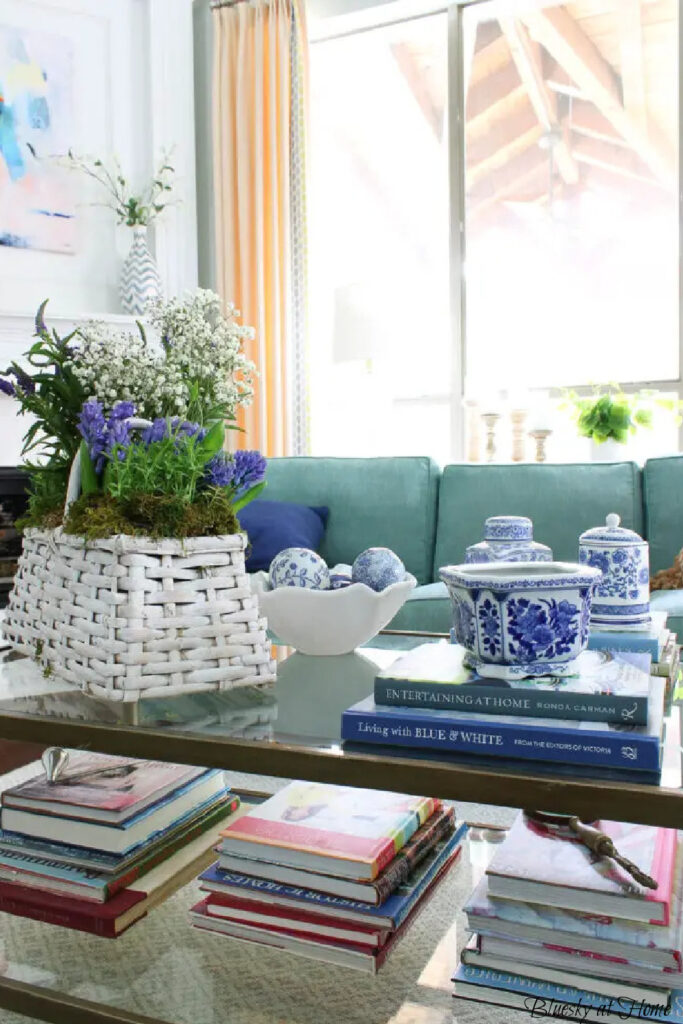
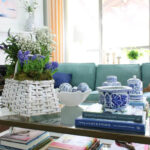
Although the spring flower basket is the centerpiece of the coffee table, it definitely needed other accessory items to balance and fill in the table.
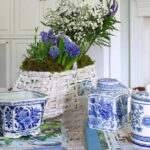
To complement the blue and white of the flower basket, I used two stacks of coffee table books with blue covers.
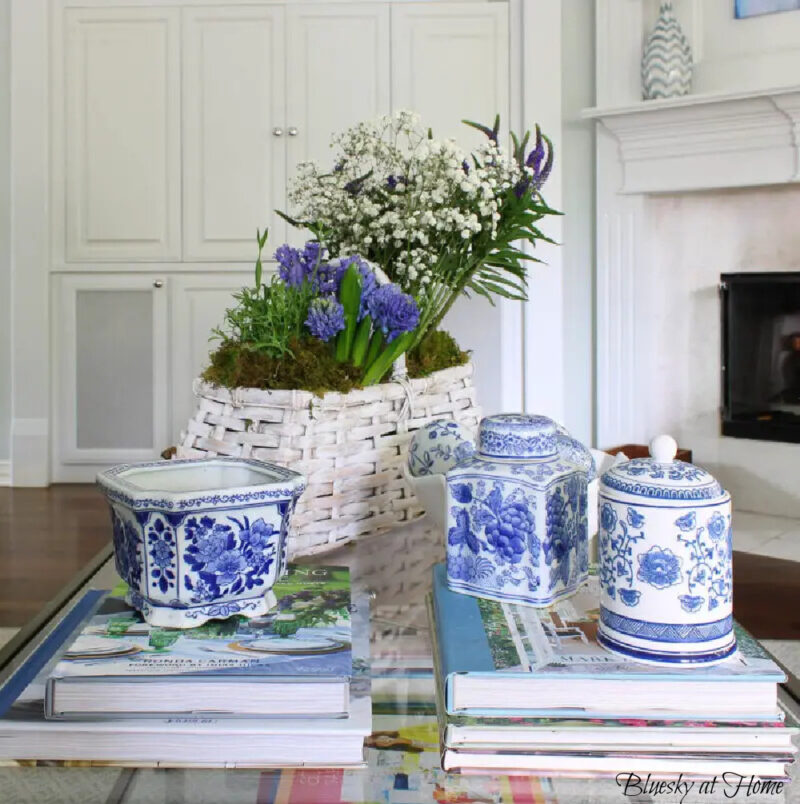
On the books, I placed three pieces of blue and white chinoiserie that I’ve collected in the past few years: a ginger jar, a candle jar and a cache pot.
To fill in the center of the table, I placed a white estate sale bowl with a collection of blue and white ceramic balls. I recently saw similar balls at an antique mall for $15 – $25 each. The price on the ones I bought is a really great deal.
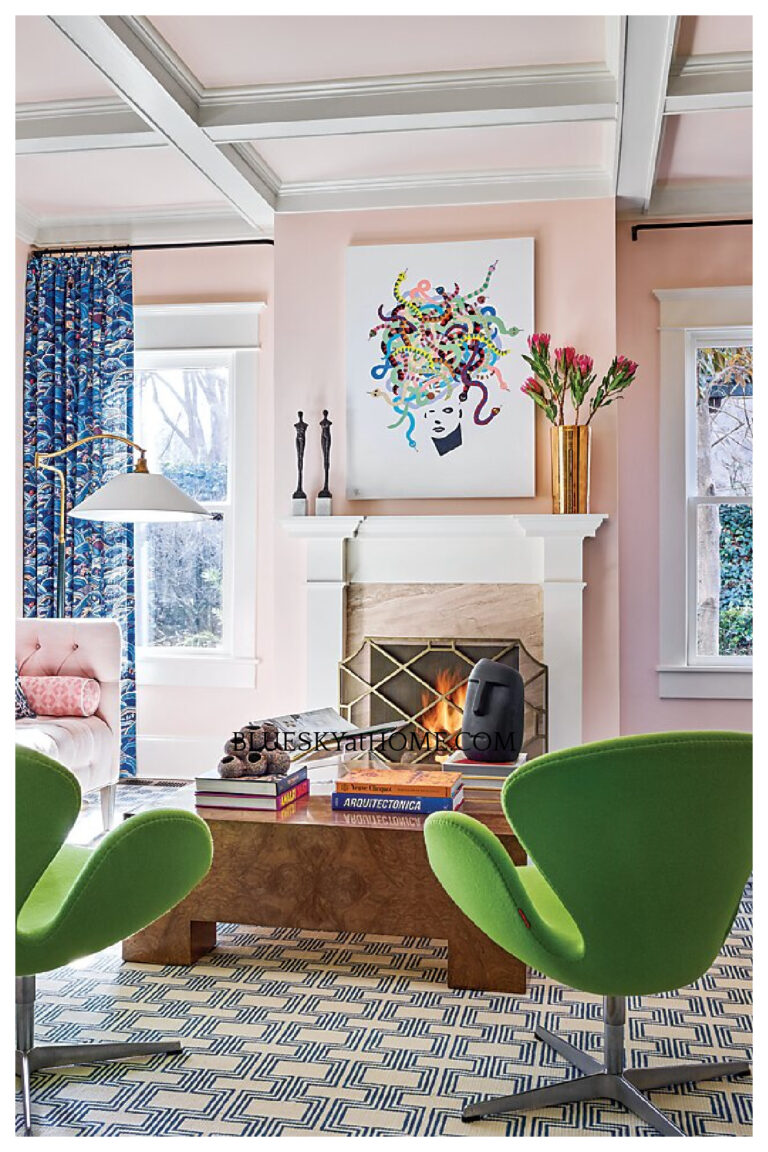
Here you can see a little of our new artwork on the mantel. The tall blue and white chevron vases are from Ballard Design.
I just had to include Nola since she was such a good girl, being calm while I arranged the coffee table.

I’m loving our blue and white themed spring flower basket arrangement. It has brought a great focal point to our living room.
If you want a spring flower basket for your front door, don’t miss this stunning oneI created.
If you would prefer a spring arrangement that will last and last, check out this Spring Faux Floral Centerpiece idea.
Want more spring flower arrangements? Check out this collection of 17 Spring DIY Floral Centerpieces.
Shop this Spring Flower Basket Arrangement
Here are a few things to help you create a spring flower basket centerpiece. I chose baskets with handles that had a great shape. You can leave them as is or paint them white as I did. Even a picnic basket will work nicely.


I hope that our flowers last for a week or two. We are really enjoying the spring flower basket arrangement.
If want to keep all this inspiration, then please PIN this post to your flower boards.


Your basket turned out beautiful! Thanks for sharing it! I’m coming over from the All About Home Link Up Party.
Hi Christie, Welcome to Bluesky at Home. I’m so glad you found me. Hope that you’ll join the community and get more home decor ideas and other goodes.
Your arrangement is so beautiful, Carol. I love the bright and vibrant colors. I am going to share a link to your post this weekend as part of my weekly recap. I think my readers will enjoy this simple spring decorating idea, too!
Beautiful basket of flowers, Carol! I love how you gave the basket a fresh coat of paint. The color scheme of the flowers is so pretty! Pinned!
Beautifully done Carol,
Your basket is so pretty! Painting it white made it go perfectly with your blue and white decor! Happy Spring, Donna
It’s STUNNING, Carol!! I love the pretty colors you used and all the textures make it SO pretty. What a beautiful piece to display anywhere!!
Carol, I love that you repainted your basket ~ it looks really good against the flowers and all the pretty blue and white pieces. I do love your basket of b/w ceramic balls ~ really pretty with all the books!! Really a lovely arrangement on your coffee table.
Enjoy this spring look,
Barb 🙂
Your blue and white version is so pretty! And love all the other accessories for supporting actors.
Beautiful flower arranging Carol, and you could not have picked a better basket for your coffee table vignette. Love how your incorporated the blue and white chinoiserie! Simply stunning my friend!
I love all the plants & flowers you use in your basket. Looks fantastic and the styling on the coffee table is stunning. Pinning! XO- MaryJo
What a great makeover and centerpiece. I just adore your sweet Nola girl!
Your painted basket full of blue and white blooms is my favorite! I love how you used fresh flowers, and your ideas for styling it on your coffee table are spot on! Thanks for inspiring me today 😉
Your arrangement is so so gorgeous, Carol. I’d love to share a photo and a link to your post as part of my weekly roundup this coming Sunday.
First – Nola has gotten so big and is so adorable! Time flies! Second, love your tutorial. Your basket is stunning and it works beautifully with the other colors in your home. I tend to get narrow minded when shopping for my house and miss out on all the bright colors. Putting your basket on the coffee table with your blue and white chinoiserie was a fantastic idea! Love it all. Glad you could join us this month. pinned
Carol, that turned out so lovely! Thank you for sharing. I have a few baskets that are sitting in a closet that need to be brought out. This is perfect! Happy week to you. Toodles, Kathryn
GORGEOUS! I LOVE THIS POST.
Carol,
I love the blue and white combination and that you painted your basket. It’s so beautiful. These challenges always amaze me.