How to Make Easy Christmas Tiles with Stencils
Need to plan your Christmas DIY projects for this year? Do you want Christmas decorations that are easy to make? If so, I have the perfect one. Let me show you how to make easy Christmas tiles with stencils.
It takes just a few hours and a few supplies to make these Christmas tiles. They take minimal DIY skills. And they are so pretty.
Tiles are so affordable. Plain tiles are available at your local big-box stores, such as Lowes or Home Depot, or online.
The stencils are affordable, so easy to use, and can be used multiple times. Sounds like the perfect Christmas DIY project.
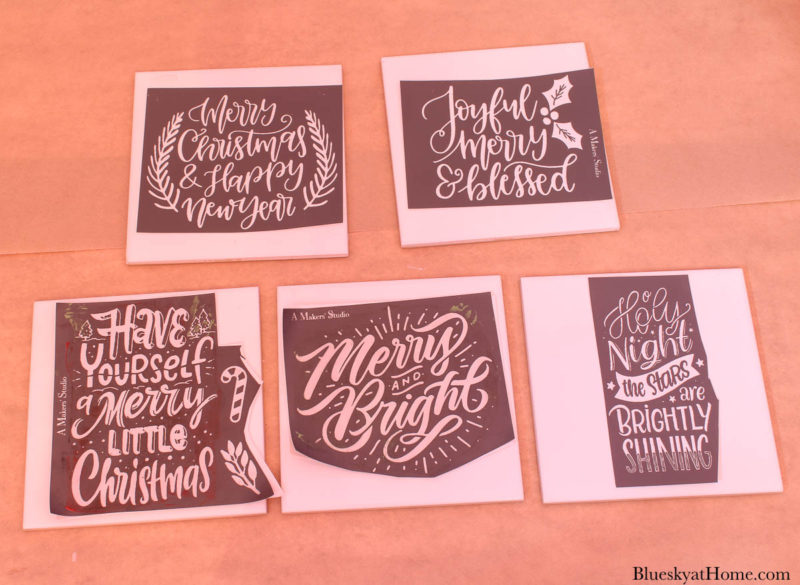
Here you can see all the new Christmas stencils from A Makers’ Studio. I’ve ordered a couple to add to the collection I already have.

How to Make Christmas Tiles with Stencils
This post contains affiliate links to products used to create this project. If you should order any item from this site, I may receive compensation, but you do not pay a penny more. Your purchase is greatly appreciated as it helps support the continued publication of this site.
Have you ever used tiles in DIY decor? Let me give you a quick peek at an earlier tile project.
When I find an easy DIY project that works really well, I have to share it with you.
Last spring, I was ready to give the stove hood in our kitchen an easy style update. For several years, I had used some ceramic tiles that we bought on Martha’s Vinyard on the flat part of the hood.
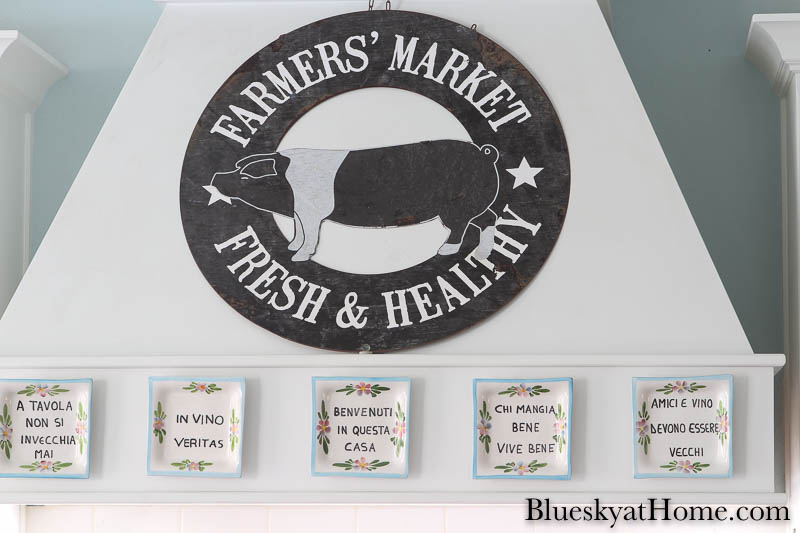
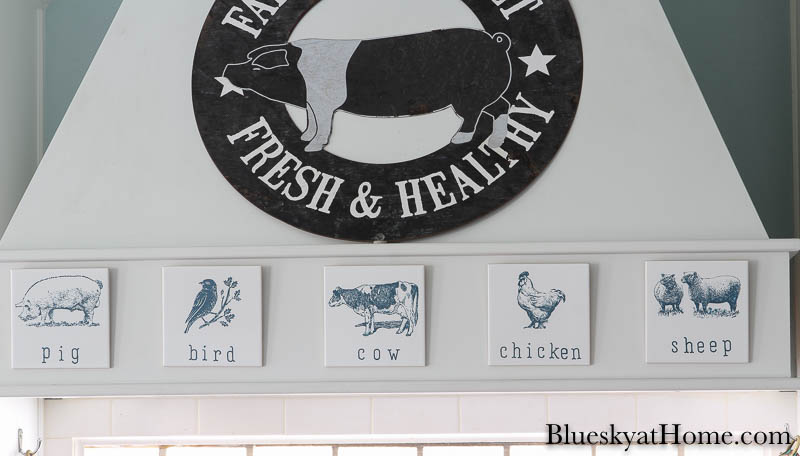
I wanted to infuse a little farmhouse style into our kitchen. An easy way was to make tiles with farmhouse animal stencils.
So are you ready to get started? Good.
Supplies for your Christmas Tiles
You only need a few supplies for this Christmas tile project.
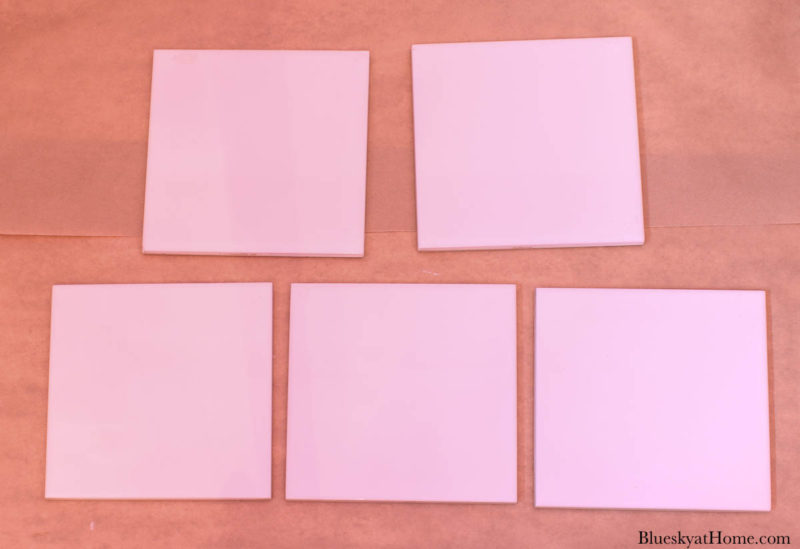
- 6 X 6-inch white tiles – I sent Sweet Shark up to Lowe’s with a shopping list; I needed 5 inexpensive white tiles. He bought these for .99 each. With our 5% discount, they were .94. I did find this alternative set of tiles online.
TIP: Look for ones that have a smooth finish.
- I used various Christmas stencils from A Makers’ Studio, but you can use any Christmas stencils (This set is really cute). Some of these I had used for a previous Christmas project.
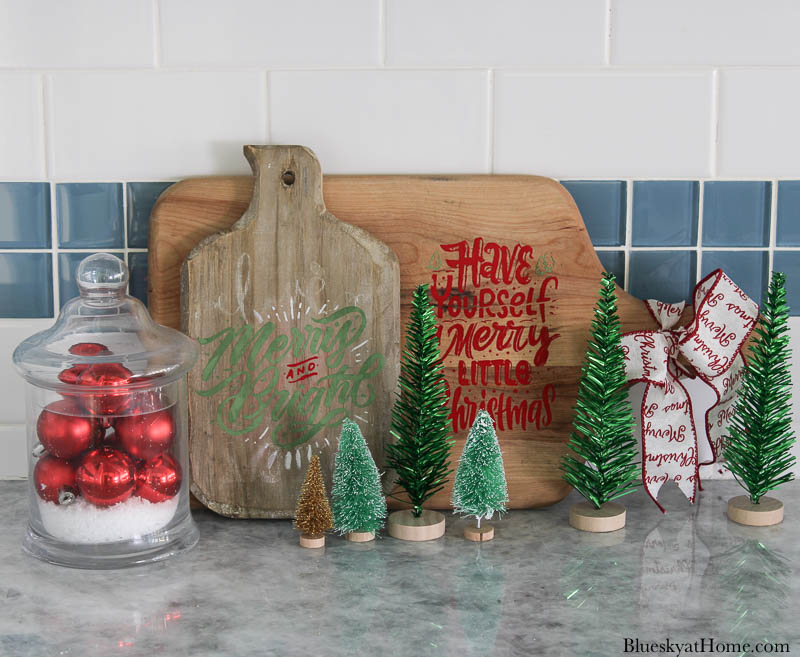
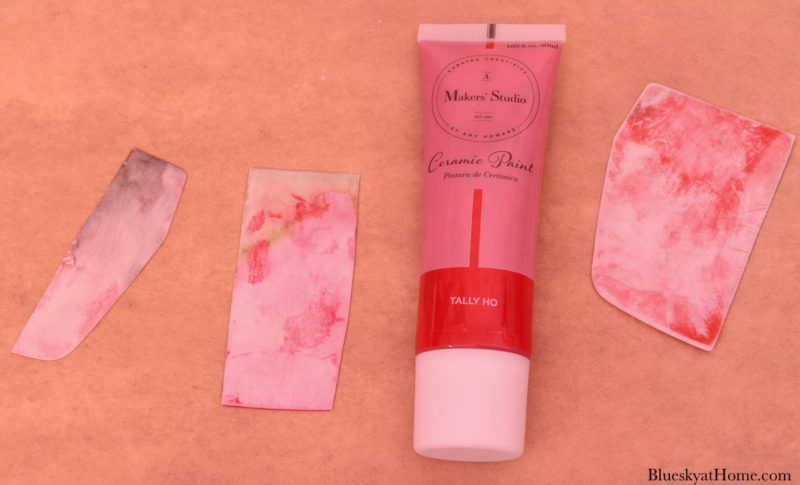
- For the vintage cutting board project, I used ChalkArt. For this new project, I used ceramic paint in a bright red.
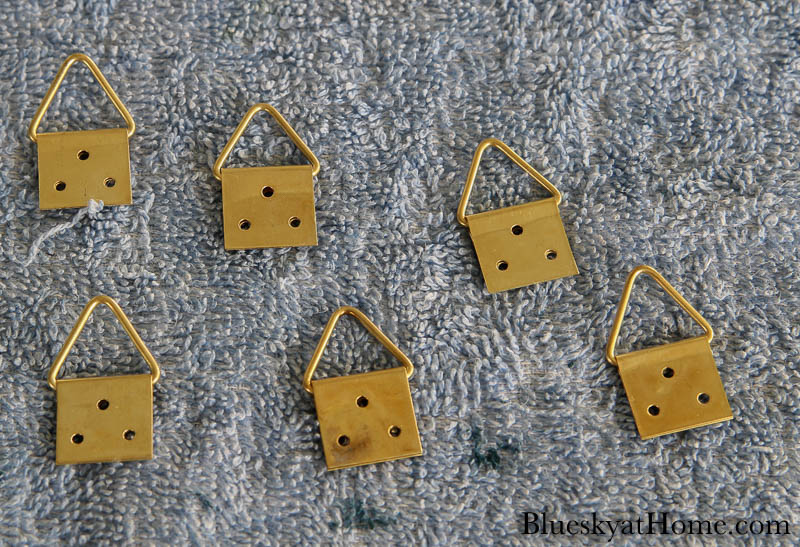
- For hangers, I used D-hangers and Super Glue like I did for the farmhouse animal tiles.
Step-by-Step Guide to Make Christmas Tiles
Step 1 – Wipe down your tiles to make sure there is no dust, oils, or fingerprints. You can wipe them with a bit of alcohol and a cotton ball.
Step 2 – Choose your stencils and, if necessary, cut them to fit your tiles.
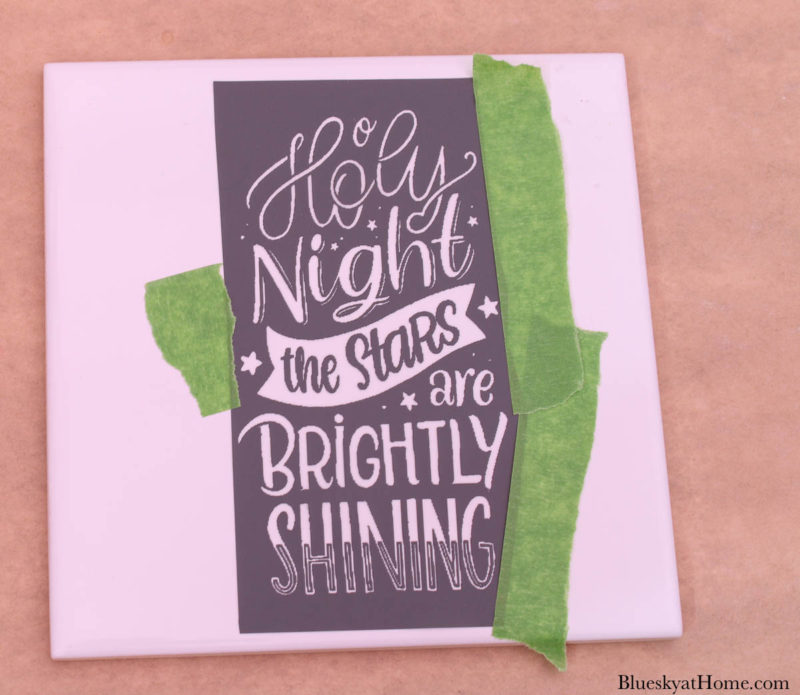
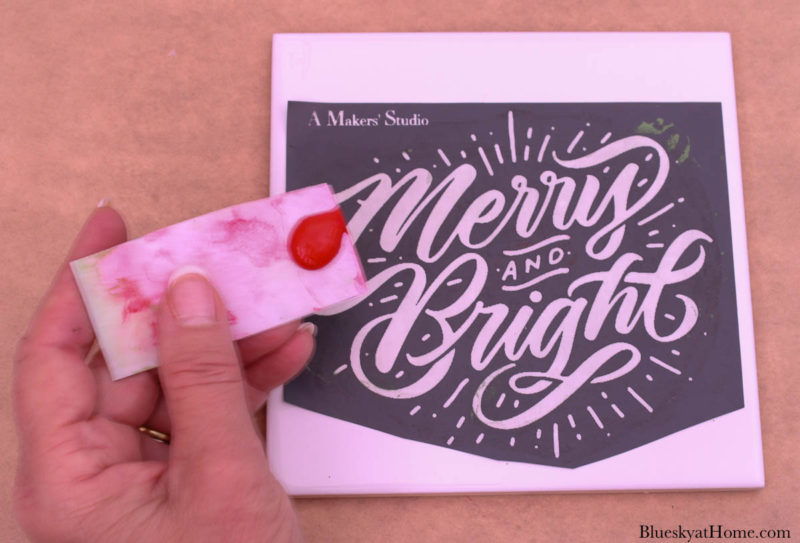
Step 3 – Remove the tri-mesh adhesive stencil from its paper backing. Center the stencil design on your tile and smooth it down with your fingers.
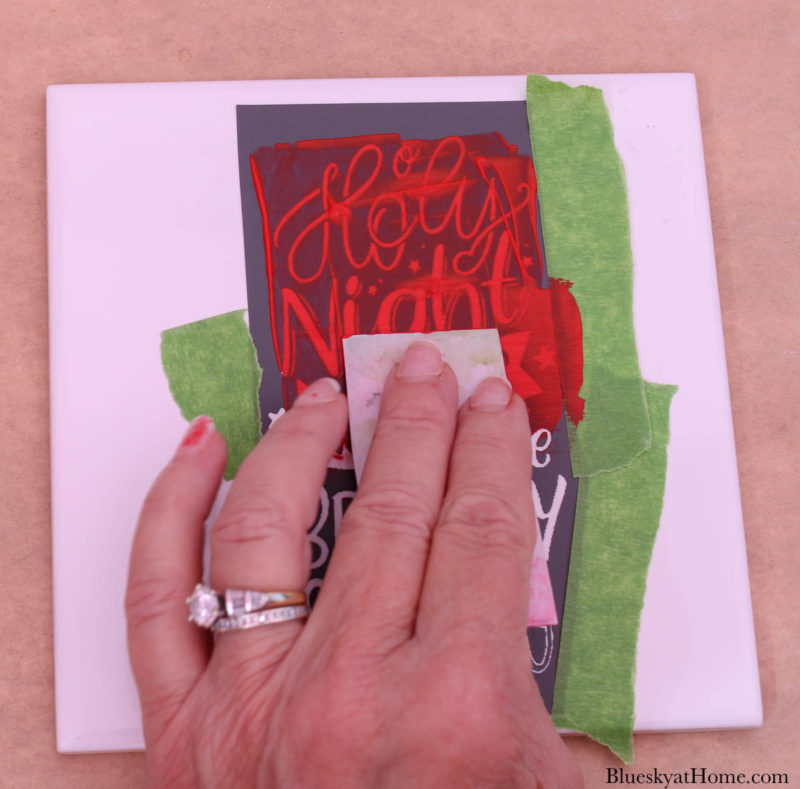
Step 4 – If any part of your design is close to the edge of the stencil, use a piece of painter’s tape next to the edge of the stencil. This step will keep any ceramic paint off your tile.
Step 5 – Using a plastic scraper or an old credit card, apply a small amount of ceramic paint to the stencil, pressing down and scraping the paint across the stencil. Cover all the surfaces of the design.
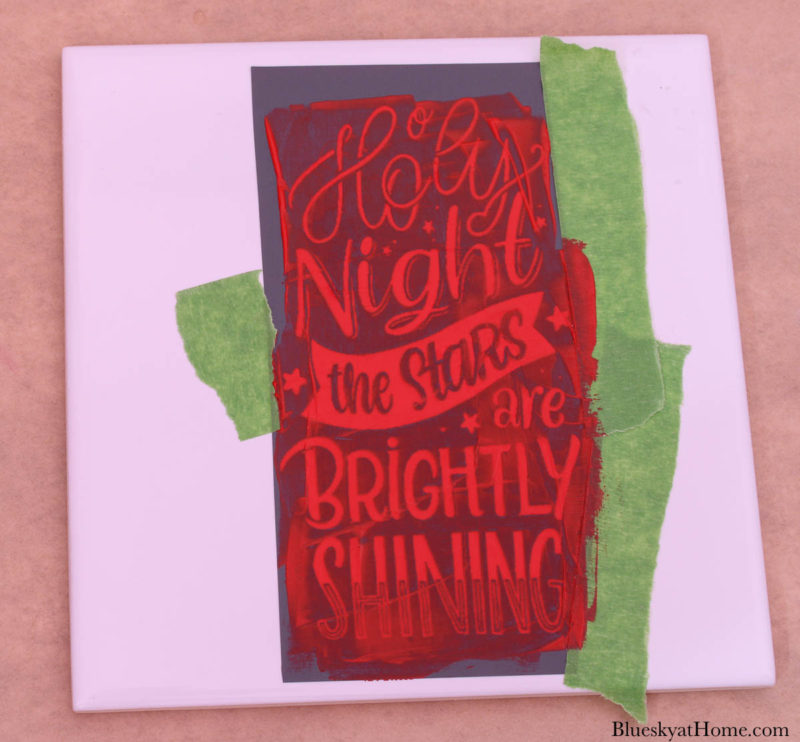
If there is any part of the design you don’t want to paint, just cover it with painter’s tape.
TIP: If there is any ceramic paint on the tile that needs to be removed, use a dampened short-bristle paintbrush or Q-tip to rub it away.


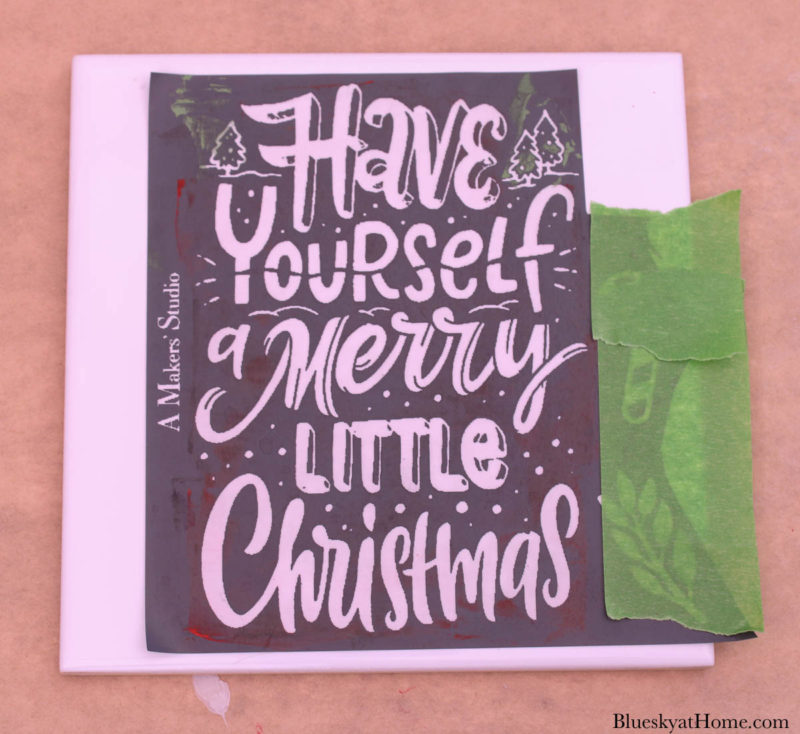
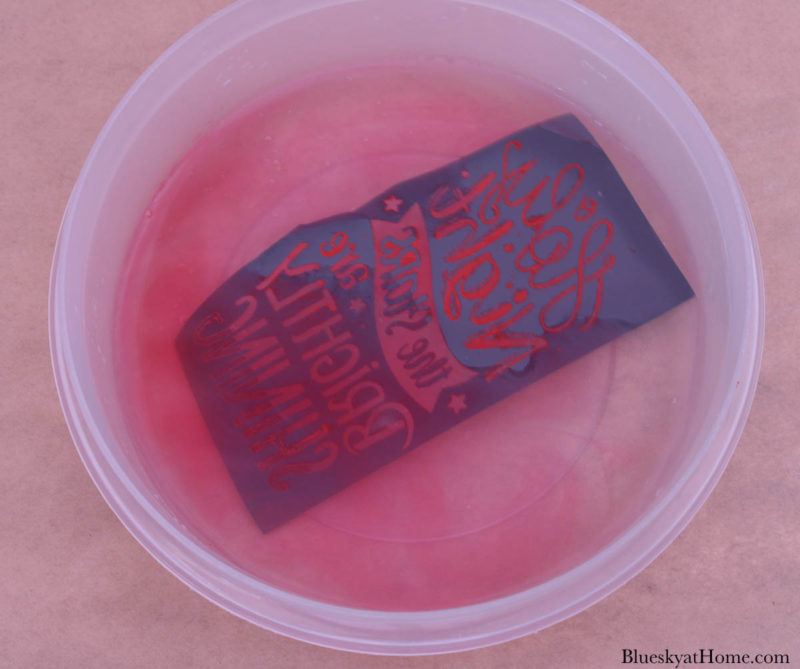
Step 6 – Gently remove the stencil from the tile. Place it in a bowl of water until you are ready to wash all the stencils.
Step 7 – Once all your stencils are done, set them aside to dry overnight.

Step 8 – Measure where your D-ring-hangers should go on the back of the tile and mark with a pencil.
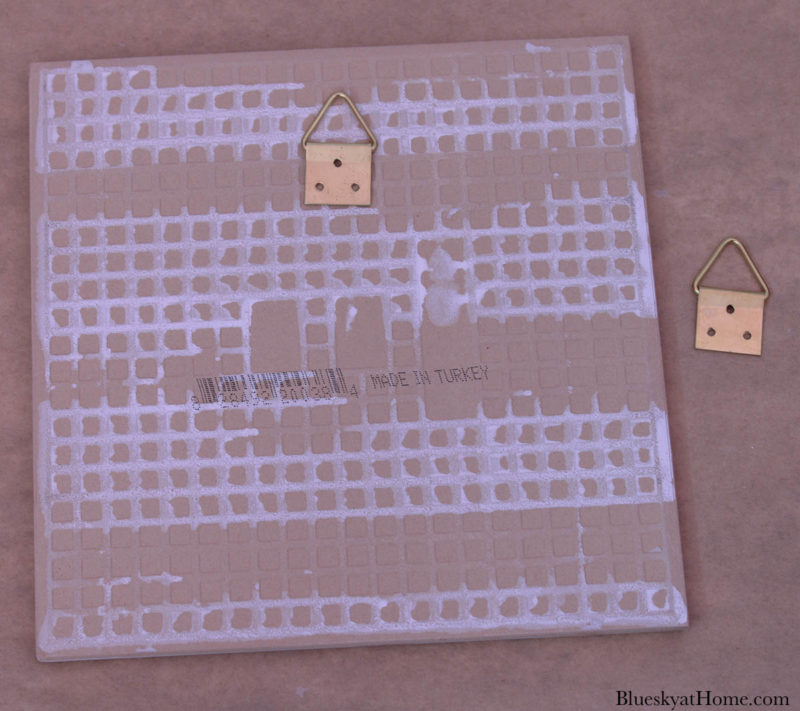
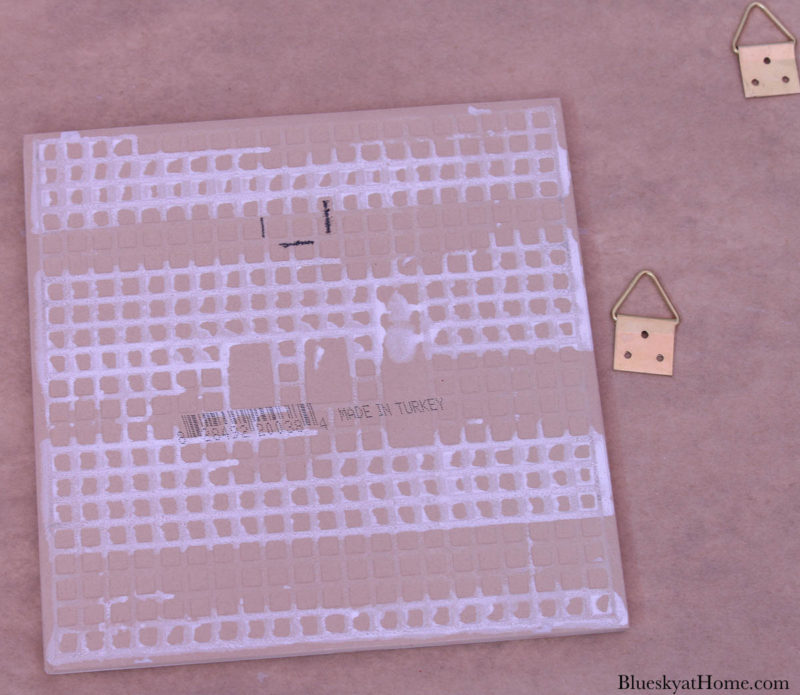
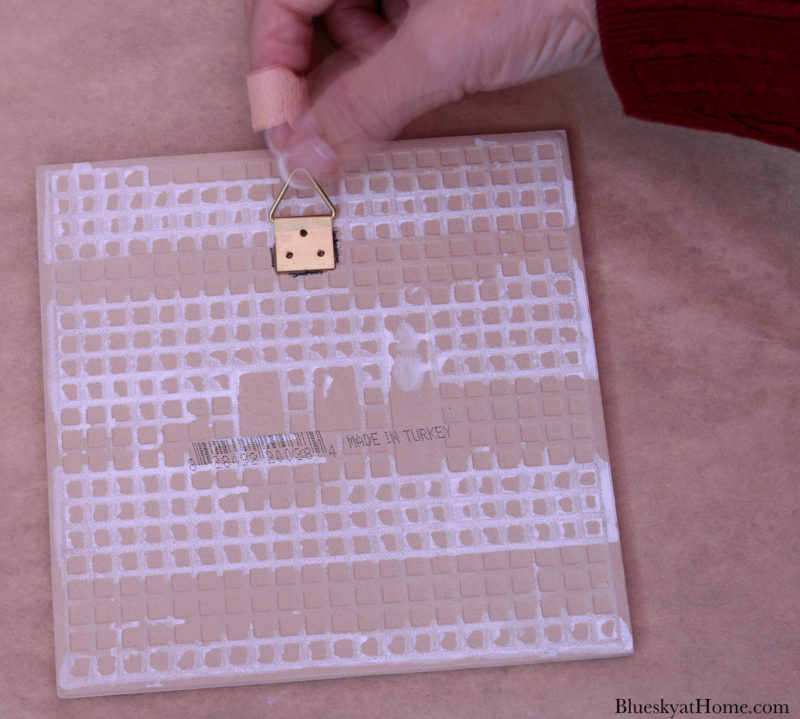
Step 9 – Use your choice of super glue to glue the D-hanger to the tile and let dry.
Hanging Your Christmas Tiles
Here’s the fun part – getting to see your pretty Christmas tiles displayed. I hung the tiles on the little nails on the flat part of our stove hood. I love the bright red designs against the white background.

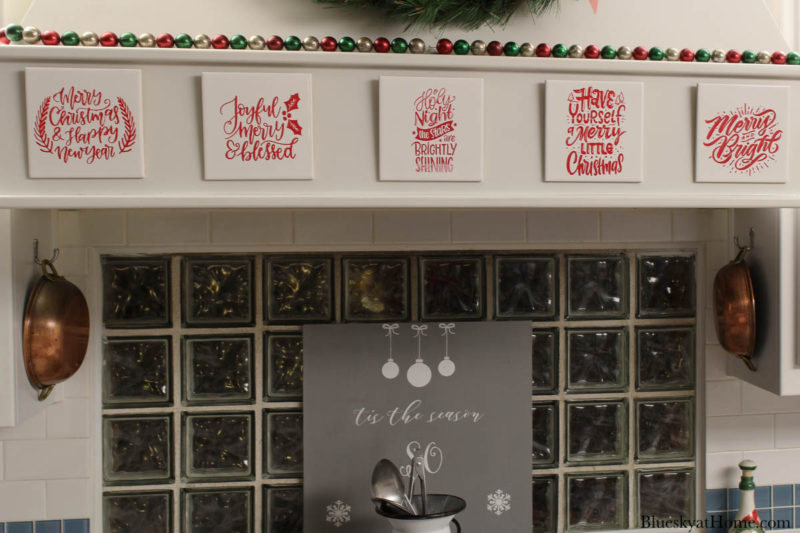
I added a repurposed bow for the wreath on top of the stove hood. The Christmas tiles look awesome with the wreath. They look like they were custom-made for the space.
It’s even better when the wreath lights come on.

The Christmas tiles give the stove hood the pop of color and focal point it needed. This time of year is a good time to start making Christmas decorations.
If you want to make this Christmas DIY project, please PIN it so you can easily access the steps. Follow this Christmas Board for more inspiration: Christmas DIY Projects.


Oooo, these are so pretty! I hope you share it at TTA… I’m hoping to do a Christmas theme thsi week, if I have enough link-ups for it! 😉
Thanks so much, Julie. I’ll definitely share.
What a great idea to create Christmas tiles with stencils! Believe it or not, I have some Christmas stencils from back in the 80’s. . . you’ve inspired me to get them out and put them to good use!
Thanks so much for joining the Grace at Home party at Imparting Grace. I’m featuring you this week!
These are very pretty and I didn’t know about the little hooks for the back. I have to admit I struggle with stencils but am determined to keep at it. You make it look so easy. The #HomeMattersParty will be back this week and I look forward to seeing your latest project.
Hi, Donna. Thank you for the comment. I used to struggle with bled through with vinyl stencils too. The only reason that I now love stencils is because of A Makers’ Studio. Wouldn’t use anything else. I hope you’ll try them.
Carol, These are so cute! I haven’t mastered stencils yet (still!). BUT, I bought myself an early Christmas gift…a Cricut and know that I could use it to make vinyl decals to add to tiles. I love how your tiles look all lined up! I am wishing you and Sweet Shark a wonderful Christmas…and safe one!!
This is such a pretty and festive idea! I love it!
What a fun craft, Carol! The tiles make your kitchen look very festive. What a bargain, too, at less than $1 per tile. I hope you have a Merry Christmas!
So cheery and festive Carol, I love they way they look in you kitchen! So happy to be crafting with you again. Merry Christmas!
Well I wish I had an adorable vent like yours. Those tiles look fantastic. Even the other ones you’ve used year round are so cute! Great tutorial too. Pinned
Thank you, Cindy. As inexpensive as the tiles are and as easy as the stencils are, I may start making them for more holidays.
Carol this craft is so stinkin cute. I love how you have them displayed too. Great idea. Thanks for sharing.
Isn’t stenciling addictive once you have the hang of it? I love your Christmas tiles, they’re so festive and fun. Happy Holidays friend, and so lovely crafting with you.
Wow, how beautiful! I never decorate the kitchen for Christmas, but I may have to rethink that. I love this bright pop of red.
I love the finished result and how you decorated with them! I’ve pinned it!
Love this project, Carol. My mind is whirling with different ways to use it throughout the seasons.
I wanted to pin it but am unable to 🙁
I will try again later on.
Merry Christmas to you and Shark!
hugs,
RR
Rachelle, Thanks for trying. Should be able to Pin from any image. 9 times out of 10, I use Tailwind to schedule other people’s posts. So easy, and I can Pin to multiple boards in a second.
How smart to use tiles! They look adorable hanging on your stove hood! I love the shiny ornaments too, so pretty and festive for the cook! I am really enjoying decorations this year, the more merry and bright the better! Merry Christmas Carol!
Jenna, haven’t DIY projects kept us sane this year? Have a Merry Christmas and we’ll look forward to more creativity in 2021.
What a fabulous idea for creating holiday tiles, Carol! And they look lovely on the base of your hood! It’s the perfect spot – as if they belong there! How pretty! Makers’ Studio certainly has a lovely collection of stencils to choose from!
Gail, so glad you liked the tiles. A Makers’ Studio has a fabulous collection of stencils for all occasions and ideas. Please try them out; you will love them.
These look so cute hung on your vent hood, which is stunning all by itself. Thanks for being in the hop today and Merry Christmas!