How to Make a Farmhouse Chalkboard Sign with ChalkArt
I don’t think farmhouse chalkboard signs will ever go out of style. How do you make a farmhouse chalkboard sign? Let me show you how easy it is using ChalkArt.
Before there were farmhouse chalkboard signs, we all probably used chalk to draw on sidewalks as kids. We all had to diagram sentences or do math problems on a chalkboard in school.
Today, chalkboards are more than schoolroom fixtures. They are a beloved accessory in home decor. Want to know how to make a farmhouse chalkboard sign using ChalkArt?
How to Make a Farmhouse Chalkboard Sign with ChalkArt
I always admire the beautifully printed chalkboard menu boards you see in restaurants. Gorgeous murals and sidewalk art are created by talented artists. We can easily purchase chalkboard~style art in any big box decor or craft store.
I am not an artist so drawing with chalk is out of the question. I’m also hesitant to purchase a printed sign when I know I can make one myself. I love the sense of satisfaction that completing a DIY project brings.
But we have another option to creating a beautiful farmhouse chalkboard sign that we all love. We can use stencils and ChalkArt.
I’m going to show you how.
Today is one of the monthly DIY blog hops that I participate in. This one is hosted by Terrie of Decorate and More with TIp. This month’s theme? Create a project using a chalkboard. As you can imagine, I was in from hello.
If you are joining me from Kelli’s Olympic Nest, then welcome.
THE CHALKBOARD
I bought this chalkboard at Joann several years ago. When I saw the chalkboard, I knew that I had the perfect place in our kitchen for it. At $60, it was more than I wanted to spend.
A couple of weeks later (I’m at Joann almost weekly.), I saw that the chalkboard was on sale for 50% off. Wow, I picked up one and headed to the checkout. While standing in line, I checked my coupons and found I had one for 30% off the total purchase. My chalkboard ended up costing me $20.
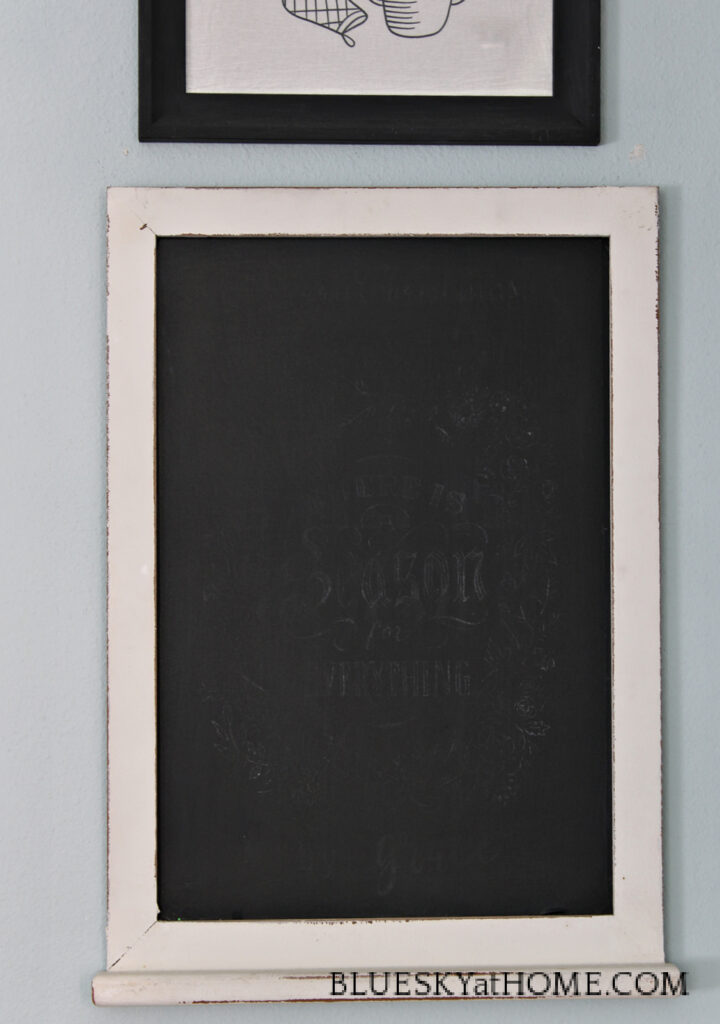
I hung it in our kitchen and loved the look of the white chippy frame with the black board. It definitely added to the farmhouse vibe.
By the way, the sign above the chalkboard is not a chalkboard sign; it’s dishtowel art.
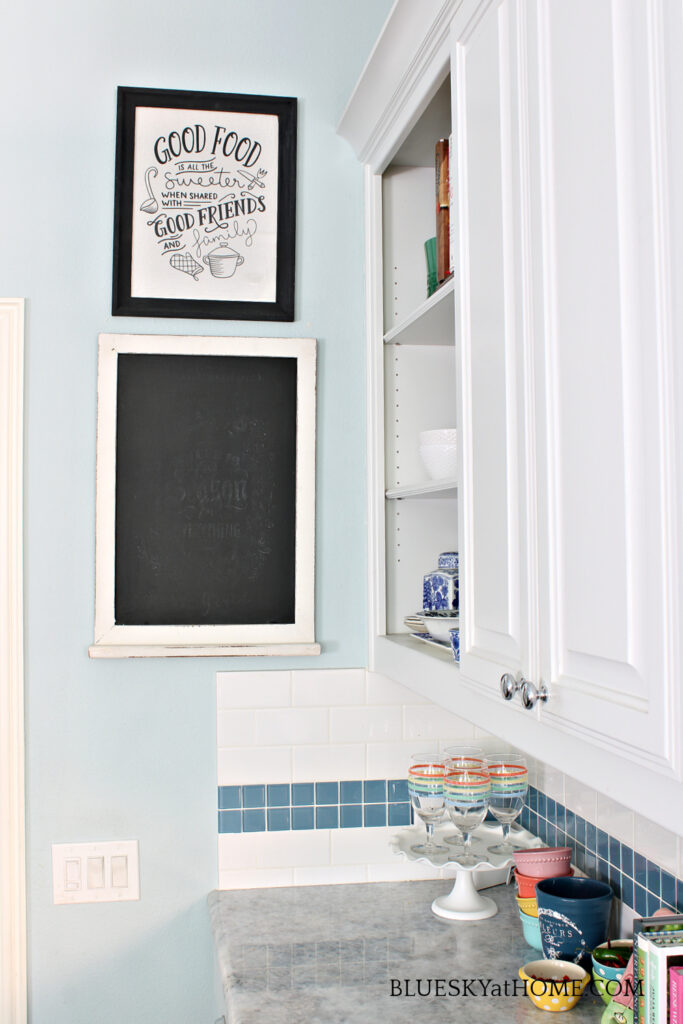
I already had some chalk on hand and wrote menus or sayings on the board. One day, I used a chalk pen. BIg mistake. When I tried to remove it with water, the lettering wouldn’t come off. I was so upset. What to do?
On my next trip to Joann, I saw a roll of chalkboard vinyl. What if I covered my messed~up chalkboard with chalkboard vinyl? Sounded like a good idea ~ brilliant ~ so I bought a roll of Cricut chalkboard vinyl.
It was easy to apply the vinyl to the chalkboard. I was back in business.
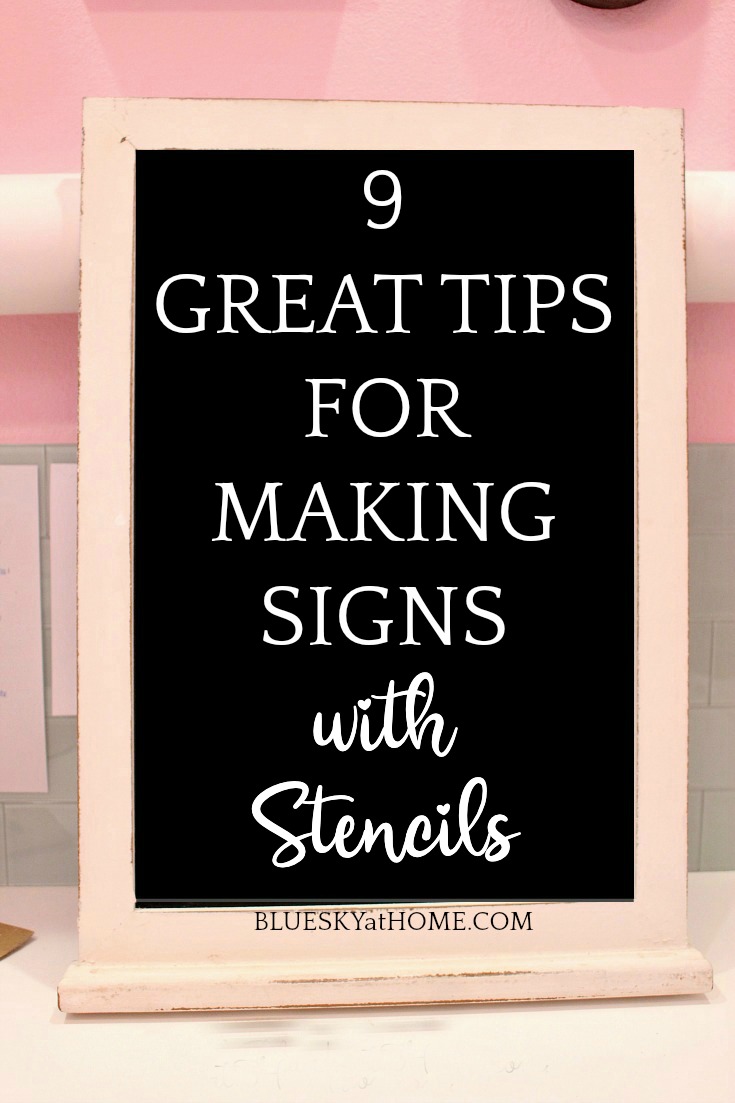
Since then, I’ve made several signs on my chalkboard. Here is a great introduction to adding stencils to a chalkboard: 9 Great Tips to Make Chalkboard SIgns
THE FARMHOUSE STENCILS
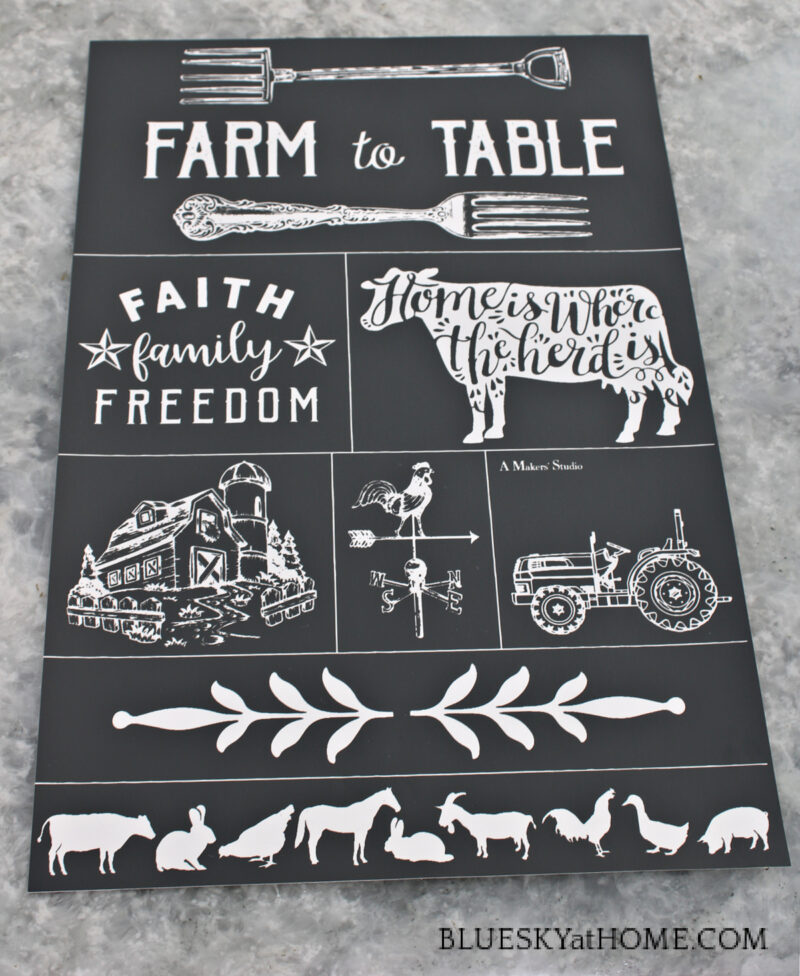
Since I wanted a farmhouse vibe, I looked through my stencil collection. I had a brand new, never~before~used stencil I wanted to use called Farm to Table. I knew it would be perfect for my large chalkboard.
Aren’t these designs awesome?
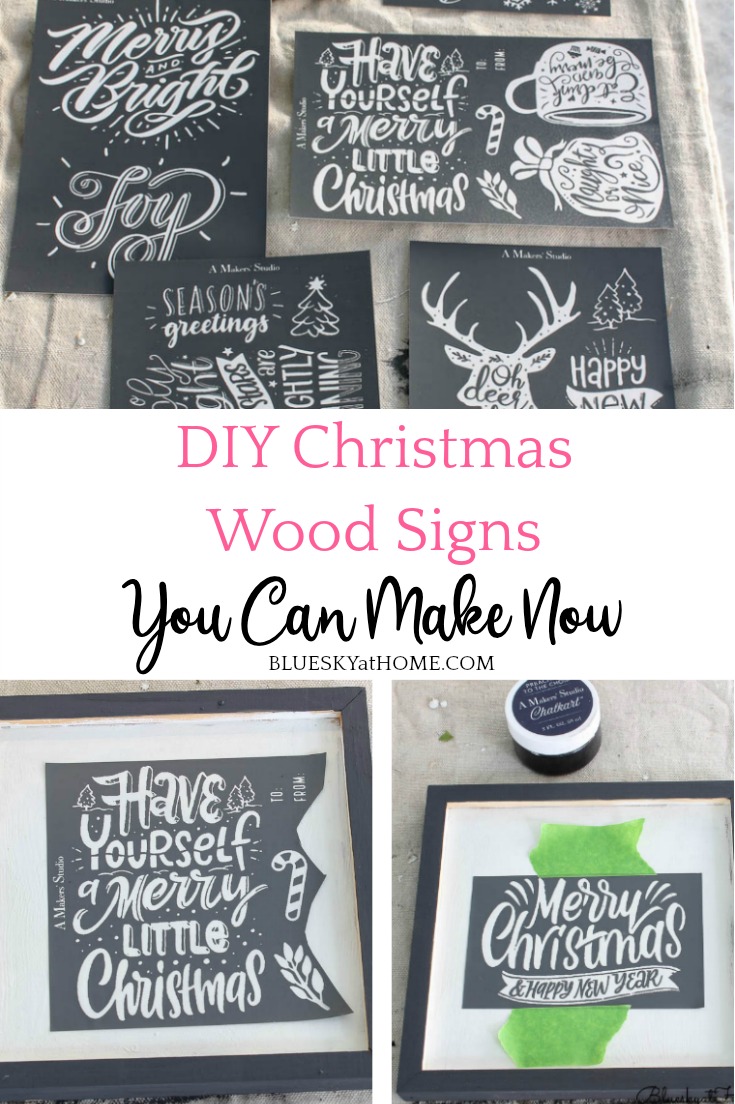
This stencil (which has 8 individual stencil designs) has great design possibilities. You can pick out just one or several to create many different signs, accessories, or gifts.
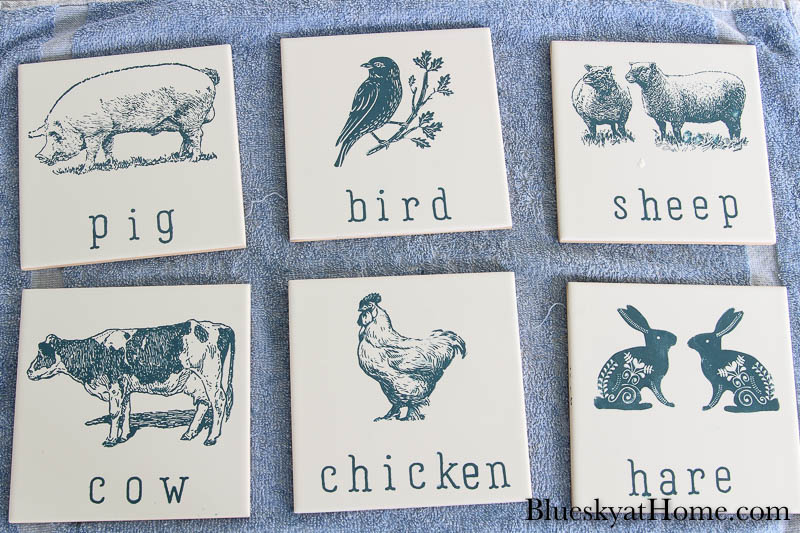
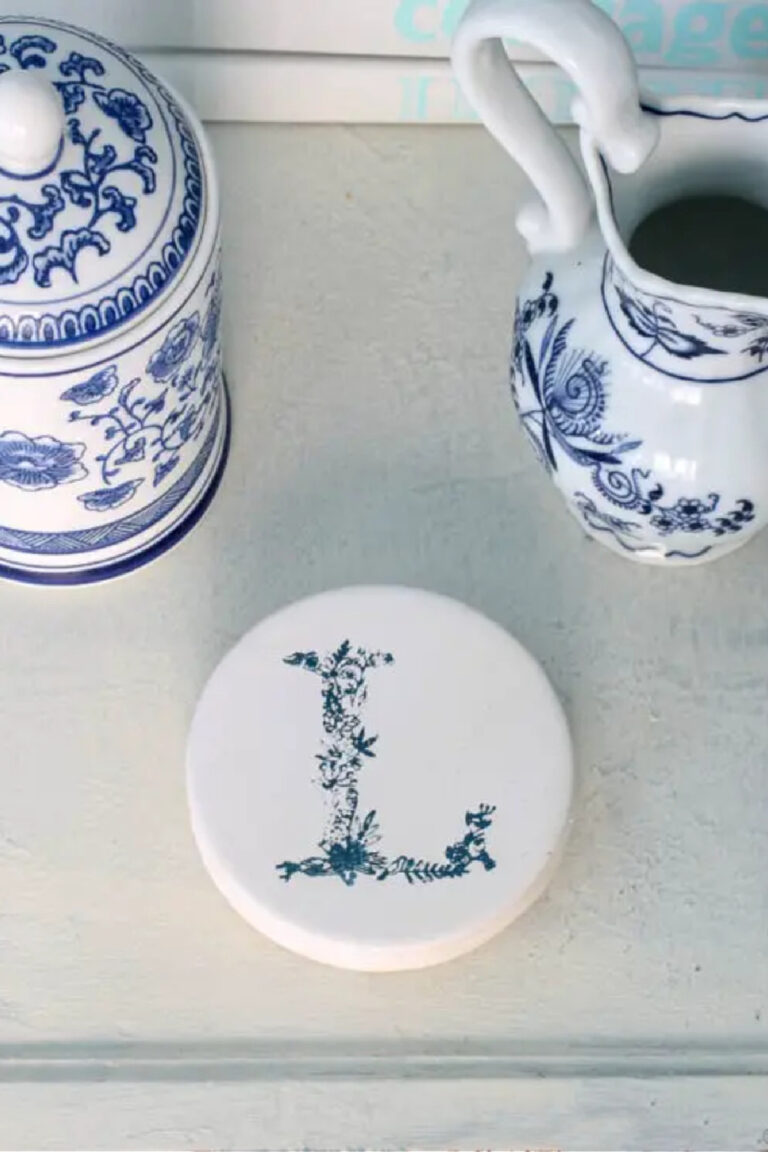
I also could use designs from the Farm Animals stencil. I used that one before to create these ceramic tiles.
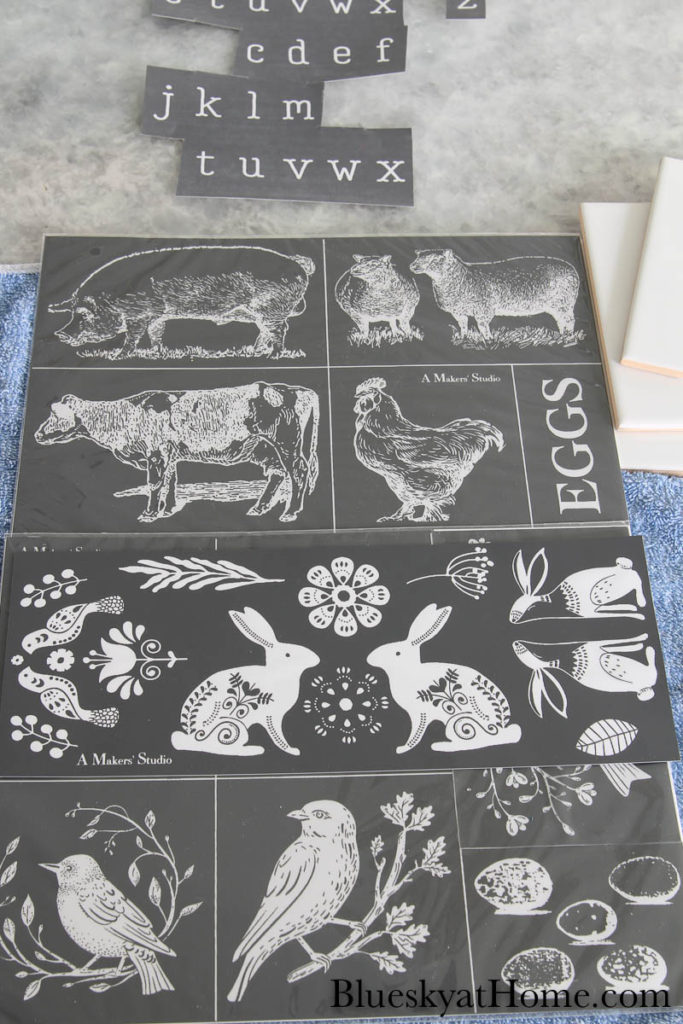
Fortunately, A Makers’ Studio has so many stencils that would fit the farmhouse style.
DECIDE ON YOUR DESIGN
I love the versatility of these stencils. By combining different stencil designs in different arrangements, you can create many signs. I arranged my stencils in a few ways before deciding on the one that I liked best.
First, cut out your stencils along the divider lines.
Next, Move the stencil designs around until you find the arrangement you like.
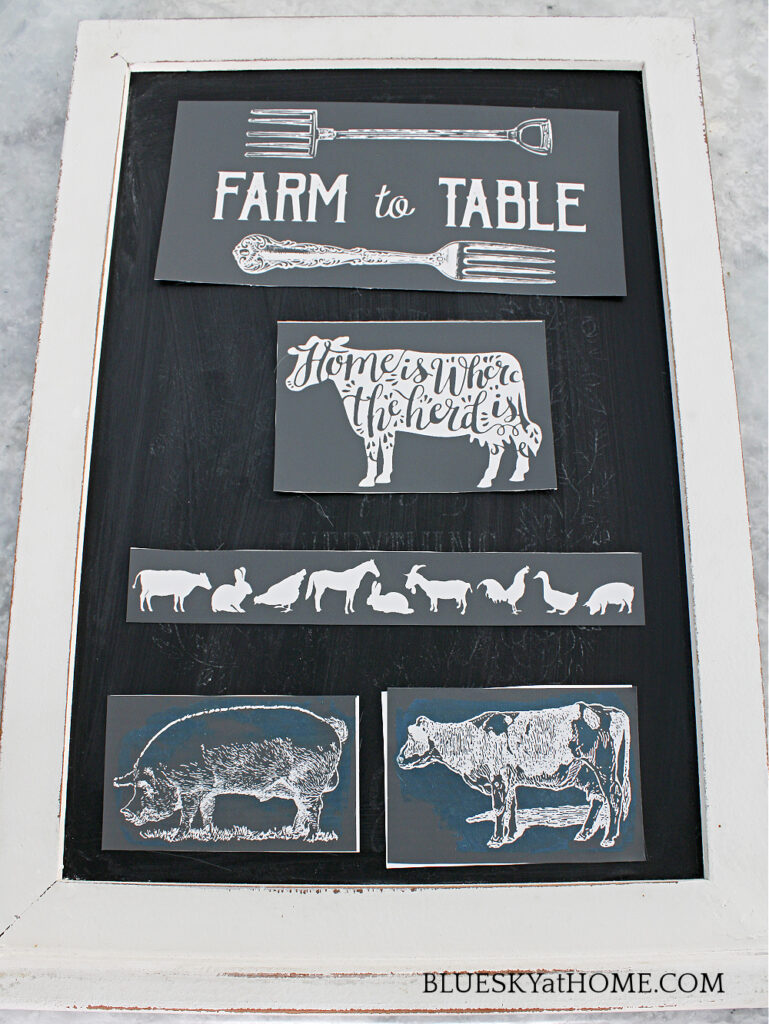
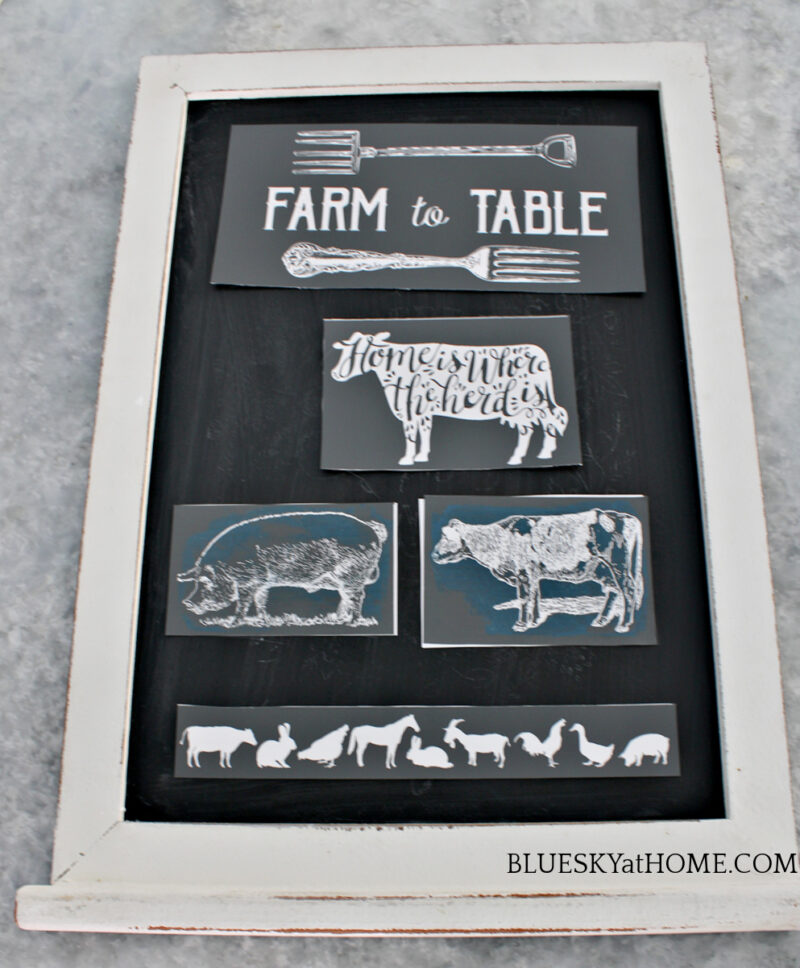
Here is my final arrangement choice.
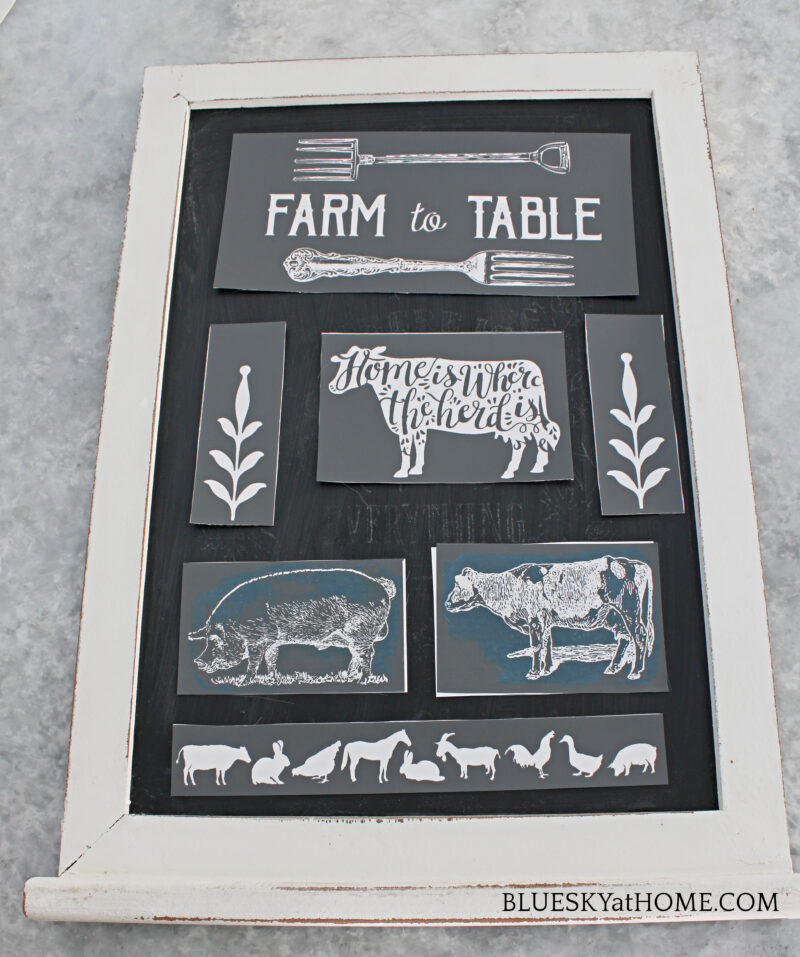
MAKING YOUR FARMHOUSE CHALKBOARD SIGN
If you have ever read one of my stencil project posts, you know I love the tri~mesh stencils from A Makers’ Studio. The designs and adhesive back make them winners for all surfaces.
In combination with ChalkArt, they are the perfect way to add style to any chalkboard, wood, glass, or metal surface. Once the ChalkArt dries, the designs are permanent ~ until you wash them off with water and a paper towel.
Beside your stencil, all you need is your ChalkArt color of choice and a plastic scraper. I’m using my favorite white ~ Peace & Joy.
What is ChalkArt? It’s a water-based chalk paste for your crafting, stencil, and any other DIY projects. This chalk-based paste can easily customize your furniture, tabletop dècor, glass, and nearly any other non-porous surface. Chalk Art dries in just 15 minutes,
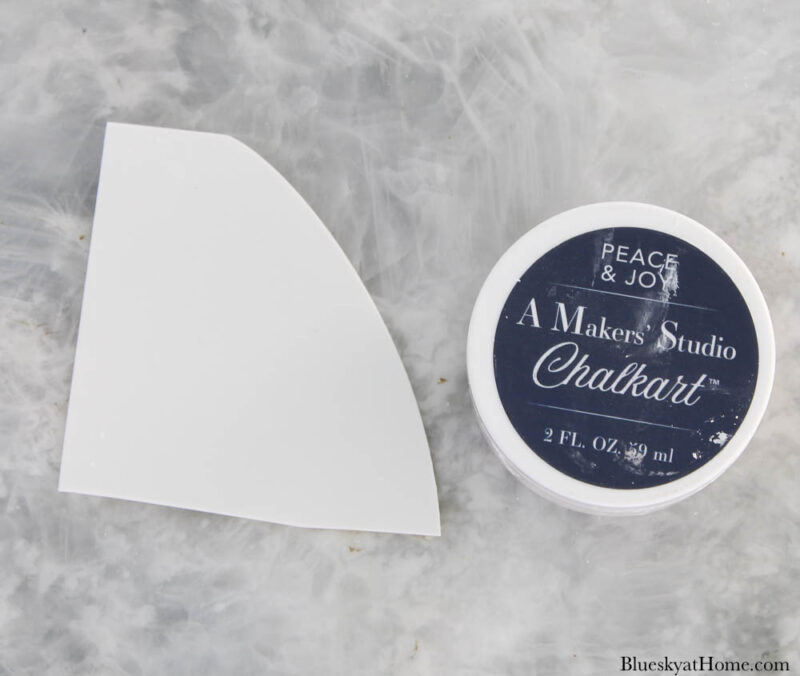
Let’s make this farmhouse sign on a chalkboard.
STEP 1
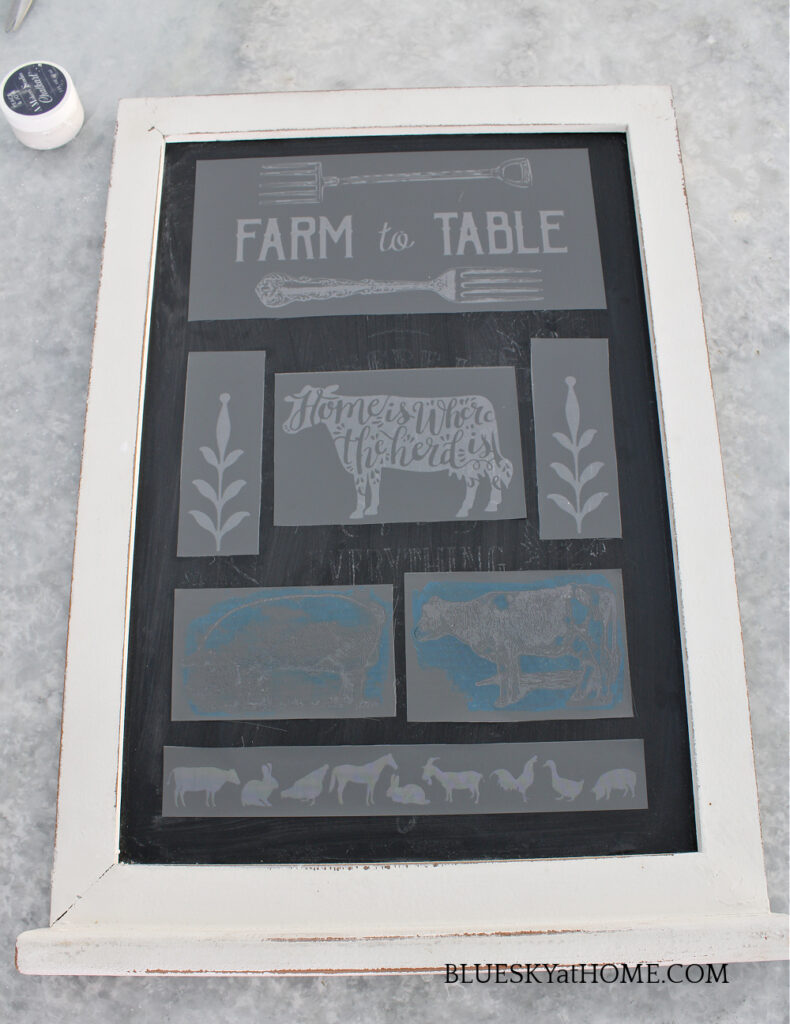
Remove the paper backings from the stencils and set aside. Place the stencils on your chalkboard and smooth them down to adhere to the chalkboard.
STEP 2
Open the jar of ChalkArt and scoop a little bit out with the plastic scraper. Scrape the ChalkArt across the stencil, pushing it down. The design will appear as you scrape across the stencil. Be sure to cover all the designs.
TIP: Be sure to always keep the lid on the ChalkArt jar. It can dry out when exposed to air for extended time.
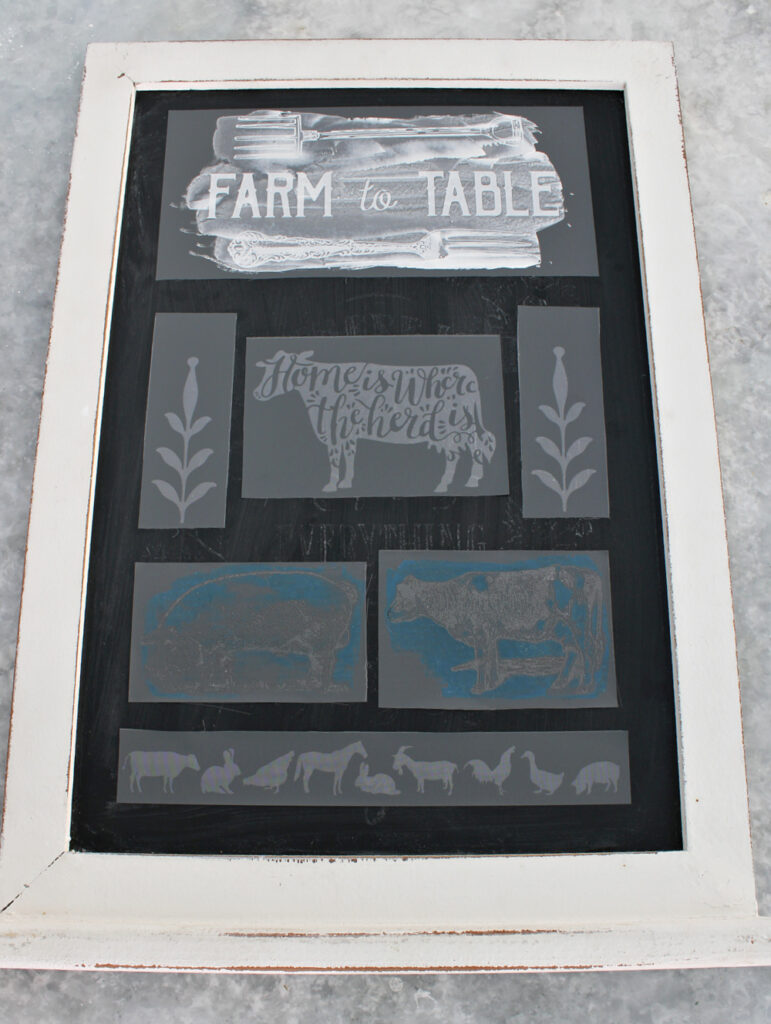
I started at the top of the chalkboard and went down it.
As you finish a stencil, use the plastic scraper to lift a corner of the stencil. Gently pull up the stencil to remove it from your surface.
NOTE ON CLEANING THE STENCILS: For most stencils, I have a plastic container filled with water to place the stencils in for cleaning. Since these stencils are on the large size, I put them in the sink filled with a couple of inches of water. You can leave them there and clean all at once or clean as you go. Just don’t let the ChalkArt dry on the stencils.
As you clean the stencils, lay them, adhesive side up, on a paper towel or drying pad. When they are dry, you can place them back on the paper backing and back in their plastic envelope for storage.
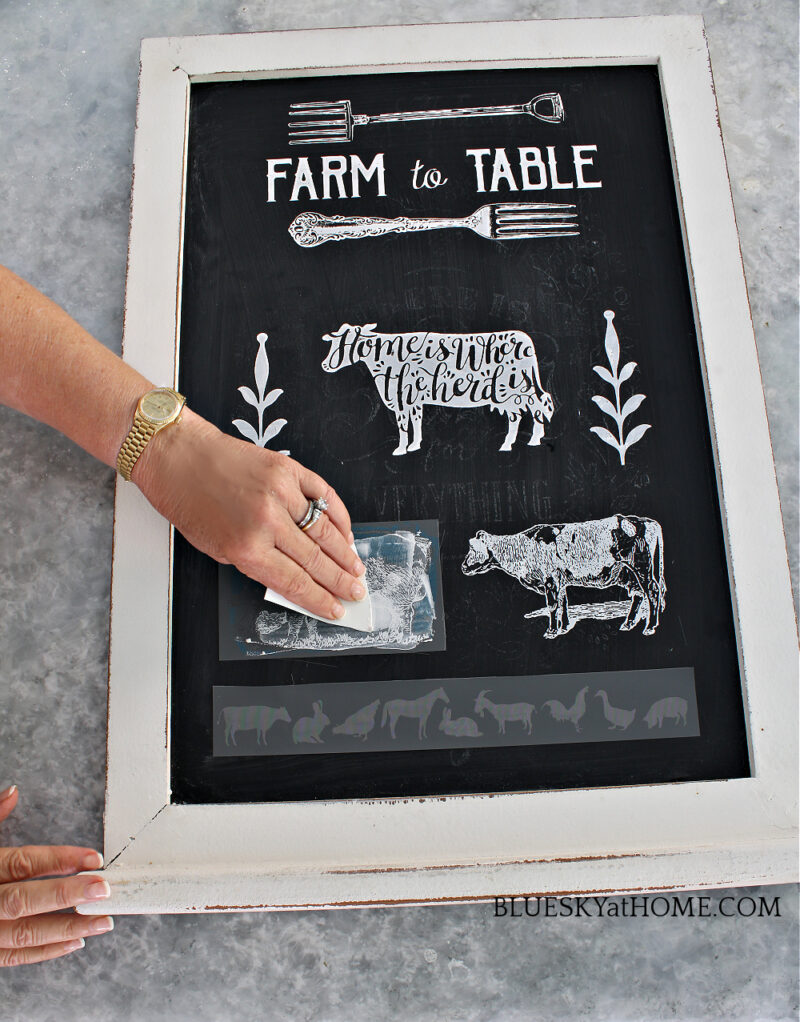
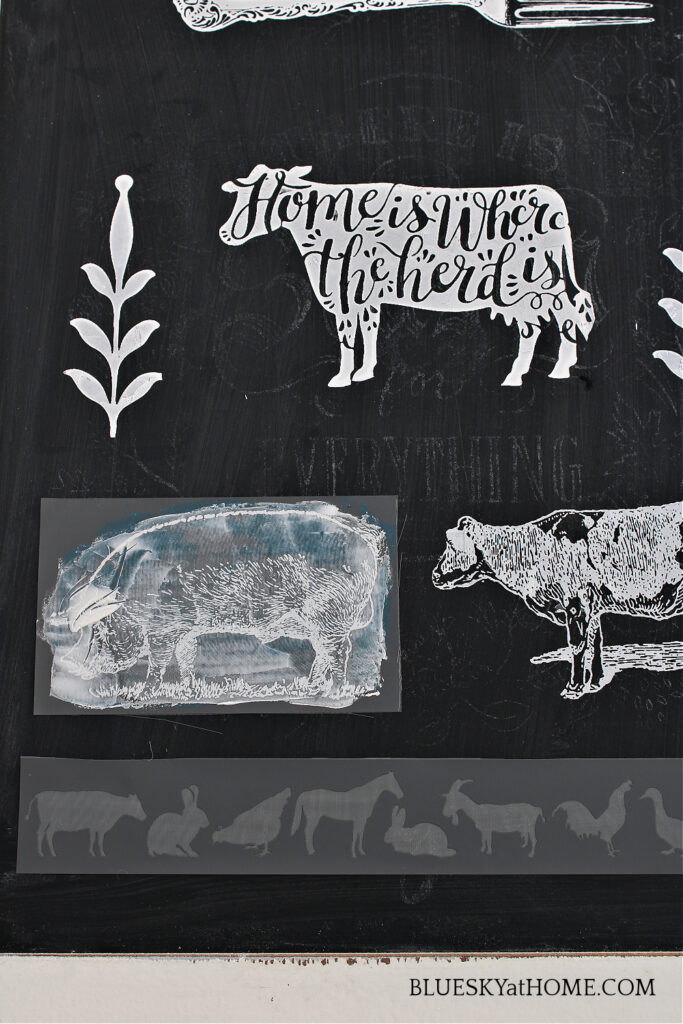
For the narrow stencil at the bottom, I used the short edge of the scraper.
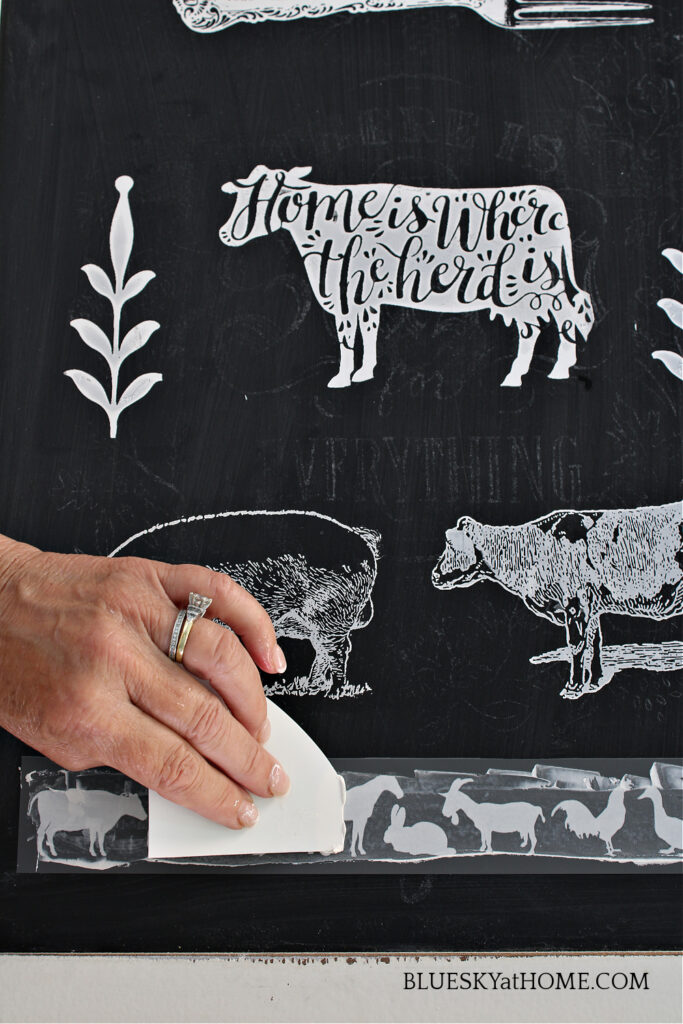
When you have finished applying all the ChalkArt to your stencils and removed them, I let the ChalkArt dry completely for about 15 minutes.
THE FINISHED FARMHOUSE CHALKBOARD SIGN
That is all there is to it. In about 15 minutes, I had a beautiful farmhouse chalkboard sign.
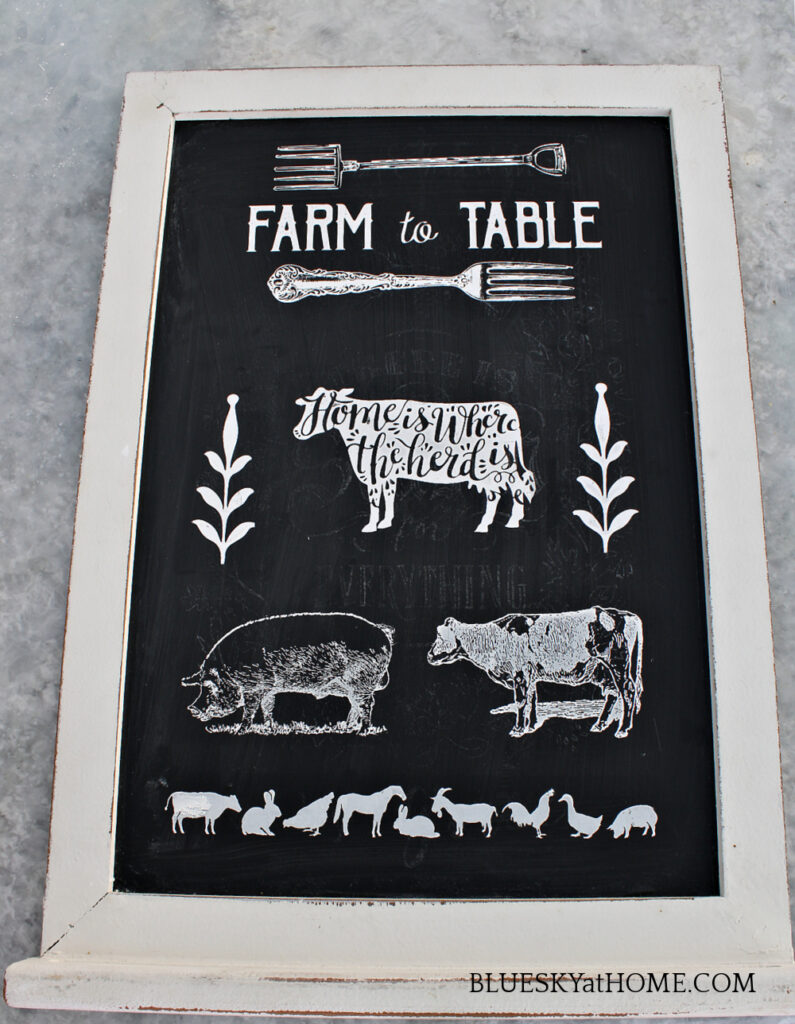
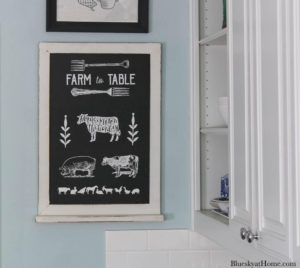
I hung it back on the kitchen wall.
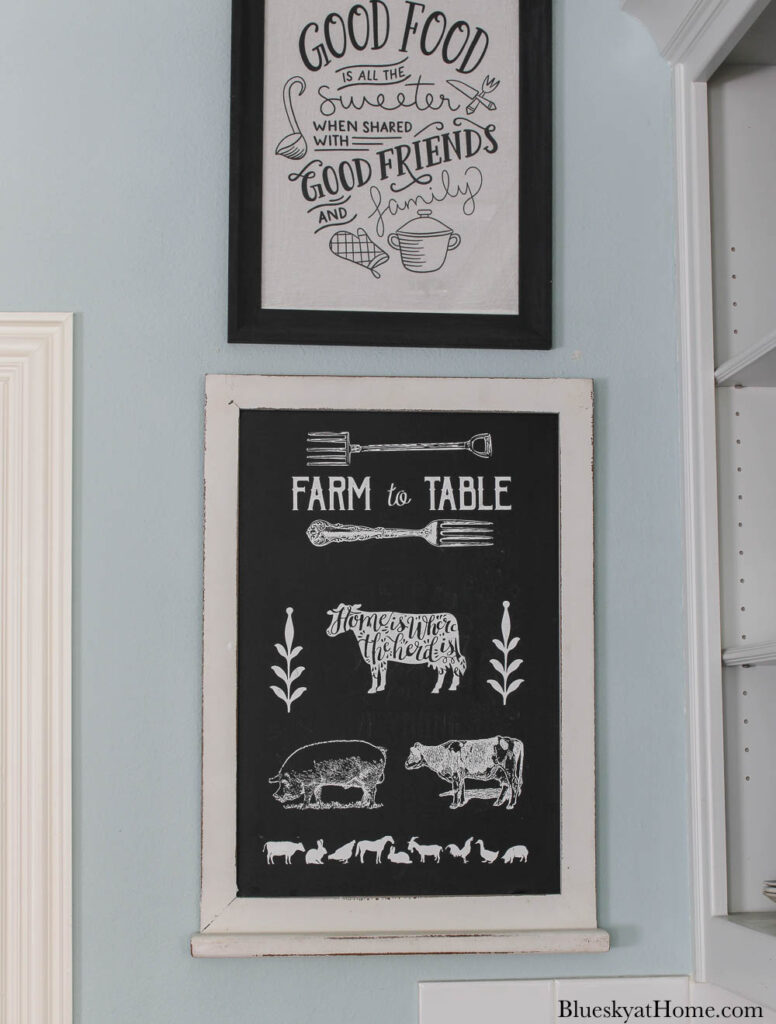
I think it pairs just right with my dishtowel sign.
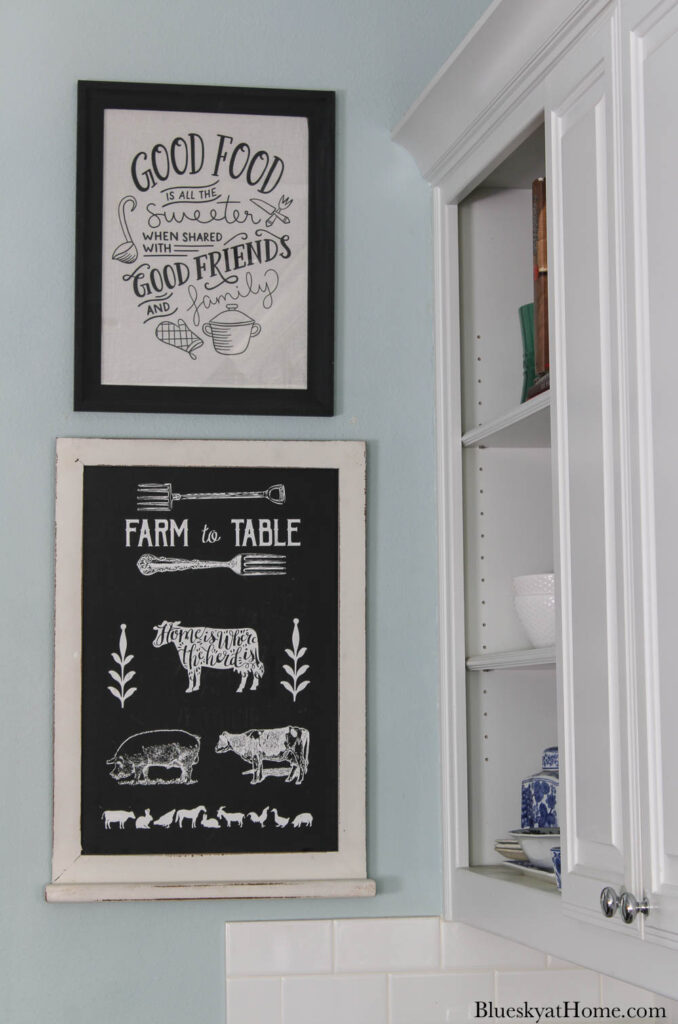
The farmhouse chalkboard sign will probably stay until it’s time for fall decor.
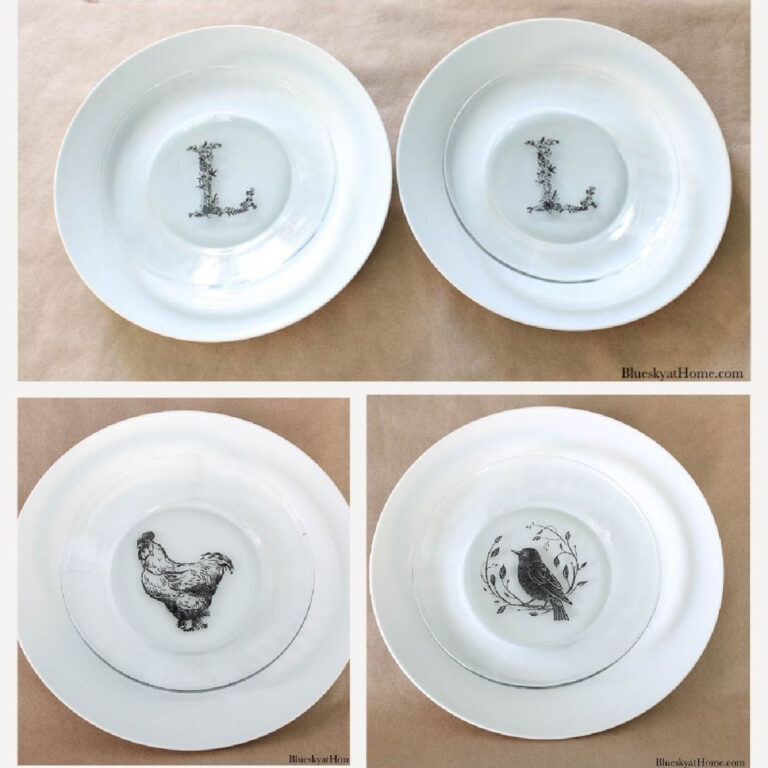
Here are a few more stencil projects you may want to look at:
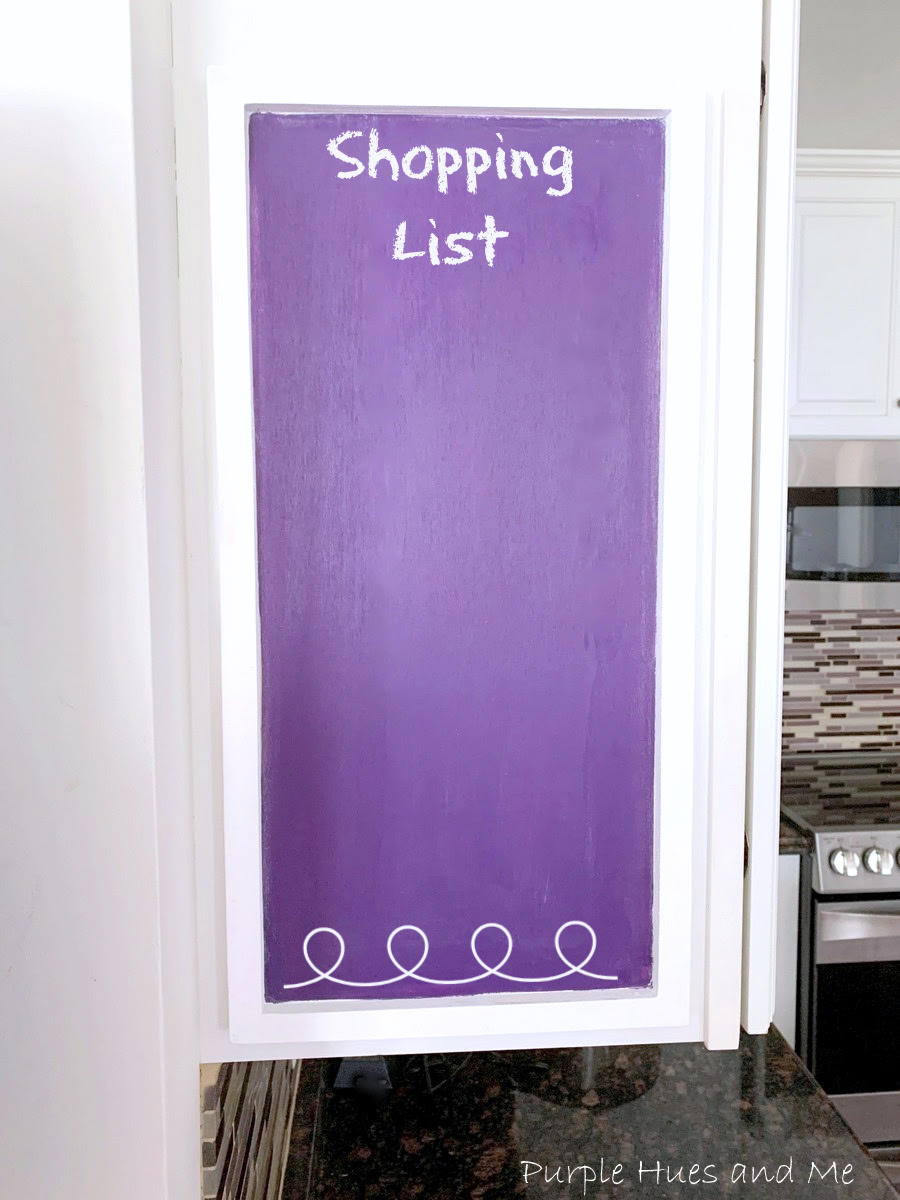
Are you ready to see the other chalkboard projects my friends have made? Me too. Let’s take a look, starting with Gail at Purple Hues and Me. The complete list of everyone participating is at the end of the post.
Before you leave, please first PIN this farmhouse chalkboard sign project.




Super fun project. Featuring this on Farmhouse Friday. Enjoy Haven! pinned
The chalkboard looks perfect with the dish towel sign. I haven’t seen the chalkboard vinyl but will be looking for it. Great project! #HomeMattersParty
What an adorable project, Carol!
Love your chalkboard. Your tutorials are so clear and written for those of us who haven’t tried this process before. I scored 2 paneled cabinet doors a while back and wanted to paint the centers with chalkboard paint–which I haven’t had very good luck with. The Cricut chalkboard stuff sounds a LOT easier than trying to paint 4-5 coats to get good coverage. Thanx!
Kathy, using cabinet doors as chalkboards sounds like an awesome idea. The vinyl will definitely work. You can also use Rescue Restore chalk paint from A Makers’ Studio. It would just need 2 coats. You do have to “season” chalk paint before using.
Carol, love love love the sign. Love the way you laid everything out .. Its gorgeous . Great challenge idea.
Teresa!
Thank you so much, Teresa. I hope you make one too.
Very pretty Carol. I looked around and wish they had stencils for my cheese markers. My handwriting isn’t the best.
I had only heard about Chalk Couture until I read your post. After reading your post and Terrie’s, I want to try my hand at chalkart stenciling. Am a bit worried it will become addicting and then what to do with all of the chalkart, LOL. Love your post and all of the tips and helpful links you included. Looks perfect in your kitchen!
So cute, Carol! What a fun little project!
Carol, I love your chalkboard sign and the design you used. Love working with the paste and transfers, comes out so much nicer. Thanks for sharing and thanks for joining in on the challenge!
Wow, so impressive. I can imagine the possibilities of so many different design. Thanks for sharing your chalkboard and chalkart.
Carol this is just too cute! I’m going to share it with my sister as this would be perfect in her kitchen! I have seen several chalk paint type systems and wasn’t ever sure that I would use it all that much but this sure looks like something that would be fun to do. You may have made a believer out of me! Love your sign… thanks for sharing!
Wow, Carol! I learn something new today in crafting! I had never heard of Chalkart before! From the looks of your beautifully decorated chalkboard, it seems like a wonderful medium to use. Thanks for sharing!