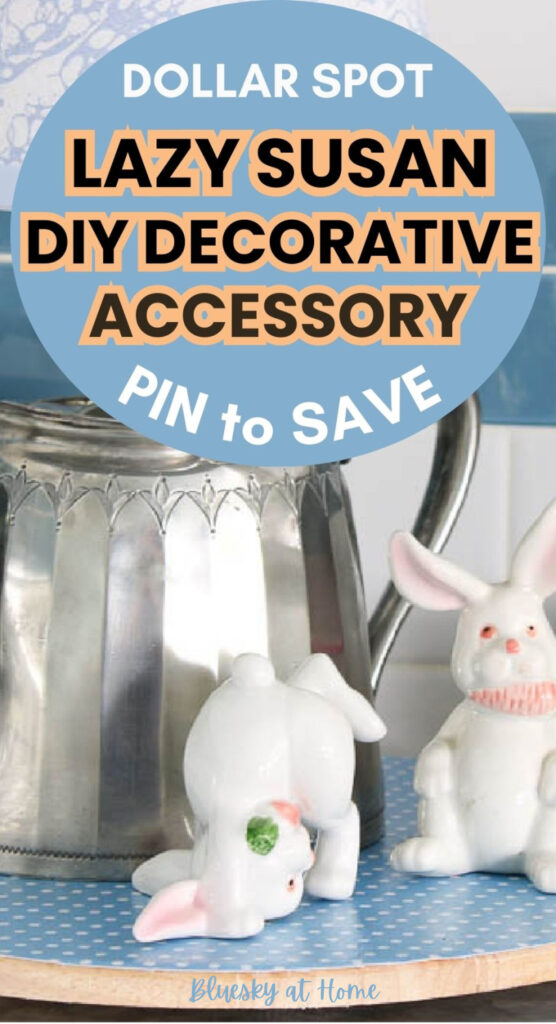
How to Decorate a Lazy Susan from the Dollar Spot
Have you ever used a lazy Susan in your home decor? A lazy Susan is such a practical piece to use on a table or kitchen counter. I recently found a lazy Susan in the Target Dollar Spot. Let me show you how to decorate a lazy Susan for your kitchen counter.
What can you do to make a lazy susan attractive for your home decor? Gather a few supplies and you can decorate a plain lazy susan to enhance your kitchen decor.
The Target Dollar Spot is as popular as the dollar stores for finding DIY items to decorate our homes.
Can you walk by the Dollar Spot without making a sweep for something you can’t live without?
I can’t. That’s how I found a wood lazy Susan. My DIY brain immediately clicked into create mode.
By the time I returned home (My Target is 5 minutes away.), I knew exactly how I was going to decorate this Dollar Spot Lazy Susan.

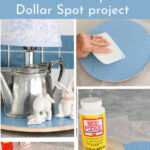
Easy Lazy Susan Dollar Spot Project
What supplies do you need for this project? Just a few:
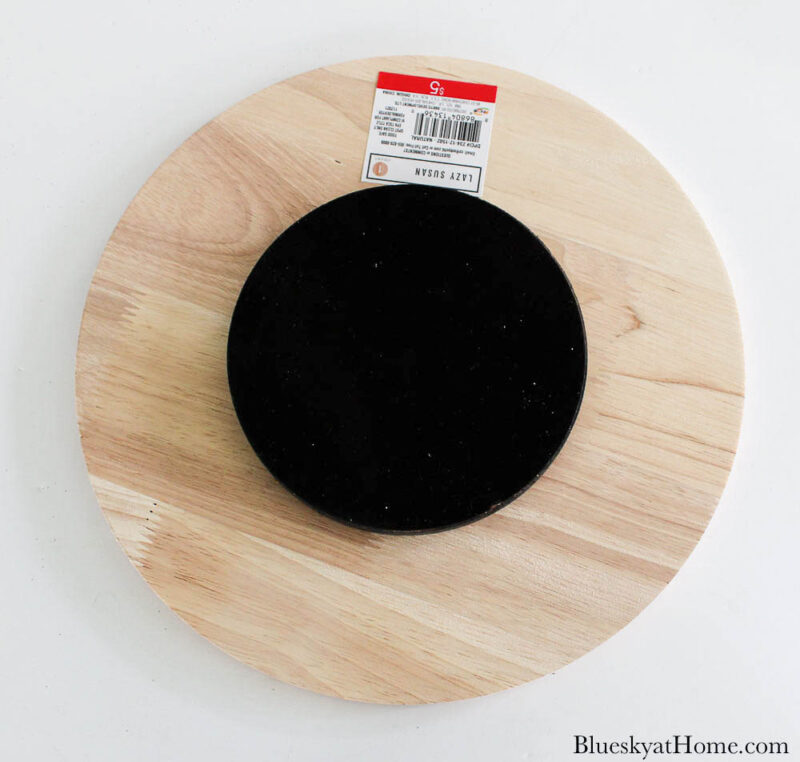
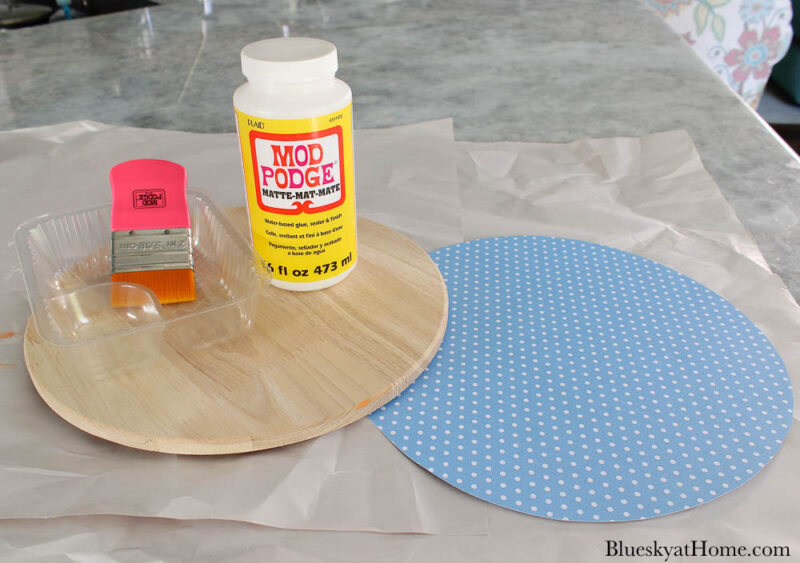
- First, you need a Lazy Susan. Here is the wood Lazy Susan I bought. The smooth wood will be the right surface for this DIY project.
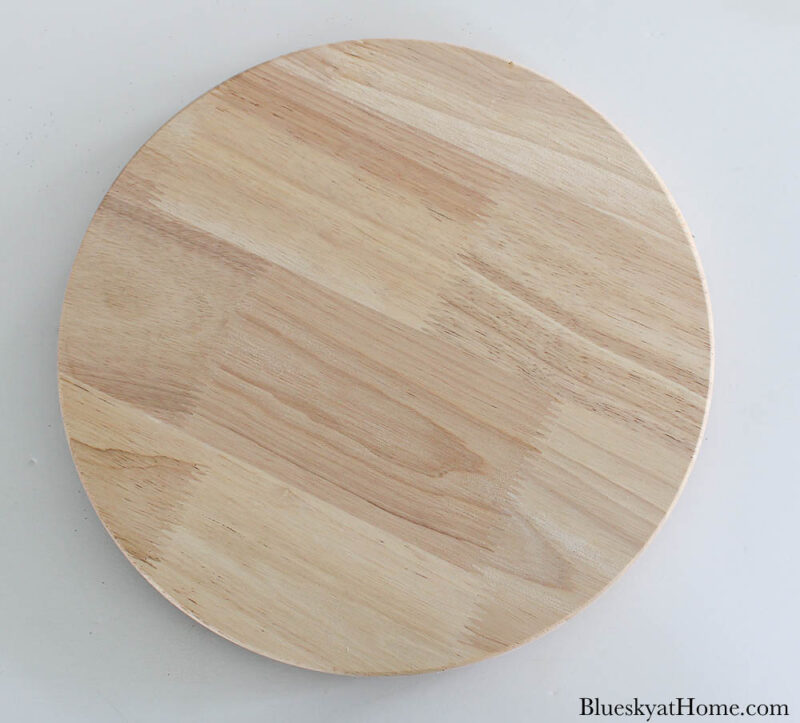
This Lazy Susan was $5.00. It’s actually very sturdy.
- For this Dollar Spot Lazy Susan decorating project, I’m going to use one of my favorite DIY techniques ~ decoupage.
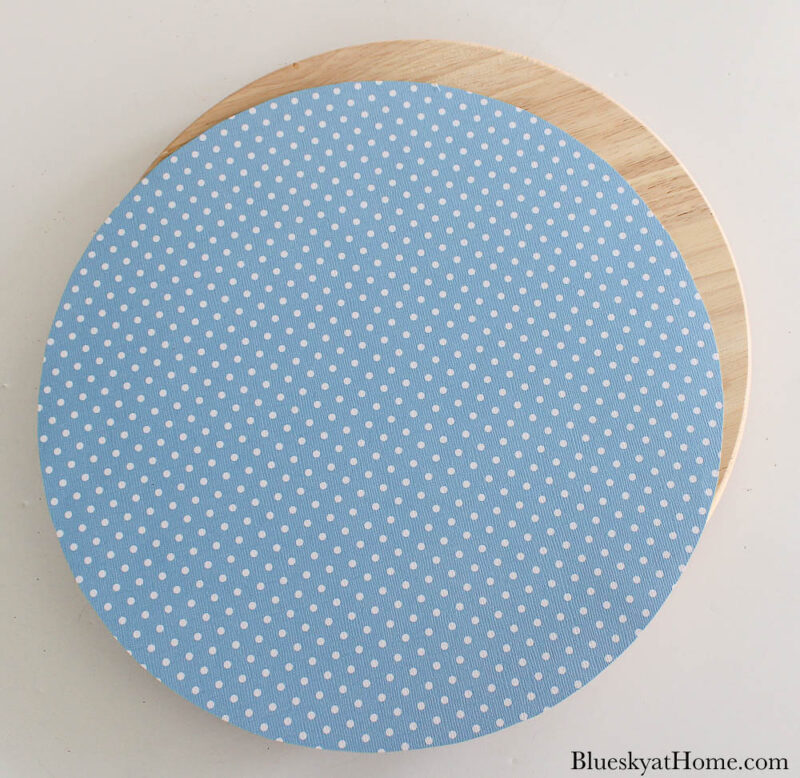
- To cover the wood surface, I’m going to use scrapbook paper in blue to fit in our kitchen. This paper material will provide a stronger base than a napkin for any objects placed on the Lazy Susan. I had several pieces that might work.
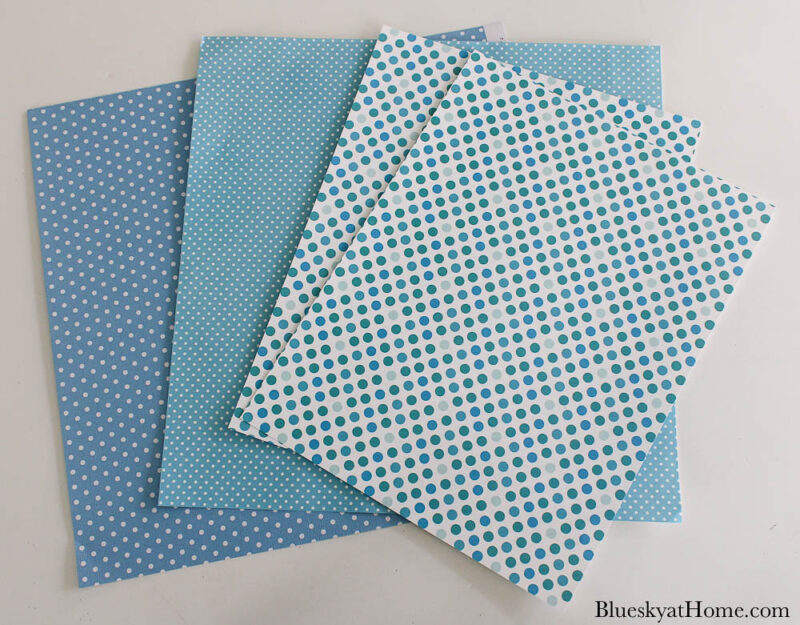
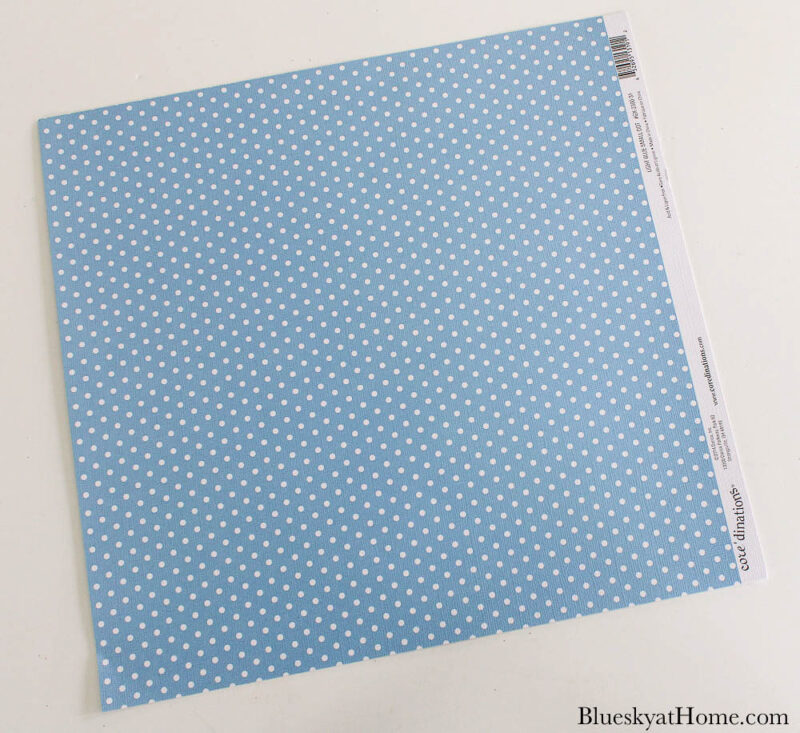
I picked this one because it best matched the accent tile in our kitchen. The color and the pattern of the scrapbook paper is what will give your Lazy Susan the personal touch that fits your home decor.
You could also use gift wrap, wall paper, or even fabric to cover your Lazy Susan. Any paper product left over from another project will work.
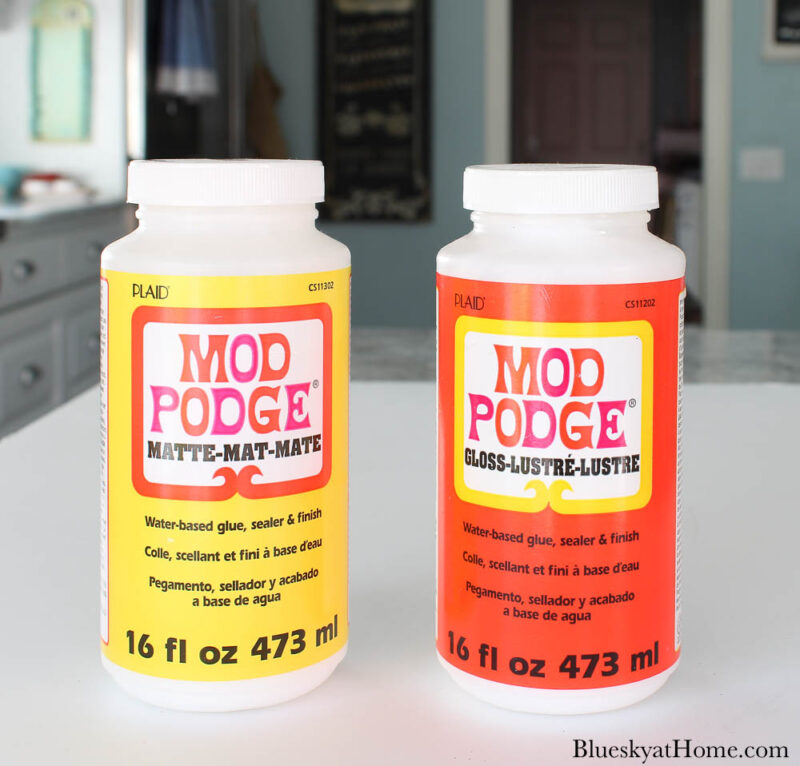
- Mod Podge brush – I love these brushes for applying the Mod Podge.
- Small, sharp scissors for trimming the scrapbook paper.


Steps to Make Your Decorative Lazy Susan
STEP 1
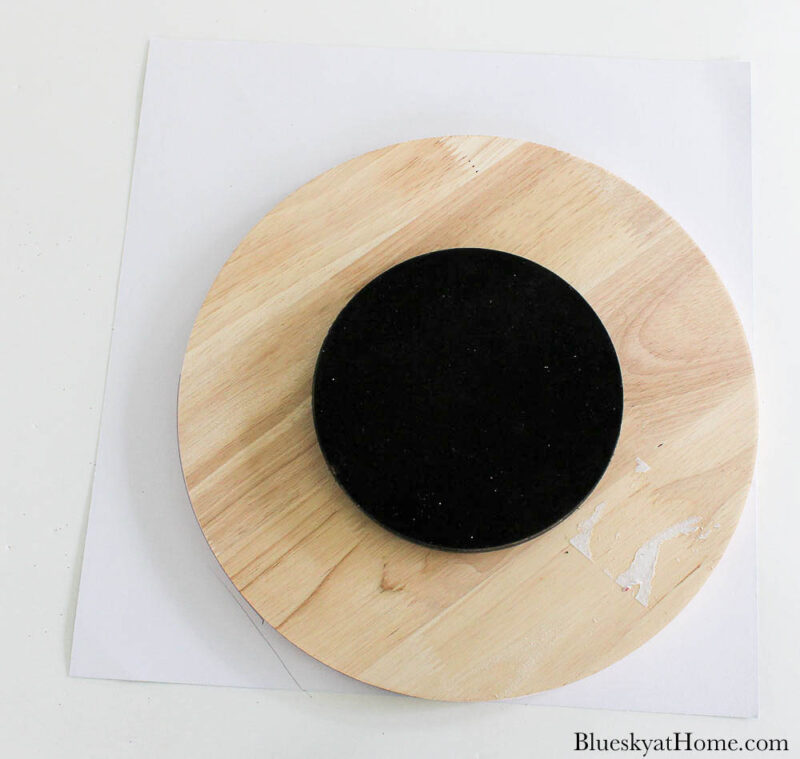
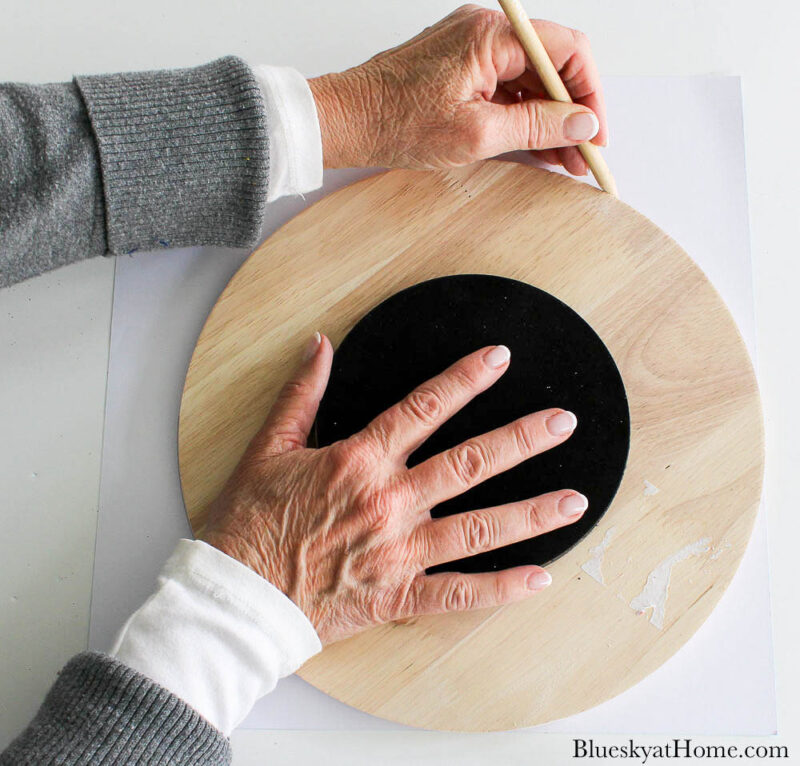
Place the scrapbook paper face down on your work surface. Turn the Lazy Susan upside down on the paper.
STEP 2
With a pencil, use the Lazy Susan as a template. Draw around it.
STEP 3 – Cut Out a Circle for Your Lazy Susan
Cut out the circle with small sharp scissors.
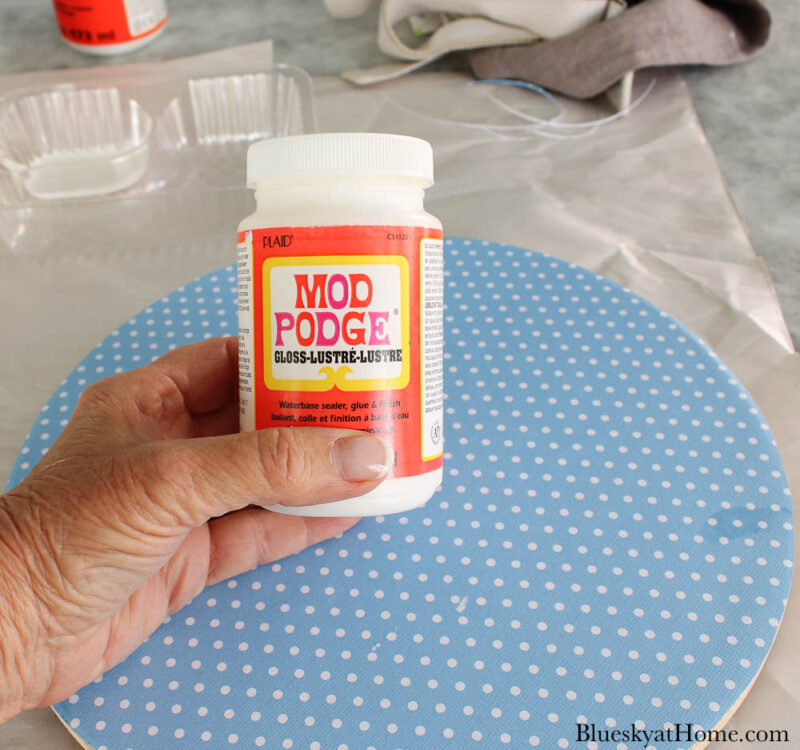
NOTE: I decided to use the Matte Mod Podge to apply the paper to the Lazy Susan.
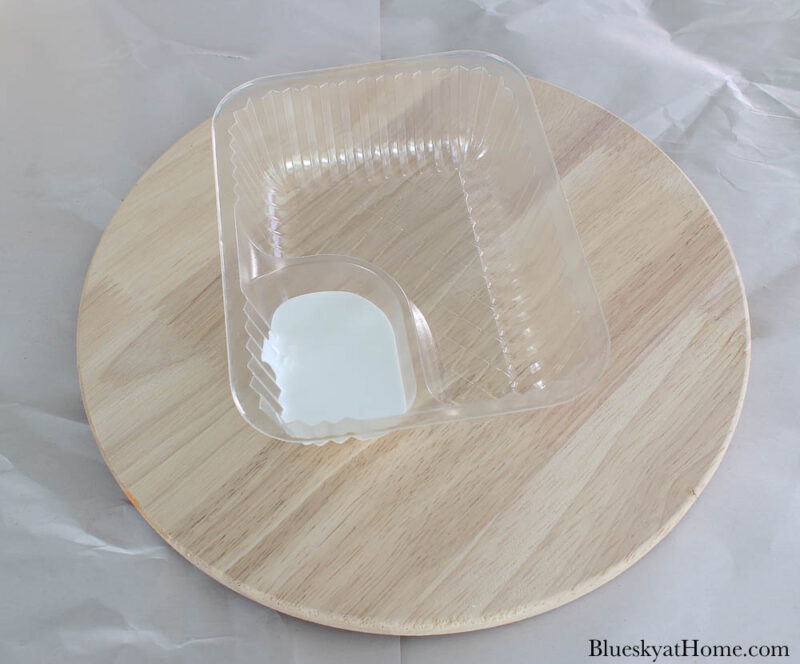
STEP 4 – Pour Out The Mod Podge
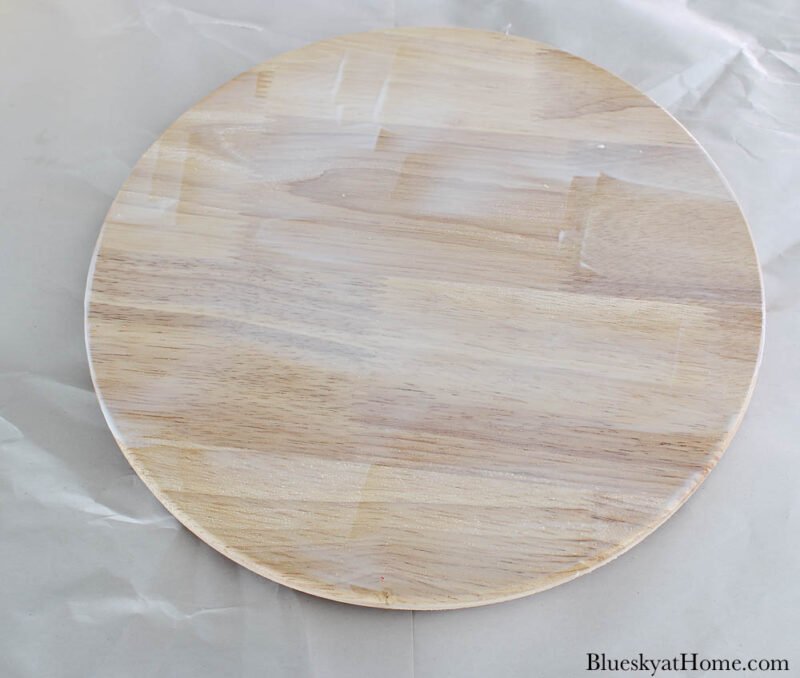
Use the brush to add Mod Podge to the surface of the Lazy Susan.
Pour some Mod Podge into a disposable plastic container. I bought a large package a few years ago. They are made for nachos.
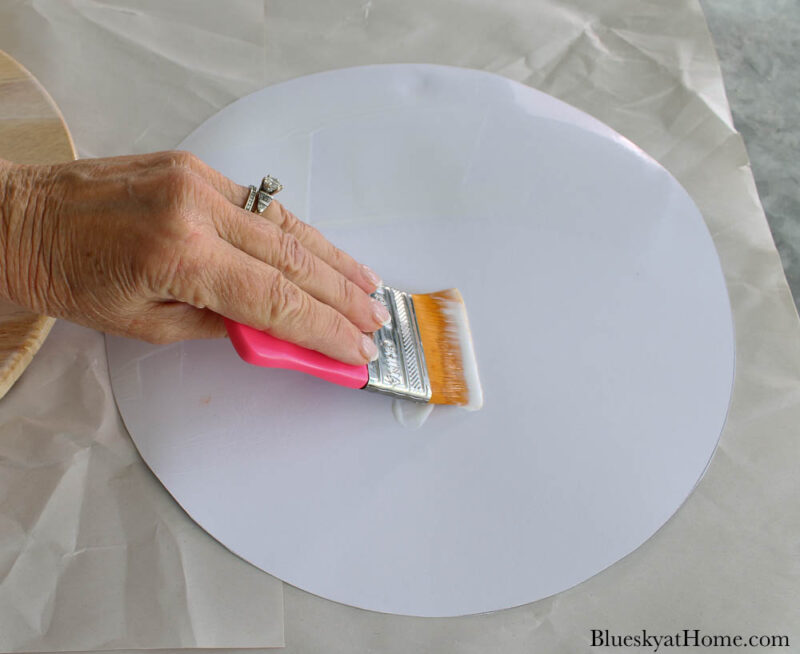
STEP 5 – Apply the Mod Podge
Apply Mod Podge to the back of the scrapbook paper.
STEP 6 – Apply the Paper
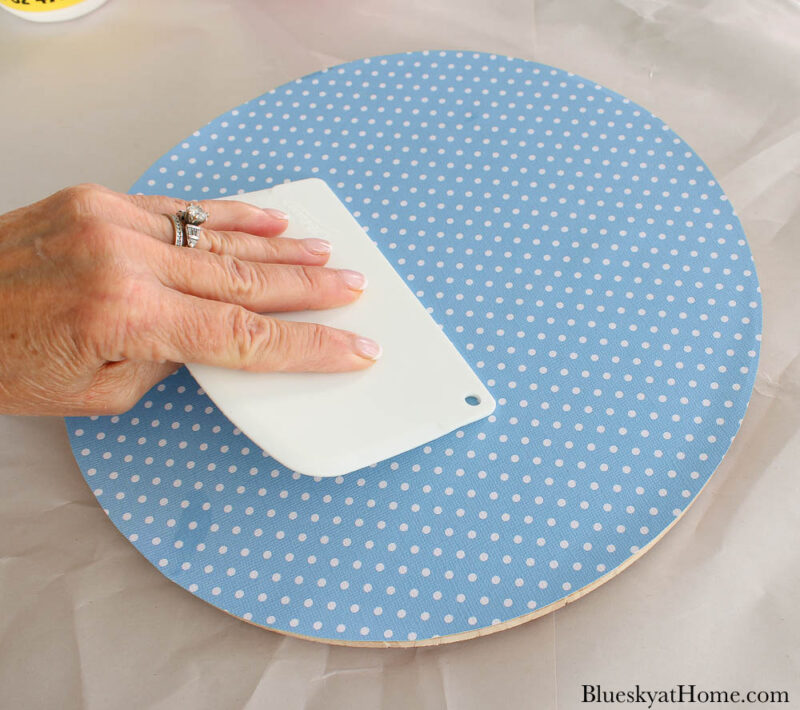
Carefully set the scrapbook paper on top of the Lazy Susan. Line up the edges of the circle to the edges of the Lazy Susan.
Add more Mod Podge on the edges, if necessary. Use a plastic food scraper or a credit card to smooth our the scrapbook paper across the Lazy Susan. This step will remove any bubbles.
Set aside the Lazy Susan to dry for about 30 minutes.
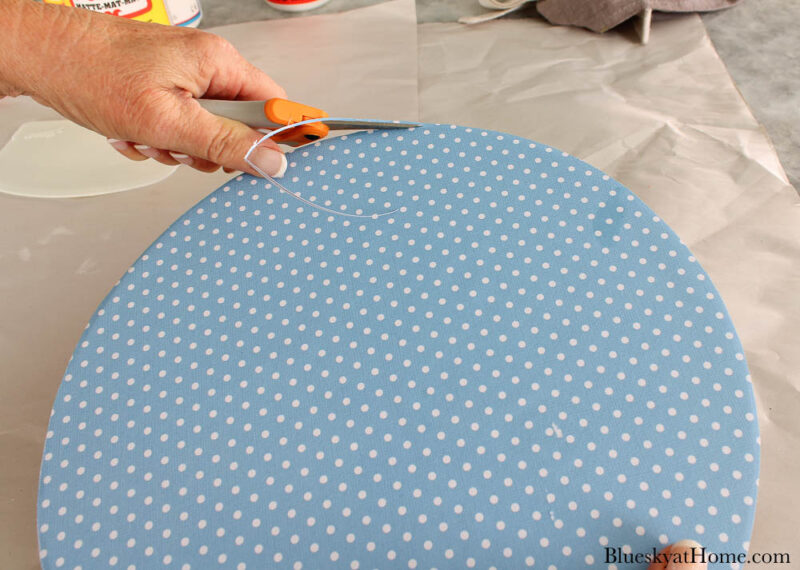
STEP 7 – Trim the Paper
Use the small super sharp scissors to trim the paper close to the edge of the wood Lazy Susan. I love these little scissors for trimming paper and fabric.
STEP 8 – Apply a Top Coat of Gloss Mod Podge.
Apply a coat of Mod Podge to the top of the scrapbook paper.
I chose to use the Gloss Mod Podge on the top surface of the Lazy Susan. Make sure to cover the edges well.
Set aside and allow to dry overnight.
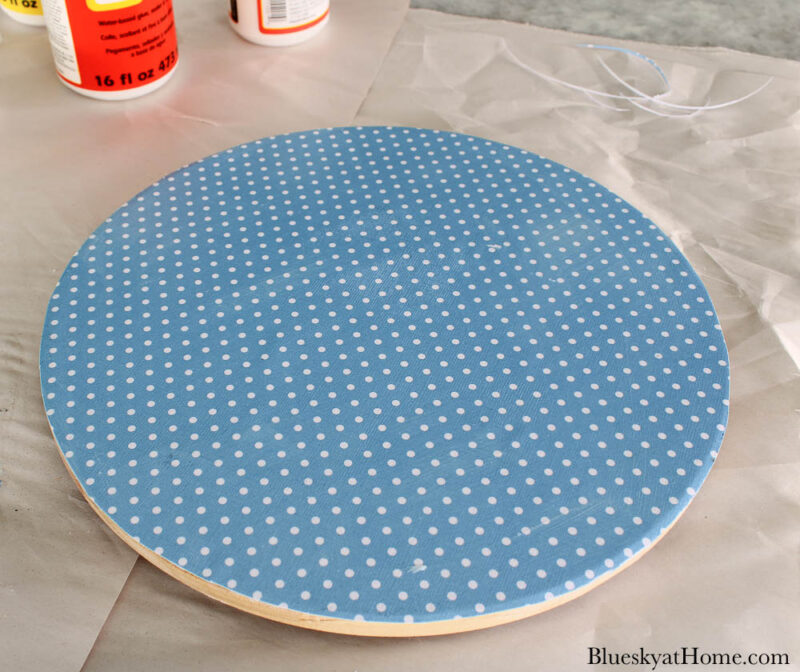
You are done with your decorated Lazy Susan. Wasn’t that easy?
Now you can use it in your home decor.
How did I use my Dollar Spot Lazy Susan?
I used it in a little kitchen vignette. I placed a silver lamp with the fabric-covered lamp shade that I recently made.
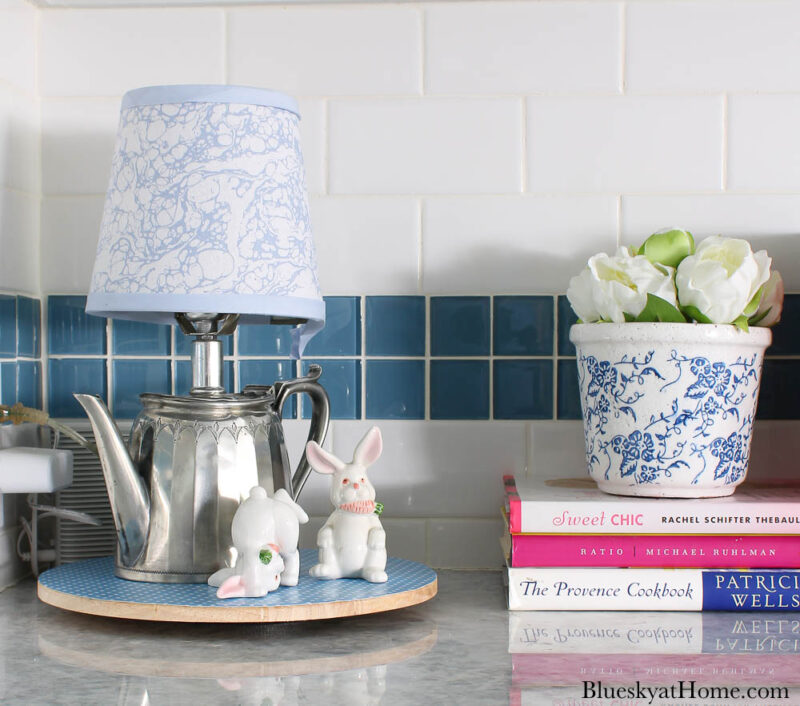
You may have noticed that I didn’t paint the edge of the Lazy Susan. I liked the natural look of the wood.
At some point, I may use the decorated Lazy Susan in a different place for a different purpose.
Our Favorite
DIY Decoupage Projects
Ready to Pin this easy Lazy Susan decorating project? Visit my Pinterest Board, DIY Projects and DIY Accessories for the Home.


What a great idea, Carol! Now I have to look for a wooden Lazy Susan! I love blue so this will be the color I use, too. Thanks for another great post! You always have such great DIY’s for us!
That’s a really neat project. Honestly some of those items at Target are amazing, and lazy-susans are so handy, I may have to get a couple for my plants that are large and need to be turned. Hugs, Sandi
That is so cute! I am going to have to make one for myself. I LOVE the tea kettle lamp! Wish I could find one like that for my kitchen.
So glad you liked the project, Shelley. I bought the lamp years ago from a neighbor who had a business converting silver containers into lamps. She doesn’t do it anymore.
This was really cute and easy! I’ll try it soon!
Have a great day!