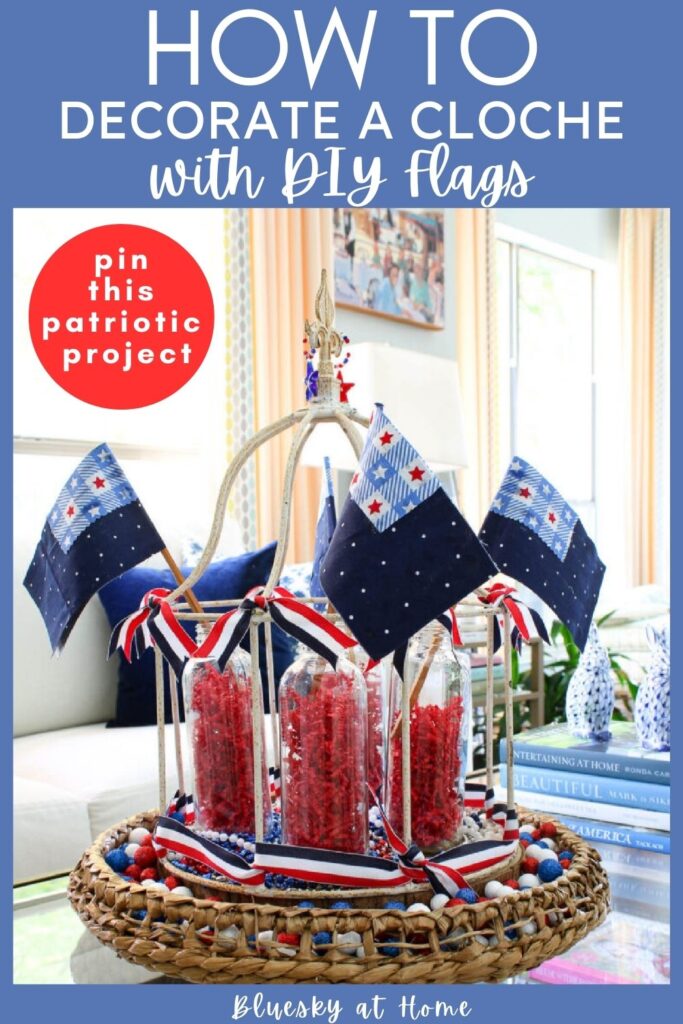
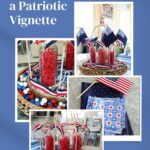
Patriotic Decor – How to Decorate a Cloche with DIY Flags
What do you do when you find the coolest flea market find? You add DIY fabric flags to make it shine for the 4th of July. Today, I’m going to show you how to decorate a cloche with DIY flags.
This creative and festive project combines the charm of a flea market find with an easy DIY project with a patriotic spirit. This patriotic decoration is easy and fun to make.
I’ll be making DIY flags using fabric and incorporating them into a centerpiece using a wire flea market cloche.
With a touch of red, white, and blue decorations, you can add a patriotic flair to any gathering or special occasion for the 4th of July. And, if you aren’t in the mood for a patriotic centerpiece, use the process for making DIY flags for any occasion or event.
Using American flags as our inspiration, let’s dive in and get crafting.

Celebrating the Holiday – It’s 4th of July
Today is Celebrate the Holiday and we are celebrating the 4th of July. It’s our biggest patriotic celebration of the year. It’s the biggest birthday of the year (except for Christmas).

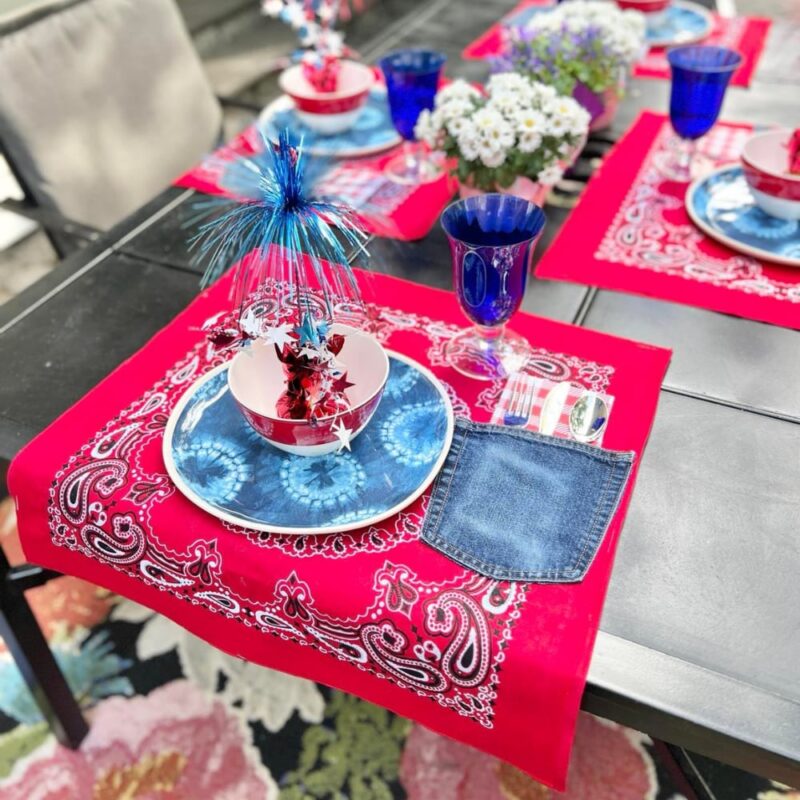
My blogger friends and I are sharing some great ways to help you add your own touch to this red, white, and blue celebration. If you are coming from my friend Missy of Sonata Home Design, welcome to Bluesky at Home. You’ll love her placemat project.
The Vision for this Cloche Decorated with DIY Flags
Have you ever made a flag from scratch?
A while back, I used a recycled tabletop to make a DIY American flag. It’s a project that we have used for 4th of July decorations many times.

You’ll love the easy way that making large or small flags can bring color and fun to your patriotic decorating.
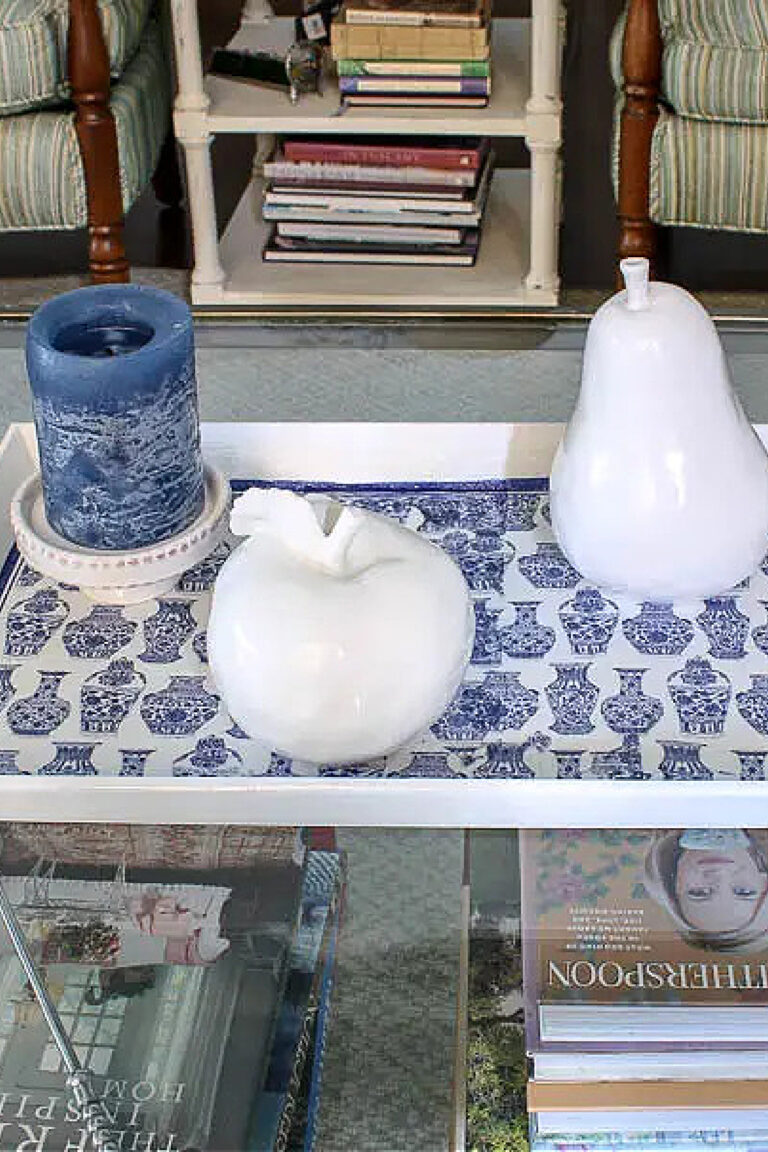
The vision for this DIY flag project began last summer in Granbury, Texas. Sweet Shark and I traveled one hour west to this small historical Texas town for my birthday. One of the highlights was a visit to Witherspoon Antique Mall. This shop is all about vintage flea market style.
As we walked to the front door, I immediately spied all the “junk” outside. The first thing that caught my eye was a trio of wire cloches. (Oh, my gosh, look was those wire cloches! “What’s a cloche?, Sweet Shark asked. I wanted to slap him. Hasn’t he been married to me long enough to know what a cloche is?)
There were three sizes and I picked up the middle-size one. It is 20 inches tall and 13 inches in diameter. It was $18.00 I carried it into the store, set it on the counter, and declared, “I’m buying this”.
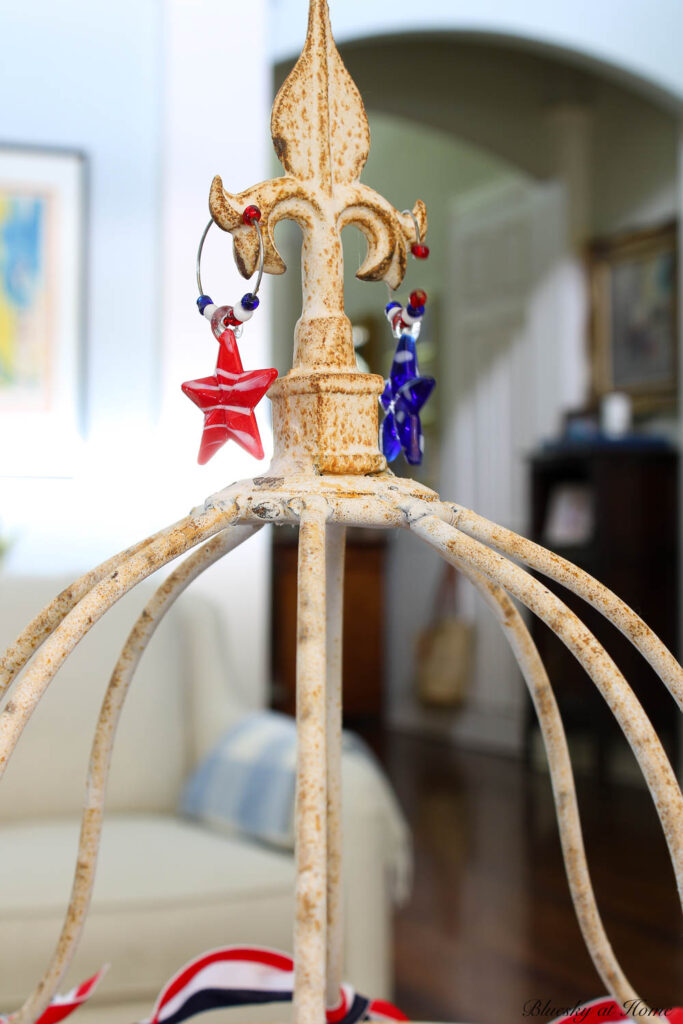
I love the “fleur de lis” type decoration on top.

Then I set about to explore every.single.aisle. I went a little crazy and came home with a box full of cool stuff (to be revealed as I use them in projects).
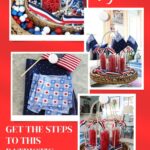
Now that I had my inspiration, I was ready to decorate my new/old cloche with DIY flags and create my cloche patriotic vignette.
Supplies for this Cloche Decorated with DIY Flag Project
You may already have all the supplies for this fun project. I did.
To Make the DIY Flags:
- 2 different red, white, and blue fabrics; you will need only a small about – less than 1/4 inch of each fabric
- Sewing scissors or Rotary cutter
- Cutting mat
- Straight edge plastic ruler
- Wooden dowel, bamboo skewers, or chopsticks
- Fabric glue or other all-purpose glue (I love this Bearly Glue and its application tips.)
To Create the Patriotic Vignette with a Cloche:
- Wire cloche (found at a flea market); this is another possibility, although much more expensive
- Base for the cloche, such as a wood slice
- Glass bottles (16-ounce) to hold the flags; blue mason jars would work well, too.
- Ribbon (optional)
- Decorative items to use as embellishments
Setting Up the Cloche
My idea was to set my cloche on my wood slice. I bought it a few years ago at a local design shop. It’s about 13 1/2 inches in diameter and 1 inch thick.

Fortunately, the cloche and the wood slice were a perfect match.

Then I had to decide what would hold my flags. I remembered how I decorated Kombucha bottles for an earlier project. Four bottles fit just right inside the cloche.

Then I removed the vinyl, craft paper, and curly ribbon.
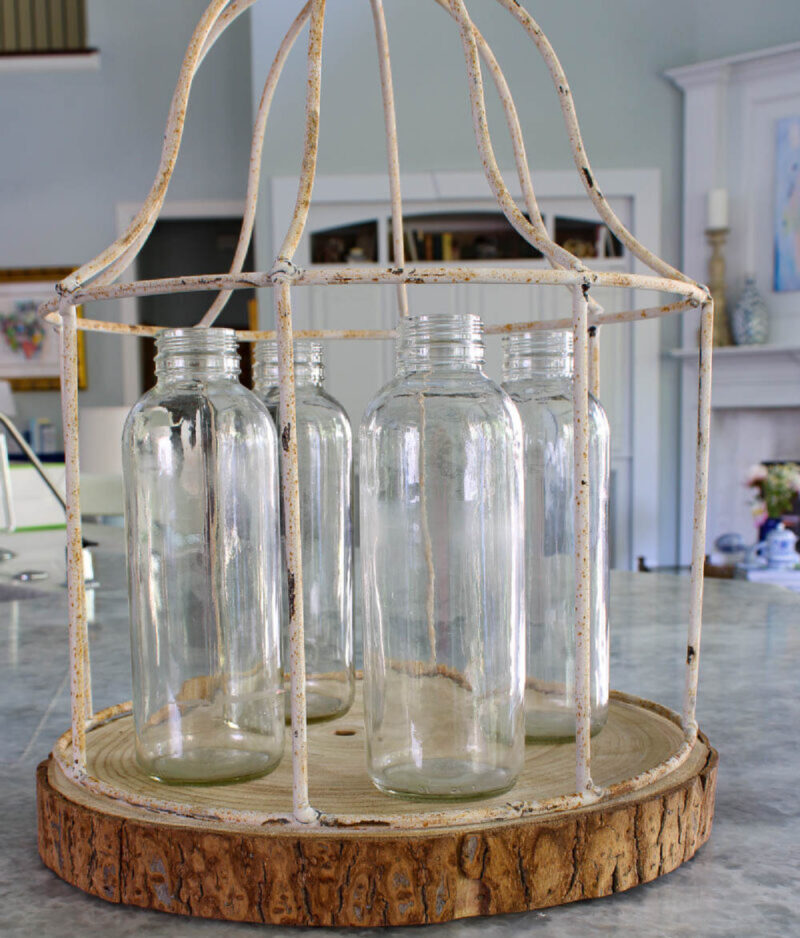
Now, what would support my DIY fabric flags? Regular skewers were too small. Fortunately, I had a bunch of chopsticks. They were almost perfect. Just a little too short.

I needed to “prop” up the chopsticks. Then I remembered my bag of red shred. I filled the bottles with all the shred.

It had a two-fold advantage: it helped to raise the chopsticks higher and gave the bottles depth and color.

Now I was ready to make my DIY fabric flags.
How to Make the DIY Fabric Flags
You could make DIY fabric flags in any color or pattern scheme. Since the 4th of July is a week away, I’m making patriotic flags, focusing on red, white, and blue for a patriotic theme.
Step 1: Preparing the Fabric. Start by selecting fabrics in shades of red, white, and blue to complement your patriotic theme. I would suggest cotton or any lightweight fabric of your choice. I had several fabrics to choose from. You may remember my DIY patriotic pillows from a few weeks ago. Iron your fabric, if necessary, to remove wrinkles.

Make sure you have enough fabric to create the number of flags you want, depending on the size of your wire cloche.
Step 2: Measuring the Flag Shapes. Using one of our small American flags as a pattern, I measured the dimension for the “stripe” background and the “star” area. The background is 6 1/2 X 3 3/4 inches. The star area is 3 1/4 X 2 1/8 inches. To have a 2-sided flag, I would need to double the length of both fabrics. I folded the fabric with right sides together.
Remember, flags come in different proportions, so feel free to experiment with sizes and shapes to fit your design.
Step 3: Cutting the Fabric. I love using rotary cutters to cut out straight pieces of fabric. You will need a cutting mat, a straight edge and a rotary cutter.

It is faster, easier, and more accurate than scissors.
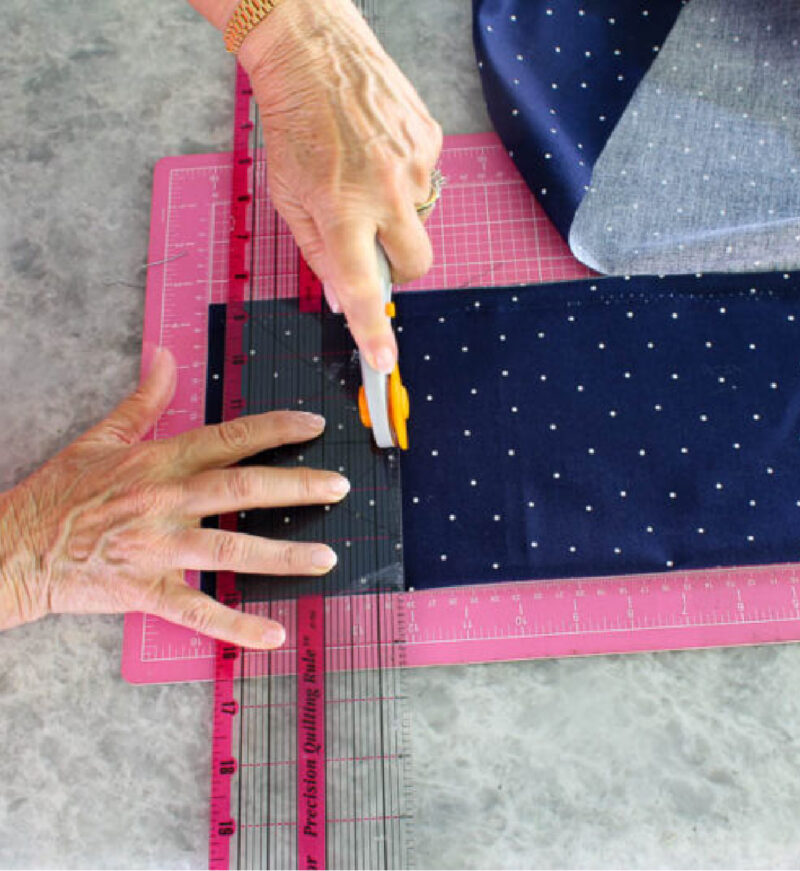
NOTE: Iron your fold to make it easy to see.
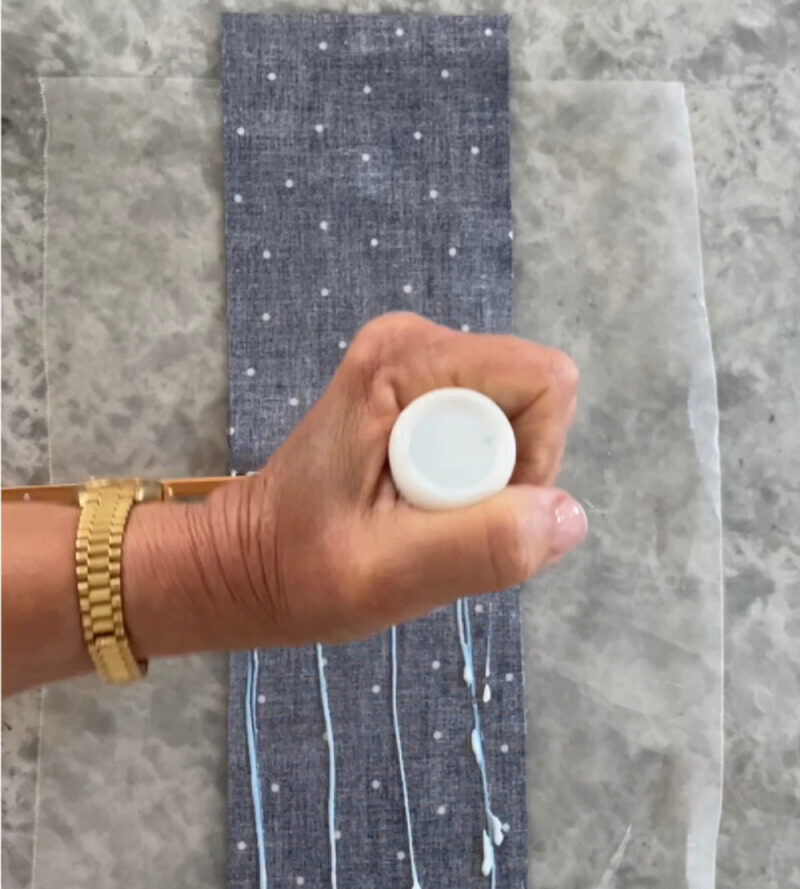
Step 4: Gluing the Pieces of Fabric. I used fabric glue. Open the background fabric, right side up.
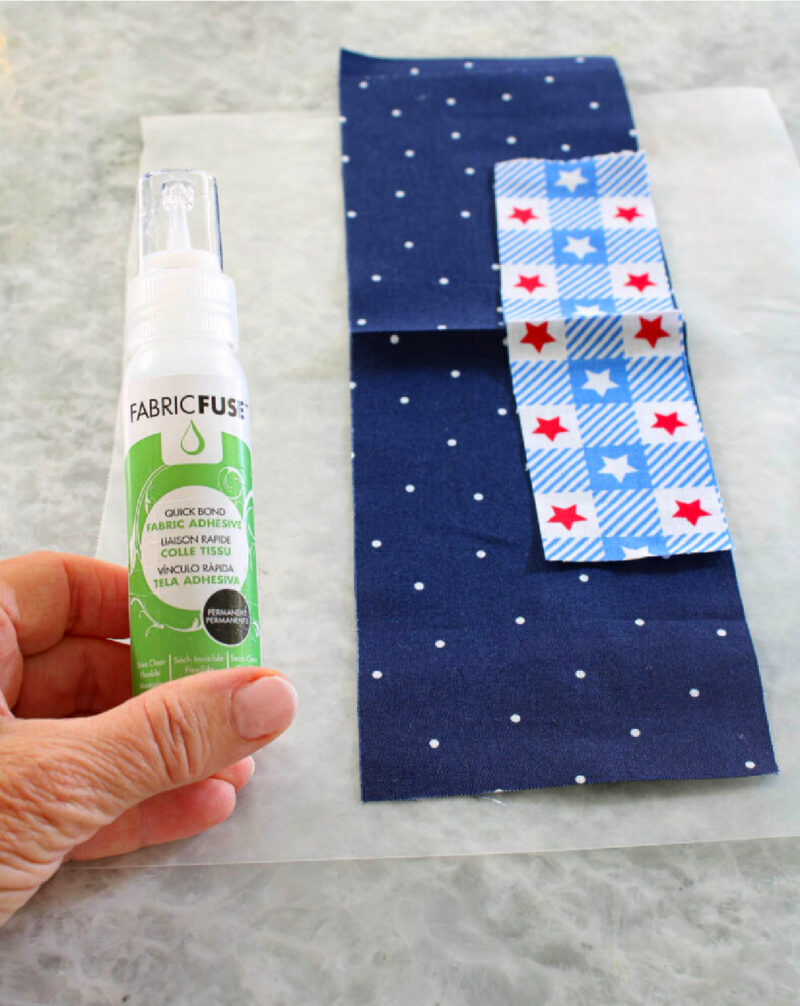
Apply the glue to the back (wrong side) of the “star” fabric. Turn the fabric over.

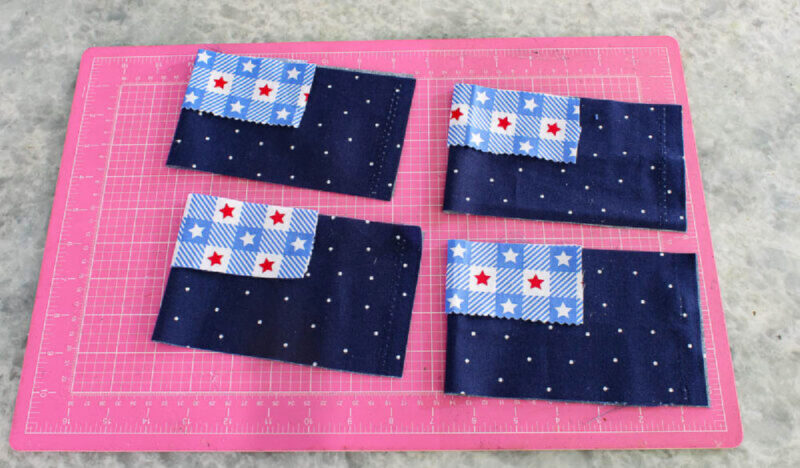
Match the fold on the top piece to the fold on the background fabric. Line up the edges of the fabrics. Press and smooth down the fabric. Set aside to dry and repeat with the other flag fabrics.

Let the two fabrics dry.
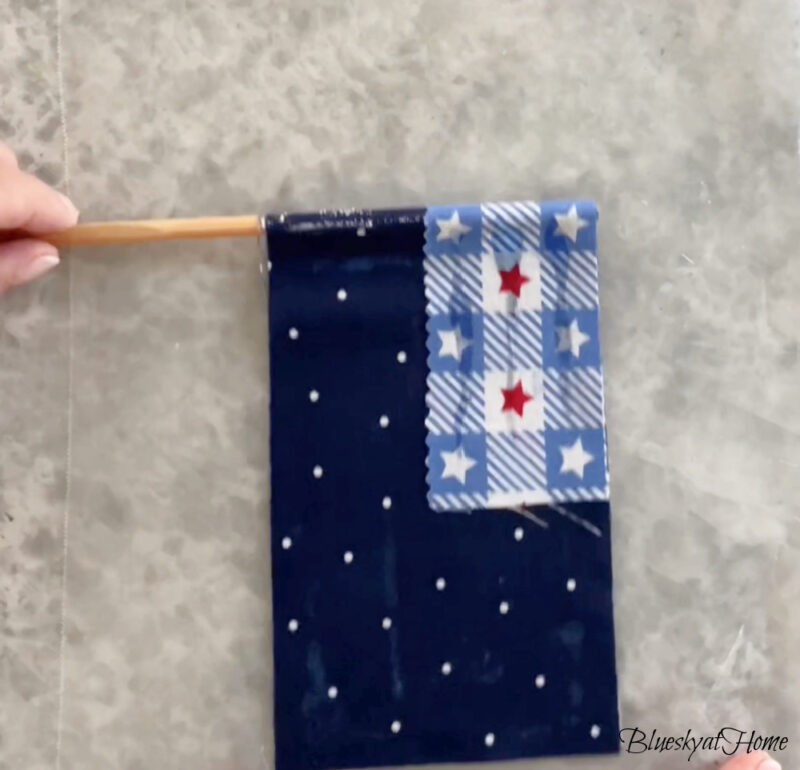
Step 5: Attaching the Flag to a Dowel. Use a wooden dowel or bamboo skewer or chopsticks. If necessary, measure and cut it to your desired length.
Open the flag fabric and run a bead of glue down the fold. Lay the dowel on top.

Add glue to one side of the fabric. Fold over the fabric, press the top fabric down around the dowel and the bottom piece of fabric. Repeat with the other flags and set aside until the glue is completely dry.
NOTE: The glue may show through the fabric until it dries.
Assembling and Decorating the Cloche Centerpiece
While your collection of DIY fabric flags is drying, you can decorate and assemble the cloche centerpiece.
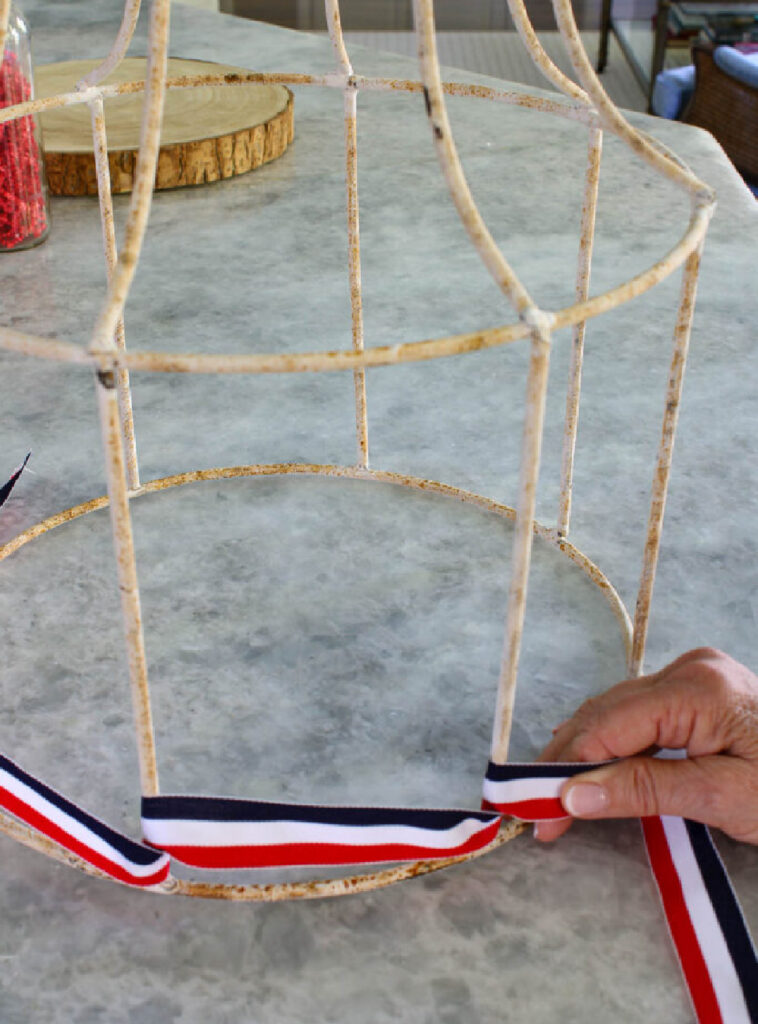
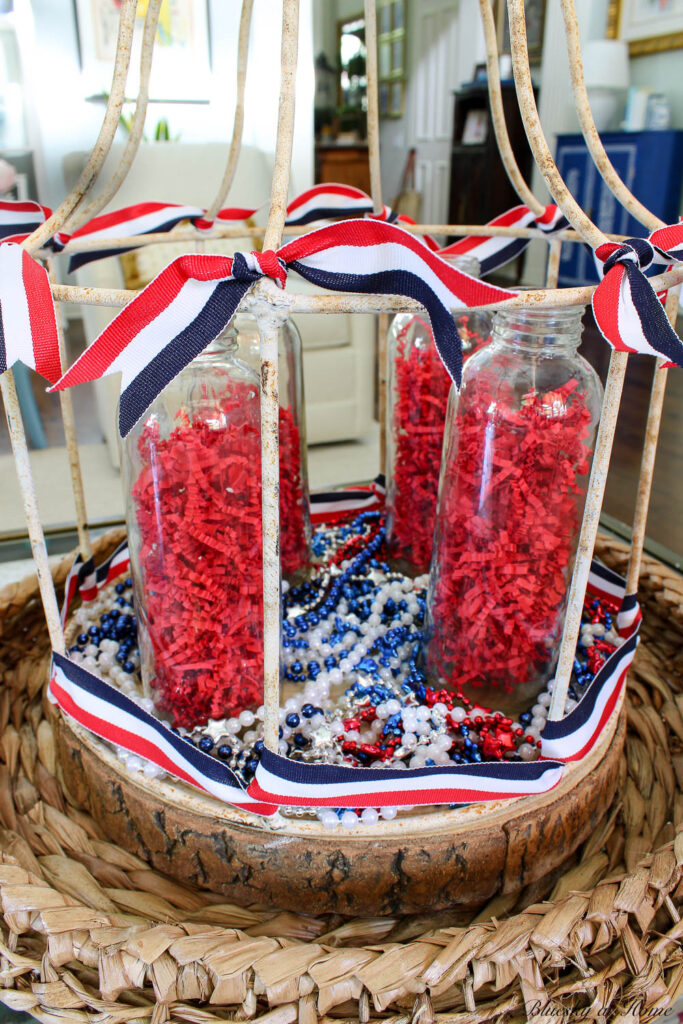
Since I had plenty of red, white and blue ribbon in my stash, I used it to “garnish” the cloche.
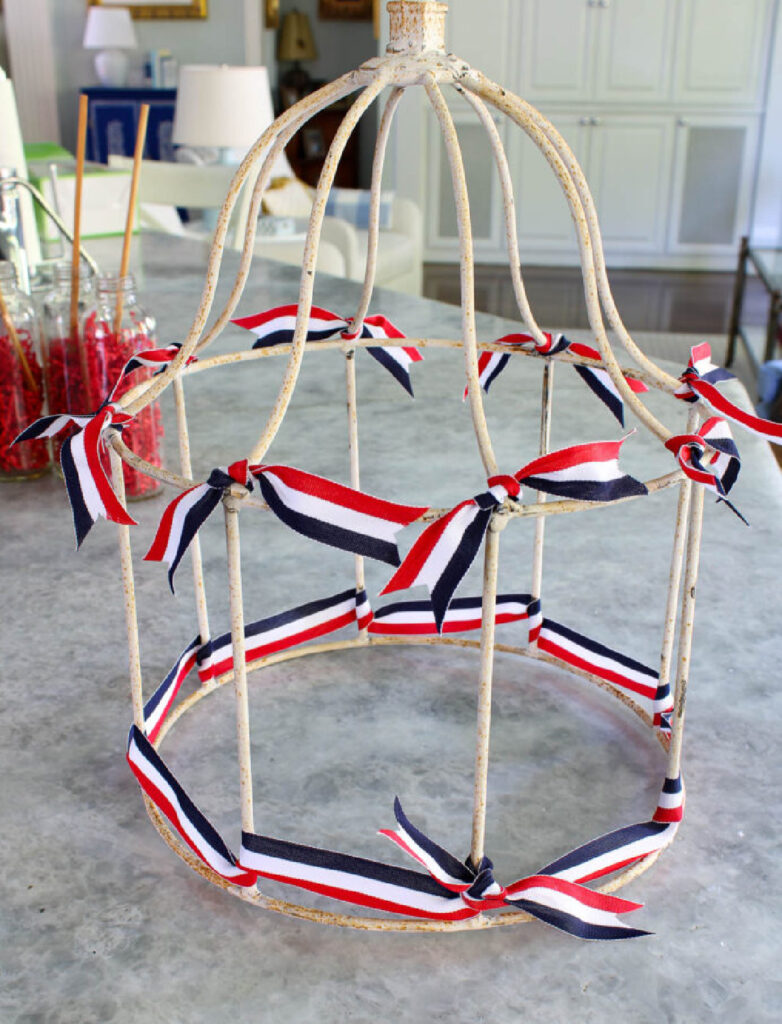
First I wrapped the ribbon all around the base of the cloche, looping it around each vertical wire.
Then I tied a little loop around the top wires of the cloche.
I originally intended to place the cloche decorated with flags on our patio table. To be honest, it is so hot out there right now, I decided to use it as a centerpiece on our living room coffee table. It will make a nice focal point for our patriotic decorations.
I started with a recent purchase from Target – a round woven water hyacinth tray. I set the wood slice inside, which was a great fit. Then I set the cloche on top.
I set the four glass bottles inside the cloche, spaced evenly around the cloche.
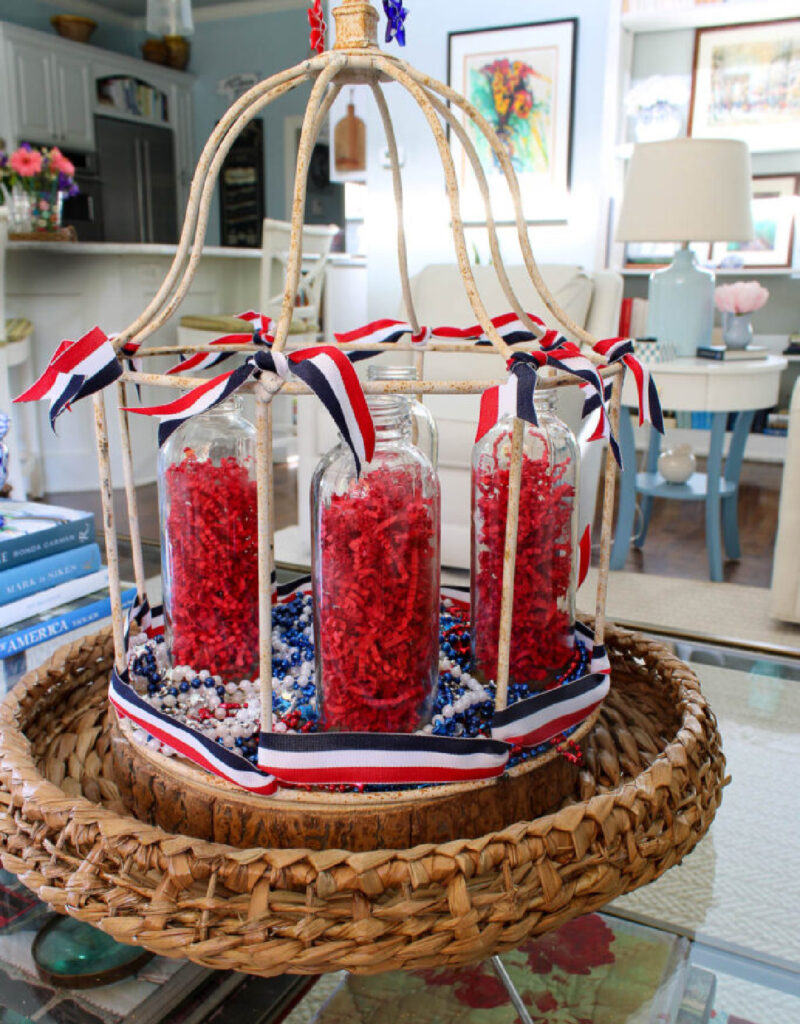
I added some patriotic decorations from our stash.
- strands of red, white, and blue beads
- two star wine charms on the top of the cloche
- red, white, and blue styrofoam balls filled in nicely around the wood slice

As the final touch, I added the DIY fabric flags to the glass bottles. These little flags “wave” out of the cloche exactly as I envisioned.

Did you follow along with me on this project? You’ve successfully created a stunning DIY cloche centerpiece adorned with patriotic fabric flags.
The flags can be saved for any patriotic holiday decor:
- Memorial Day
- Flag Day
- July 4th
- Labor Day
This cloche vignette is sure to impress. It could definitely be used as an easy centerpiece for a patriotic tablescape.
The only thing I bought was the new wire cloche, but I will use it in many ways for many ways.
Remember, the best part of DIY projects is the opportunity to customize and personalize them to your liking. Feel free to experiment with different fabrics, colors, and decorative elements to make this centerpiece truly your own.
Happy crafting, and may your patriotic centerpiece bring joy and inspiration to all who see it!
I hope you’ll visit this collection of 4th of July projects for your inspiration. PIN this post and all the individual ones, starting with my friend Michelle of Thistlekey Lane, I know you loved her fun patriotic ideas.


Bluesky at Home – Flags for Cloche Patriotic Vignette
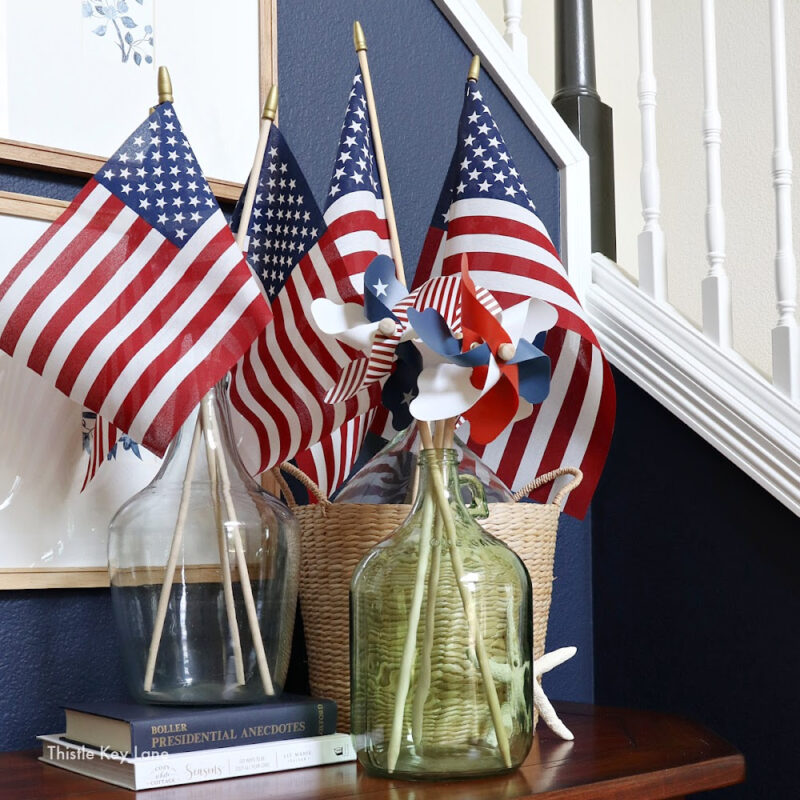
Thistle Key Lane – Favorite 4th of July Decorations
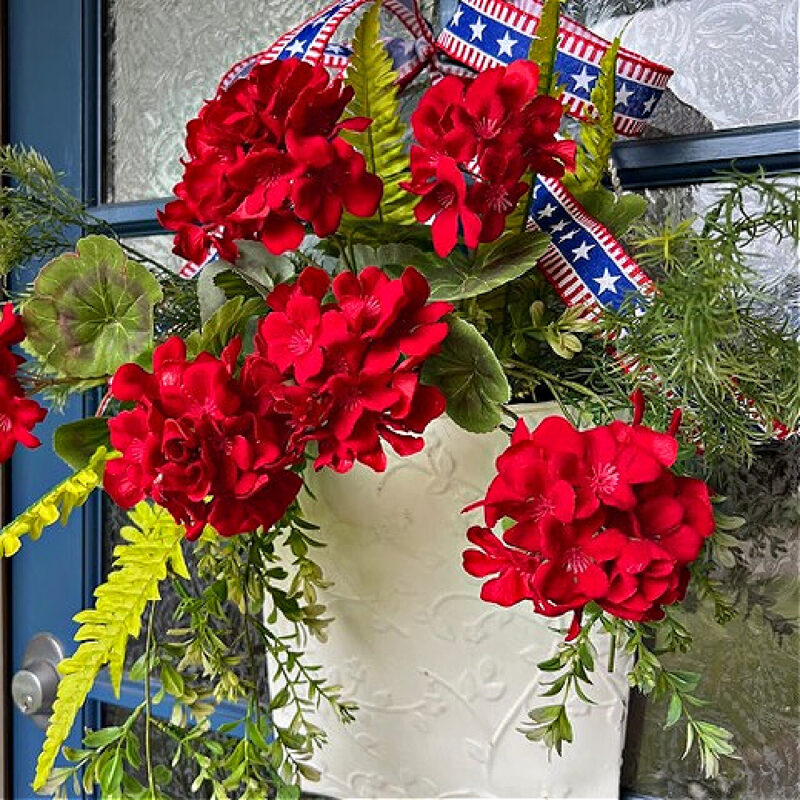
Perfecting Places – Patriotic Front Door Flower Bucket
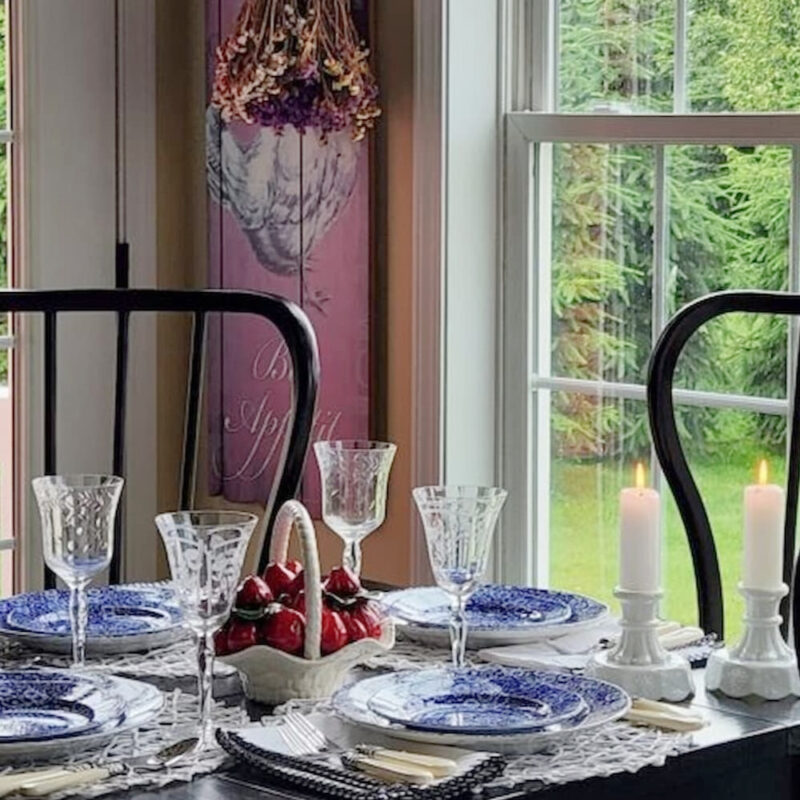
Hen and Horse Design – 4th of July Tablescape Ideas
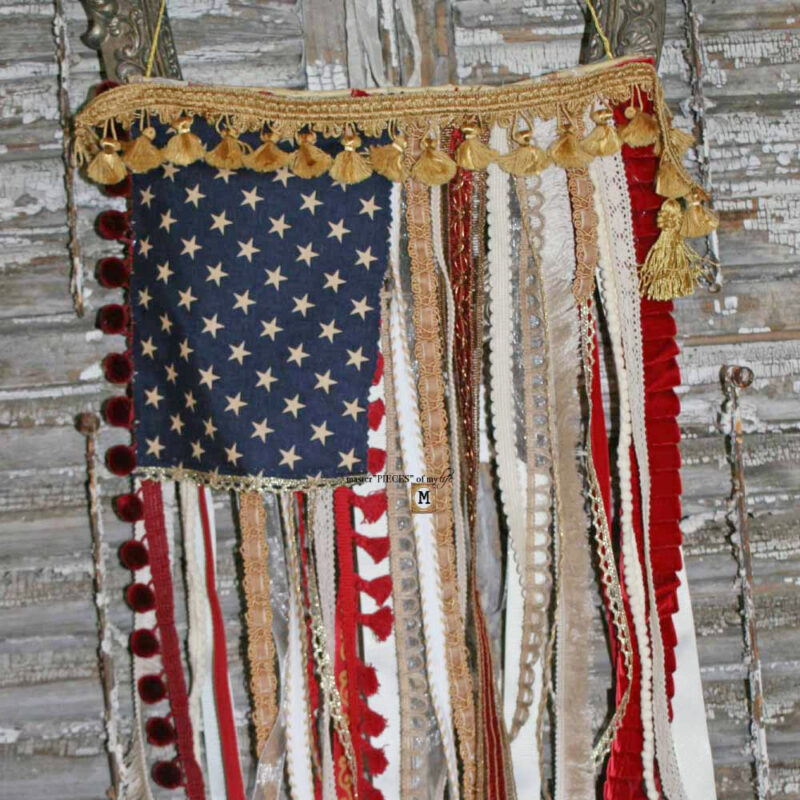
Masterpieces of My Life – DIY American Ribbon Flag
Sonata Home Design – Reversible No-Sew Placemat


Carol, I love this pretty idea for any patriotic holiday. The ribbon and those adorable flags add a touch of whimsy and look fantastic!
Thanks, Susan, and happy early 4th. Those flags were so easy to make and cost so little to make.
Your patriotic decor is so pretty and festive. The cloche is fantastic and I love how you made the flags. So many possibilities. Thanks for brining us together. Happy summer! XO- MaryJo
Carol, I’m loving your fantastic cloche, and your flags are just adorable! What a cute vignette that can be used in so many settings indoors or outdoors! Pinning!
What a great find, Carol!! The cloche is perfect for every holiday, and looks fabulous decked out in your red, white, and blue finery!! I love it! Thanks so much for hosting our blog hop!
I love this cloche! It’s just darling. Thanks for sharing on Crafty Creators!
Your centerpiece is so festive. Happy 4th of July!
Such an adorable project for the holiday, Carol!! That cloche was a score!! Happy 4th! Pinned!
You went all out on the RWB, Carol! And I love those bottles with the flags! The cloche is a great idea!
Carol, your patriotic cloche turned out so cute! I love the flags, and you got a great deal on that wow cloche, I would have snapped it up as well! Happy summer ☀️
I love the cloche and how clever to fill the jars with red and then add those amazing flags. Truly unique and so full of inspiration. I love it.
Carol,
These flags are so cute and I love how you styled them. I’m sharing a link on my Sunday, Dirt Road Adventures.
Carol, your new cloche just screams Americana with your sweet flags and all the RWB ribbon trims!! Really love this! Great buy, too.
Thanks for new ideas to use on some of my wire pieces,
Summer hugs,
Barb 🙂
What a festive centerpiece! And that cloche is a great find. Glad you had fun shopping:)
I’m glad you had fun on your adventure to Granbury. The wire cloche is a terrific find and you’ll be using it for all kinds of vignettes. Love how your cute flags turned out Carol! BTW the red, white and blue ribbon is the perfect addition! Happy 4th!
What a darling centerpiece on your coffee table Carol. I love all kinds of cloches and you made this look so festive for the 4th of July. Thanks for the flag tutorial, they really look great.
I love Witherspoon Antique Mall! So glad you had fun and I bet the Mister wouldn’t know what a cloche was either if I ask. LOL! Love the flags and I totally think I need to get one of those rollie things. Would make crafting so much easier. Happy 4th and hope your celebration is nice and cool.
Such a cute idea. The flags are amazing. Happy Fourth of July, my friend.
LOVE this sweet vignette!! So cute an the flags are lovely!! Thanks so much for the inspiration!!
Hugs,
Deb
HI Carol,
Love the cloche comment from Sweet Shark! Love the flags and the fabric!
Great job! xo laura
The cloche is amazing, and the wine charms on top are the icing on top! Almost like earrings! Thanks for sharing!
Niky
What a fun display Carol. That cloche is a truly fabulous find. Have a Yankee Doodle dandy of a day!