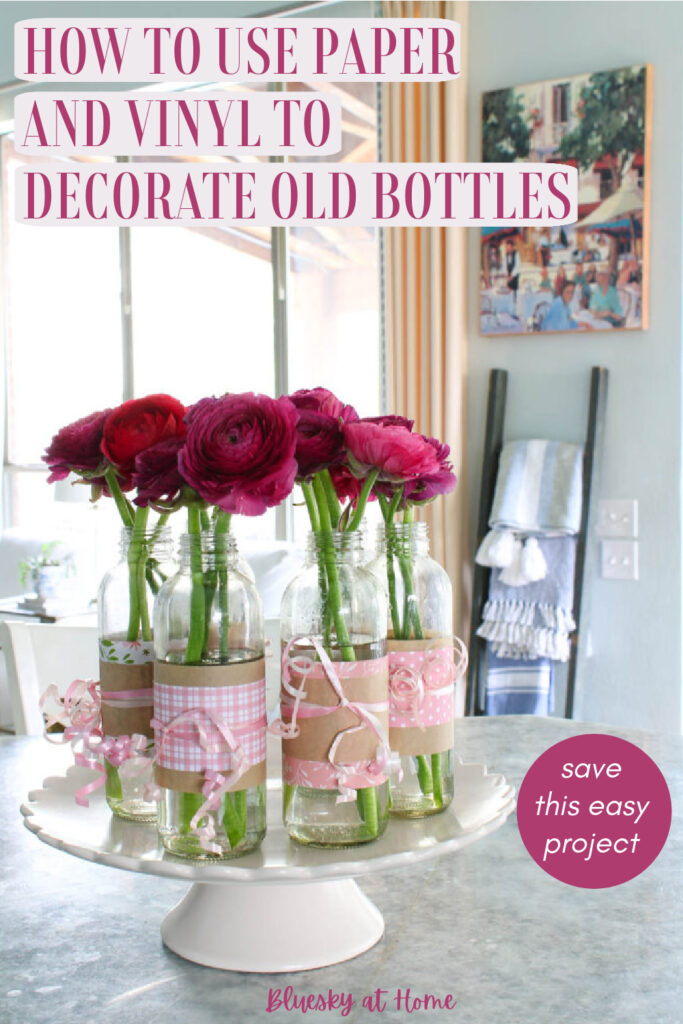
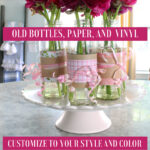
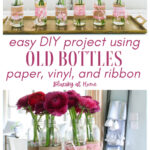
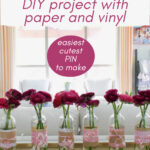
How to Easily Decorate Old Bottles with Paper and Vinyl
Do you have projects that are so easy and so cute that you amaze yourself? Have some old bottles lying around? Have a stash of paper and vinyl that need a project? Then you will love this super tutorial on how to easily decorate old bottles with paper and vinyl.
This truly is such an easy project, it’s almost embarrassing to call it that. It came to me as I was doing a little inventory of my scrapbook and vinyl supplies.
When I realized how much pink scrapbook paper I had on hand, I knew I needed to find a way to use some of it to make something pretty and useable.
Since spring is almost here and pink is one of my favorite spring anytime colors, it is the perfect time to share tis project. I also realized had several sheets of removable vinyl in different patterns, all in pink.
It was my lucky day.
It wasn’t hard to come up with a great idea and an easy way to use some of the paper.
Although there are many creative DIY ways you can decorate old bottles, I’m focusing on using paper and vinyl.
Finding easy projects to share with you is very fulfilling. I first shared this project on the Creative Craft Blog Hop, hosted by Sara of Birdz of a Feather. There are so many awesome projects for you to try.

Ideas for Decorating Old Bottles
Do you have old glass bottles or glass jars tucked away in a drawer? I certainly do.
I often ask Sweet Shark to save interesting empty wine bottles for me to use in DIY projects, like these sea glass-painted bottles. Empty bottles are like a DIY magnet.
What kind of decorative bottles or jars can you reuse for home decor accessories? Just about any glass will do.
- old wine bottles
- beer bottles
- vintage glass bottles – if you are lucky enough to find them, especially in colors.
- clear glass bottles
- iced tea bottles
- liquor bottles
- old bottles that you have or find at thrift stores or flea markets
- glass bottles with interesting shapes
- soda bottles
- olive oil bottles
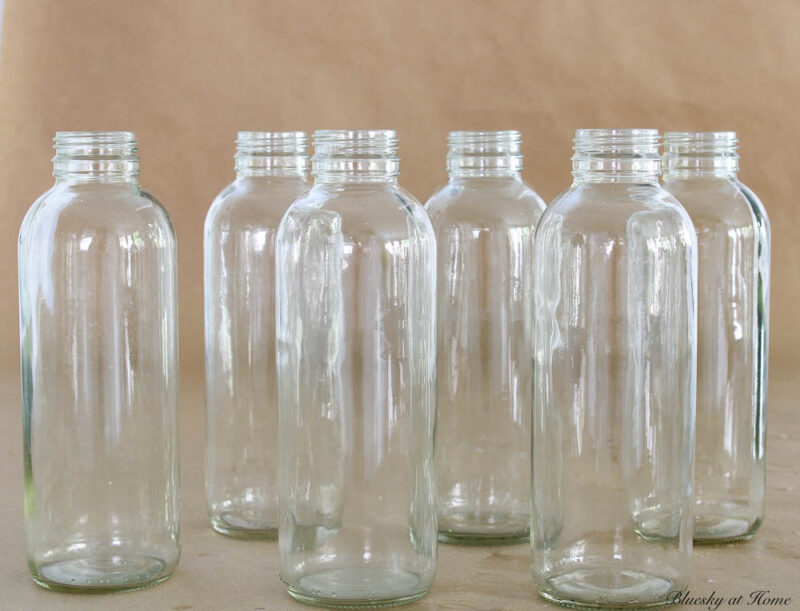
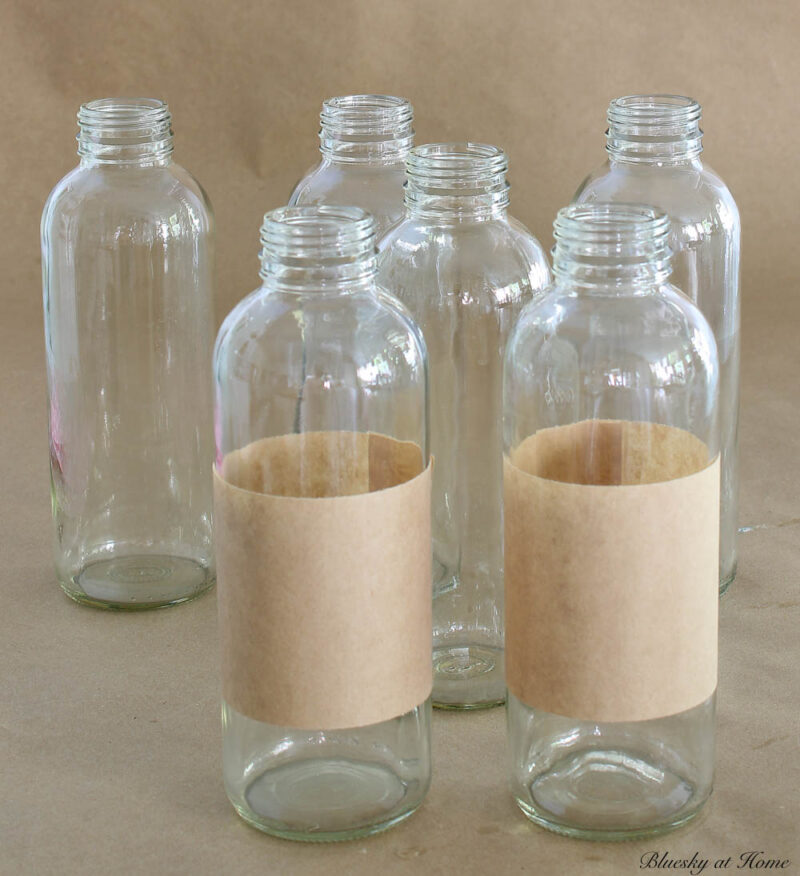
For my DIY glass decorating project, I used Kombucha bottles. Yes, Kombucha bottles.
Several years ago, my friend and tennis partner got me started on Kombucha. She actually made her own at home.
I never got the hang of drinking Kombachi and after trying it seven times, I stopped. But I loved the bottles.
They had a nice shape and size and the glass was very clear. After washing them thoroughly, I stored them in a bottom kitchen drawer.
The first time that I repurposed the Kombucha bottles for this spring tea party with my granddaughters.
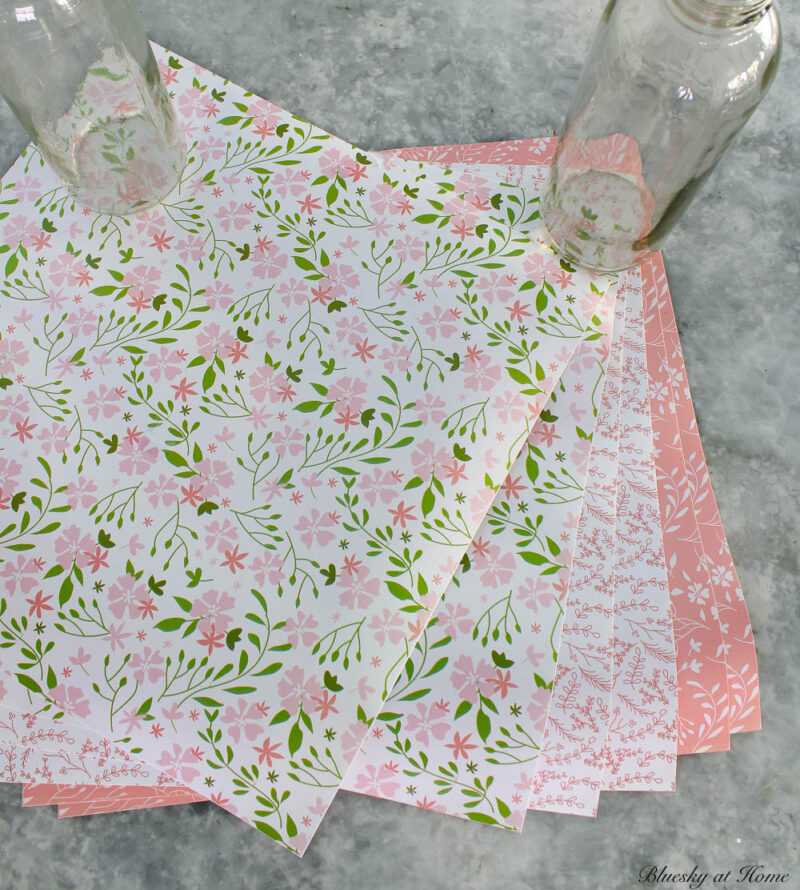
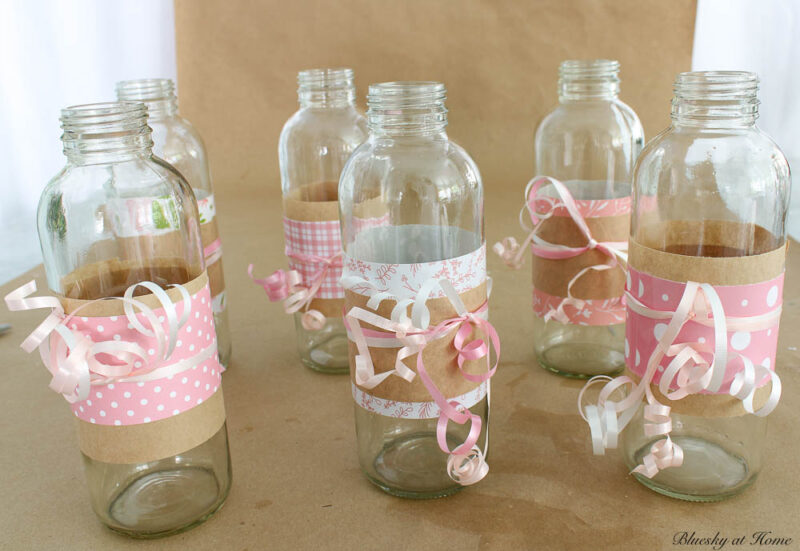
My idea is to use 6 of the Kombucha bottles and decorate them with scrapbook paper, craft paper, and removable vinyl.
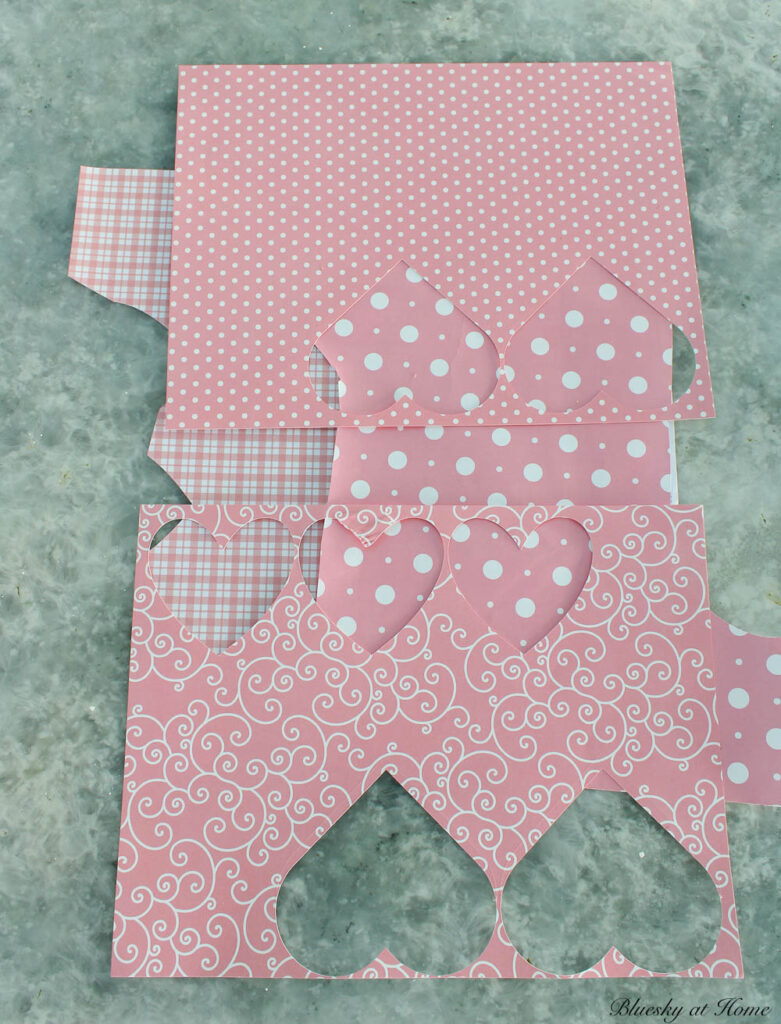
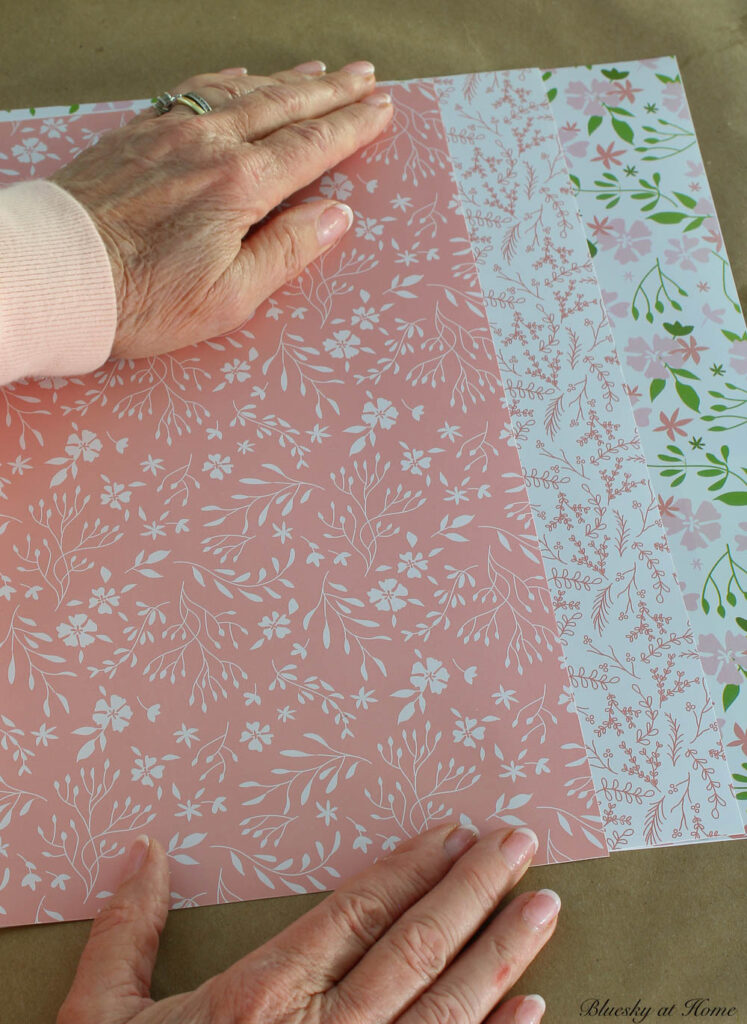
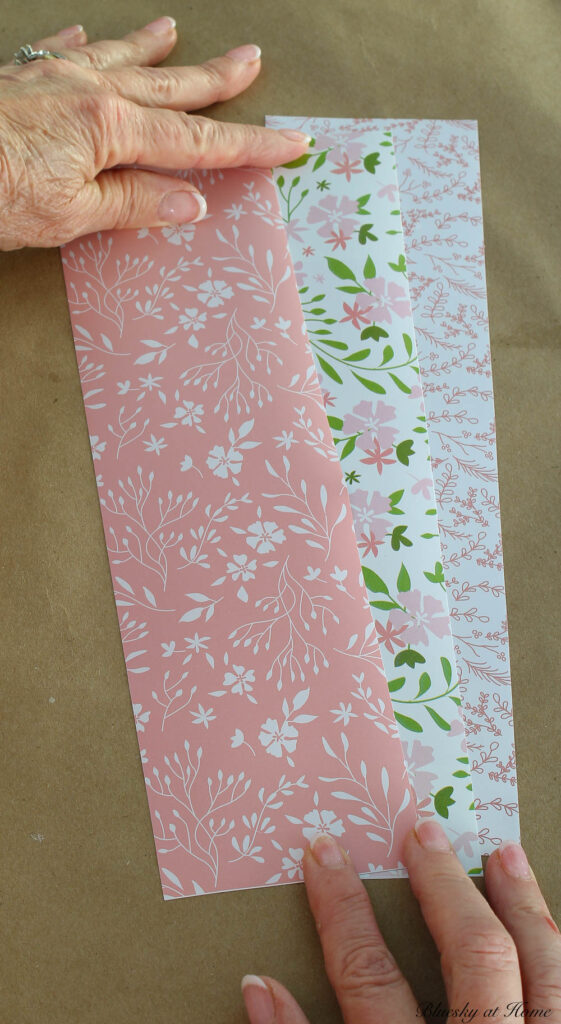
As you can see, some of the scrapbook paper has been previously use. This is great time to use what you already have. I chose coordinating patterns in checks, polka-dots, and a swirly design.
I thought some craft paper would mix in nicely.

I picked out three coordinating sheets of vinyl in interesting floral patterns.
Where to Find Old Bottles
When I say “old bottles”, I mean bottles that have been used. They can be old, but they can also be ones, like my Kombucha bottles or empty wine bottles, that have been more recently used.
For true old bottles, look at:
- garage sales
- flea markets
- antique malls
- estate sales
- thrift stores
- resale stores
Dare say, I suggest the trash? Let’s repurpose bottles and keep them out of landfills.
Supplies for Decorating Glass Bottles for a Home Decor Accessory
This was one of the easiest DIY projects I’ve ever done. I only bought one thing and so basically, this is a free project.
I love creating DIY projects that don’t cost a dime!
Here is what you will need for this simple DIY home decor project:
- used or vintage bottles
- scrapbook paper
- removable vinyl – I bought this package of Cricut vinyl at Joann.
- craft paper
- paper cutter
- clear scotch tape
- curly ribbon, twine or raffia
Simple Steps for Decorating Old Bottles with Scrapbook Paper
NOTE: I have broken this quick step-by-step guide into many steps so you can follow along more easily.
Step 1 – Completely clean and dry your bottles inside and out. I’ve found that the dishwasher is the best way to clean glass bottles.
Step 2 – Measure the diameter of your bottles. This number plus 1 inch will be the length of your scrapbook, craft paper and vinyl strips. My bottles were 9 inches in diameter.
Step 3 – Determine the width you want for your paper strips. The taller your bottles, the wider your strips can be. My strips were:
- 3 scrapbook paper strips – 10 inches X 2 inches
- 3 vinyl strips – 10 inches X 3 inches
- 3 craft paper strips – 10 inches X 2 inches
- 3 craft paper strips – 10 inches X 3 inches
Step 4 – Based on how many bottles you have, determine how many strips of paper/vinyl you will need. I had 6 bottles so I needed 6 strips of craft paper, 3 strips of scrapbook paper, and 3 strips of vinyl.
Step 5 – Decide on the design you want for your bottles. My design would be a combination of paper or vinyl with craft paper. For 3 bottles I would use one strip of scrapbook paper and one strip of craft paper. For the 3 other bottles, I would pair one craft paper strip with one strip of vinyl.
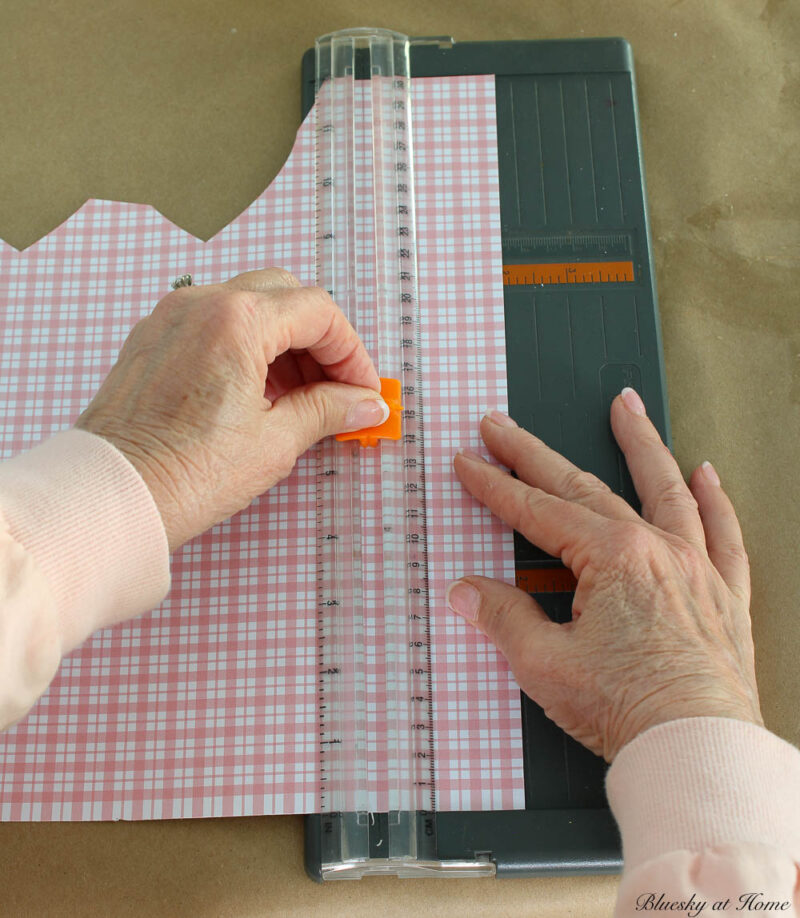
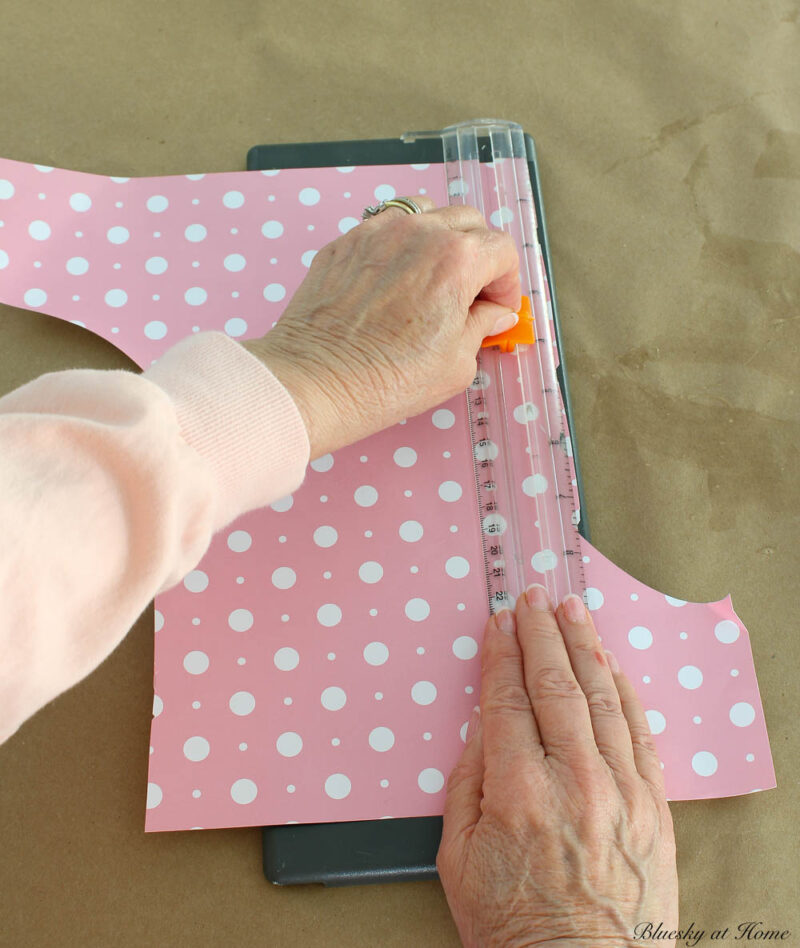
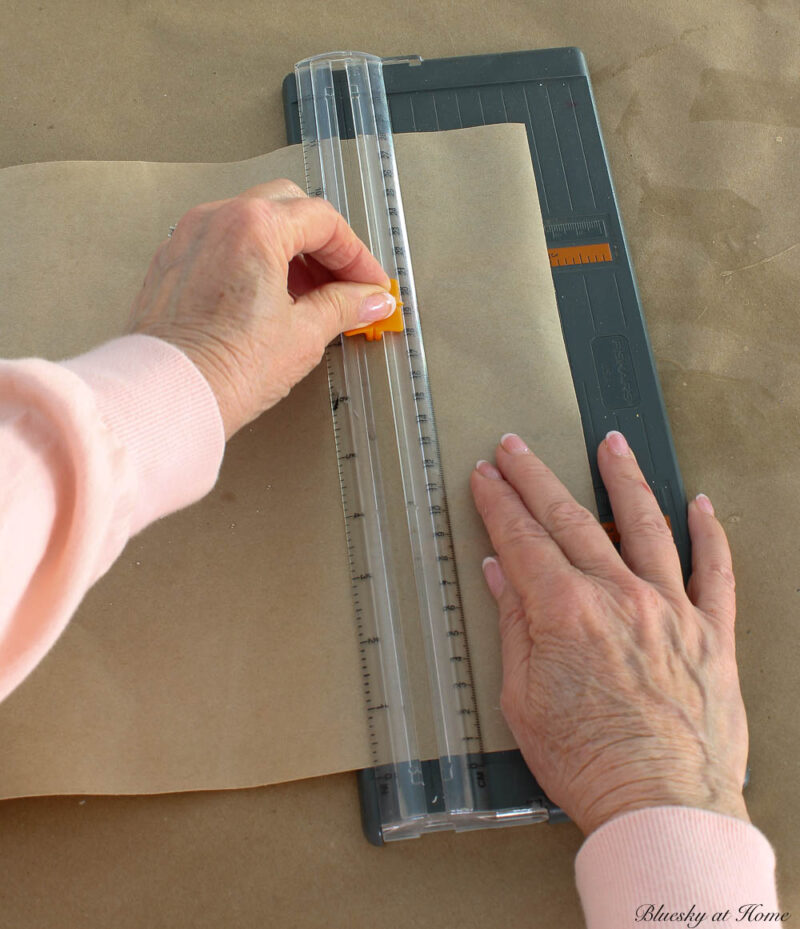
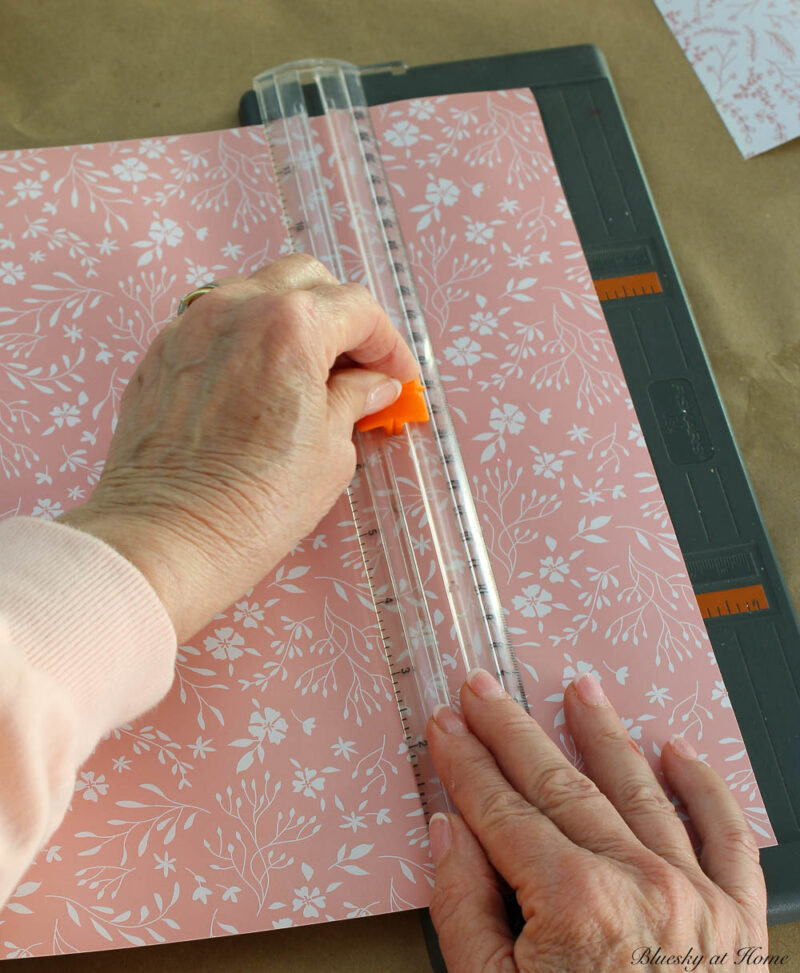
Step 6 – Using a paper cutter, cut all your paper strips at once. This is called batch DIYing.
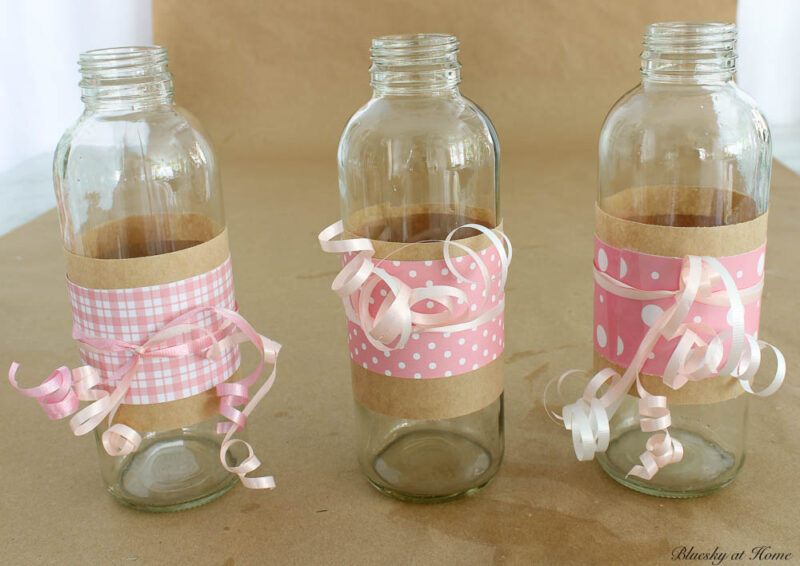
Decorating the Old Bottles with the Craft Paper
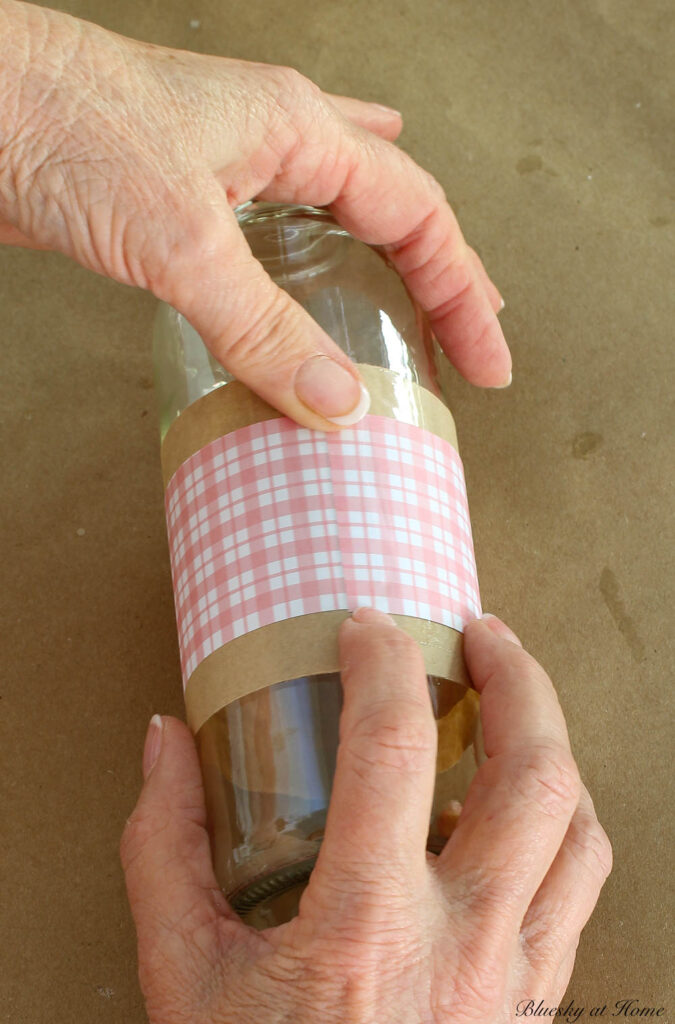
Step 7 – Place a strip of 3-inch wide craft paper on the work surface and lay the bottle on its side on top.
Step 8 – Holding the craft paper with your fingers, roll the bottle on the paper, pulling the paper tight around the bottle.
Step 9 – Cut off a piece of clear scotch paper almost the width of the paper. Place it on the craft paper, securing the strip on the bottle.

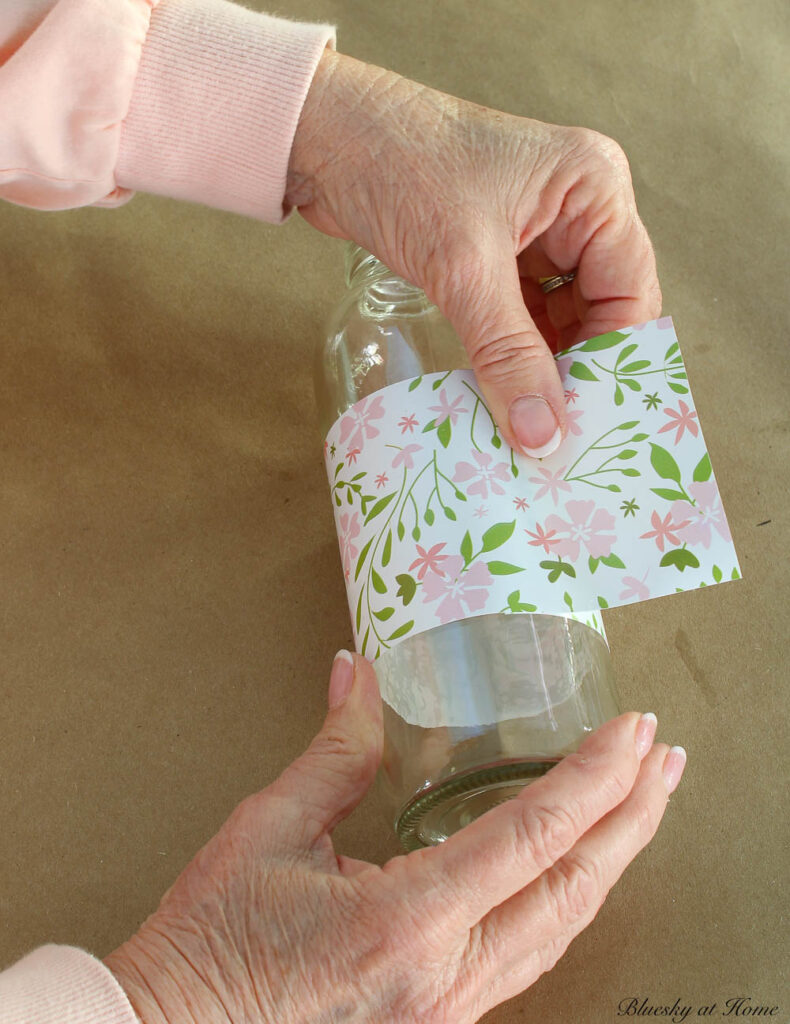
Step 10 – Center the scrapbook paper on the craft paper. You will have a 1/2-inch border on the top and bottom of the craft paper.
Step 11 – Holding the scrapbook paper with your fingers, roll the bottle on the paper, pulling the paper tight around the bottle.
Step 12 – Cut off a piece of clear scotch paper almost the width of the paper. Place it on the scrapbook paper, securing the strip on the bottle.
Repeat with the remaining 3-inch wide craft paper and the scrapbook paper.
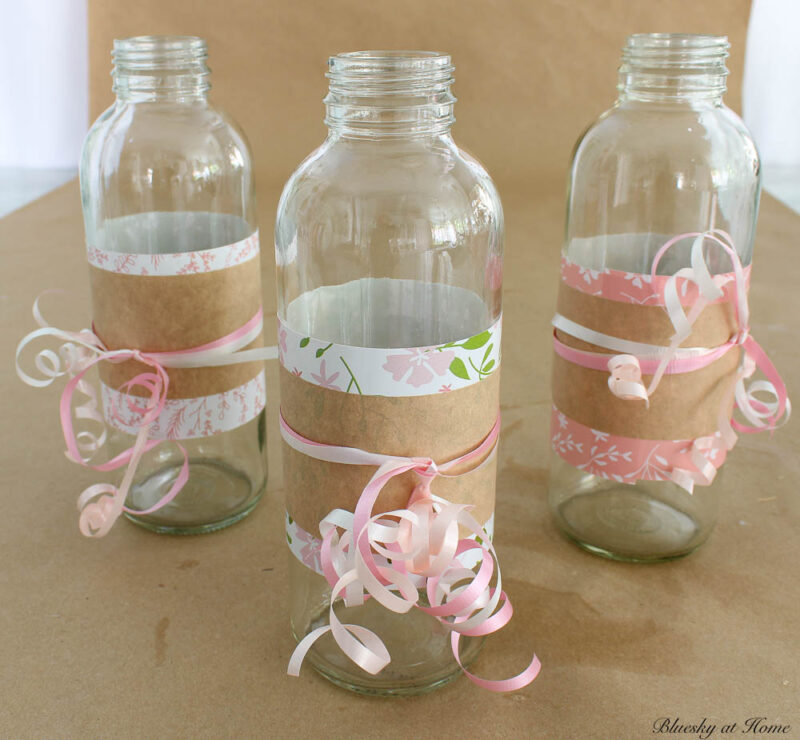
Decorating Old Bottles with Removable Vinyl
Although I had this package of removable vinyl in my Cricut supply stash, I had never used it before. There were 3 patterns in the package. I used all three.
Now that I have used it, I will be using it again. I loved how easy it was to reposition it on the bottles.
You are basically following the same steps as for using scrapbook and craft paper but in a different order. This time the vinyl will go on the bottles first.
Step 13 – Pull a strip of vinyl apart from the backing.
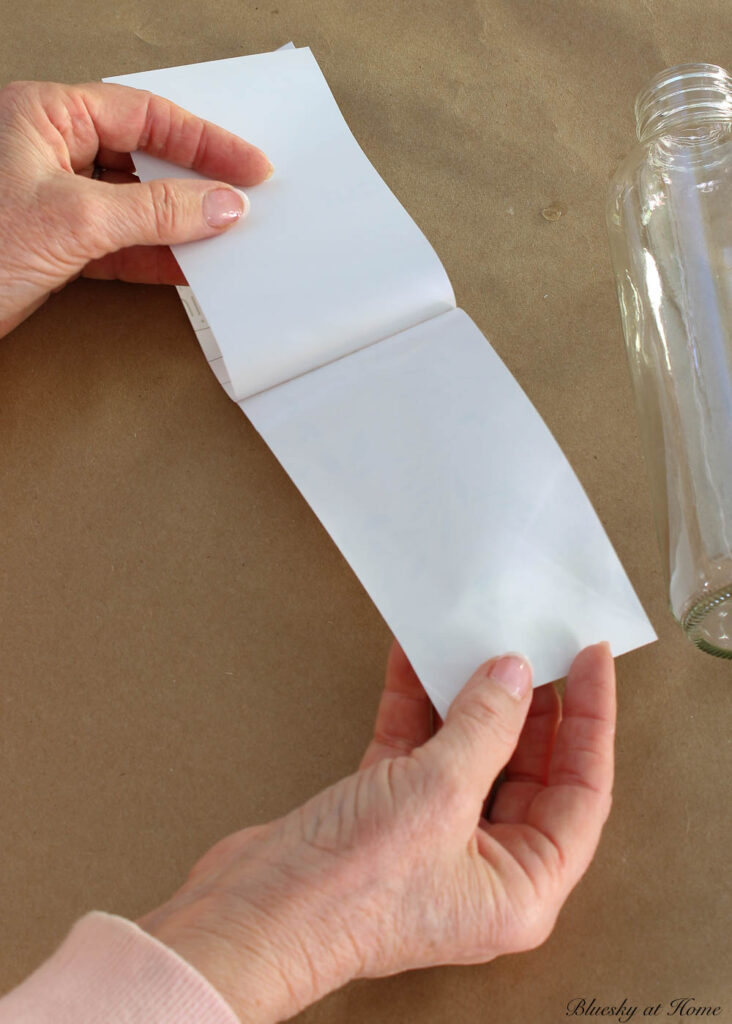
Step 14 – Lay the strip of vinyl on your work surface, blank side up. Place your bottle on its side with the strip of paper in the center, top to bottom of the bottle.
Step 15 – Roll the bottle on the vinyl, keeping it as smooth and straight around the bottle. Obviously, you don’t have to use scotch tape to secure it.
Step 16 – Center a strip of craft paper on the vinyl. You will have a 1/2-inch border on the top and bottom of the vinyl.
Step 19 – Cut off a piece of clear scotch paper almost the width of the craft paper. Place it on the scrapbook paper, securing the strip on the bottle.
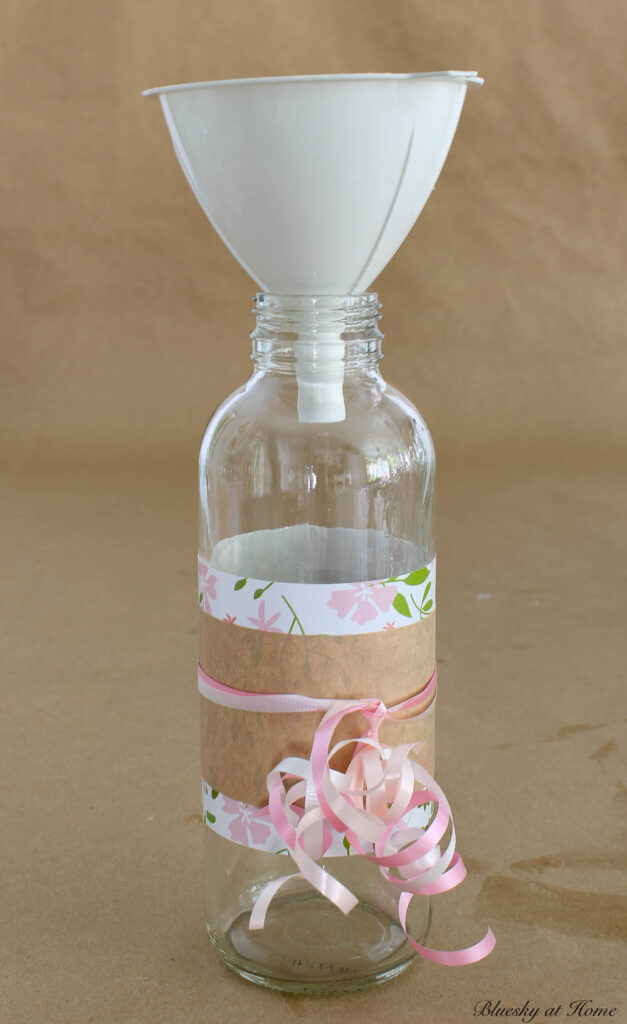
Finishing the Old Bottles
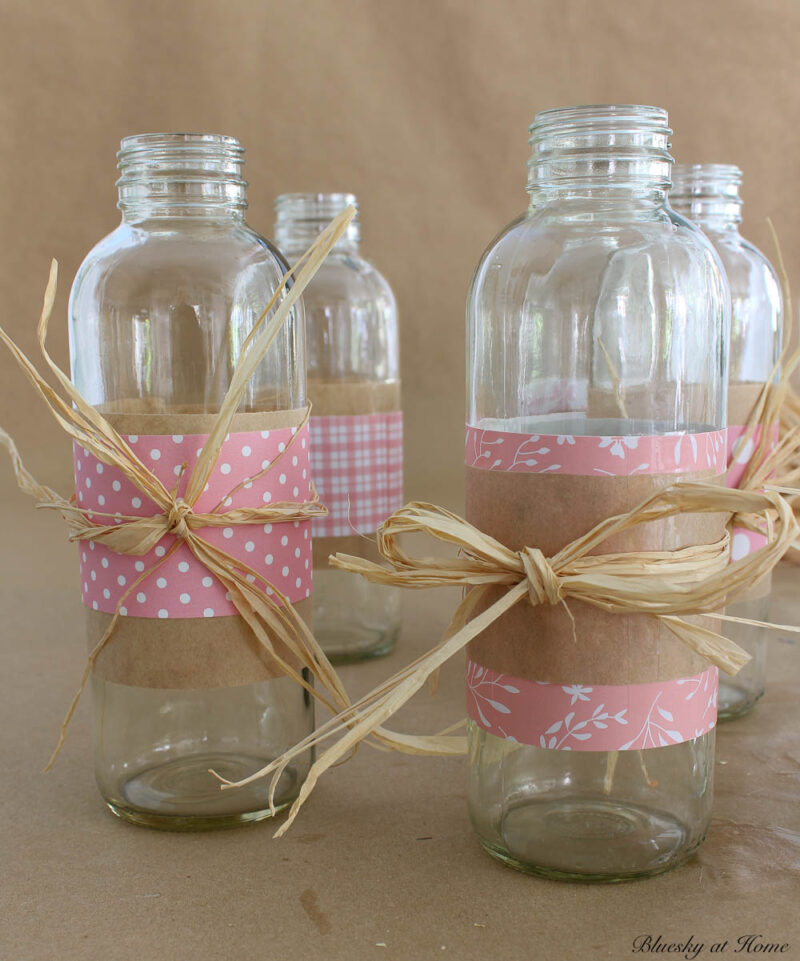
To finish decorating the old bottles, you can use twine, raffia or ribbon. I tried twine but didn’t like the look.
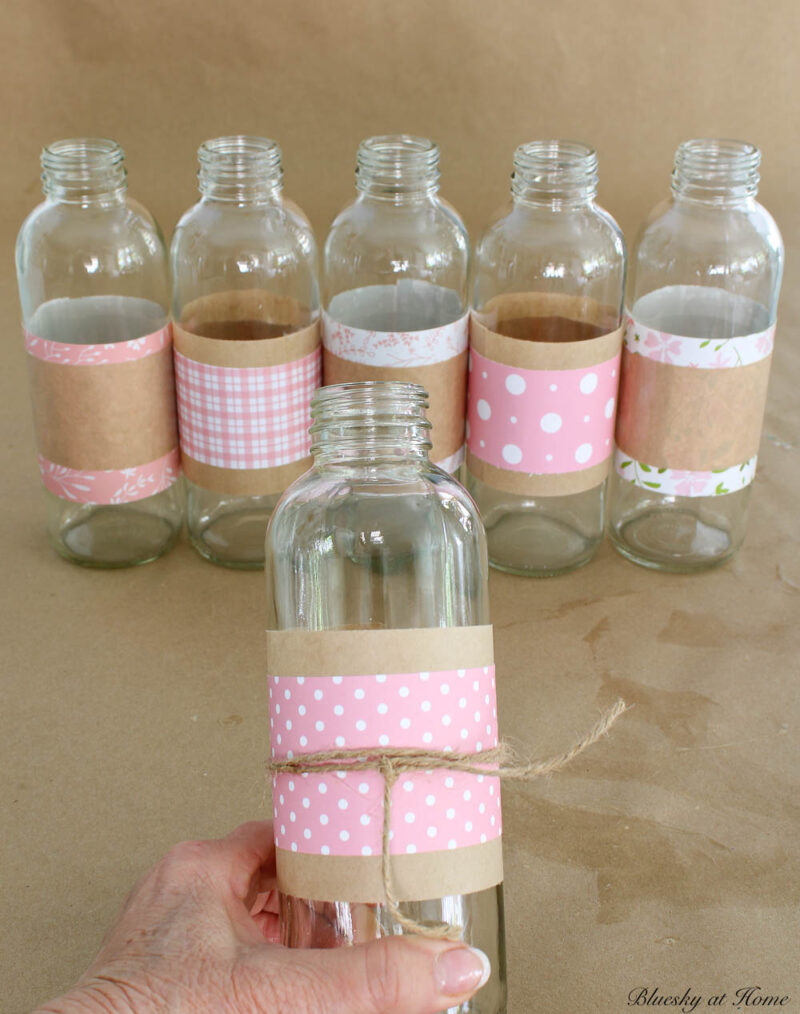
I tried raffia, but that wasn’t right either.
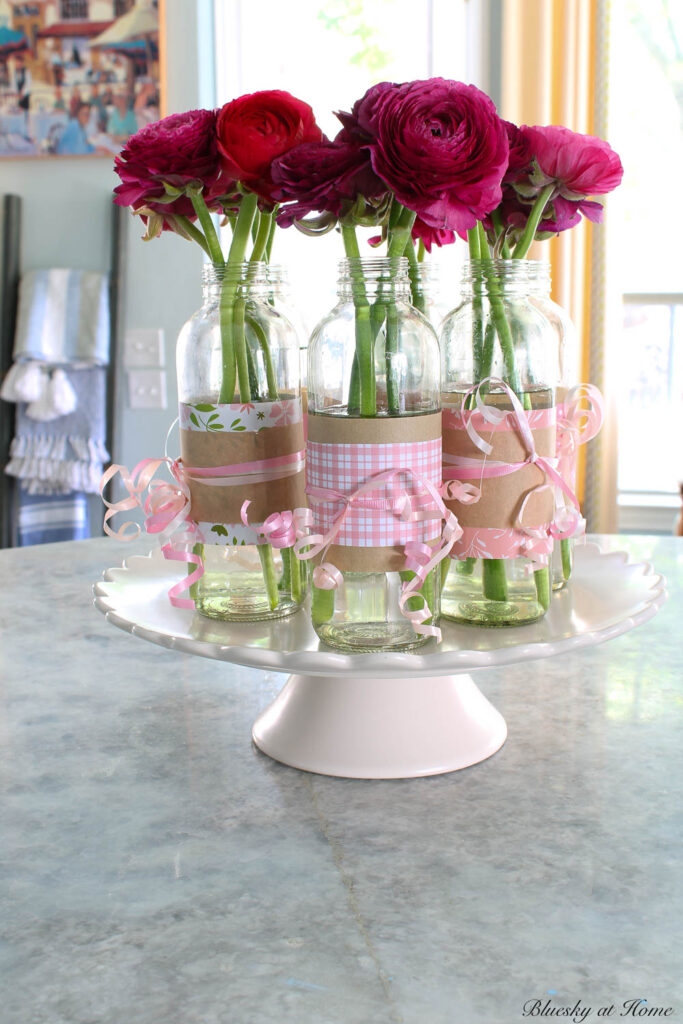
I had plenty of curly ribbon in light pink, dark pink, and white. Curly ribbon is one of my favorite things for a fun, festive look.
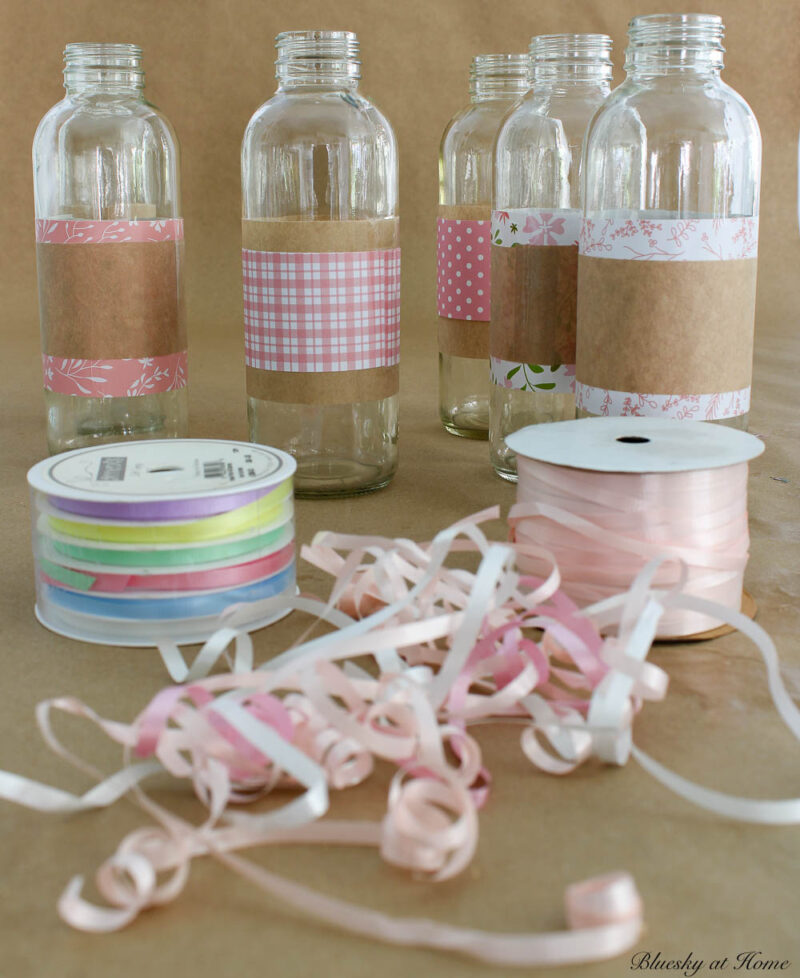
Each bottle got three strands of ribbon in different colors.
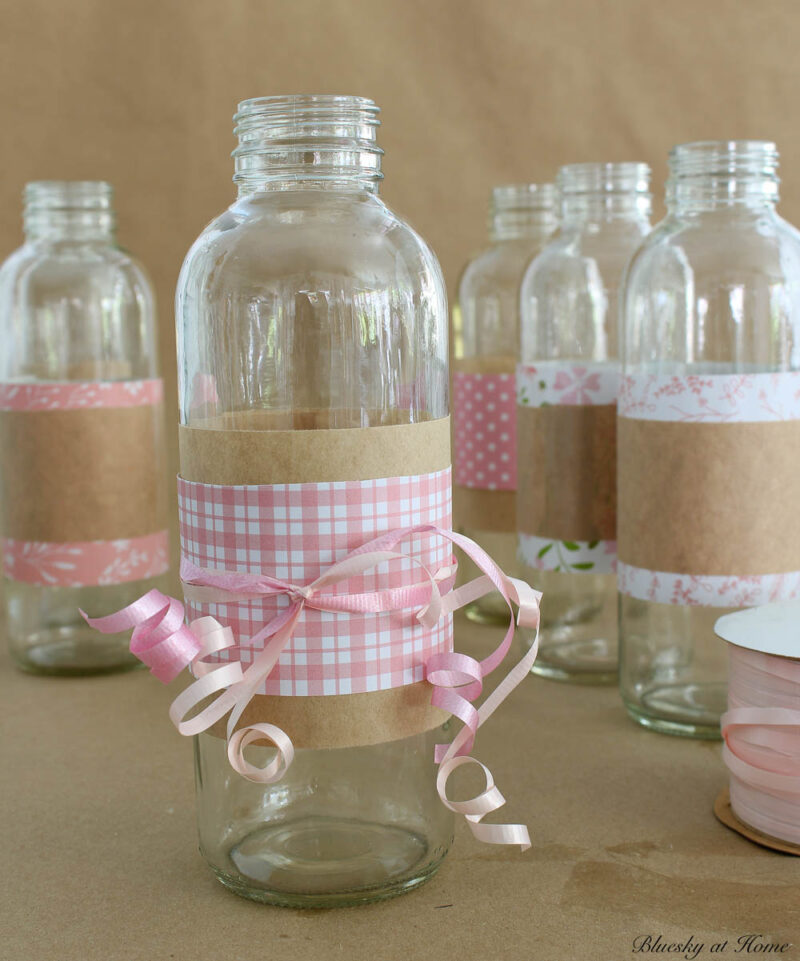
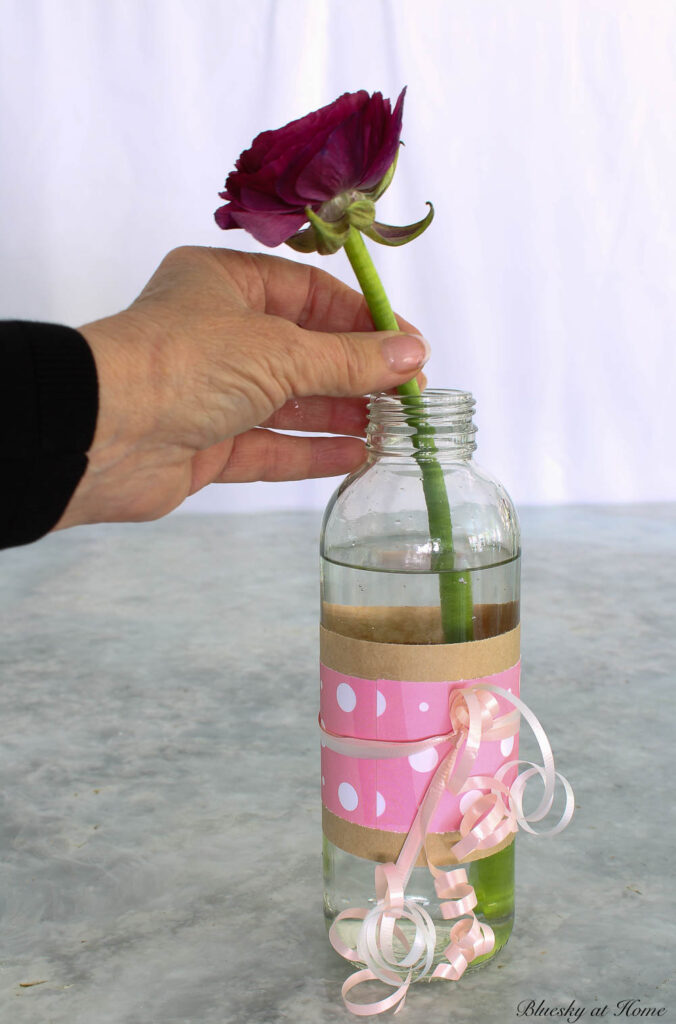
Did I tell you that I was going to use these decorated old bottles as flower vases? They are like bud vases.
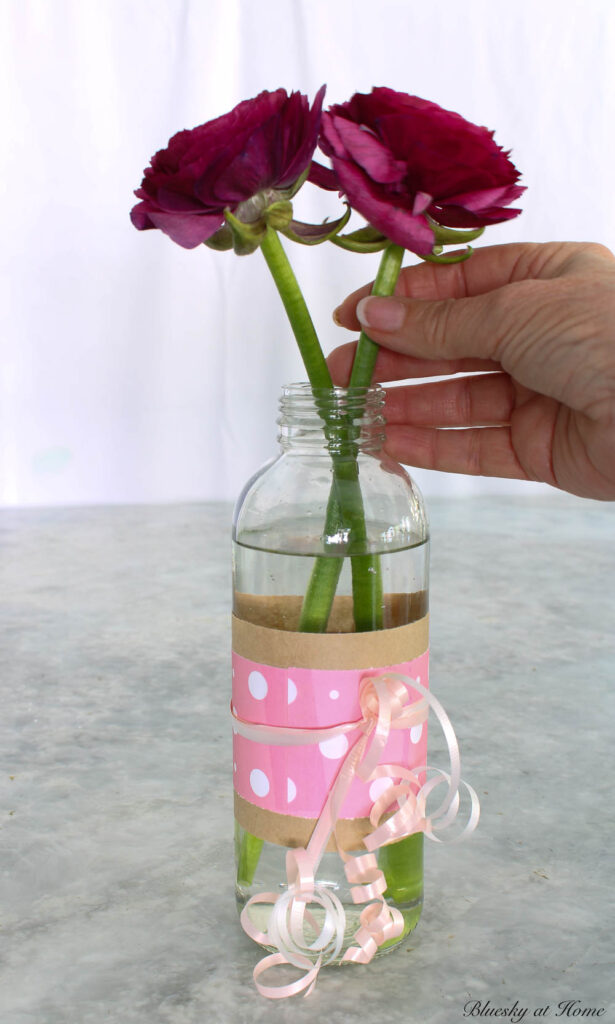
For my flowers, I made a trip to Trader Joe’s. I wanted pink flowers but saw ranunculus in deep pink and purple that I thought would be a nice contrast to my pink bottles.
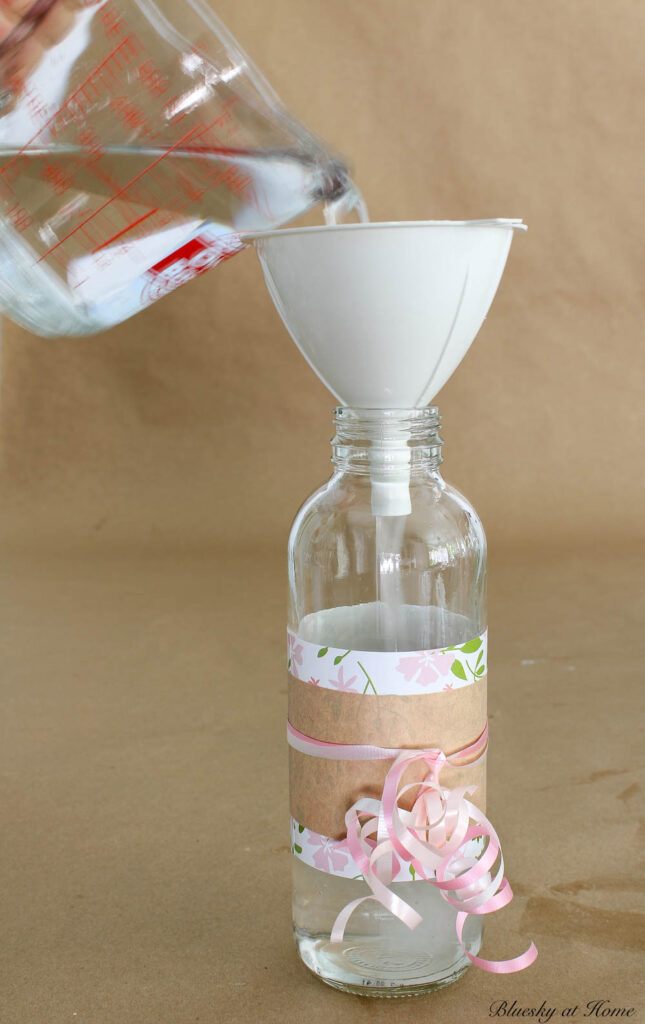
To easily pour water into the narrow-mouth bottles, I used a funnel.
Each bottle got 3 flowers.
Using the Decorated Old Bottles in Your Home
I had two places I thought to use these 6 decorated old bottles.
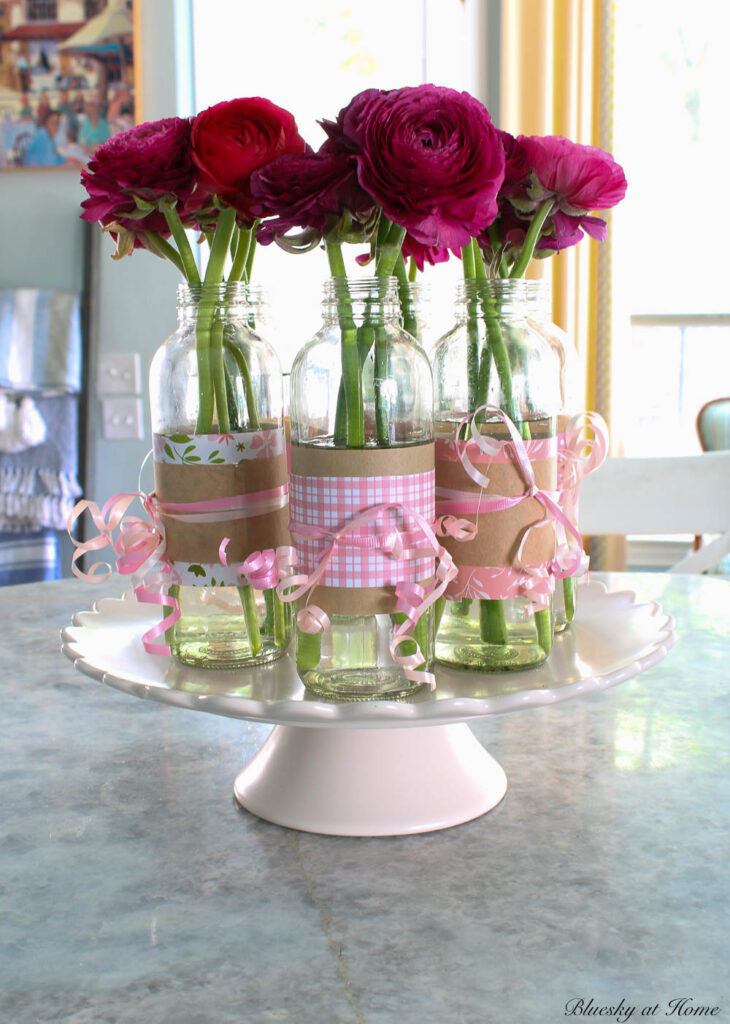
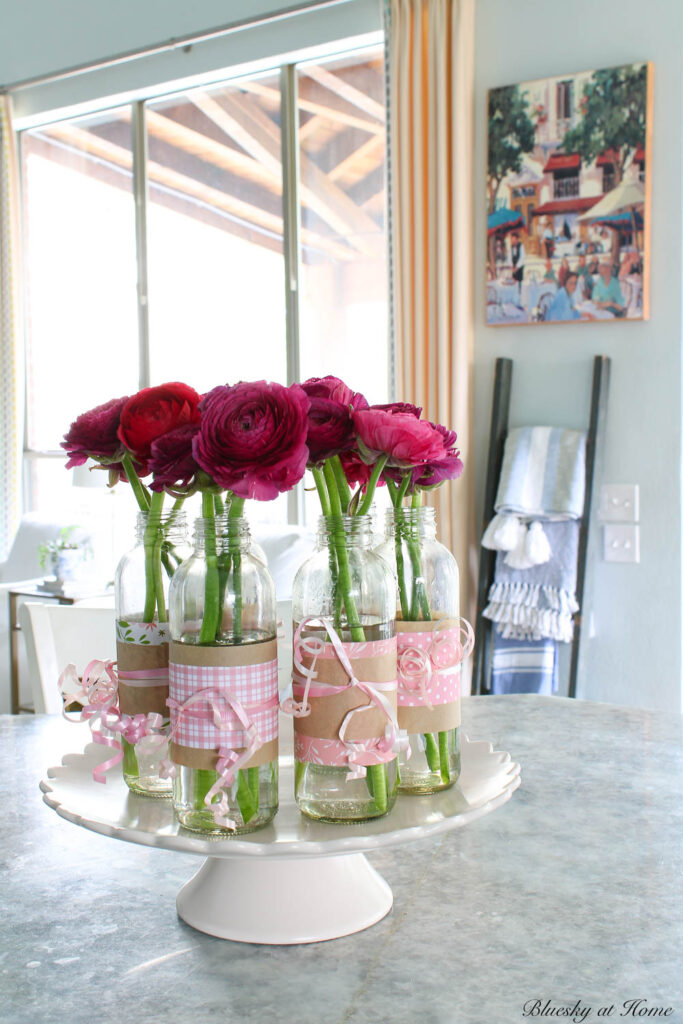
First, I placed them in a grouping on my pink cake stand on my kitchen island.
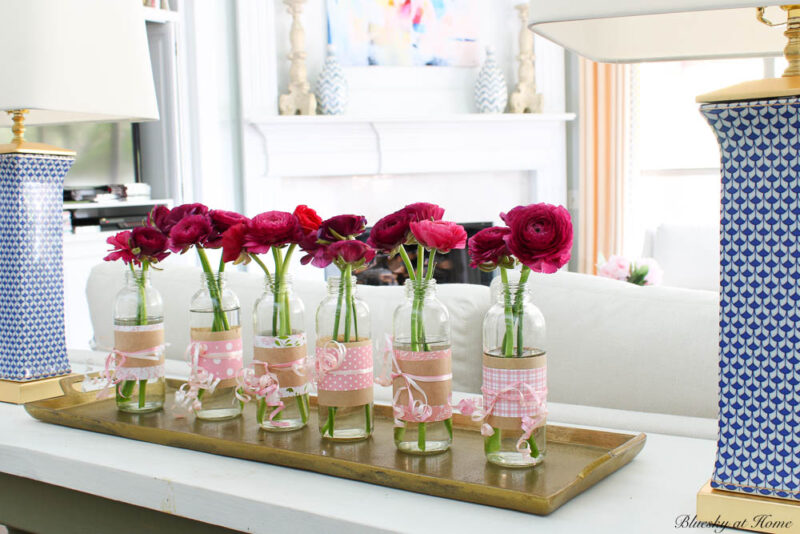
Then, I lined them up on the brass tray on the sofa table in the living room.
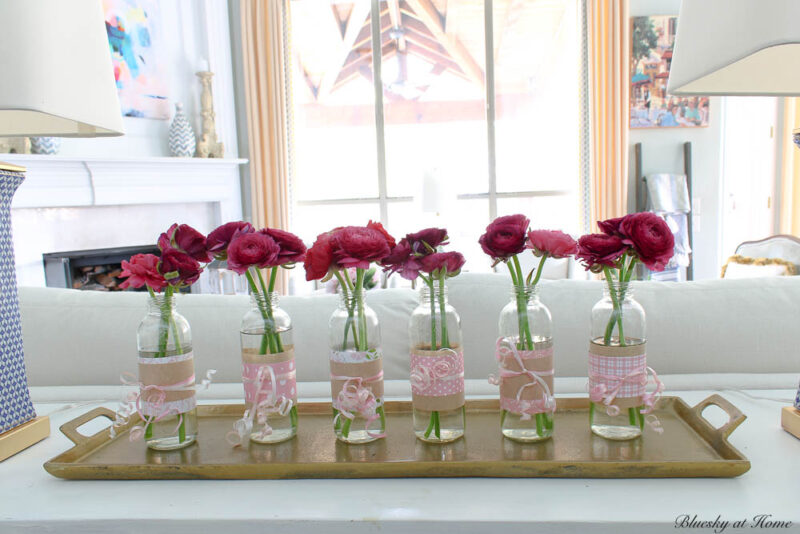
Although I liked the bottles in both places, I left them on the table for now.
Which place do you like better?
Will you decorate old bottles for a home decor accessory? It’s one of the most inexpensive ways to decorate your home.
Here’s another way to reuse old bottles by turning them into seaglass.

All links to my creative friends’ projects are below. Please visit their projects. Allyson of Southern Sunflowers is next in line.
As simple as this DIY project is, I hope you will PIN it so you’ll remember it.
Pretty DIY Home – Peat Pot Easter Basket Gift Ideas
The Painted Apron – Spring Bottle in Bloom
Paint and Patina – Easy Easter Craft
Life as a Leo Wife – Farmhouse Bunny Topiaries
Purple Hues and Me – Twisted Rope Container with Top
My Thrift Store Addiction – Egg-cellent DIY Floral Arrangement in 2 Easy Steps
Decorate and More with Tip – Adorable Easter Craft DIY
Birdz of a Feather – Slip on Coaster
Bluesky at Home – How to Easily Decorate Old Bottles with Paper and Vinyl
Southern Sunflowers – How to Decorate a Dollar Tree Bunny Wire Wreath
Modern on Monticello- Easy Tile Pallet Wall Art
Apple Street Cottage Spring Fence…and a Bunny!

What a sweet idea, Carol. I love that anyone could customize these for a party using any color scheme. I have a bunch of vinyl I could use for something like this around the holidays. Pinning!
Carol,
This is a very cute idea. I want to share it on my Sunday post. I’ll share a link to your post. Thanks for the inspiration.
I would have kept those bottles too. They are a great shape and size. The pinks you used are definitely a fresh look for Spring too. The project may have been very simple but it looks like you had fun with it. Pinned!
What a lovely way to use up your scrapbook paper and make a pretty centerpiece. I’m not sure about the size, but they might also make pretty favors/place cards for a party.
These are so cute! They make an amazing impact for 5 minutes of work each! I really like the way you styled them on the long tray with flowers. Pinned. Happy hopping today!
These are so fresh and fun Carol! I love to decorate bottles too, endless possibilities! I love the way you made each bottle with different combos of the papers and vinyl creating a mix and match look. They look great in the different groupings!
The ranunculus look so pretty, perfect for Spring!
These bottles are so cute and easy to do. I love your colour choices and designs. I have never tried Kombachu, but the bottles are perfect.
I’m the same way when it comes to Kombucha; love the bottles, not so much the contents lol. These are so cute; I’ll have to ask Hubs to start saving ours too. Isn’t it great when our husband’s enable our crafts?
Your decorated bottles look lovely! I love that you made them as a group for the wow factor.
The bottles look so pretty Carol. Thanks for sharing!
Carol, I love bottle vases and this is such a pretty way to create a cohesive display. Blessings, Cecilia @My Thrift Store Addiction