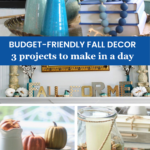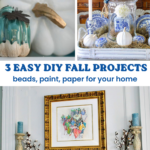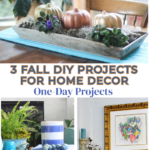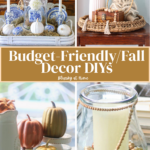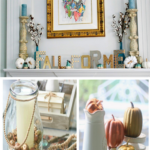
Easy Fall DIY Decorating Projects: 3 to Make in a Day
Have you started decorating your home for fall? Looking for some ideas? These three easy fall DIY decorating projects come together fast, look pretty, and cost very little. You can make all three in a single day, then save them to reuse season after season.
Yes, I said one day. I have used every one of these projects in my own fall decor, and I restyle them each year in new ways and new spots around the house. That is the whole point: simple projects that earn their place long after the afternoon you make them.
Can you decorate your home for fall inexpensively? Yes. Can you make autumn decorations that are both easy and pretty? Also yes. Every project here is inexpensive, quick, and very attractive.
Fall DIY Decorations: 3 Easy Projects

What Makes a Fall DIY Project Worth Making
I can’t put together a decorating scheme, a tablescape, or party decor without a few DIY projects in the mix. But before I start one, I want it to earn its keep. Every project below meets three simple rules:
- It can be reused in different areas of my home.
- It is evergreen and will last for several seasons.
- It works for both everyday decor and seasonal decor.
I also wanted these three pieces to fit two of my favorite design themes, neutrals and metallics, so they blend into almost any fall styling.
This post contains affiliate links to products used to create this project. If you should order any item from this site, I may receive compensation, but you do not pay a penny more. Your purchase is greatly appreciated as it helps support the continued publication of this site.
Project 1: Wood Bead Cord
Would a fall DIY project really be complete without wood beads?
I loved the look of natural wood beads the first time I saw them. At first, I wasn’t sure they’d fit my traditional style, and fall decor honestly wasn’t even on my mind. Then I found a glass vase with wood bead handles at Kirkland’s (Here is another option for a glass jar ), and I wanted to carry that beaded look into a project of my own. This little cord was the answer, and it turned out to be one of the easiest things I have ever made.
Supplies
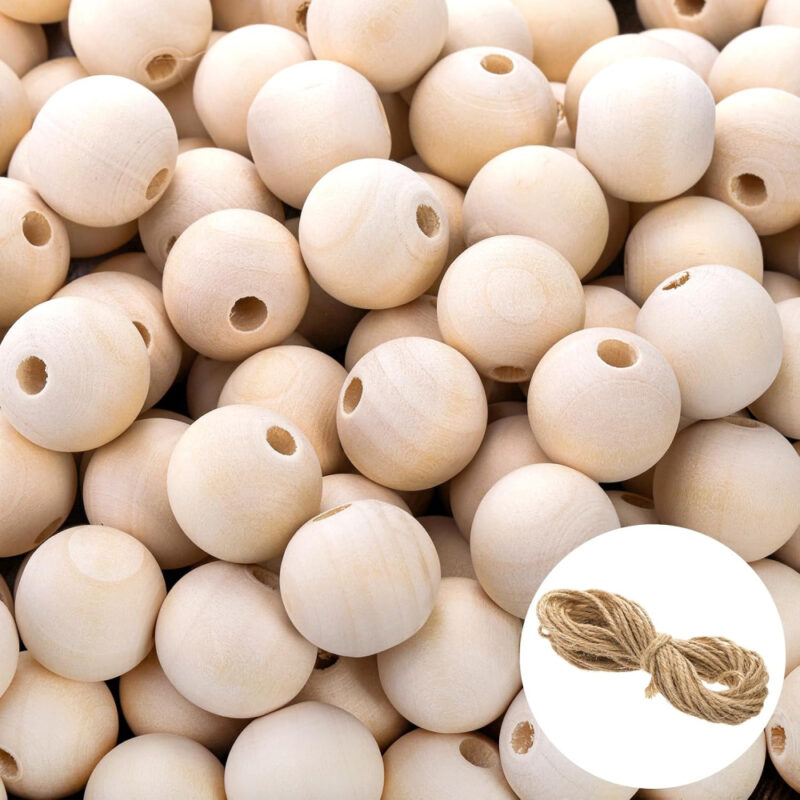
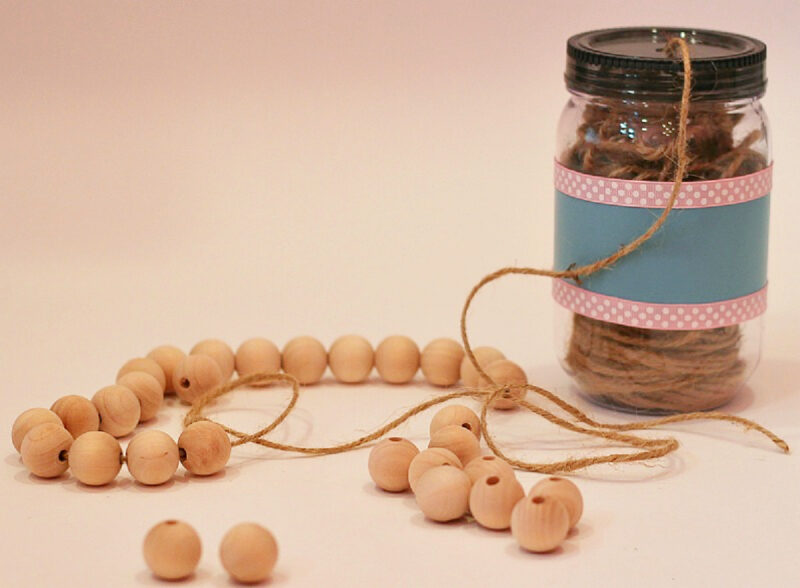
- Wood beads (I used these 2 packages, 30 beads each)
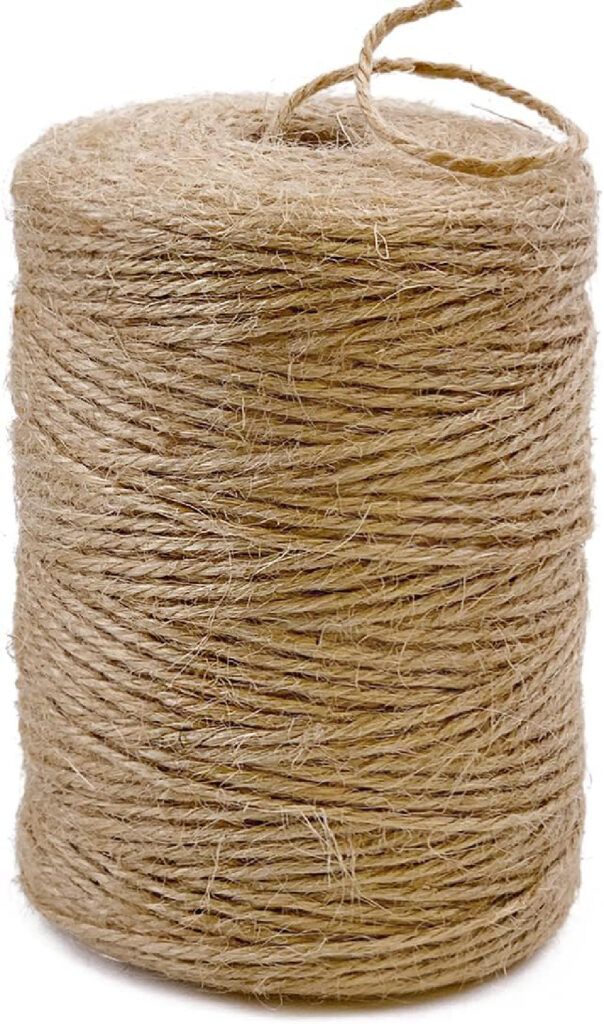
- Jute twine or other string – which I already had on hand. I keep the jute twine in a jar with a hole in the top.
- Scotch tape
- Craft Scissors
How to Make Them
- Prep the twine. Wrap a small piece of Scotch tape around the end of the jute. This keeps it from unraveling and makes it much easier to thread through the beads.
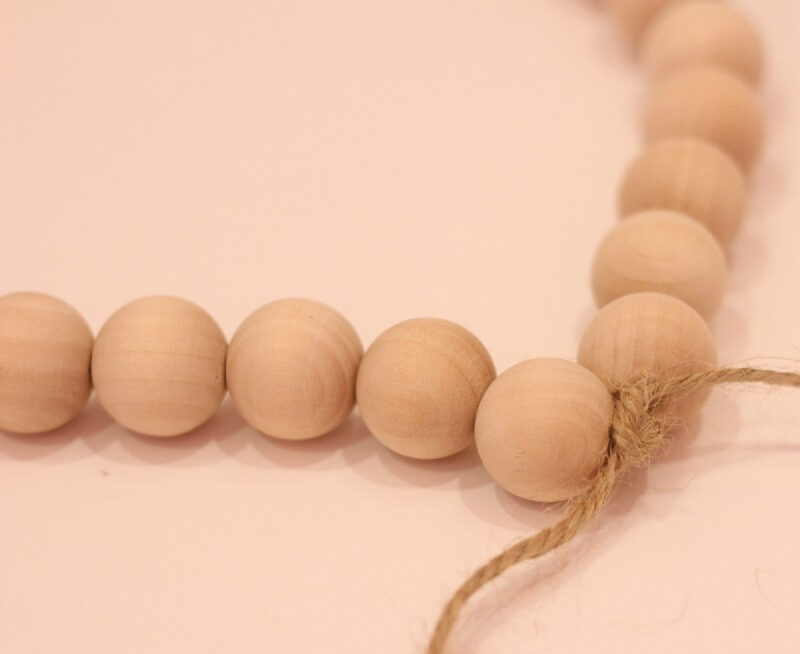
- Thread the beads. String all 30 beads from one package onto the jute. This is the kind of thing you can do while watching a webinar or your favorite show. Each cord takes about 20 minutes.
- Knot into a circle. Once all the beads are on, leave about 8 inches of extra jute at each end. Tie the ends together in a double knot to hold the beads snug and form a circle.
- Start the tassel. Cut 6 pieces of jute about 7 inches long. Hold them together and tie the knotted ends of your cord around the bundle with another double knot.
- Shape the tassel. Fold the 6 pieces in half. Wrap a separate piece of jute around the top of the fold and loop the end through the wrapped section to secure it.
- Trim and repeat. Cut the tassel ends even. Then make a second matching cord with the other package of beads.
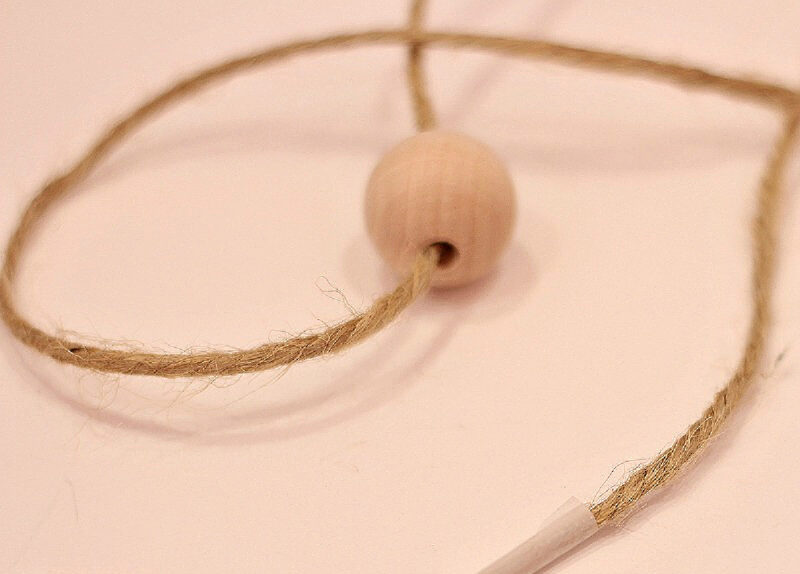
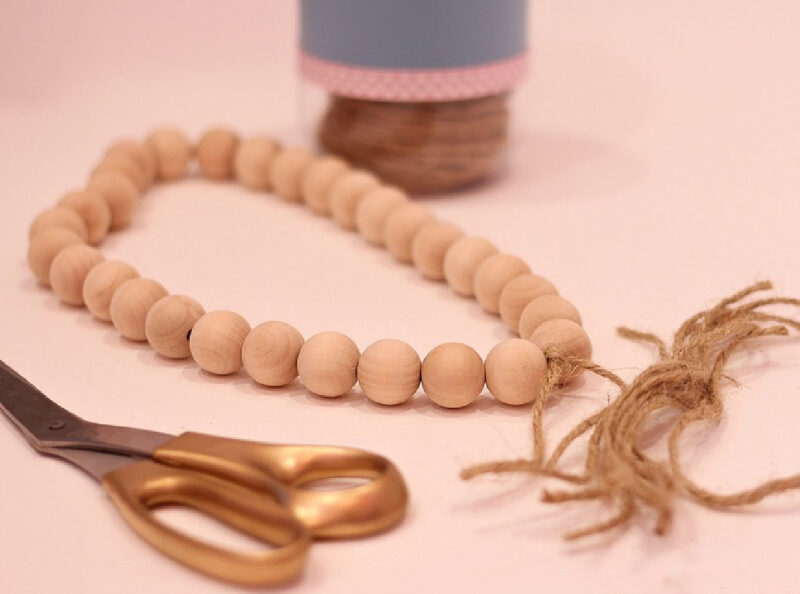
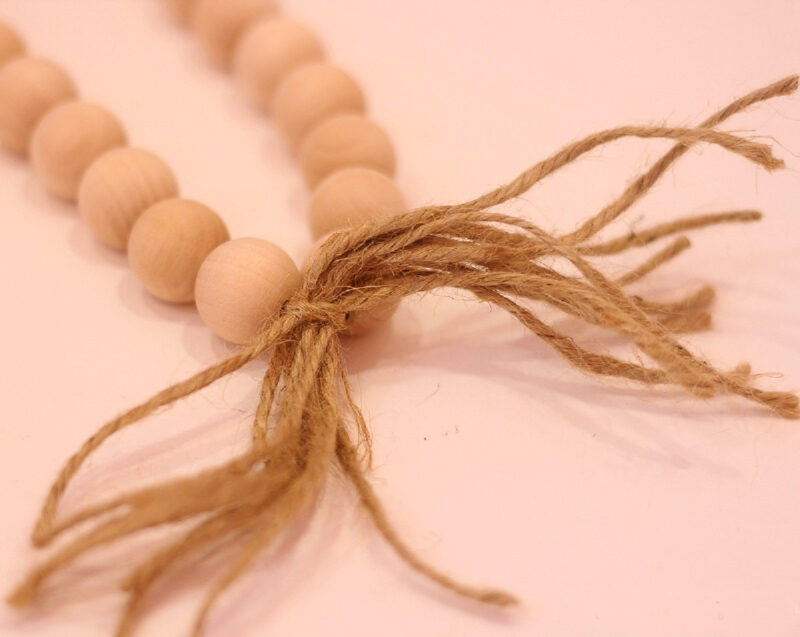
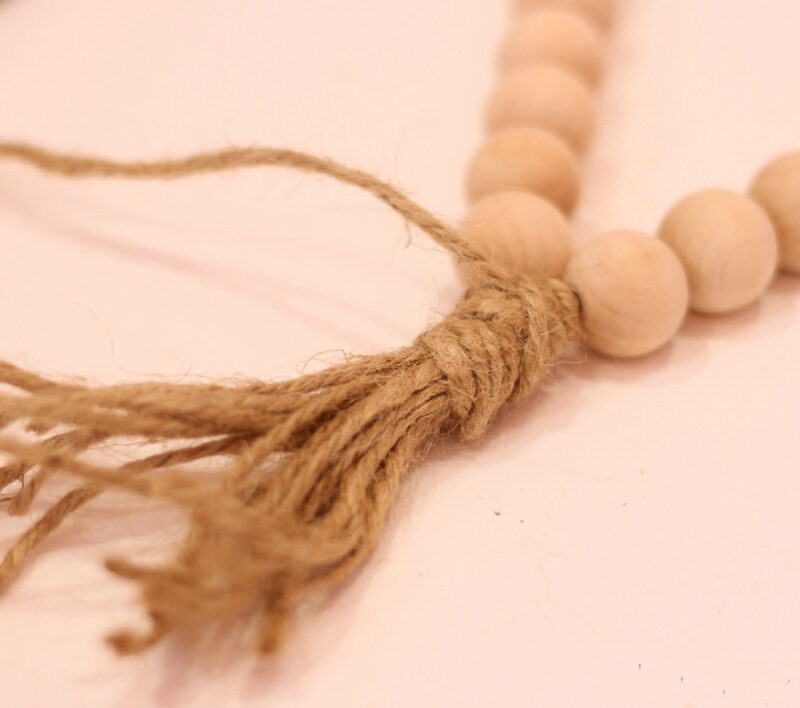
Finally, I cut the ends of my tassel to make the jute even, and the cord was done. Then I repeated the process with the second package of beads and more jute.
Really, this was one of the easiest projects I’ve ever done. Although my beaded cord is larger than the beads on the glass vase, they tie the neutral wood look together.
My finished cords are a little chunkier than the beads on the glass vase, but they tie the whole neutral wood look together beautifully.
Ways to Style Wood Bean Tassels
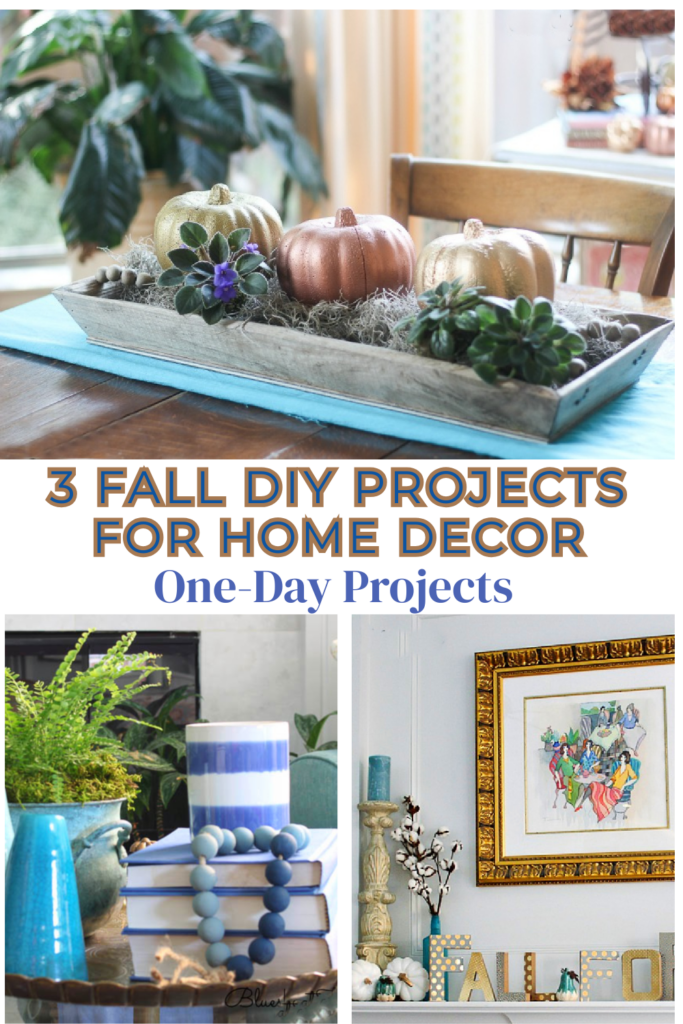
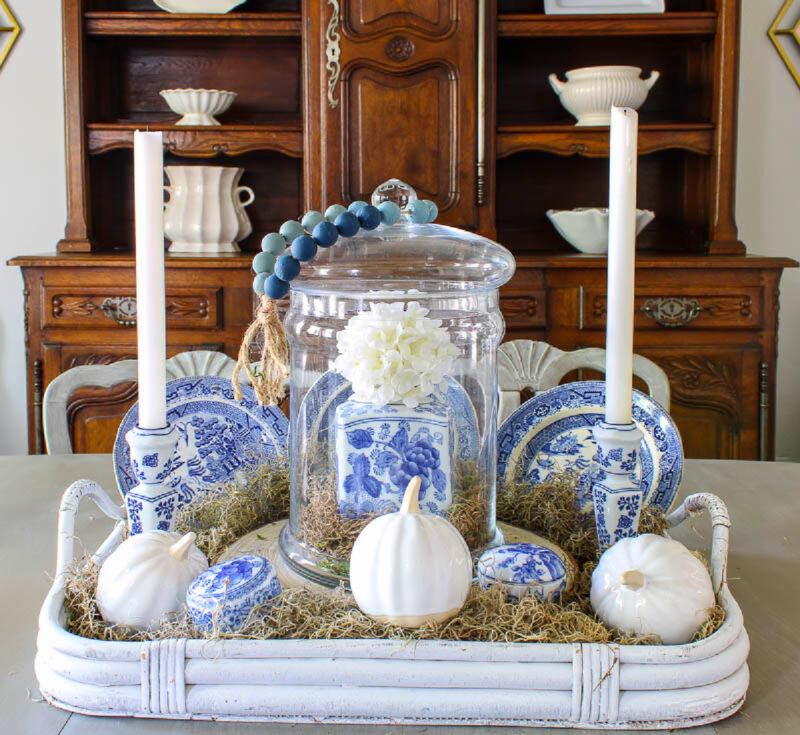
This is where the reuse rule really pays off. I’ve styled wood beads on a coffee table vignette for summer, made another garland for a vignette in our sitting room using the same glass vase, and even painted the beads blue for a fall centerpiece built around a cloche. One little project, many looks. It checks all three of my DIY boxes.
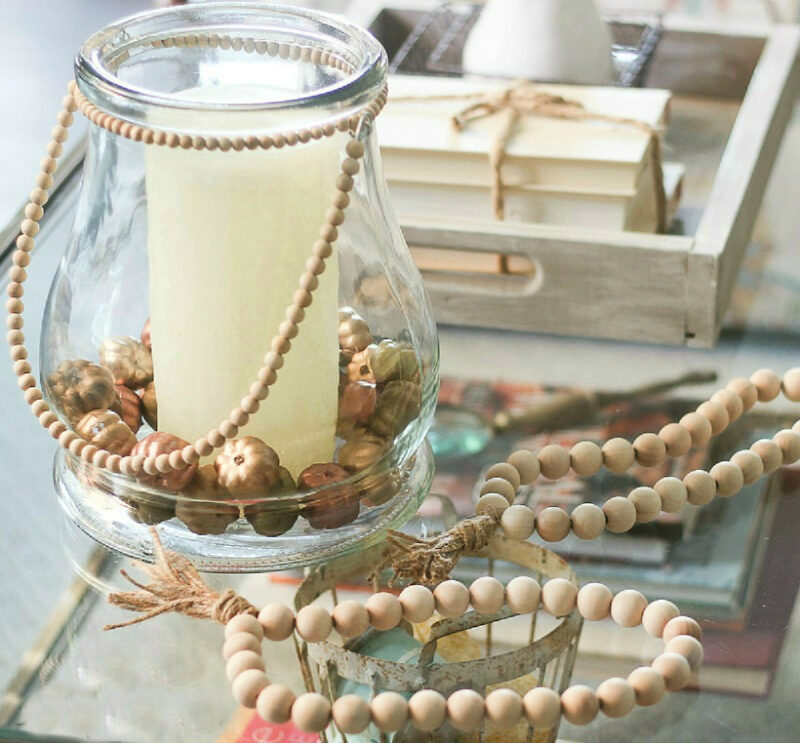
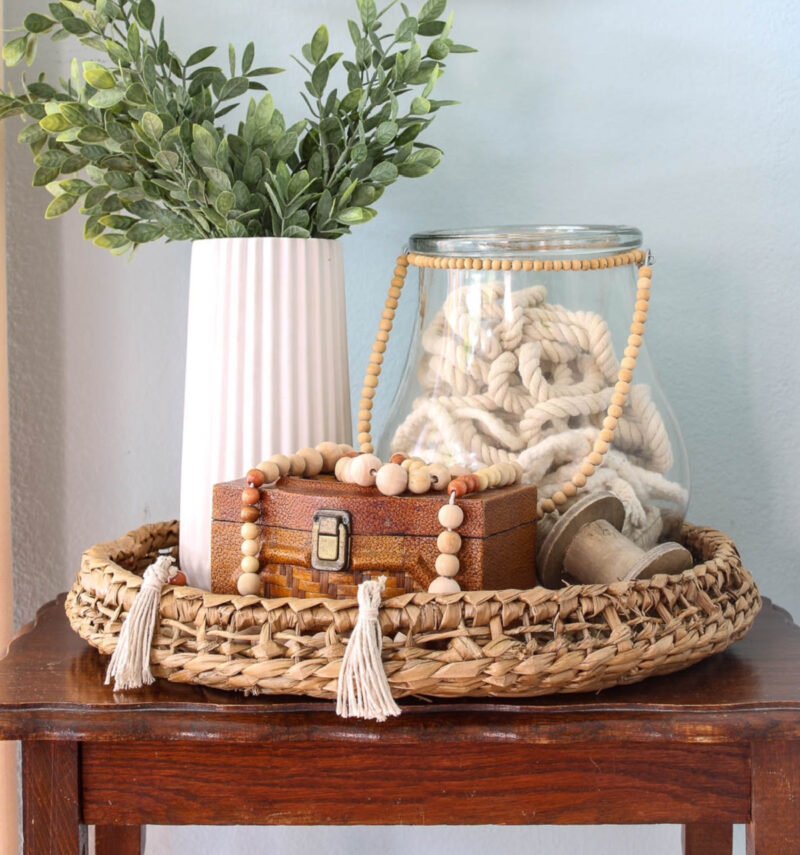
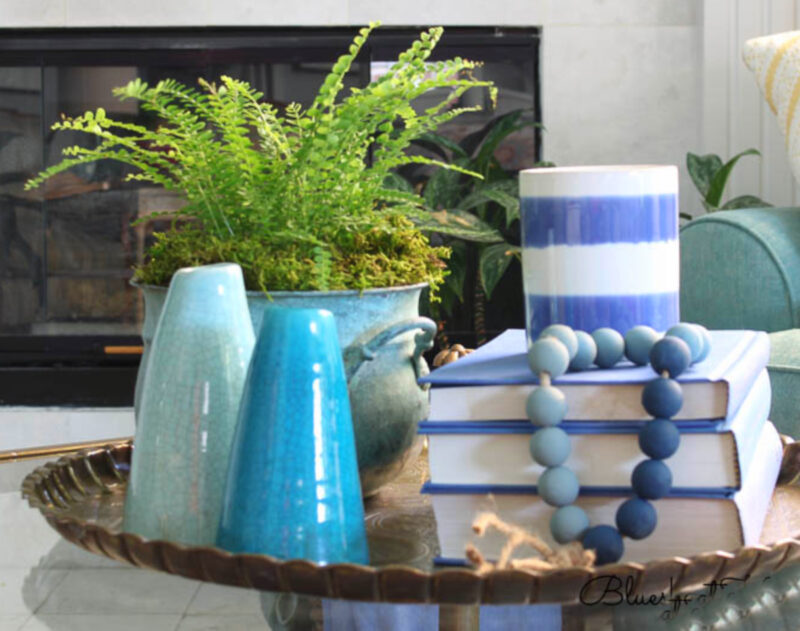
I used the painted blue beads again for a fall table centerpiece focusing on a cloche.
Project 2: Metallic Painted Pumpkins
From my very first thoughts about fall decor, I knew I wanted metallics, especially copper. I used copper in my first fall tablescape and loved it so much I wanted to keep the theme going. We already have a few copper pieces, including a three-tiered stand and four copper saucepans that belonged to Sweet Shark’s mom.
The trouble was the pumpkins. On every fall shopping trip I kept picking up pumpkins in all shapes and sizes, and every single one was some shade of orange, which I did not want. As we all know, spray paint can transform almost anything, and that is exactly what turned a pile of ordinary orange (and a few gaudy Dollar Tree finds) into a set of pretty metallic pumpkins I reuse every year.
Supplies
- Small craft pumpkins in assorted sizes – 30 to a package, which I divided into three groups. Each group would become a different metallic color.
- Metallic Krylon spray paint in gold, brass, and copper
- A HomeRight Small Spray Shelter or plastic to protect against overspray
- A comfort-grip spray handle (a must-have for spray paint cans)
- Heavy cardboard (for painting the stems)
- Optional: white lacquer spray paint for white pumpkins with gold stems
How to Paint Them
- Sort by color. Divide your pumpkins into groups, one group per metallic color. With the small pumpkins (30 to a package), I made three groups of 10.
- Set up your station. Place pumpkins on the paint stand inside your spray shelter. Tip: cover the stand with foil so it doesn’t get coated in paint. It lets you turn each pumpkin without getting paint on your fingers.
- Spray bottom-up. Start on the bottom of the pumpkin, then use the stem to stand it upright and finish the top and sides.
- One coat, then turn. The paint dries in just a few minutes. Usually one coat covers completely, and you only need to turn each pumpkin once.
- For white pumpkins. Use white lacquer spray paint the same way, bottoms up. It dries to a slightly shiny finish in minutes.
- For gold stems. Push the stem through a hole in a piece of heavy cardboard and spray it gold. If the color doesn’t fully cover, spray a little paint onto the cardboard and dab it on with a small brush.
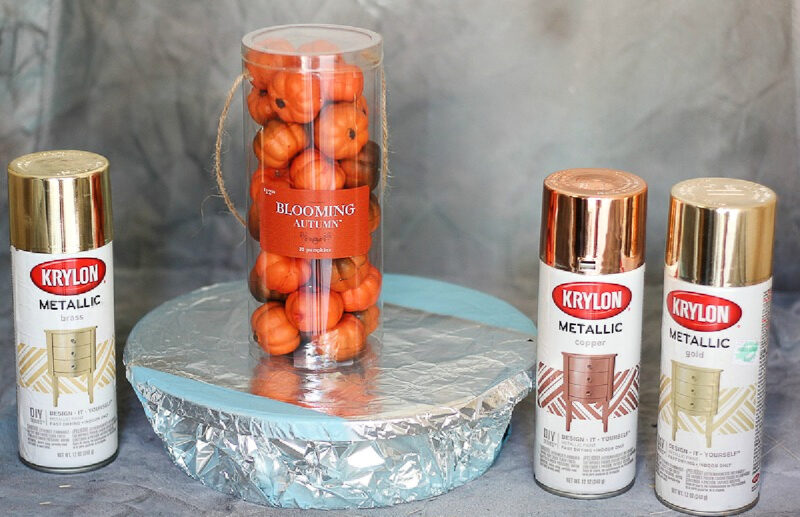
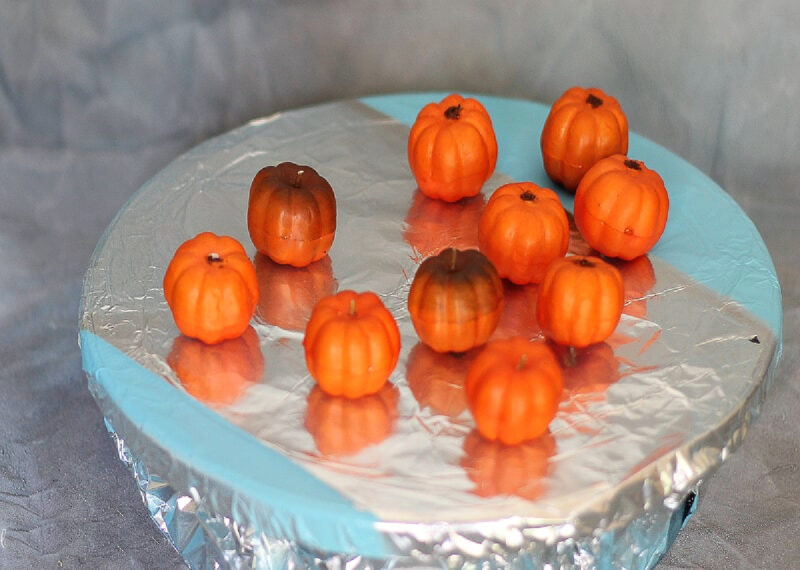
What surprised me was how fast the paint dried on the pumpkins. Literally in a few minutes. I only had to turn the pumpkins over once, and 1 coat covered them completely.
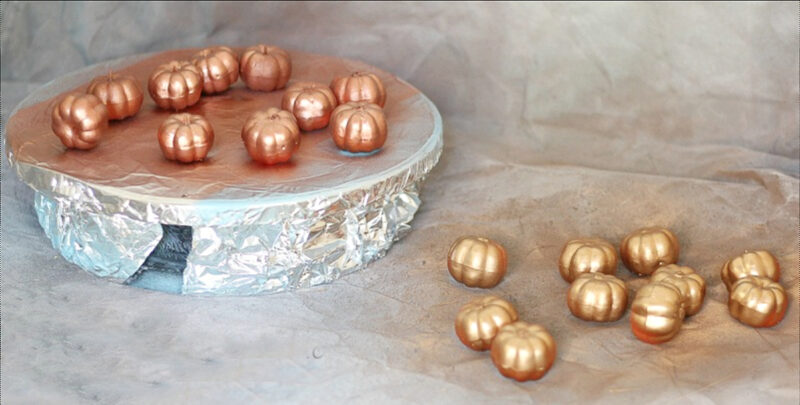
I had more “less than desirable” pumpkins to paint and I switched them out, alternating between the three colors of metallic paint. These Dollar Tree pumpkins are about to go from gaudy to gorgeous. I had three and each would be gold, brass or copper.
Some more pumpkins – this time from Walmart – got the metallic spray paint treatment too.
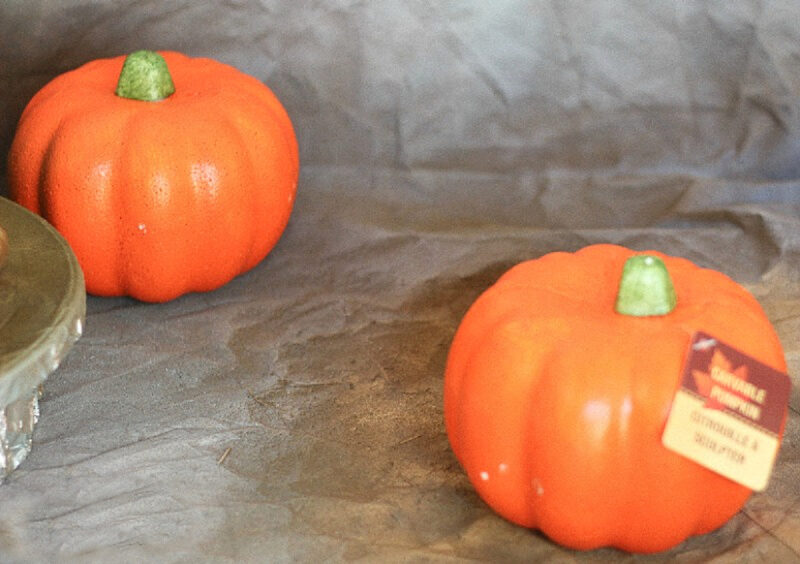
TIP: It’s easier to start at the bottom of the pumpkin, then use the stem to set it up straight so you can paint the top and sides.
Here you can see my Rust-Oleum spray paint can grip. I can’t spray paint without it.
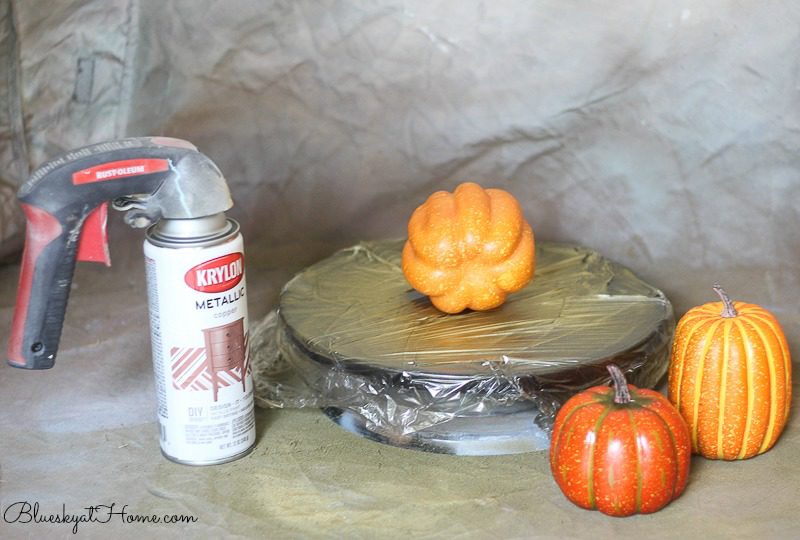
Ways to Style Metallic Pumpkin
These have become some of my hardest-working fall pieces, and I never get tired of them. I’ve tucked the little ones around a candle in a glass vase (they look wonderful next to the rustic wood beads), grouped them in a wood tray for the breakfast room, and lined them up along a console table. For an early fall mantel, I filled an updated wire basket with a mix of the metallic pumpkins. They meet my first two DIY rules with room to spare.
I used the little pumpkins to fill in around the candle in the glass vase on the coffee table.
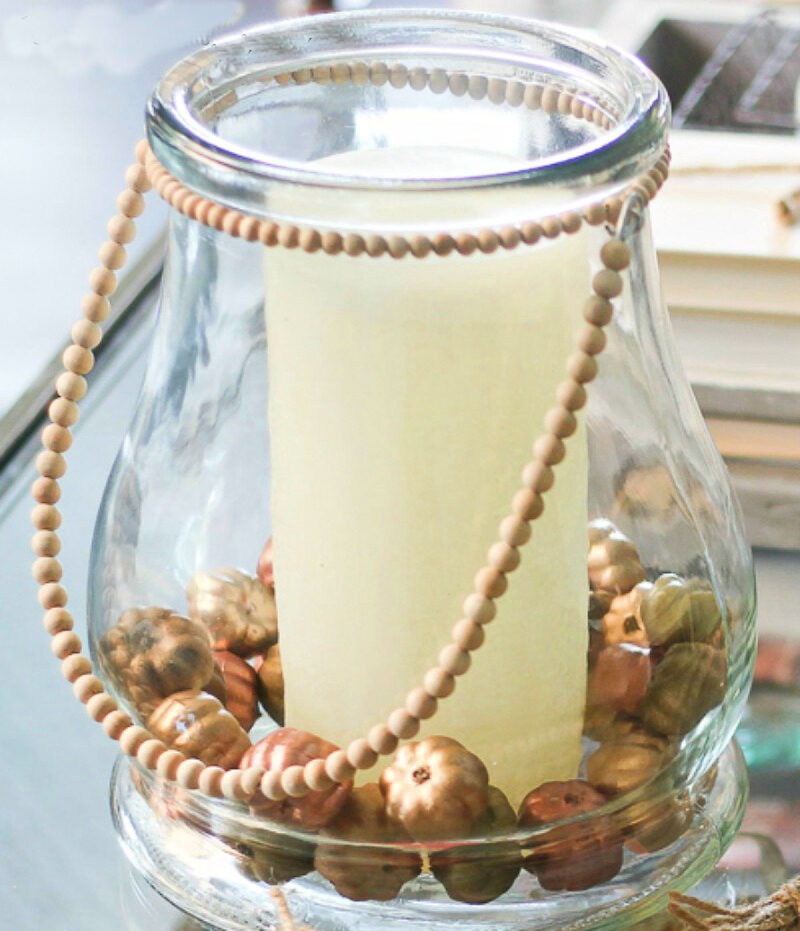
I loved the combination of the glass vase filled with little metallic pumpkins and the rustic look of the wood beads and jute.
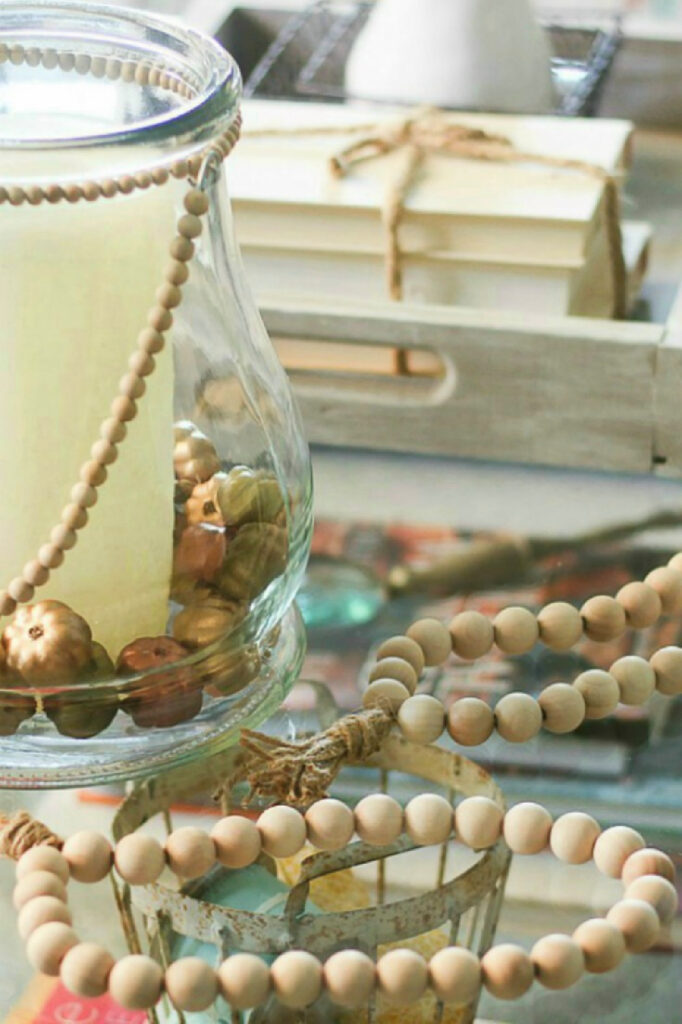
I used the larger painted pumpkins in a wood tray with the beaded wood handles from Kirkland’s for our breakfast room table. You may notice that I sprayed the entire pumpkin, including the stem, for this project. The styrofoam, although not my favorite, gave the painted pumpkins a realistic texture, since some pumpkins aren’t smooth.
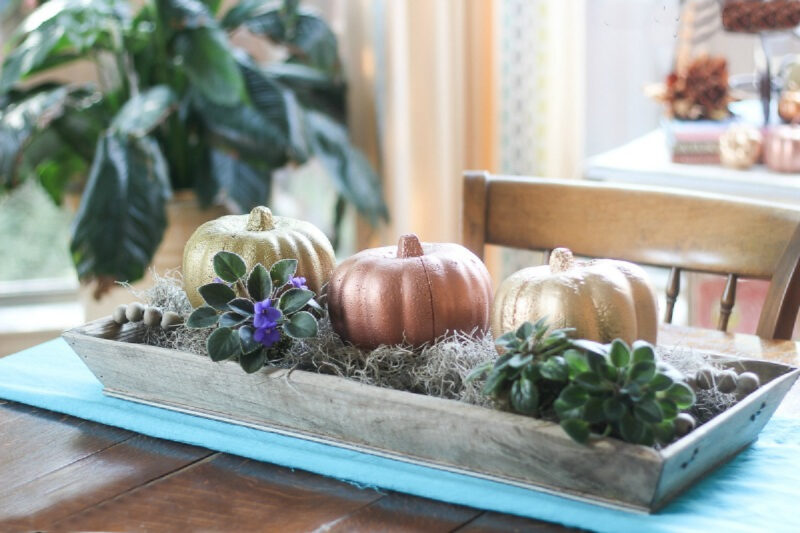
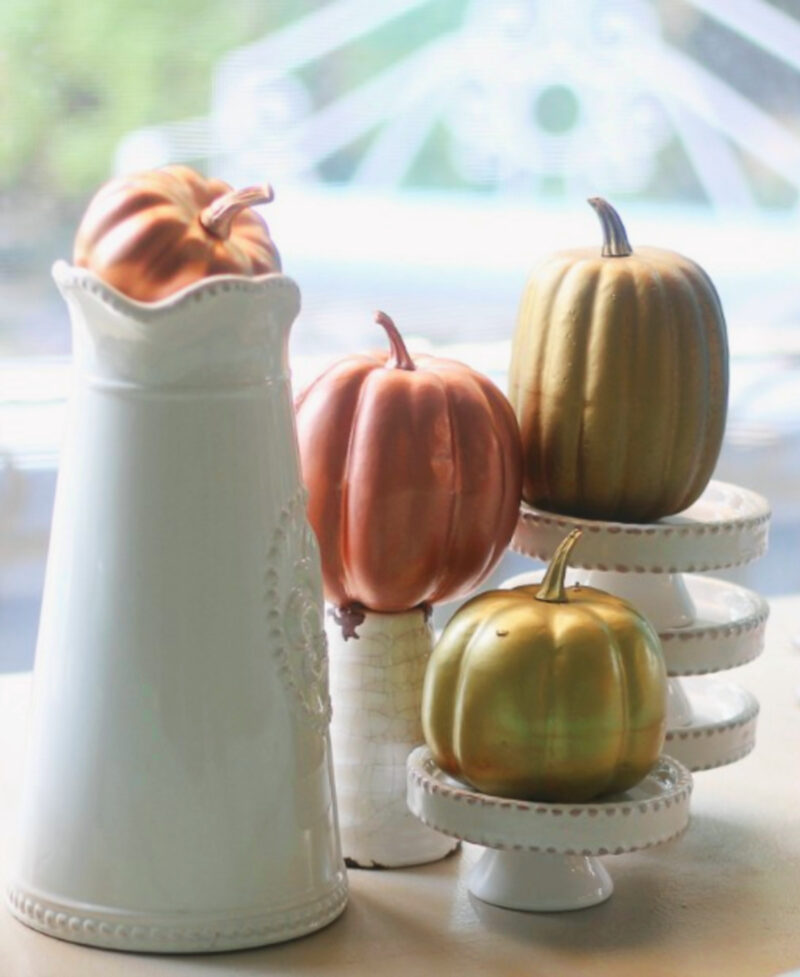
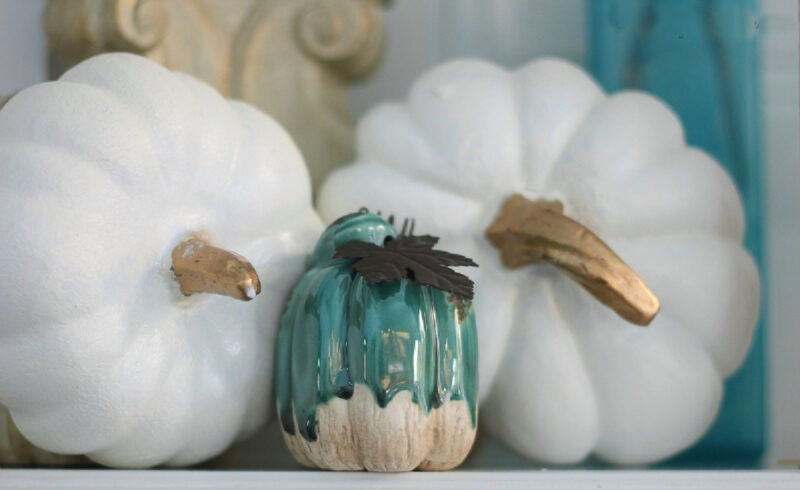
I had a couple of extra pumpkins from last year that I didn’t paint. I added them to a group of white pumpkins with gold stems. Remember to start bottom-up.
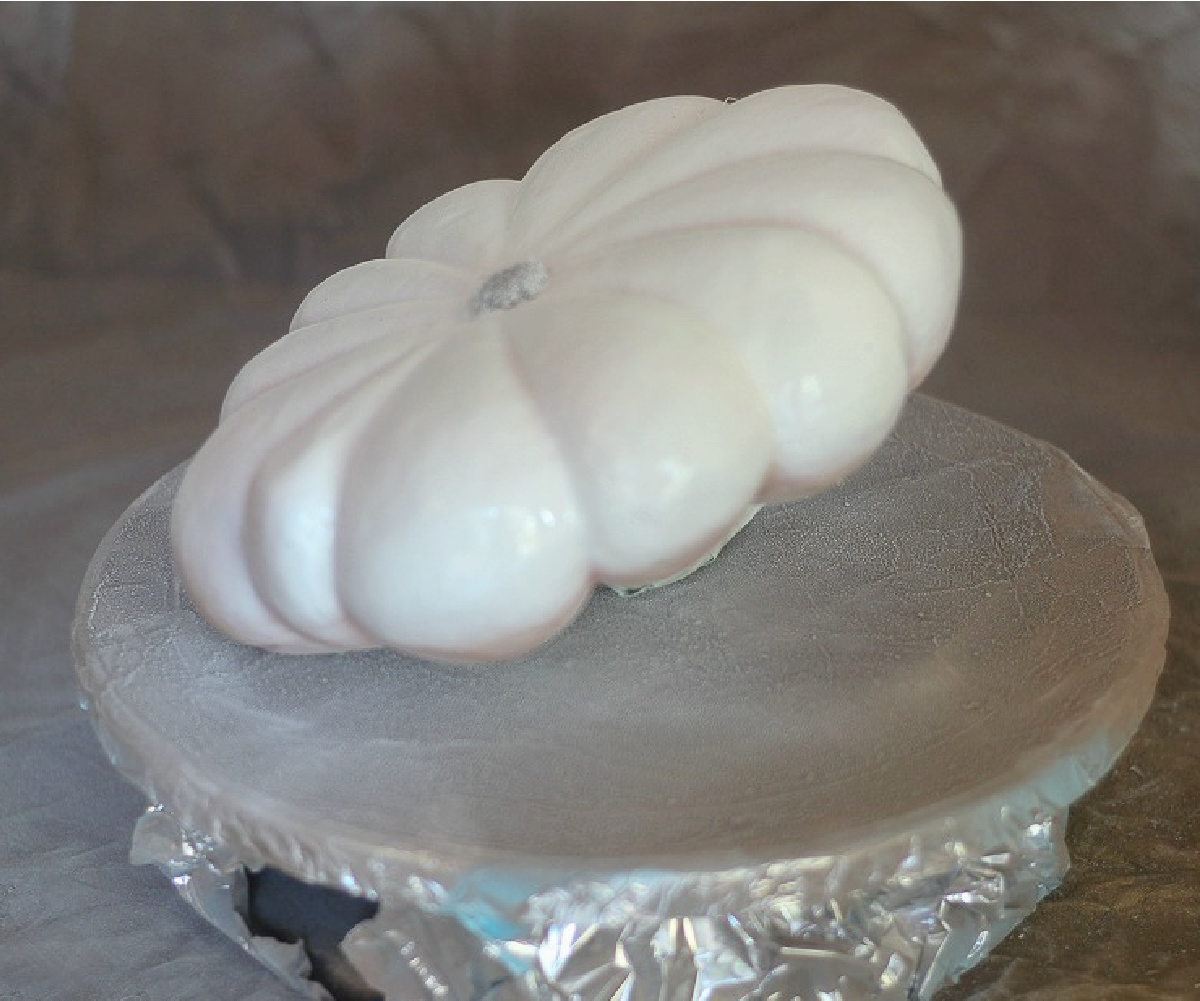
Just like last year, I made a hole in a piece of heavy cardboard to stick the stem through to spray paint it in gold.
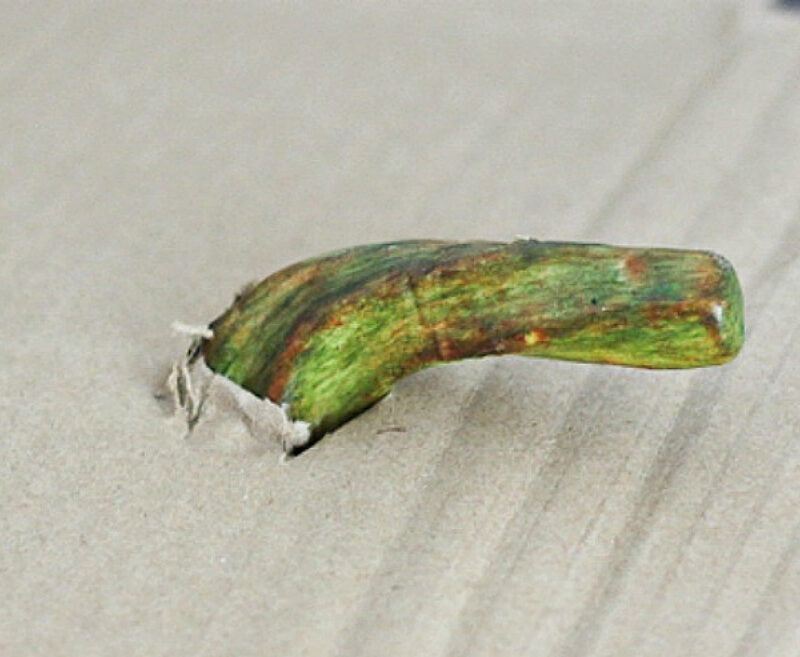
TIP: If your spray paint doesn’t completely cover the stem, just spray a bit of spray paint on your cardboard and use a small paintbrush to fill in the stem.
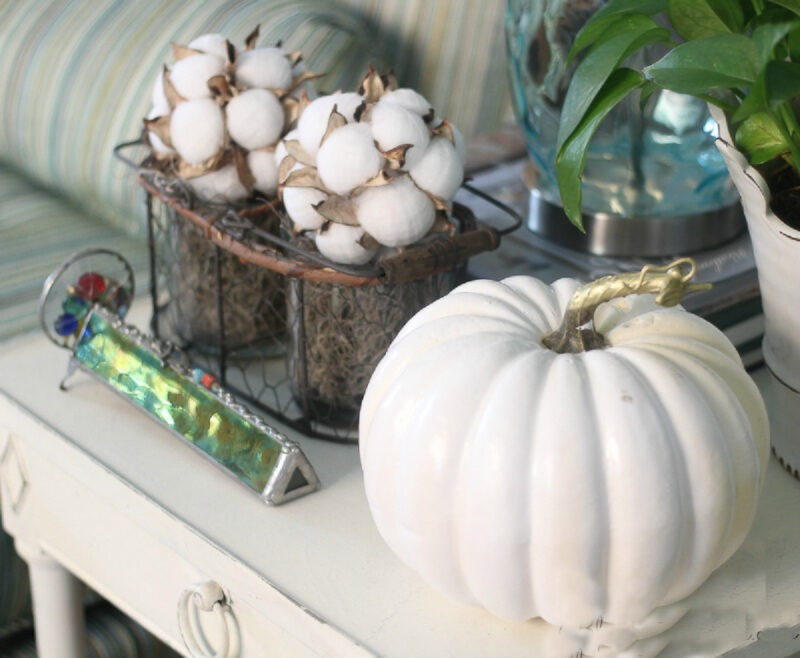
I added one of the newly painted white pumpkins to the mantel and one on a side table.
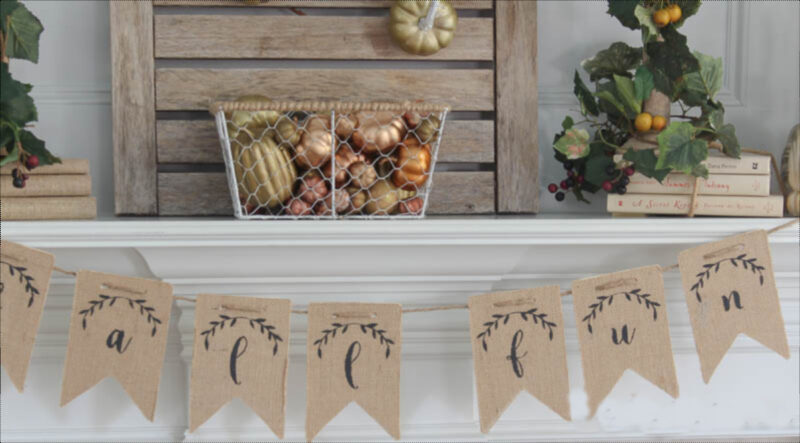
As you might imagine, these painted metallic pumpkins have been used multiple times. I never get tired of them. For our early fall mantle, I filled an updated wire basket with some of the metallic painted pumpkins.
Painting pumpkins meet criteria #1 and #2.
Project 3: Metallic “Fall for Me” Sign
Words and sayings show up in our homes for good reason. They’re cute, and they carry a little feeling. For my third project, I made a metallic paper sign grouping for the mantel that spells out “Fall for Me,” which has nine letters.
It started, as these things do, in the card stock aisle. I’m a sucker for pretty paper, and I came home with four patterns of gorgeous metallic card stock in large 12-by-18-inch sheets. Then I headed to the letter aisle for wood and cardboard letters. Finding a full set in one size was tricky, so I mixed two sizes until I had a combination that worked.
Supplies
- Metallic pattern card stock in a few coordinating patterns. I bought mine at Joann, which, unfortunately, is no longer with us. Try Michael’s or Hobby Lobby.
- Wooden or cardboard letters (mixing sizes is fine). I think the best place to purchase these is at Michael’s or Hobby Lobby, since which letters you need is very individualized.
- Pencil
- Sharp scissors
- A craft knife (for interior cuts)
- Permanent tape roller or glue
- Optional: thin wood scraps and double-sided tape for balancing letters
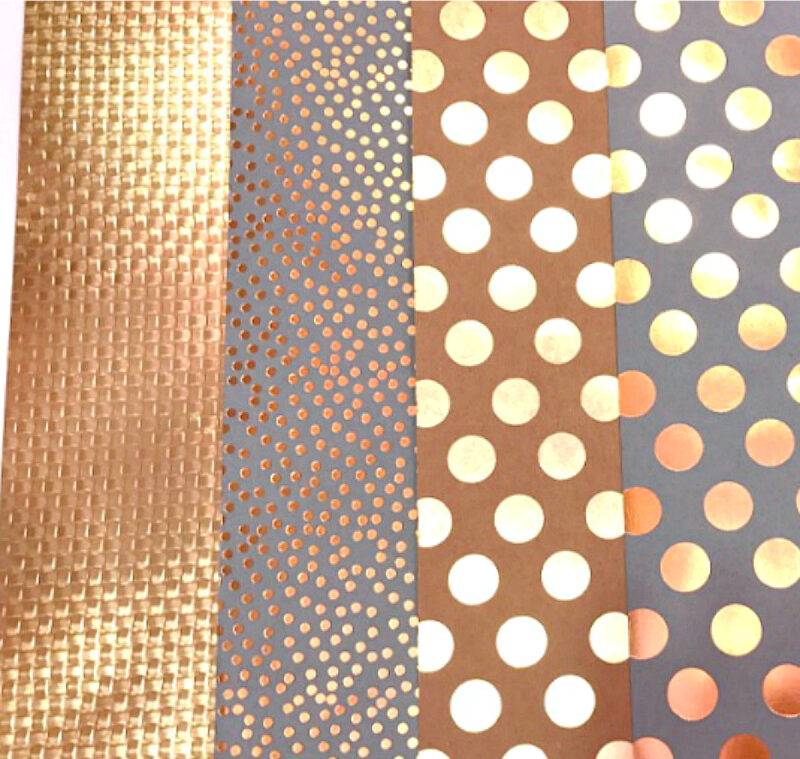
Just when I thought I had the right combination, I would be one letter short. Finally, I found a combination of two letter sizes that worked for my sign.
Between spray-painting pumpkins in the garage, I started my fall DIY sign project.
How to Make the Sign
- Plan your colors. Lay out your letters and number each card stock pattern. Assign every letter a pattern so the colors spread evenly across the sign. With nine letters and four patterns, one pattern will simply repeat once more than the others.
- Trace the letters. Set each letter face down on the back of the card stock and trace around it in pencil. Tip: always trace with the letter reversed so your pencil marks end up hidden on the back.
- Cut them out. Sharp scissors work better than a straight-blade cutter here for straight outside lines, such as A, B, D, M, N, O, and R. Save the craft knife for straight interior cuts, like the centers of A, O, and R.
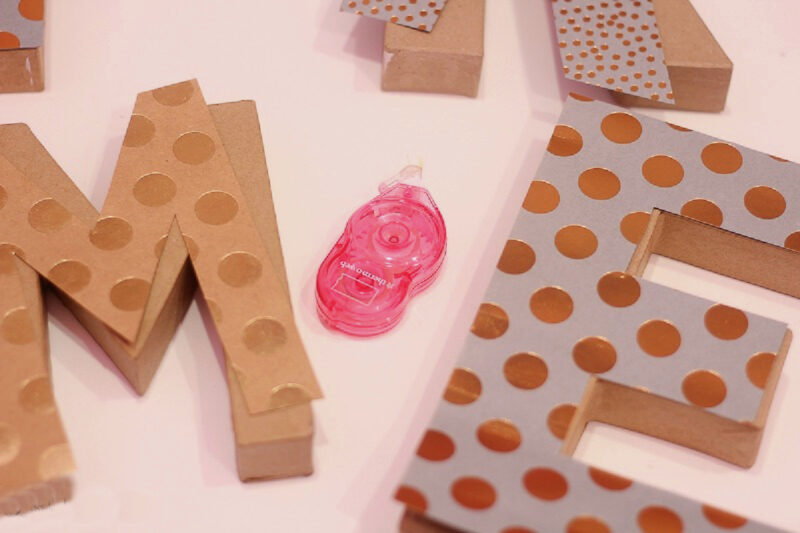
- Attach the paper. Apply permanent tape to the back of each paper letter (easier and cleaner than glue), position it over the matching cardboard letter, and press and rub until it’s firmly stuck.
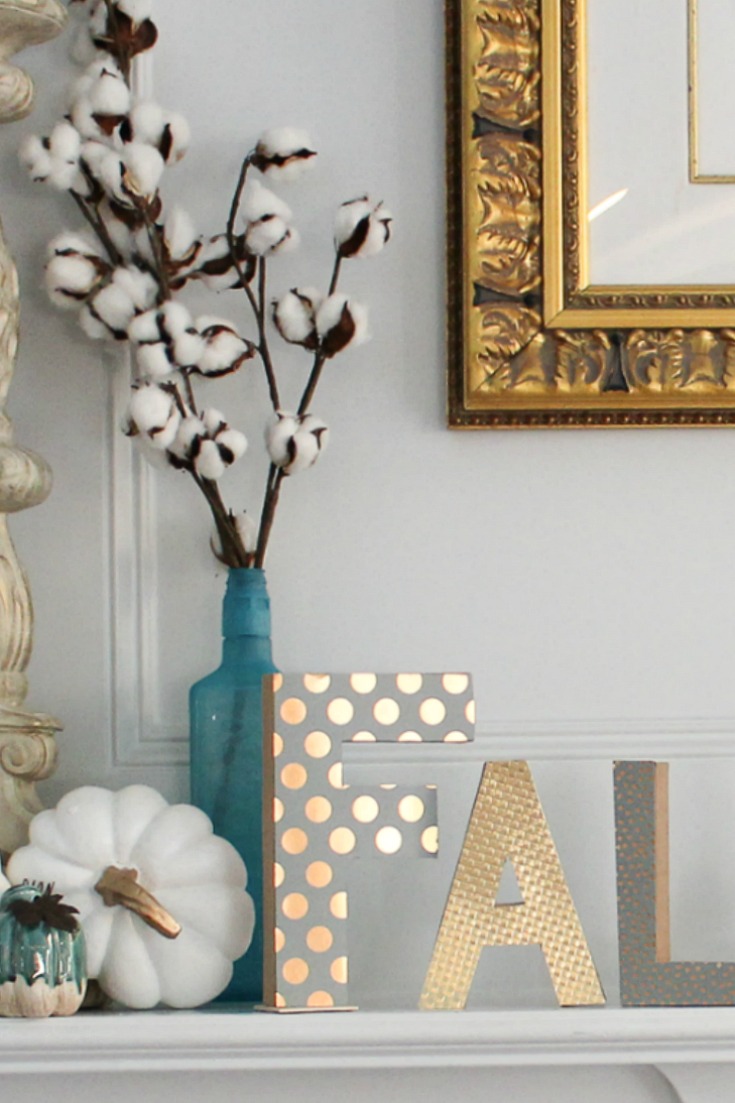
- Balance if needed. Some letters are top-heavy. My F’s kept tipping, so I stuck a small piece of thin wood to the bottom of each with double-sided tabs to help them stand straight.
TIP: The thing to remember when cutting out the paper that you are going to place on letters is to lay the letters backward.
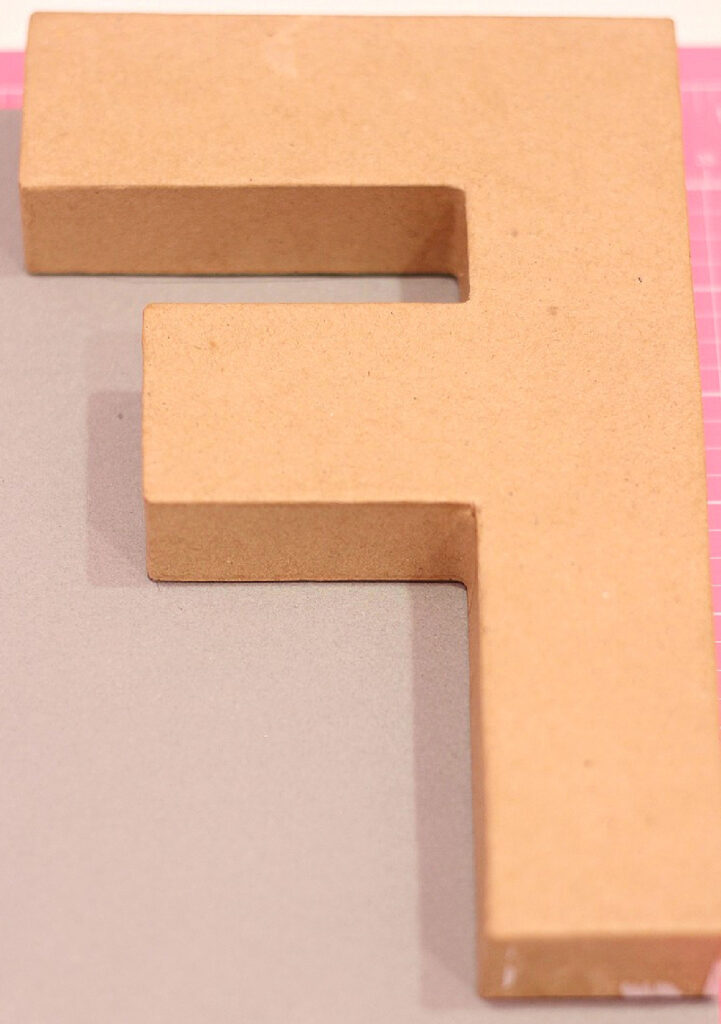
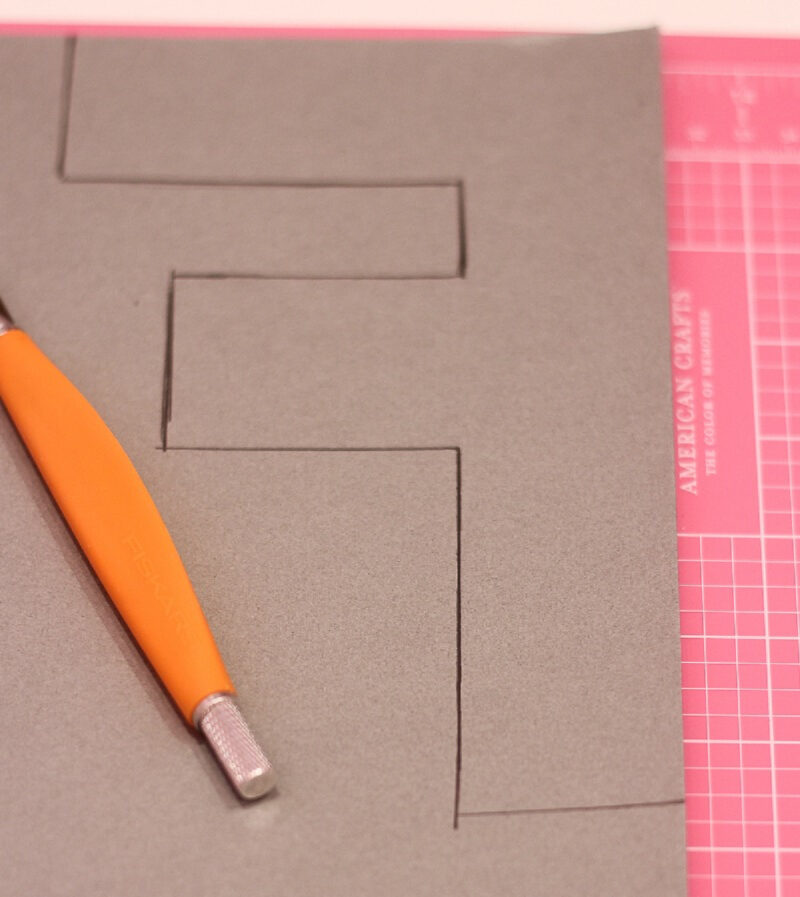
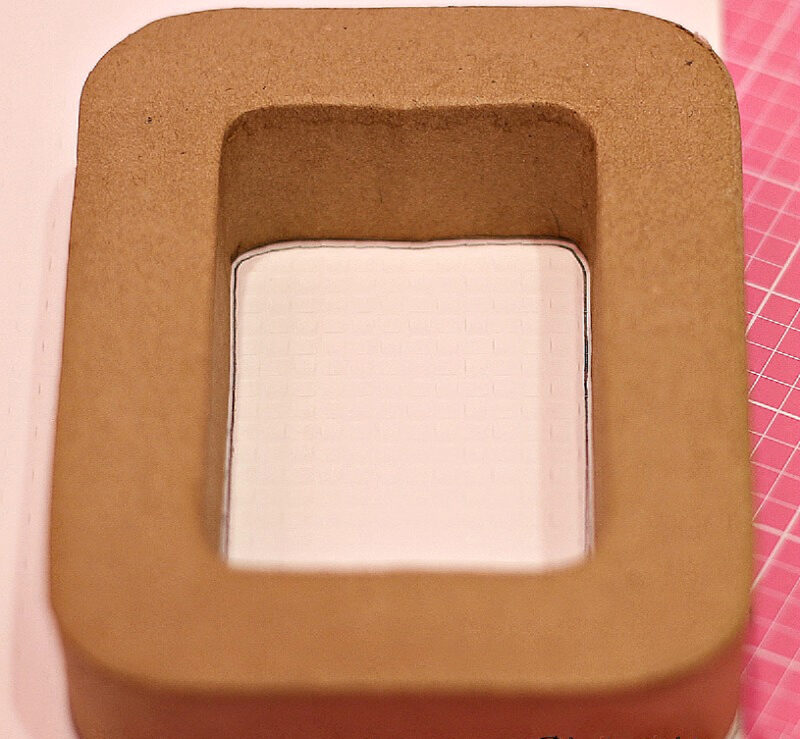
This took so little time that I could stop long enough to go outside to spray more pumpkins.
After I cut out all my letters, I used my permanent tape applicator to attach the cutout letters. It was easier than glue.
I just applied the tape to the back of the paper letters, positioned them over the cardboard letter, and pressed and rubbed down until the paper was firmly stuck to the cardboard.
Ways to Style Metallic Pumpkins
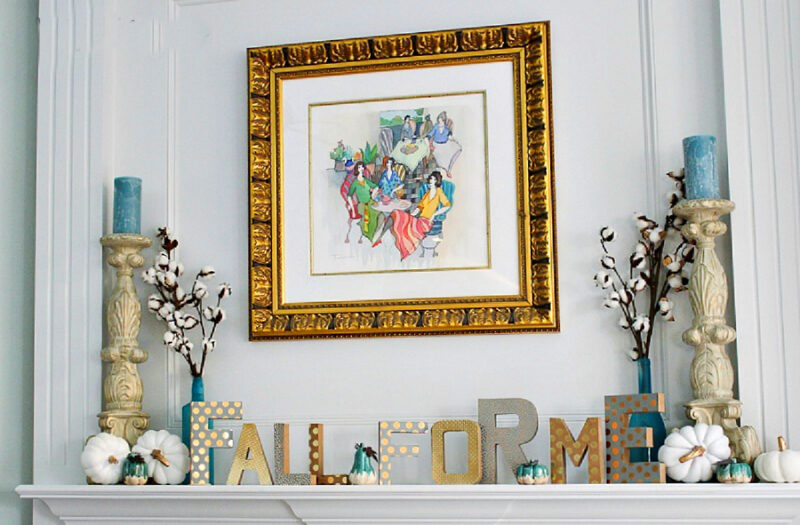
Here’s the finished project on the mantel. Pretty cute, uh?
The F’s were a little top-heavy, so I attached pieces of thin wood to their bottoms with Scotch 2-sided sticky tabs.
This fall sign met DIY criteria #1 and #2. Even though this mantel sign was from last year, I still love it and plan to use it this year in a different place.
Make All Three in a Day
That’s it: three easy fall DIY decorating projects, all inexpensive, all quick, and all built to reuse for years. Make them in an afternoon, then restyle them season after season in new places around your home.
I hope these give you some inspiration for your own fall decorating. Please pin this post so you can find these projects again when you’re ready to make them. Also check out this Pinterest Boards: Fall DIY Projects.
Fall DIY Decorating: Your Questions Answered
Start with inexpensive supplies and a little DIY. Craft pumpkins, dollar store finds, wood beads, and a few cans of spray paint go a long way. The trick is choosing projects you can reuse year after year, so your budget stretches across several seasons instead of just one.
Three of my favorites are wood bead cords, metallic painted pumpkins, and a paper letter sign. Each one takes minimal supplies, very little prep, and comes together quickly. They’re very affordable. You can make all three in a single day.
Yes. Foam and craft pumpkins take metallic spray paint beautifully. The paint dries in just a few minutes, and one coat usually covers completely. Start spraying from the bottom, then use the stem to stand the pumpkin upright and finish the top and sides.
For a warm fall look, metallic Krylon spray paint in gold, brass, and copper works wonderfully. If you want white pumpkins with gold stems, a white lacquer spray paint gives a soft, slightly shiny finish that also dries quickly.
Absolutely, and that is the whole point. Wood bead cords, metallic pumpkins, and a paper sign all store easily and hold up for several seasons. I restyle mine every year in new spots around the house, from the mantel to the coffee table to the breakfast room.
I’m not done with my fall projects yet. More to come. Please PIN this post so you don’t forget how to make these three easy fall DIY projects.