Red and White Decoupage Christmas Ornaments Tutorial
There’s something magical about red and white at Christmas time. It’s a classic and festive color combination that never goes out of style. That’s why I’m excited to share how to use this color in these red and white decoupage Christmas ornaments tutorial with you today.
If you’ve never tried decoupage before, you’re in for a treat. It’s one of those crafts that looks impressive but is actually super beginner-friendly. And these DIY decoupage ornaments? They’re the perfect project to start with.
I used simple red and white napkins with a beautiful snowflake design to create these handmade Christmas ornaments. The best part is that you probably already have most of the supplies you need at home. And if you don’t, they’re easy to find and budget-friendly.
Ready to make your own red and white Christmas ornaments? Let’s dive into this easy tutorial. Trust me, once you see how simple this technique is, you’ll want to decoupage everything!

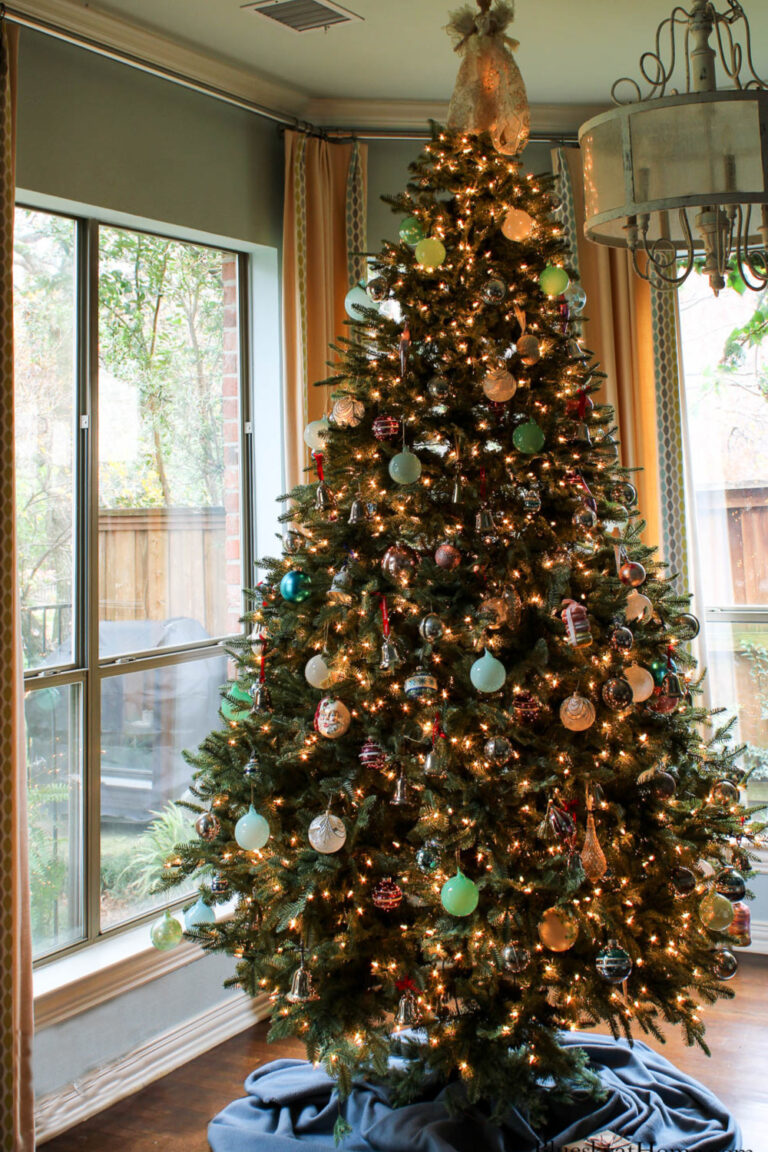
These decoupage Christmas ornaments make wonderful gifts, too. You can make a whole batch to hang on your tree or give to friends and family as gifts.
There’s something special about homemade ornaments – they add so much more personality to your holiday decor than store-bought ones.
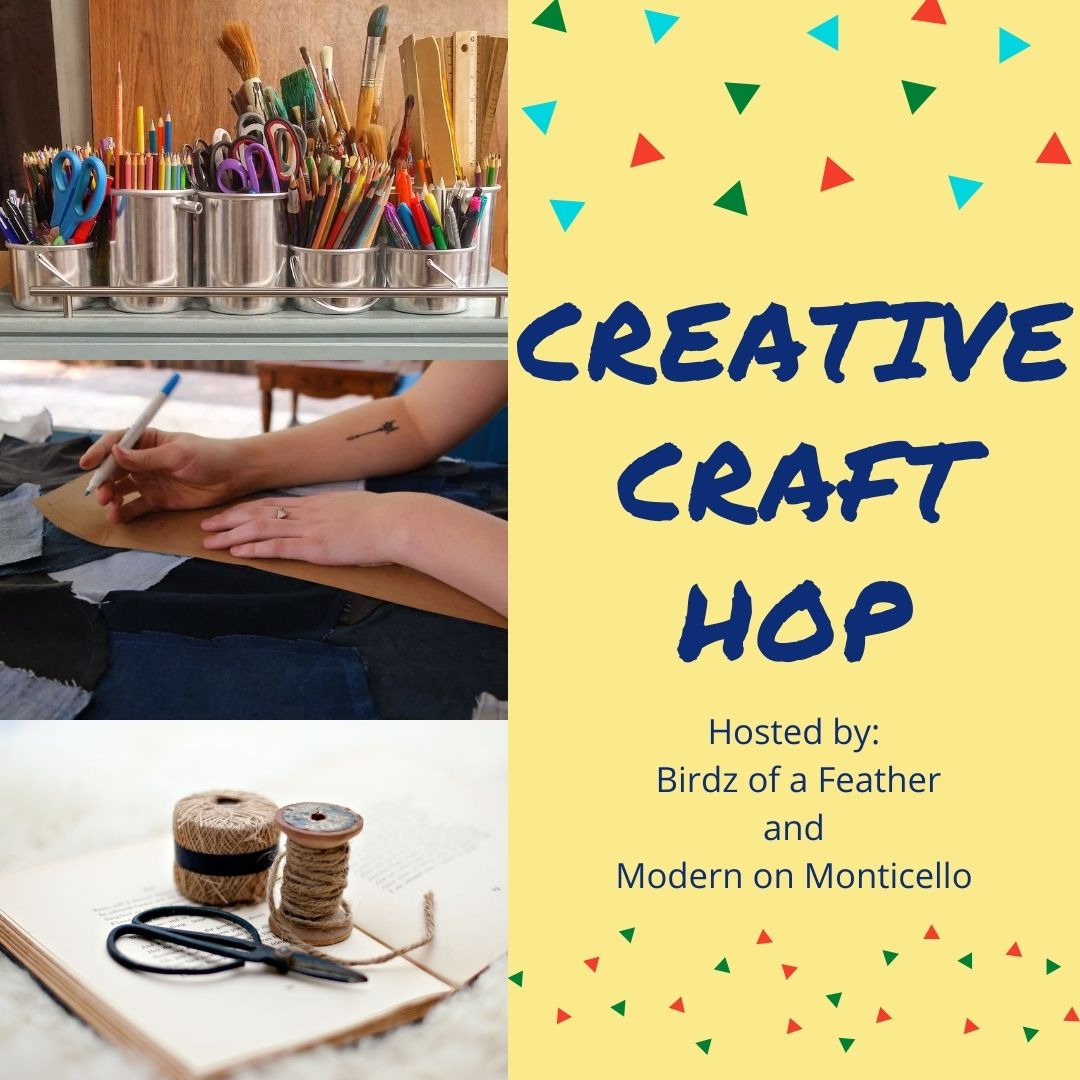
Welcome to this month’s Creative Craft gathering of unique handmade projects. Our hostess is Sara of Birdz of a Feather.
I hope you will check our merry group of elves this holiday season.
Christmas Ornament Ball Inspiration
I have had these ceramic chinoiserie balls for a few years. Last week, I looked at them and thought it would be nice to have some in a Christmas pattern.
I also have read that red will be a major color (isn’t it always?) in this year’s popular Christmas palette.
All need was something red to make a similiar accessories. Decoupage would be the perfect medium, and red would be the pop of color for a Christmas palette.

Also, last year I made these blue and white Christmas ornaments. That project used a pull apart plastic ornament and the napkin went on the inside.

This post contains affiliate links to products used to create this project. If you should order any item from this site, I may receive compensation, but you do not pay a penny more. Your purchase is greatly appreciated as it helps support the continued publication of this site.
Supplies for this Easy Decoupage Tutorial
One of the best things about decoupage projects is how few supplies are needed. I had everything I needed on hand except the napkins.
- Mod Podge in your finish of choice (great price on this bottle) – I used Gloss for this particular craft.
- Brush for application – either the Mod Podge brush or a sponge brush.
- Container for holding the glue – I use these plastic nacho containers (very cheap), which I use several times before tossing.
- Small sharp craft scissors for cutting napkins – these are my go-to-favorites.

Napkins
The one “ingredient” that makes every decoupage project special is the napkin. The color and design is teh defining factor. I use luncheon or guest towel size.
There are hundreds – thousands? – of colors and designs to chose for your particular project.
Since red is a very popular trend this year, I looked for a bright red and white overall design. I found these snowflake pattern that would be perfect for my project.

Material for Your Project
Since I would be making ornaments that could be used in place of the ceramic chinoiserie balls, I needed round balls. Fortuantely, last year I bought this set of clear plastic ornaments and never used them. There are 10 in a package and I only need seven.
Using the ornaments gives me the option of using them as ornaments instead of balls in my big white bowl.
TIP: I put the hangers in a small plastic bag to keep secure.

They come in either silver or gold large sturdy tops which are easily removed. Remove them before you begin your project.
If you know that you want to make chinoiserie balls as decorative accessories, you can use styrofoam balls instead. I really like this 4-inch size with the smooth finish, which I have used and still have some on hand.
Making Your Decoupage Christmas Ornaments Tutorial
Step 1 – Set out your supplies.
FYI – I determined that I would need 7 balls to fill the white bowl.
Step 2 – Remove the hangers from the ornaments
Step 3 – Open your napkins. Here is where the napkins surprized me. I thought the red and white were separate napkins. As you can see, each napkin has two sections of white and two sections of red. I didn’t have time to order a pattern with all red, so I made this work.

I did look online for other options and I liked these two:
- red and white snowflake guest towels – if you are doing a project that covers a lot of space, these would be great
- red and white snowflake luncheon size napkin – this would be another great option that I would chose for the ball project.
Step 4 – Separate your napkin layers. I will say these 2-ply napkins were the easiest I’ve ever had to separate. Then cut the red squares from the white ones (If you are using these napkins.) Set aside the white squares.
Step 5 – Pour some Mod Podge into your container. I use the smaller partition. Only pour what you can use at one time. You can pour extra back into the jar.

Step 6 – To hold the ornaments while they were drying, I set up a piece of florist foam (found in the garage) with three wood skewers (kitchen drawer). You’ll see that during the decoupage process.
FIRST METHOD
Step 7 – For the first few ornaments, I covered the top of the ornament with Mod Podge and then set one square piece of the napkin on top and smoothed down the paper with my fingers.
See my “holding” set up in the background?
TIP: It’s easy to hold the ornament with your thumb.


I smoothed down as much of the napkin as possible. Any part that I couldn’t smoothly attach, I cut away.

Step 8 – To fill in the space at the top of the ornament, I torn off a bunch of pieces in different sizes.

Step 9 – Add more Mod Podge as needed around the top opening of the ornament. Use as many pieces as you need to fill in the space.
Step 10 – Once you have the entire ornament covered in napkin, gently add another coat of decoupage all over the ornament, pressing down on the napkin. Carefully transfer the ornament to the skewer on the foam.
NOTE: I let the ornaments dry until they were no longer tacky to the touch. Then I removed them to the kitchen counter, making sure they weren’t touching anything.

SECOND METHOD
For the next few ornaments, I tried a different approach. This time I added Mod Podge just to the top half, stopping at the “equater”. I smoothed down the napkin and cut off the excess napkin.

I set this ornament on a skewer and torn more pieces of napkin up. Then, I added more Mod Podge and napkin pieces to the bottom (top) of the ornament, filling in all around the opening.
Like the first method, I added a coat of Mod Podge all over the balls and let them dry on the skewers.

THIRD METHOD
For the last ball (my 7th), I torn off more pieces of napkin and added them one by one all oer the ball. This method is basically the traditional decoupage method, especially for round objects.
THE END: I liked the second method best because I was able to glue one large piece on the top with the least amount of wrinkles. Whichever method you choose, the end result is basically the same.
I let all seven ornaments dry overnight. The next day, I attached the gold hangers.
I recommend spreading the clasps as far out as you can before holding and inserting the prongs. This way it just pops back in.


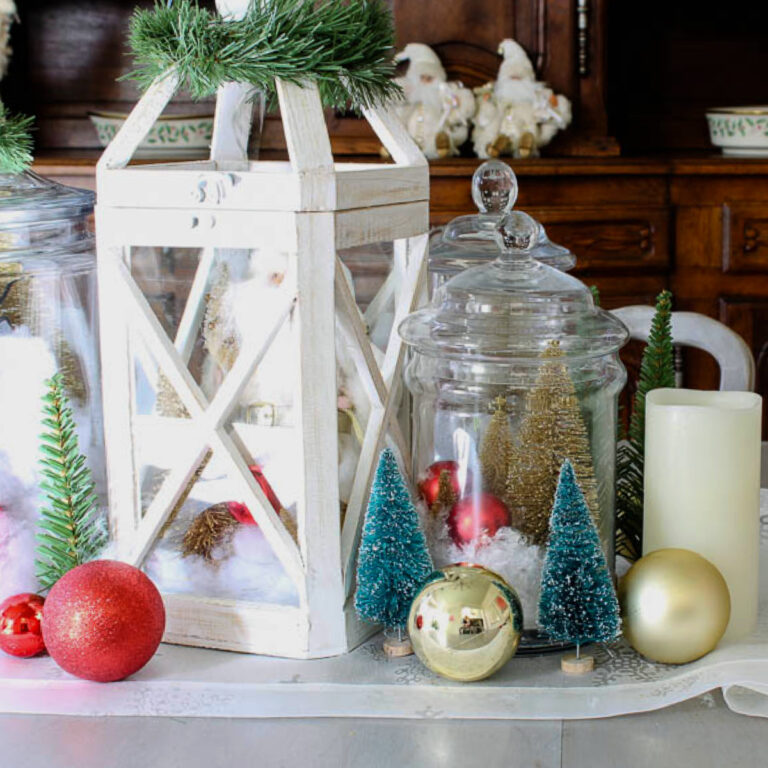
Displaying the Ornaments
This part was the easiest. I placed the ornaments on the moss that I left in the bowl.
The bowl, a couple of red books, and a new candle fit perfectly inside my favorite woven hyacynth tray with scallop edges.

I love how the bright red balls provide that seasonal pop of color.

Lessons Learned
I love to decoupage and I have so many projects using that medium. But here is what I learned from this project.
- Give yourself plenty of time to reorder if the first napkins aren’t exactly what you want. Or order a couple of choices and send back the one don’t want.
- CHECK YOUR SUPPLIES FIRST: Since I knew I was going to use these ornaments as balls in my white bowl, I should have used the 4-inch styrofoam balls. I forgot I had them in my DIY supply chest. I can use them now for the white bowl and use the ornaments as ornaments. There are three more I can use.
I’m still happy with how these decoupage Christmas ornaments turned out. It was an inexpensive project with a big return. I only used four napkins, so I have plenty of snowflake napkins left for entertaining.
For more decoupage ideas and instructions, CHECK OUT these other projects:
- Make DIY Christmas Chargers with Decoupage
- How to Make Chinoiserie Planters
- DIY Autumn Leaf Decoupage Chargers
Get your list of Christmas supplies to stock up on now. CLICK the image below.

Ready to PIN this project to your Pinterest Boards? Here are some of mine to check out and follow: Christmas DIY Projects and Decoupage Projects.
Enjoy all the projects below. You can start with Beth of Creatively Beth and her Christmas Tree Pillow.


My Thrift Store Addiction – How to Crochet an Evergreen Christmas Wreath
Purple Hues and Me – Handcrafted Christmas Ornamental Flower DIY
Modern on Monticello – Mixed Ornament Shapes Stringer Hack for Clusters
Birdz of a Feather – Soda Tab Necklace
Bluesky at Home – Red and White Decoupage Christmas Ornaments Tutorial
Creatively Beth – Upcycled Christmas Tree Pillow


I love to decoupage, too, Carol! Thanks for sharing so many helpful ideas in decoupaging! Your ornaments turned out really pretty and look great in your decor!
Your red and white ornaments are lovely, Carol. Thanks for the inspiration! Wishing you a joyous Christmas season, Cecilia – My Thrift Store Addiction
These red and white decoupage ornaments are gorgeous Carol! I love how festive and classic they look. Have a joyful holiday season!
I always enjoy your decoupage projects. They always come out so pretty for very little money or effort. And you pick out the best napkin designs! Thanks for being a part of the hop this year. Hope you have a wonderful holiday season.