5 Steps to Plan for Your Christmas Decorating
How early do you decorate for Christmas? Whether you’re already dreaming of garland and twinkling lights in early November or wait until after the turkey’s been carved, planning is essential for a stress-free decorating experience. In this post, we’re going to explore 5 steps to plan for your Christmas decorating. Here you will find ways to be more efficient in your decorating.
These five practical steps will help you decorate with intention, save time, and create a home that feels festive without the stress. By the end, you’ll have a clear roadmap for Christmas decorating that works with your schedule, your style, and your sanity.
Keep in mind that the earlier you start decorating, the more time you have to enjoy the beautiful decor you create. Christmas decorating will be less stressful. Early planning lets you purchase new items while the inventory is still available.
Now that we are in November, we can plan this year’s Christmas decorations. I used to be in the “never before Thanksgiving” camp. Now, I find myself getting ready for Christmas earlier and earlier.

Here are my 5 favorite steps to help you plan for Christmas decorating. I also include several tips to help you as you decorate your home for the holidays.
This post contains affiliate links to products used to create this project. If you should order any item from this site, I may receive compensation, but you do not pay a penny more. Your purchase is greatly appreciated as it helps support the continued publication of this site.
Step 1 – Clear the Slate: Remove Fall and Thanksgiving Decor
Always remove any previous seasonal decor before adding new holiday decorations.
This is the time to examine your fall/Thanksgiving decor for future years. It is also the time to replace cardboard boxes with new plastic bins.
TIP: Since we tend to add a lot of Christmas decor, I recommend packing up some of your year-round decorative accessories, such as picture frames, books or coffee table decor. Put these in bins and label them before packing them away. They will be ready to come out of hibernation after the holidays. Remember, the earlier you shop, the more likely that you’ll find what you need.
Most of our holiday decorations are stored on custom-built shelves in our garage and in our attic. Years ago, we started replacing random cardboard boxes with clear plastic bins for storing our decorations. I suggest you do the same.
TIP: We have found the 70-quart are the right size. Any bigger and they are difficult to lift and carry.
Why Plastic Storage Bins?
- They keep the decorations more secure (from critters chewing in your attic) and dust-free.
- Plastic bins last longer.
- This allows us to see what is inside each box.
- Plastic bins also stack more easily.
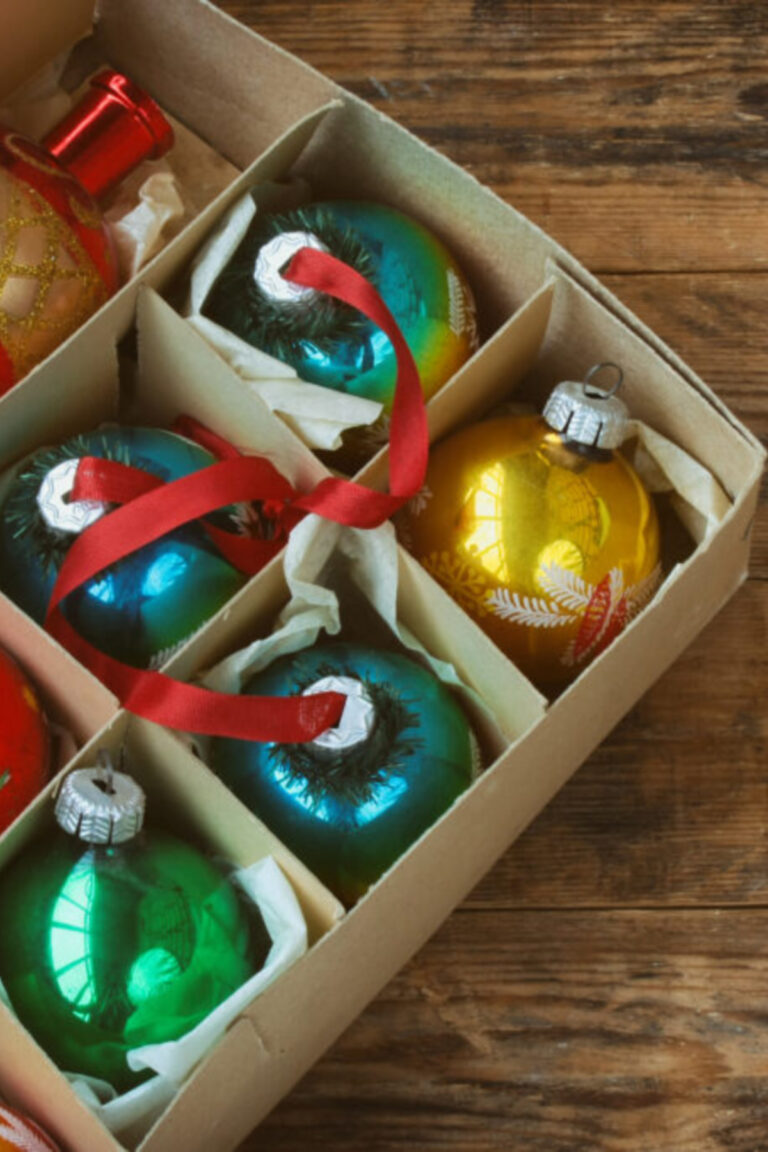
I still try to label each bin. Since breakables are wrapped in tissue and bubblewrap, the labels help identify the contents of each bin.
Sept 2 – Take Inventory of What You Have
Ideally, Christmas decorating for this year begins the previous year when you are packing away Christmas.
Ideally, as you pack up your Christmas decorations, you examine those that may need to be discarded, mended, or donated.
What I Recommend Culling Out:
- Decorations that are obviously broken and can’t be mended
- Christmas lights that are not working; fairy lights, as much as we love them, don’t last indefinitely.
- Broken ornaments
- Decorations that are very out of date (vintage is great, but worn out is not)
- Garland that has seen better days. You may be able to salvage parts of the green garland to embellish other garlands.
Once you have packed up all your fall and Thanksgiving decorations, it’s time to bring out the bins with Christmas decor.
TIP: This is the time to give your home a thorough cleaning. Holiday decorations leave dust and debris. A good dusting and wiping will leave your home ready for the next round of seasonal decorations.
This picture from several years ago shows how many boxes of Christmas decorations we have.
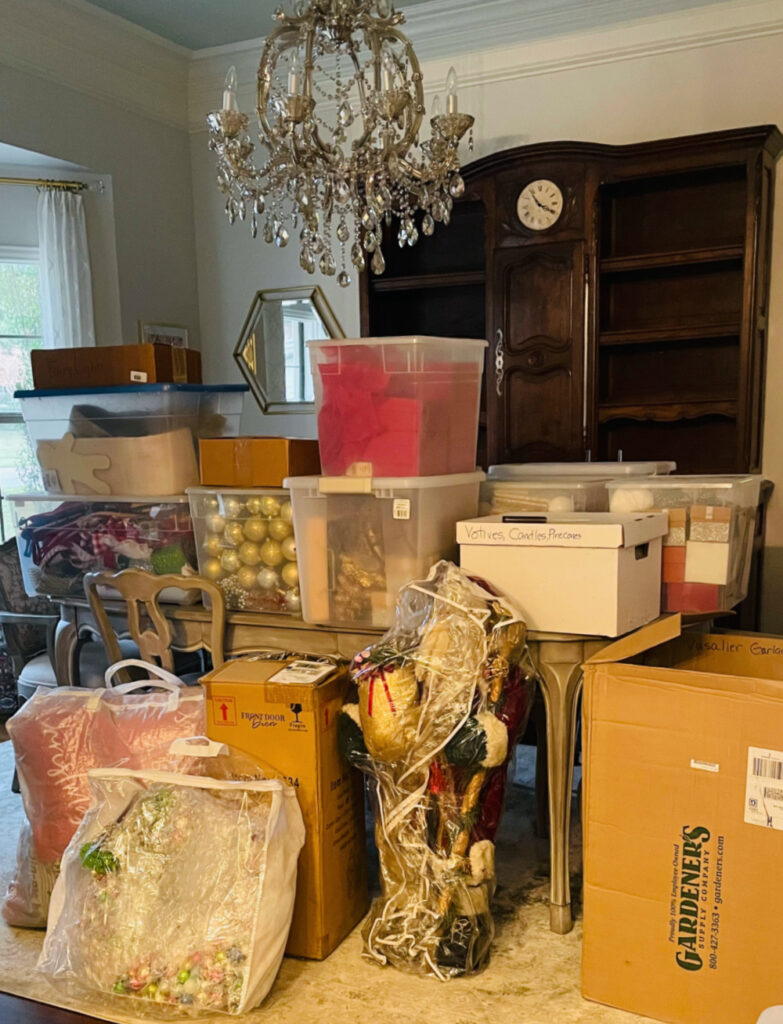
Taking inventory of the Christmas decorations you have on hand will prepare you for your next step.
If you have not yet looked at your decorations for this Christmas season, then as you unpack them, take these steps:
- Set aside supplies that you can use to make new Christmas decorations. I have drawers full of DIY supplies I haven’t used yet, and I plan to use them this year.
- Set aside those items that meet the criteria I listed above.
- If you find Christmas ornaments or other decor that need repair, do it immediately.
Step 3 – Identify What New Items You Need to Buy
Once you have gone through your Christmas decorations, make a list of the ones you need to replace or add for the current holiday season.
Yearly Items to Restock Might Include:
- new scented candles
- faux battery-operated taper candles and pillar candles with remotes
- fresh or faux greenery garland or faux green wreaths
- new wired velvet ribbon
- new holiday paper napkins
- Christmas gift wrap
- supplies for DIY Christmas decorations
- Christmas candy, especially candy canes and kisses
- fairy lights
- packages of batteries for fairy lights and other decor – we go through hundreds of batteries at Christmas
Remember, the earlier you shop, the more likely you’ll find what you need.
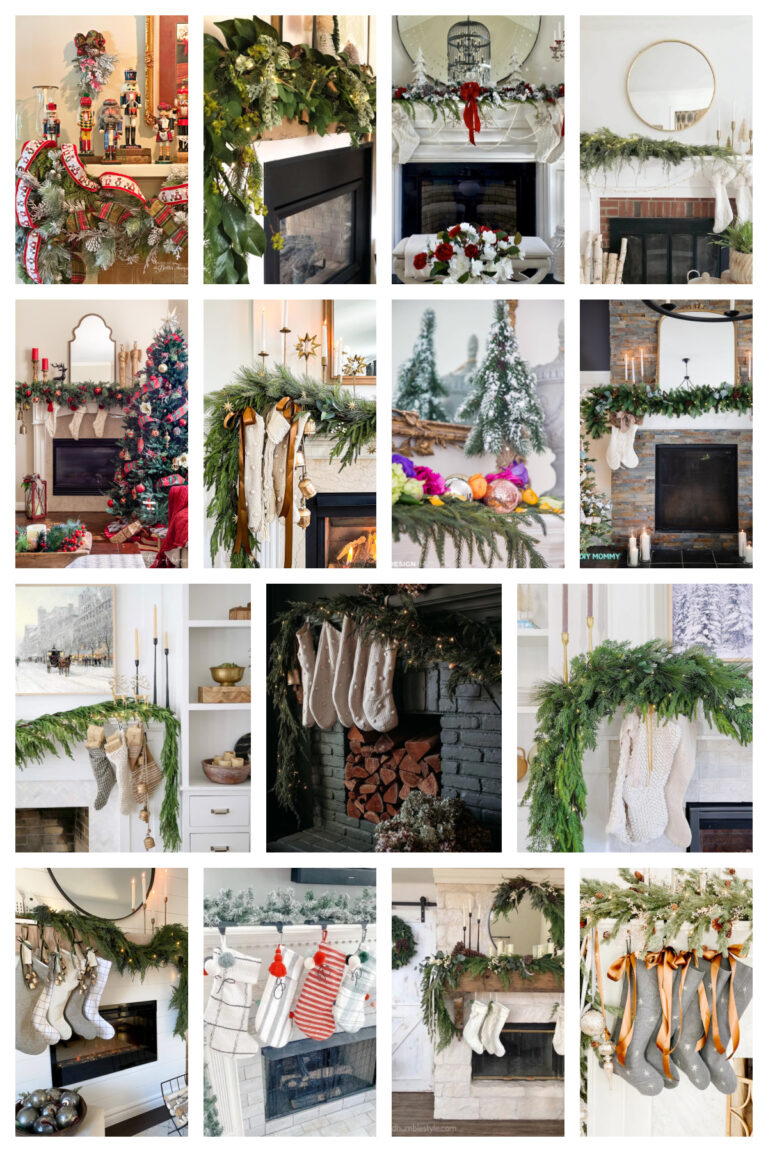
Step 4 – Choose Your Color Scheme
Unlike days of yore when all Christmas decor was red and green, today we see a wide range of colors from pink, blue, teal, gold and silver, rustic and natural elements.
We have often decorated our living room mantel in multiple colors for Christmas with lots of garland and lights.

Decide on the color palette for your home. Will all the rooms have the same color scheme or will you have different colors for different rooms? This way you can purchase new decorations in your chosen colors.
Our color palette has changed over the years. We tend to use red, green, gold and silver in the dining room, entry, staircase and in Sweet Shark’s bar. They are all adjacent and can be seen in one view.
Color Palette Inspiration
If choosing a Christmas color scheme has your head spinning, here are some ideas from our own home.
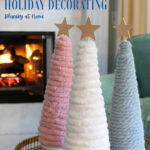
Include metallics in your color scheme. I still love these metallic jewelled-color DIY trees from last year.

Traditional Christmas colors of red and green will never go out of style.

Focusing on a single color palette, as I did in our entry using green, has a significant impact on your Christmas decor.

Every room in your home doesn’t have to have the same color palette. The master bedroom is a great place to choose different colors.
This was our console table in our bedroom the year I decorated it in pinks and pastels.

That Christmas, I bought a new white tabletop Christmas tree for the master bedroom and decorated it in pink.

Last year, I switched our bedroom color scheme to red and white. We loved it, so we are repeating that color this year.

We added more red and green to our Christmas bedroom with a plaid comforter.

TIP: Decorate adjacent rooms, such as the living room and dining room or the kitchen and breakfast room, in the same or similar color schemes. Decorate separate rooms, such as bedrooms, bathrooms, and the family room, with different color schemes.

Since our kitchen and living room are adjacent, I also use a red theme in the kitchen.

Over the years, I have also included blue in our sitting room. Although this area is adjacent to the living room and kitchen, it feels a bit separated so the blue doesn’t clash with the reds.

Step 5 – Organize Your Christmas Decorations by Room
Once your color scheme for each room is decided, the fun begins. With this step, the organizing and setting out of your decorations starts.
My Best Helpful Tips for Decorating:
- Take the decorations to the room where you will use them. I usually place the bins on the dining room table, coffee table, our bed, or kitchen island.
- Open all your Christmas bins so that you can see all the decorations.
- Once you have all the decorations for a room, you can begin placing them in your favorite spots – or find new ways to arrange your Christmas decorations.
TIP: Before you begin decorating, purchase new batteries for your fairy lights and other Christmas decorations. You can either add new batteries to all your fairy lights at once or do it as you go from room to room. I’ve done it both ways.
TIP: I empty our new batteries from the packages into a battery storage box.
TIP: Recycling and reusing decorations from the previous year in new ways adds freshness to your Christmas decor. Decorations will seem new when used in different vignettes, arrangements, or rooms.
Once you have finished with one area, step back and look around. Rearrange any decorations as needed. You don’t have to find the perfect place for your festive decorations on the first go-around.
Here is our latest Christmas home decor efforts – a bright and colorful Christmas home tour.

TIP: If you don’t use items in the “designated room”, move them to a common area to reuse in another room. What you don’t use can be packed away for next year. Not everything has to be used every year. You can also donate items to a charity resale shop.
Repeat the process for each room. Once you have completed all your rooms, take a home tour. Ask a friend whose opinion you value to take a look. Don’t hesitate to move items from one room to another.
For adjacent rooms, you can see how the decor works together and make adjustments.
Everyone has their favorite way of decorating their homes. I like to decorate each room, one at a time. Fewer steps, less time, and that way I feel that I’ve completed an entire room before going on to the next one. That approach feels like I’ve accomplished a task.
The holidays can be so busy that when decorating your home. Don’t forget to enjoy this time and take care of yourself. Make December magical with this ultimate list of fun things to do!
Discover cozy family activities, charitable ideas, self-care treats, festive traditions, and creative projects for the whole family. From caroling and cookie exchanges to spa days and winter crafts, find inspiration to fill your calendar with joy and create lasting holiday memories. Perfect for busy moms, families, and anyone wanting to savor the season!
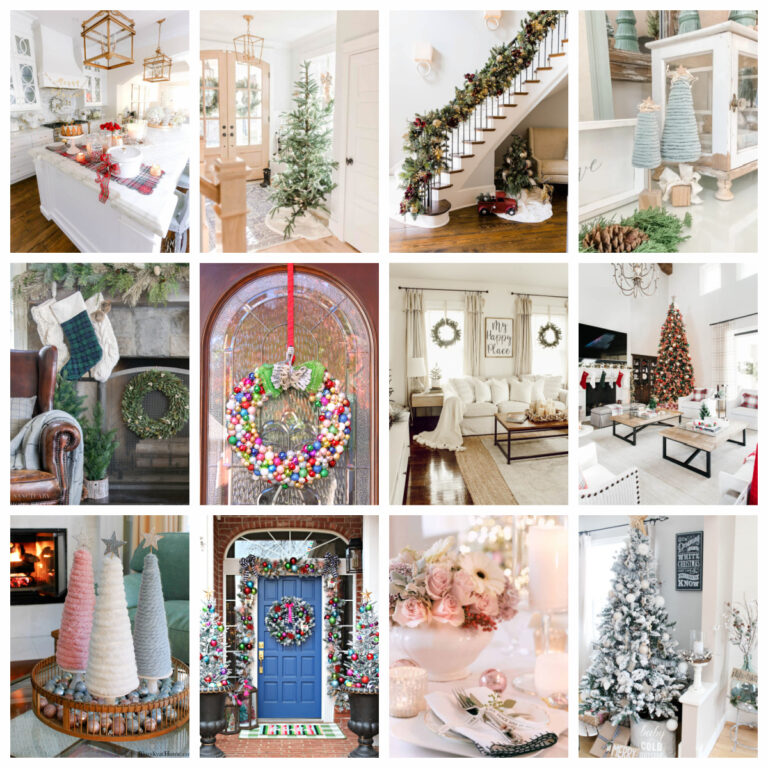
Speaking of Decorating
I’ve started a list of incredible Christmas decorations that I’m excited about. Hope you like these ideas.

I hope that these 5 steps to plan for your Christmas decorating will help you get started on this most wonderful time of the year.
Last year, when our kids and grandkids came for Thanksgiving, they were surprised to see a mix of Thanksgiving and some Christmas decorations. Before they left, they helped us set up our trees and organize all the Christmas decorations. It helped me immensely.
It will be the same this year. When the family arrives a few days before Thanksgiving, I plan to have our bedroom and bathroom done. The white tabletop tree in the sitting room will be done. I hope Sweet Shark will have his bar decorated.
I invite you to check out these Pinterest Boards and follow for Christmas Ideas.
Our Favorite
Christmas Pinterest Boards


If you would like to see more Christmas inspiration, check out the Merry & Bright Christmas Blog Hop, hosted by Kristy of At Home with Kristy. Our group of bloggers is sharing a variety of Christmas-themed ideas to help and enhance your Christmas season.

Kristy – At Home With Kristy – French Country Vintage Christmas Decorating Ideas
Crystal – Sweet Valley Acres – Elegant Winter Door Wreath
Kimberly – From Farmhouse to Florida – Shabby Chic-Inspired Christmas Tree
Cindy – Cloches and Lavender – Rusty Mod Podge Jingle Bells
Carol – Bluesky At Home – 5 Steps to Plan for Christmas Decorating
Rosemary – My Home and Travels – How to Set a Table without Christmas Dishes
Rachel – Tea and Forget Me Nots – How to Dehydrate Orange Slices
Alicia – Design of Your Life – DIY Pottery Barn Dupe Demi-Village Wreath
Sherry – Houzewize – Best Christmas Mantel Decor
Mary Anne – House of Mar – How to Host a Fun Christmas Luncheon


The mantle photo pulled me in, I stayed for the tips! Featuring you at Wednesdays in the Studio!
All great ideas – so if I can just make myself do it. As I’ve downsized and trying to do less is more, I do get rid of several things a year.
Great tips for making Christmas decorating a lot easier! Thanks for sharing them! It was fun hopping with you!
Great tips Carol! Your decorations are so colorful and festive! Love your pictures!
Great tips, Carol! Your pictures are so beautiful! Your white tree in your Master Bedroom is lovely! As our Canadian Thanksgiving is in early October, we start our decorating on November 1st. We just love Christmas and I love to decorate early so that we can enjoy our Christmas decor for a long time. It always takes a few days but when it’s done, it always looks so beautiful. Just love all the twinkling lights and candles in the evening. Christmas is my very favorite time of the year.
Thank you for all of the great Christmas tips! I love the fireplace and the staircase so beautiful!
Thank you Carol for such a thorough step by step process. I am a bit scattered so having these tips is really helpful. I love that your family helped you decorate before they left after Thanksgiving. That must have ended the visit so wonderfully and created such great memories for your kids and grandkids!
So many great ideas. Especially like the idea of decorating rooms near each other similarly. Easy to overlook but will make it much more cohesive.
Lovely photos. You have gotten me thinking of decorating earlier!
We never decorate early for Christmas. I never have a plan anymore—I have so much stuff to choose from, I just go about doing vignettes here and there. My favorite of your photos is the staircase…family and fun. We decorate for US not the blog. And, some years it is ALL OUT, and others simply favorite items and touches here and there. By the way, my security blocked three of your ads—because of safety. You might want to get with your ad-supplier and reel it back a bit to what you know is safe. I don’t know what they were, but three were blacked out with a warning.
Great ideas, Carol!! I love to use all plastic totes to store things, as well. Thanks for sharing your tips today!!