How to Make No-Sew Pillows with Dishtowels
Do you love having custom pillows, but you don’t think you can make them? Don’t have a sewing machine? I have the solution for you ~ make no-sew pillows with dishtowels.
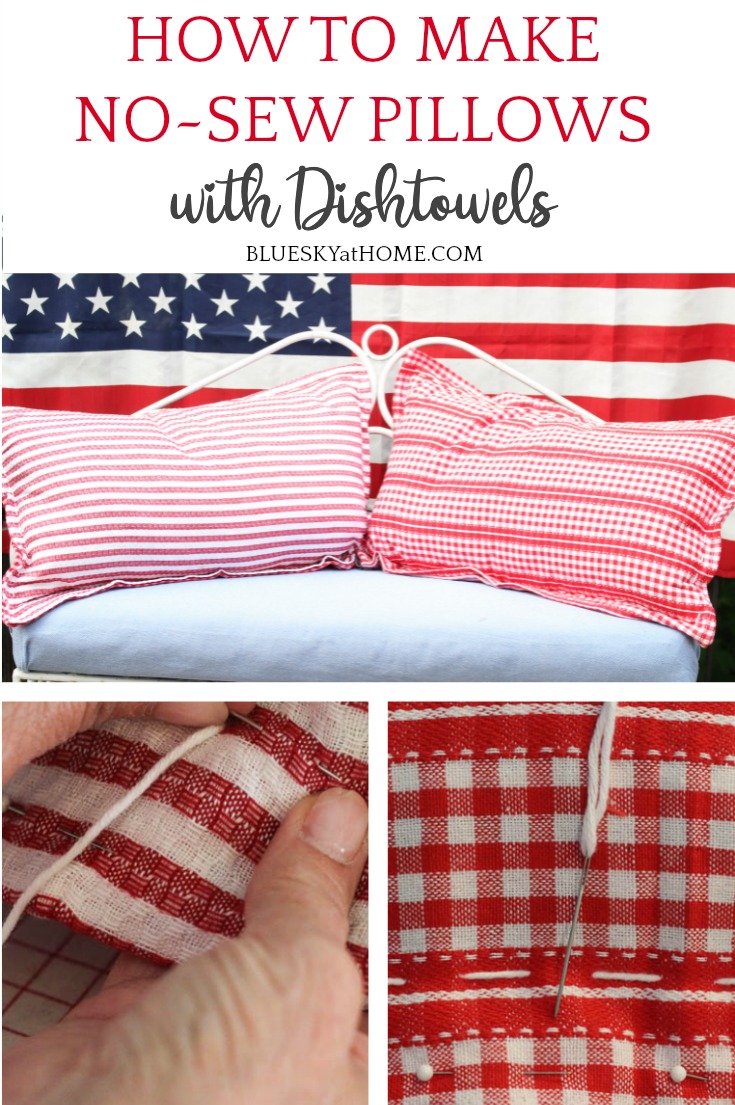
These no-sew pillows were one of the most commented items in my 4th of July vignette. If you are not a sewer or don’t own a sewing machine, but want the ease of making pillows for different occasions, holidays or seasons, then I have the easiest DIY no-sew pillow project for you. Got ten minutes?
Inspiration comes from so many places and the inspiration for these no-sew pillows with dishtowels came from 2 sets of red~themed dishtowels that I bought a year ago and never used. But I knew their time would come.
EASY NO~SEW PILLOWS MADE WITH DISHTOWELS
This post contains links for your convenience to products (or similar) used in this project. If you should purchase any product from this site, I may receive compensation, but you don’t pay a single penny more.
Remember, no sewing machine is required. No sewing skills. If you can thread a needle, you can make these no-sew pillows. I can’t draw a picture, but I can draw a straight line. That’s all the skill you need.
SUPPLIES FOR THE NO~SEW PILLOWS
- existing pillow or pillow form
- 2 dish towels for each pillow in your choice of color and pattern
- needed and thread
- scissors
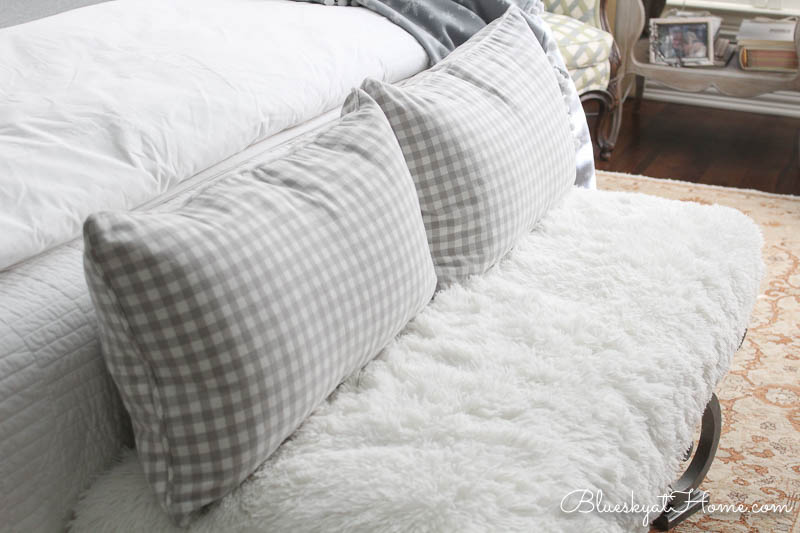
NOTE: For my no-sew pillows, I used 2 rectangle pillows that I bought at Home Goods back in January. They are 26 X 14 inches in grey and white gingham check. I used them in our bedroom as part of my winter white decor as backs on the bench at the foot of the bed. Although they are zippered ~ always a plus when buying pillows ~ I decided to leave the covers on for this project. This set of 2 pillow forms would be a good option.
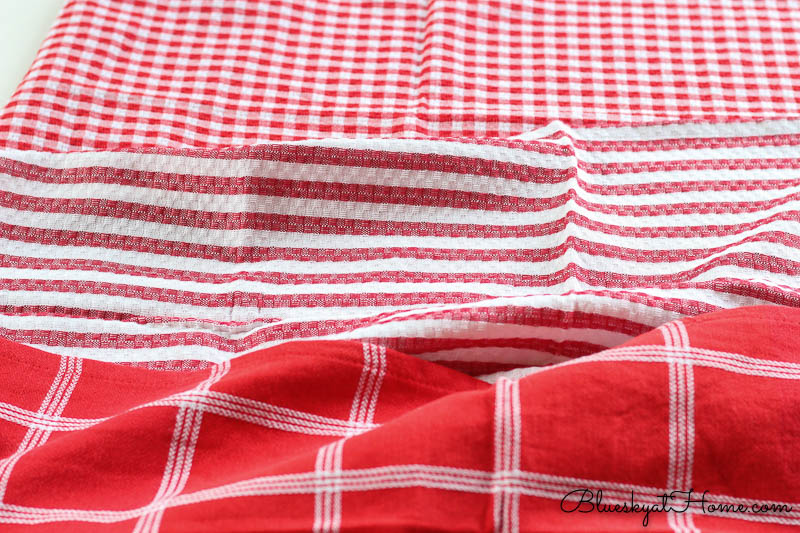
Last summer I bought 2 sets of dish towels at Home Goods in red and white; the patterns were checks of different sizes, red plaid, and red stripes. If you wanted to make a similar style for 4th of July, here are some good choices; set of 6 red check with a diamond edge; set of 2 large red checks; or this set of 2 checks and 2 solids. All options are big enough to make pillows similar to mine.
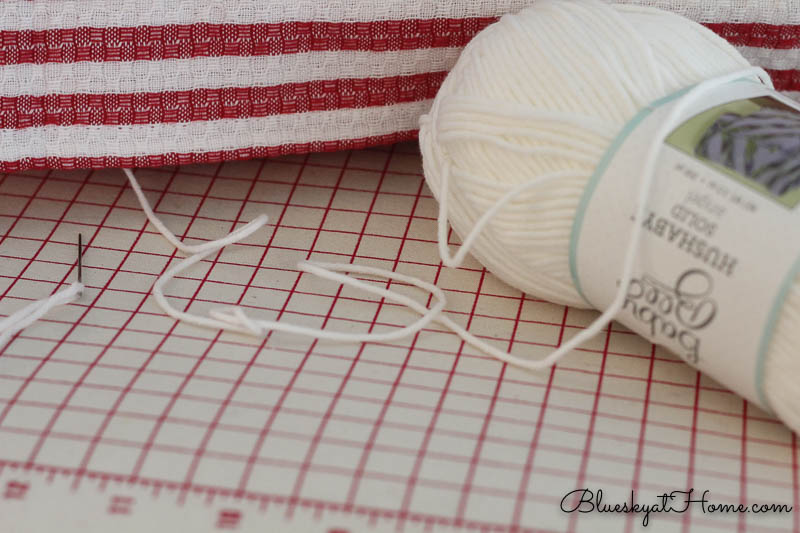
- yarn in your color of choice or heavy thread ~ I had ordered a skein of white baby yarn a couple of months ago to try my hand at making pom~poms.
- large needle with an eye big enough for the yarn to go through ~ already had several
- straight pins
Since dish towels are rectangular, a rectangle shape pillow form is the easiest to work with. Since dish towels are already hemmed around the edges, that is another reason that they are great to use in this project.
*This project works best with dish towels that have a loose weave so that the yarn will go through the fabric.
MAKING YOUR NO~SEW PILLOWS
This will seem like a lot of steps, but I like to break the process down as much as possible.
Step 1 ~ If your dish towels have creases in the folds, iron the creases out.
NOTE: These dish towels didn’t require that step.
Step 2 ~ Lay 1 dishtowel on your work surface, wrong side up, and then set your pillow form on top. Center the pillow form in the center from top to bottom and left to right.
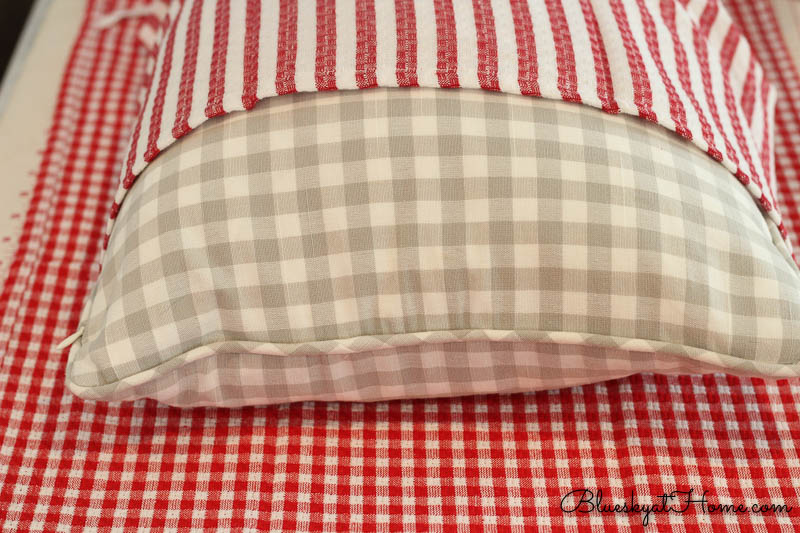
Step 3 ~ Lay the 2nd dishtowel on top of the pillow form, right side up, and line up the edges with the bottom dish towel.
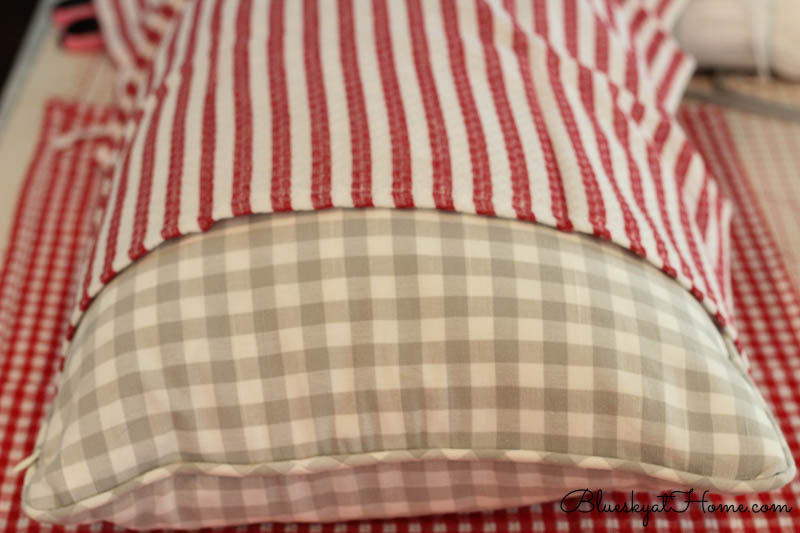
Step 4 ~ Pin the 4 corners of the dish towel together.
Step 5 ~ Starting on 1 side of the pillow form, hold the 2 dishtowels together and start pinning in a running pattern about 1 inch from the edge of the dishtowel. Continue all around the pillow form until the 2 dishtowels are pinned together. The pillow form should be snug inside.
Oops ~ didn’t take a picture of that step
Step 6 ~ Thread the yard through the needle and give yourself a lot of excess yarn. I didn’t even cut the yarn until I was through sewing all around the pillow.
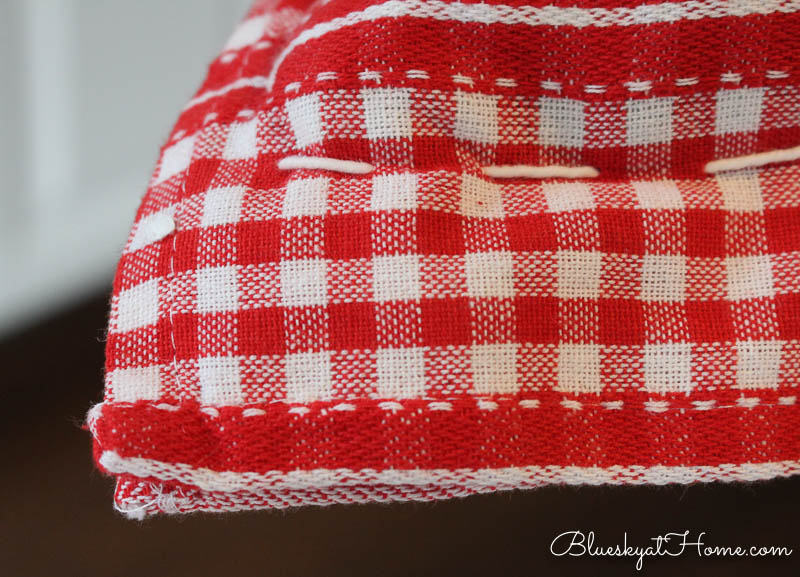
Step 7 ~ Using a long stitch, about 1/2~inch, sew as close to the pillow form as possible, pulling the yarn through the dish towel. My pillow had about a 2~inch border of dishtowel on the long ends and a 1~inch border on the short ends.
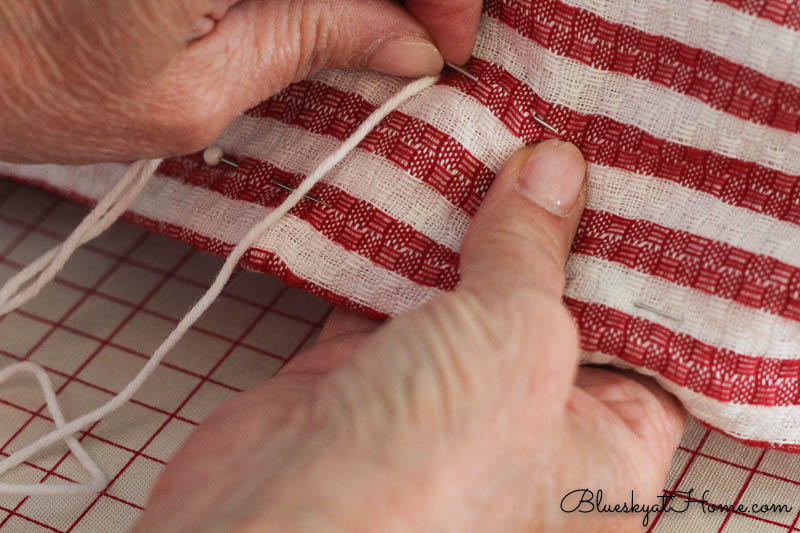
You want the yarn to show, as it will be part of the design of the pillow. Remove your straight pins.
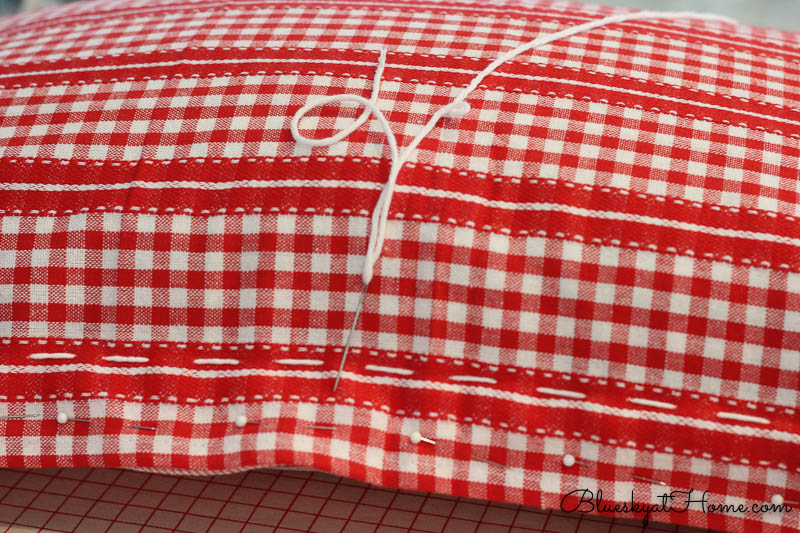
Step 8 ~ When you have sewn around the pillow and are back to where you started, cut off the yarn. Give yourself a few inches to tie a neat double knot. Tie your knot on the side that will be the back of your pillows.
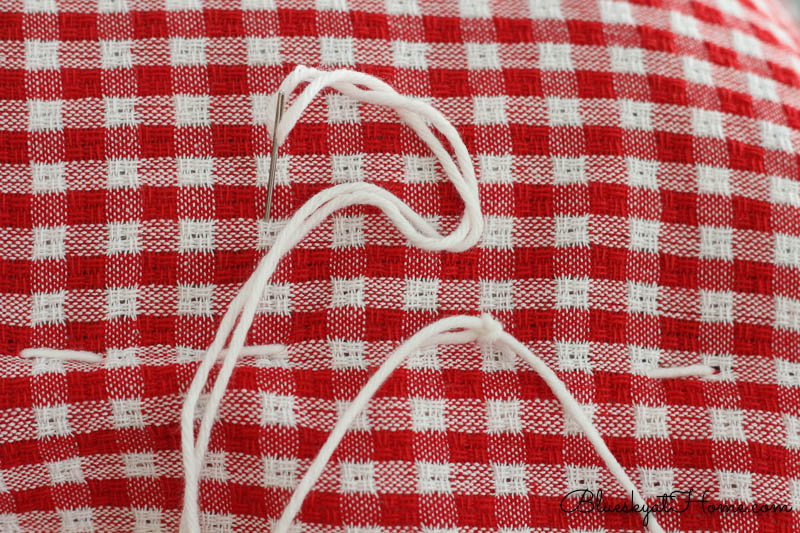
NOTE: After I finished, I realized that I could have made a bow to show on the front of the pillow. If you want to do this, I would start and finish your stitching in the center of one long side of the pillow.
This pillow will have an open flange on all sides. A flanged border is a decorative edging that runs around edges of a pillow. Normally, a flange has a closed seam and gives a pillow a more formal and finished look, but this is a casual pillow so it’s O.K. to have the flange open.
DISPLAY YOUR NO~SEW PILLOWS
I used my 2 no-sew pillow covers with dishtowels in my 4th of July Pinterest~Inspired Challenge. This bench needs pillows on the back to make it more comfortable. I plan to use them all summer outdoors and take them inside when it’s going to rain ~ which isn’t often this time of year.
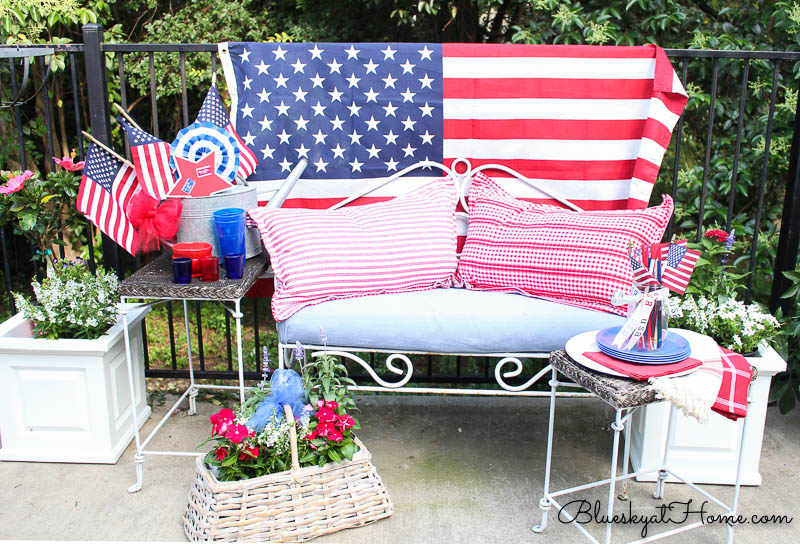
When summer is over, I will just pull out the yarn and fold up dishtowels until next summer. Then I’ll use the grey and white check pillows again. This method could easily be used for pillows that you plan to use for a longer time in your home decor.
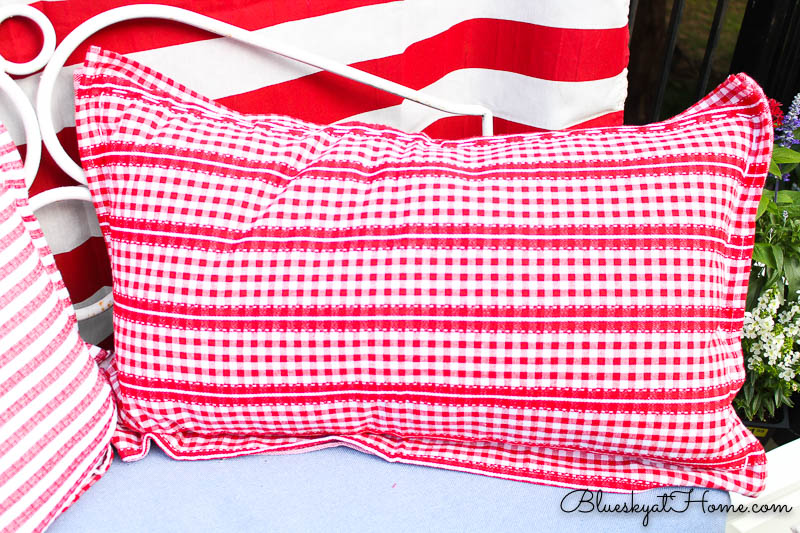
Instead of creating a flange edge, fold the edges of the dishtowel in to fit up close to the pillow form. Iron a crease on the fold. Then follow the same steps, but this time sew the yarn close to the folded edge of the dishtowel. You will have a folded edge as the border.
I made these 2 no~sew pillows with dishtowels in the time it took to watch an episode of Love It or List It. (Hillary won and the couple loved it.)
HERE ARE SOME MORE IDEAS
If you want some other easy pillow ideas, try these:
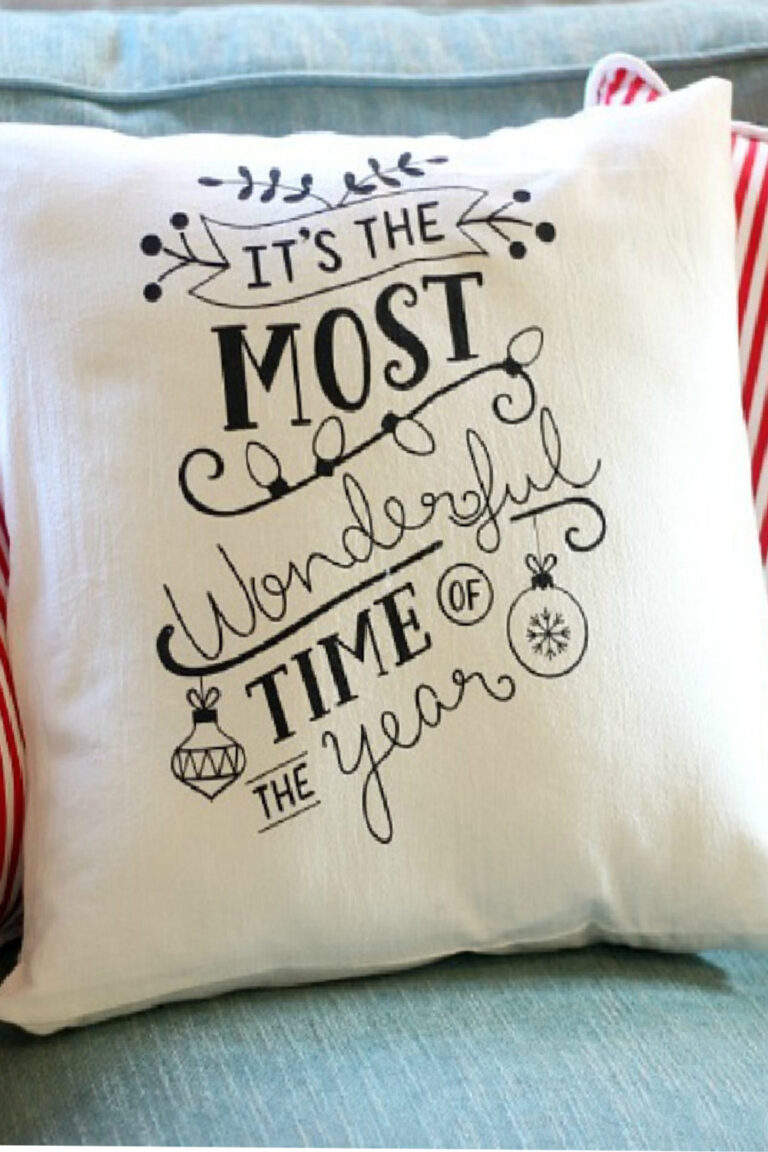
Here’s another type of easy no~sew pillow from a couple of Christmases ago.
A monogram dishtowel pillow from a DIY challenge ~ Sweet Shark still uses this pillow.
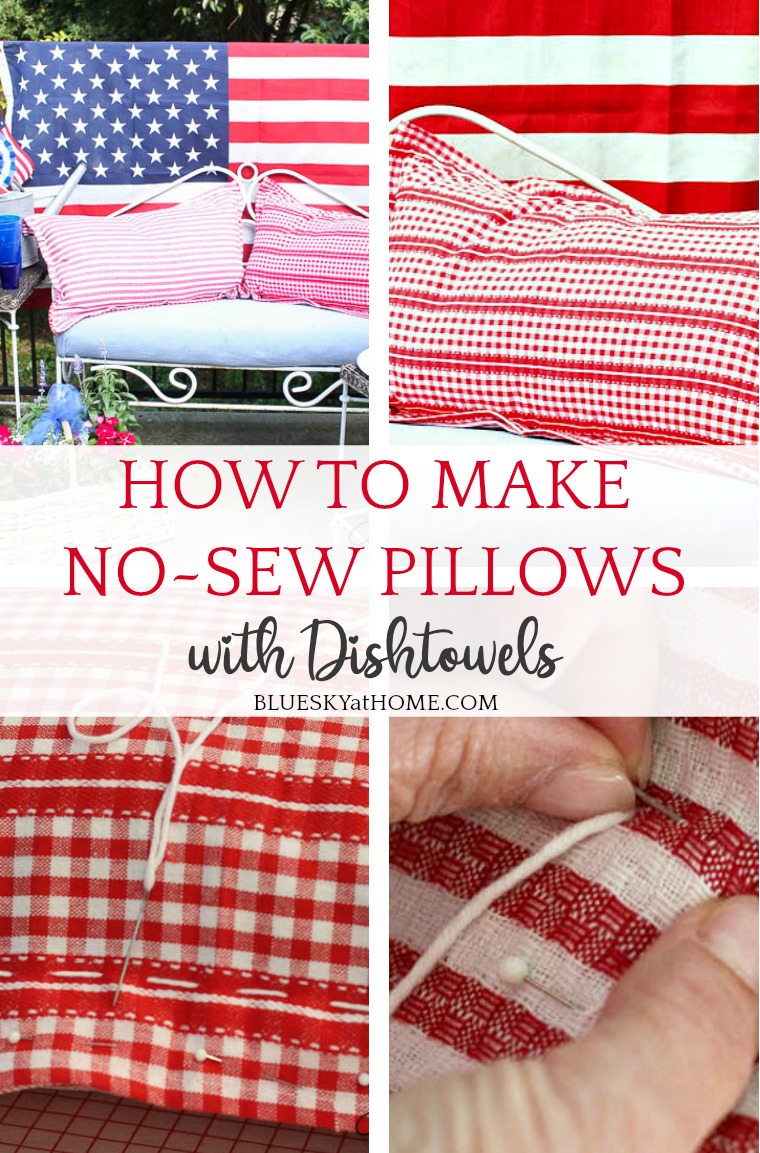
Isn’t this the easiest, cutest no~sew pillow project ever? For any season and any holiday. Well, then you gotta save it. PIN it so you don’t forget.





I, too, consider hand sewing sewing. BUT I like the idea of these a heckuva lot better than using a hot glue gun. Hot glued pillows would NEVER have survived a pillow fight when my kids were little. Although, I’m not much of a sewer, I like making them with the back flaps so I can switch pillows out. I love using placemats with plain material for the backs; I can capitalize on old hems if I am using something like a sheet or selvage edges so the sewing is minimal and simple!
I am in love with these darling dish towel pillows! I need to whip up a few for the 4th of July to go on my porch! Love the hand stitching detail too! So cute! Please come and link up to my Linky Party- Centerpiece Wednesday on my blog and share your post with us. The party starts at 7pm tonight! 🙂 Hope to see you over there. https://karinskottage.com/2020/06/centerpiece-wednesday-linky-party-2.html
Karin
Absolutely brilliant – and I love the red
Robyn, thank you. I don’t know that I’m brilliant, but I do love being creative.
Love these pillows! I think the yarn stitch adds to their cuteness. Much better than lugging out the sewing machine!
Hi Carol,
Sharing on the Weekend Edit. Love it! laura
And I thought I was the queen of no-sew pillows! Love yours, and all your tips. Thanks for sharing at Vintage Charm! xo Kathleen
Kathleen, we can be queens together. there’s room for all
I can sew but this is a darling idea! I am going to consider it as a hostess gift for our daughter on the 4th!
Carol! LOL – I consider any sort of stitching a sewing project! I guess some might think it’s only if you use a machine. You crack me up! Love how the pillows turned out. 😉