How to Make Faux Ceramic Tiles from Cardboard for Fall
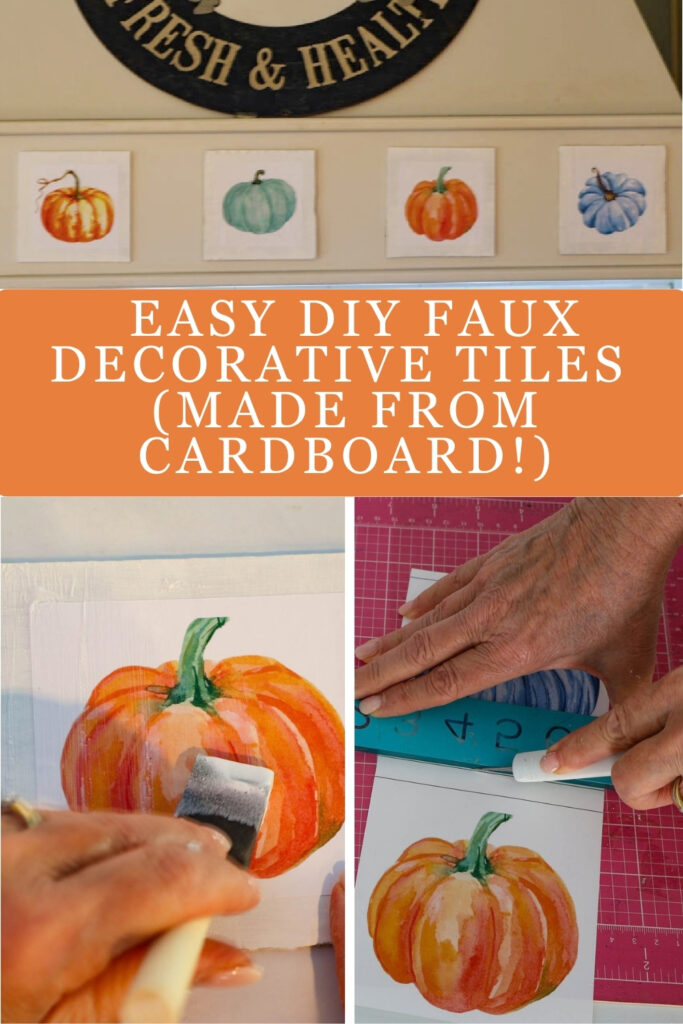
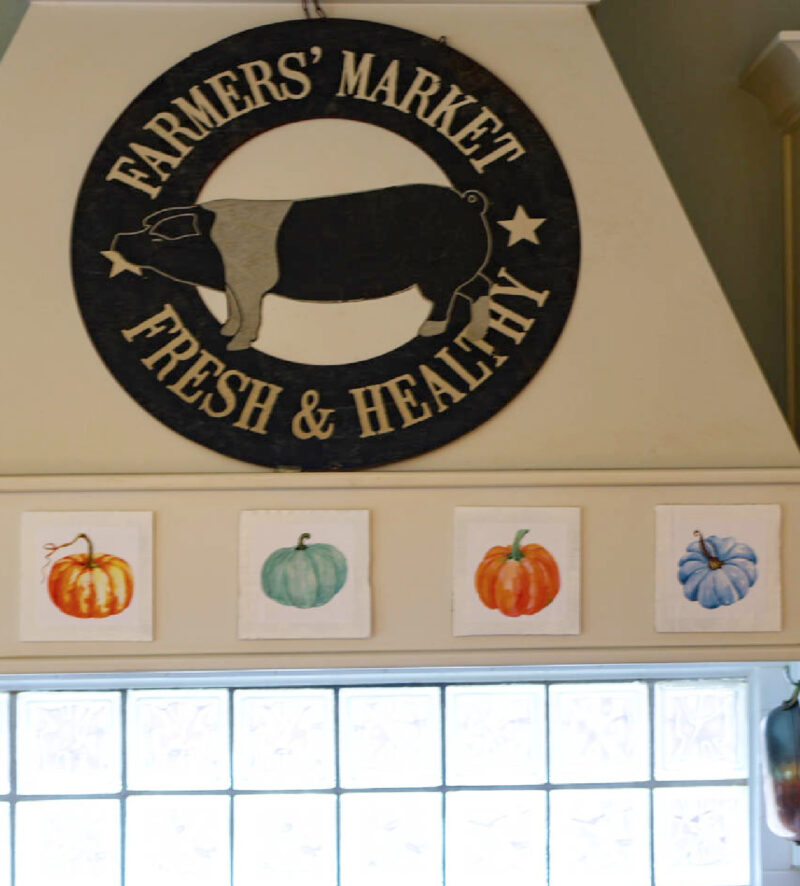
Have you ever used tiles as a design element in your home? I’m not talking about backsplash or bathroom tiles. I mean decorative tiles that serve no practical purpose but act like small pieces of art. I just made a set for our stovetop hood to add some fall color and style, and you won’t believe what I made them from: scrap cardboard! Here’s how to make faux ceramic tiles that bring a touch of the season to your home, using supplies you probably already have.
One decorative detail in our kitchen that I’ve loved over the years is the row of tiles across our stovetop hood. I have three different sets, each with its own personality, design, and seasonal style. It’s a small touch that adds whimsy to our kitchen, and guests always comment on it. But I wanted more.
Step-by-Step Instructions for Faux Ceramic Tiles
The Story Behind Our Decorative Tiles
I had never thought of using tiles as a decorative accessory. Then, on a trip to Martha’s Vineyard a year after we moved into our current home, I spotted some Italian tiles in a lovely shop and knew they would add color and interest to our kitchen.
I bought three, but when we got home, I realized we needed a few more. I called the shop, described the tiles I had bought, and the manager told me which ones she still had. A week later, five tiles were lined up on the ledge of our stovetop hood.
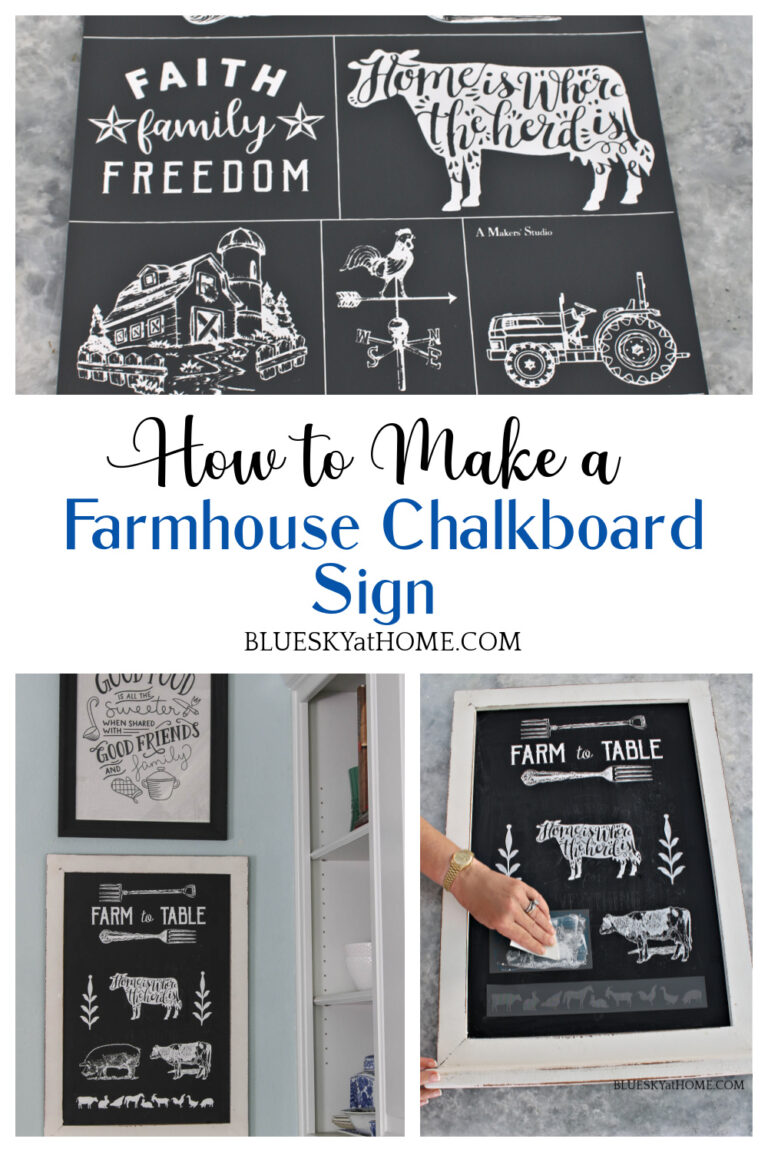
A few years later, I thought it would be fun to switch out the tiles with the seasons. I bought plain off-white tiles at Lowe’s and used stencils and Chalk paste to make cute farmhouse animal tiles.
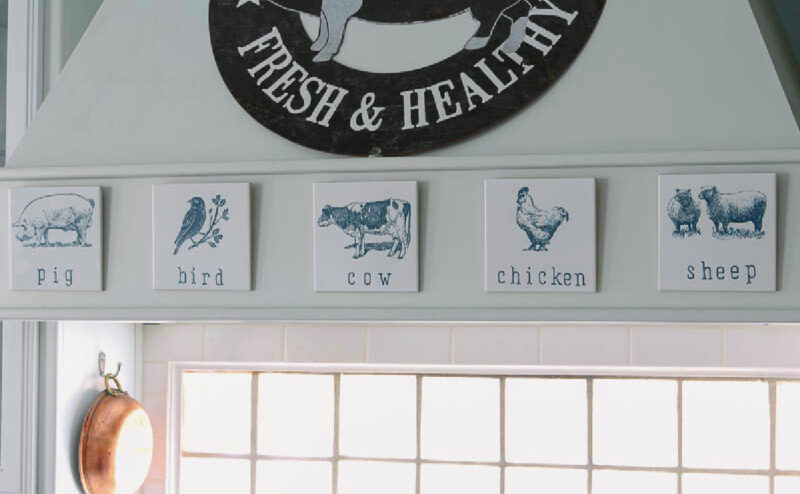
Then, at Christmas, I made a set of Christmas tiles. What a fun addition they were to our kitchen!
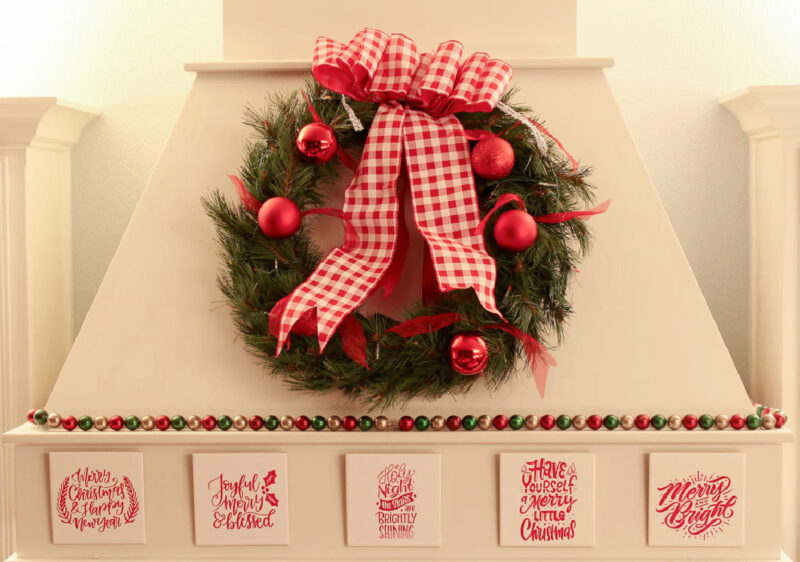
This year, I wanted fall tiles. The only problem? I didn’t have time for a trip to Lowe’s, and I didn’t have any chalk paste or stencils. I didn’t want to spend money on new supplies, so I asked myself what else I could use.
Did the tiles have to be real? Or could they just look like tiles? That’s when the idea for faux fall tiles came to me.
Supplies to Make Faux Tiles
This post contains affiliate links to products used to create this project. If you should order any item from this site, I may receive compensation, but you do not pay a penny more. Your purchase is greatly appreciated as it helps support the continued publication of this site.
I had every supply on hand, which is always a great thing when you are starting a new project. Here’s what I used; don’t let the first supply throw you.
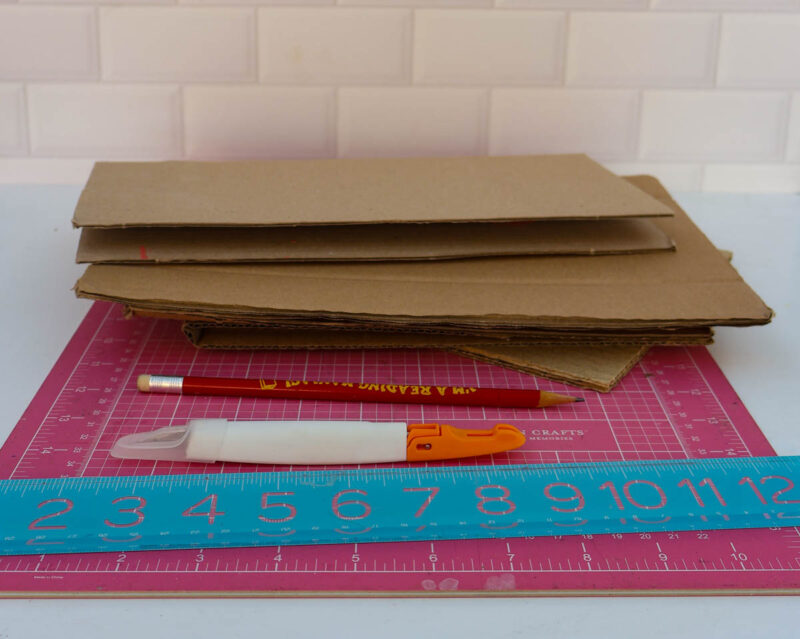
- scrap cardboard – I’ve always kept a stack of cardboard from packaging, thinking I’d use it someday. Today was the day.
- pencil
- ruler
- cutting mat
- X-Acto knife – for cutting the cardboard; super easy with this utility knife
- craft scissors – for any trimming of the cardboard
- white acrylic paint – I had a jar of DecoArt bright white paint on hand. The jar says “eggshell finish – all-on-one “enamel. It sounded like a good option since I hoped it would give a finish somewhat like ceramic tile.
- sponge brush
- small brush for the sides of the tiles
- paper towels – for cleanup
- wax paper – to place your cardboard on while painting
- plastic food-grade gloves, optional
- Gloss Mod Podge and sponge brush
- double-sided mounting tape
- heavy-weight paper and printer or printer location
How to Make Faux Decorative Tiles
This process is really easy. Although I made the tiles over two days, each step is actually fast and doesn’t take long.
1. Decide on the size and number of tiles. My Italian tiles are 5.75 x 5.75 inches, so I made my fall tiles the same size. How many you need depends on your space. My tiles hang in a single row above the stovetop hood ledge, which fits five. For a grid design, you might want four or six.
2. Choose your cardboard. Pick the best pieces: smooth, with no creases or folds. Mine was about 1/16 inch thick.
3. Mark your tiles. Place the cardboard on the cutting mat. Use your pencil and ruler to draw the outline of each tile.
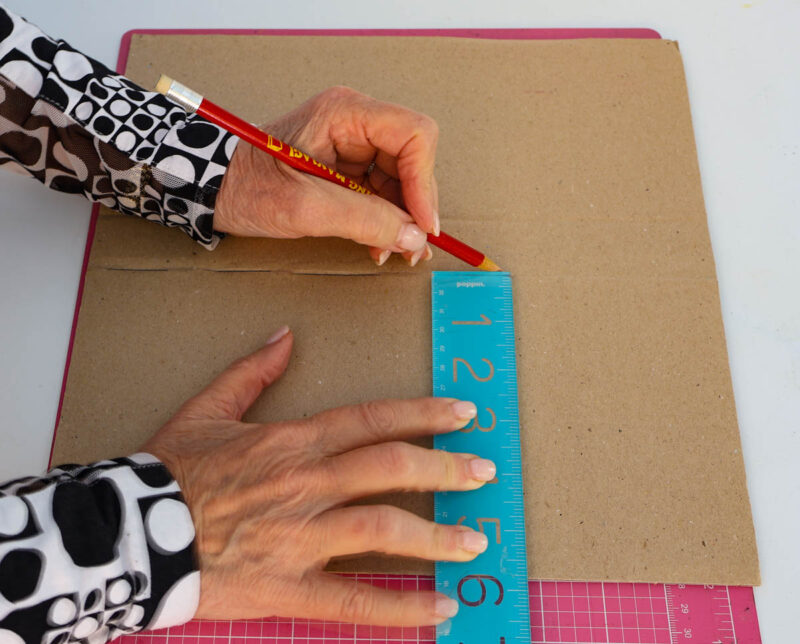
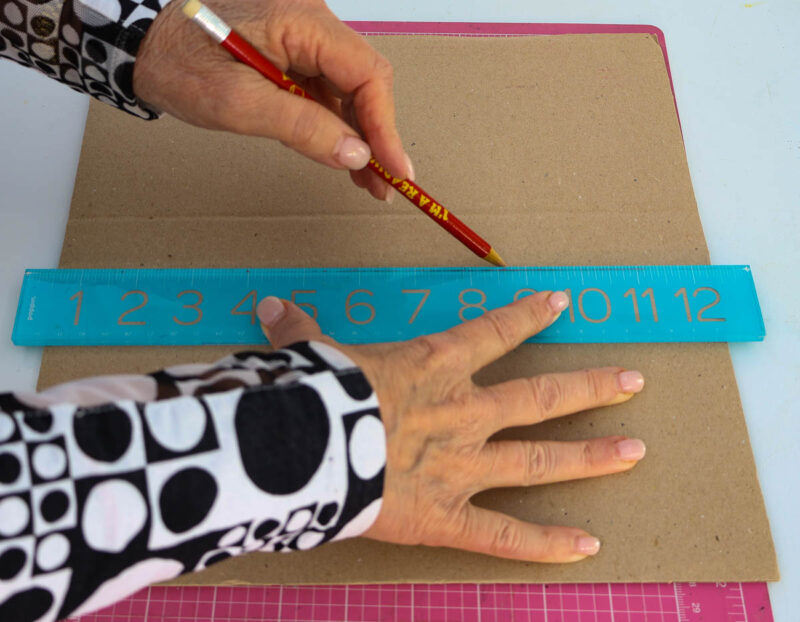
4. Cut the tiles. Line your ruler up on a pencil line, hold the X-Acto knife against the ruler, and press down firmly as you cut. Mine cut easily, but you may need to go over the line a second time. You’ll know you’ve cut all the way through when the cardboard bends easily. Repeat on all four sides, then cut the rest of your tiles.
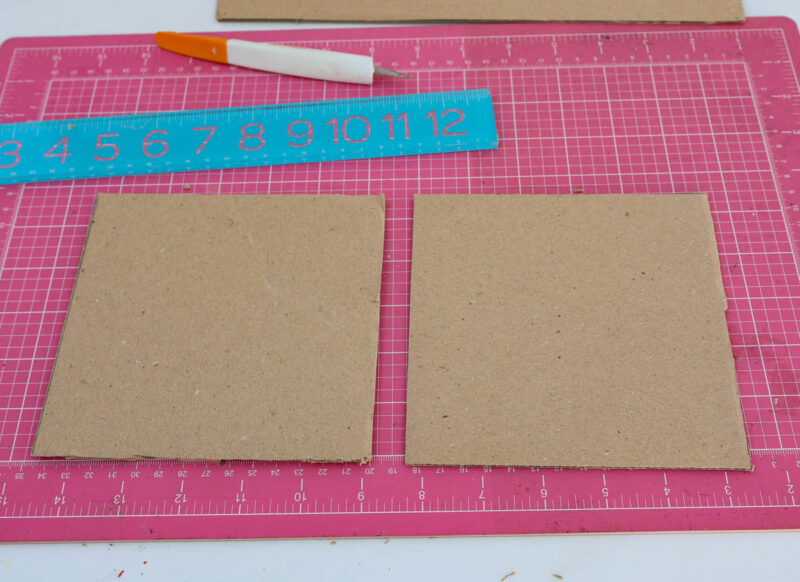
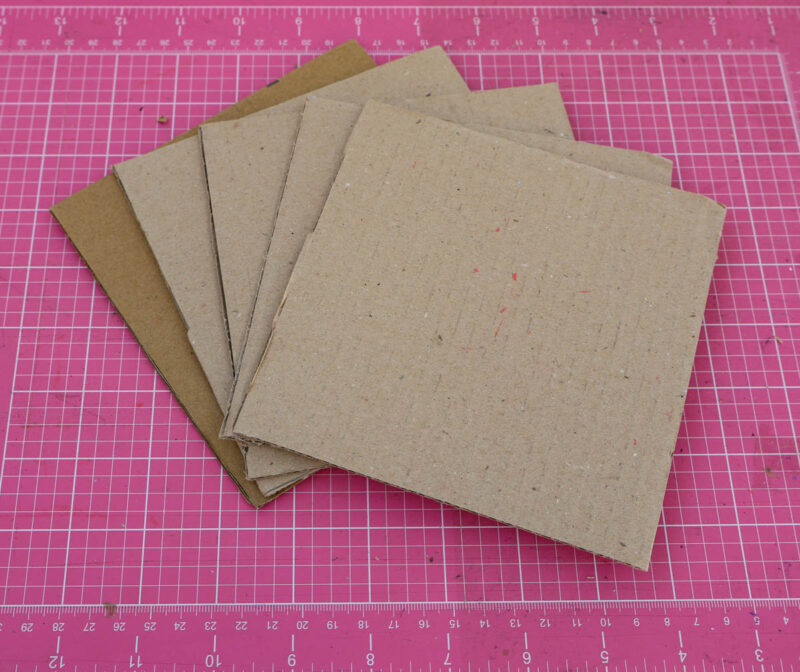
Painting Your Faux Tiles
You can leave the cardboard unpainted if you want a brown background. I wanted my tiles to look like ceramic, so I painted them.
5. Prep your surface. Remove the cutting mat and cover your work surface with wax paper.
6. Paint the tiles. Shake or stir your paint. Brush it smoothly across one side of each tile, covering the entire surface.
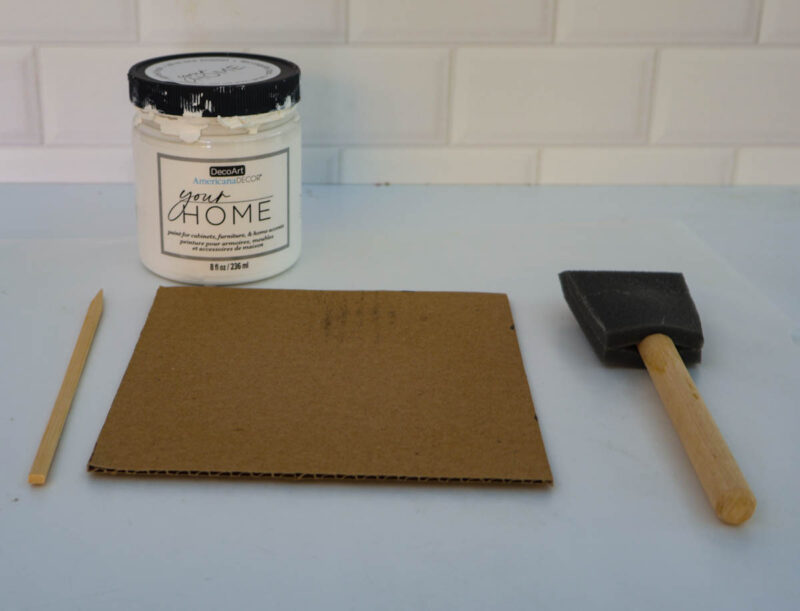
TIP: I wear plastic food gloves when I paint to keep my hands clean.
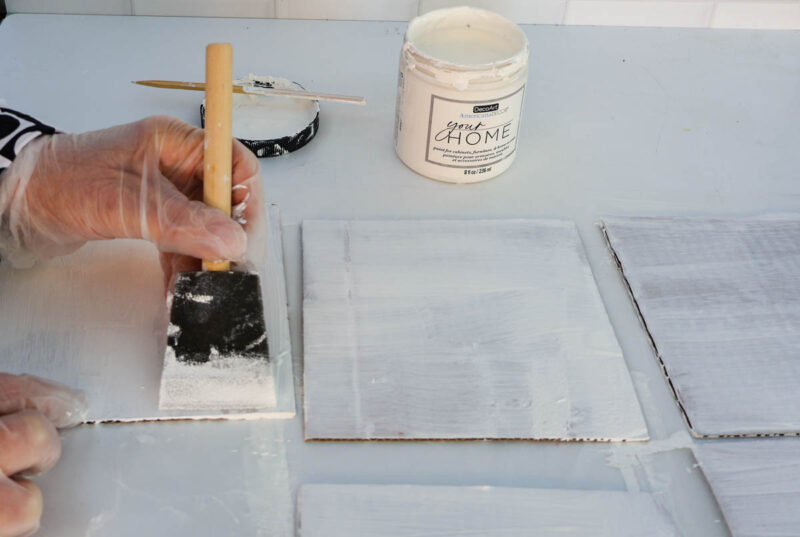
TIP: Paint the edges, too, so no brown cardboard shows when you display the tiles. Let the paint dry completely. I used a small brush to dab the paint into the sides of the tiles.
7. Add more coats as needed. I applied three coats before I was happy with the coverage, letting each coat dry before adding the next.
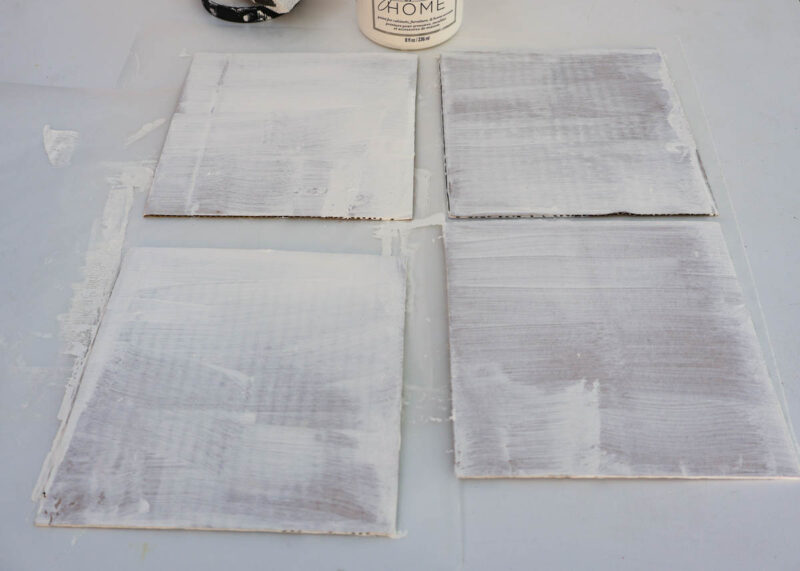
While the paint dries, you can make your pumpkin images.
How to Make Decorative Pumpkin Images Using Canva
On my ceramic tiles, I used stencils and Chalk Paste to add the designs, and I still recommend that method. For these faux tiles, I tried something completely different: pumpkin images made in Canva.
Over the last two years, I’ve become much more comfortable using Canva for all kinds of things, including Pinterest pins, gift tags, printable art, Etsy graphics, and newsletter graphics. This time, I used it for a DIY project.
If you don’t use Canva, you can make images in PicMonkey or ChatGPT. If you have a Cricut machine, Design Space is another great option.
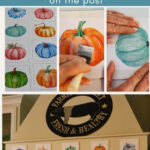
I have a Canva Pro account. I searched for “watercolor style pumpkins” in Elements and found hundreds of options. I picked eight that I loved, and changed the colors on a few where that was an option. I sized each square to 4.75 X 4.75 inches (and used the outline feature so it would be easy to cut out). The squares would leave about a 1/2-inch border on the tile. The pumpkins were mostly 3.5 X 3.5 inches.
I’m sharing my pumpkin images with you! There are four pages with two pumpkins on each.
CLICK HERE TO GET YOUR PUMPKIN IMAGES: IMAGE 1, IMAGE 2, IMAGE 3, IMAGE 4

8. Cut out the images. Place your cutting mat on your work surface. For each page, use your ruler and X-Acto knife to cut out the pumpkin squares. You’re only cutting straight lines.
TIP: Always cut from the inside of the printed border line. (I added that in Canva.) It’s easier to see the line that way.
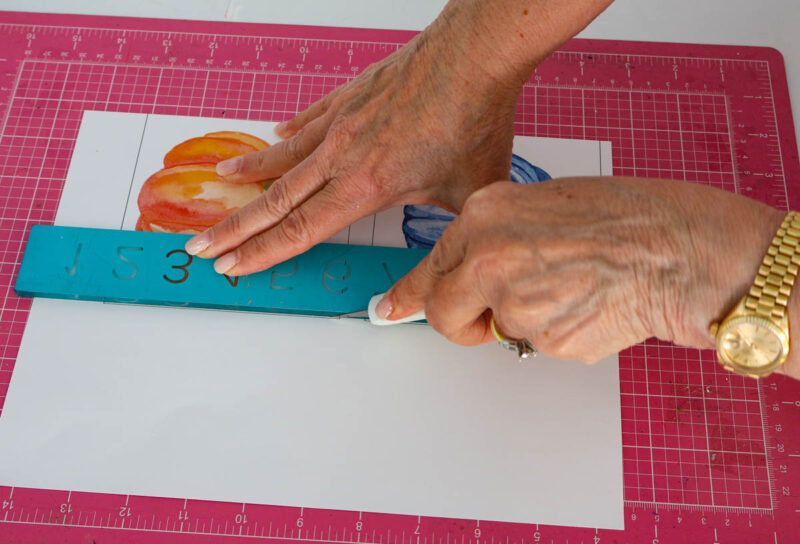
NOTE: I used to use a rotary paper cutter, but now I prefer the X-Acto knife. You have more control, and it holds the paper more securely.
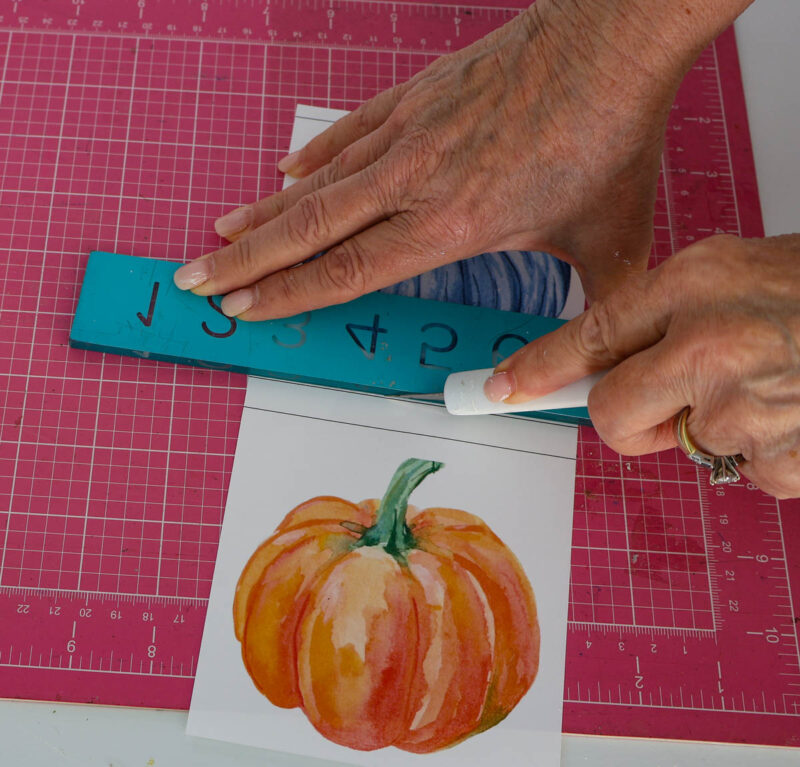
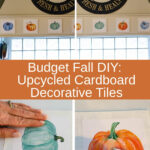
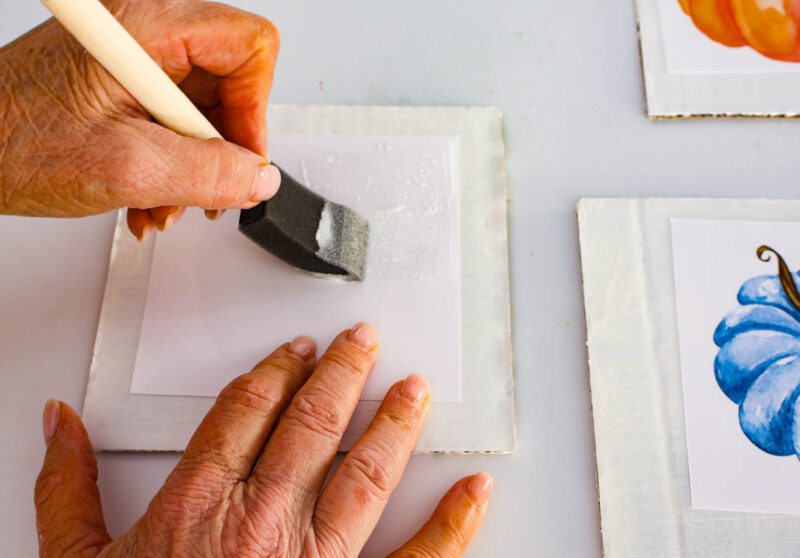
9. Glue the images to the tiles. Brush a thin coat of Mod Podge on the back of the paper pumpkin image. Then turn the image over, center it on the tile and smooth it to the edges. You will have about a 1/2-inch border around your image. Allow them to dry.
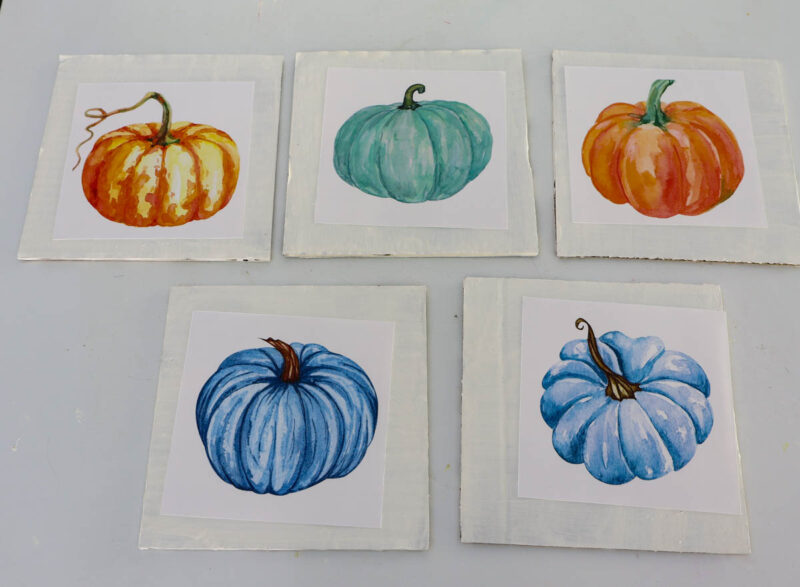
NOTE: I chose the two blue pumpkins, the two orange pumpkins, and one green pumpkin.
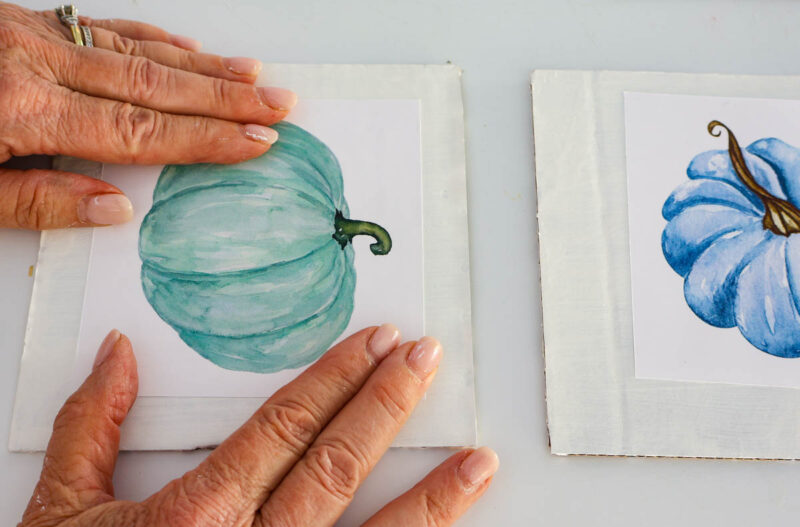
10. Add a top coat. Brush a thin layer of Gloss Mod Podge over the image and the whole tile. This seals the paper and gives it a glossy, ceramic-like shine. Let it dry completely. The white Mod-Podge will dry clear and shiny.
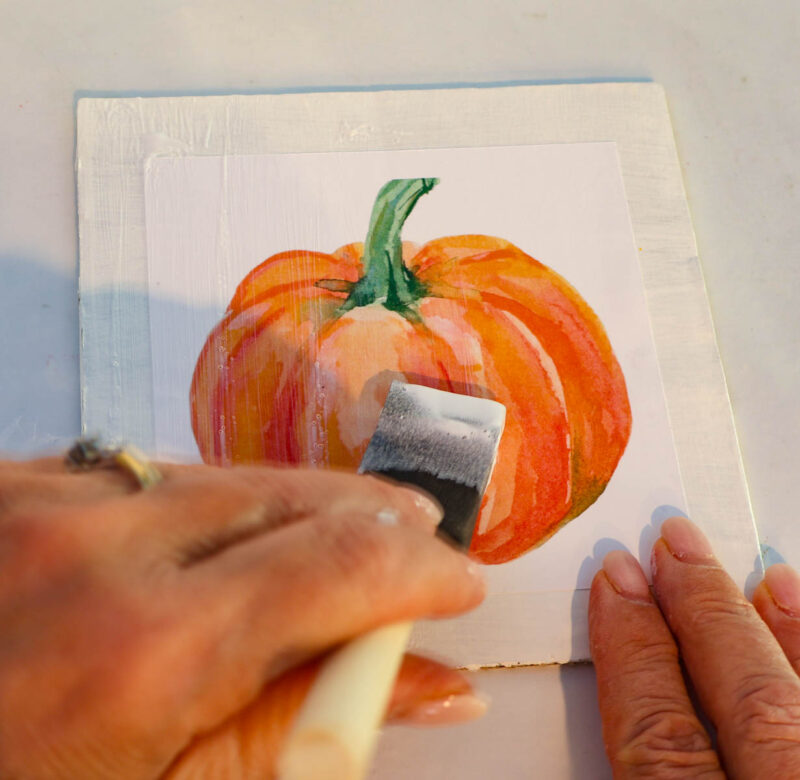
NOTE: Since our tiles hang above the stovetop, the extra coat of Mod Podge will also protect them from grease and smoke.
11. Add mounting tape. Attach a piece of removable double-sided mounting tape to the back of each tile.
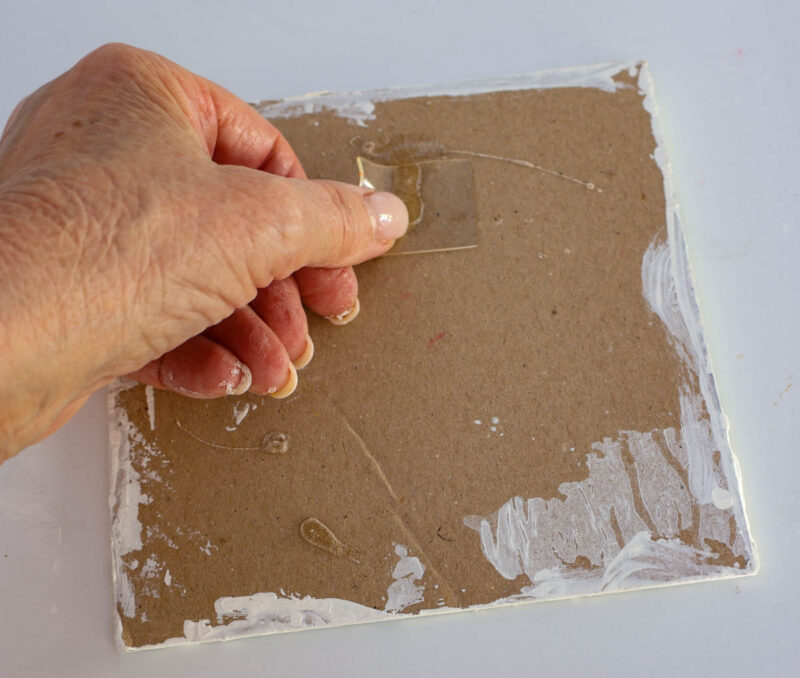
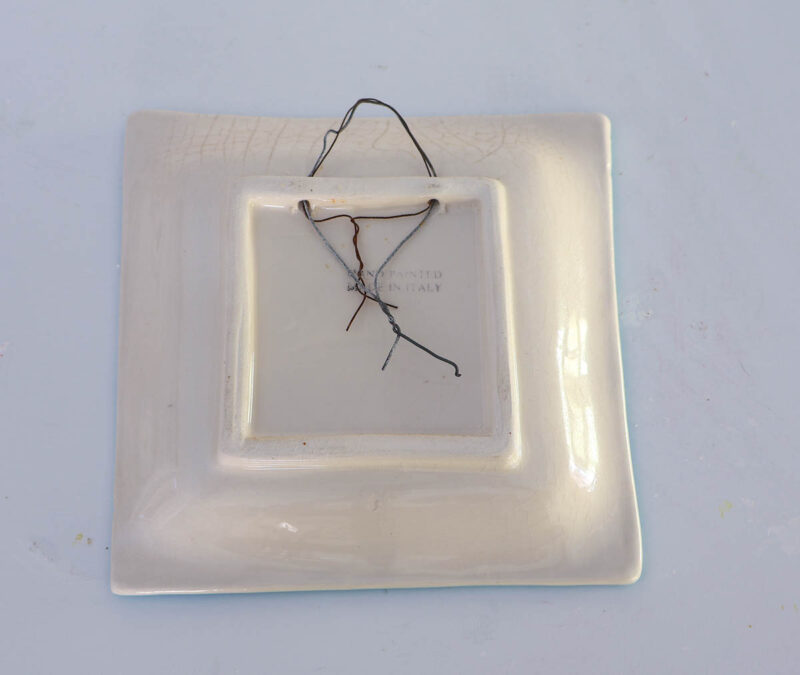
Our first set of tiles had a wire for hanging. When we bought them, we added small nails to hang the tiles. For the farmhouse animals and Christmas tiles, I glued a D-hanger on the back of the tiles. For these fall faux tiles, I removed the nails. The tiles will cover the small hole.
Displaying Your Decorative Fall Faux Tiles
The last step is to add the tiles to your stovetop hood. Now we can enjoy them through fall.
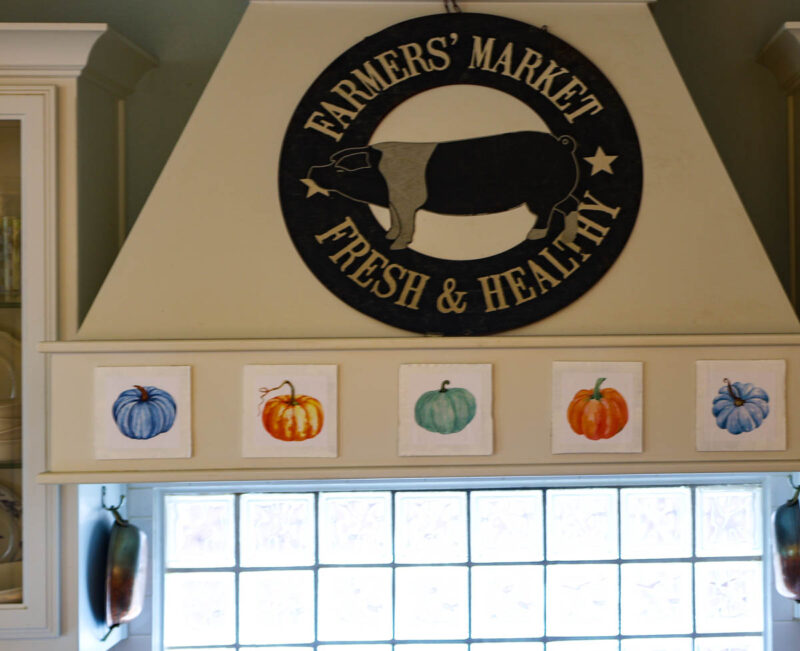
You’re done! You’ve made a faux decorative tile for practically nothing. It will add a fall vibe, a whimsical feel, and a nice focal point to your home for the season.
These turned out better than I thought. From our living room, you can’t tell that they are cardboard tiles. You can tell when you are up close. But I won’t tell if you won’t tell.
A QUICK SAFETY NOTE: Since these are made of cardboard and paper, keep them away from direct heat and open flames. Our tiles sit on the hood ledge, well above the burners.
HOW TO STORE THE TILES: When the season ends, gently remove the mounting tape and store the tiles flat between sheets of wax or tissue paper so they’ll be ready for next fall.
More Ways to Use Your Faux Tiles
Not hanging them on a stovetop hood? There are other ways to display them:
- Prop them on small plate stands on a bookshelf
- Tuck them into a tiered tray
- Layer them on a mantel or a fall vignette
- Frame and group them as a small art gallery
If you want an easy fall DIY project for your living space (or want the kids to make something artistic for their rooms), this is it.
Faux Fall Tiles – Questions Answered
Use flat, smooth cardboard with no creases, folds, or dents. Cardboard from packaging boxes, about 1/16 inch thick, cuts easily with an X-Acto knife and still holds its shape. Thicker corrugated shipping boxes work too, but they’re harder to cut cleanly, and the ridges may show through the paint.
Mine did not warp. Thin coats or paint are the key. Let each coat dry completely before adding the next, and paint on wax paper so the tiles don’t stick. If a tile curls slightly as it dries, set a heavy book on it for a few hours to flatten it.
I don’t recommend it. Regular printer paper isn’t heavy enough. Colors don’t show up as well as on heavier paper. I would use heavier printer paper (60-pound), laser (32-pound is what FedEx recommends) or cardstock for the best results.
Not at all. You can use Canva’s free version. You can use PicMonkey, ChatGPT, or Cricut Design Space. You can also skip the computer and use stencils, stickers, rub-on transfers, or cut-outs from scrapbook paper or wrapping paper.
Since they’re made of cardboard and paper, keep them away from direct heat and open flames. Our tiles hang above the stovetop hood ledge, well above the burners. If your display spot gets hot, choose a shelf or another area instead.
Gently remove them if they are attached to a wall or cabinet, peel off the mounting tape, and store them flat between sheets of wax paper in a box or folder. Because they’re so light and thin, a whole set takes up almost no space.
Absolutely! Swap the pumpkins for snowflakes, Christmas trees, spring florals, or Fourth of July stars. You can make a set for every season and switch them out as the year goes on.
Here are some other fall DIY projects that are easy to make and budget-friendly:
- How to Style a Fall Mantel with DIY Fall Leaves
- Easy DIY Fall Decoupage Chargers
- Easy DIY Air-Dry Clay Leaf Coasters
Check out my Pinterest Boards for more ideas: Fall DIY Projects, Pumpkin DIY Projects, and Stencil Projects.