How to Decorate a Cutting Board: Fun and Easy Project
Do you love wooden cutting boards for display in your kitchen? Would you like to turn a cutting board into a kitchen decorative accessory? I can show you how to decorate a cutting board that is fun, easy and cheap.
If you have an old cutting board or one you picked up at the craft store, then this project is a great way to reuse it as kitchen decor.
A wooden cutting board is a perfect base for creating small simple art for your kitchen wall or kitchen counter.
All you need for this wooden board DIY is some paint, stencils and a piece of twine.

Fun and Easy Cutting Board Project
For this cutting board project, I’m not suggesting that you use true vintage cutting boards.
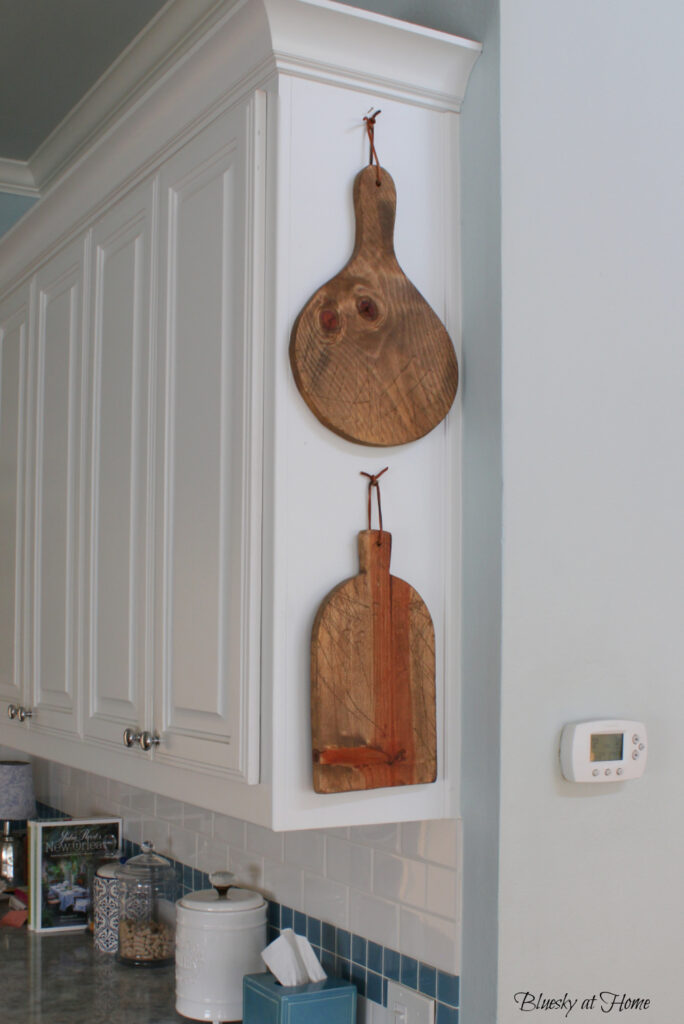
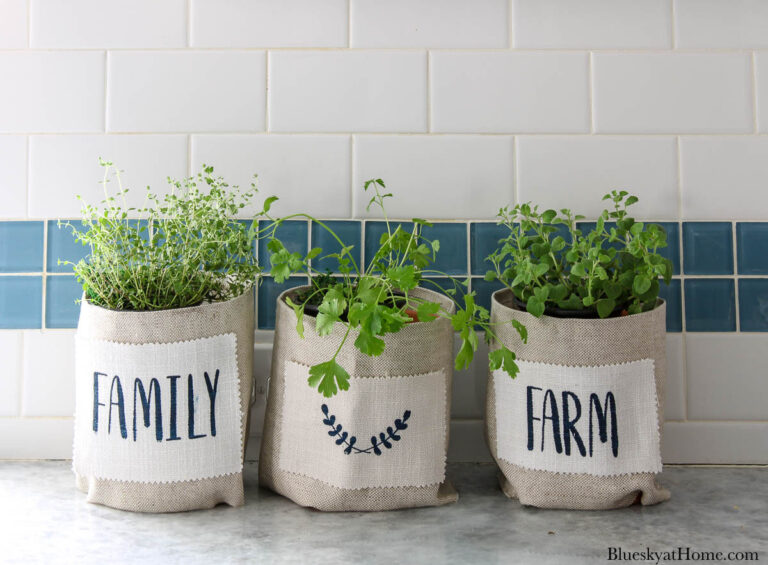
The old wood is beautiful on its own. They make a beautiful display hanging in your kitchen or breakfast nook or leaning on your kitchen backsplash.
I have several of those in different sizes and different shapes.
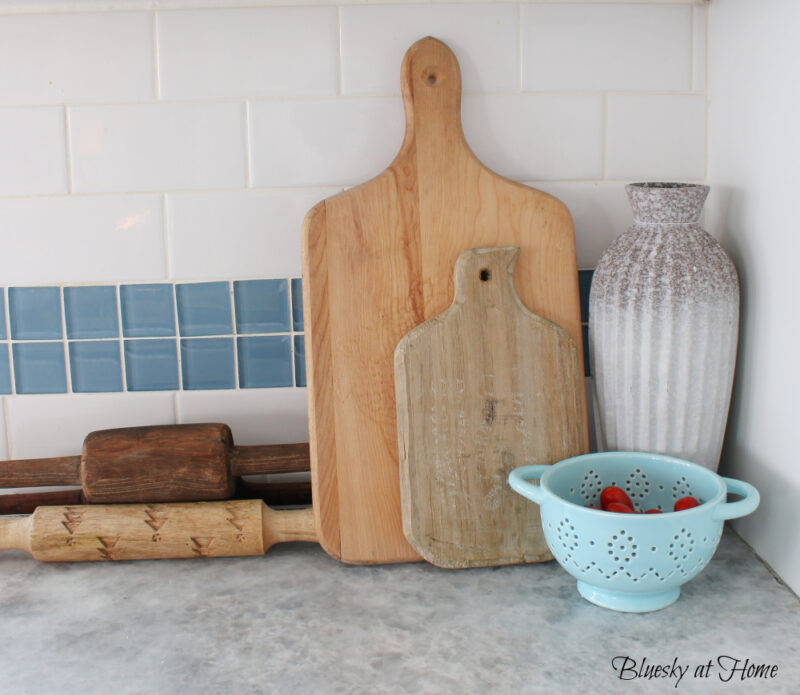
I use them strictly as a display on their own. Their different types of wood alone create interest.
For this wood board project, I suggest finding wood cutting boards that would not actually be used for cutting vegetables or other food items.
Where Do You Find Wood Cutting Boards for DIY Projects?
It’s not hard to find wood cutting boards that are appropriate for board crafts.
- Craft stores, such as Hobby Lobby and Joann
- Home decor stores, such as HomeGoods
- Target – I found the cutest wood risers that would be perfect for this project in the Dollar Spot
- Your local Dollar Tree
- Garage sales, estate sales, or thrift stores (for cutting boards that are not vintage)
- Amazon, Esty
What Decorative Elements to Use for Your Wooden Cutting Board?
Anything your heart desires.
Words that become a sign or designs that speak to your favorite styles.
Do you like words that evoke special feelings? Designs, such as birds, animals, or flowers – that have special meanings?
You can decorate your cutting board with any design or word that add to the style of your kitchen.
Compliment your existing color palette by using an accent or different color on your cutting board.
You can turn a plain, non-descript cutting board into a decorative cutting board in about 90 minutes for very little money. If fact, wood accessories of all kinds make wonderful home decor.
Supplies for this Decorative Cutting Board Project
You only need a few supplies to turn this plain wood cutting board into something pretty for your home. You could very well have them all on hand. I did.
Although I’m showing you how to decorate a cutting board, this is my interpretation. I encourage you to follow the steps, but chose the design and colors you prefer.
- Obviously, you need a wood cutting board.
I received my cutting board last fall at a blogger conference.
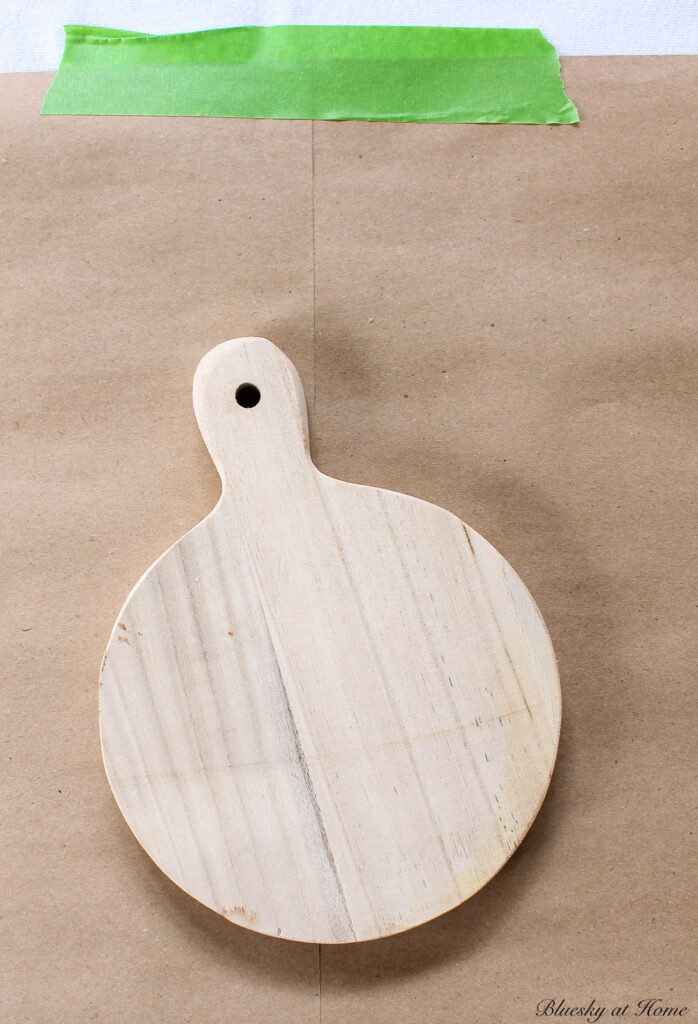
At lunch, everyone received this small round cutting board packaged with a cute cheese knife. Some were partially painted and some were totally raw wood. I chose the raw wood style. I’m sorry I don’t have the resource that donated the boards.
This is cutting board is 6 1/2 inches wide and 8 3/4 inches tall, including the handle.
- Paint of choice – any acrylic paint, chalk paint, or mineral paint – will work; this is a great time to use up what you have on hand. I used one of my favorite paints which I have used many times. One Step Paint in Bauhaus Buff from A Makers’ Studio. This white is a soft true white. I love their 4-ounce size jars for small projects.
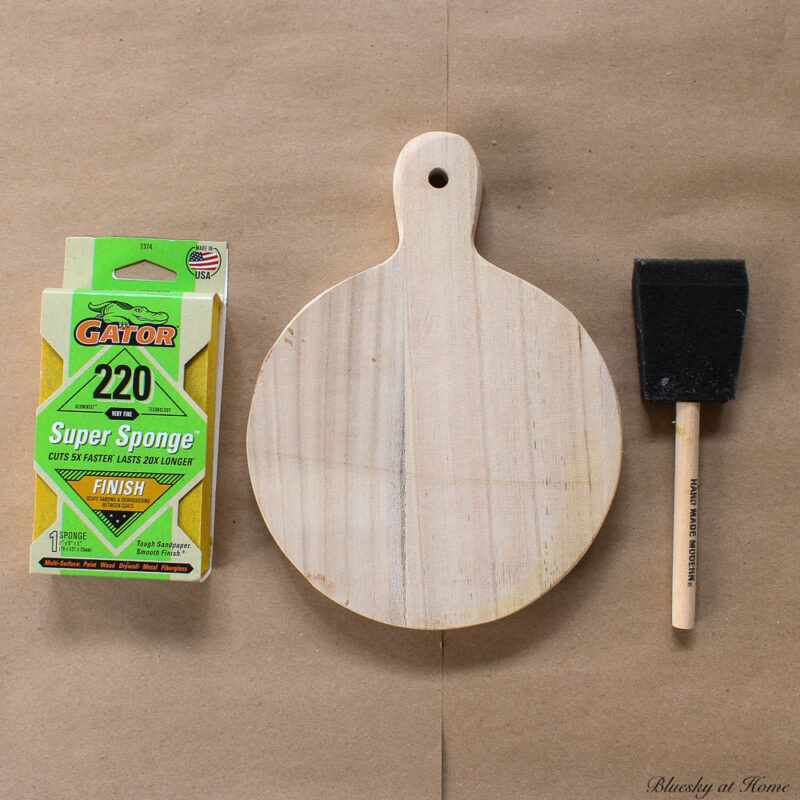
- 220-grit sandpaper
- Small paint brush – either an acrylic or foam brush
- Rag or tack cloth to remove dust
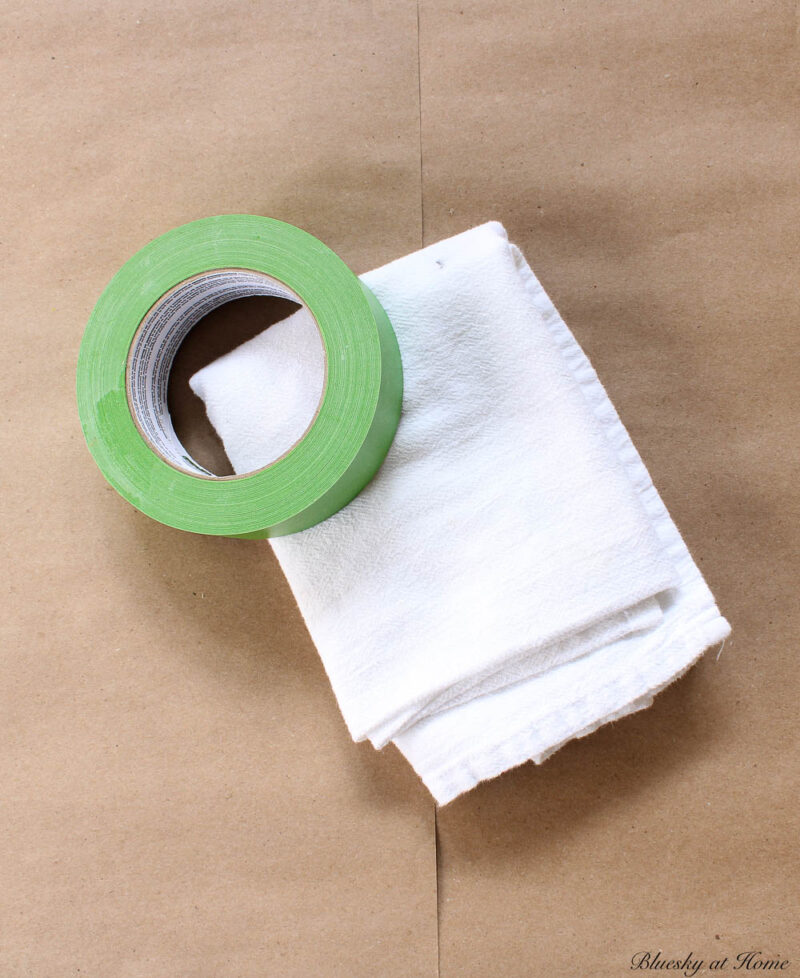
- Painter’s Tape
- Stencils of your choice. Of course, I used the tri-mesh stencils from A Makers’ Studio. I already had these stencils in my collection. I picked ones I liked and that fit on the cutting board.
- ChalkArt from A Makers’ Studio in Water to My Ocean, a pretty medium blue that works beautifully with my kitchen backsplash accent tile. This paint is specially made to be used with stencils.
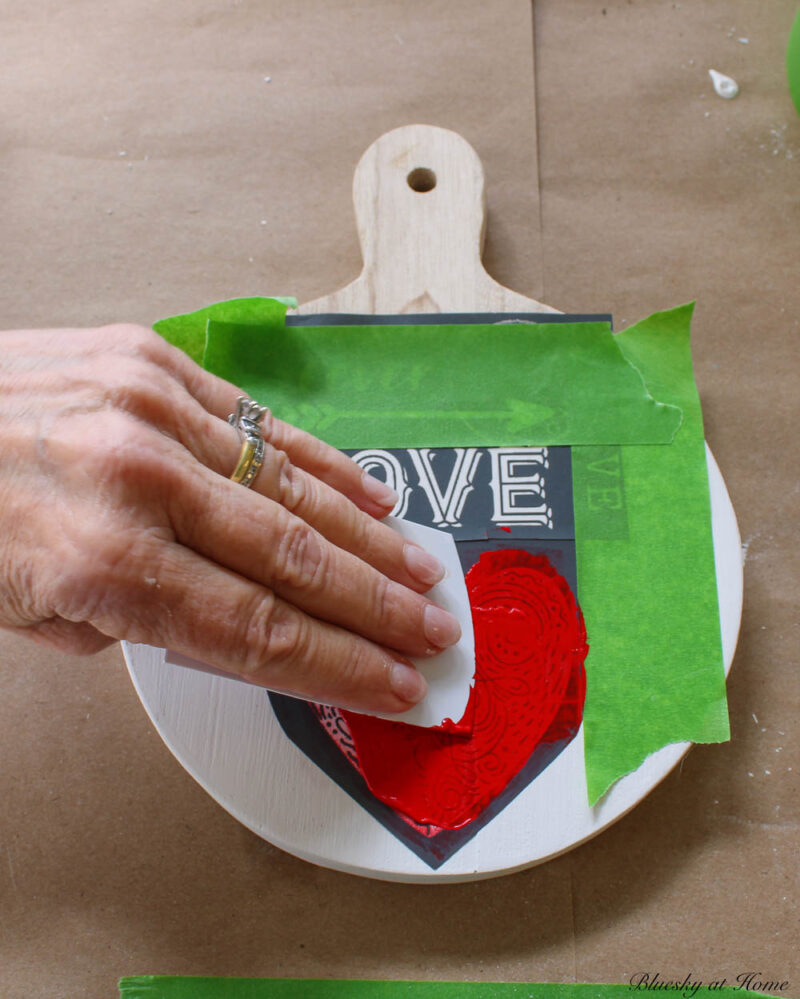
- ChalkArt in Love Bug, a bright red.
- A piece of twine, leather, or ribbon of your choice to hang your cutting board.
How to Decorate Your Wood Cutting Board
This project is easy and fun to do. I decorated both sides. I’ll show you the complete steps for the front side first.
Front Side of the Cutting Board – “All the Time” Side
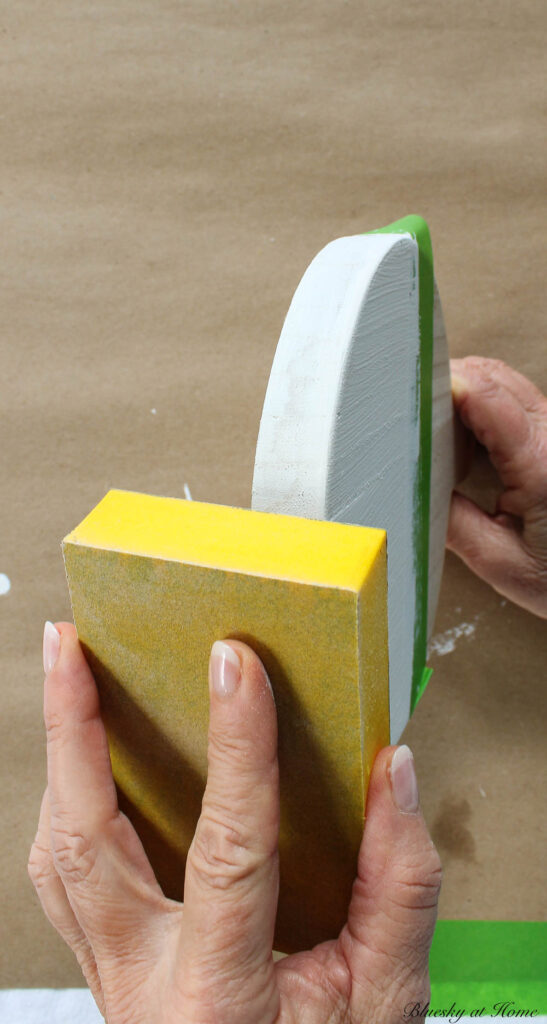
Step 1 – Most of these wood cutting boards will need to be lightly sanded across the top and edges. I used a 220-grit sanding block.
After sanding, wipe off the dust with a tack cloth or rag.

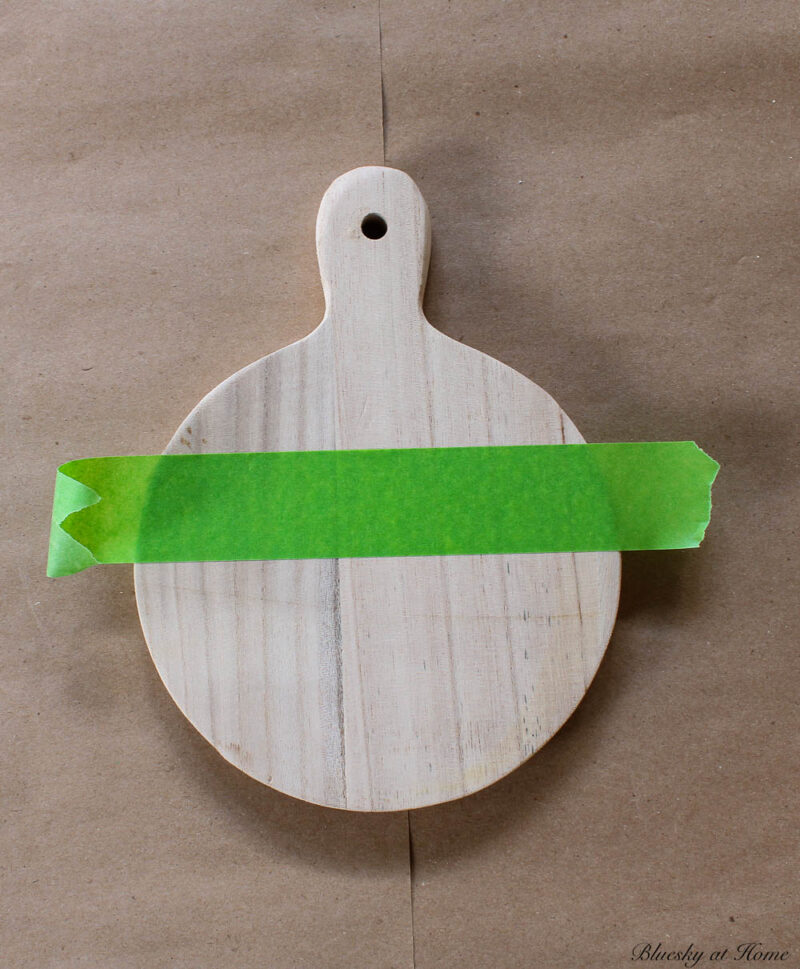
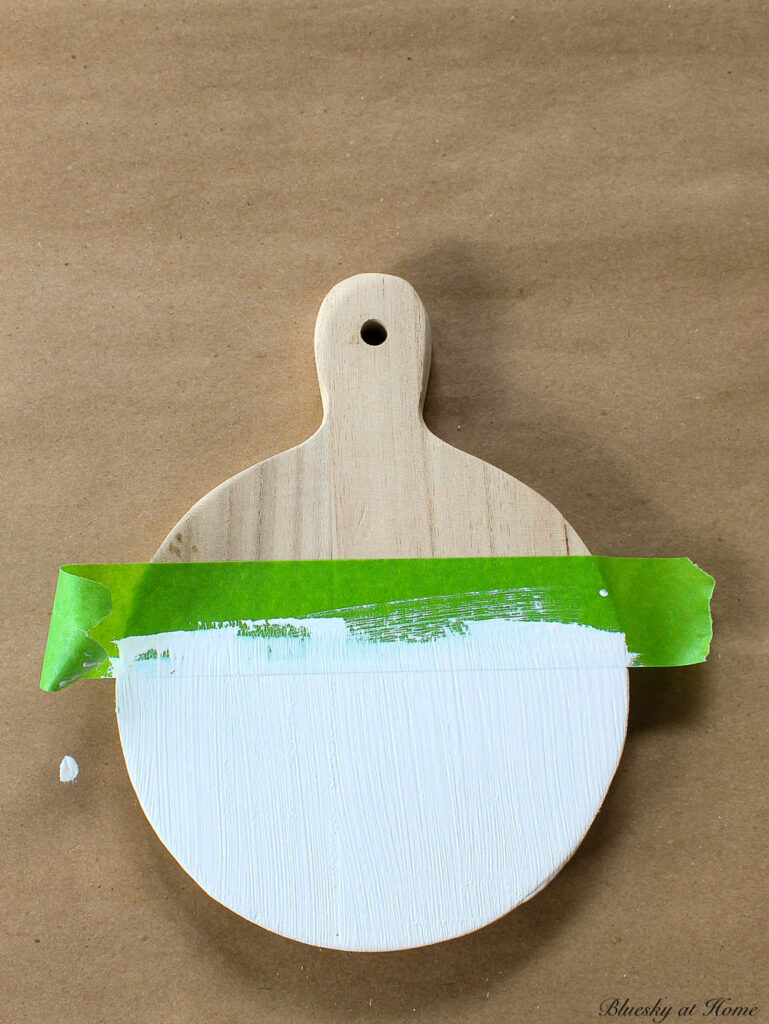
Step 2 – You can paint the entire cutting board if you like. I wanted to paint the bottom of the cutting board and leave the top and handle raw. I used Frog Tape to tape off the area to be painted.
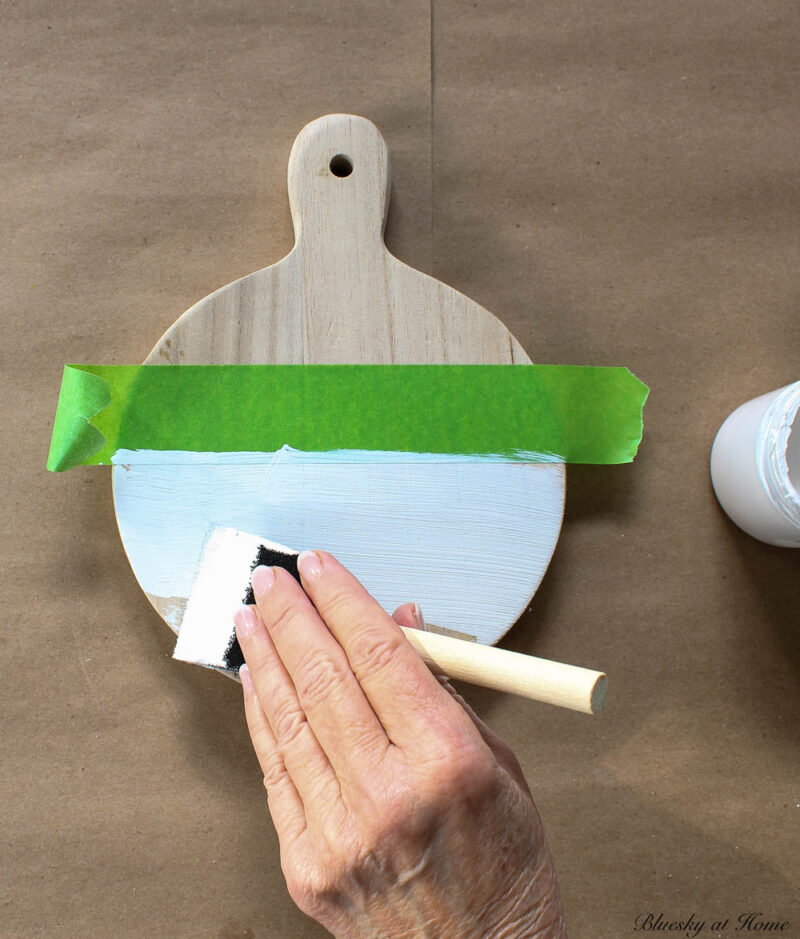
Step 3 – Paint the cutting board. I painted it against and then with the wood grain. Let it dry completely. I waited about 30 minutes (great time to multi-task), then lightly sand the first coat. Apply a second coat and allow it to dry. Remove the painter’s tape.
I’m calling this side my “front” side. It will be the side that has an all-season design.
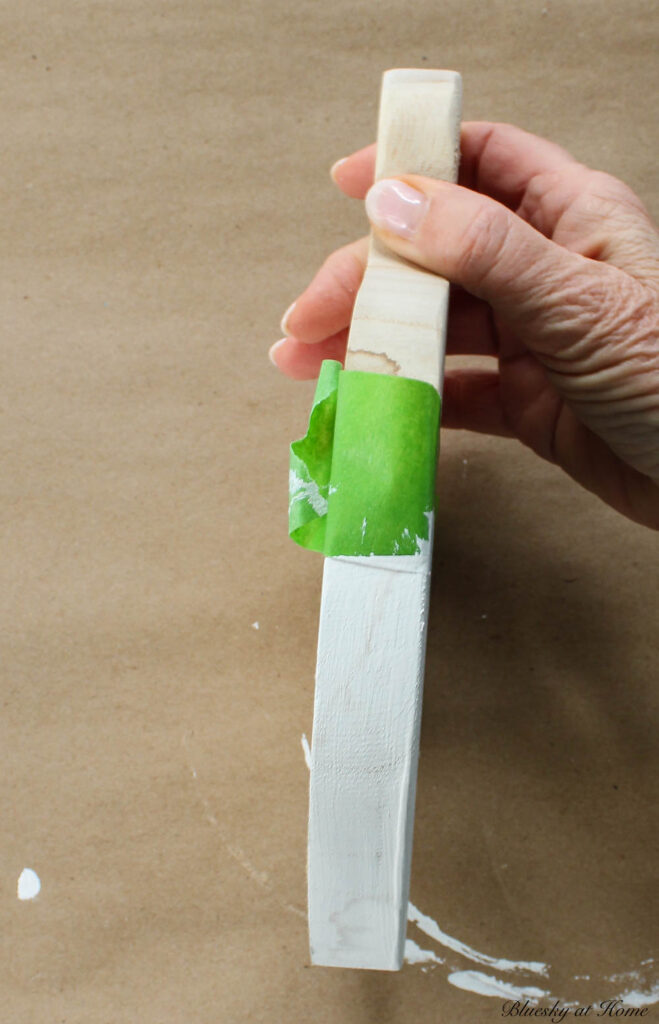
You can also paint the rim of the cutting board. Don’t forget to sand the edges.
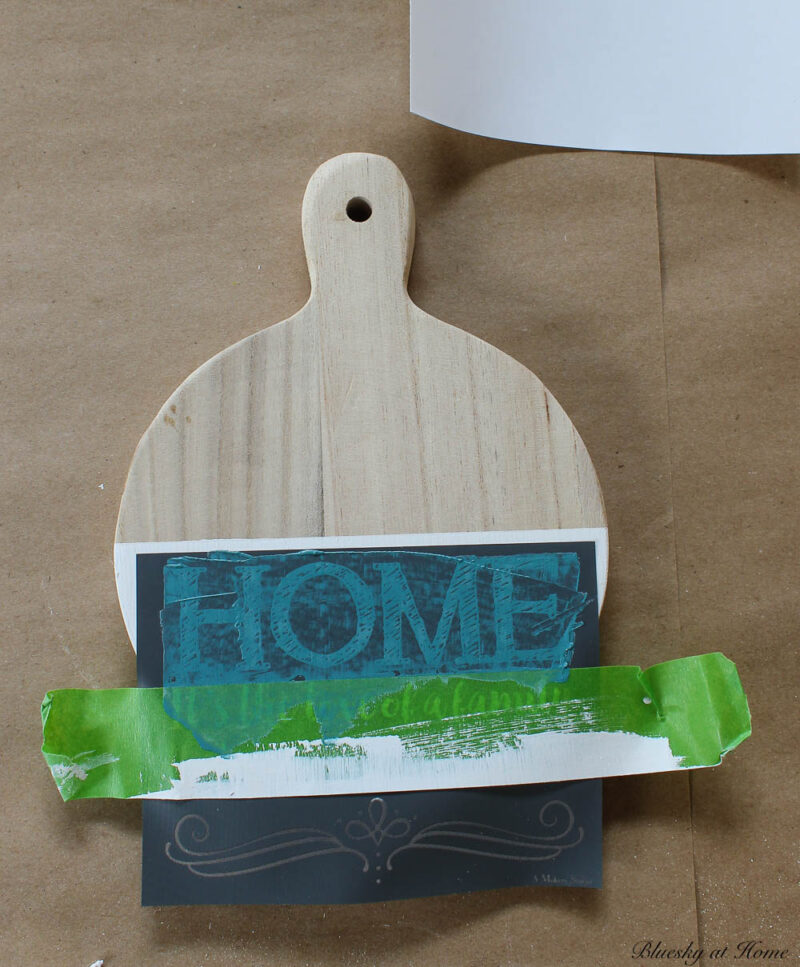
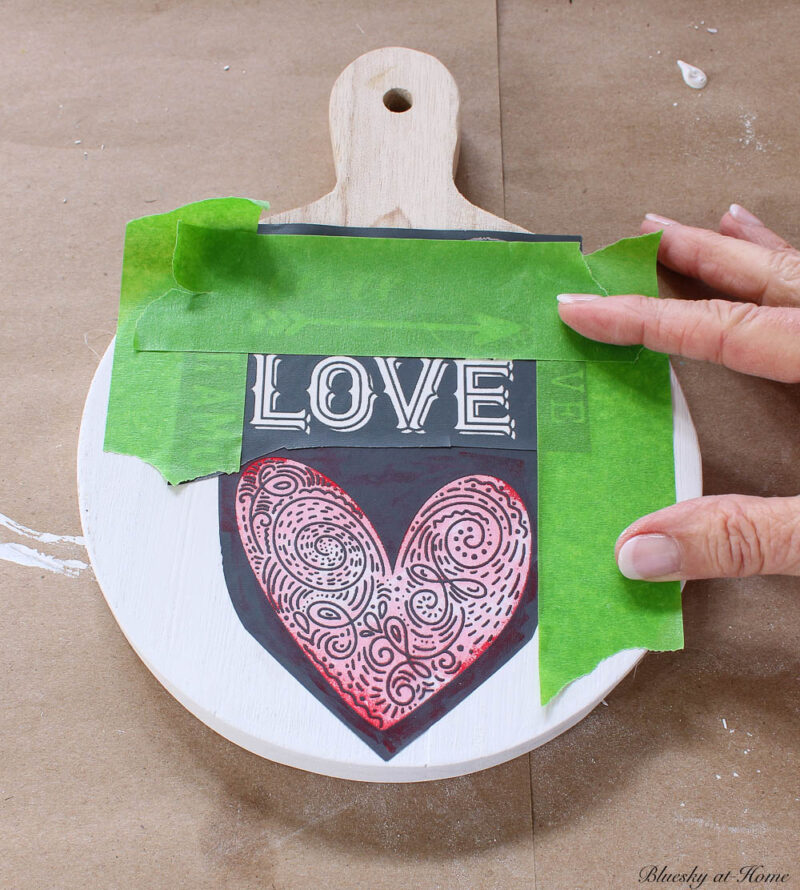
Step 4 – Remove your tri-mesh stencil from its backing (set the backing aside). Place your stencil on the cutting board and smooth it down.
If necessary, add more painter’s tape around the edges of the stencil. This gives you more of a border around the stencil.
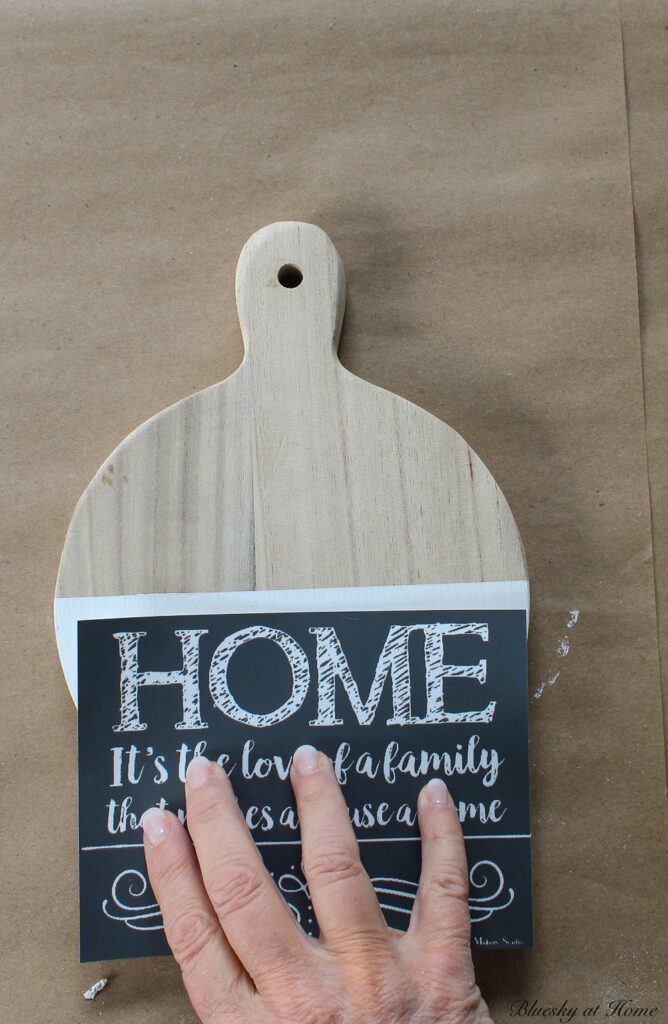
This stencil says “HOME” in an interesting font. This is an older stencil that is no longer available.
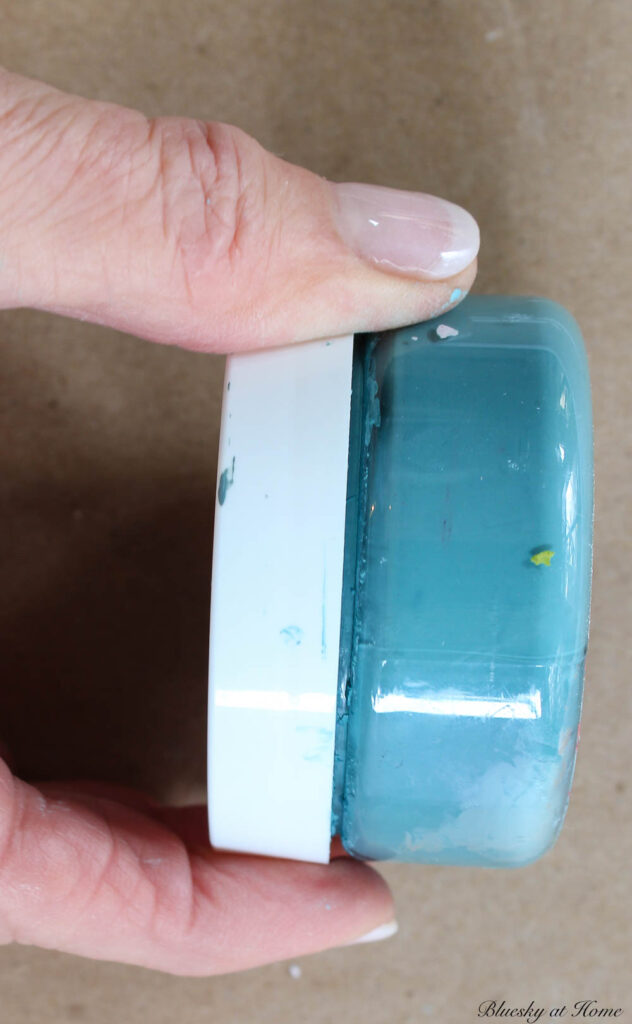
Step 5 – Apply a small amount of the ChalkArt to the surface of the stencil with a plastic scraper.
For more details on applying ChalkArt to tri-mesh stencils, read these posts.
- Two Ways to Decorate a Cutting Board for Spring
- Decorate Cutting Boards for Christmas
- Vintage Cutting Boards for Valentine’s
- Great Tips for Making Sugns with Stencils
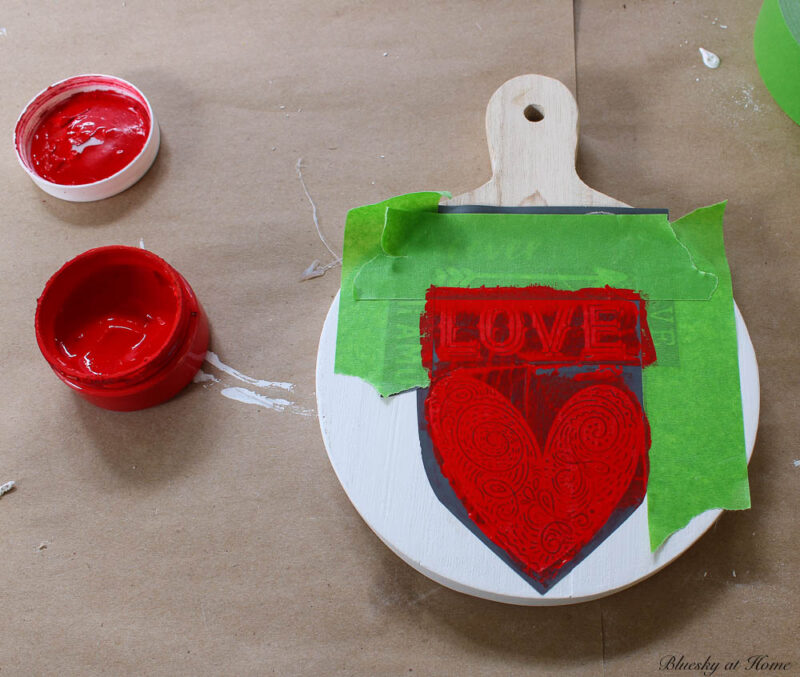
Step 6 – Gently remove your stencil from the board.
NOTE: Immediately place the stencils in a container of water or run under water in the sink to remove the ChalkArt. Lay down on a paper towel to dry, adhesive side facing up.
Step 7 – Allow the ChalkArt to dry completely, about 30 minutes.
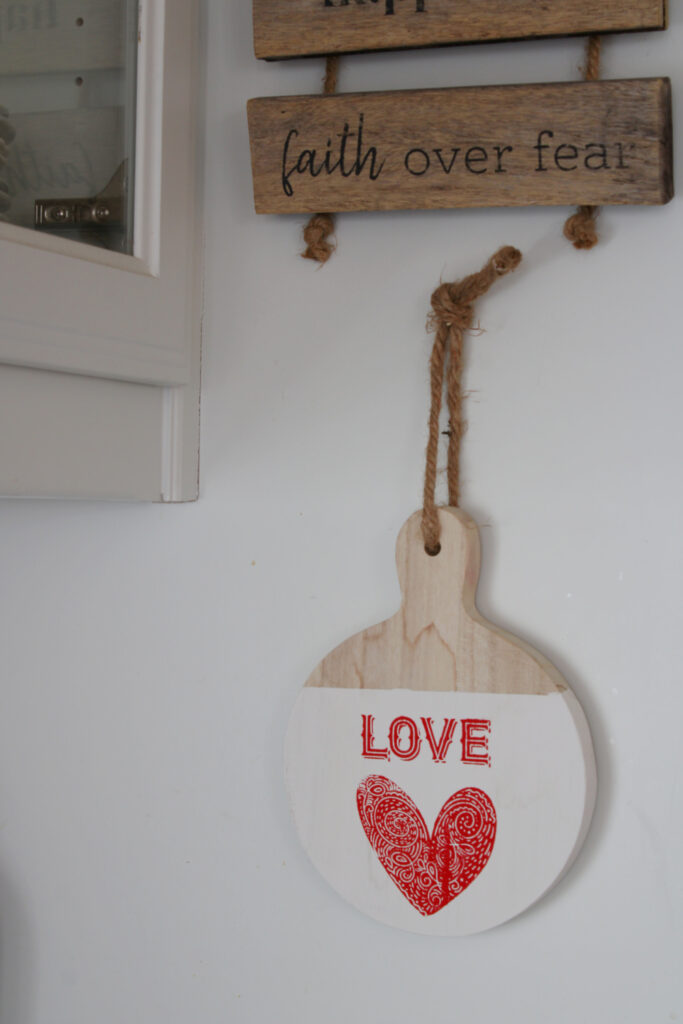
Here’s the finished front side of my cutting board.
Back Side of the Cutting Board – Seasonal Side
For the back side of the cutting board, I decided to make this a design that could be changed seasonally.
NOTE: The great thing about ChalkArt is that it can be removed with a damp paper towel.
Step 8 – Prepare the back of the cutting board (sanding) as you did the front side.
Step 9 – Next, paint the back of the cutting board as you did the front side. As an option, you could use a different color of paint.
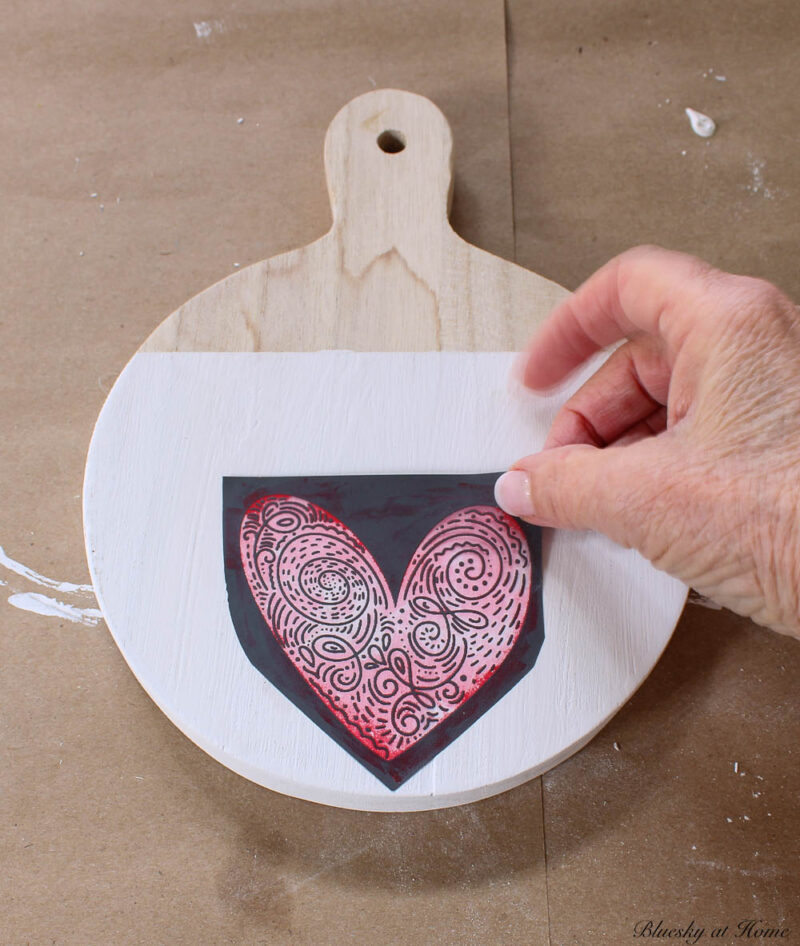
For this side, I painted a larger area than the front side.
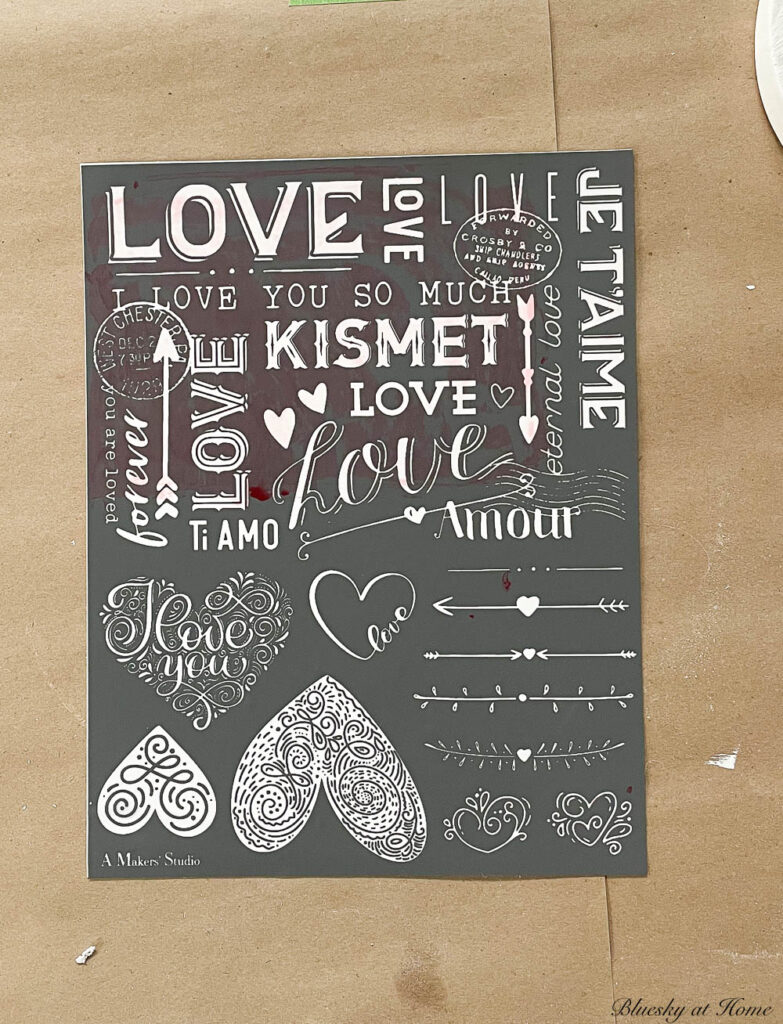
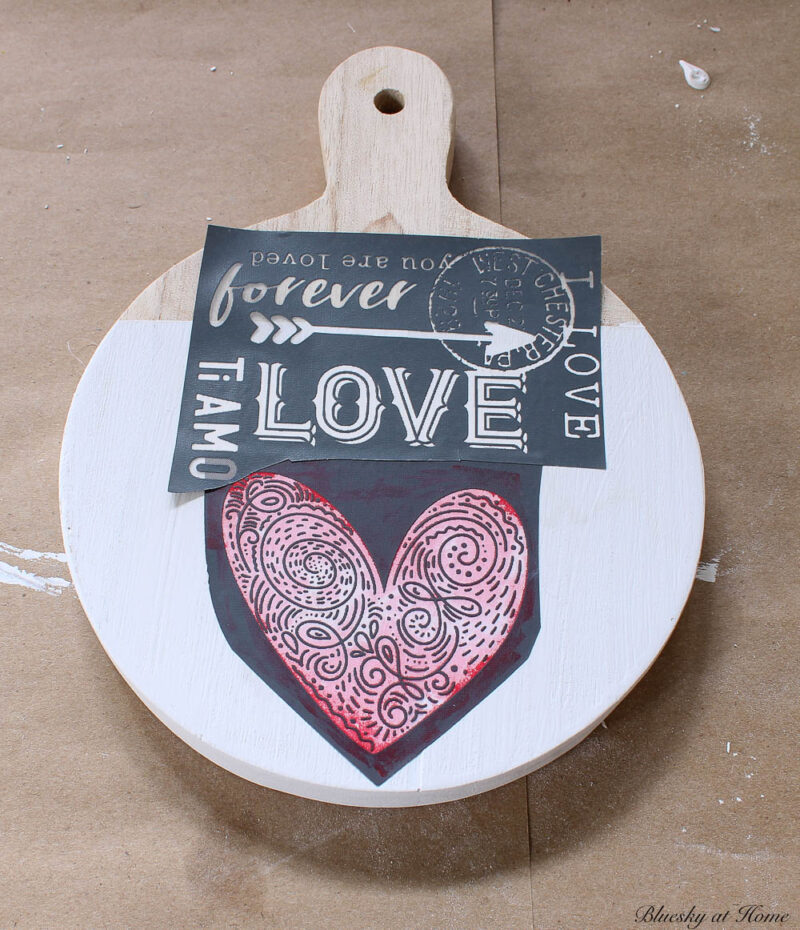
Step 10 – Lastly, apply your chosen stencils to the back of the cutting board as you did on the front side.
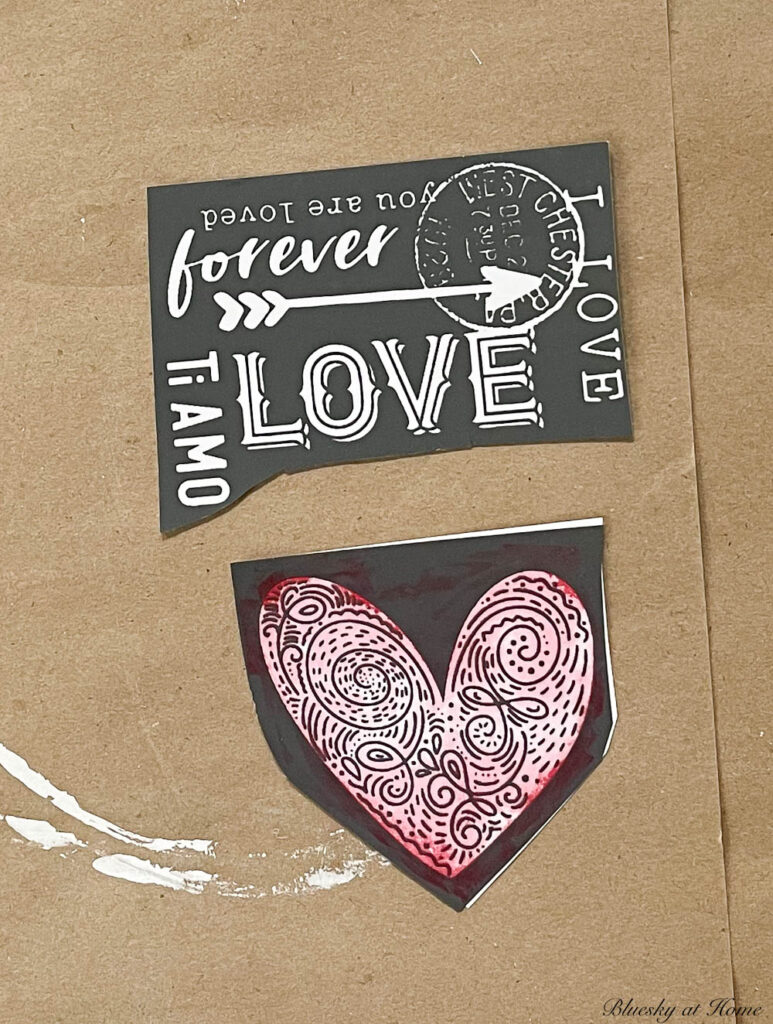
Since it’s almost Valentine’s Day, I decided to use two Valentine’s stencils – which I had from last year.
You can see that I have used the heart stencil before. Darker paint colors can stain the stencil but don’t affect your finished design.
Step 11 – When your cutting board is designed and the ChalkArt is completely dry, add your hanger.
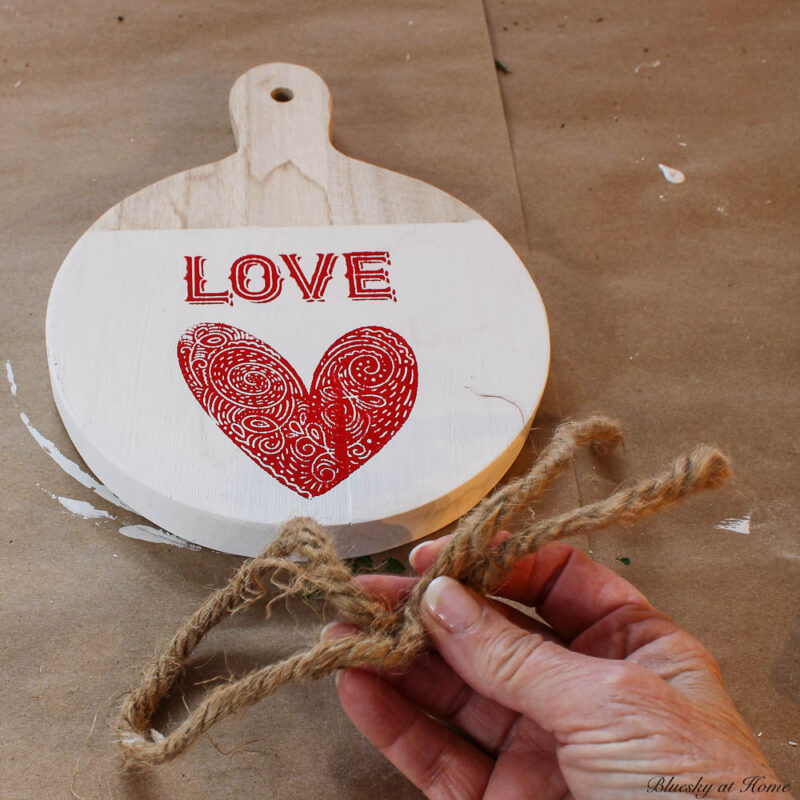
Finally, I used a piece of jute twine to make a hanger. I tied a loop knot and was done.
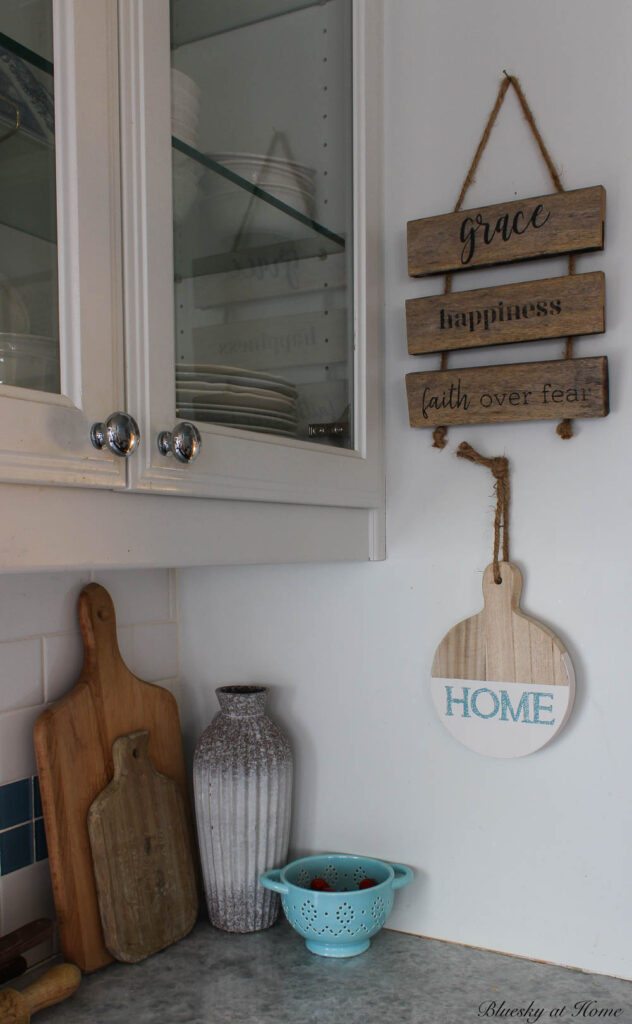
Hanging Your Decorated Wood Cutting Boards for Display
You don’t have to hang your cutting board, but I had the perfect place for mine.
I hung it below an earlier DIY wood project (leftover wood, stencils, and jute twine) on the side of our ovens.
Here’s the front side – this would be our “everyday” side.
For now, I’ll be displaying the side with the Valentine’s design.
As I said, the size and shape of the cutting board and design you choose is what will make the decorated wood cutting board your own. Just like potato salad, we could have hundreds of versions from this one DIY craft.
I hope you have fun making this easy DIY project. I loved the simple creativity of it.
The decorated cutting board would make a great gift idea as a birthday present or hostess gift for a friend.
I also loved the fact that this project didn’t cost me a penny.
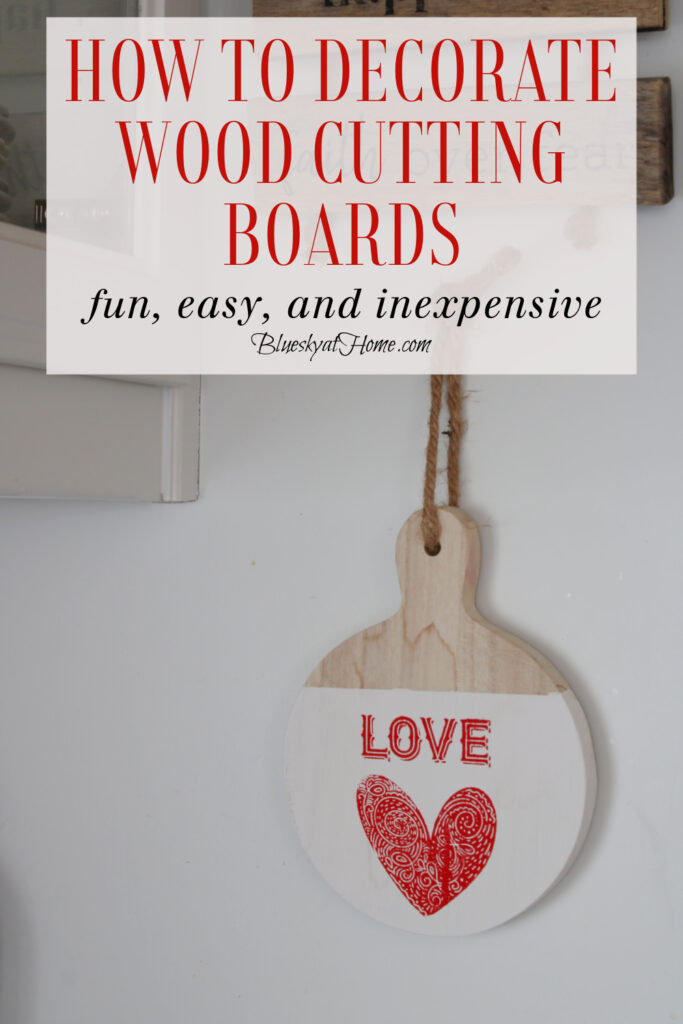
I hope that you will PIN this cutting board decorating project. Remember to use colors and designs that work for your decor.


What a beautiful way to repurpose cutting boards, Carol! I love the designs and colors you chose. They’re perfect for the season and for gift ideas as well. Hope your weekend is filled with all your favorite things. Hugs, CoCo
Thanks so much for your comment, Coco. I love your style, so I take your message as a compliment.